
Want to give your walls a fresh new look without spending a ton of money? A DIY panel wall is a fun and easy way to upgrade any room. It adds style, texture, and a custom feel that makes your space look more put-together.
The best part? You don’t need to be a pro to do it! With some basic tools, a little time, and a step-by-step plan, you can build your own panel wall from scratch. Whether you like the clean lines of modern panels or a more classic look, this project can be made to match your style.
In this blog, I’ll walk you through everything—from planning your design to painting the final wall. If you’re ready to turn a plain wall into a real eye-catcher, let’s get started on your DIY panel wall makeover!
What Are Panel Walls and Why You Need Them
Panel walls are walls that have extra design pieces added to them—usually wood or MDF (a type of board)—to give them style, texture, and depth. They’re often built using thin boards that are nailed or glued to a plain wall in a pattern.
You’ve probably seen panel walls in magazines or online. Some have square or rectangular shapes (like a grid), while others have long vertical slats or fun designs.
So, why should you have one? Panel walls are a simple way to make a room look more fancy and put-together. They can turn a boring wall into a cool feature. You can use them in bedrooms, living rooms, hallways—anywhere!
They also help cover small dents or marks on the wall and can protect it from wear and tear. Best of all, they’re a fun DIY project that you can totally do yourself!
Types of DIY Panel Wall Designs
There’s more than one way to build a panel wall, and the fun part is choosing the style that fits your space and personality. Whether you like clean lines or something more detailed, there’s a panel design for everyone.
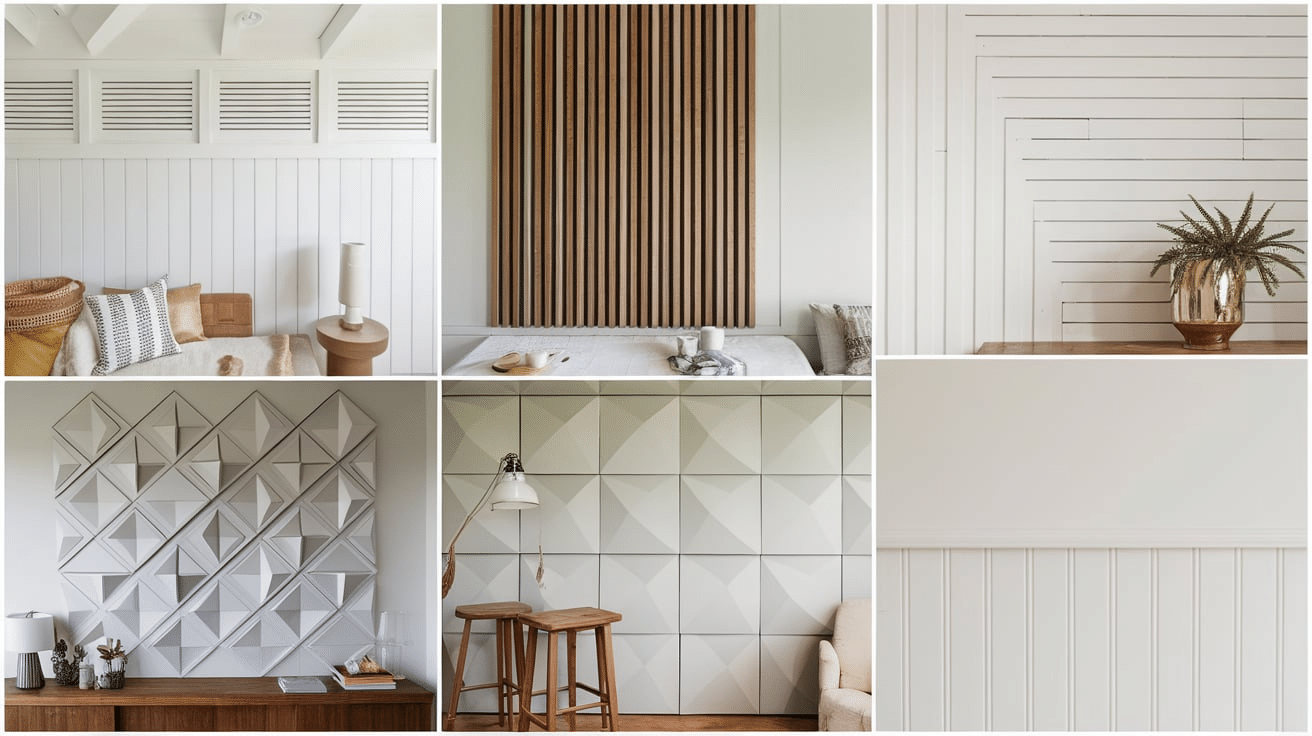
1. Shaker Style Panels: This is one of the most classic designs. It usually has large rectangular or square sections with clean, straight lines. It gives a simple and timeless look that works great in bedrooms, dining rooms, and living rooms.
2. Vertical Slat Wall: This design uses thin, evenly spaced vertical boards that cover the full height of the wall. It adds a modern touch and makes the room feel taller. These slats can be painted or stained depending on the vibe you want.
3. Board and Batten: Board and batten uses wide boards (the “boards”) with thin strips (the “battens”) placed over the seams. You can do this halfway up the wall or go full height. It’s perfect for farmhouse, cottage, or traditional styles.
4. Geometric or Custom Patterns: If you want something more creative, you can design a panel wall with diagonal lines, diamonds, chevrons, or even random shapes. It takes more time to plan, but it gives your space a one-of-a-kind look.
5. Beadboard Panels: Beadboard has small, narrow grooves and gives off a cottage or coastal feel. You can buy large panels that are easy to install. It’s often used in bathrooms, kitchens, or entryways for a light and airy look.
Each of these styles can totally change the feel of your space. You can go simple or go bold—it’s up to you! And you can easily build them all with the same basic tools and materials.
Planning Your Panel Wall
Before you start cutting boards or grabbing a paintbrush, it’s super important to plan out your panel wall. A good plan makes the project easier and helps you avoid mistakes later on.
1. Pick the Wall You Want to Panel: Choose a wall that you want to turn into a feature. It could be behind your bed, in the hallway, or even in the living room. Make sure it’s flat and easy to work with.
2. Choose Your Style: There are lots of panel wall styles out there! Some have neat squares, some have vertical slats, and some have cool designs. Look online or on Pinterest for ideas.
3. Measure Everything: Use a measuring tape to measure the width and height of your wall. Write down the numbers—you’ll need them when figuring out how many boards to buy and how to space them.
4. Sketch Your Design: Draw a simple sketch of your panel wall on paper. Mark how many vertical and horizontal pieces you’ll need. It doesn’t have to be fancy—just something to help you plan.
Taking a little time to plan will make your project go much smoother—and the results will look way better, too!
Choosing The Right Materials and Gathering Tools
Before you start building, it’s important to pick the right materials. The kind of boards you use can affect how your wall looks, how easy it is to install, and how long it lasts. Don’t worry—choosing materials doesn’t have to be hard.
1. MDF (Medium-Density Fiberboard)
MDF is one of the most popular choices for DIY panel walls. It’s smooth, easy to cut, and great for painting. It’s also budget-friendly, which is perfect if you’re working on a tight budget.
Pros: Smooth surface, easy to work with, affordable
Cons: Not water-resistant (not the best for bathrooms)
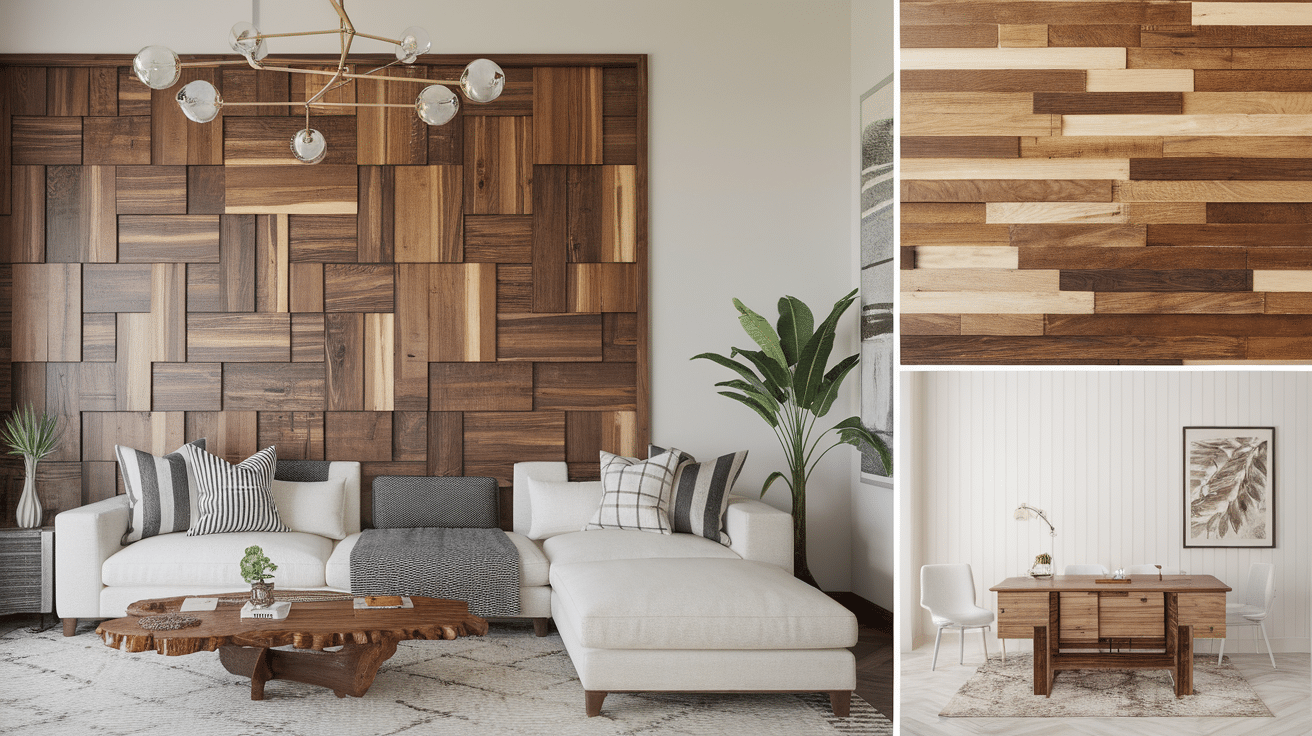
2. Real Wood Boards
If you want a more natural look, you can use real wood like pine or oak. You can paint or stain them to match your room. Wood is strong and adds texture, but it can be a bit more expensive.
Pros: Strong, stainable, adds natural texture
Cons: Costs more, may need sanding or extra prep
3. Pre-Cut Wall Panel Kits
Some home stores sell wall panel kits that are already sized and ready to install. These are great if you want to save time and skip a few steps.
Pros: Saves time, beginner-friendly
Cons: Limited design options, may cost more
4. Plywood Sheets
Plywood is a good choice for a smooth panel wall. You can cut it into slats or squares, and it holds up well over time.
Pros: Strong, paintable, good for modern styles
Cons: Edges may need sanding, and can be heavy
5. Beadboard Panels
Beadboard comes in large sheets and has narrow vertical lines. It’s easy to install and great for cottage or farmhouse styles.
Pros: Easy to install, classic look
Cons: May crack if nailed without pre-drilling
6. Other Materials and Tools
-
Construction adhesive or nails
-
Caulk or wood filler
-
Primer and paint
-
Measuring tape and level
-
Pencil
-
Saw (hand saw or miter saw)
-
Nail gun or hammer
-
Caulk gun and paintbrush or roller
That’s it—just the basics to get started on your panel wall!
Step-By-Step Guide: How to Build a DIY Panel Wall
Making your own panel wall might sound hard, but it’s actually pretty simple if you take it one step at a time. This guide will walk you through the whole process—from an empty wall to a beautiful, finished panel design. Let’s get started!
Step 1: Clean and Prep the Wall
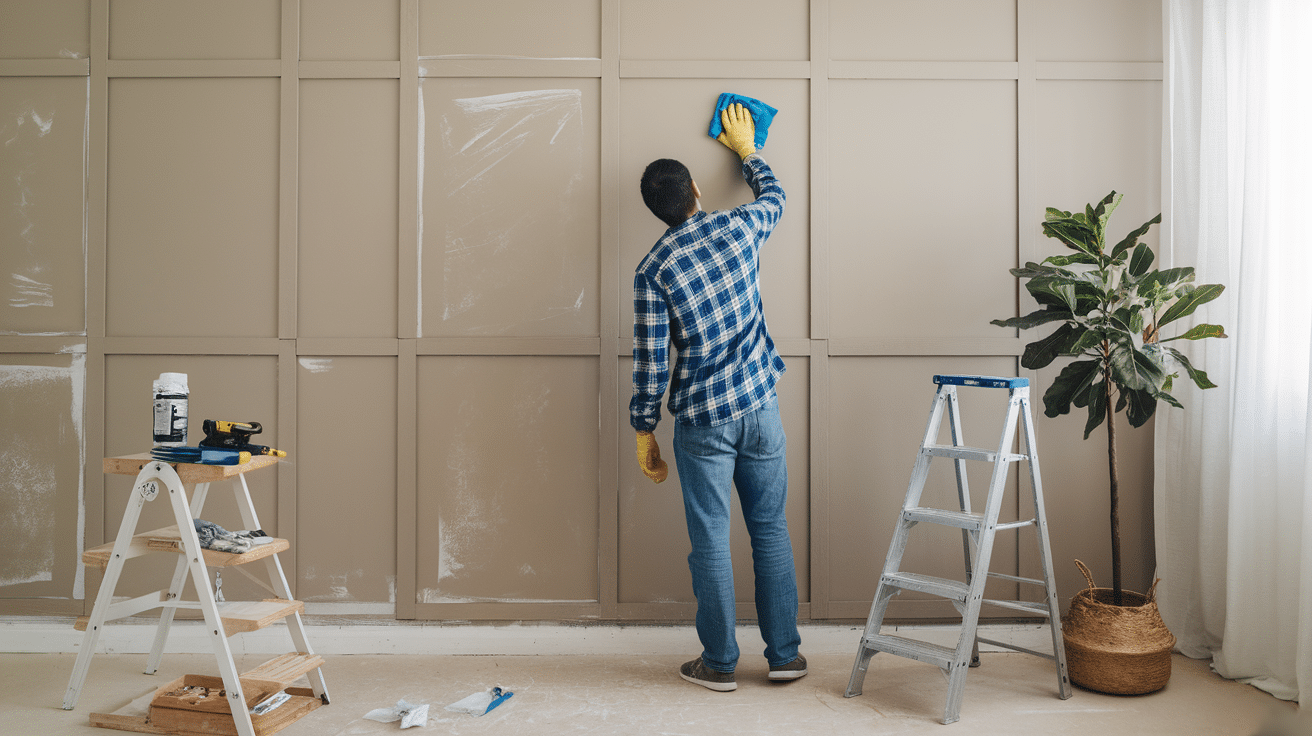
Before anything else, make sure your wall is clean. Wipe it down with a dry or slightly damp cloth to remove dust and dirt. If you have any nails or hooks in the wall, take them out and patch the holes.
If your wall has old paint that’s peeling or has rough spots, give it a light sanding to make everything stick better.
Step 2: Measure the Wall
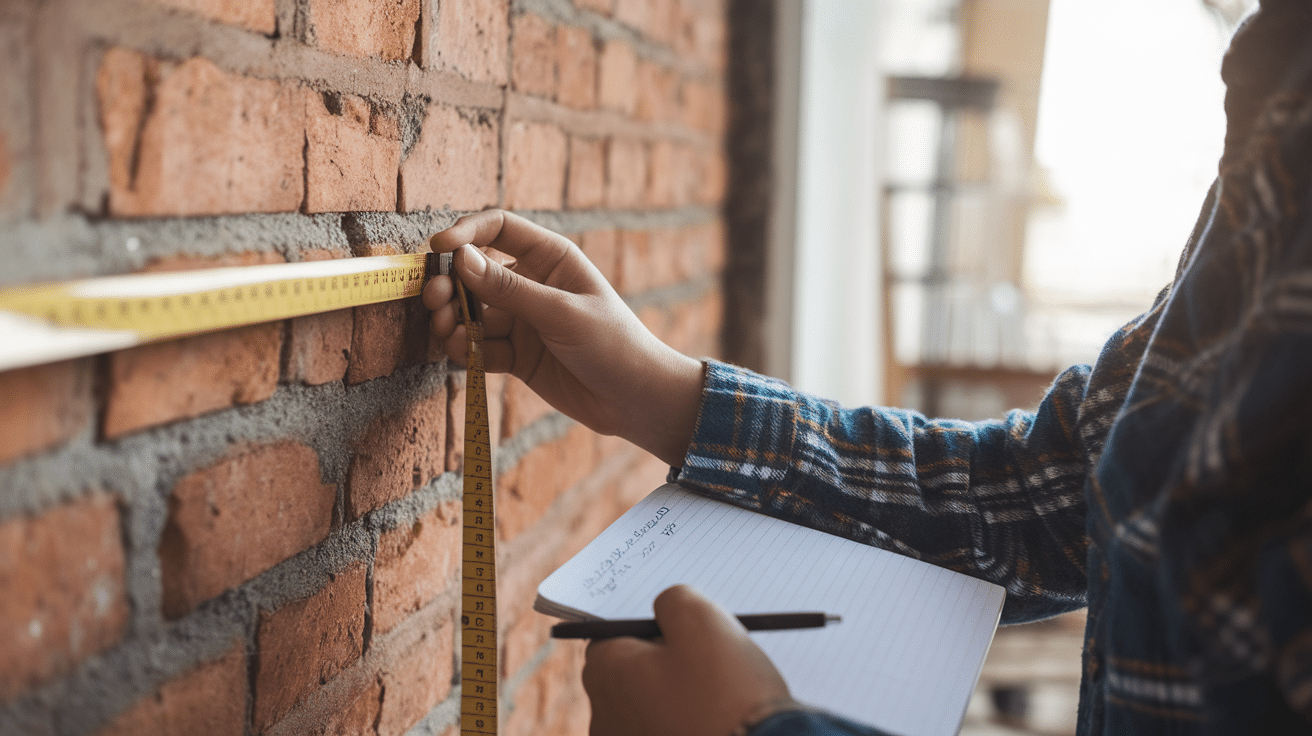
Use measuring tape to determine the height and width of your wall. Write down the numbers—you’ll need them to cut your boards and plan your layout.
If you’re doing a grid or square design, divide your measurements to figure out the spacing between each board.
Step 3: Cut the Boards
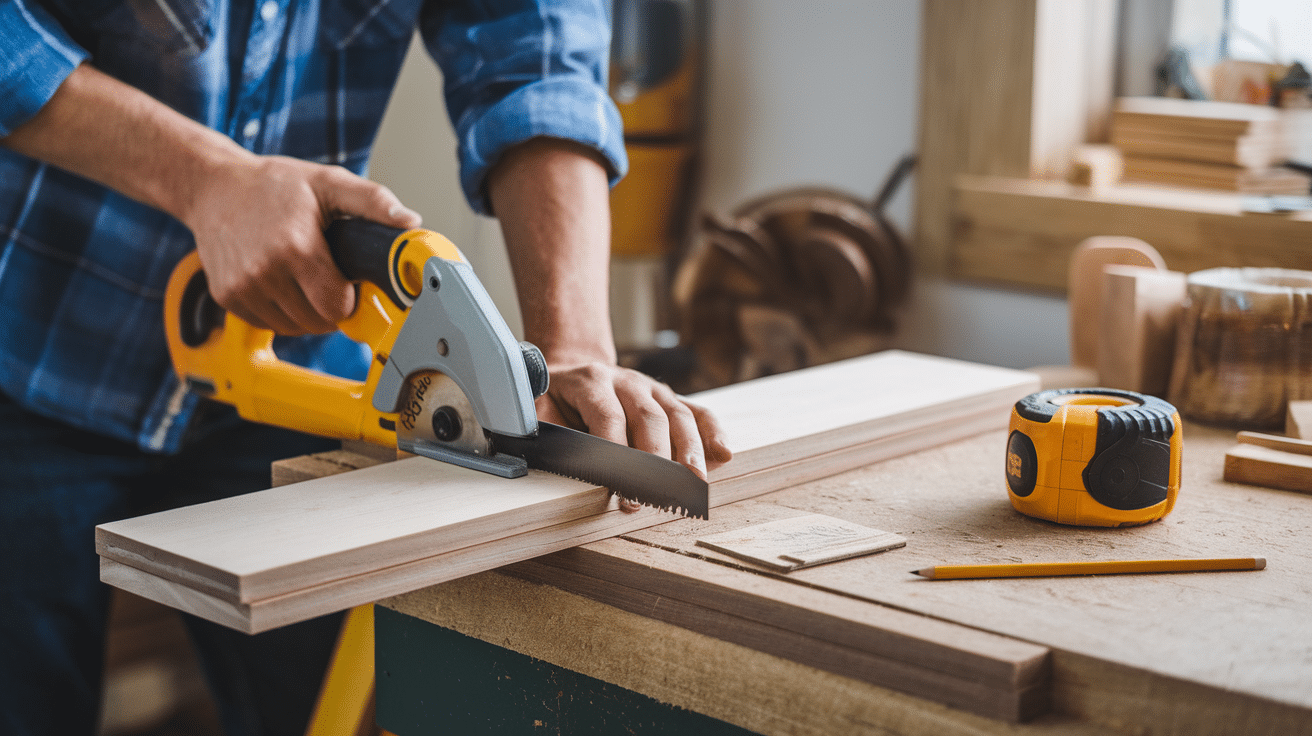
Once you know your design and sizes, it’s time to cut your boards. Use a hand saw or miter saw to cut the pieces to the right lengths.
Always wear safety glasses and keep your fingers away from the blade while cutting.
Step 4: Mark the Wall
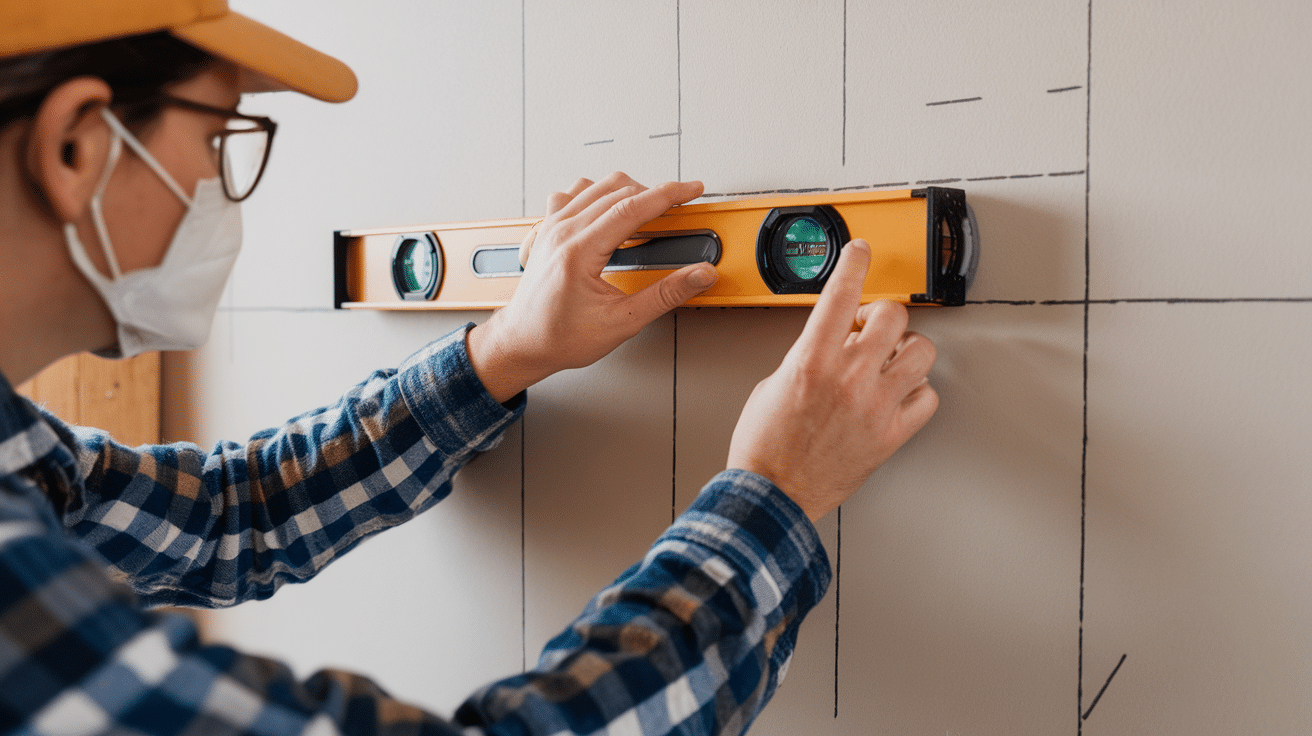
Use a pencil and level to draw light lines on the wall where each board will go. This will help ensure that your boards are straight and evenly spaced.
Start from the middle or bottom and work your way up. That way, if the top gets cut off a little, it won’t be as noticeable.
Step 5: Attach the Boards
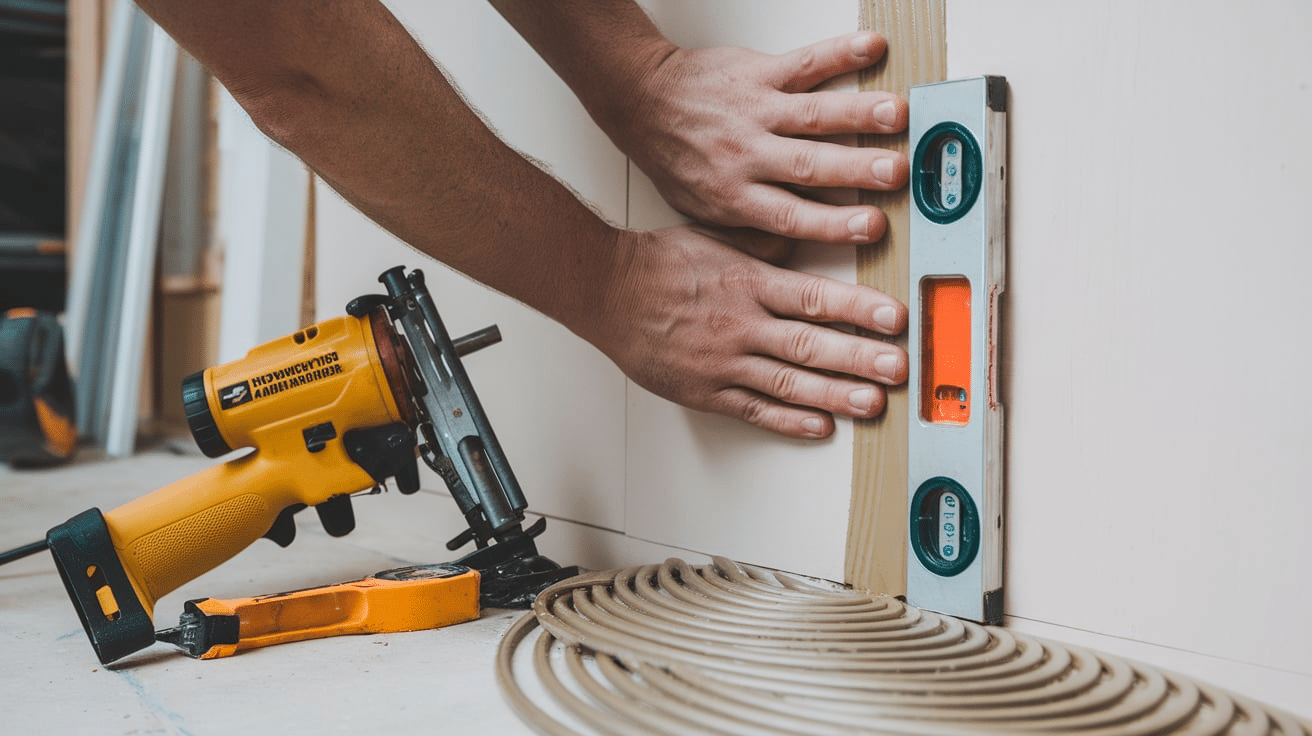
Now it’s time to stick the boards to the wall! You can use construction adhesive (glue) or nails.
-
For glue: Apply a line of adhesive to the back of the board, press it onto the wall, and hold for a few seconds.
-
For nails: Nail the board into place using a nail gun or hammer. Try to nail into a stud if possible, or use wall anchors for extra hold.
Step 6: Fill the Gaps and Sand
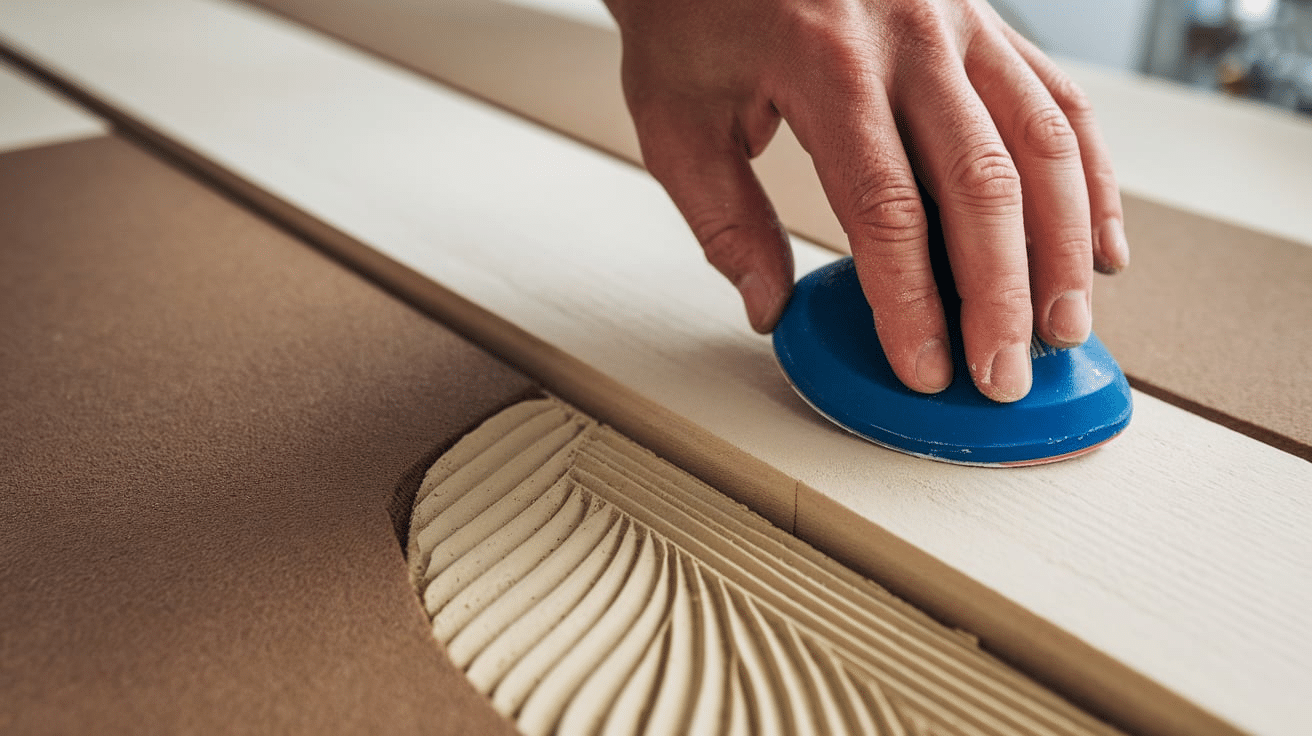
Once all the boards are up, use wood filler or caulk to fill in any gaps between the boards and the wall. You can also fill nail holes to make the surface look seamless. Let it dry fully, then sand everything smooth so it looks clean, even, and ready for paint.
Step 7: Prime and Paint

First, apply a coat of primer if your boards are bare wood or MDF. This helps the paint stick and last longer. Once the primer is dry, paint your panel wall with the color of your choice using a brush or roller. Two coats usually give the best results. Let it dry completely before touching or decorating the wall.
That’s it—you did it! Your plain wall is now a beautiful panel wall that adds style and character to your room. Step back, admire your work, and maybe even snap a photo. With a little patience and effort, you can completely change the look of a room with a DIY panel wall—and you don’t need to be a pro to pull it off.
How Much Does Building a Panel Wall Cost?
Here’s a quick look at the typical costs:
-
MDF or wood boards: $2–$10 per foot
-
Adhesive or nails: $5–$15
-
Primer and paint: $20–$50
-
Wood filler or caulk: $5–$10
-
Tools (if needed): $20–$100
-
Total cost range:$50–$200+ depending on wall size and materials
Best Rooms for Panel Walls
DIY panel walls can totally change the look and feel of a space. They add style, texture, and a bit of character without taking up any floor space. The best part? They look great in almost any room! Here are some of the top spots in your home where a panel wall can make a big difference:
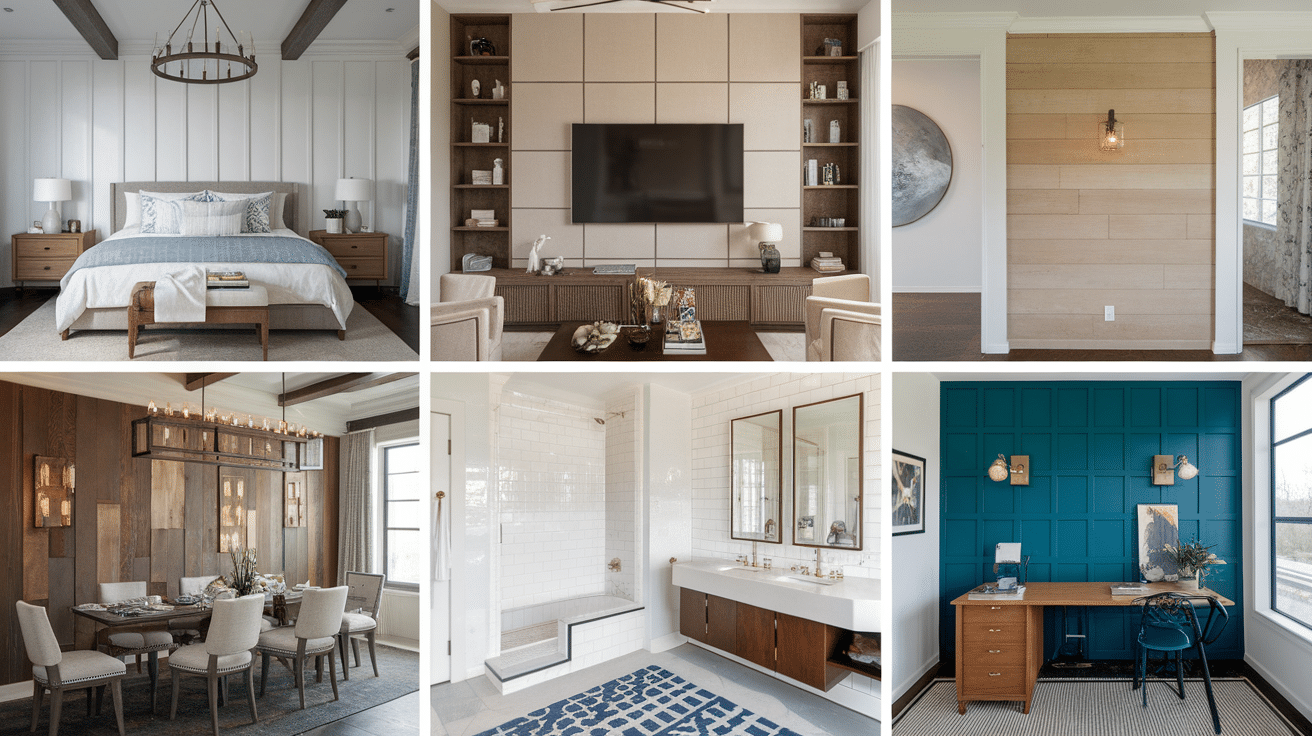
1. Bedroom: A panel wall behind the bed makes a perfect feature wall. It adds a cozy, finished look and can even replace the need for a headboard. Shaker-style or board and batten panels work especially well in bedrooms.
2. Living Room: Want to make your living room look more polished? Try adding a panel wall behind your couch or TV. It creates a strong focal point and adds character without being too bold.
3. Hallway or Entryway: These small spaces are often overlooked. A half-height panel wall (like board and batten) in a hallway or entryway adds charm and makes a great first impression. Plus, it can help protect walls from scuffs and dirt.
4. Dining Room: Adding a panel wall in your dining room makes the space feel more classic and put-together. You can go with a tall, dramatic design or keep it simple with beadboard or wainscoting.
5. Bathroom: Yes—you can add a panel wall in the bathroom too! Just make sure to use moisture-resistant materials like PVC or properly sealed wood. Beadboard is a popular choice for bathrooms because it gives off a cottage-style look.
6. Home Office: Working from home? A panel wall can make your office space look more professional and less like a spare room. It also works great as a Zoom background!
No matter the room, a panel wall can give it that “wow” factor without a major renovation. Just pick the spot that needs a little extra love, and start creating!
Maintenance and Care
Once your DIY panel wall is finished, you’ll want to keep it looking fresh. Luckily, it doesn’t take much work!
- Dust regularly: Use a soft cloth or duster to wipe down the panels. Dust can build up in corners and grooves.
-
Wipe-off marks: For small smudges or fingerprints, a damp cloth with a little mild soap works well.
-
Touch-up paint: Keep a small container of your wall paint for easy touch-ups if the paint gets scratched or chipped.
-
Check for loose boards: Once in a while, press gently on each panel to make sure it’s still secure. Re-glue or re-nail if needed.
-
Avoid too much moisture: If your panel wall is in a bathroom or kitchen, make sure the area stays dry to prevent warping.
A little care goes a long way in keeping your panel wall looking like new.
Conclusion
A DIY panel wall is one of the easiest and most stylish ways to upgrade any room in your home. Whether you want to add character to a plain wall, create a cozy vibe, or just try a fun weekend project, paneling is a great choice.
With a little planning, the right materials, and some simple tools, you can totally transform your space without spending a lot of money. The best part? You get to choose the style, size, and color to match your taste and make it your own.
From bedrooms to hallways, panel walls look great just about anywhere. And once it’s done, you’ll be proud every time you walk into the room and see something you built yourself. You’ve got this—and your space is going to look amazing!
Frequently Asked Questions
Can I install a panel wall without nails?
Yes! You can use construction adhesive to glue the boards directly to the wall. Just be sure the surface is clean and dry.
Can I put a panel wall in a bathroom?
Yes, just use moisture-resistant materials like sealed wood or PVC, and make sure the room is well-ventilated.
Is it cheaper to DIY a panel wall?
Absolutely! DIY panel walls are much cheaper than hiring a contractor. You can create a custom look for a fraction of the cost.