
Winter can cause real trouble for your roof, especially when ice dams start to build up. I’ve dealt with this myself, and I know how frustrating it can be to see water backing up under shingles.
That’s where gutter heating cable installation comes in as a simple fix you can handle on your own.
In this guide, we will walk through each step in a clear way so you don’t feel lost. You’ll learn how to install heat cables on gutters and roof edges to keep ice from forming.
I’ll share basic tips to help you do the job safely and get better results.
By the end, you’ll have a clear idea of what to do and how to do it right. Let’s get started and make your roof ready for winter.
What Is Gutter Heating Cable Installation
Gutter heating cable installation is a simple way to stop ice from building up on your roof and inside your gutters during winter.
I see it as a smart fix if you deal with ice dams or water overflow when temperatures drop. These cables, also called heat tape, sit along the roof edge and inside gutters to melt snow before it turns into ice.
When the cable warms up, it keeps a clear path for water to drain safely. This helps protect your roof, walls, and foundation from damage.
You don’t need anything complex to understand how it works, and most setups are easy to handle with basic tools.
In simple terms, it’s a practical way to keep your home safe in cold weather and avoid costly repairs later.
Tools And Materials You Will Need
Before starting, it is important to gather all the required tools to avoid delays. The table below lists everything needed to make the installation smooth and safe.
| Tool / Material | Why You Need It |
|---|---|
| Heating Cable Kit | The main part that melts snow and prevents ice buildup |
| Roof Clips | Hold the cable in place on the roof edges and gutters |
| Extension Cord | Supplies power to the heating cable safely |
| Ladder | Helps you reach the roof and gutter area |
| Measuring Tape | Used to measure cable length and layout area |
How To Install Gutter Heating Cables Step By Step
Installing gutter heating cables may sound tricky at first, but the process is quite simple. Below is a step-by-step guide that helps you set up the cables properly.
Step 1: Measure The Roof And Gutter Area
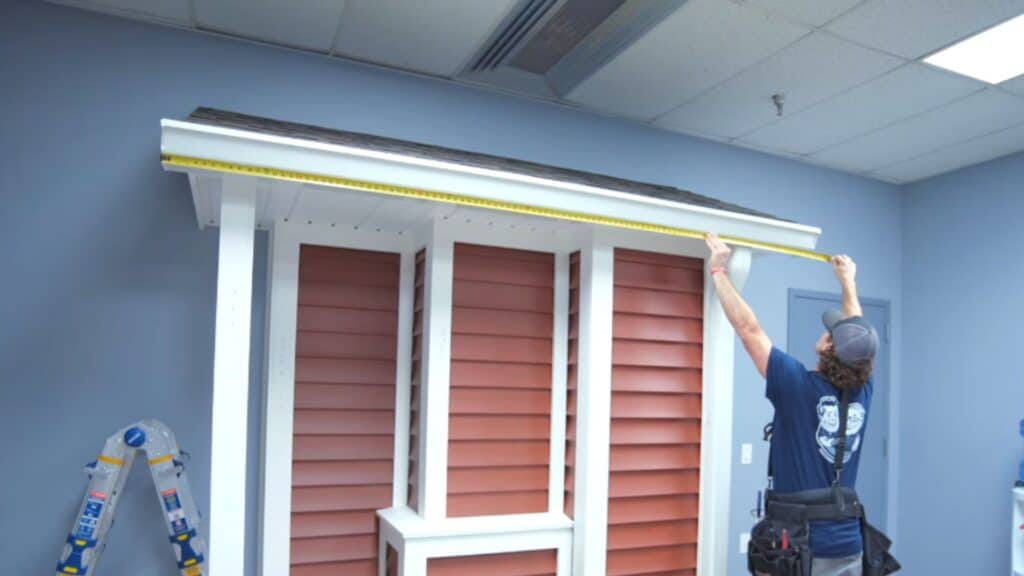
Start by measuring the full length of the gutter using a measuring tape. Multiply this number by two so the heating cable can run in a double loop, which improves coverage and melting.
Next, measure the full length of the downspout, as the cable will pass through it once. Finally, measure the distance from the gutter to the nearest power source.
Taking accurate measurements at this stage helps avoid running short on cable and keeps the installation smooth.
Step 2: Plan The Cable Layout
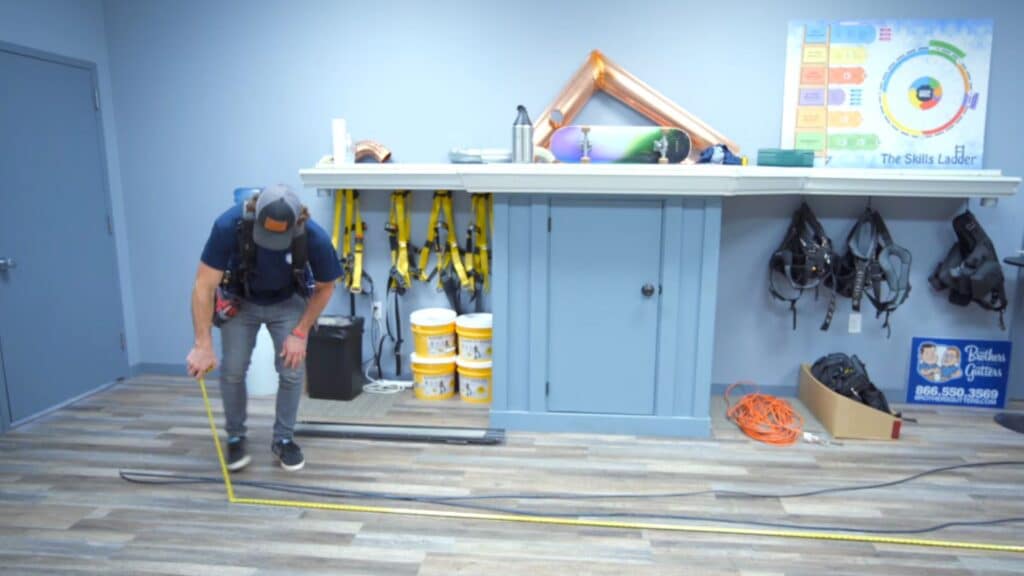
Lay the heating cable out on the ground before installing it. This helps check if the total length is enough for the gutter, downspout, and power connection.
Plan the path so the cable runs in a double loop through the gutter and a single line down the downspout. Make sure the layout looks clean and straight.
This step reduces mistakes and helps you understand how the cable will sit before placing it on the roof.
Step 3: Attach Clips And Prepare Cable End
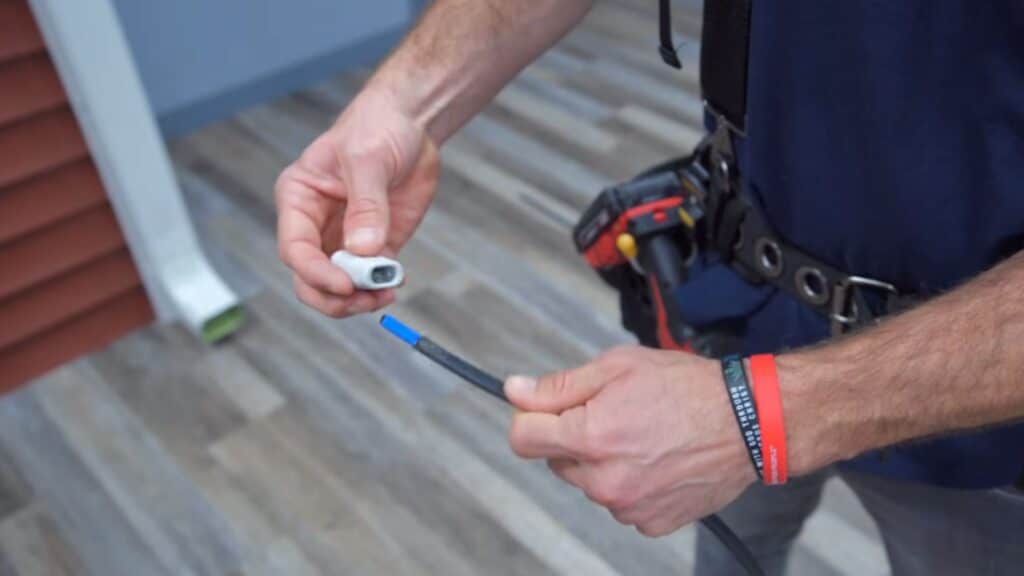
Start by preparing one end of the heating cable. Strip the outer layer and attach a termination plug to seal it and keep it watertight.
Next, place cable clips or use existing gutter hangers to guide the cable along the roof edge and inside the gutter.
Keep the clips evenly spaced and secure, but not too tight, so the cable stays in place without damage.
Step 4: Install The Heating Cable
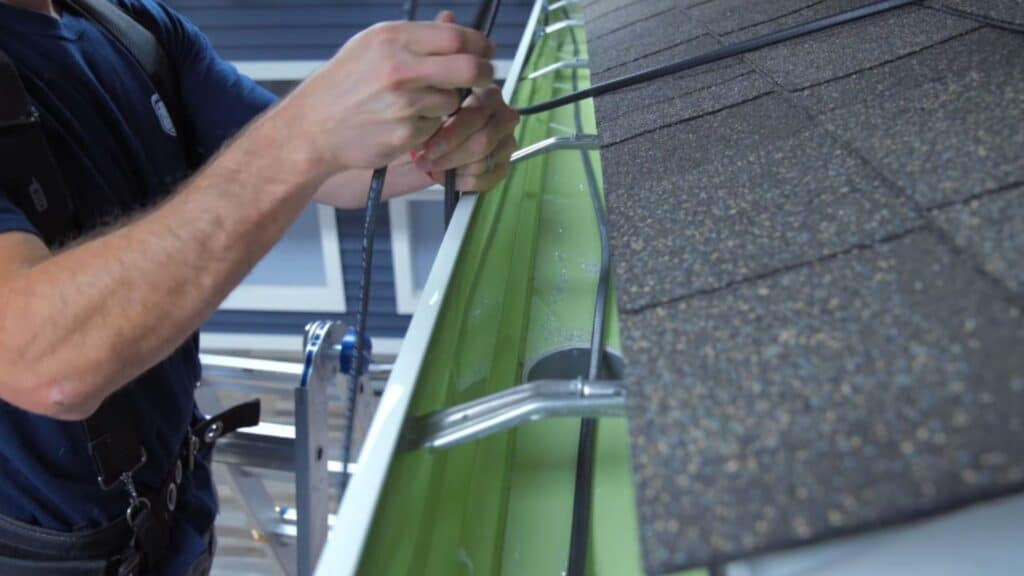
Place the cable under the gutter hangers and run it along the full length of the gutter. Once you reach the end, take the longer side of the cable and loop it back over the hangers to create a double path.
At the end of the gutter, loop the cable around the last hanger and feed it down into the downspout. Guide it carefully and avoid sharp edges while pushing it through.
Step 5: Secure The Cable Properly
Check that the cable sits flat along the gutter and is not twisted or overlapping at any point. Leave a small amount of slack so the cable does not pull tight when temperatures change.
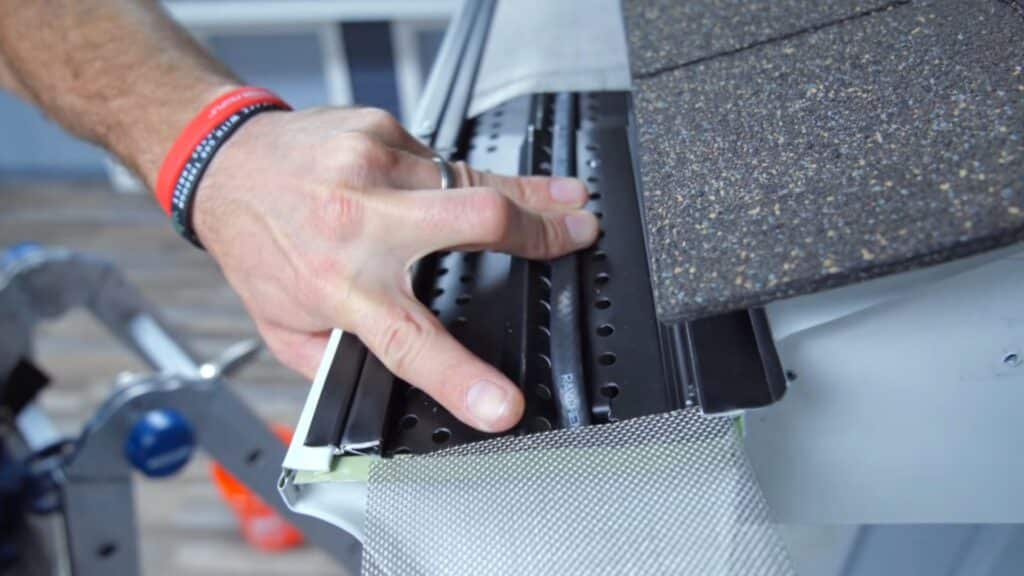
If a gutter guard or mesh is used, place the cable behind it and reinstall the mesh to hold it in place. Make sure everything is firm and aligned properly to prevent movement during use.
Step 6: Connect To Power Source
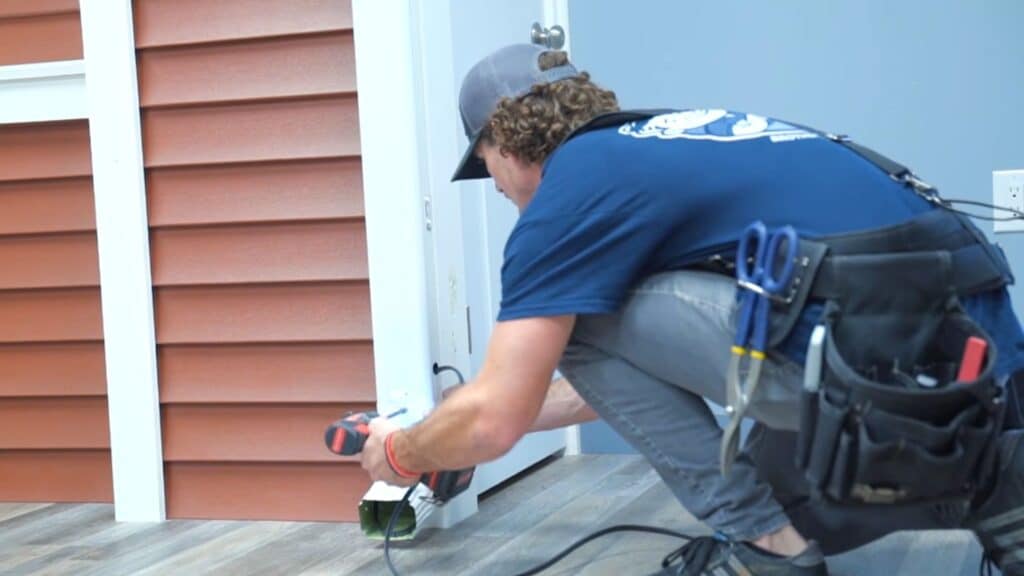
Run the cable safely toward the power outlet without creating a tripping hazard. Attach the plug, preferably one with built-in GFCI protection for added safety.
Make sure all connections are dry and secure before plugging it in. Avoid placing the cord where water can collect.
A proper connection ensures the system runs safely throughout the winter season.
Step 7: Test The System
Turn on the heating cable and check if it warms up evenly along the entire length. Feel sections of the cable carefully to confirm it is working.
Look for any loose areas or sections that are not heating properly. Testing the system right away helps catch small issues early.
Once everything works as expected, the setup is ready to handle snow and prevent ice buildup.
This tutorial is based on a helpful video by The Brothers That Just Do Gutters. You can check out the original video on their YouTube channel or watch it below.
Safety Tips Before And During Installation
Before starting, basic safety steps can help prevent accidents and keep the installation smooth. Keep these points in mind while working on your roof and gutters.
- Avoid Working On Wet Roofs: Wet or icy roofs can be very slippery and unsafe. Always wait for dry weather before starting the work. This reduces the risk of slips and falls.
- Use A Stable Ladder: Make sure the ladder is placed on a flat and firm surface. Check that it is steady before climbing up. A stable ladder helps you work safely at height.
- Check Cable Condition: Inspect the heating cable before installing it. Look for cuts, cracks, or damage on the outer layer. Using a damaged cable can lead to safety issues.
- Follow Manufacturer Instructions: Always read and follow the instructions that come with the cable. Each product may have different setup rules. This helps ensure safe and proper installation.
Wrapping Up
From my experience, taking the time to properly install gutter heating cables can make a big difference once winter hits.
It’s not just about melting ice; it’s about protecting your home and avoiding stress when snow starts to pile up. When I follow each step carefully and double-check my setup, I feel more confident that everything will work as expected.
You don’t need to rush this job. Go step by step, stay safe, and focus on getting the details right. A small effort now can help you avoid bigger problems later.
If you’re planning to try this soon, I’d love to hear how it goes for you. Drop your thoughts, tips, or questions in the comments; your input might help someone else, too!
Frequently Asked Questions
How Long Do Gutter Heating Cables Last
They usually last 3 to 5 years. Regular checks can help them last longer.
Can I Install Heat Cables Myself
Yes, most setups are DIY-friendly. Just follow the steps and safety tips.
Do Heat Cables Use A Lot Of Electricity
They use moderate power. They run only in cold weather, which helps save energy.
When Should I Install Heating Cables
Install them before winter starts. This makes the job easier and safer.