
Do you need a place to rest your feet but don’t want to spend a fortune? Building your footstool is easier than you might think!
In this guide, I’ll show you how to create a sturdy, attractive footstool from scratch using basic tools and materials. The instructions are step-by-step, so anyone can follow them, even if they’ve never built anything before.
I’ve been teaching woodworking to beginners for over a decade, and this footstool project has helped hundreds of my students gain confidence with tools. The design I’m sharing is simple but solid – no wobbly legs or complicated joints.
Whether you’re looking to save money, learn a new skill, or create something perfectly sized for your space, this project delivers. By the end of this article, you’ll have all the know-how to build a custom footstool that’s both functional and something you’ll be proud to show off.
What Is a Footstool?
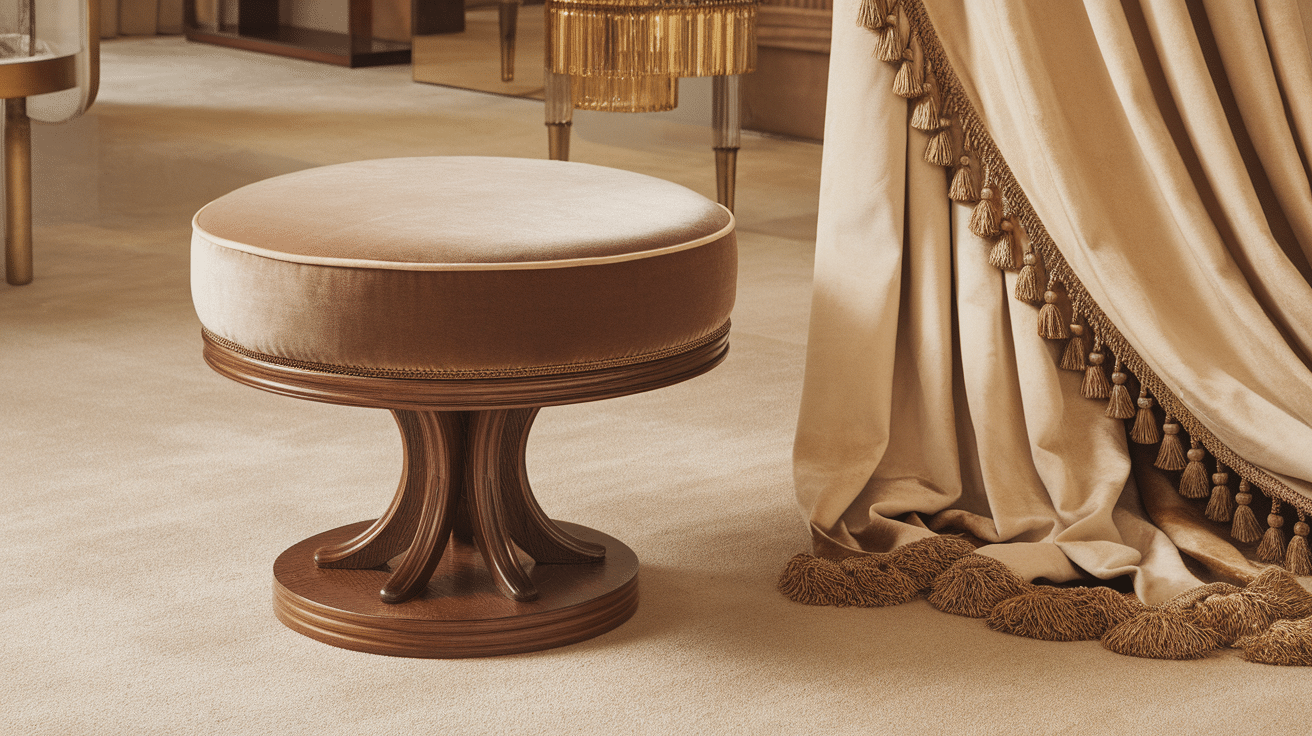
A footstool is a small, low piece of furniture designed primarily to support feet when sitting in a chair or sofa. It typically stands between 8 and 16 inches tall and provides comfort by elevating the feet, improving circulation, and reducing pressure on the lower back.
Unlike ottomans (which are often larger and can double as coffee tables or extra seating), footstools are generally smaller and more portable. They can be simple wooden structures or upholstered with fabric and padding for additional comfort.
Footstools serve several purposes in a home:
- Providing ergonomic support when sitting
- Acting as a small step stool in some cases
- Adding a decorative accent to a room
- Offering a small amount of extra seating when needed
They come in countless styles, from traditional wooden designs to modern upholstered versions, making them both practical and versatile pieces for any home.
How to Build a Simple Footstool
These are the materials we will need:
-
Plywood or solid wood for the top and the legs
-
Foam cushion (optional)
-
Wood glue, screws, or nails
-
Saw (hand saw or circular saw)
-
Drill or screwdriver
-
Sandpaper or sander
-
Measuring tape
-
Staple gun (if upholstering)
-
Paint or stain
Step 1: Cut the Top and Legs
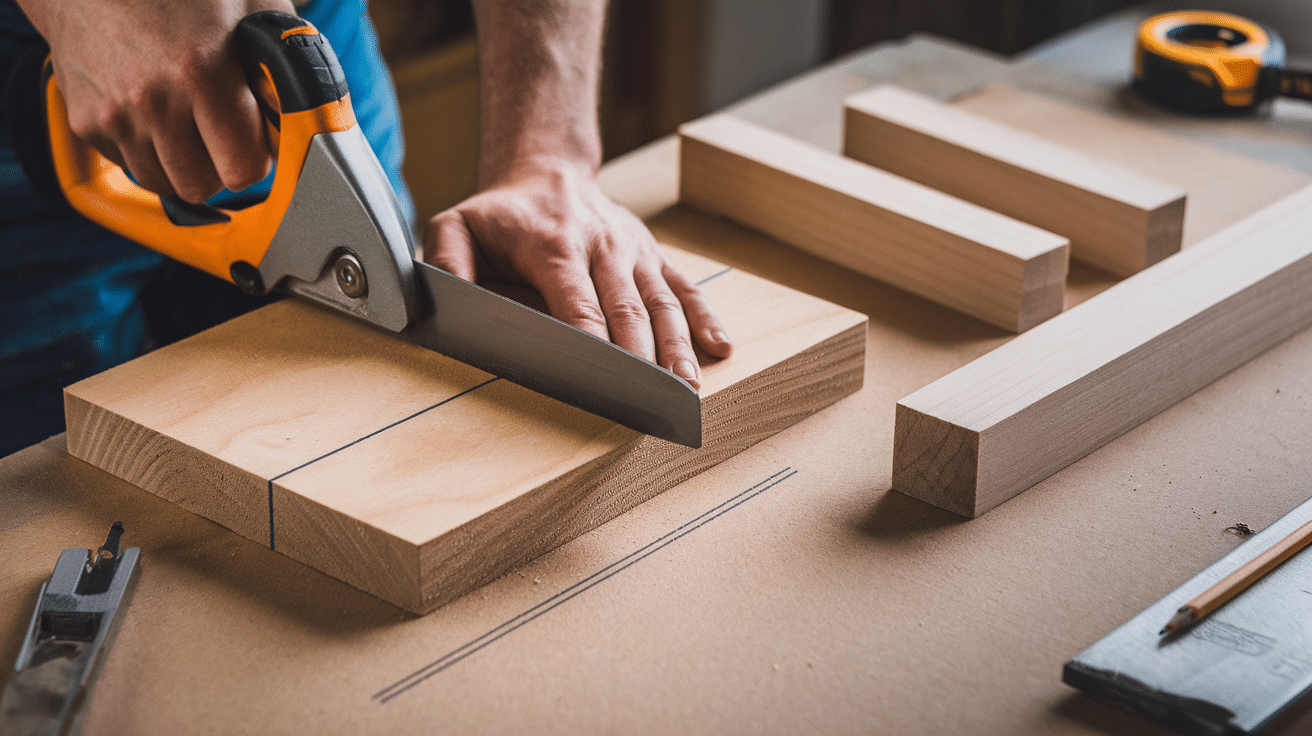
Start by cutting your 1″x 8″ board to make a square top. For a standard footstool, 12″x 12″ works well, but you can adjust it based on your preferences. Measure twice and mark with a pencil before cutting.
For the legs, cut your 2″x2″ lumber into four equal pieces. A comfortable footstool height is typically 12″-14″ tall, but you might want it shorter or taller, depending on your furniture.
Step 2: Sand and Prep the Wood
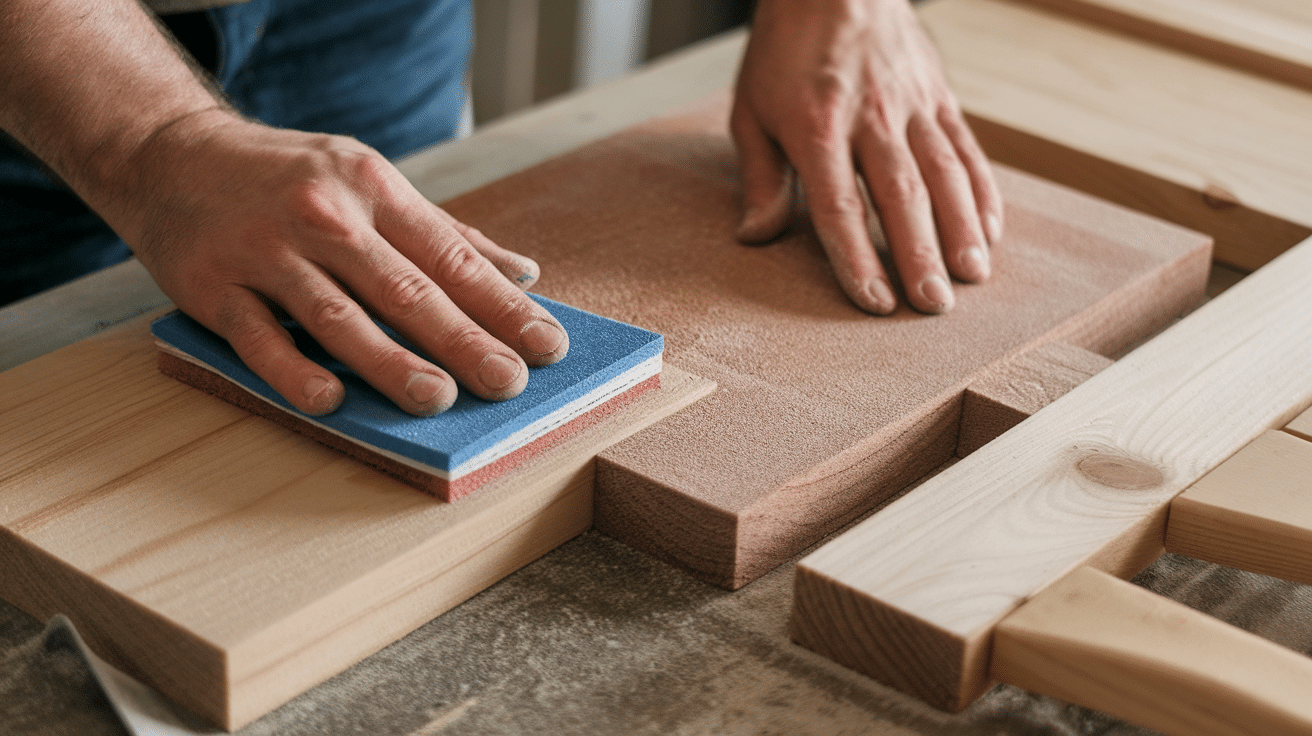
Sand all pieces thoroughly, starting with 80-grit sandpaper and working up to 220-grit for a smooth finish. Please pay special attention to the edges and corners of the top piece, rounding them slightly for comfort and safety.
Wipe everything with a slightly damp cloth to remove all dust before assembly. This ensures your glue and finish will adhere properly.
Step 3: Assemble the Base
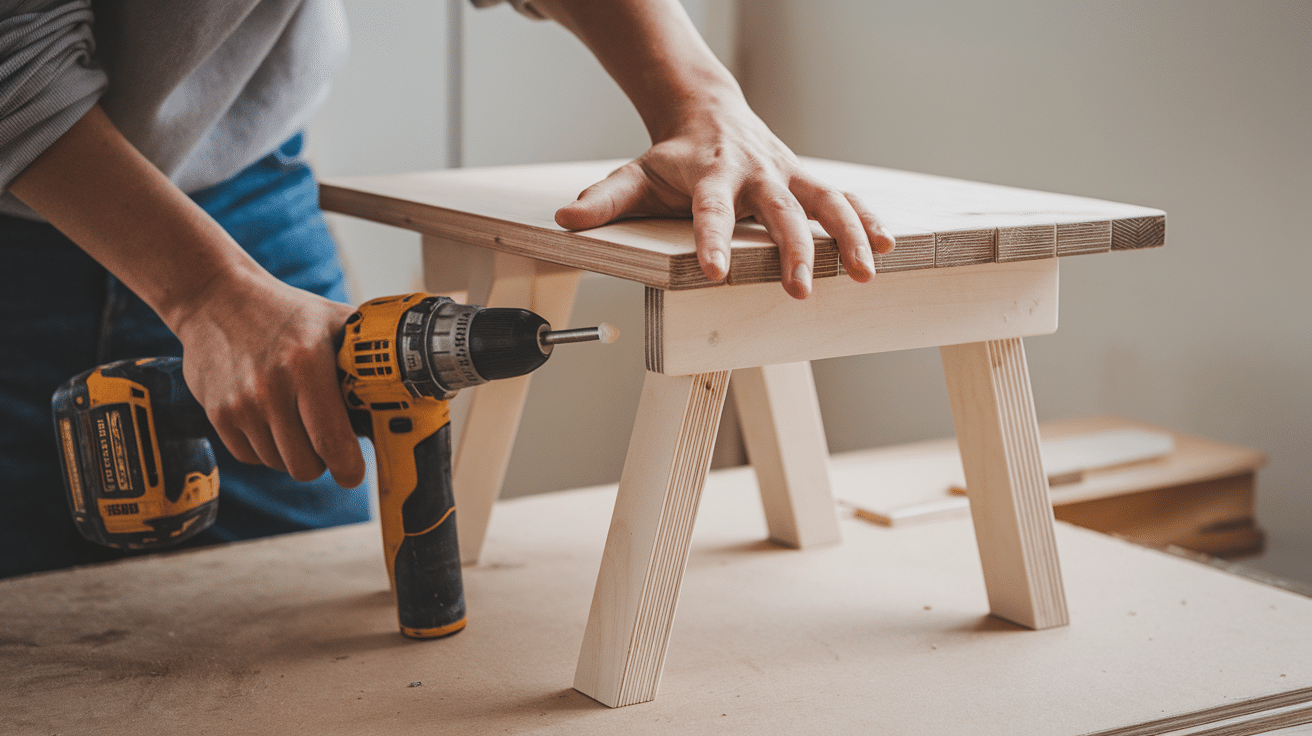
Position the four legs on the underside of your top piece, about 1″ in from each corner. Pre-drill holes to prevent splitting, then secure each leg with both wood glue and screws for maximum strength.
After attaching all four legs, flip the stool over and check that it sits level on a flat surface. Make any needed adjustments before the glue dries completely.
Step 4: Add Padding and Fabric
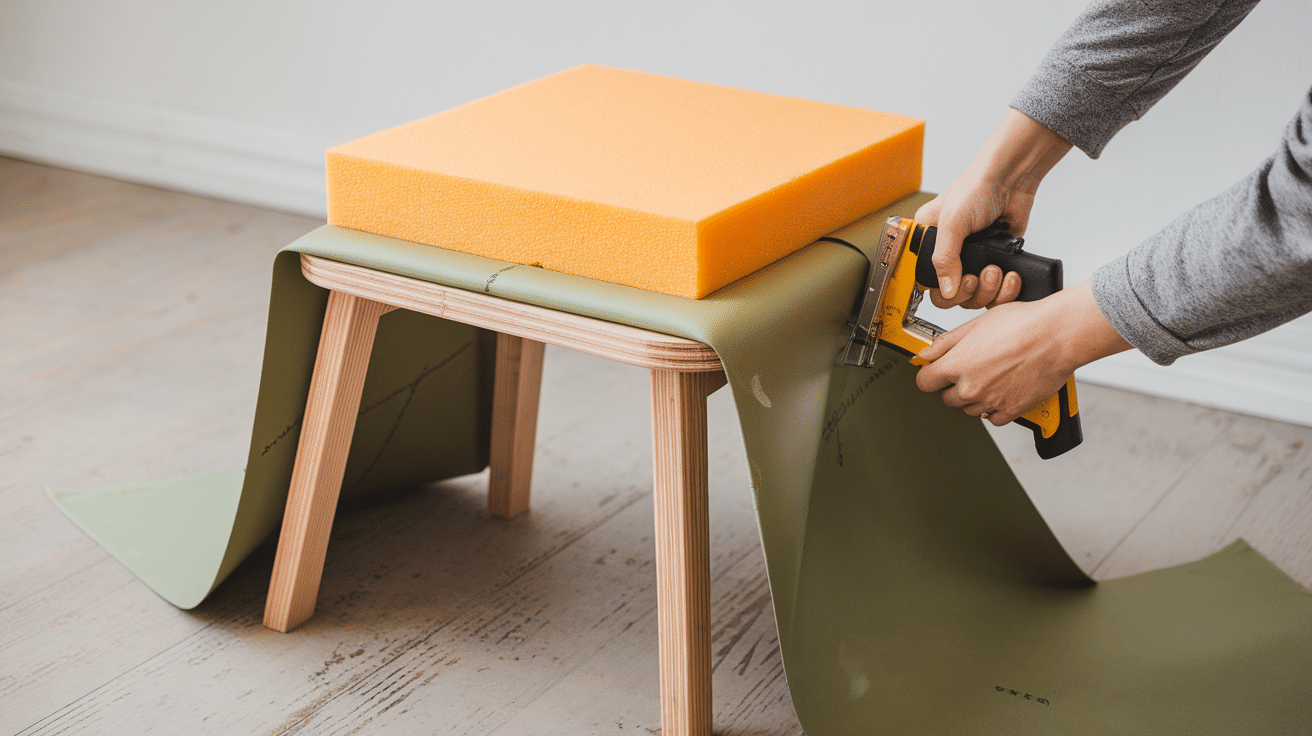
For extra comfort, cut a piece of 1″ foam to match your stool top. Center it on top of the wood. Cut a piece of fabric that’s large enough to wrap around the foam and top with about 2″ extra all around.
Pull the fabric tight and staple it to the underside of the stool top, working from the center of each side outward. Fold the corners neatly like wrapping a present.
Step 5: Finish It Off
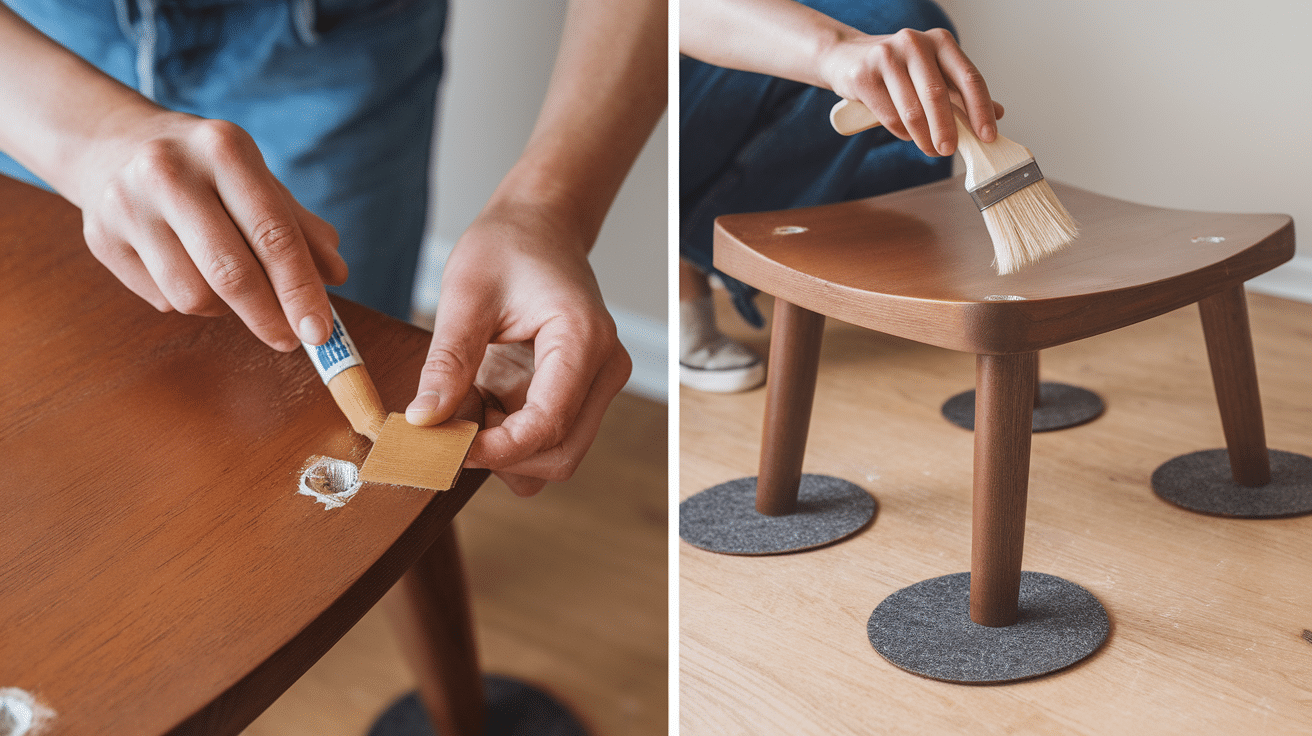
If you’re leaving the wood natural, fill any screw holes with wood filler that matches your wood tone. Sand lightly when dry.
Apply your chosen stain or paint according to the product instructions. Once dry, protect your work with 2-3 coats of clear polyurethane, lightly sanding between coats.
Add felt pads to the bottom of each leg to protect your floors, and your new footstool is ready to use!
Common Uses for a Footstool
A well-made footstool is one of the most versatile pieces of furniture you can add to your home. Far more than just a place to prop up tired feet!
I’ve built dozens of footstools over the years, and I’m always surprised by how many ways my customers find to use them. Here are some popular uses that might inspire your project:
The most obvious benefit is comfort and relaxation. Elevating your feet improves circulation after a long day and can reduce swelling. The perfect-height footstool positions your legs at a slight upward angle from your hips.
Many of my clients use their footstools as impromptu extra seating when guests visit. A sturdy footstool easily supports an adult’s weight and can be quickly moved where needed.
In living rooms with high shelving, a footstool provides a safe step-up to reach books or decorative items. Much safer than balancing on a chair or sofa arm!
Parents tell me that footstools are perfect for helping small children reach sinks or counters. They’re more stable than plastic steppers and look better in bathrooms or kitchens.
I’ve even seen footstools used as side tables next to armchairs, holding a cup of coffee or a book. With a flat, stable top, they’re surprisingly practical for this purpose.
The beauty of building your own is that you can design it specifically for how you’ll use it most.
Extra Tips and Style Ideas
- Make It Last Longer: Add corner braces between the legs for extra stability—sand with the wood grain for the smoothest finish. For better durability, apply several thin coats of finish instead of one thick coat.
- Customize Your Design: Try angled legs for a modern look. Add a small shelf between the legs for storage. Experiment with different wood types—pine is cheap, oak is strong, and walnut is rich in color.
- Finishing Touches: Cover screw holes with decorative wood plugs. Drill a handle hole in the top for easy moving. Use outdoor-rated materials if placing the stool outside.
Conclusion
Building your footstool is a perfect first woodworking project. With just a few basic tools and materials, you’ll create something useful and personal for your home.
Don’t worry if your first attempt isn’t perfect—each project teaches valuable skills for the next one. The techniques you’ve learned here—measuring, cutting, sanding, and assembly—form the foundation for countless other woodworking projects.
Best of all, you now have a custom piece that fits your exact needs and style preferences. Whether it’s holding your feet after a long day, providing an extra seat when guests visit, or serving as a small side table, your handmade footstool will serve you well for years to come.
Enjoy your new creation, and consider what you might want to build next!
Frequently Asked Questions
How Much Does It Cost to Build a Basic Footstool?
The materials for a simple wooden footstool typically cost between $25 and $40, depending on the type of wood and finish you choose. Adding upholstery materials might add another $10-20.
How Long Does It Take to Build a Footstool?
For beginners, expect to spend 2-4 hours on this project, not including drying time for glue and finishes. With experience, you could complete the basic construction in about an hour.
How Much Weight Can a Homemade Footstool Support?
A properly built footstool using the described materials and methods can typically support 200-250 pounds. Adding corner braces significantly increases this capacity.
Do I Need to Use Power Tools to Build a Footstool?
While power tools make the job faster, you can build a footstool with hand tools. A hand saw, hammer, screwdriver, and sandpaper are sufficient for the basic design.
What’s the Best Wood for a Beginner Footstool Project?
Pine is ideal for beginners because it’s inexpensive, readily available, easy to cut and sand, and takes stain and paint well. As you gain experience, you can try harder woods like oak or maple.