
Ever stood there with a caulking gun in hand, feeling totally lost? You’re not alone. That awkward moment when the caulk oozes out uncontrollably or barely comes out at all is something we’ve all experienced.
In this article, I’ll explain exactly how to use a caulking gun properly—from loading the tube to getting the perfect bead of caulk every time.
I’ve worked on home improvement projects and have made every caulking mistake possible so you don’t have to. The techniques I’ll share have been tested on countless bathroom tubs, kitchen counters, and window frames.
Whether you’re tackling your first DIY project or need a refresher, you’ll find clear, step-by-step instructions that actually work. No fancy tools are required—just practical advice to help you get the job done right.
What is a Caulking Gun?
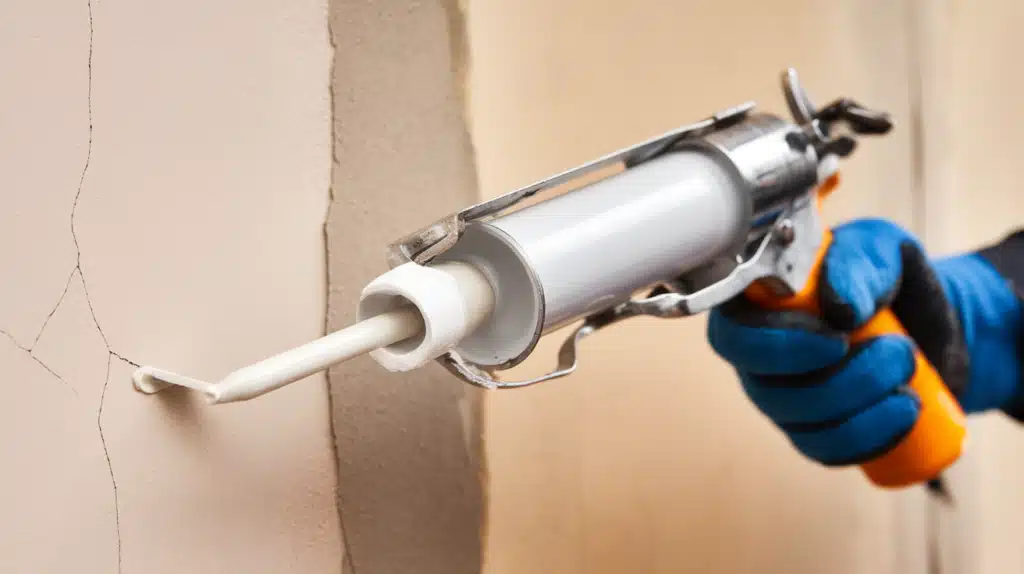
I bet you’ve seen one before. A caulking gun is a simple tool for applying caulk, the sticky, gooey stuff that seals gaps and cracks.
Ever noticed those neat lines of white or clear material around your bathtub or windows? That’s caulk. And the tool that put it there? A caulking gun.
Think of it as a mechanical toothpaste tube squeezer, but much stronger.
How does it work? When you squeeze the trigger, a plunger pushes the caulk out through the tip. This gives you control over how much comes out and where it goes.
Caulking guns come in different styles:
- Manual (you squeeze the trigger)
- Battery-powered (for easier use)
- Pneumatic (uses air pressure for industrial jobs)
You don’t need to be a pro to use one. They’re designed for everyone – homeowners, DIYers, and professionals alike.
The best part? They’re affordable and can save you money by helping prevent water damage and improving energy efficiency in your home.
So the next time you spot a gap between your sink and wall, you’ll know exactly what tool can fix it!
Tools & Materials You’ll Need
I want to share what you’ll need before starting. Getting the right tools makes caulking so much easier.
First, grab a caulking gun. This is your main tool. They were not expensive.
What about the caulk itself? Pick the right type for your job:
- Silicone for bathrooms (resists water)
- Acrylic latex for painting over
- Polyurethane for outdoors
You’ll also need some basic stuff:
- Sharp scissors or utility knife
- Damp cloth for wiping messes
- Painter’s tape for clean edges
- An old credit card or caulk tool for smoothing
Wait! Don’t forget your gloves. Trust me on this. Caulk is super sticky and hard to wash off your hands.
Here’s a pro tip: Buy one extra tube of caulk than you think you need. Better to have too much than run out mid-project.
I keep all these supplies in a small bucket. This makes it easy to grab everything when I spot a crack that needs fixing.
Step-by-Step: How to Use a Caulking Gun
I want to explain each step in more detail so you can feel confident using your caulking gun.
Prep your Surface
- Remove all old caulk completely first. A putty knife works great for this.
- Clean the area with rubbing alcohol to remove soap scum, oils, and dirt.
- Before you start, make sure the surface is 100% dry. Even a little moisture can ruin your seal.
Load the Caulk Tube
- Pull back the plunger rod all the way by pressing the release tab.
- Insert the tube with the nozzle pointing forward and the flat end against the plunger.
- Make sure it clicks into place. You shouldn’t be able to pull it out easily.
Cut the Tip
- Cut at a 45° angle to match the corner you’ll be caulking.
- Start with a small opening – about 1/8 inch. You can always cut more if needed.
- Remember: A smaller cut means a thinner bead and more control.
Puncture the Seal
- Look inside the tube – there’s a foil seal that needs breaking.
- Most guns have a wire tool built into the frame. Push it all the way in.
- No puncture tool? A long nail or coat hanger works, too.
Get Comfortable with The Trigger
- The harder you squeeze, the faster the caulk comes out.
- Practice on a piece of cardboard until you get the feel right.
- Find the sweet spot of pressure that gives you a steady flow.
Apply the Caulk
- Hold the gun at a consistent 45° angle the whole time.
- Move in one smooth, continuous motion – don’t stop and start.
- Pull the gun toward you rather than pushing it away for better control.
Smooth the Bead
- Do this right away before it starts to dry.
- Dip your finger in water (or water with a tiny drop of dish soap).
- Press gently and drag along the bead in one smooth motion.
Clean Up
- Keep a damp rag handy for wiping your fingers and any mistakes.
- Press the release tab to stop the caulk from continuing to flow out.
- For silicone caulk, use alcohol for cleanup. For latex, plain water works.
Extra Tips for Better Results
I’ve learned some tricks that will help you get professional results. Let me share these simple tips to save you time and frustration.
Work on a warm day if possible. Caulk flows better and sticks better when it’s not cold.
Never rush the prep work. The cleaner and drier your surface, the longer your caulk will last. Most people skip this step, but it’s the most important!
Cut the smallest tip opening you can manage. You can always make it bigger, but you can’t make it smaller.
For bathtubs and sinks, fill them with water before caulking. The weight causes a slight movement that helps your caulk seal properly.
Avoid these common mistakes:
- Don’t use outdoor caulk inside (it smells terrible)
- Don’t try to caulk over mold (it will just grow through)
- Don’t rush the drying time (read the package)
Keep a wet paper towel in a plastic bag while you work. This gives you a clean wipe for your finger between smoothing sections.
Painter’s tape can be your best friend! Put it on both sides of where you’ll caulk, then pull it off while the caulk is still wet.
Remember: practice makes perfect. Your fifth caulking job will look way better than your first!
Common Mistakes to Avoid
- Using the wrong caulk type: Match the caulk to the job. Use bathroom caulk for wet areas, paintable for trim, and exterior for outside
- Working with dirty/wet surfaces: Clean thoroughly and let dry completely for proper adhesion
- Cutting too large an opening in the tube: Start smaller than you think for better control
- Applying too much caulk: A pencil-width bead works better than a marker-width
- Poor technique: Push the gun away from you rather than pulling; smooth the bead immediately
- Improper cleanup: Use alcohol, not water, for smoothing silicone caulk
- Ignoring drying time: Respect the package instructions before using the caulked area
Conclusion
Getting comfortable with a caulking gun takes a little practice, but it’s a skill worth mastering. The right tools, preparation, and techniques make all the difference.
When done correctly, caulking protects your home from water damage, improves energy efficiency, and gives everything a clean, finished look. Don’t get discouraged if your first attempt isn’t perfect – even professionals had to start somewhere.
Keep these tips in mind, take your time with each step, and you’ll soon be caulking like a pro. Remember that patience pays off, especially when preparing surfaces and allowing proper drying time.
With each project, you’ll gain confidence and skill. Before long, you’ll be spotting caulking opportunities all around your home and tackling them with ease. The satisfaction of a well-done caulking job is worth the effort, and your home will thank you for it with fewer drafts, less moisture damage, and a more polished appearance.