
If you’re dealing with rough walls or imperfections, a skim coat could be the solution you need. This simple technique smooths out uneven surfaces, giving your walls a clean, fresh finish. A smooth surface is key to achieving professional results if you’re prepping for paint or wallpaper.
In this article, I’ll walk you through the easy steps to apply a skim coat for a flawless finish. I’ll show you exactly what tools you need and how to use the skim coat so you can feel confident tackling this project. There are no fancy tools or complicated steps—just simple, clear instructions.
By the end, you’ll have smooth walls ready for your next home update. Let’s get started!
What is a Skim Coat?
A skim coat is a thin layer of joint compound applied to a wall or ceiling. It’s used to smooth out rough surfaces, fix small imperfections, and create a flawless finish. The compound can be applied in one or more layers, depending on how smooth the surface needs to be.
Think of it as a quick fix for uneven walls or drywall that’s seen better days. Whether it’s cracks, holes, or a rough texture, a skim coat fills in those imperfections and smooths everything out. It’s not a huge amount of work, just a thin layer, but it makes a huge difference in the result.
The beauty of a skim coat is its simplicity. You don’t need to replace drywall or spend a lot of money on new materials. It’s an easy way to breathe new life into tired, old walls. Plus, it gives you a solid base for painting or wallpapering.
Once applied, the wall will be much smoother, and your paint will go on more evenly, resulting in a cleaner and more professional-looking finish.
In short, a skim coat is an affordable and effective way to make your walls look brand new without all the hassle.
Step-By-Step on How to Apply a Skim Coat
A skim coat is a thin layer of joint compound applied to walls or ceilings to create a smooth, even surface. It’s perfect for covering imperfections like cracks, dents, or textured surfaces. How to apply a skim coat to achieve a flawless finish:
1. Prepare the Area
Before you begin, ensure the area is clear of furniture or covered with drop cloths to protect it from the compound. Tape off any edges, such as trim, to prevent the compound from getting on them. Wear old clothes, as the compound can get messy.
2. Clean the Surface
Make sure the surface you’re skim coating is clean and free from dust, dirt, and grease. You can wipe the wall down with a damp cloth or sponge. If you’re working with a textured wall, consider using a drywall sander to smooth out rough spots before you apply the skim coat.
3. Mix the Joint Compound
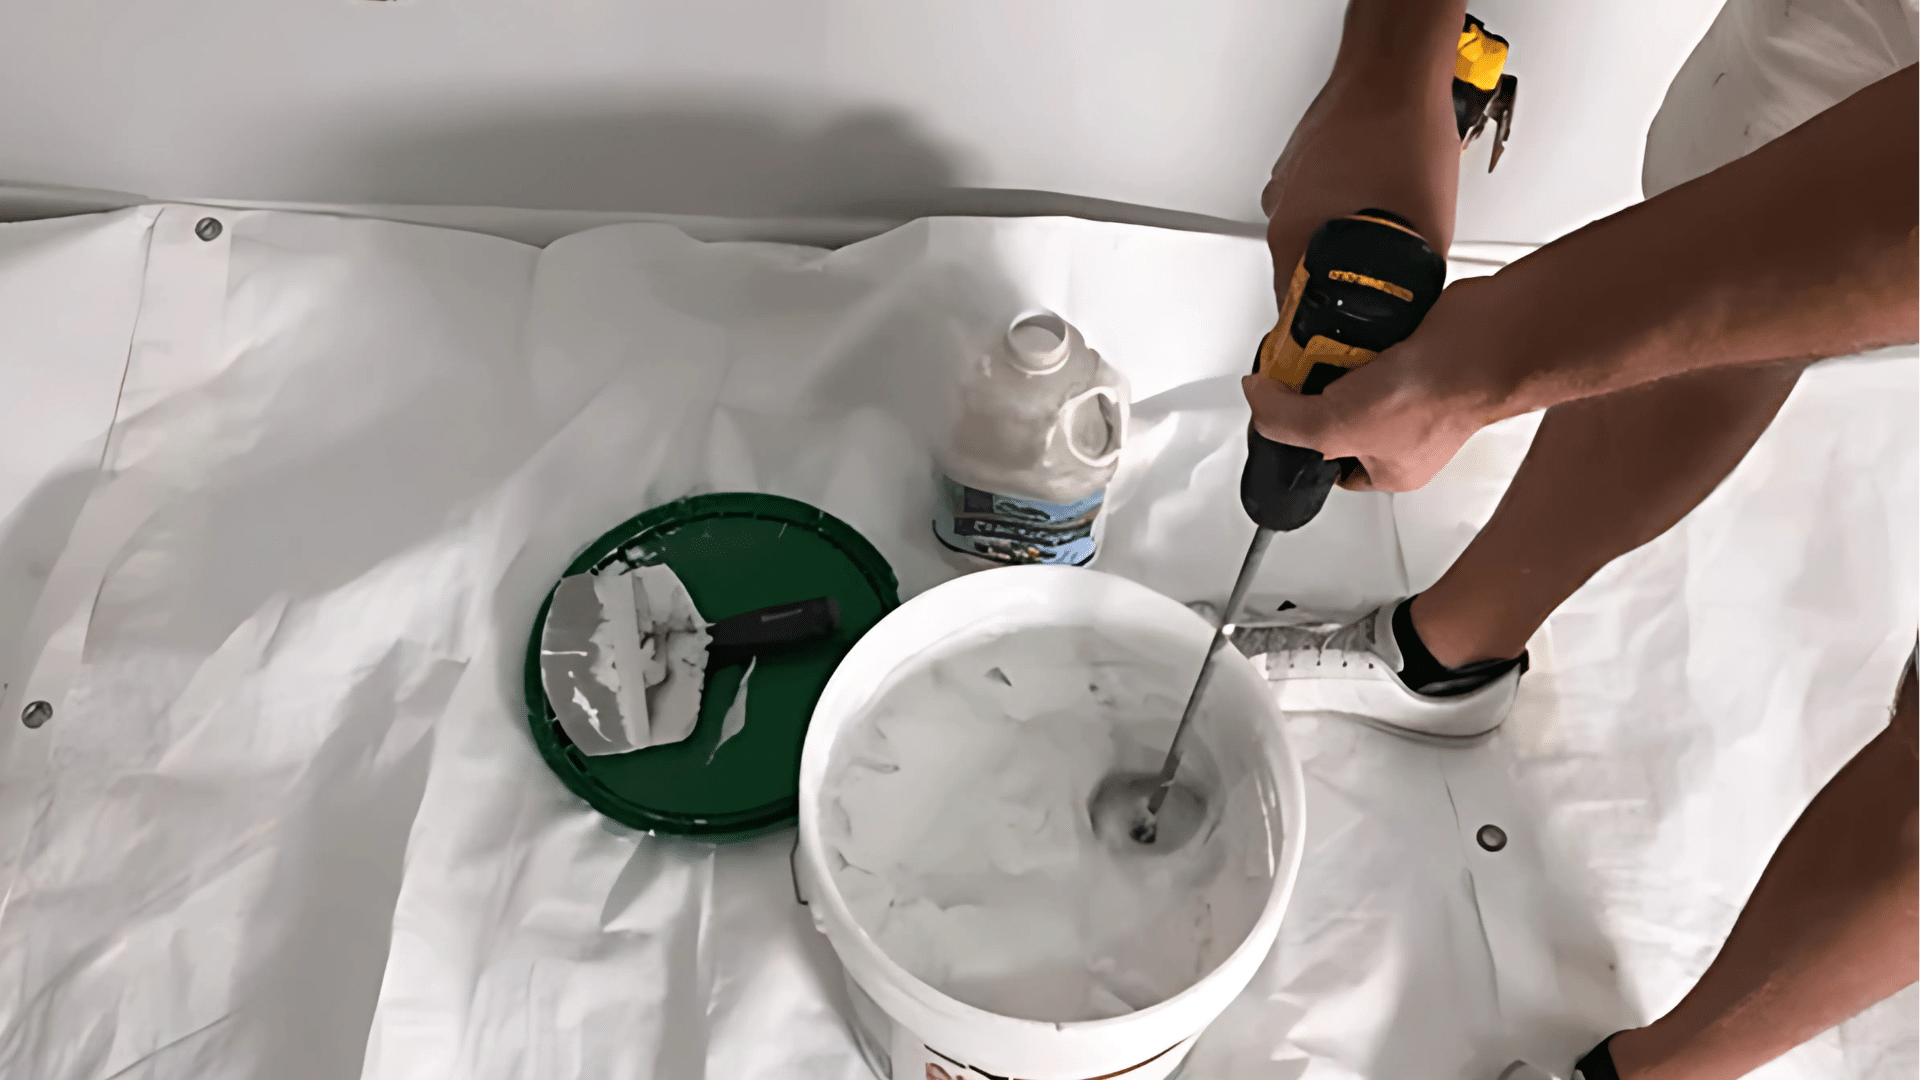
Prepare the compound to the right consistency using a premixed joint compound or a powdered one that needs to be mixed with water.
The compound should be smooth and slightly thicker than pancake batter, with no lumps. To make the process faster and easier, you can use a drill with a mixing paddle.
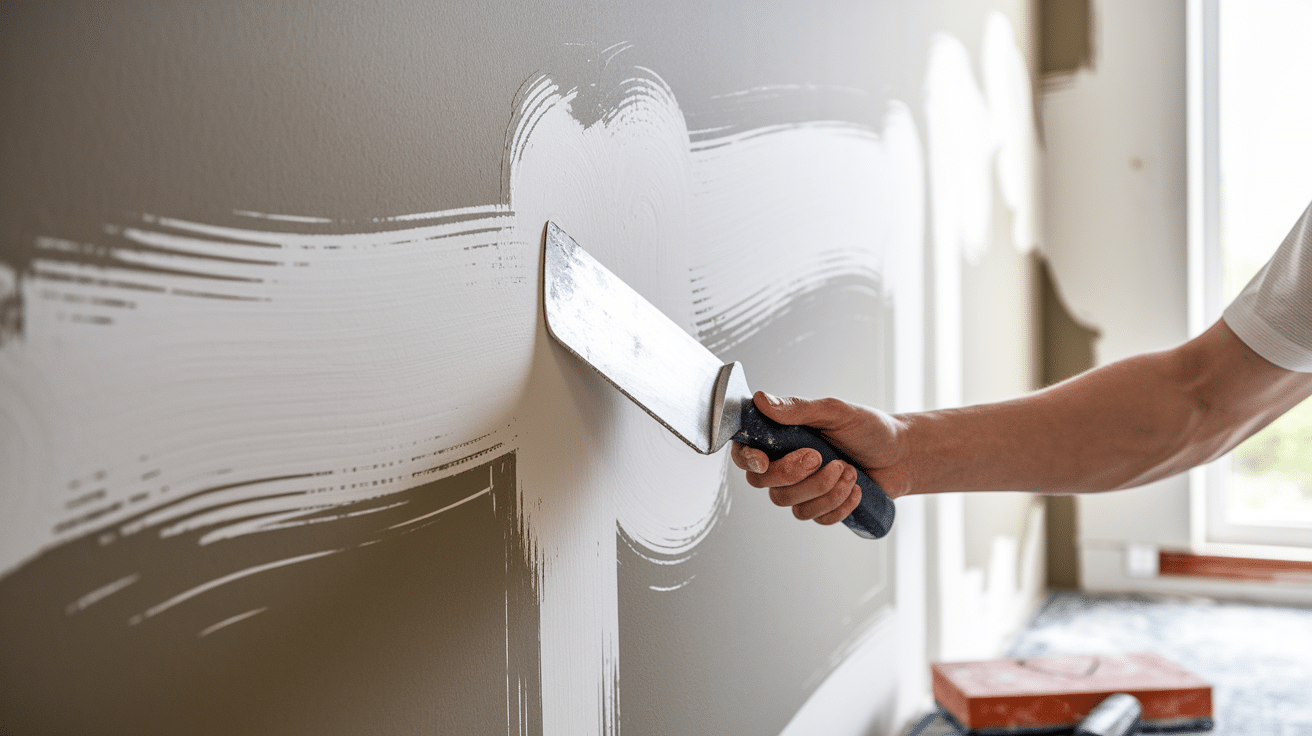
4. Apply the First Coat
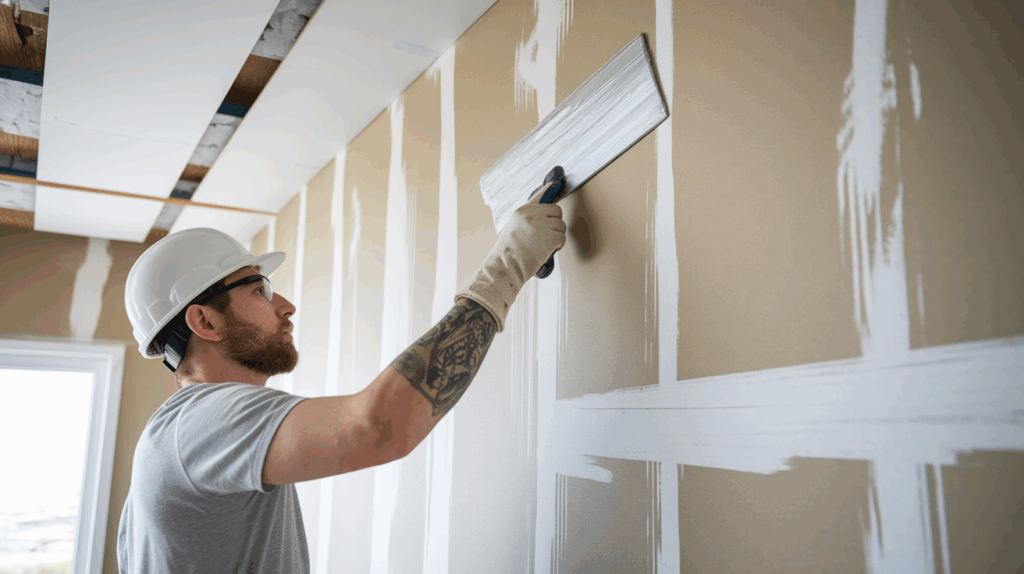
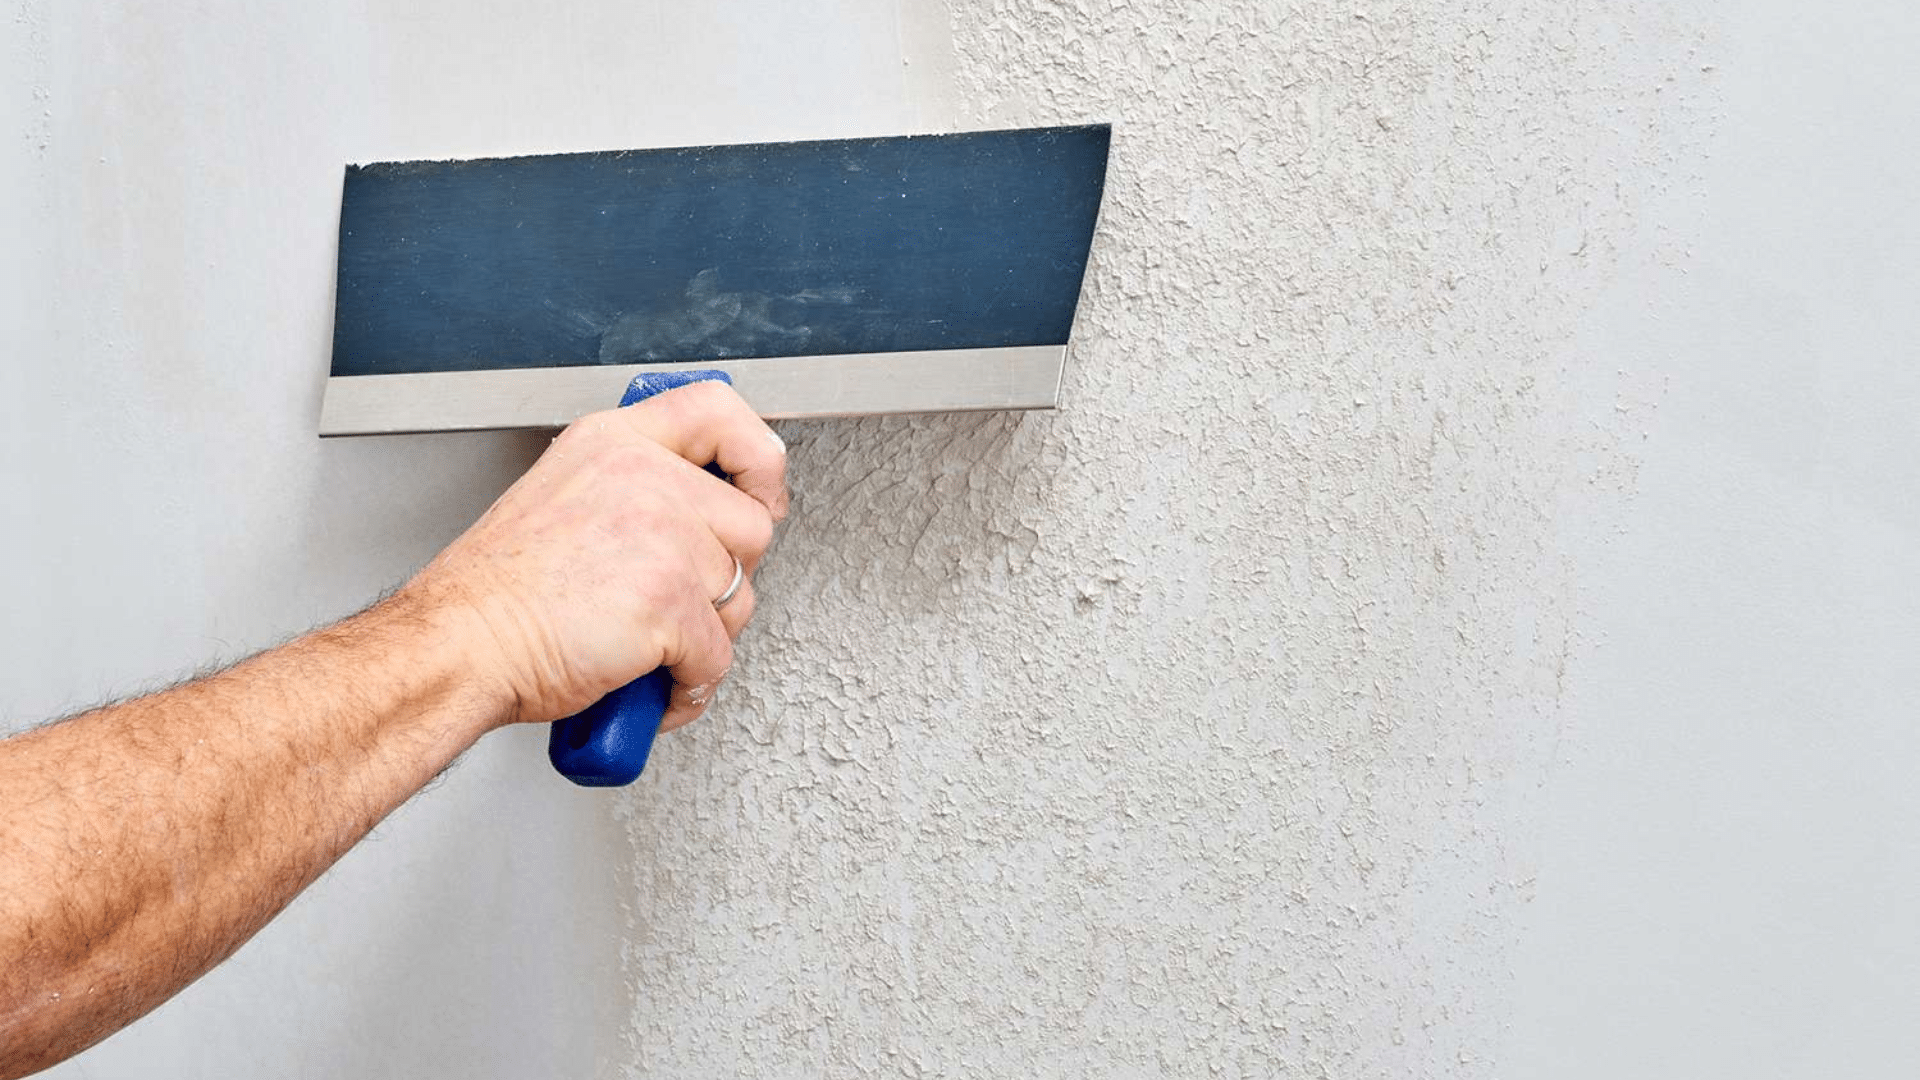
Start applying the compound using a wide drywall knife (12-14 inches is ideal). Scoop some compound onto the knife and apply it in long, even strokes along the wall or ceiling.
Hold the knife at a slight angle and use light pressure to spread the compound evenly. Work in sections, applying thin layers at a time. Make sure to cover the entire surface with a smooth, even coat.
5. Smooth and Flatten the Surface
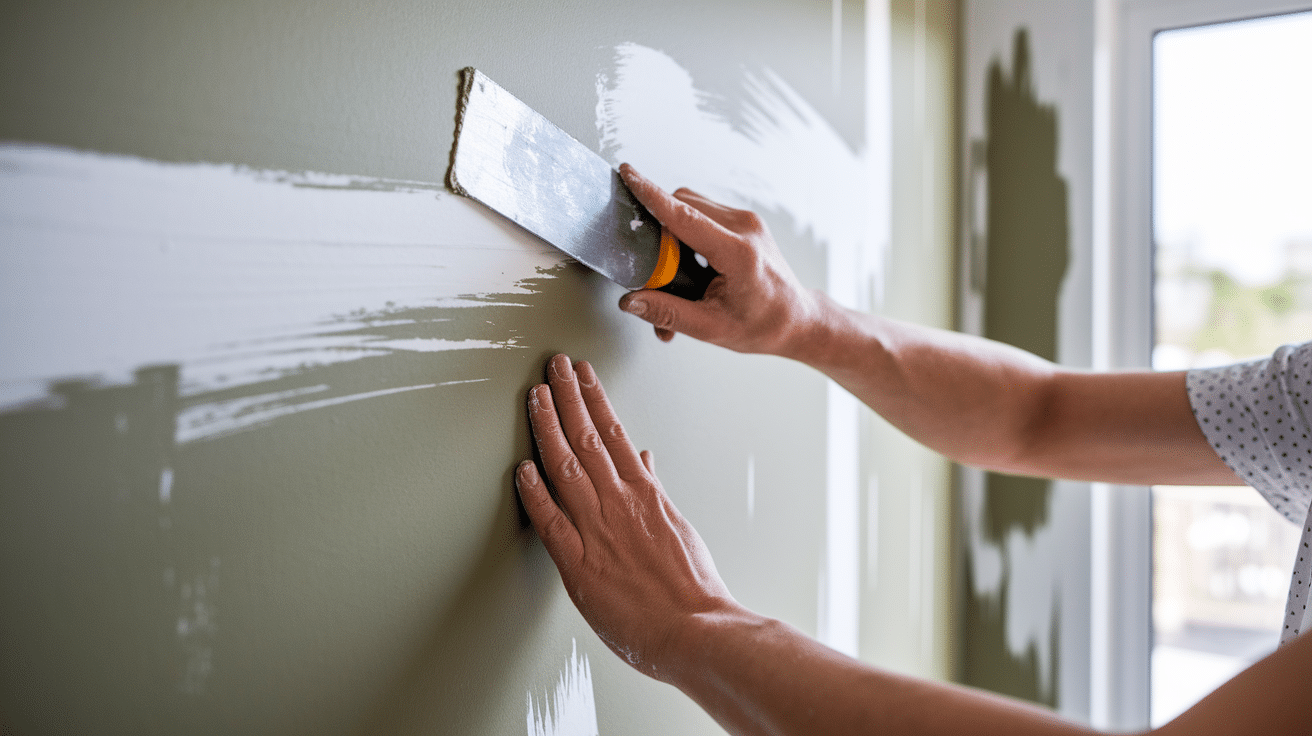
As you apply the compound, keep a close eye on smoothing out any ridges or lines. If you see any imperfections, use the drywall knife to smooth them out. The goal is to create an even surface, so feel free to go over areas multiple times if needed. You may need to wipe the knife off frequently to ensure the compound remains smooth.
6. Let the First Coat Dry
Allow the first coat to dry for at least 24 hours, depending on humidity and temperature. It’s important to let the compound dry completely before proceeding to the next step.
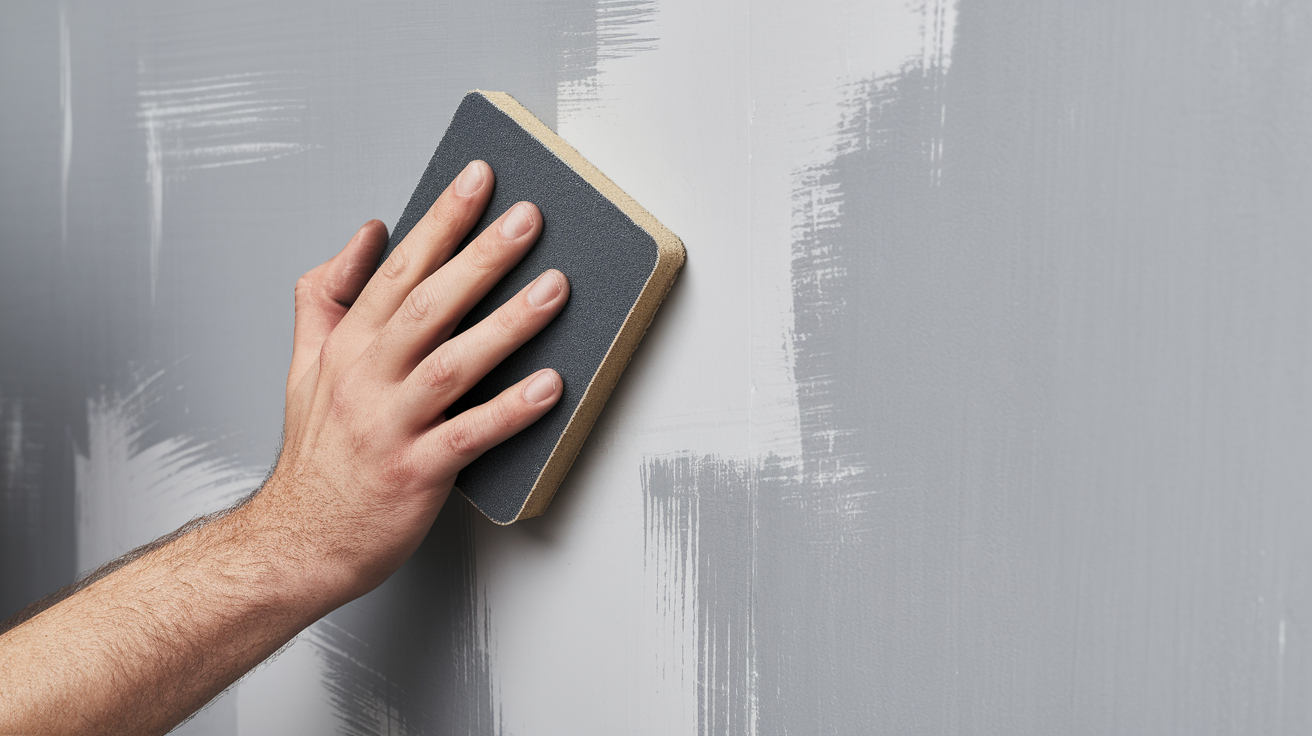
7. Sand the Surface
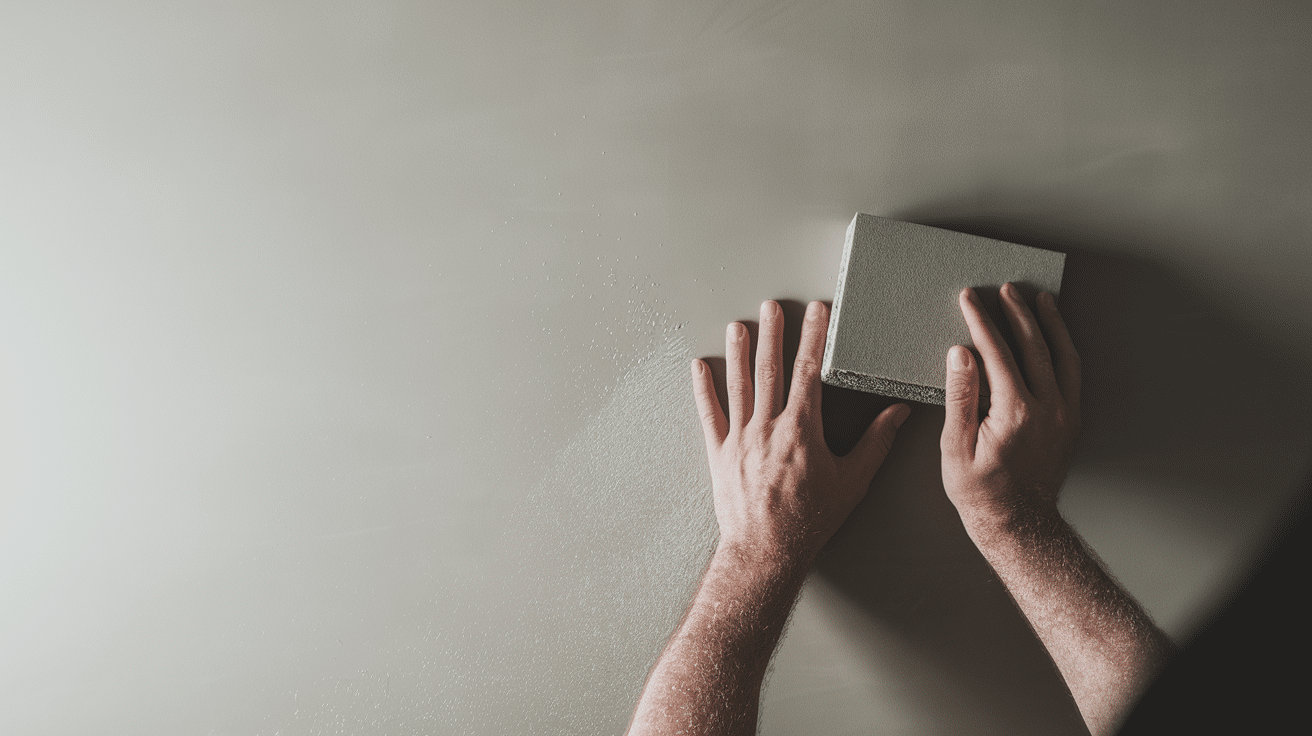
Once the first coat is dry, use a drywall sanding block or a pole sander to smooth out any bumps or uneven spots. Be gentle with the sanding to avoid removing too much compound. After sanding, wipe the surface with a damp cloth to remove dust and debris.
8. Apply Additional Coats (If Needed)
If necessary, apply a second or third coat of joint compound. For each new layer, repeat the application process: scoop the compound onto your knife, spread it evenly, and smooth it out. After each layer dries, sand it lightly to ensure a smooth finish. It’s better to apply several thin coats than one thick coat, as thin coats are easier to smooth and dry faster.
9. Final Sanding
Once you’ve achieved a smooth, even surface, perform a final sanding. This step should be done gently to avoid damaging the freshly skim-coated surface. After sanding, use a damp cloth to clean off any remaining dust.
10. Prime and Paint
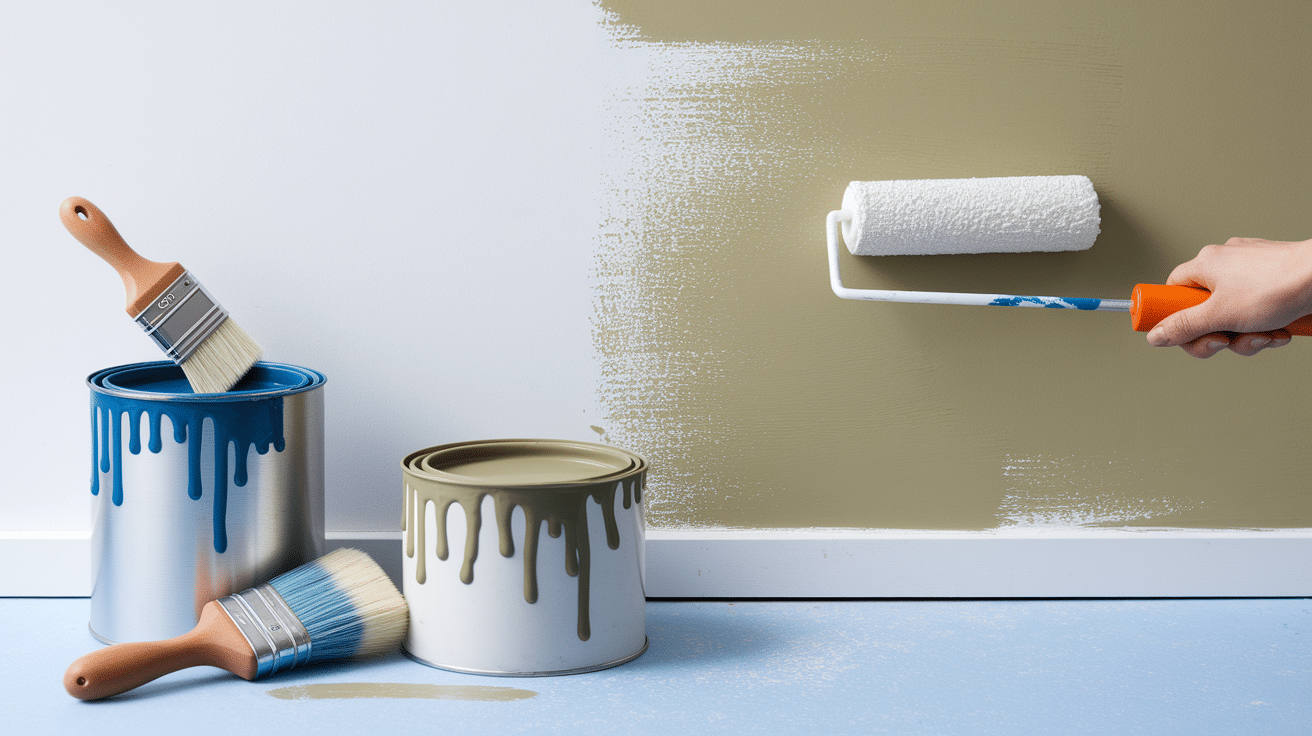
Once the surface is completely smooth and dry, apply a primer to help the paint adhere better. Choose a primer that works well with the joint compound. After priming, you can paint the wall or ceiling in your desired color.
With these steps, you can transform a textured or imperfect surface into a smooth, professional-looking finish that’s ready for painting or wallpapering.
Common Mistakes to Avoid
1. Using Too Much Compound at Once
Applying a thick layer of compound might seem like a good idea to cover imperfections quickly, but it can actually make the process harder. Thick layers take longer to dry, can crack easily, and are more difficult to smooth out.
Solution: Apply thin, even layers and build up gradually, allowing each coat to dry completely before adding another.
2. Not Allowing Enough Drying Time
One of the biggest mistakes people make is rushing the drying process. If the skim coat isn’t fully dry before sanding or applying additional coats, it can lead to uneven surfaces or damage.
Solution: Be patient and wait 24 hours (or more if needed) for each coat to dry completely before sanding or applying another coat.
3. Skipping the Sanding Process
While it might be tempting to skip sanding between coats to save time, it’s essential for a smooth, flawless finish. Any ridges, bubbles, or imperfections left from the previous coat will show through.
Solution: Sand lightly after each coat, using a fine-grit sanding block or pole sander, and clean the surface of dust before applying the next coat.
4. Using the Wrong Tools
Using the wrong tools can lead to uneven application and messy results. A small drywall knife might not cover enough surface area, and a big trowel can leave heavy ridges.
Solution: For the best results, use a wide drywall knife (12-14 inches), which allows for even distribution and smoother coverage.
Avoiding these common mistakes will help you achieve a professional-quality skim coat with minimal issues. By following the steps carefully and taking your time, you’ll create a smooth, even surface ready for painting or further finishing.
Conclusion
In this article, I’ve shown you how to apply a skim coat for a smooth finish. We covered everything from prepping the surface to using the compound, then sanding between coats and repeating the process as needed.
With a little patience, you can easily tackle this DIY task. It’s simple, and the results are worth it! The key is to take your time with each step and ensure the surface is smooth before moving on to the next coat.
If you have any questions or want to share your own experience, feel free to reach out! I’m here to help and would love to hear how it went for you.
Frequently Asked Questions
How Long Should I Wait Between Coats?
Wait at least 4-6 hours between coats to ensure each layer is completely dry before applying the next one. This prevents issues with adhesion.
Can I Skim Coat Over Painted Walls?
Yes, you can. Just clean and lightly sand the painted surface to help the compound adhere properly.
How Do I Know if The Skim Coat Is Dry?
The skim coat is dry when it feels firm to the touch and no longer has a tacky texture. The color should also appear uniform.