
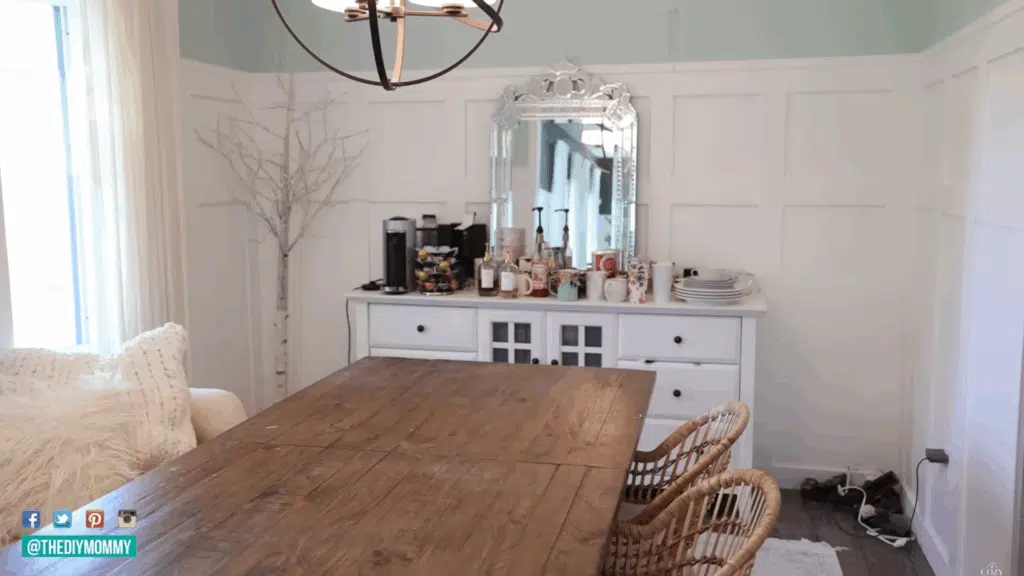
I used to make coffee on a cluttered old dresser in the dining room. It was crowded, unorganized, and kind of embarrassing.
My girls and I love making our own drinks at home, especially those fun Starbucks-style ones. But over time, things just piled up.
So I decided it was time to build a real coffee bar. Nothing over the top. Just something that looked clean, worked well, and felt cozy for our mornings.
In this article, I’ll walk you through every step I took. From picking the right spot to adding those little finishing touches. I also pulled in ideas from others, including one clever IKEA cabinet setup.
If you’re trying to build a DIY coffee bar, this guide should help you get started.
What Are Core Coffee Bar Essentials?
Before you start building, it helps to know what you actually need. Your coffee bar doesn’t have to be fancy. A few smart choices can make it feel complete.
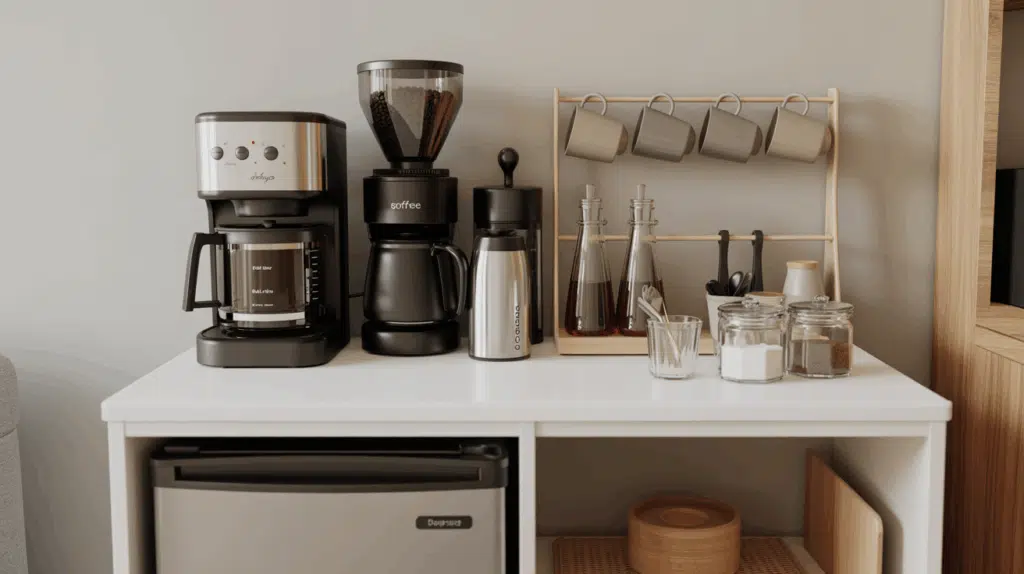
Start with the basics. A good coffee maker comes first. If you like lattes or cappuccinos, consider an espresso machine and a milk frother. A grinder is helpful if you buy whole beans.
Next, think about storage. You’ll need space for mugs, syrups, beans, and tools. I use a mix of jars, a drawer for spoons, and a rack for mugs.
Extras make it even better. A mini fridge keeps things cold. Lighting helps a lot. Cord control keeps everything neat.
Essentials to consider:
- Coffee maker or espresso machine
- Milk frother and grinder
- Mug rack, jars, and utensil tray
- Mini fridge and trash bin
- Lighting and cord management
Step-by-Step: IKEA Havsta Coffee Bar DIY
A built-in coffee bar can be done using simple IKEA cabinets, like the Havsta series. The process involves planning your layout, prepping the space, assembling the pieces, and adding finishing details to make it feel custom.
Below is a step-by-step guide you can follow to build something similar at home.
Step 1: Choose the Perfect Spot for Your Coffee Bar
The first step is picking a location that works well with your daily routine. The spot should have enough space for cabinets, easy access to power outlets, and good lighting.
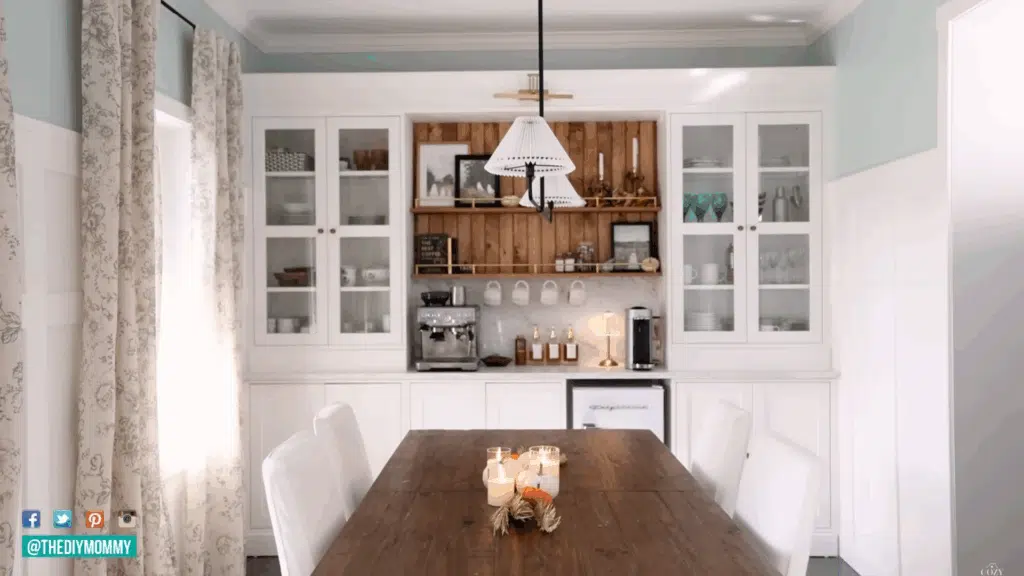
In one example, a 10-foot dining room wall was used to fit three base cabinets and a mini fridge. That kind of space allows for a balanced, symmetrical setup.
Smaller spaces can work too, like a kitchen corner, hallway, or even a repurposed closet. The key is to find a spot that doesn’t interrupt the flow of the room but still feels like a dedicated area.
Choosing the right location lays the foundation for a coffee bar that’s functional and easy to use every day.
Step 2: Define Your Needs and Design Goals
Before buying anything, it helps to know how the coffee bar will be used.
Will it serve one person or a whole family? Will it need storage for mugs, syrups, or a mini fridge? This step is all about figuring out what matters most.
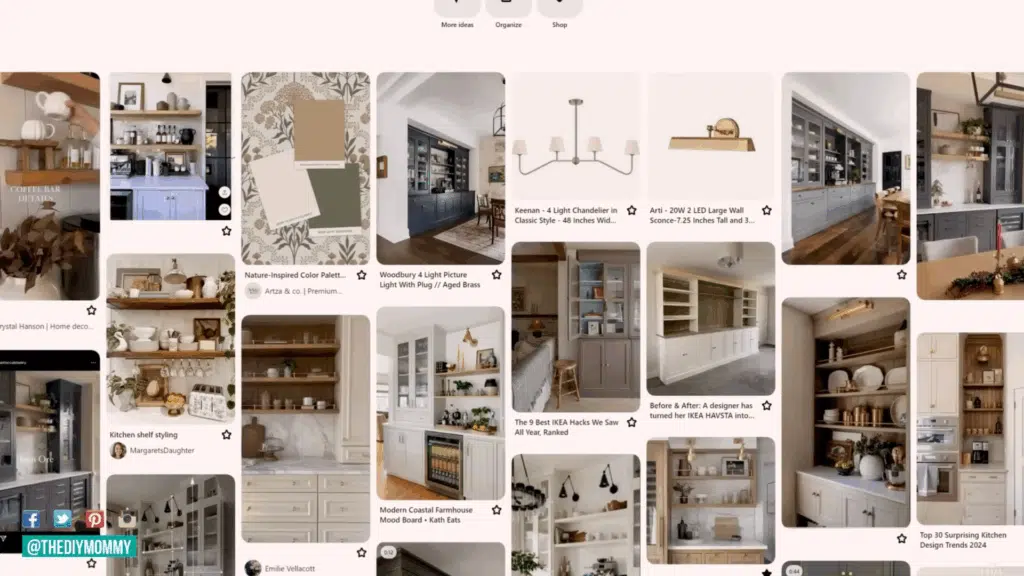
Some setups are simple and quick, while others need room for espresso machines and extra supplies. Visual tools like Pinterest or Canva can help organize ideas.
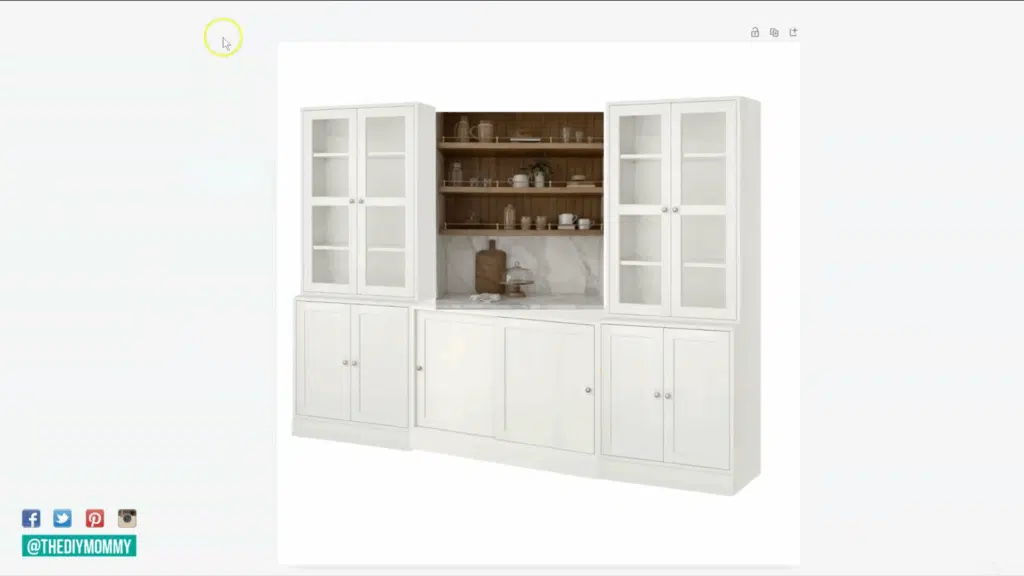
One design paired white IKEA cabinets with a wood feature wall for a warm and classic look.
If you want cozy, clean, bold, or subtle, having a clear goal makes it easier to plan your layout, pick materials, and stick to your budget.
Step 3: Sketch Your Layout and Choose Your Base Units
Once the space is picked, the next step is figuring out the layout.
This part is flexible and can match your style, budget, and skill level. Some people use ready-made cabinets like IKEA Havsta.
Others repurpose old dressers, buffets, or even bar carts. Open shelving with bins works well too, especially in small spaces.
A common layout uses three lower cabinets with a mini fridge in the middle and upper cabinets on both sides for balance. For renters, lighter options like carts and wall-mounted shelves can work better.
Styles range from clean and modern to rustic and vintage. Sketching the setup helps you see what fits and gives a clear plan to follow before buying or building anything.
Step 4: Prep the Area
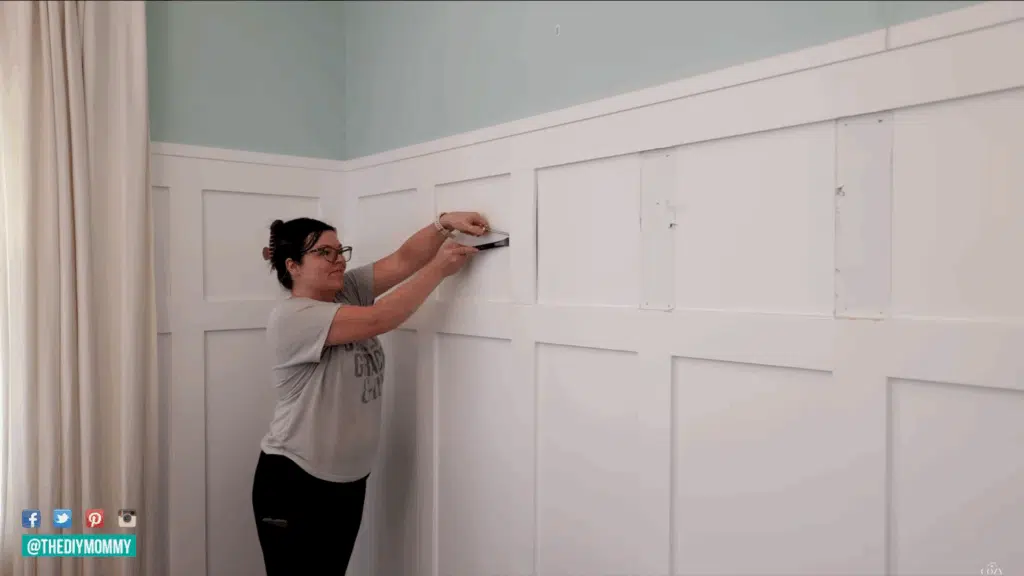
After choosing the spot and planning the layout, it is time to prepare the space. Start by clearing out any furniture or wall trim that might get in the way.
Some setups may need baseboards or paneling removed so the cabinets sit flat against the wall. This helps the final build look clean and built in.
If you plan to add crown molding, a backsplash, or trim details, now is the time to get the wall ready. Check for power outlets and make sure they are easy to reach.
Mark where your wall studs are so you know where to anchor cabinets or shelves later. A little prep work here can save a lot of trouble once you start putting everything together.
Step 5: Assemble and Install the Base Cabinets
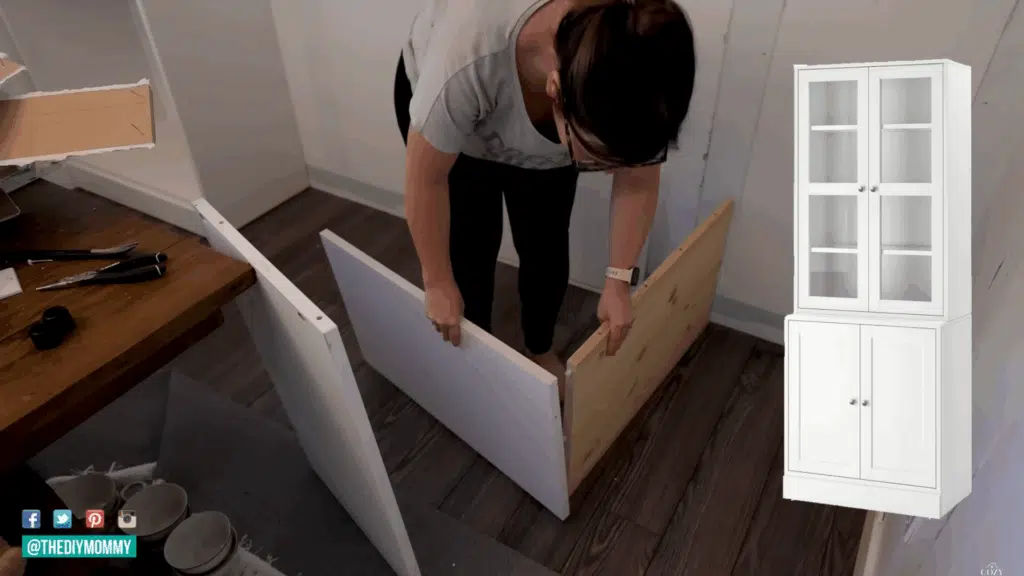
Start by building the base cabinets according to the instructions.
Flat-pack options like IKEA are usually simple to put together with basic tools. Once assembled, place them along the wall using your layout as a guide.
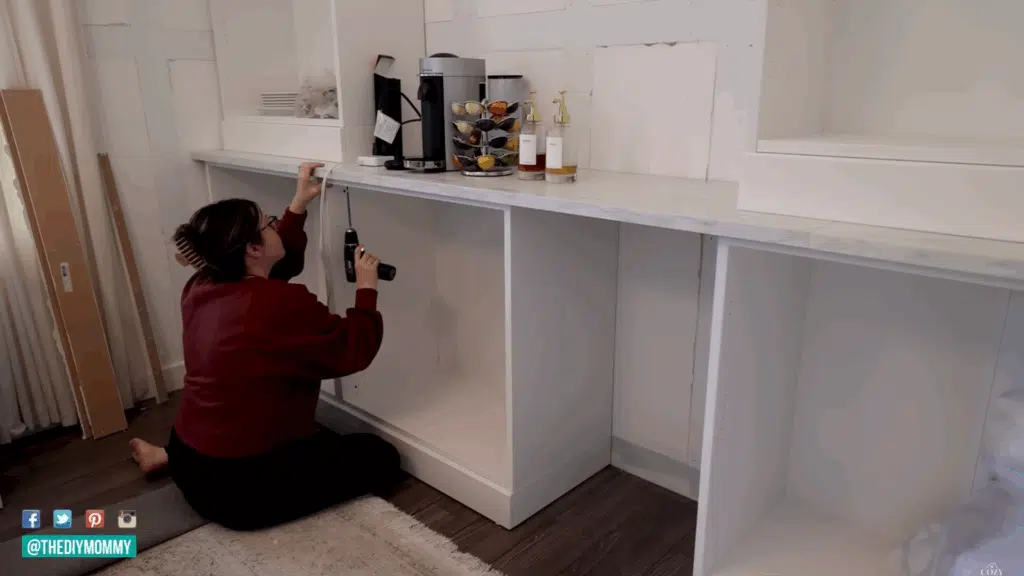
If you are including a mini fridge, leave the right amount of space in the center. Leaving a small gap on each side also makes room for trim pieces later, which helps the whole unit look built-in.
A countertop can be added on top once the cabinets are in place. Some people use IKEA laminate options like the faux marble style for a smooth and budget-friendly finish.
Secure the cabinets to each other and to the wall if needed. Wood screws and glue offer extra support, especially if you plan to add shelves or heavy items above.
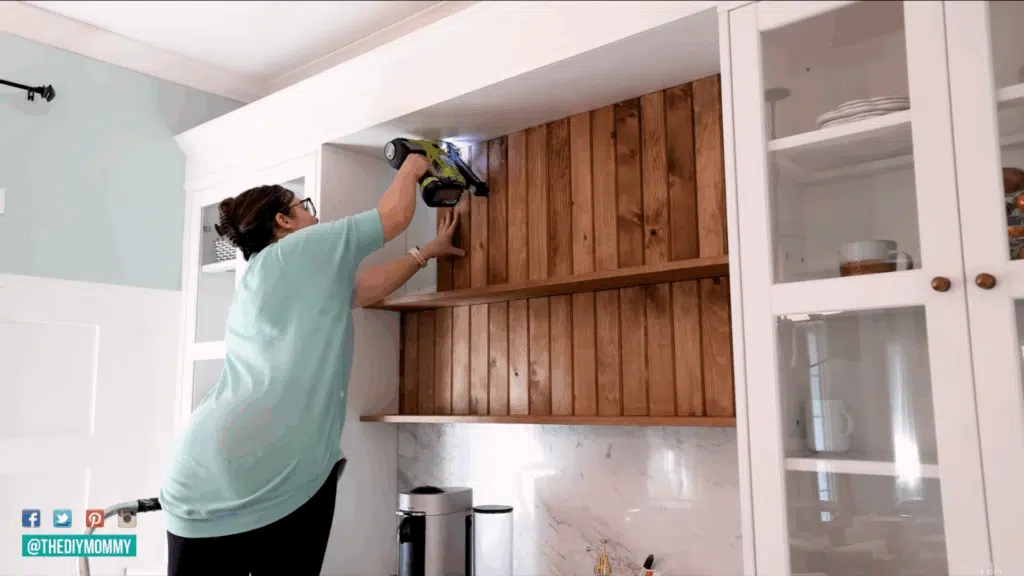
Step 6: Build the Center Feature Wall
To add warmth and contrast, build a feature wall behind the center section. Use narrow tongue-and-groove pine boards for a cleaner, more finished look.
Stain the boards in a warm shade like Special Walnut to match nearby furniture or wood tones in the room. Avoid wide shiplap if you want a more refined style.
Once the boards are cut and stained, install them directly on the wall between the cabinets. Then, add two open shelves using the same stained wood. Make sure the spacing works for both storage and display.
This center wall gives the coffee bar a strong focal point and helps the whole setup feel balanced, custom, and cozy without much effort.
Step 7: Add Upper Storage and Bridging Units
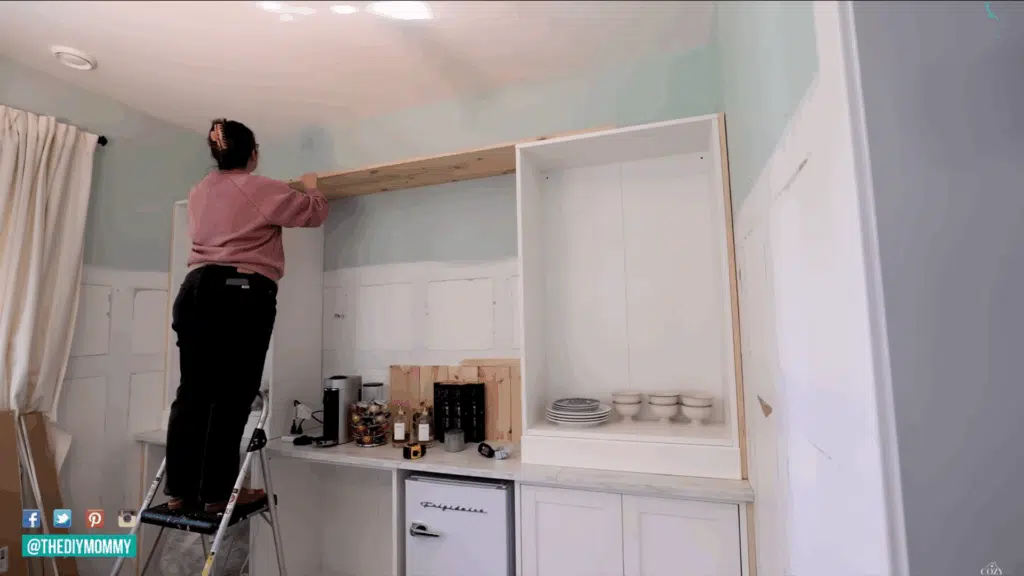
To create a full, built-in look, add upper storage on each side of the coffee bar. Use two tall cabinets that sit above the base units. Between them, install a horizontal wood plank across the top to connect both sides.
This bridge piece helps the entire setup feel like one single unit rather than separate parts. For a more polished finish, add crown molding along the top edge.
This small detail brings in a traditional touch and makes the coffee bar feel like part of the room. If tall cabinets are not your style or space is limited, floating shelves or open shelving can work instead.
Choose the option that fits your storage needs and matches the rest of your setup.
Step 8: Paint, Fill, and Trim for a Built-In Finish
To make the coffee bar look like a true built-in, fill any small gaps between the cabinets and the wall using pine 1×2 boards. Once the trim is in place, caulk all seams to smooth out edges and corners.
This helps create a clean surface before painting. For a seamless match, take a shelf or cabinet piece to a hardware store and ask them to color-match the paint.
Use that custom paint on the trim so it blends in with the original finish. This step makes a big difference. It takes the project from looking like flat-pack furniture to something that feels custom and built with care.
Every part starts to feel like it belongs together.
Step 9: Add Lighting and Electrical
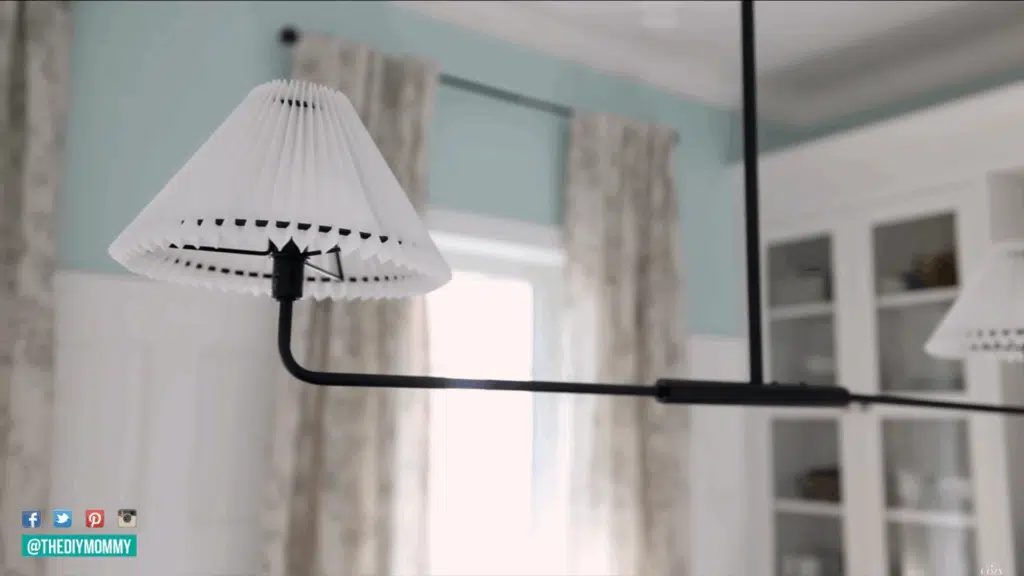
Good lighting makes the coffee bar easier to use and adds a nice visual touch. Start by planning where you want the lights to go before finishing the build. A picture light above the center shelf works well for general lighting.
LED strips behind a backsplash or under shelves can give a soft, even glow. Drill small holes through the back or top of the cabinets to access nearby outlets without visible cords.
Use a remote-controlled switch or smart plug for easy control. Keep wires tucked away using clips or cord covers. Even a small light can make a big difference during early mornings or late nights.
Adding lighting is one of those steps that makes the space feel more complete and thoughtful.
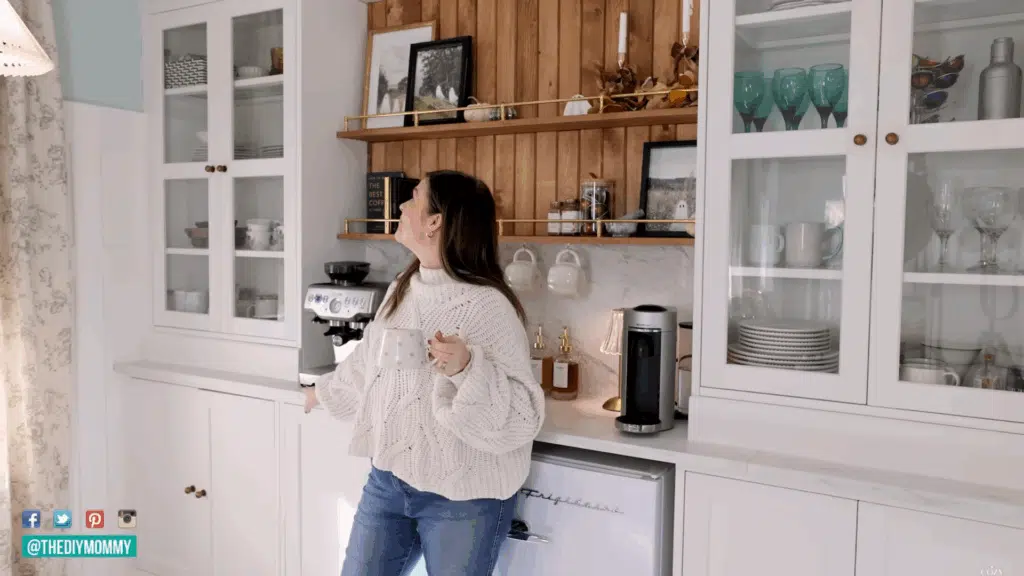
Step 10: Style It Your Way
Once everything is built and in place, take time to style your coffee bar. Start with the basics like your coffee machine, grinder, and a tray for stirrers and spoons.
Use glass bottles for syrups and small containers for sugar, filters, or pods. A mug rack or hooks can save space and keep things easy to reach. You can also add a few personal touches to make it feel like part of your home.
Decorate the shelves with books, candles, or framed art. Try swapping items out with the seasons. Use pumpkins in the fall, garlands in winter, florals in spring, or lemons in summer.
The styling part is flexible. It is your space, so make it feel just right for you.
Step 11: Finish with Hardware and Accessories
The final step is adding small details that tie everything together. Start with cabinet hardware. Choose knobs or handles that match your style. Brass, black, or brushed nickel are all good options.
Tipping rails along the shelves can add a touch of polish and keep items in place. Even small changes like these make the setup feel more complete.
You can also add useful extras that bring both function and personality. Try chalkboards or small signs for a menu display. Label jars to keep things organized. Add coasters, trays, or a small basket for napkins and linens.
These finishing touches do not take much time but go a long way in making the coffee bar feel thoughtful, tidy, and ready to use every day.
This guide was inspired by a detailed DIY project shared by the original creator you can watch their full process for more visuals and ideas:
Coffee Bar: Smart Storage & Utility Tips
Coffee bars can get messy if you are not careful. Small tools, cords, and supplies add up fast. These quick fixes help keep things organized without taking up extra space
|
Problem |
Simple Fix |
|
Mug clutter |
Store less-used mugs in a closed cabinet |
|
Loose items and mess |
Use baskets to group and hide clutter |
|
Hard-to-reach syrups |
Place them on a lazy Susan for easy access |
|
Visible cords from tools |
Drill a hole in the back of a drawer to hide the cord |
|
Tangled or messy wiring |
Use cord clips to keep wires neat and tucked away |
Common DIY Mistakes to Avoid
A few small oversights can cause problems down the line. These common mistakes are easy to avoid with a little planning:
- Shelf spacing: Don’t place shelves too low or make them too shallow. Your mug or machine might not fit.
- Outlet access: Make sure power outlets are easy to reach. Measure around plugs and cords.
- No room to grow: Leave space for tools you might add later, like a grinder or milk frother.
- Weak wall support: Heavy shelves need to be secured to studs. This keeps everything stable over time.
Conclusion
If you’re planning to build a DIY coffee bar, this guide gives you a solid place to start. You don’t need a big budget or a lot of tools.
If you use IKEA cabinets, an old dresser, or a bar cart, the goal is to make something that fits your space and routine.
What your coffee bar looks like is up to you. Some people want a simple setup with just the basics.
Others like a fully built-in with shelves, lighting, and storage. There’s no right way to do it.
Now that you know the steps, the common mistakes, and some ideas that work, you can move forward with more confidence.
However you decide to build it, your coffee bar should be useful, personal, and a space you enjoy every day.