
Looking to add character to plain walls without breaking the bank? Half-wall paneling might be exactly what you need.
In this step-by-step guide, I’ll show you how to transform your rooms with classic half-wall paneling—even if you’ve never tackled a carpentry project before.
As a carpenter, I’ve installed paneling in dozens of homes over the past 15 years. The techniques I’m sharing aren’t just theory—they’re methods I use daily that actually work for real homes.
You’ll learn:
- Exactly which materials to buy (and how much)
- Simple measuring tricks to ensure perfect alignment
- How to work around obstacles like outlets and switches
- Finishing tips that make DIY look professional
Whether you’re looking to add vintage charm to a dining room or durability to a hallway, this guide will walk you through every cut, nail, and finish detail.
Let’s upgrade those walls!
What Is Half Wall Paneling?
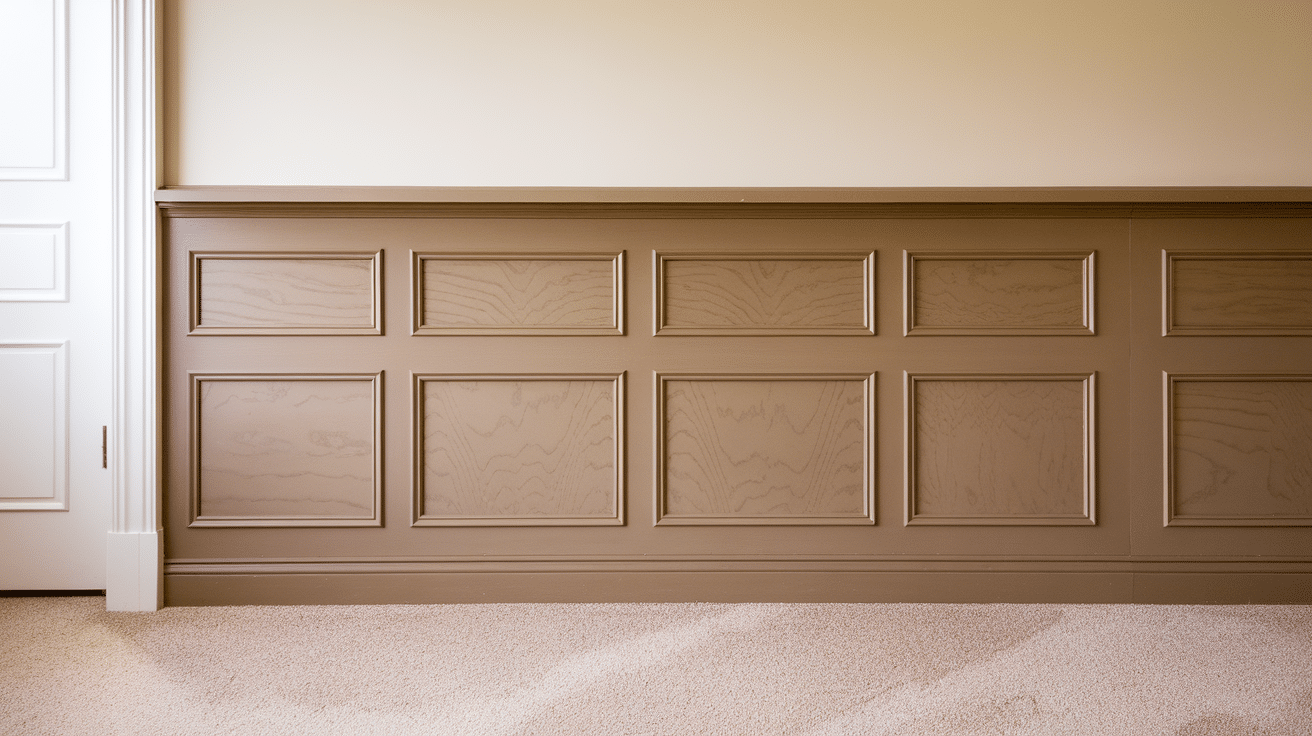
Half-wall paneling covers the bottom portion of your walls, typically reaching 3 to 4 feet up from the floor. It’s a classic design feature that adds character and protection to otherwise plain walls.
Unlike full-wall paneling, this style creates a distinct visual break in your room. The lower portion features wood panels, while the upper section remains painted drywall.
I’ve installed half-wall paneling in countless homes, from historic renovations to new builds. It works in almost any room and with various decorating styles.
Think of it as adding a frame to the bottom of your walls.
Half-wall paneling comes in several traditional styles:
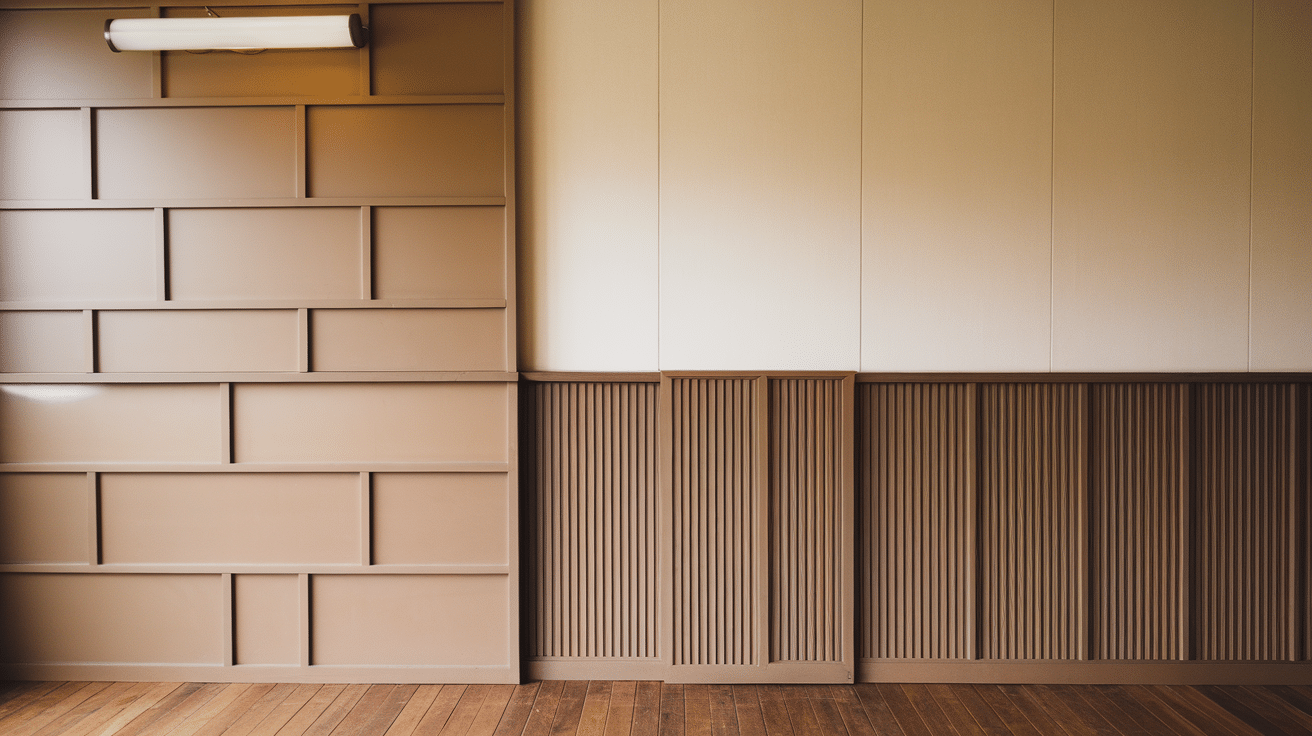
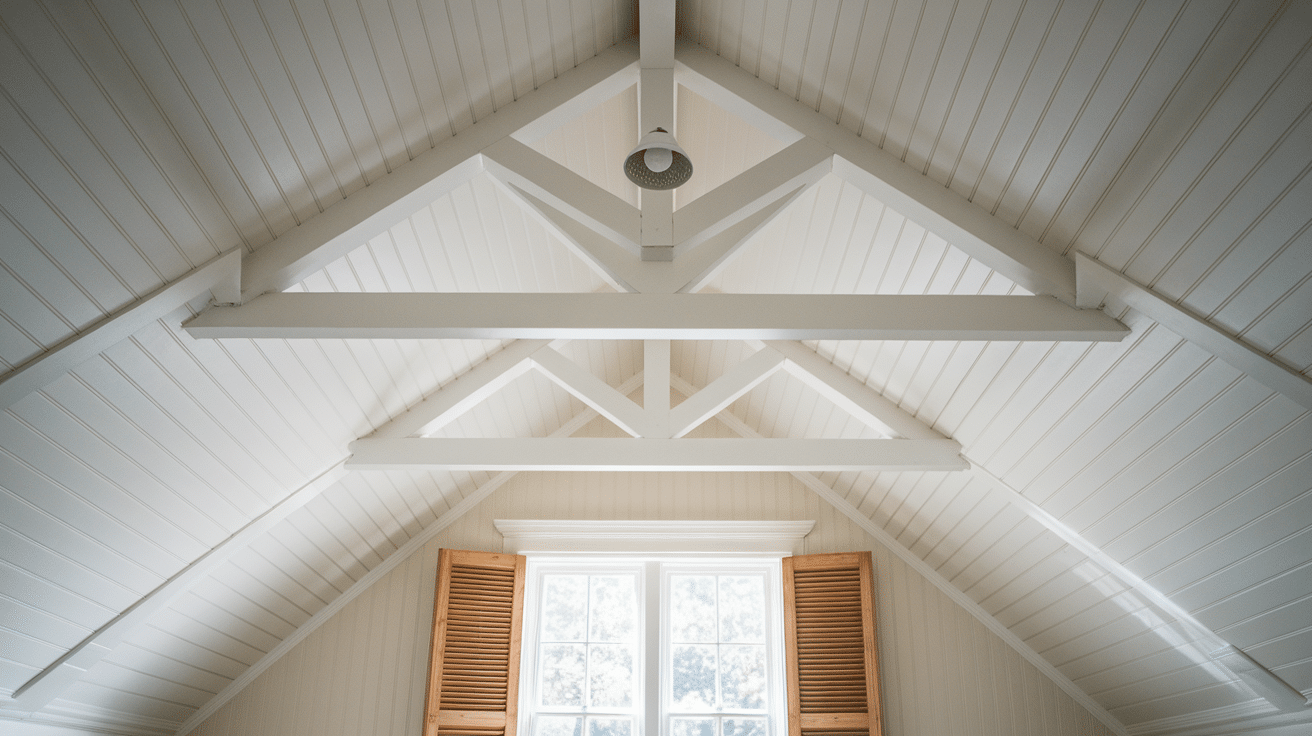
- Beadboard (thin vertical slats with small grooves)
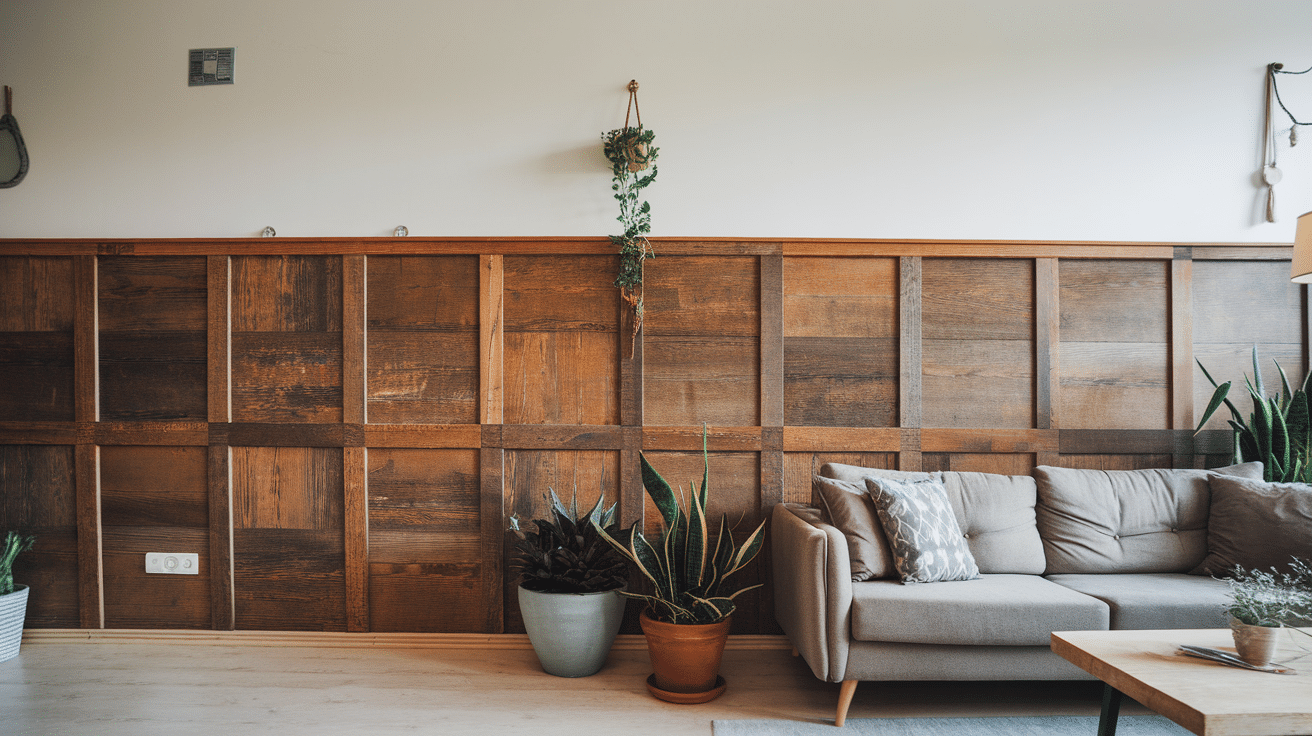
- Board and batten (flat panels with vertical decorative strips)
- Wainscoting (framed panels with decorative insets)
- Shiplap (horizontal overlapping boards)
This design element serves both practical and aesthetic purposes. It protects your walls from scuffs and dings in high-traffic areas while adding architectural interest to plain rooms.
The “half” in half-wall paneling is flexible. Some homeowners install it at chair rail height (about 32 inches), while others extend it to 48 inches or higher, depending on ceiling height and room proportions.
The beauty of this project is its versatility. You can adapt it to fit your home’s style—from farmhouse casual to formal traditional.
Choose Your Paneling Style
The style you pick sets the tone for your entire room. I always tell my clients to consider their home’s overall look before choosing a paneling style.
Each paneling style creates a different feel and requires slightly different materials and techniques. Your choice should match both your design preferences and your skill level.
Board and Batten
It offers the easiest starting point for beginners. It uses flat panels with vertical strips (battens) to create a simple, clean look. The straight cuts make it forgiving for first-time DIYers.
The right style should feel at home with your existing architecture.
Beadboard
It brings timeless charm to any space. Those narrow vertical panels with subtle grooves work beautifully in bathrooms, entryways, and dining rooms. While traditional beadboard came in individual strips, today’s versions often go in convenient sheets.
Shiplap
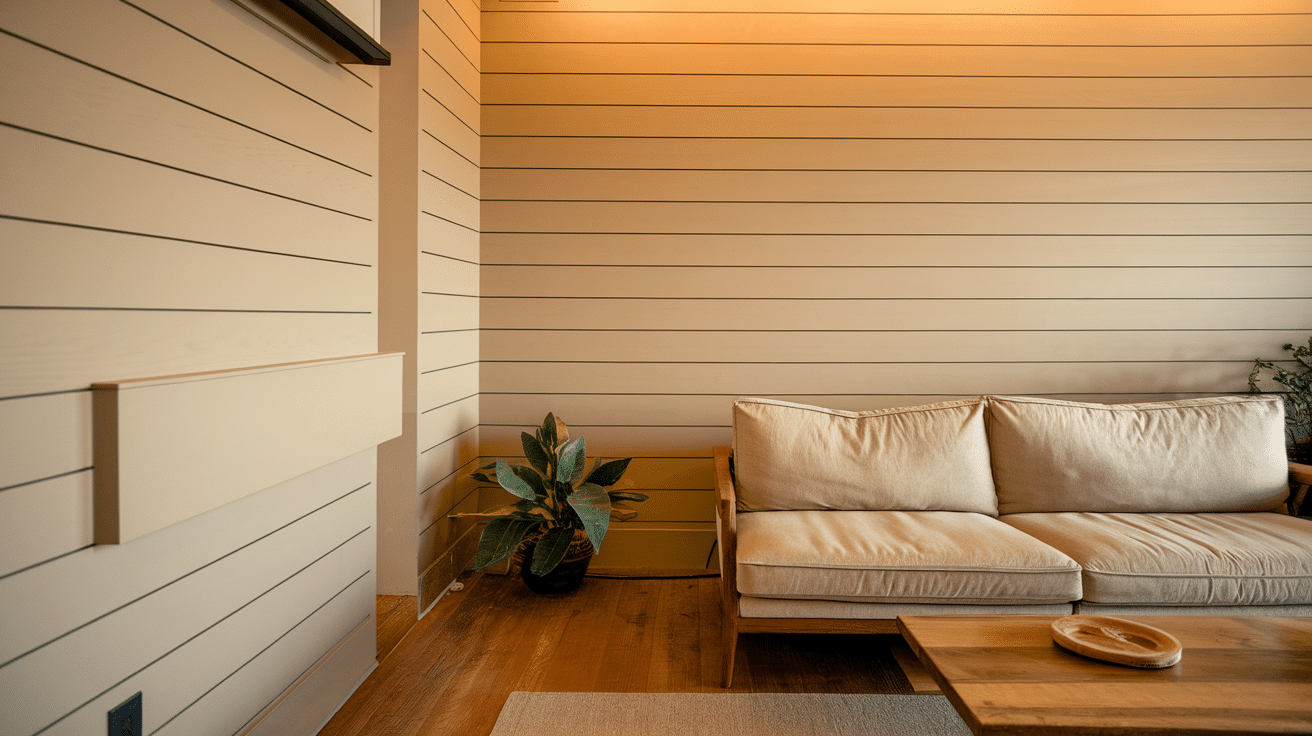
It creates a more contemporary look with its horizontal orientation. The subtle gaps between boards cast small shadows that add depth to your walls. This style has become popular in farmhouse and coastal designs.
Raised Panel Wainscoting
It offers the most formal appearance. It features framed panels with raised or recessed centers. This style requires more precise cuts and typically costs more in materials, making it better suited for those with some woodworking experience.
When choosing, consider your room’s purpose. Bathrooms and mudrooms benefit from the water-resistant properties of PVC beadboard, while living areas might showcase the natural warmth of real wood shiplap.
Tools and Supplies You’ll Need
Getting the right tools and materials before you start can save you frustration later. I’ve put together this comprehensive list based on what I actually use for half-wall paneling projects.
For tools, you’ll need:
- Measuring tape (at least 25 feet long)
- Level (I recommend both a 4-foot level and a small torpedo level)
- Carpenter’s square for right angles
- Drill with various bits
- Miter saw or circular saw (for cutting boards)
- Jigsaw (for cutting around outlets and fixtures)
- Hammer or nail gun
- Caulking gun
- Sandpaper (medium and fine grit)
- Main paneling material (plywood sheets, MDF panels, beadboard, or individual boards)
- Paint or stain and clear coat
Remember to measure carefully before buying materials. I always add 10% extra for mistakes and waste, which has saved me countless emergency trips to the hardware store.
If you don’t own specialized cutting tools, most home improvement stores will cut large sheets to size for you. Just bring your measurements when you shop.
Planning and Measuring
Accurate measurements prevent costly mistakes. I’ve learned through experience that spending extra time on this step saves headaches later.
Start by measuring the entire perimeter of the room where you’ll install paneling. Then, write down the length of each wall separately, noting any doors, windows, or obstacles.
Next, decide how high your paneling will be. Traditional wainscoting is often 32-36 inches high (about chair-rail height), but you can go higher for a more dramatic effect. I find that 42 inches look great in rooms with 8-foot ceilings.
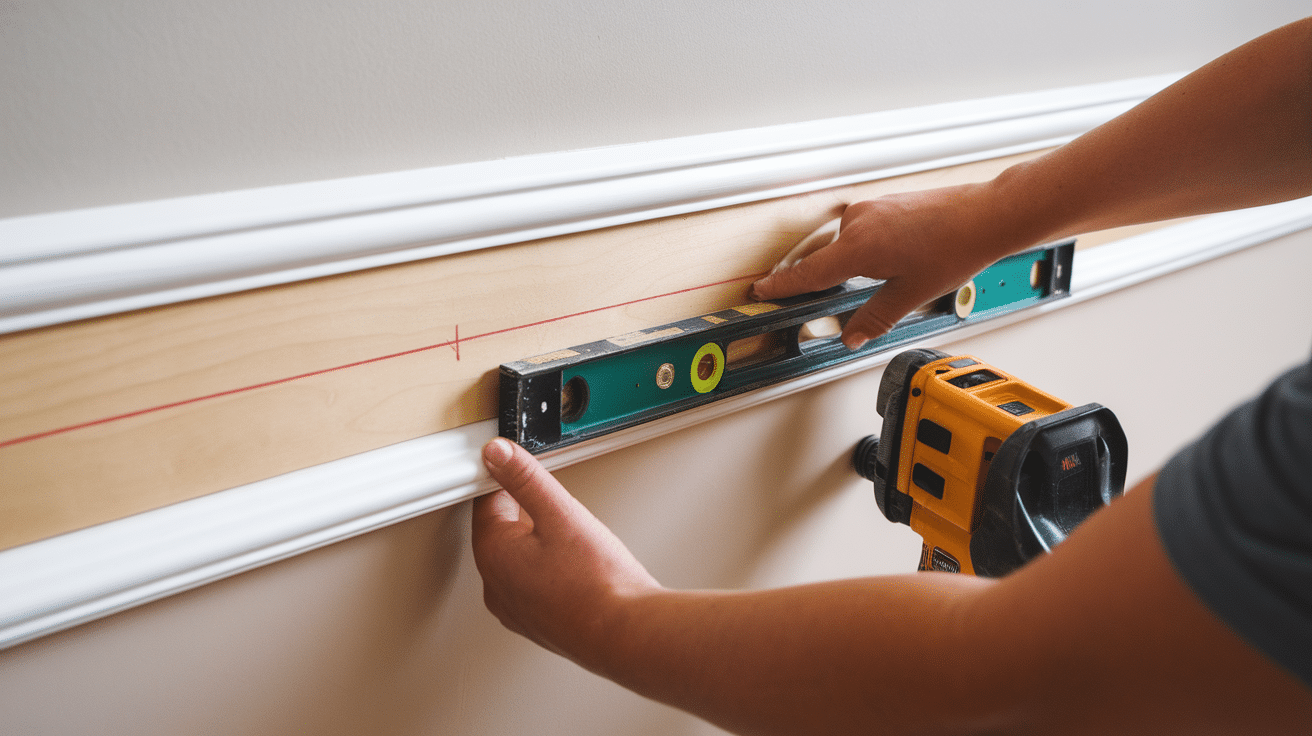
The level line is your most important guide.
Once you’ve decided on height, follow these steps:
- Measure up from the floor at several points along each wall
- Mark your chosen height with small pencil marks
- Connect these marks using a long level to create a perfectly straight reference line
- Mark stud locations along this line using a stud finder (typically every 16 inches)
Plan your panel spacing carefully: For board and batten, decide how far apart your vertical strips will be. I usually space battens 12-16 inches apart, but adjust this to ensure equal spacing across each wall.
Create a simple sketch : showing your measurements and panel layout. This sketch will become your blueprint and shopping list combined.
Consider using painter’s tape to outline your design directly on the wall. This visual preview helps you adjust proportions before cutting any materials.
Remember that floors aren’t always level. Measure height at multiple points to see if you need to adjust your line to accommodate uneven floors.
Step-by-Step Installation
Let’s break down the installation into manageable steps. I’ve refined this process over hundreds of installations to make it as straightforward as possible.
Step 1: Prep the Wall
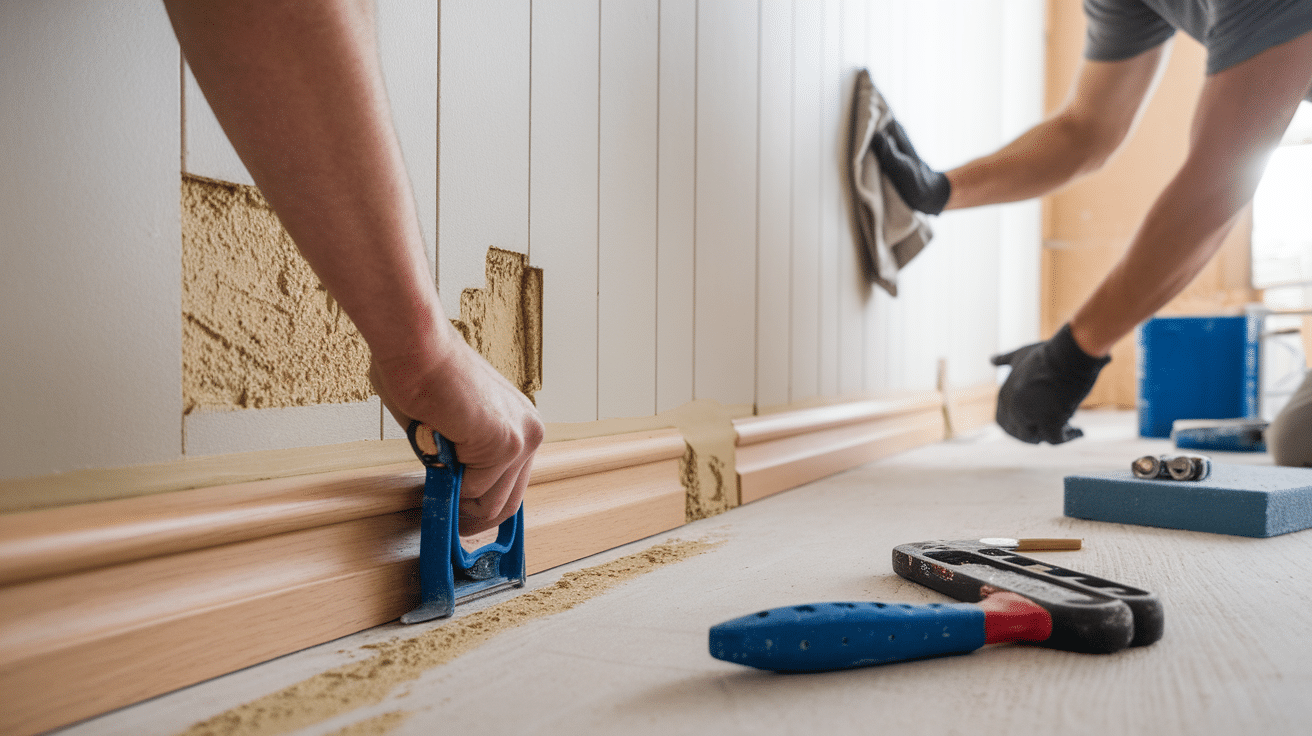
Start with clean, dry walls. Remove existing baseboards if they’re in the way. Fill any holes and sand rough spots. I always give walls a quick wipe with a damp cloth to remove dust before starting.
If your walls have significant texture, consider lightly sanding or applying a thin layer of joint compound to create a smoother surface for your panels to adhere to.
Good preparation ensures better adhesion and a cleaner finished look.
Step 2: Install Baseboard and Top Rail
Install your baseboard first, making sure it’s level. This creates the foundation for your paneling.
Next, measure up and install your top rail or chair rail at your marked height line. Use a level constantly and check measurements as you go. Secure to wall studs wherever possible for maximum strength.
Step 3: Attach Panels or Battens
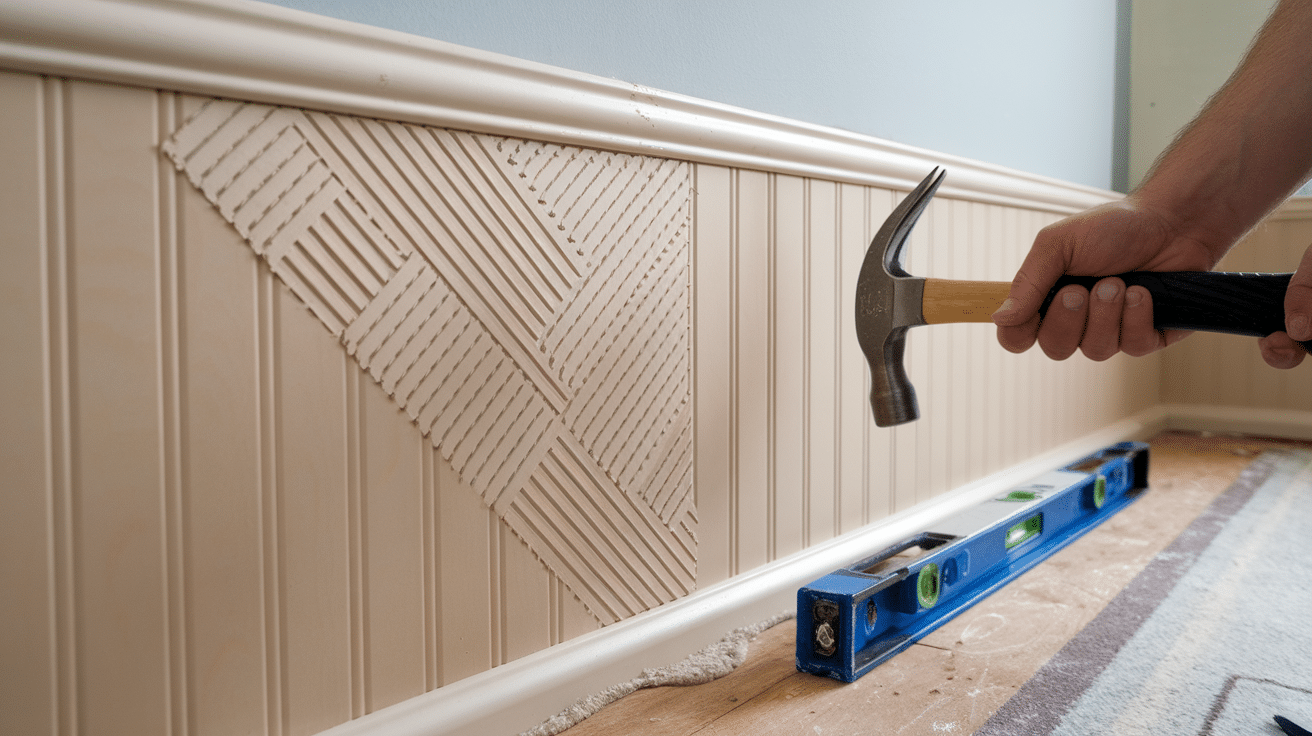
For sheet paneling (like beadboard):
- Apply construction adhesive to the back in a zigzag pattern
- Press firmly against the wall between the baseboard and top rail
- Secure with finishing nails around the perimeter and at stud locations
- Work in manageable sections, checking for level as you go
For board and batten:
- Install the flat backing panels first
- Measure and mark your vertical batten locations for even spacing
- Cut battens to the exact height between the baseboard and the top rail
- Attach with adhesive and finishing nails
Always use a level on each piece. Even small errors become very noticeable in the finished project.
Step 4: Fill and Caulk
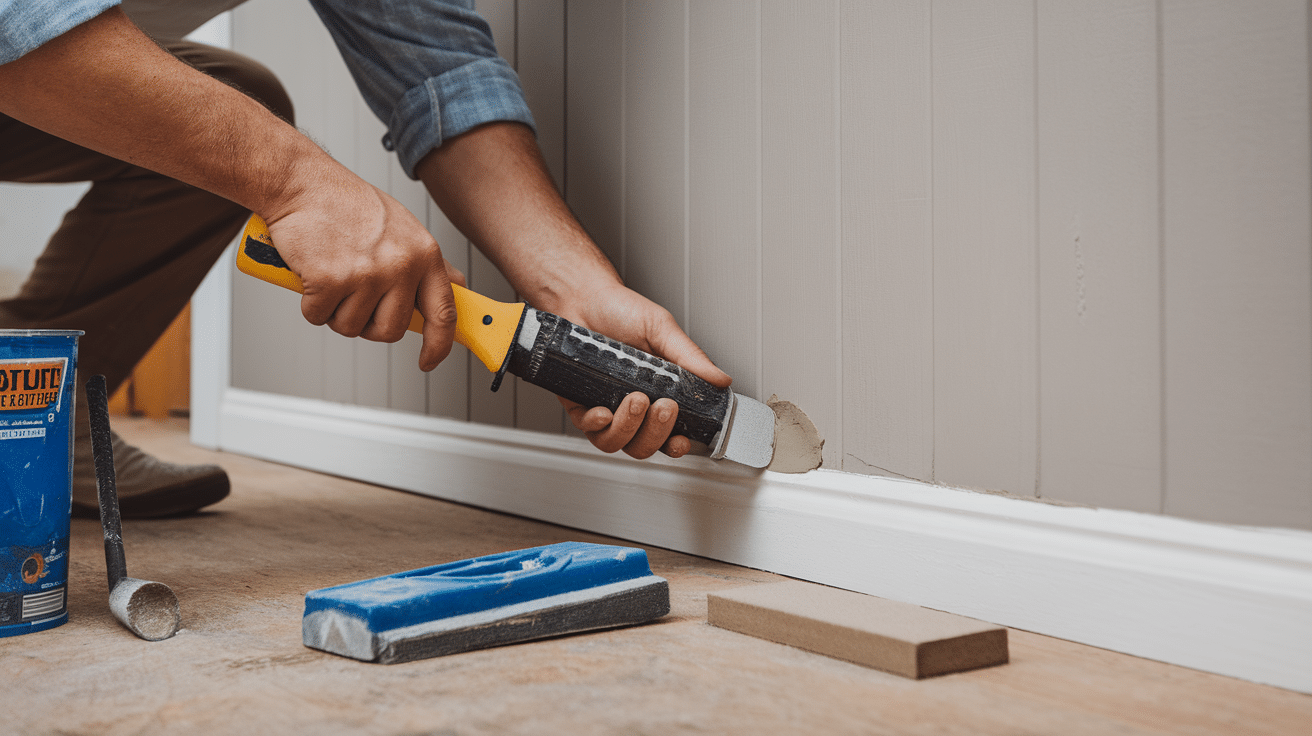
Once everything is installed:
- Fill all nail holes with wood filler
- Caulk all seams where wood meets wood and where wood meets wall
- Let everything dry completely (usually overnight)
- Sand-filled areas smooth, starting with medium grit and finishing with fine grit
- Wipe away all dust before painting
Step 5: Paint or Stain
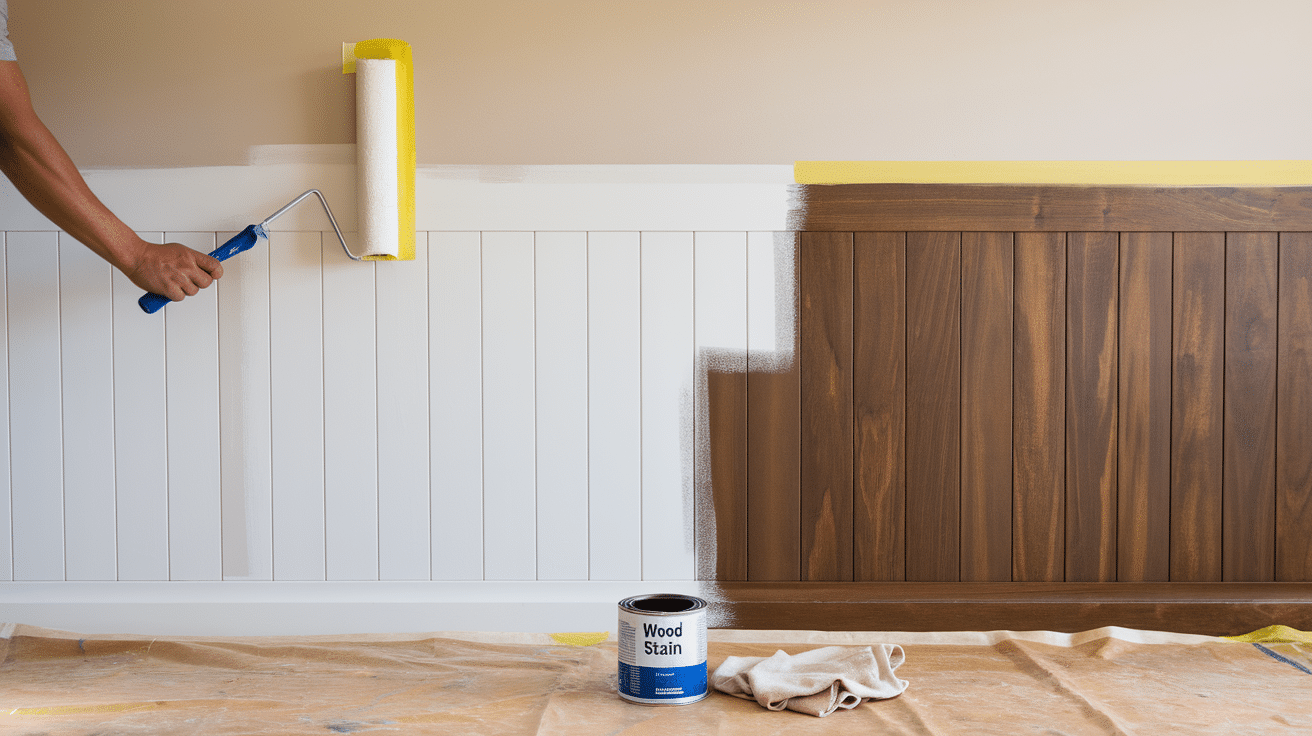
Apply primer specifically designed for your paneling material. This ensures better adhesion of your topcoat.
For paint finishes, use a high-quality semi-gloss or satin paint for durability and easier cleaning. Apply at least two coats for best results.
For stained finishes, apply pre-stain conditioner for even absorption, followed by your stain and at least two coats of clear polyurethane for protection.
Finishing Touches
The finishing touches transform your project from good to great. I’ve found that these final details often make the biggest impact on how professional your paneling looks.
Paint color selection is crucial for half-wall paneling.
You have two main approaches:
- Paint the paneling the same color as your upper walls for a subtle, cohesive look
- Choose contrasting colors to make the paneling stand out as a design feature
I often recommend painting the paneling in a semi-gloss finish while keeping the upper walls in a matte or eggshell finish. This subtle contrast in sheen creates dimension even when using the same color.
Think of your paneling as a frame for what comes above it.
Consider adding these extra elements to enhance your paneling:
- A slim decorative shelf on top of the chair rail for displaying small items
- Picture frame molding above the paneling for a more formal look
- Hooks or pegs for functional storage in hallways or mudrooms
- Sconces or wall lights that mount directly to the paneling
The space above your paneling deserves attention, too. Wallpaper above half-wall paneling creates a stunning contrast, especially with simple panel styles like board and batten.
For a finishing professional touch, add quarter-round molding where your baseboard meets the floor. This small detail covers any gaps and gives your installation a truly built-in appearance.
Remember that your half-wall paneling creates a natural “gallery line” for hanging artwork. Consider installing pieces so their centers align with your eye level, typically about 60 inches from the floor.
Conclusion
Half-wall paneling transforms ordinary rooms into custom spaces. With basic tools and attention to detail, you can create this classic feature in a weekend.
Remember that precision matters more than speed. Take your time with measurements and keep checking that everything stays level. Your careful work will pay off in a professional-looking result.
This project is an ideal mix of high impact and moderate difficulty. By following the steps methodically, even first-time DIYers can achieve impressive results.
Beyond its aesthetic appeal, half-wall paneling adds practical value to your home:
- Protects walls from scuffs and damage
- Adds architectural interest to plain rooms
- Increases your home’s resale value
- Creates a more custom, finished look
Whether you choose simple beadboard or elegant raised panels, half-wall paneling is a timeless addition that will enhance your home for years to come.
Frequently Asked Questions
How Much Does It Cost to Install Half-Wall Paneling?
DIY half-wall paneling typically costs $3-8 per square foot for materials, depending on your chosen style. A standard 12×12 room would cost approximately $350-700 for materials. Professional installation adds $500-1,500 to the total. Beadboard and board and batten tend to be the most budget-friendly options, while raised panel wainscoting costs more.
What’s the Best Material for Half-Wall Paneling?
MDF (medium-density fiberboard) offers the best combination of affordability, stability, and smooth finish for painted paneling. Real wood is preferable for stained finishes. For moisture-prone areas like bathrooms, consider PVC or vinyl beadboard that resists warping and water damage. The material choice should match your skill level, budget, and the room’s purpose.
Can I Install Half-Wall Paneling Over Textured Walls?
Yes, but it requires preparation. If you use sheet goods with construction adhesive and nails, you can install them directly on light-textured walls. For heavy-textured or popcorn walls, either sand down the texture where the paneling will go or install a thin layer of smooth hardboard first as a base. Ensuring a flat mounting surface prevents gaps and warping over time.
How Tall Should Half-Wall Paneling Be?
Traditional wainscoting height is 32-36 inches (chair rail height). However, many designers now prefer 40-48 inches for rooms with 8-foot ceilings and up to 5-6 feet for rooms with higher ceilings. The ideal height often depends on your room’s proportions. A good rule of thumb is to install paneling at one-third the height of your wall for balanced proportions.
Do I Need to Remove the Baseboards Before Installing Half-Wall Paneling?
It depends on your design preference. Removing existing baseboards creates a cleaner, more built-in look and is generally recommended. However, you can install paneling above existing baseboards if they’re in good condition and match your design. If keeping existing baseboards, use quarter-round molding to cover the seam between the baseboard and your new paneling.