
Cleaning AC coils is one of the easiest ways I’ve found to keep an air conditioner running well at home. When coils get dirty, your AC has to work harder, which can raise energy bills and reduce cooling.
If your home doesn’t feel as cool as it should, this could be the reason.
This is a simple task that does not require special skills. The guide walks through each step to clean AC coils using basic tools commonly found at home.
I have shared signs that will tell you when your coils need attention, plus simple tips to keep them clean longer.
You’ll learn what to avoid, when DIY cleaning is enough, and when it’s smarter to call a pro. By the end, you’ll feel ready to handle this task with confidence.
What Are AC Coils and Why Do They Get Dirty?
AC coils are key parts of your air conditioner that help move heat out of your home. The evaporator coil sits inside and pulls heat from the air as it passes over it.
The condenser coil is outside and releases that heat into the air.
Over time, dust from indoor air, outdoor dirt, grass, and debris start to stick to these coils. This buildup happens slowly, so you may not notice it right away.
When coils are dirty, air cannot pass over them as easily. That means less heat gets removed from your home.
Dirty coils reduce airflow and cooling, which forces your AC to run longer to reach the same temperature.
This can raise energy bills and put extra strain on the system. Keeping coils clean helps air move freely and lets your AC cool the way it should.
Tools and Supplies You’ll Need
Having everything ready before starting makes the process smoother and safer. These items help protect you, improve cleaning results, and avoid unnecessary delays.
- Rubber gloves
- Safety glasses
- Coil cleaner with foaming wand
- Garden hose with steady water supply
- Flashlight for before-and-after airflow check
How to Clean AC Coils By Yourself at Home?
Following these steps helps improve airflow and reduce strain on the system. Clear timing references are included to support visual guidance during each stage.
Step 1: Turn Off Power to the AC Unit
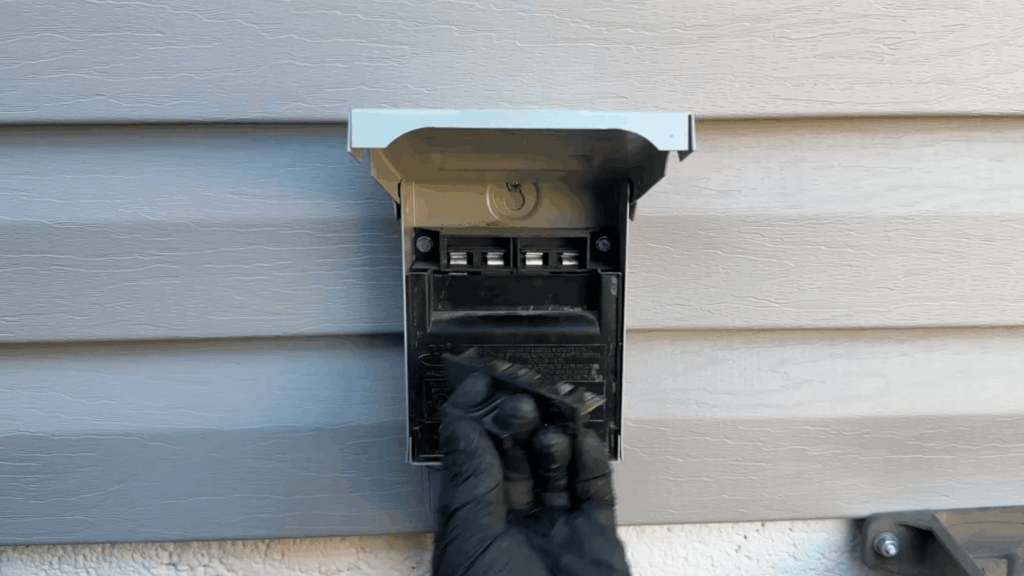
Before starting any cleaning, shut off power to the AC unit for safety. Locate the disconnect box beside the condenser and pull the cover upward.
Remove the disconnect and place it on top of the box or flip it upside down so the off position faces up.
If your unit is connected to a breaker panel, switch the AC breaker to off instead. Always confirm power is fully disconnected before touching the unit or removing panels.
This prevents electrical shock and protects equipment during maintenance.
Step 2: Inspect the Coils
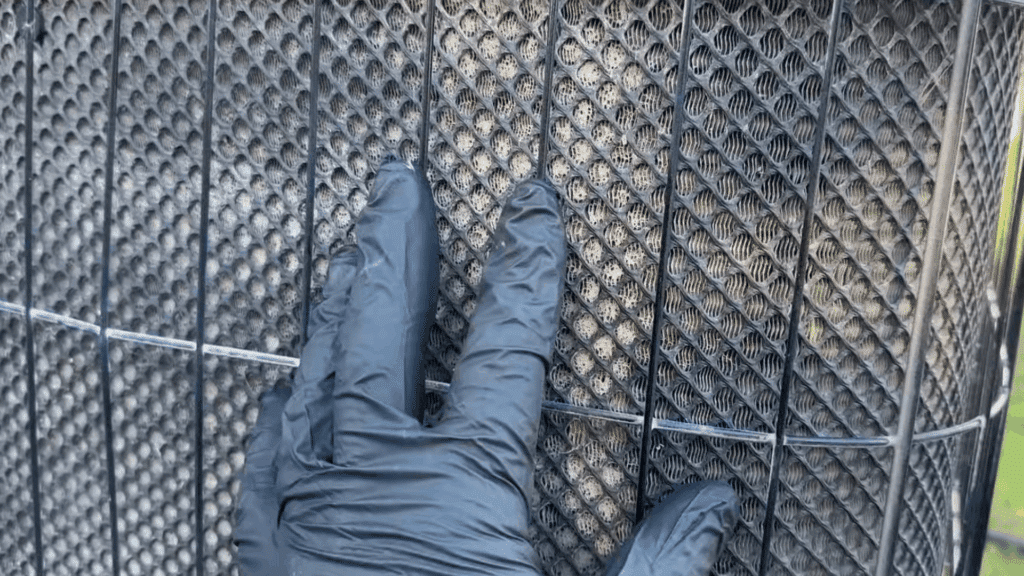
After the power is off, inspect the condenser coils for dirt, dust, and debris buildup.
Some AC units have two rows of coils, including an inner row hidden beneath the top panel. Carefully remove the top section if needed to view both layers.
This inspection helps you judge buildup levels and plan proper cleaning.
It also explains airflow restriction before cleaning begins and highlights why maintenance matters for long term system performance.
Step 3: Perform the Flashlight Test

Use a flashlight to test airflow through the coils before cleaning begins. Hold the flashlight directly against the back side of the coil and look from the front.
If no light is visible, dirt is blocking airflow through the fins. This simple test creates a clear before reference for comparison later.
Even coils that look mildly dirty can fail this test.
No visible light confirms cleaning is needed and helps measure improvement after debris is removed.
Step 4: Set up the Coil Cleaner

Attach the foaming wand to the coil cleaner using the quick connect fitting.
Adjust the dial on the cleaner to control the cleaner to water ratio. Setting A delivers a stronger three to one mix for heavily dirty coils.
Higher settings provide more dilution for lighter buildup. This system spreads foam evenly across the coil surface.
It helps the solution reach deep between fins where dirt collects and reduces waste compared to aerosol cans.
Step 5: Apply the Cleaner to the Coils
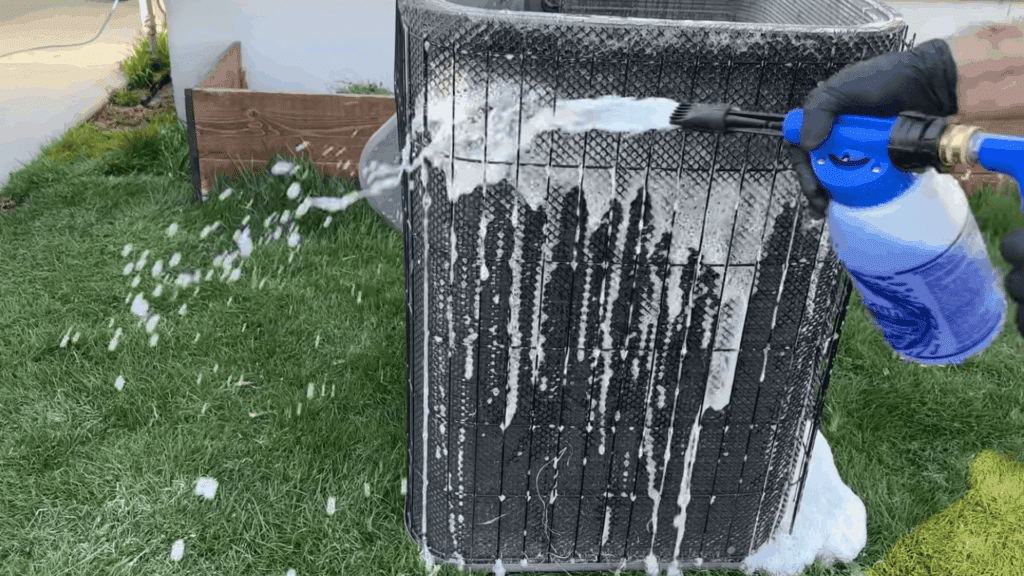
Spray the foaming cleaner evenly across the condenser coils, focusing on getting between the fins.
As the cleaner activates, brown residue and debris will begin washing out of the coils. This indicates buildup is breaking down and releasing trapped dirt.
Continue applying foam until the entire coil surface is covered.
Proper coverage helps the solution reach restricted areas and loosen grime that blocks airflow and reduces cooling efficiency.
Step 6: Let the Cleaner Sit
After applying the cleaner, allow it to sit for about ten minutes before rinsing.
This waiting period gives the solution time to soak into the coils and break down dirt, grease, and debris trapped deep inside the fins.
Avoid rinsing too early, as this reduces cleaning effectiveness. During this time, do not touch the coils or disturb the foam.
Letting the cleaner work fully improves airflow and prepares the unit for a thorough rinse that removes loosened buildup safely during regular seasonal maintenance routines yearly.
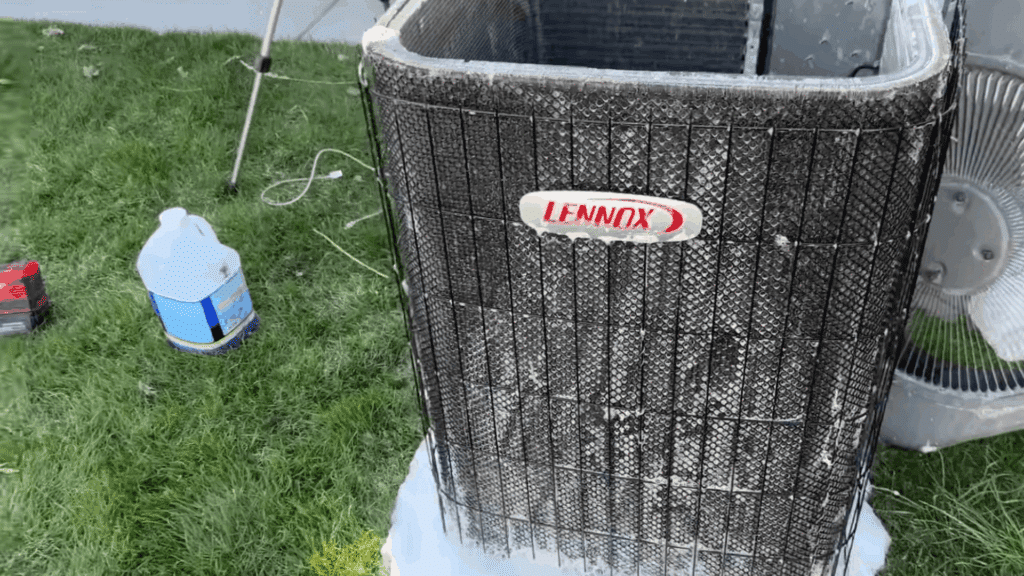
Step 7: Rinse the Coils
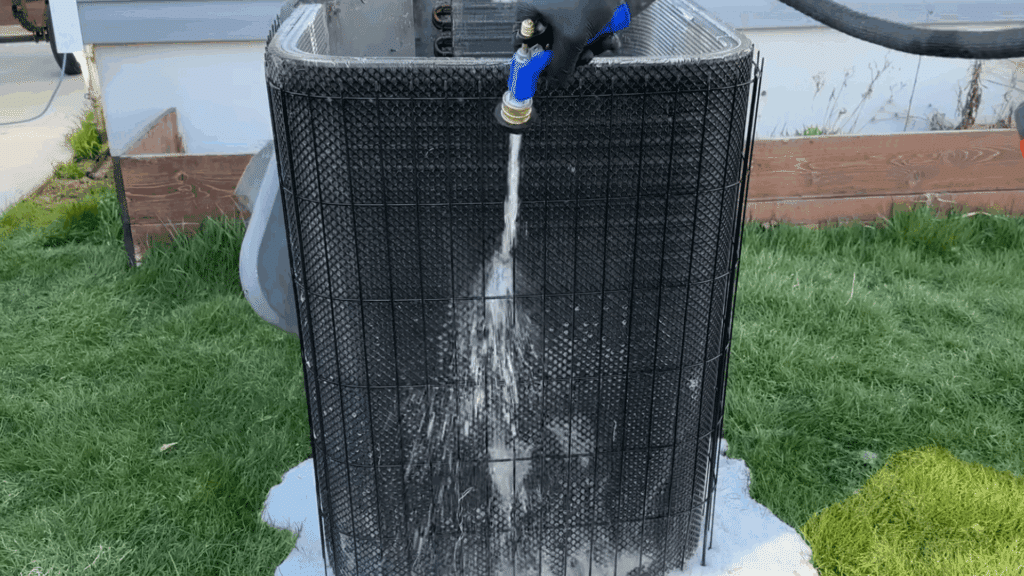
Rinse the coils using a garden hose, starting from the top and working downward. This method pushes dirt out instead of deeper into the fins.
Spray evenly and avoid high pressure; debris may collect in the outer grate.
This does not affect performance, but you may remove it by hand if desired. Rinse until all foam and residue are removed to ensure proper airflow.
Repeat the flashlight test to confirm light passes through the coils, showing improved airflow and reduced blockage.
This tutorial is based on a helpful video by The DIY HVAC Guy. You can check out the original video on their YouTube channel here or watch it below.
Signs Your AC Coils Need Cleaning
These signs help you spot small issues before they turn into bigger problems. Checking them early can save time, energy, and repair costs.
1. Weak Airflow or Warm Air Coming from Vents
When AC coils are dirty, airflow often drops fast. I notice this when air feels weak or not as cool as it should be, even when the system runs nonstop.
Dirty coils struggle to absorb heat, so the air coming out of vents may feel warm or uneven.
You might walk from room to room and notice big temperature changes. This is often one of the first signs something is wrong and usually means the coils need cleaning soon.
2. Higher Energy Bills than Usual
A sudden jump in your energy bill can point to dirty AC coils.
When coils are covered in dust and grime, the system works harder to cool your home. I’ve seen this lead to longer run times and higher power use each month.
Even small buildup can cause this issue.
If your habits haven’t changed but your bill has, checking the coils is a smart first step before assuming a bigger problem.
3. Ac Running Longer than Normal
If your AC seems to run all day without shutting off, dirty coils could be the reason. I notice this most during warm days when the system never quite reaches the set temperature.
Blocked coils slow down heat transfer, so cooling takes longer than it should.
This extra runtime puts stress on the unit and wastes energy. Cleaning the coils can help restore normal cycles and improve comfort inside your home.
4. Visible Dirt or Buildup on the Unit
Sometimes the signs are easy to see. I check the outdoor unit and indoor access panels for dirt, dust, or greasy buildup.
If coils look dark or clogged instead of clean metal, airflow is likely blocked. Outdoor coils may collect leaves, grass, and debris, while indoor coils trap dust over time.
Visible buildup usually means performance has already dropped, so cleaning should not be delayed.
Tips to Keep AC Coils Clean Longer
These habits can help reduce buildup and cut down how often deep cleaning is needed. Follow these simple steps to keep my system running smoothly between cleanings.
- Change air filters every one to three months to limit dust reaching the coils
- Keep at least two feet of clear space around the outdoor unit at all times
- Trim plants and remove leaves or debris near the condenser regularly
- Vacuum vents and registers to reduce dust circulation inside the home
- Check coils during seasonal changes for early signs of buildup
- Schedule light maintenance before peak cooling months
- Avoid running the AC with clogged or damaged filters
When to Call a Professional for AC Coil Cleaning?
If you notice severe buildup or mold concerns, it’s time to call a professional. I don’t try to handle mold on my own because it can spread and cause health issues.
You should also get help when indoor coils are hard to reach or hidden deep inside the unit.
Forcing access can damage parts or lead to safety risks.
If your AC is still not cooling after cleaning, a pro can check for deeper issues like leaks or airflow problems. This often means the coils were not the only issue.
Owners of older systems needing inspection should also avoid DIY work. Older units can have worn parts that break easily.
A trained technician knows how to clean coils safely and spot problems early. Calling for help at the right time can save money and prevent bigger repairs later.
Common Mistakes to Avoid when Cleaning AC Coils
These slip-ups can damage parts, reduce cooling, or create safety issues. I’ve learned that avoiding them makes cleaning easier and more effective.
- Skipping power shutoff before starting any cleaning
- Using harsh chemicals that can damage coil surfaces
- Spraying high-pressure water directly on the coils
- Bending delicate fins while brushing or wiping
- Ignoring indoor coils and only cleaning the outdoor unit
- Letting debris fall deeper into the system
- Turning the AC back on before coils are fully dry
Conclusion
Keeping your AC coils clean makes a real difference in how your system runs each day. I’ve seen how clean coils help cool rooms faster, lower energy use, and reduce strain on the unit.
When airflow improves, the AC doesn’t have to work as hard, and that can save money over time.
Small steps like regular checks and light cleaning can go a long way. If you follow the steps in this guide and keep up with basic care, your AC can stay reliable through the hottest months.
You don’t need fancy tools, just a little time and attention. I suggest starting with a quick inspection and taking action before problems grow.
Try the steps, see how your system responds, and keep it running smoothly.
If you’ve cleaned your AC coils before, share your experience or tips in the comments below.