

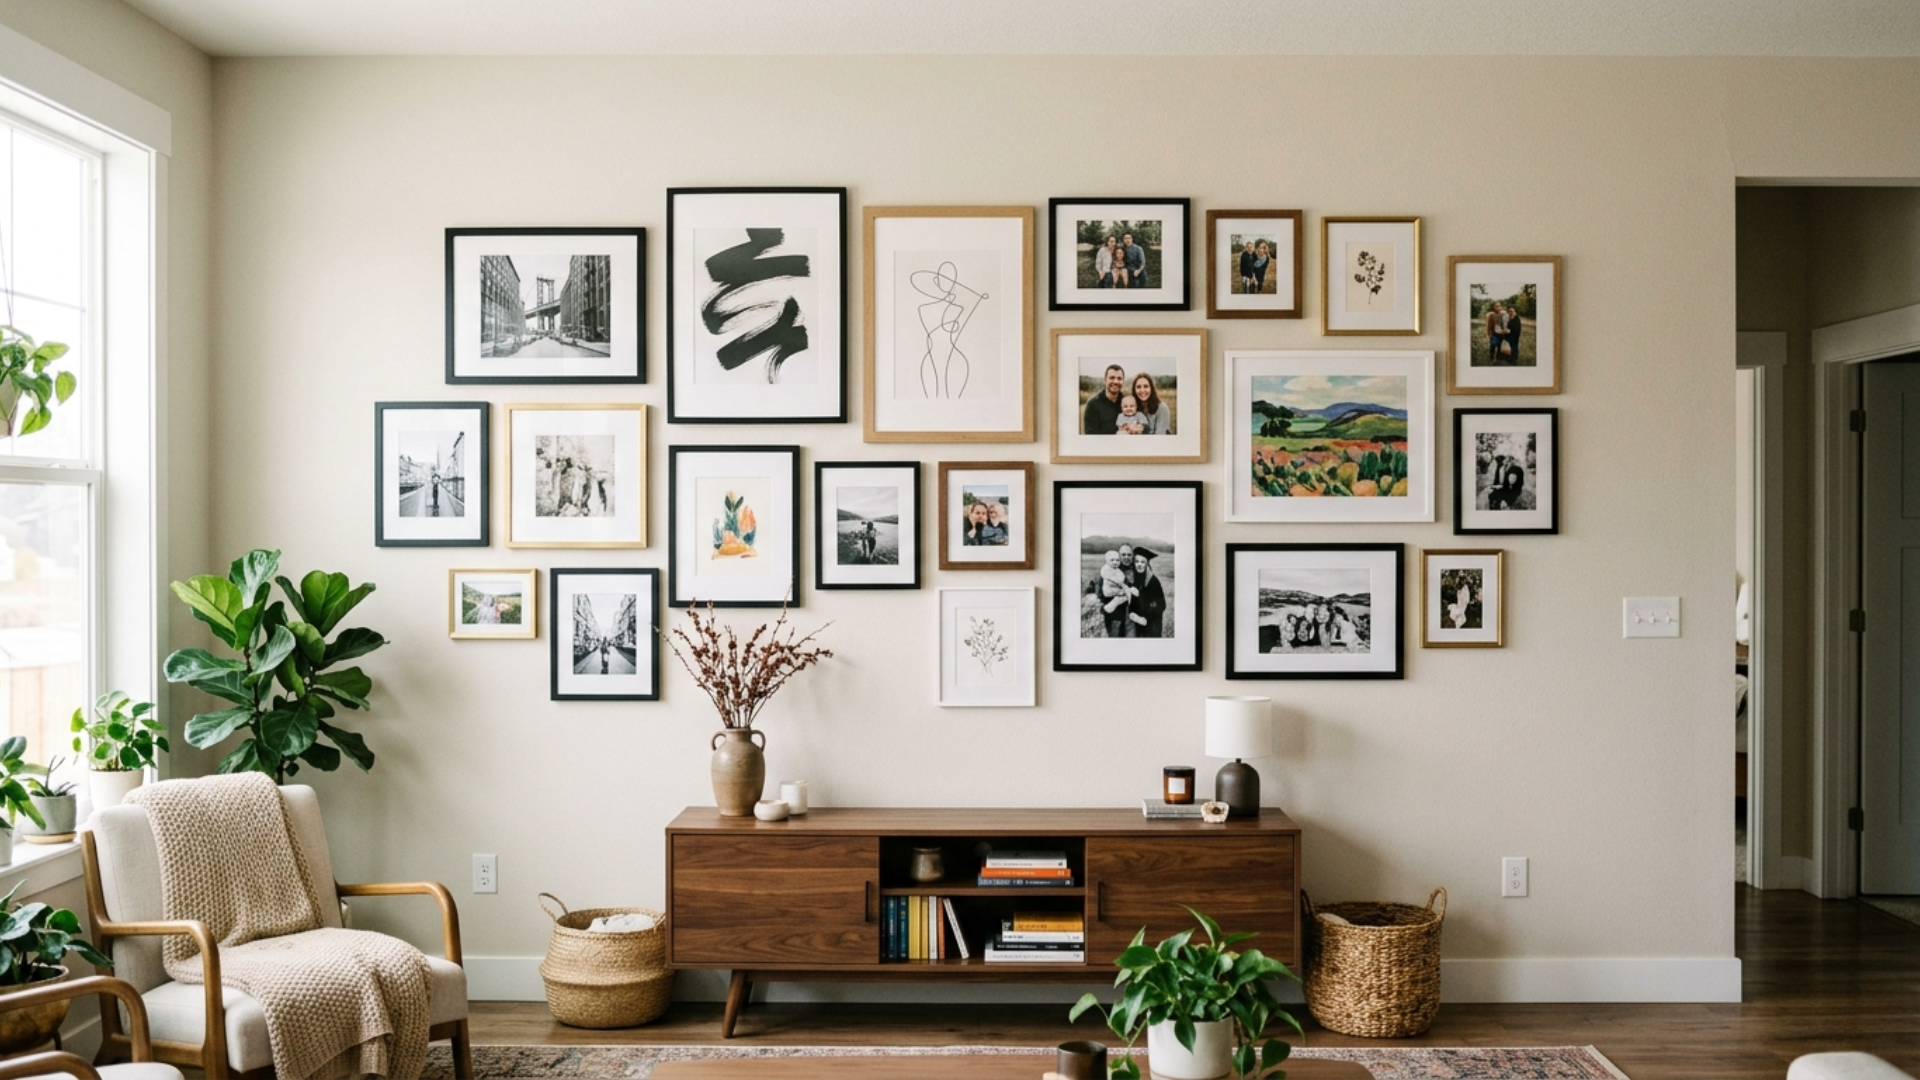
Hanging pictures on a wall may look simple, but getting it right can make a big difference in how your space feels.
A well-placed picture brings balance, style, and personality to any room. A poorly placed one can look awkward or uneven.
Many people struggle with choosing the right height, spacing frames, or keeping everything straight. The good news is that you don’t need to be an expert to do it well.
With a few easy steps and the right tools, you can hang pictures neatly and confidently.
In this guide, you’ll find simple tips, smart tricks, and proven methods to help you hang pictures perfectly every time, without the stress.
The Best Way to Hang Pictures on a Wall
The best way to hang pictures on a wall is to follow a simple method that keeps things neat and balanced.
Start by choosing the right location. Think about how the picture fits with your furniture and the overall feel of the room.
Measure the area and lightly mark where the hook or nail will go.
A simple rule: place the center of the picture at eye level, usually around 57 to 60 inches from the floor.
Always use a level to keep the frame straight. For heavier frames, use strong hooks or wall anchors to keep them secure.
Taking time to measure, mark, and check alignment gives you a clean, professional-looking result, without extra holes or mistakes.
DIY Guide to Hanging Pictures on the Wall
Following a clear step-by-step process makes hanging pictures easier and helps you avoid crooked frames or extra holes. Work through each step in order, skipping ahead is where most problems start.
Essential Tools You Need Before You Start
- Tape measure
- Pencil
- Level
- Hammer or drill
- Picture hooks or nails
- Wall anchors
- Stud finder
Keep all of these within reach before you start. Stopping mid-process to hunt for a pencil or level is how small mistakes happen.
Step 1: Choose the Right Spot and Layout
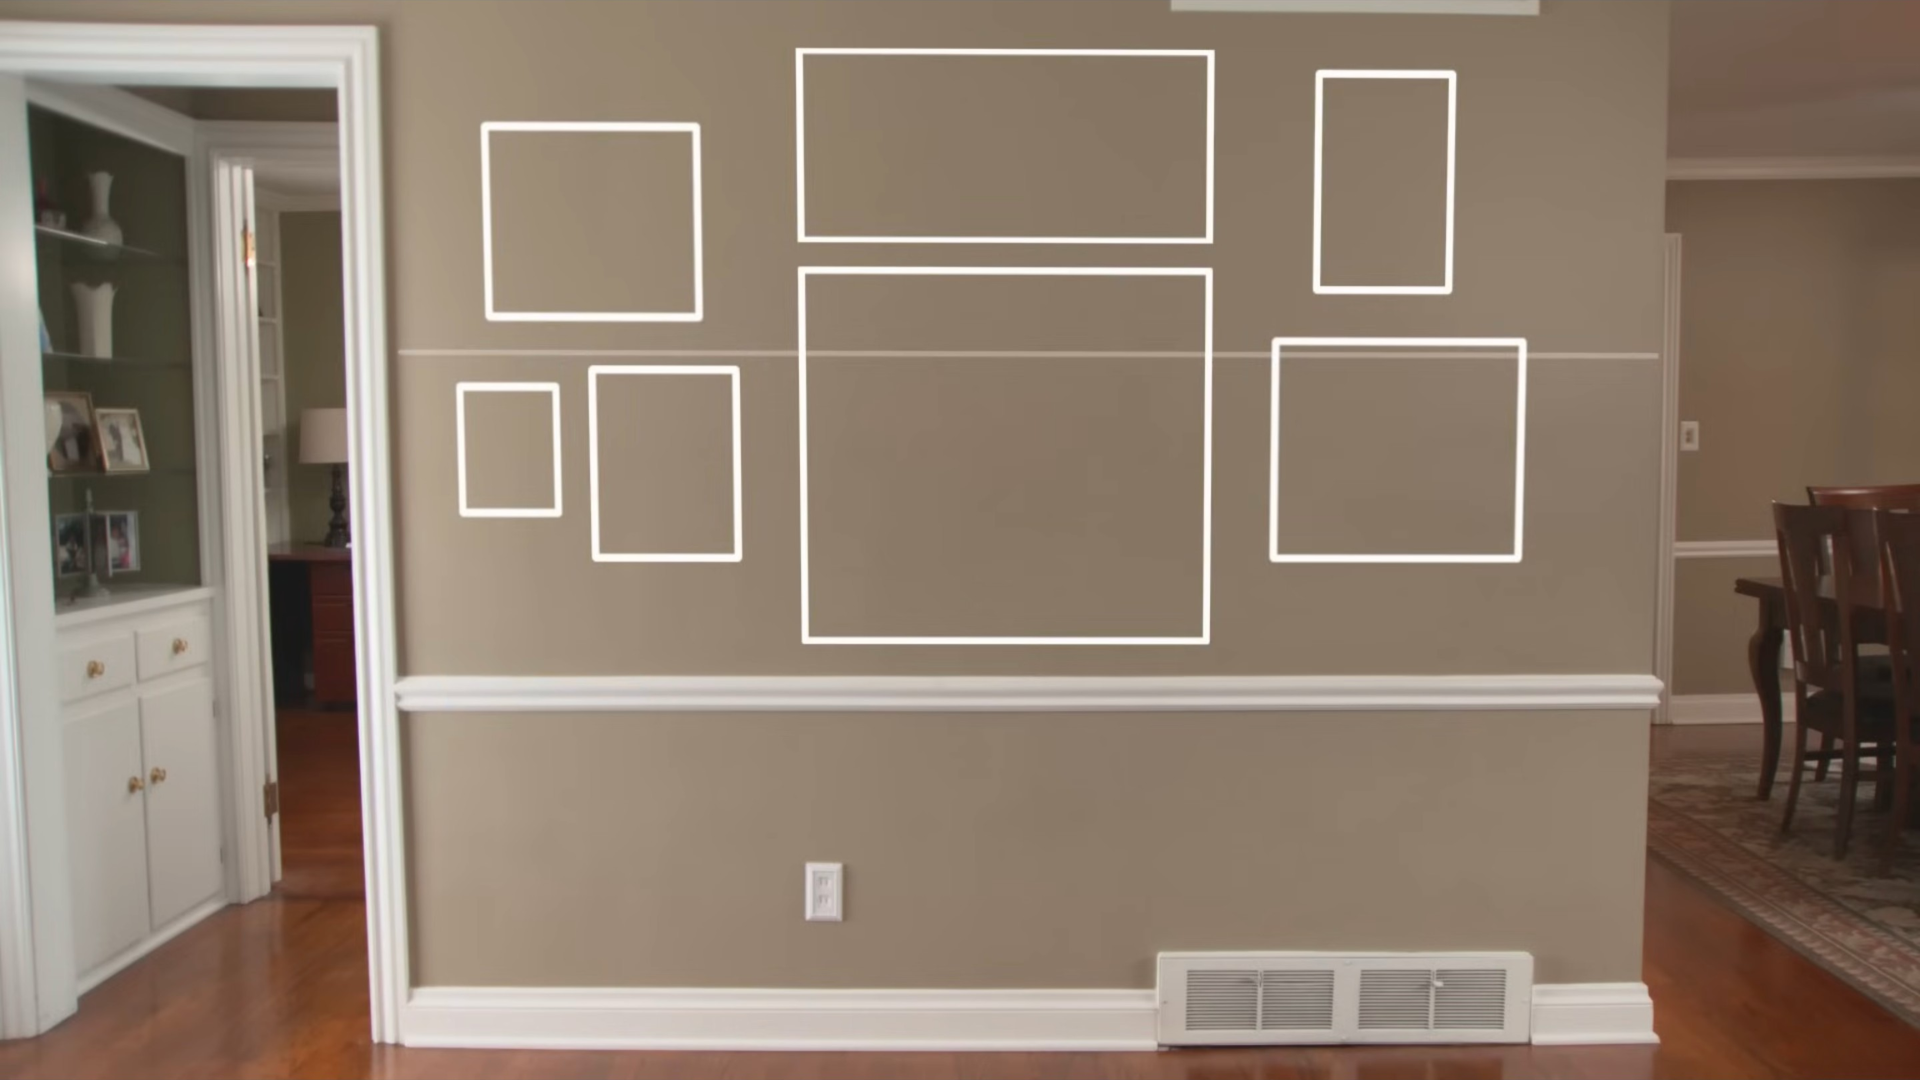
Start by deciding where you want to hang your picture. Hold the frame against the wall or lay everything out on the floor first to see what looks best.
For a more precise approach, cut pieces of paper or newspaper to the exact size of each frame and tape them to the wall with painter’s tape.
You can check size, spacing, and height before committing to a single hole, and leave them up for a day or two to make sure you’re happy with the arrangement.
If you’re creating a gallery wall, arrange frames evenly and keep spacing consistent. Treat the entire grouping as one large picture.
Find the visual center of the whole arrangement, not any single frame, and plan to hang that center point at 57–60 inches from the floor. This keeps the gallery wall feeling anchored rather than scattered.
A few minutes of planning here saves a wall full of extra holes later.
Step 2: Measure and Mark the Position
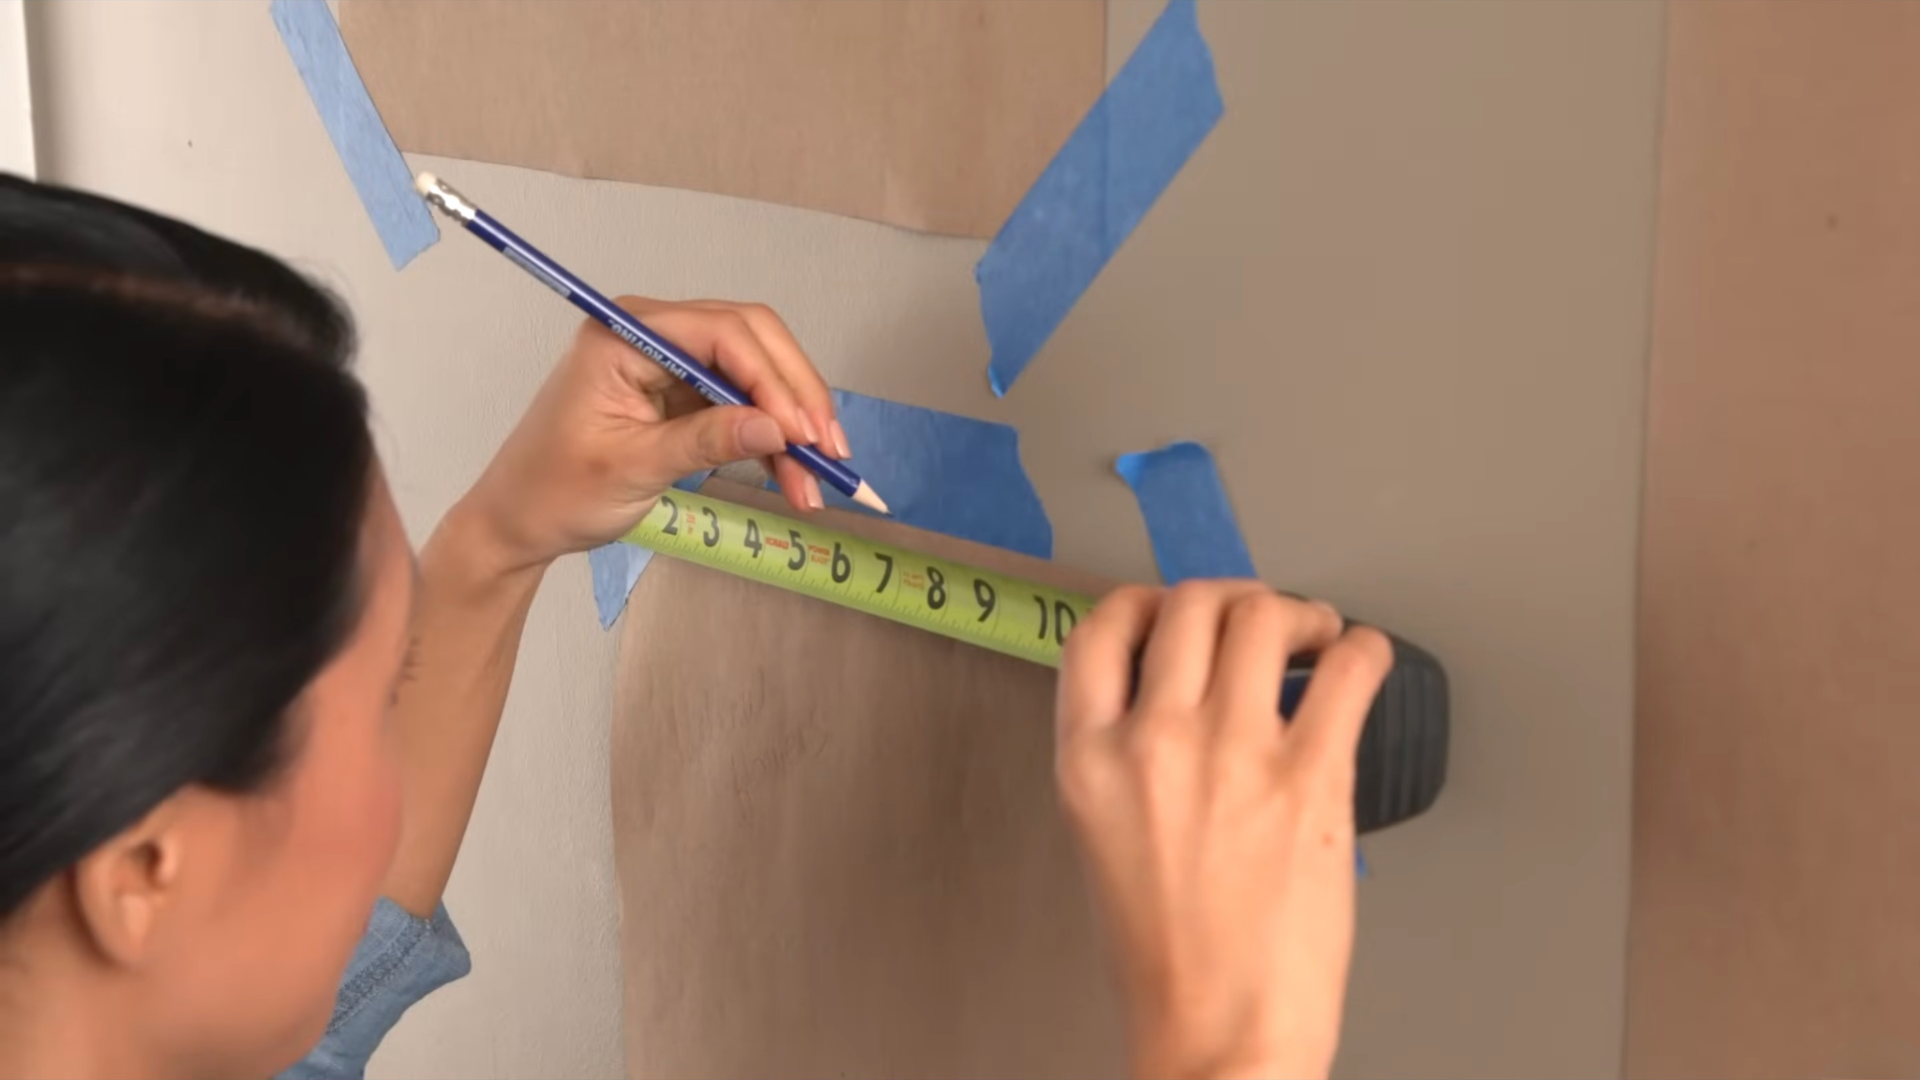
Once you’ve chosen the spot, measure carefully. Start by finding the top center of the frame and marking that point on the wall at your target height.
Then measure from the top edge of the frame down to the hanging hardware — the wire at full tension, the sawtooth bracket, or the D-ring. Whatever that distance is, subtract it from your wall mark. That lower point is where your hook or nail goes.
For example: if your target center height is 58 inches and the hardware sits 3 inches below the top of the frame, your nail goes at 55 inches. Use a pencil to mark the spot lightly so you can adjust if needed.
Getting this measurement right is what separates a clean result from a crooked one with extra holes in the wall.
Step 3: Find the Correct Height
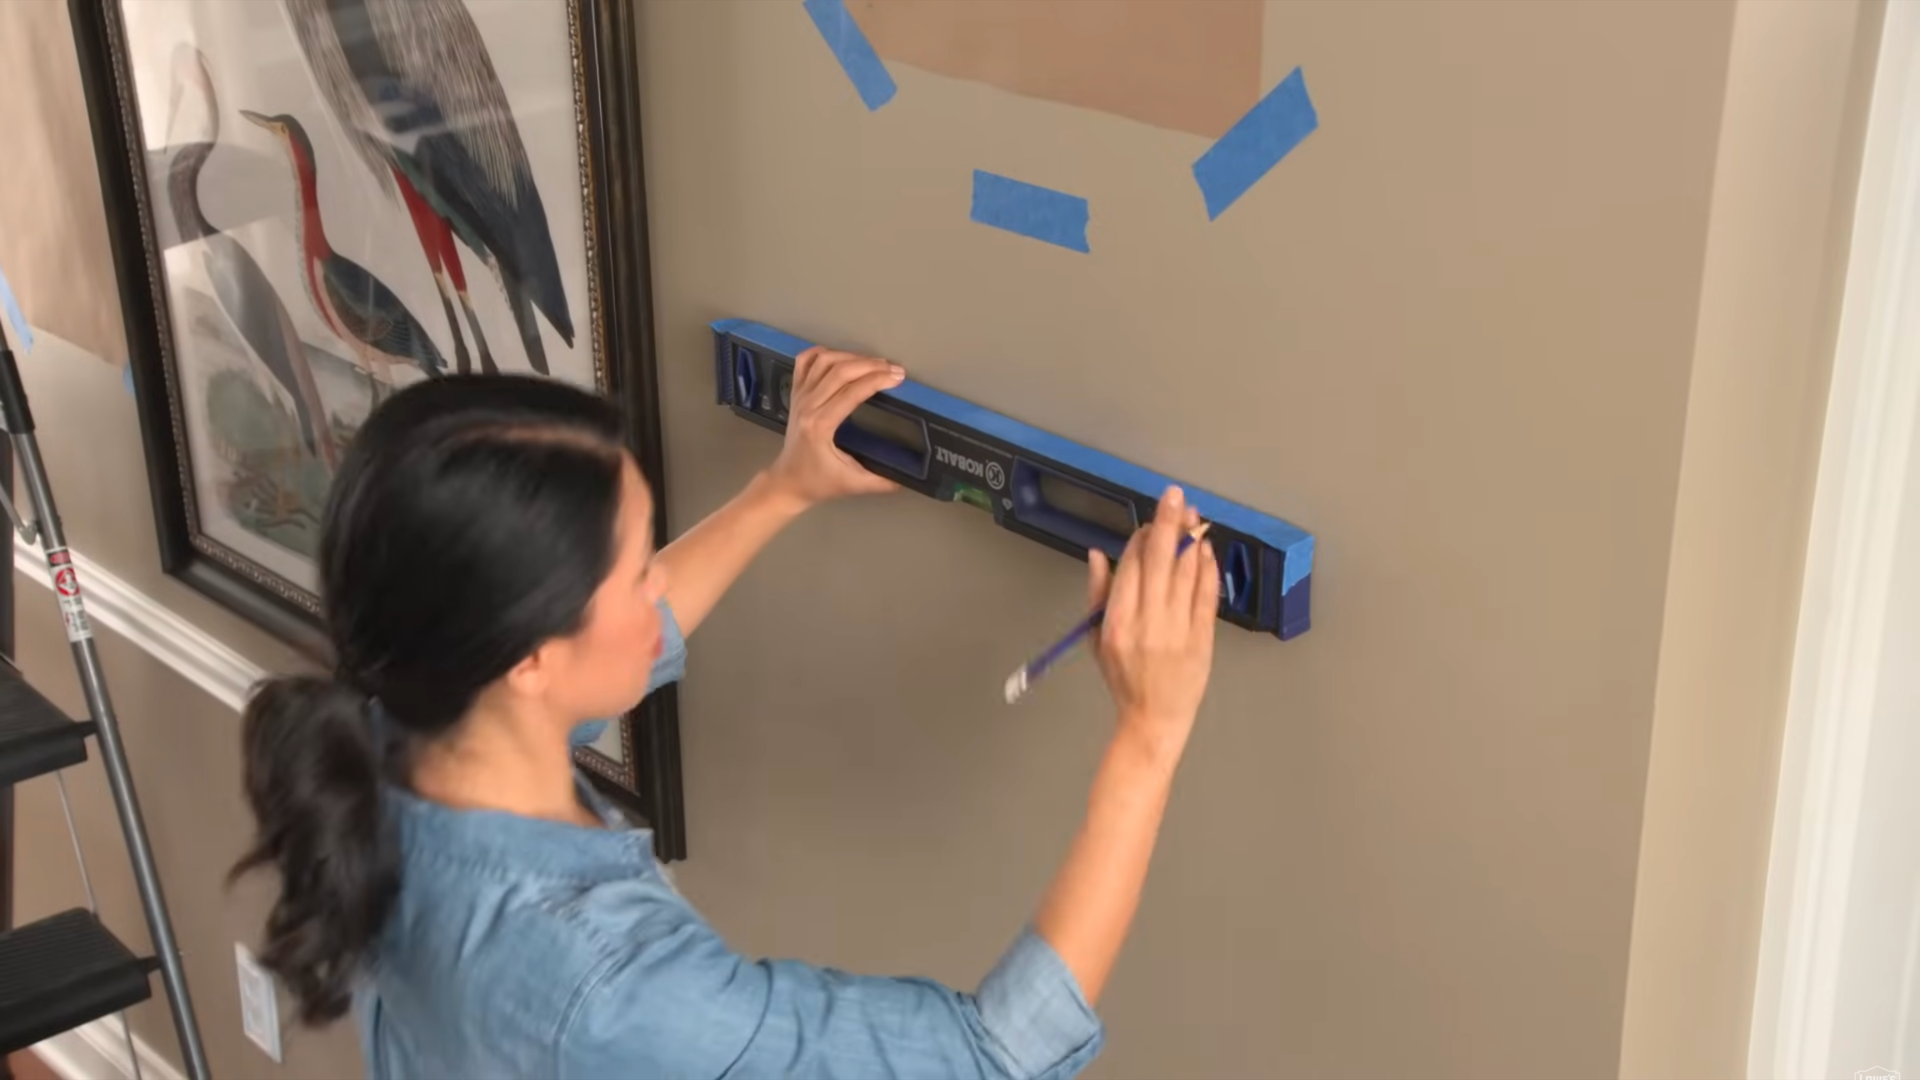
Height plays a big role in how your picture looks. The standard rule is to hang the center of the picture at eye level, usually around 57–60 inches from the floor.
If you’re placing it above furniture, leave a gap of about 6–8 inches between the top of the furniture and the bottom of the frame.
A gap much larger than that makes the picture feel disconnected from the room. Getting this right is the single biggest factor in whether the final result feels intentional or off.
Step 4: Install the Hook or Fixing
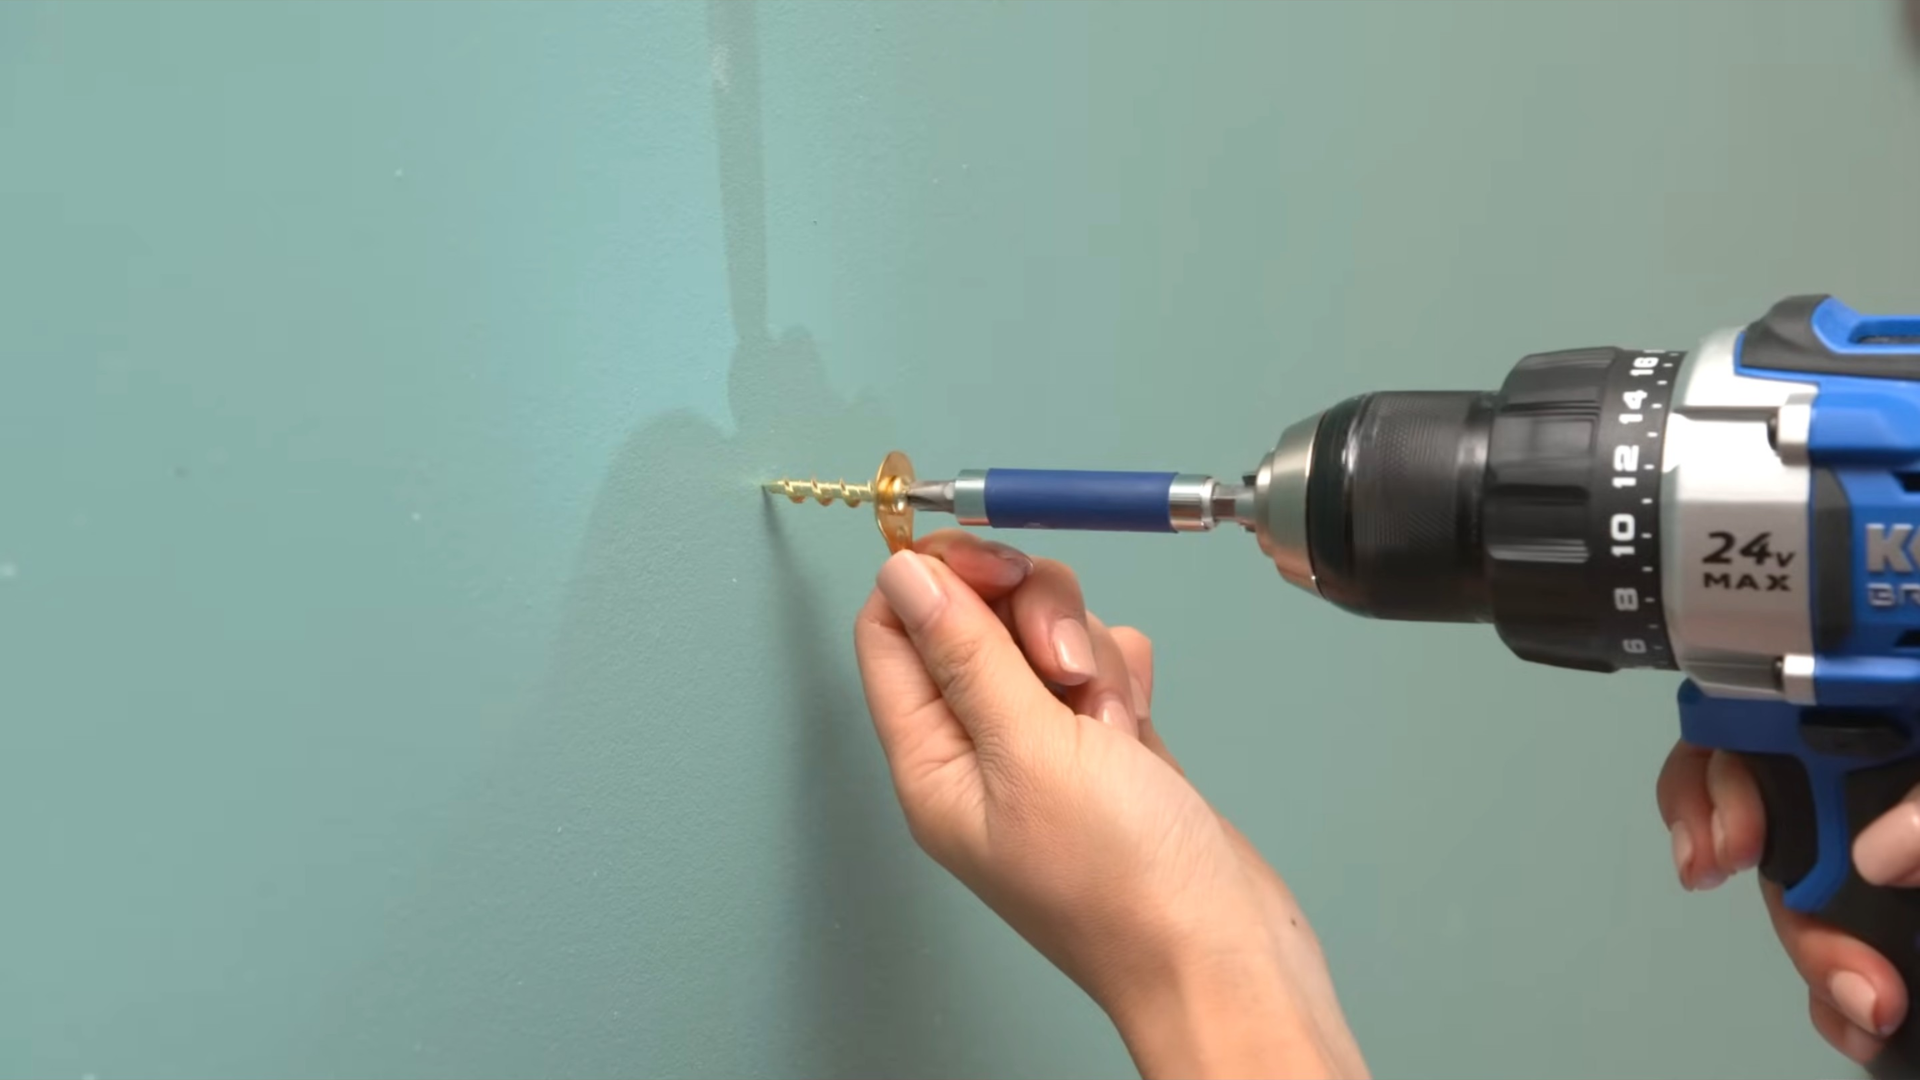
Choose the right fixing based on the weight of your frame. For light frames, a simple nail or hook works well. For heavier ones, use wall anchors or screws for better support.
Carefully hammer or drill into the marked spot. Make sure the fixing is fully secure before hanging the frame; give it a gentle tug to test it.
The right anchor for the weight is what separates a secure hang from one that shifts or drops.
Step 5: Hang and Level the Picture
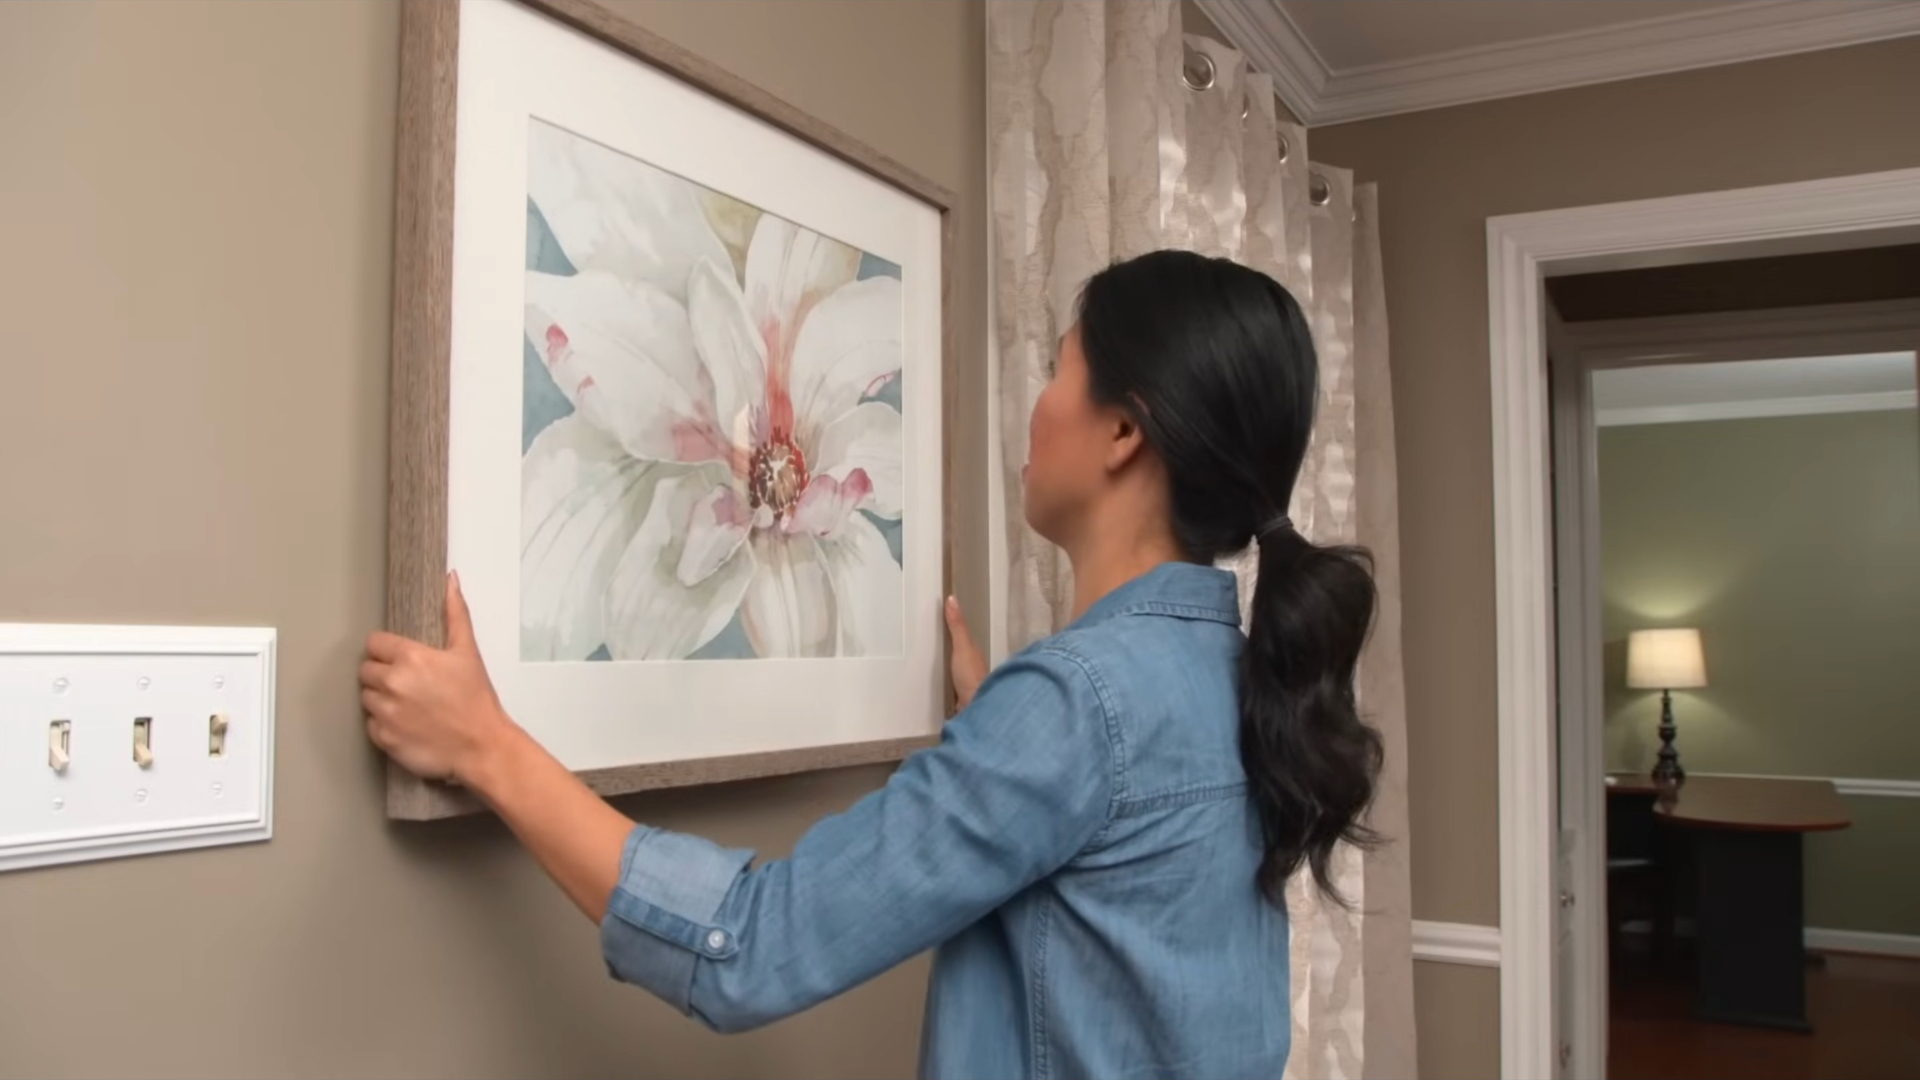
Place the picture onto the hook or nail and adjust it gently. Use a level to confirm the frame is straight.
If the frame keeps tilting, the wire or D-rings may be uneven. Slide the wire left or right on the hook to correct it. For larger frames, use two hooks spaced a few inches apart — this locks the position and prevents shifting over time.
Step back and check how it looks from a distance. Make small adjustments until it looks aligned, then you’re done.
Want to see these steps in action? Check out the full video tutorial below for a clearer view and extra tips:
Golden Rules for Perfect Picture Placement
A few simple rules can stop a wall from looking cluttered or unbalanced. These aren’t complicated — they’re just easy to forget in the moment. Keep them in mind before you start marking the wall.
- Hang at Eye Level: Keep the center of the picture around 57–60 inches from the floor for a natural, comfortable viewing height.
- Maintain Even Spacing: Leave 2–4 inches between frames to create a clean and organized look.
- Align with Furniture: Position pictures 6–8 inches above furniture to keep everything visually connected as a unit.
- Balance the Layout: Mix frame sizes carefully so the wall doesn’t feel too heavy on one side.
- Use Straight Lines: Align the tops, bottoms, or centers of frames for a tidy, professional appearance.
These rules work together. Breaking one doesn’t ruin the result, but following all five is what makes a wall look like it was done deliberately.
How to Hang Pictures on Different Wall Types
Different wall types need different tools and methods to keep your pictures secure. Using the wrong hardware for your wall type is one of the most common reasons frames fall. Here’s what to use for each surface.
1. Drywall
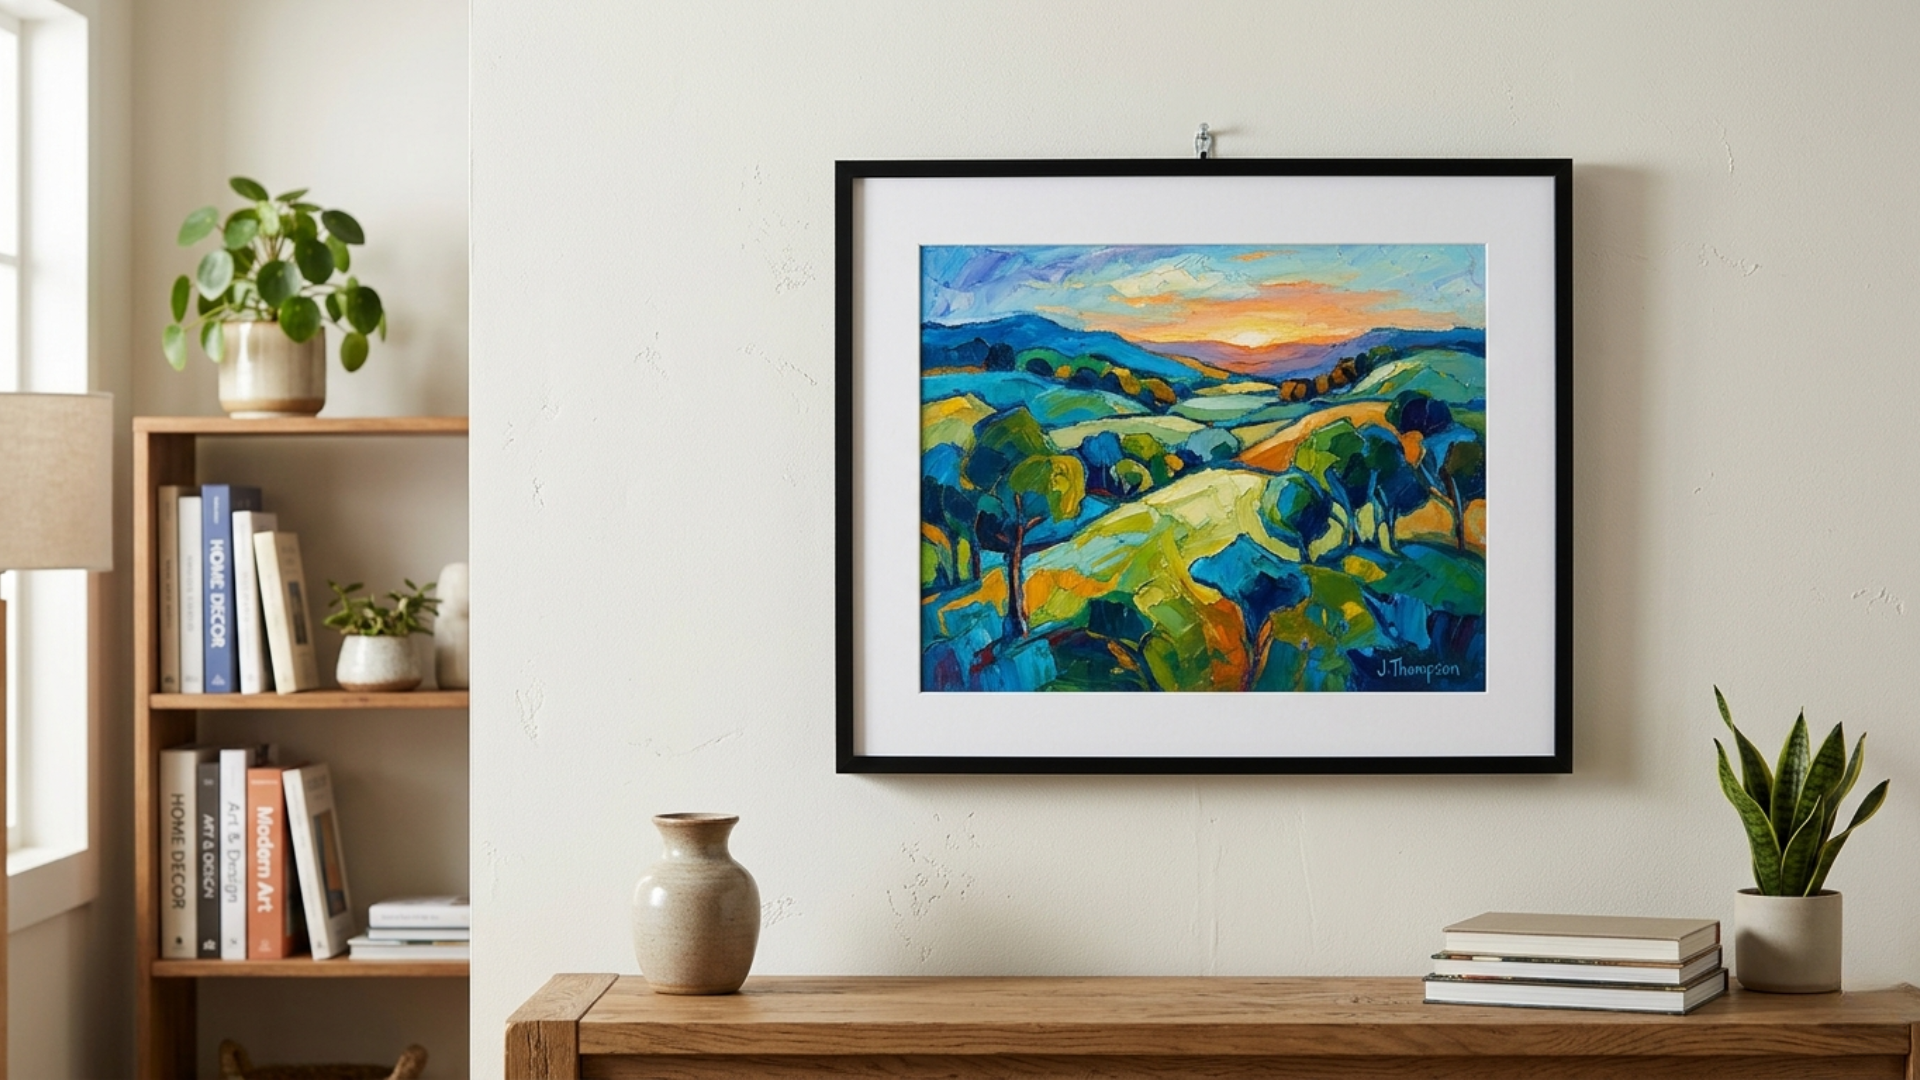
Drywall is the most common wall type in homes, but it isn’t very strong on its own. For lightweight frames, simple nails or picture hooks are enough.
For heavier pictures, use wall anchors or screws. If you can locate a stud behind the drywall with a stud finder, use it. A screw into a stud gives you the strongest possible hold, often rated for 50 lbs or more.
Not sure where the stud is? A basic stud finder costs around $15 and takes seconds to use.
The right anchor for the weight is what keeps a picture on the wall long-term, not just on the first day.
2. Plaster Walls
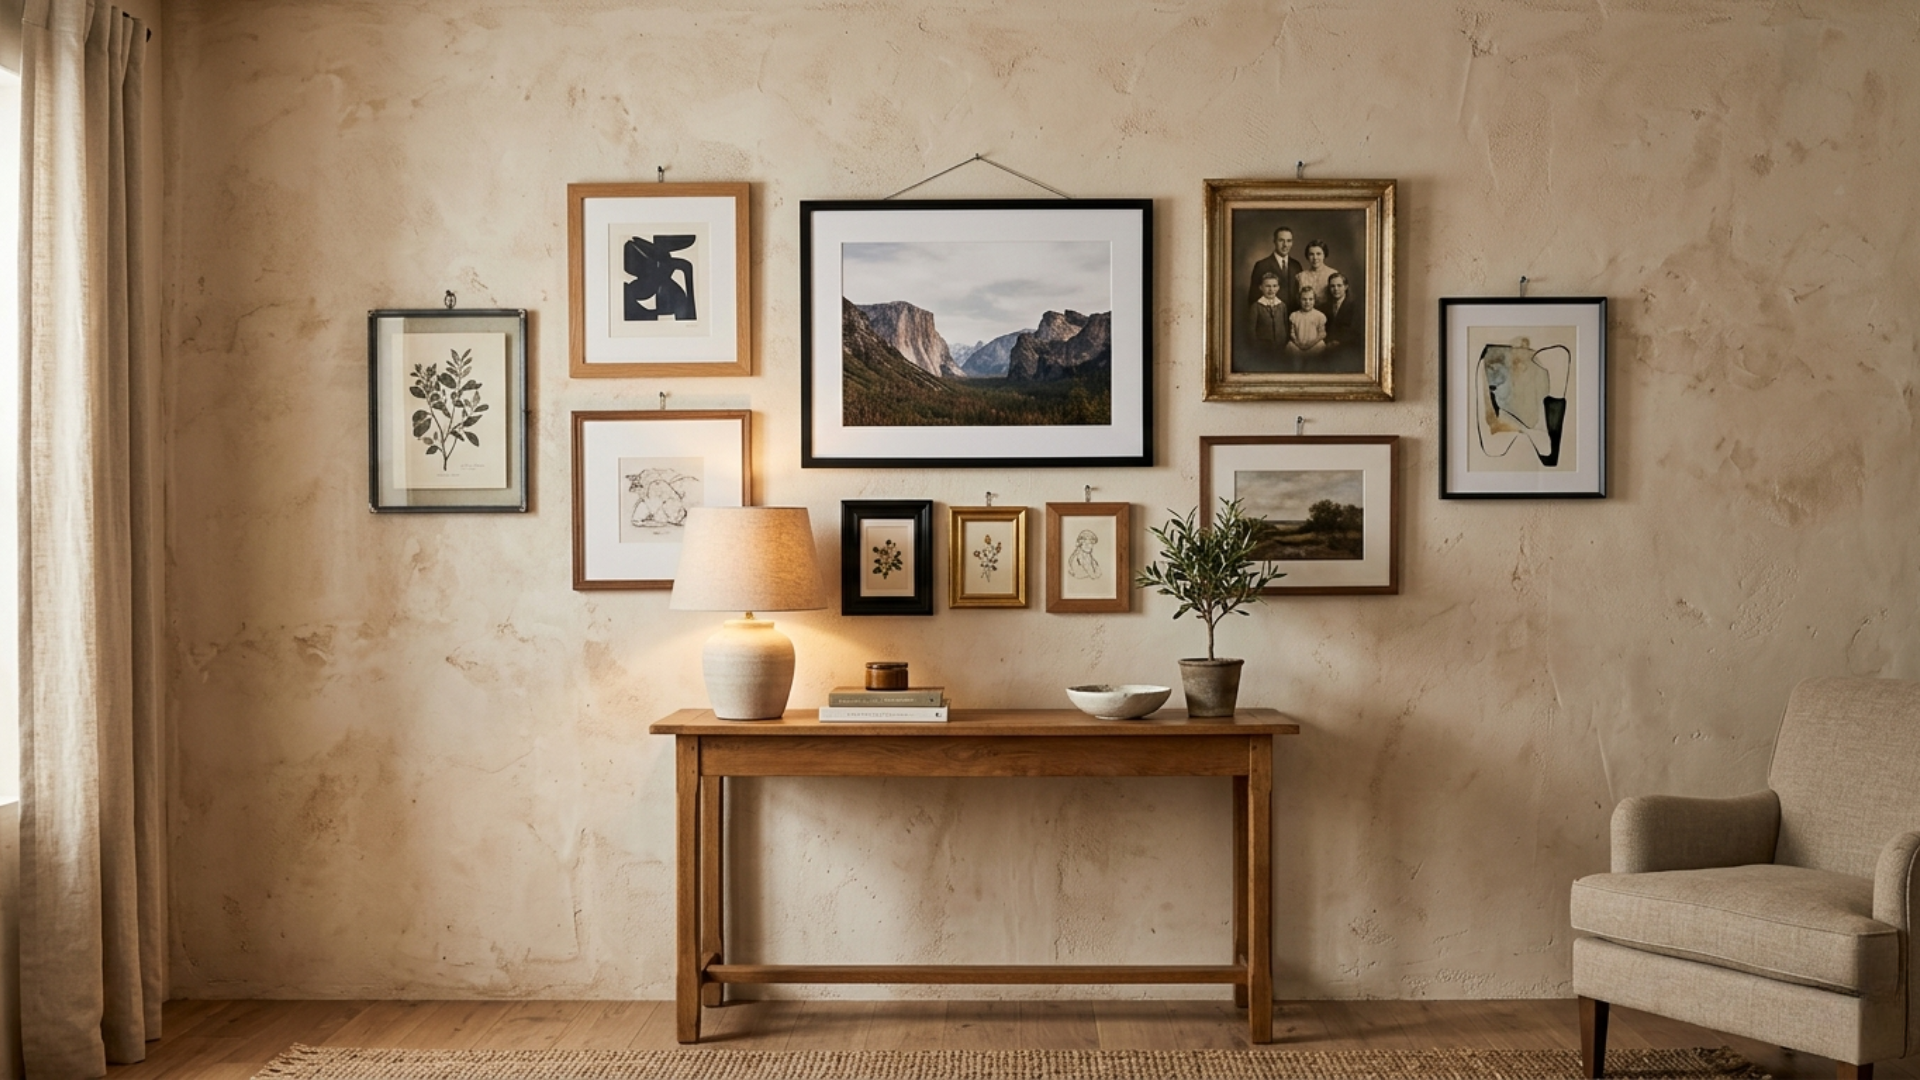
Plaster walls are harder and more brittle than drywall. Hammering a nail directly into plaster, especially older plaster, can crack the surface around it.
Use a drill with a masonry bit instead. Drill slowly and apply steady pressure, then insert wall anchors before screwing in your hook. Plaster holds weight just as well as drywall when installed correctly; the slower, more careful approach is what makes the difference.
Done right, plaster is a reliable surface. Done in a hurry, it cracks and crumbles.
3. Brick Walls
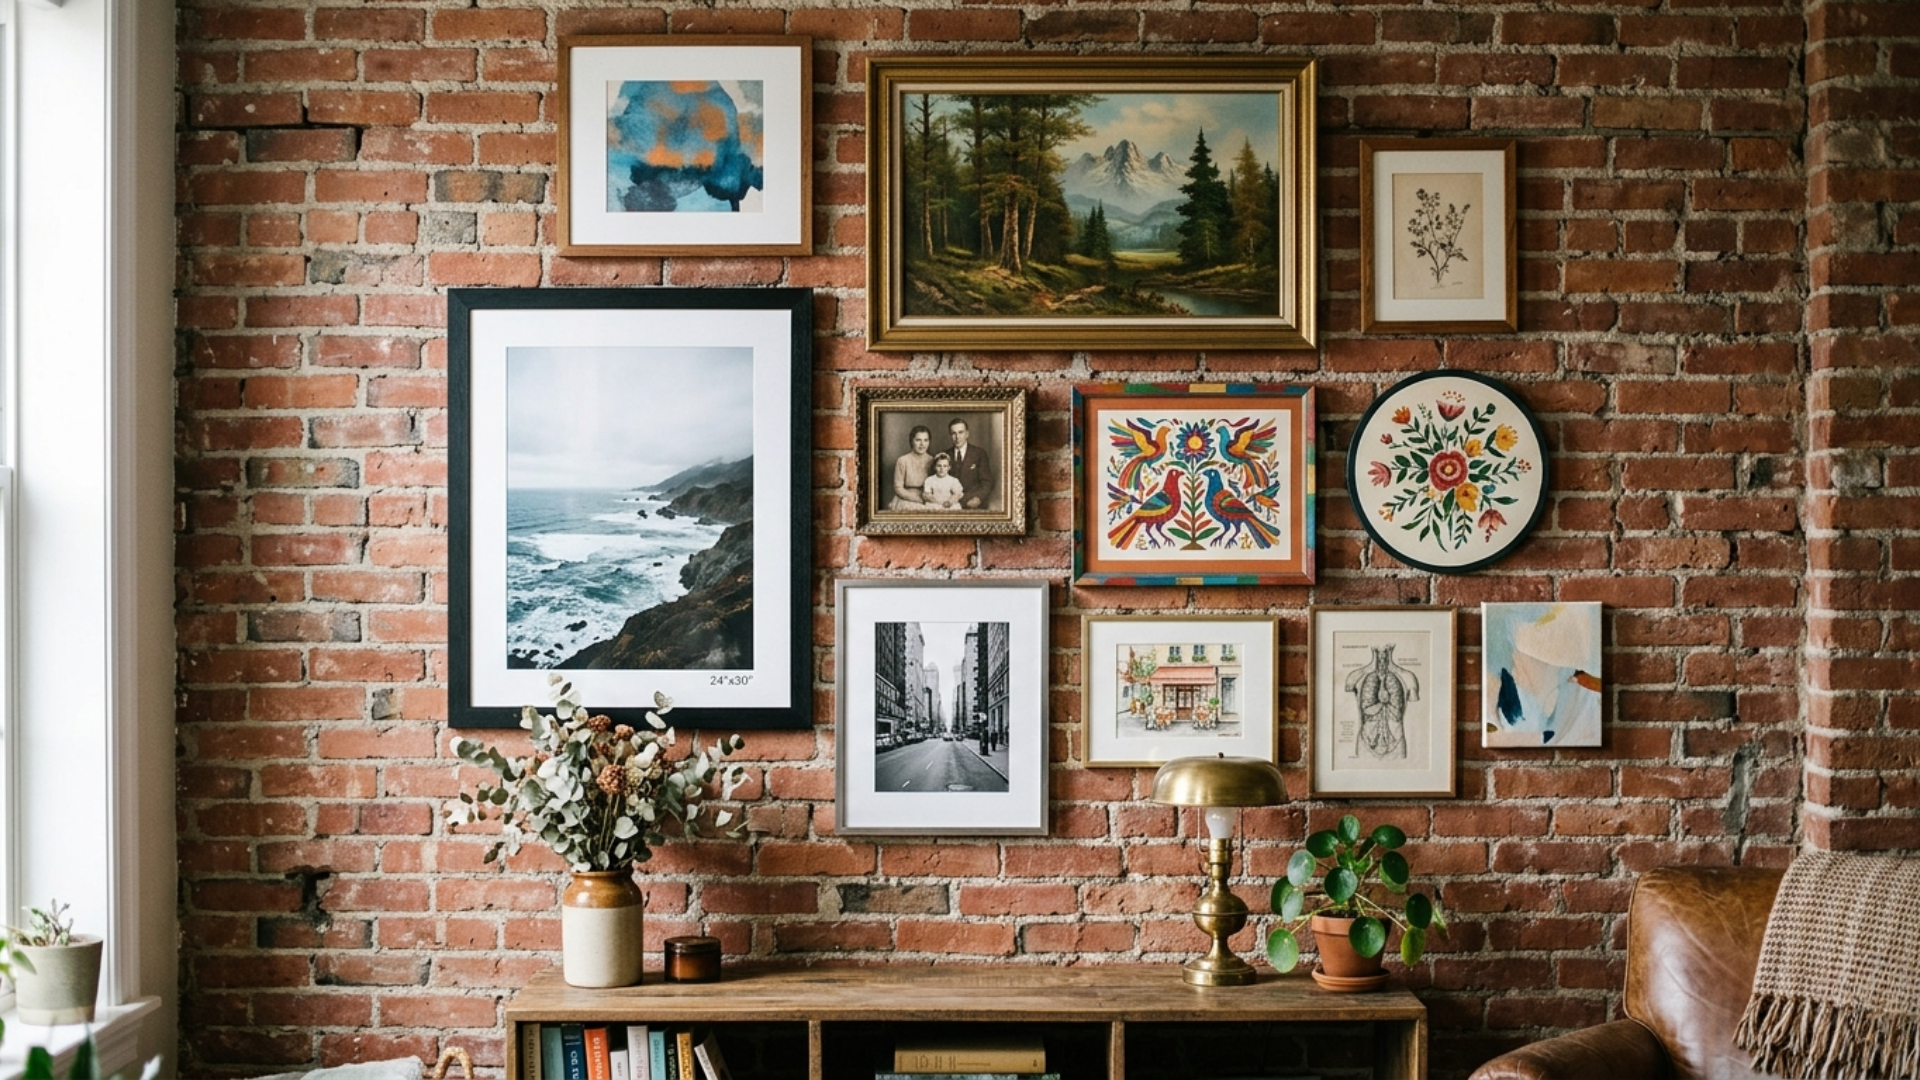
Brick walls are very strong, but they require the right tools. You’ll need a drill with a masonry bit to create a hole for wall plugs.
Drill into the mortar between bricks rather than the brick itself, mortar is softer and easier to work with, and it holds anchors just as reliably. After drilling, insert wall plugs and screw in your hooks.
Brick handles heavy frames well when installed properly. The weight isn’t the issue; it’s having the right bit and taking your time with the drilling.
4. Concrete Walls
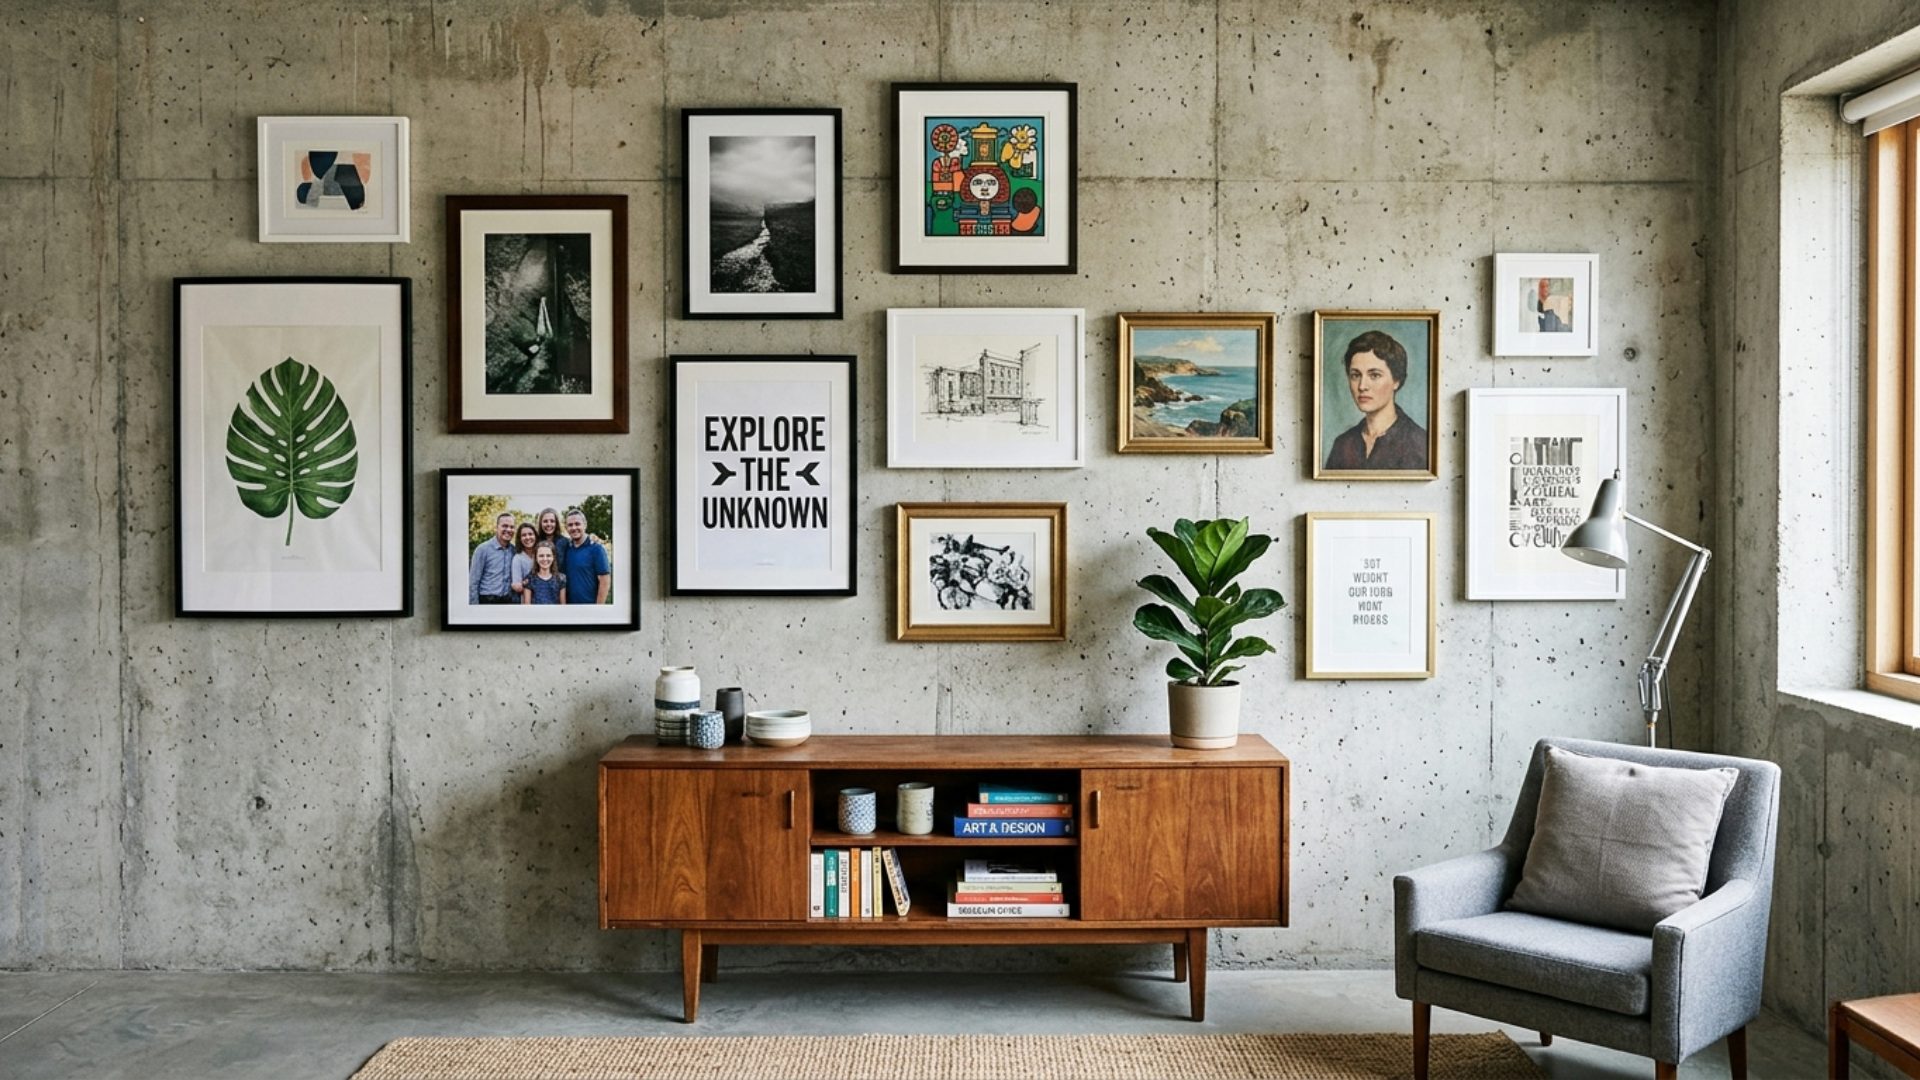
Concrete is similar to brick but denser and harder to drill into. You’ll need a power drill with a masonry or hammer-drill bit, plus concrete-specific wall anchors or concrete screws.
Mark your spot carefully before you start; repositioning is difficult once you’ve drilled. Go slowly and steadily to protect both the wall and your drill bit. Once the anchor is set, tighten the screw and test it before hanging anything.
Concrete is unforgiving if you rush, but it gives you one of the strongest possible holds when done properly.
5. Tile or Glass Walls
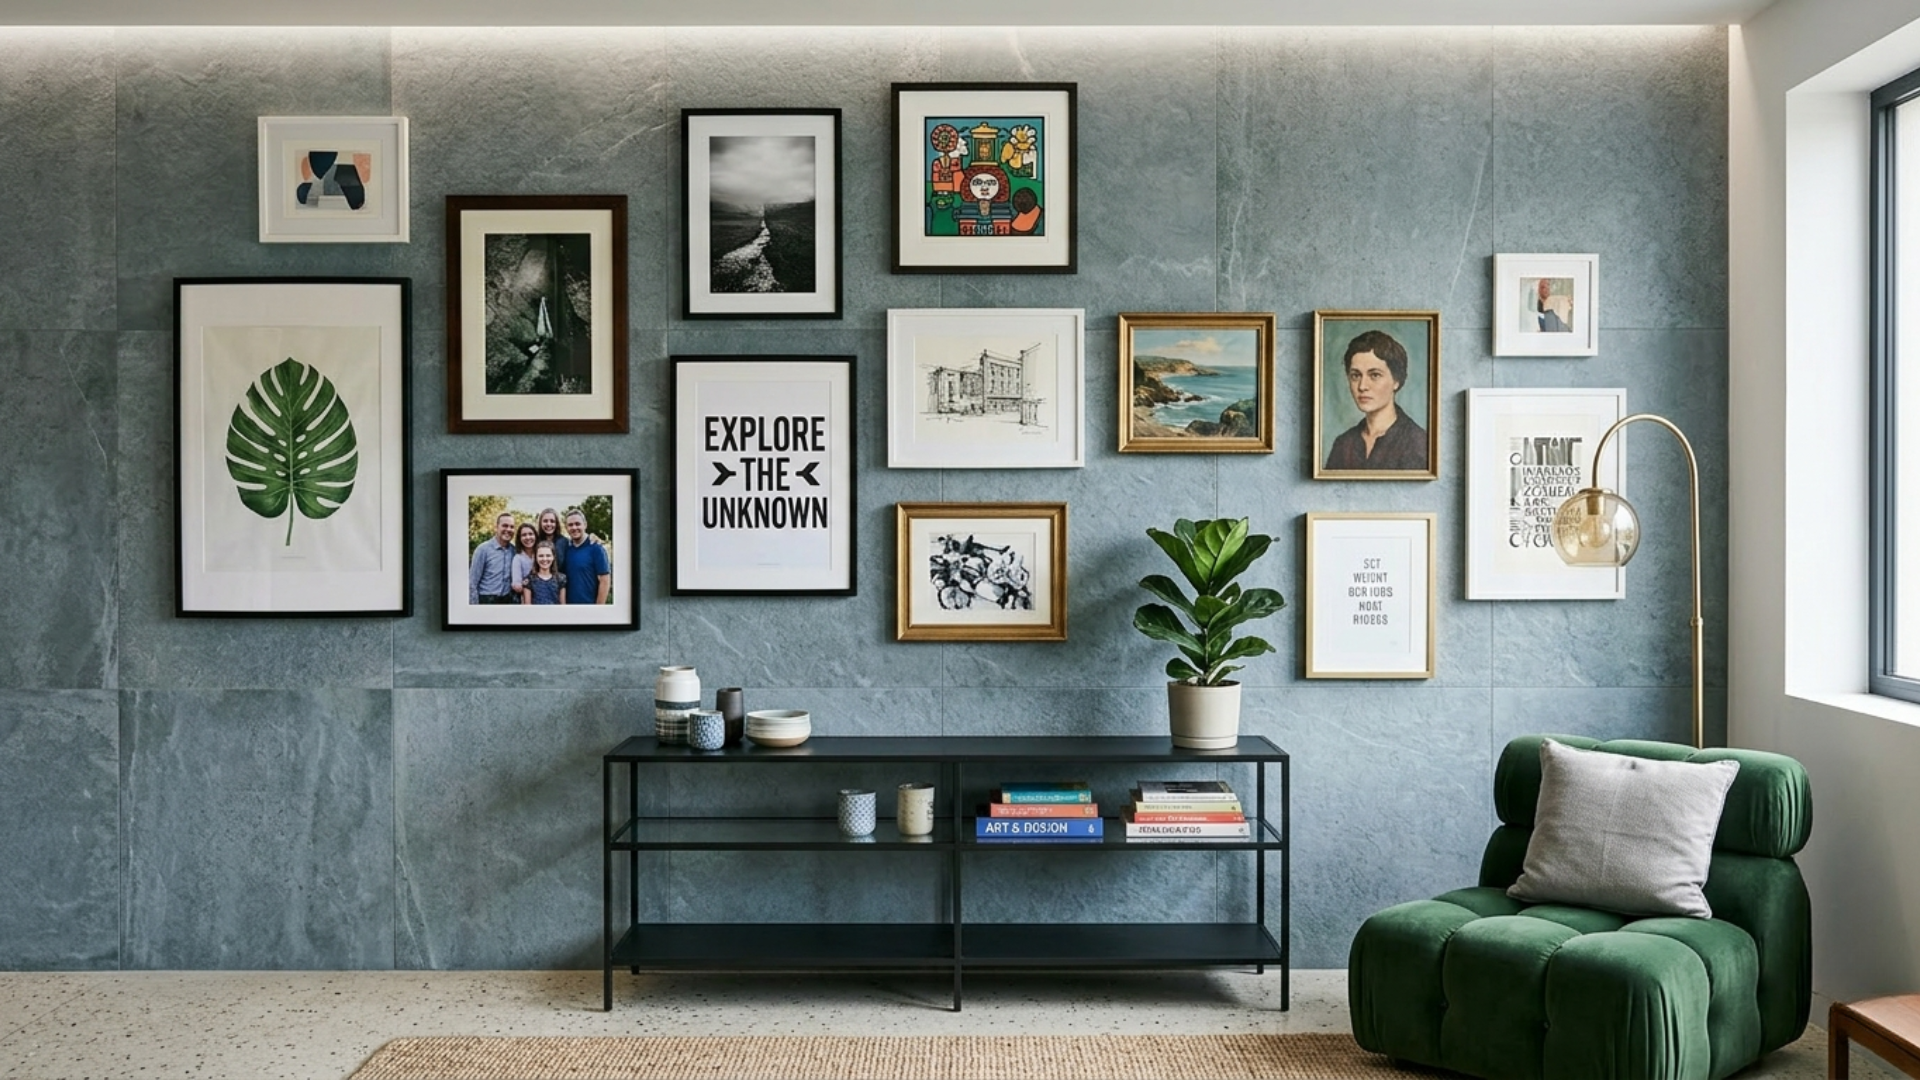
Tile and glass crack easily under the wrong kind of pressure. Adhesive hooks or mounting strips are usually the better option here; they’re designed for smooth surfaces and avoid the risk of breaking the tile entirely.
If drilling is genuinely necessary, use a tile drill bit and go slowly from the start. Mark the spot clearly, use painter’s tape over the surface to reduce slipping, and keep the drill speed low to prevent heat build-up that causes cracking.
For most situations on tile, adhesive is the smarter call. Save drilling for when there’s no other option.
No-Nail Methods
Renters, light decorators, and anyone who rearranges their space regularly have a reliable alternative to nails.
Adhesive hooks and picture hanging strips skip the hardware entirely and leave walls intact when removed correctly.
Most adhesive strips are rated for 4–16 lbs per pair when applied to a clean, dry surface; enough for smaller prints and light frames, but not for large canvases or heavy wood frames.
Always check the weight rating on the packaging before you commit.
Press them firmly against the wall and wait the full setting time before hanging anything. Rushing this is why they fail.
These work well for temporary setups or flexible decorating. For anything heavier or permanent, nails and anchors are still the better choice.
Pro Tips & Smart Hacks
Small tricks can save you time and spare your walls from extra holes. These are the ones that actually make a difference once you’re standing in front of the wall with a hammer in hand.
- Use the Paper Template Method: Cut newspaper or paper to the exact size of each frame and tape it to the wall. It lets you test the full layout before making a single hole.
- Mark with the Toothpaste Trick: Dab a little toothpaste on the hanging hardware on the back of the frame, then press it against the wall. It leaves a precise mark showing exactly where the nail should go.
- Use Two Hooks for Stability: For larger frames, two hooks spaced apart prevent tilting and keep the picture locked in position over time.
- Check from a Distance: Step back and view the picture from across the room before you’re done. Small adjustments are much easier to spot from further away.
- Pre-Level Before Hanging: Adjust the wire or D-ring position on the back of the frame before it goes on the wall. The less correction you need afterward, the better.
None of these take more than a minute, but each one solves a problem that’s annoying to fix after the frame is already up.
Conclusion
Hanging pictures on a wall doesn’t have to feel confusing or stressful. With the right approach, a little planning, and simple tools, you can get a clean and balanced result in any room.
From measuring the nail position correctly to choosing the right hardware for your wall type, each step builds toward a result that looks deliberate, not accidental.
Whether you’re hanging a single frame or building out a full gallery wall, the process is the same: measure carefully, check your height, and use the right fixing for the weight.
Take your time on the first one. The rest get easier from there.
Frequently Asked Questions
What is the Ideal Distance Between Multiple Picture Groupings?
The ideal distance between picture groupings is about 4–6 inches. This spacing keeps the layout balanced and visually neat without making the wall feel crowded.
Can Temperature or Humidity Affect Hung Pictures?
Yes, temperature and humidity can affect both frames and wall supports. High moisture can weaken adhesives and, over time, may damage frames.
How Do You Protect Walls from Frame Marks or Scratches?
You can use felt pads or rubber bumpers on the back of frames. These protect the wall surface and also keep pictures steady in place.
Is It Better to Use Wire or Sawtooth Hangers on Frames?
Wire hangers allow for easy left-right adjustment after hanging, which makes leveling much simpler. They’re the better choice for larger or heavier frames. Sawtooth hangers fix the position more firmly and work well for smaller, lightweight frames where you don’t need to fine-tune the placement.
How Often Should You Recheck Hung Pictures for Safety?
It is best to check your pictures every few months. This helps ensure hooks stay secure and reduces the risk of frames falling.