
Installing a downspout is an important task in maintaining a healthy home.
Downspouts help direct rainwater away from the gutters and foundation, preventing potential water damage.
If you’re looking to save money on professional installation or simply prefer to do it yourself, I can tell you that installing a downspout is a manageable DIY project.
With a few basic tools and materials, you’ll find that the job can be completed with ease.
In this guide, I’ll walk you through each step of the process, from measuring and cutting the downspout to securing it properly.
By following these simple instructions, you can protect your home from water damage while avoiding the cost of hiring a professional.
What is a Downspout?
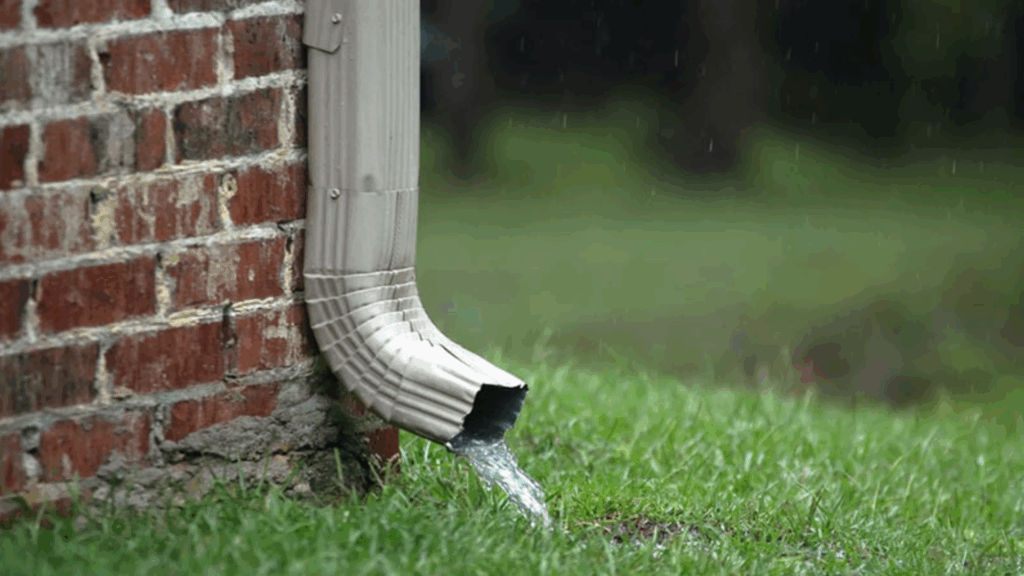
A downspout is a vertical pipe that channels rainwater from your roof’s gutters to the ground or drainage system, directing it away from the foundation of your home.
Downspouts are a crucial component of a home’s drainage system, helping to prevent water from pooling around the foundation, which can lead to water damage, erosion, and structural issues.
They are typically made from materials like aluminum, PVC, or steel, and come in various sizes to match the needs of different roof types and gutter systems.
Downspouts are often connected to the gutters through an elbow joint, allowing for proper flow and directing water to specific areas, such as a storm drain, a garden, or a rain barrel.
Installing a downspout is essential for managing water runoff effectively and protecting your home from the potential consequences of poor water drainage.
Why is Installing a Downspout Important?
Before jumping into the installation process, it’s essential to understand why downspouts are crucial to your home.
- Prevent Foundation Damage: Downspouts direct rainwater away from your home’s foundation, preventing water buildup that can cause cracks and leaks.
- Avoid Costly Issues: Without functioning downspouts, water can weaken your home’s structure over time, leading to expensive repairs.
- Prevent Mold & Mildew: Standing water around the foundation can create ideal conditions for mold and mildew growth, affecting the health of your home.
- Ensure Proper Water Diversion: Proper installation and maintenance of downspouts ensure rainwater is efficiently directed away, protecting your foundation.
- Protect the Landscape: Proper downspouts can also help prevent soil erosion, preserving the integrity of your yard and landscaping
Step-by-Step Guide to Installing a Downspout
This guide will walk you through the process of installing a downspout from measuring and cutting to securing it in place for effective water drainage.
Materials Needed
Gather the necessary tools and materials, including downspout pieces, elbow connectors, and screws, to ensure a smooth and efficient installation.
- Downspout pieces (PVC or metal)
- Elbow connectors
- Downspout straps
- Zip screws or screws
- Hole punch
- Measuring tape
- Chalk line or pencil
- Ladder
- Chop saw or tin snips (for cutting)
- Caulking (optional for sealing seams)
- Level
Step 1: Measure and Cut the Downspout
Begin by measuring the distance from the edge of the fascia (where the gutter meets the roof) to the side of the house. This distance is generally around two feet, but it doesn’t need to be exact.
Once you have your measurement, subtract about five inches to allow for fitting the elbow connector. For example, if your measurement is two feet, subtract five inches to get a final length of 1 foot 7 inches.
Next, use a chop saw or tin snips to cut the downspout to the correct length based on your measurements.
Step 2: Attach the Elbow Connector
For the first elbow, make sure it is positioned to go inside the downspout piece rather than on the outside. This ensures that the water stays inside the system and doesn’t pour out of any seams.
Attach the elbow connector to the cut end of the downspout. Repeat this for the second elbow that goes around a corner if needed.
Again, ensure it fits securely to maintain a watertight connection.
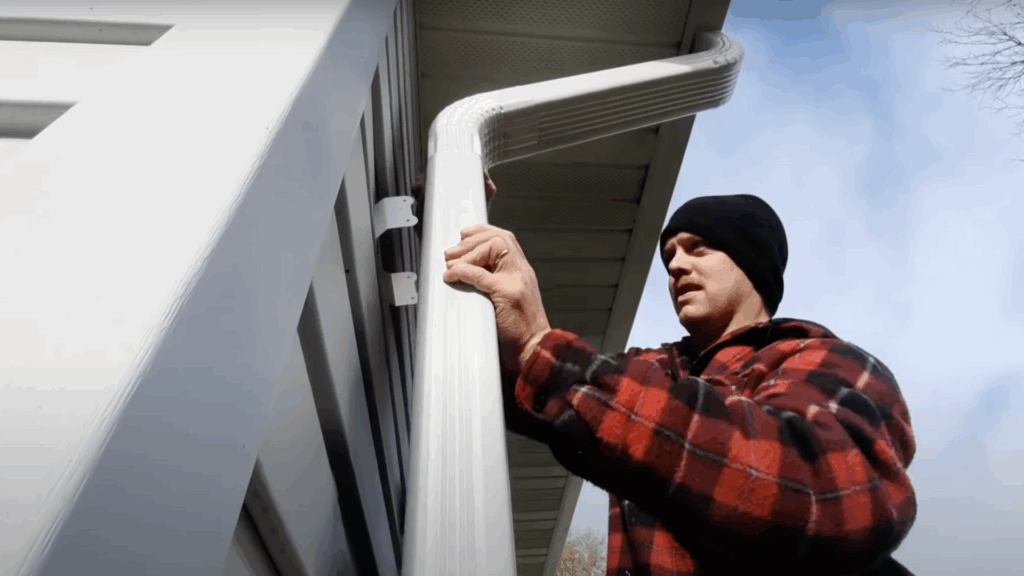
Step 3: Prepare and Attach the Downspout to the Gutter
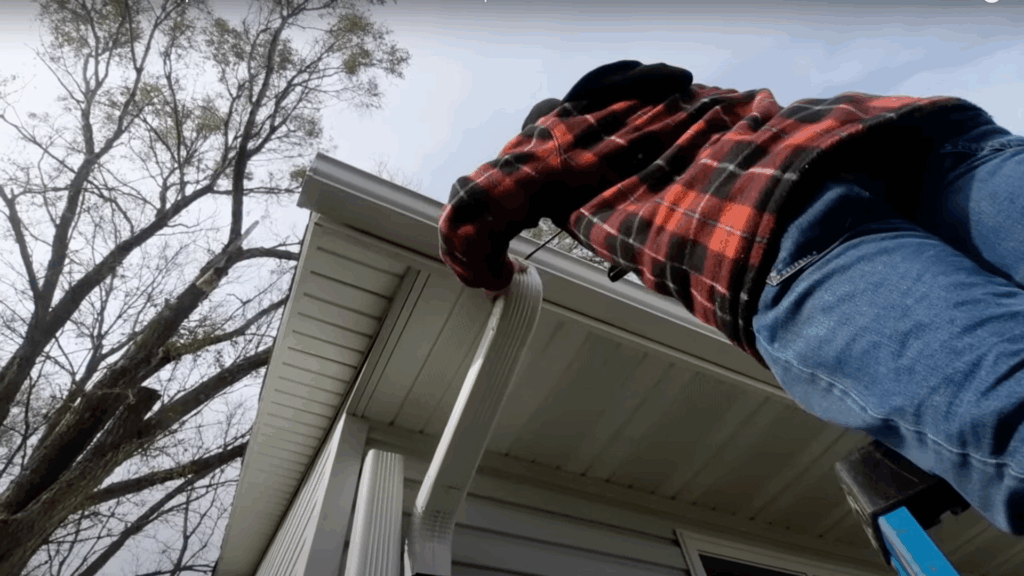
Once your downspout and elbows are ready, attach the first elbow to the gutter by inserting the top of the downspout into the gutter’s downspout opening. Make sure the pieces fit snugly.
At this point, use a hole punch to secure the downspout to the gutter. This will hold the downspout in place and ensure that the water flows properly from the gutter to the downspout.
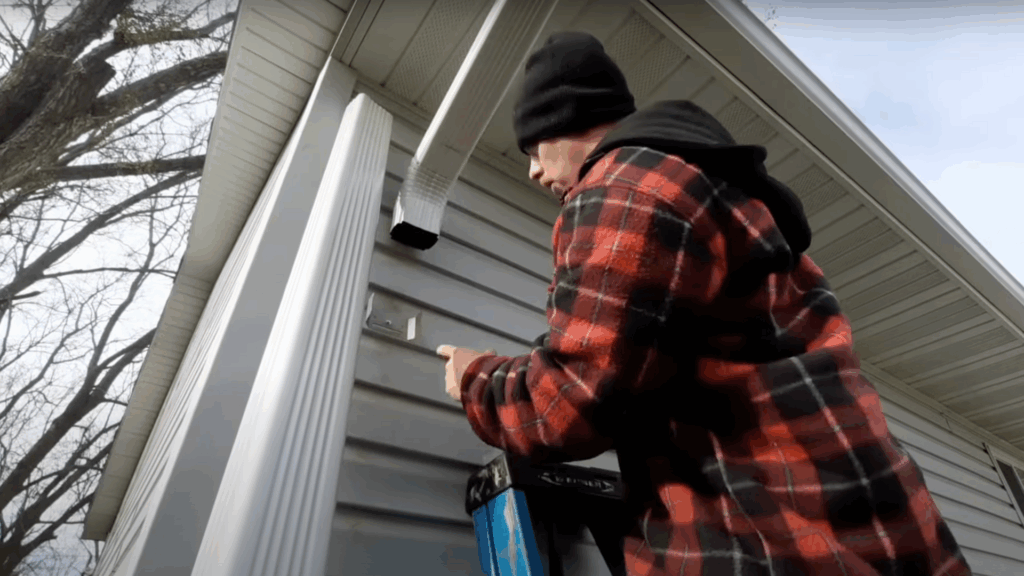
Step 4: Secure the Downspout to the Wall
Now it’s time to attach the downspout to the exterior wall of your home. Start by determining the placement of the downspout, making sure it’s about two feet off the ground for proper drainage.
Mark the location on the wall and use straps to secure the downspout in place.
Once the straps are attached, tighten them by pulling the back of the downspout, ensuring it fits snugly against the wall. This will prevent any wobbling or loosening over time.
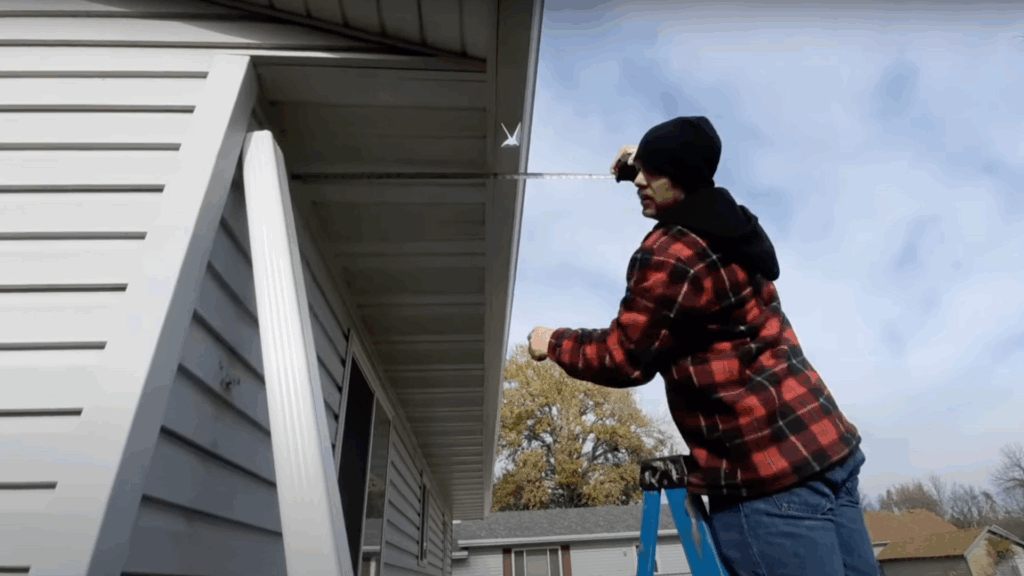
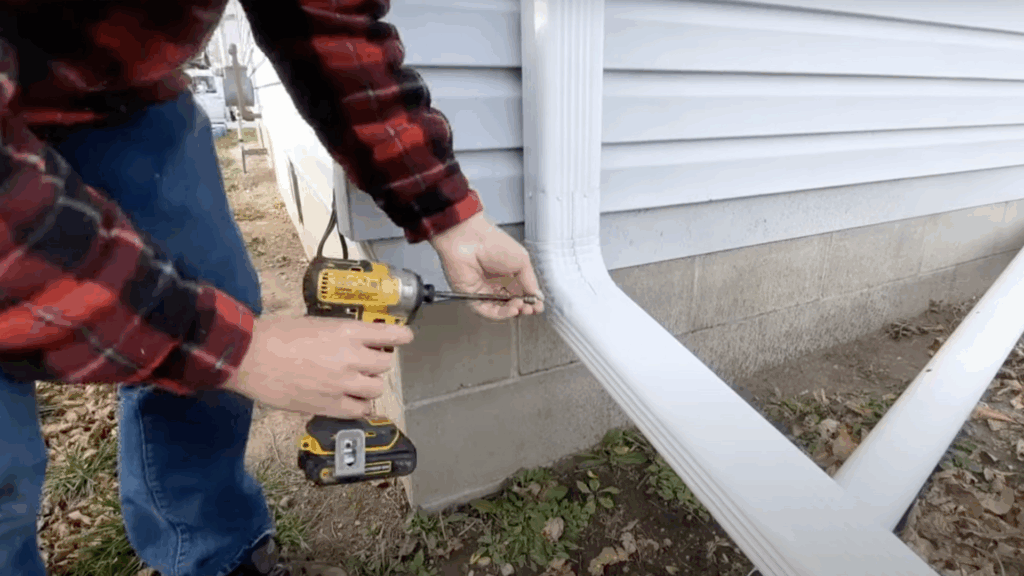
Step 5: Add Zip Screws for Extra Stability
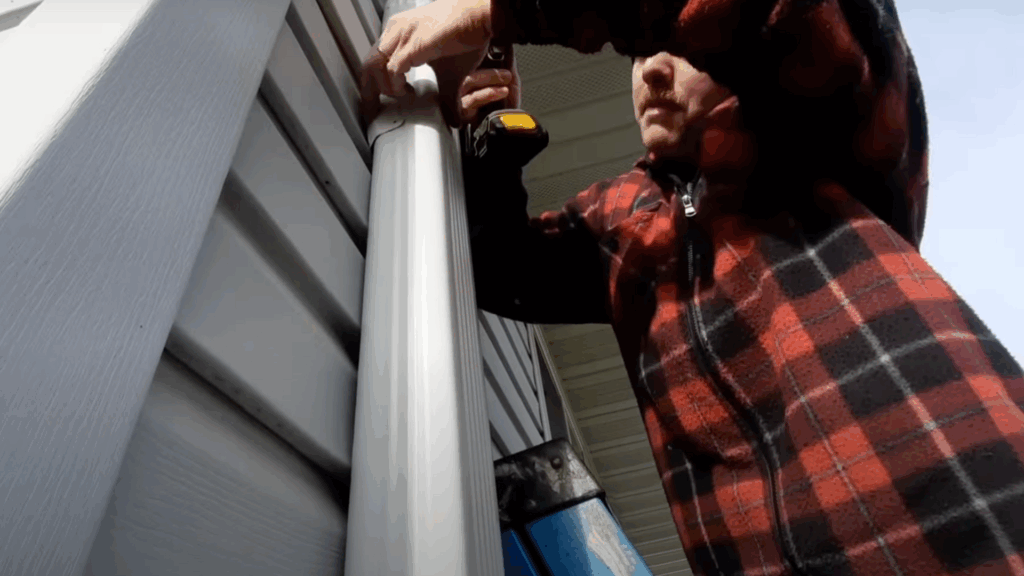
For extra security, use zip screws or regular screws to fasten the downspout to the wall. Start by securing one screw on each side of the downspout, making sure it is straight and aligned.
Pay extra attention to the bottom of the downspout, as this area is prone to damage. Ensure the bottom is particularly secure by adding an additional screw.
This helps ensure that your downspout remains firmly attached even if it’s bumped or knocked.
Step 6: Install the Downspout Extension
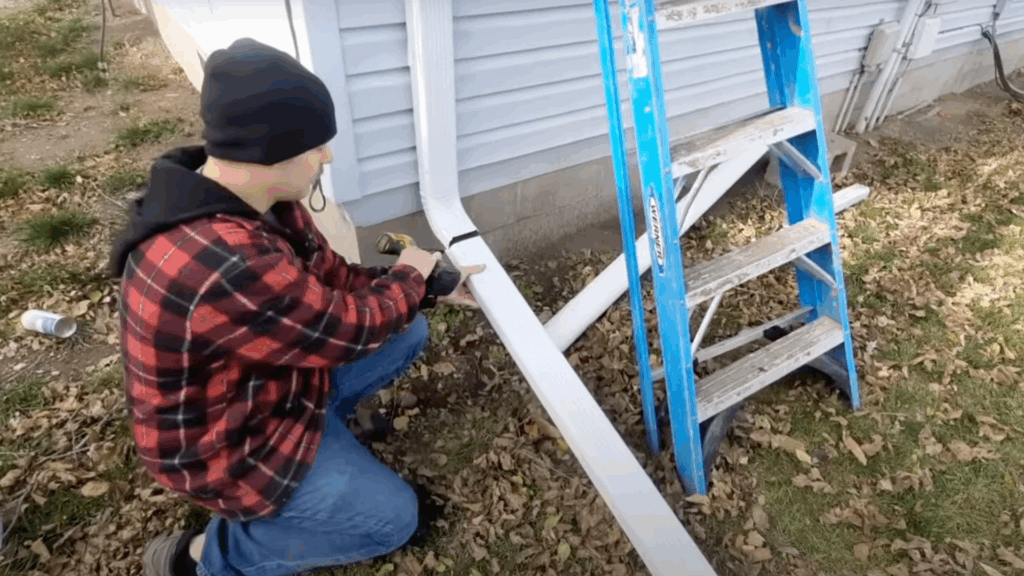
After securing the main downspout, attach a downspout extension to direct the water away from the foundation. Measure the length needed, typically around 5 feet, and cut it to size.
To improve the fit, cut a small angle at the end of the extension. Slide the extension onto the bottom of the downspout, making sure it is aligned properly.
Wiggle it to ensure a tight fit, and add a screw to each side of the extension to hold it in place.
Step 7: Final Adjustments and Testing
Once all pieces are connected and secured, it’s time to test the system. Run water through the downspout to make sure it flows freely and efficiently.
Check for any leaks or loose connections, and make sure the water is directed away from the foundation. If needed, use caulking to seal any seams that might allow water to escape, ensuring your system is watertight.
For a visual guide, refer to this tutorial on installing a downspout by @One Gutter Guyon YouTube.
Cost of Installing a Downspout
The cost of installing a downspout can vary based on factors like material, length, and whether you hire a professional or go the DIY route.
| Installation Option | Cost Range | Details |
|---|---|---|
| Professional Installation | $100 – $300 | Includes labor and materials. |
| DIY Installation (Materials) | $5 – $10 per linear foot | Common materials include aluminum or PVC. |
| Additional Materials | $20 – $50 | Includes elbow connectors, straps, screws, caulking. |
| Downspout Extension | $20 – $50 | Adds length to divert water away from the foundation. |
Maintaining Your Downspout System
Regular maintenance ensures your downspout continues to function properly and protects your home from water damage.
- Clean the downspout regularly: Remove leaves, debris, and dirt to prevent blockages and ensure smooth water flow.
- Check for leaks: Inspect seams and joints for any gaps and seal them with caulking or replace damaged parts.
- Inspect for damage: Look for dents, rust, or cracks, and repair or replace any damaged sections.
- Ensure proper water flow: Make sure the water is flowing freely from the gutters and away from the foundation.
- Keep the area around the downspout clear: Ensure no plants, dirt, or debris are blocking the downspout’s outlet or extension.
- Test the system: After heavy rainfall, check that water is being directed away from the home and not pooling around the foundation.
Conclusion
Installing a downspout is a simple yet essential task that can protect your home from costly water damage.
By following the steps outlined in this guide, I’m confident you can complete the installation yourself and ensure proper water drainage away from your foundation.
Properly installed downspouts help prevent foundation issues, mold, and erosion while keeping your home safe from the effects of water damage.
Regular maintenance and timely inspections will also help extend the life of your downspout system.
If you’ve enjoyed this guide and found it helpful, I encourage you to give the project a try or share it with someone who might benefit from it.
Should you encounter any issues or have questions, feel free to reach out for further guidance. Protect your home today by installing a downspout the right way.