
Installing a standing seam metal roof is a durable and stylish choice for homeowners.
Known for its sleek, modern appearance, it offers long-lasting performance and can withstand harsh weather conditions.
The interlocking panels create a water-tight seal, ensuring durability and protection.
If you’re planning to install one yourself, this guide will provide essential steps, tools, and tips based on a helpful YouTube tutorial.
No matter if you’re experienced or a DIY enthusiast, in this guide, I will walk you through the process of installing a standing seam metal roof, offering professional insights to help you achieve a successful installation and a visually appealing finish.
Why Choose a Standing Seam Metal Roof for Your Home
A standing seam metal roof offers exceptional benefits, making it an excellent choice for homeowners.
Not only does it provide superior protection against weather elements, but its interlocking design ensures a water-tight seal, minimizing the risk of leaks.
Its sleek, modern appearance adds curb appeal, while the durability of metal ensures a long lifespan, often lasting up to 50 years or more.
With energy-efficient properties that help reduce cooling costs and minimal maintenance requirements, a standing seam metal roof is a smart, cost-effective investment that enhances both the functionality and aesthetics of your home.
Tools and Materials You’ll Need
Before getting started, make sure you have the following tools and materials:
- Drip edge (T-shaped for standing seam)
- Corner trim/rake trim
- Ice and water shield
- Metal sheets/panels
- Tin snips or power snips (for cutting metal)
- Hand seamer
- Edge roller
- Screws and fasteners
Step-by-Step Guide to Installing a Standing Seam Metal Roof
Here is the step-by-step guide that will make your process easier and feasible. Follow the steps for smooth and efficient functioning:
Step 1: Install the Drip Edge

Start by installing the drip edge, which is crucial for directing water off the roof.
For standing seam roofs, always use a T-shaped drip edge to ensure proper functionality.
Position it along the edges of the roof, making sure it lines up with the fascia. The T-shape ensures a tight fit with the panels later.
Tip: When installing the drip edge, make sure to notch it to fit properly into the corner trim for a smooth, clean finish. This will help prevent any gaps between the drip edge and the trim.
Step 2: Notch the Drip Edge

To get a clean connection between the drip edge and corner trim, you’ll need to notch the drip edge to fit securely.
Measure down from the edge of the drip edge to create a 45-degree cut to make it fit neatly into the corner trim.
Tip: Ensure you are measuring accurately, with about an inch and an eighth of space.
This will allow you to make a precise 45-degree cut and create a smooth transition for the panels to slide into the corner trim.
Step 3: Install Corner Trim

The next step is to install corner trim, which is essential for securing the edges of your panels.
For a mono slope roof, measure the highest point of your roof deck, then add an extra inch for your cut.
This allows the corner trim to fit tightly into the angle.
Tip: Always ensure the angle of the trim is precise for a secure fit.
Cut the bottom of the trim to allow the panels to slide into place and align with the drip edge.
Step 4: Install Underlayment

Once your drip edge and corner trim are installed, it’s time to add the underlayment.
This layer is essential for providing an extra barrier against water infiltration.
For a clean installation, ensure your underlayment covers the entire surface of the roof and securely fasten it before proceeding with the panels.
Tip: Take care to install the underlayment smoothly, ensuring there are no wrinkles or gaps that could compromise the water shield.
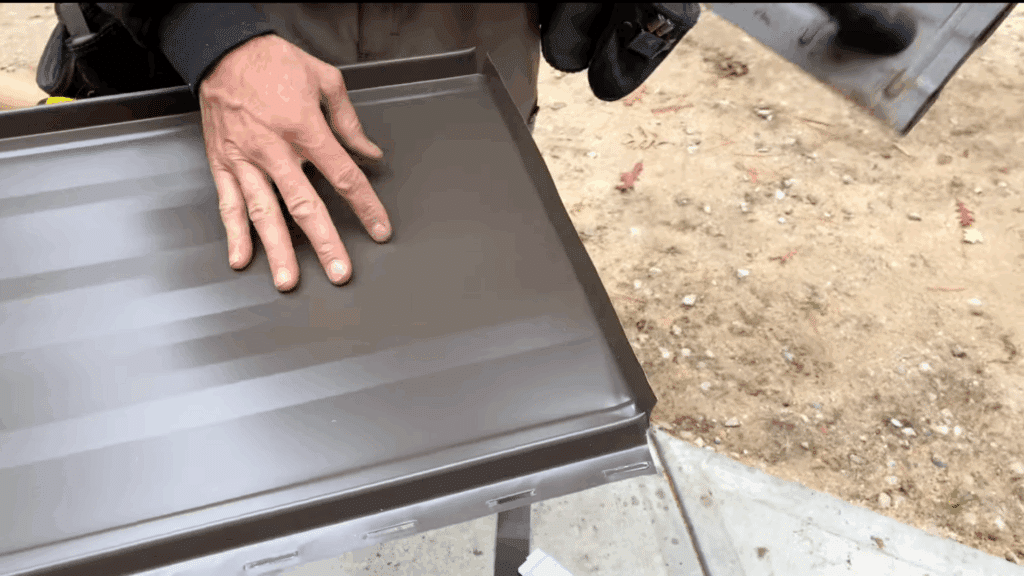
Step 5: Prepping the Metal Sheets

Before installation, hem the bottoms of the metal sheets.
This process involves folding the bottom edges of the panels, which helps prevent the metal from hitting the next panel during installation.
You’ll also need to cut the panels to the desired length if they’re too long for your roof.
Tip: For precision when cutting, use tin snips or power snips. Avoid using power saws, as they can heat up the metal and cause rust, which could void your warranty.
Step 6: Bending and Notching
Next, bend the top edge of the metal panels by about 7/8 inches.
This will help secure the panel to the roof.
After measuring and marking the bend, use the hand seamer to create a tight 90-degree angle along the top edge.
Tip: If you’re using an edge roller tool, ensure you bend the metal carefully to avoid sharp edges that could cause injury or impact the installation.
Step 7: Installing the Panels
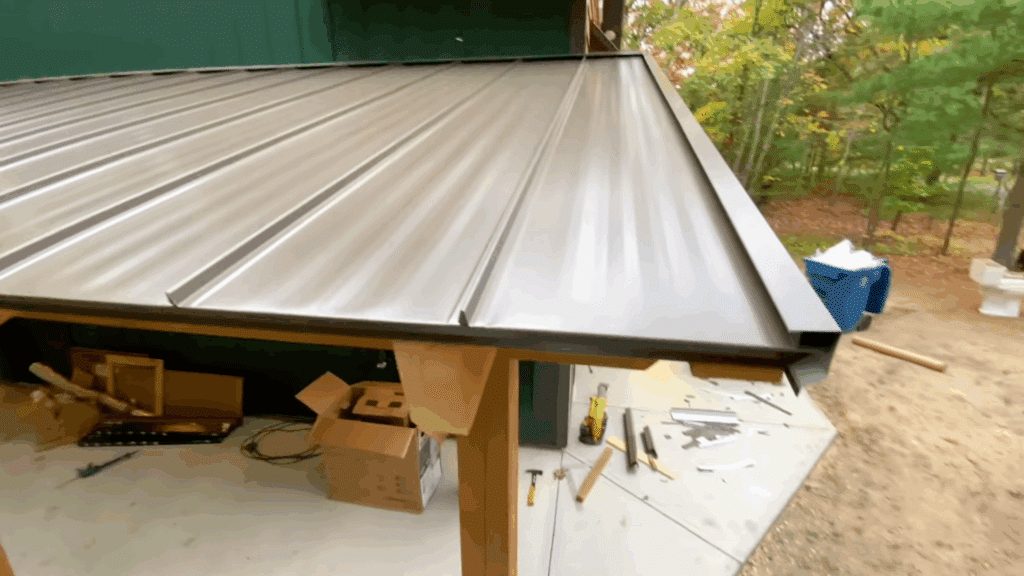
Once the panels are prepped, you can start installing them.
Slide each panel into the J-channel and secure it with screws.
As you install each sheet, make sure it slides snugly into the drip edge and the corner trim.
Tip: For a smooth installation, overlap the edges of each panel according to the manufacturer’s recommended overlap distance to create a water-tight seal.
Step 8: Crimp the Bottom Edges

After installing the last piece of the roof, use a hand brake to crimp the bottom edges of the panels, ensuring they are tightly secured and won’t lift over time.
Tip: This step is critical for creating a polished finish. Crimping ensures that the bottom edge is sealed and finished properly.
Step 9: Final Adjustments and Flashing
Finally, you may need to install flashing around areas like end walls or chimneys, depending on your roof design.
Make sure the flashing is fitted behind any siding to prevent water infiltration.
Tip: Ensure that all fasteners are tightened properly and check that the panels are securely aligned before completing the installation.
Common Mistakes to Avoid
When installing a standing seam metal roof, following the correct installation procedures is key to its performance and durability.
- Improper measurement and panel overlap
- Using incorrect fasteners
- Inadequate underlayment
- Failing to secure edges properly
- Not allowing room for expansion
- By avoiding these mistakes, you ensure a secure, long-lasting roof.
Conclusion
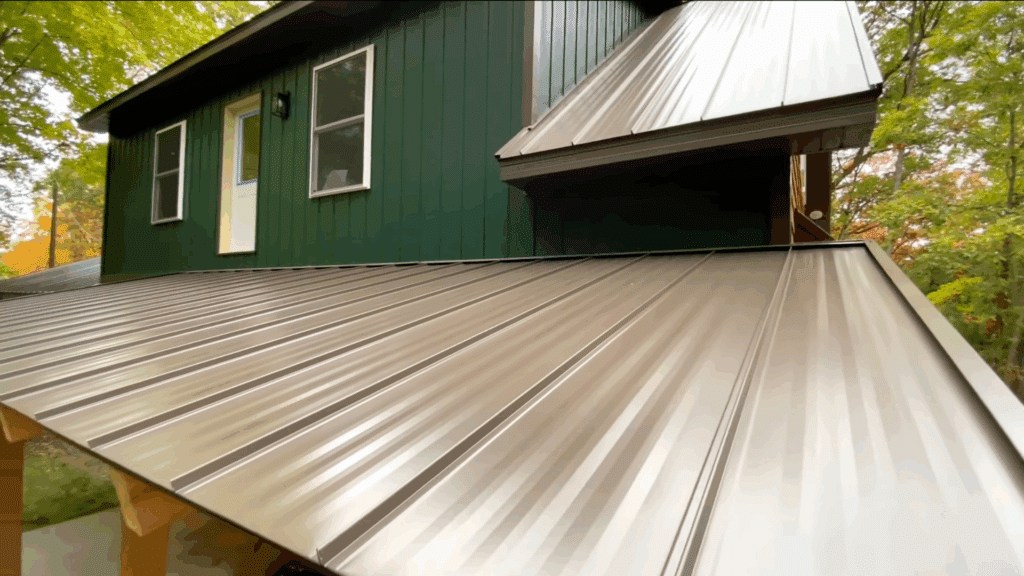
Installing a standing seam metal roof is a great way to enhance both durability and style for your home.
By following the steps in this guide, you can install a professional-quality roof that will provide long-lasting protection.
Ensure you use the right tools, measure carefully, and take your time during the process for the best results.
A standing seam metal roof offers durability against harsh weather conditions, and with proper installation, it will maintain its beauty and functionality for years.
With patience and attention to detail, you’ll enjoy a roof that adds value and aesthetic appeal to your home.