
Repainting over chalk paint can be tricky if you don’t know the right steps. The surface may be too porous, or wax residue might get in the way.
These factors can make it hard for your new paint to stick and give you a smooth finish.
In this guide, I’ll walk you through the whole process with simple, clear steps. You’ll learn how to prep your surface properly, choose the right tools, and apply lasting new paint.
I understand that painting over chalk paint can feel like a challenge. But don’t worry, by the end of this article, you’ll know exactly how to handle it.
Whether you’re updating a dresser or a bookshelf, I’ve got you covered. Let’s get started and make your furniture look fresh again!
Why Repainting Over Chalk Paint Can Be Tricky
Repainting over chalk paint isn’t always as easy as it sounds. A few things can make the process tricky. First, chalk paint has a matte, porous finish.
This texture can make it harder for new paint to stick. The porous surface can absorb the new paint, causing an uneven or blotchy finish.
Then, there’s the wax residue. Many people finish chalk paint with a wax coating. Wax can create a barrier, preventing the new paint from adhering properly. If you don’t remove it, you might see peeling or chipping down the line.
Finally, previous paint layers can cause issues. If the old paint isn’t properly prepared, it might affect the new paint’s look. It can cause the paint to crack, peel, or not stick well.
Knowing these challenges will help you prep the surface correctly. Don’t worry, I’ll show you exactly what to do next.
Essential Tools and Materials
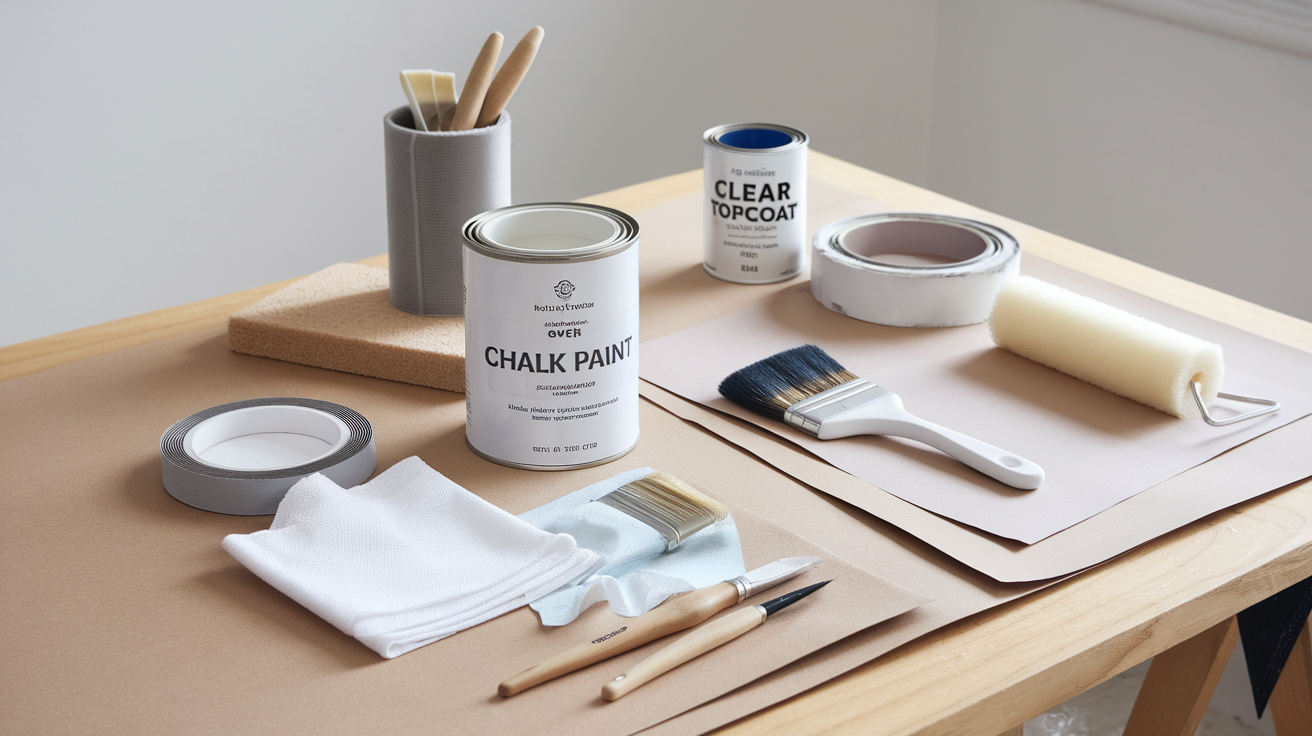
Before you start, you’ll need a few tools. Here’s a simple list of what you’ll need to repaint over chalk paint:
- Fine-grit sandpaper or a sanding block
- Tack cloth or a damp rag
- A primer that works well on chalk-painted surfaces
- High-quality paintbrush or foam roller
- Paint (latex or acrylic works best)
- Drop cloths or painter’s tape to protect your area
Optional: Clear topcoat for extra protection
With these tools, you’ll be ready to get started. Each one plays a role in making sure the paint sticks and looks great.
Don’t worry about buying anything fancy. Just get the basics, and you’re good to go.
Step-by-Step Guide to Repainting Over Chalk Paint
Step 1: Clean the Surface
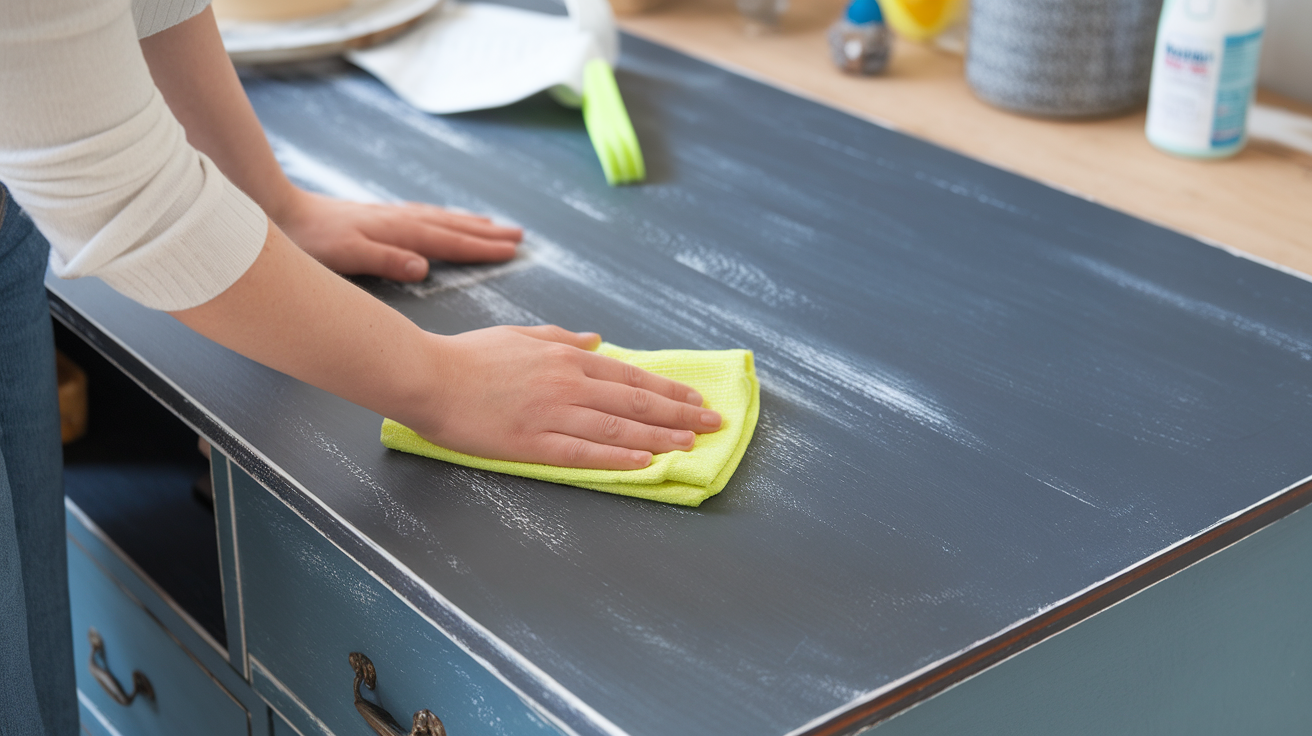
Start by cleaning the chalk-painted surface to remove dust and dirt. Use a mild detergent and a soft cloth. Make sure to scrub any spots with extra grime, especially around handles or edges.
This step is crucial because dirt can prevent paint from adhering well. Let it dry completely before moving on, as moisture can interfere with the paint.
Step 2: Assess and Address Wax Residue
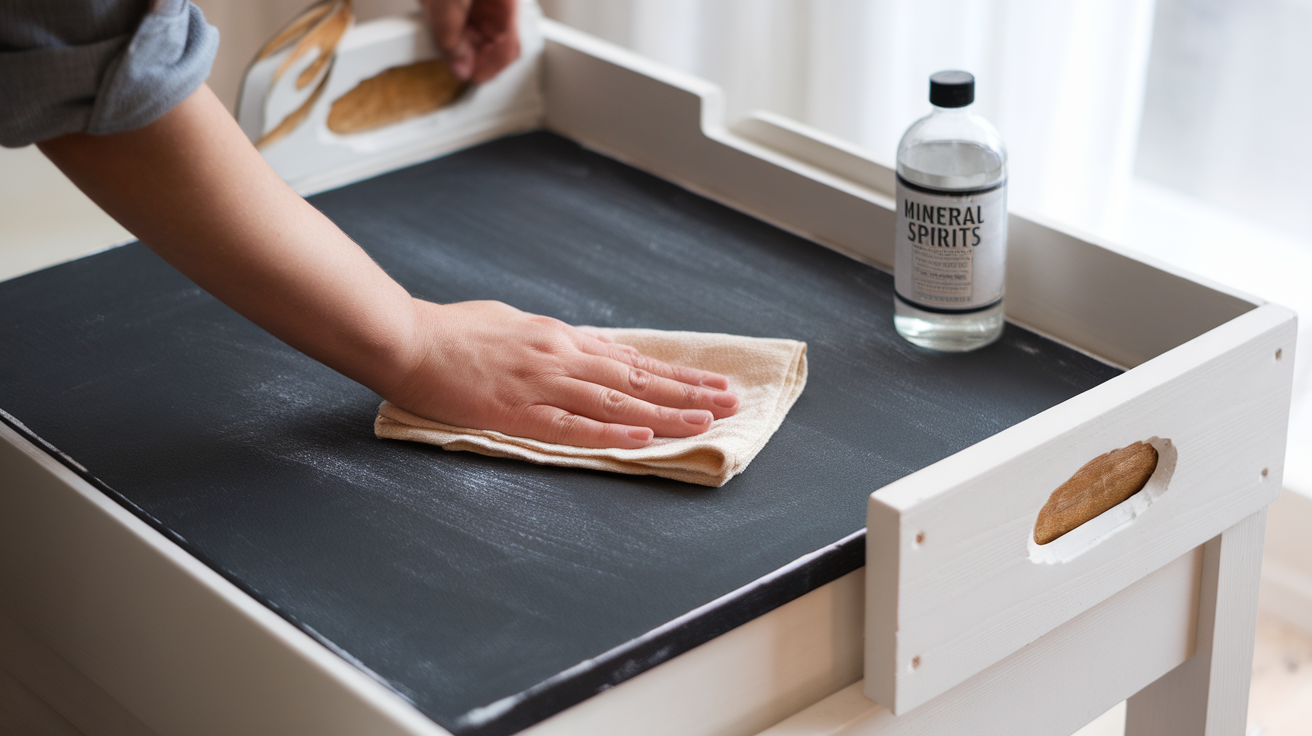
If the surface has a wax finish, you’ll need to remove it. Use mineral spirits to clean off the wax and ensure the surface is ready for new paint. Wax can prevent the paint from sticking and cause peeling later on.
Take your time to remove all traces of the wax for the best results. This step is important for good paint adhesion.
Step 3: Lightly Sand the Surface
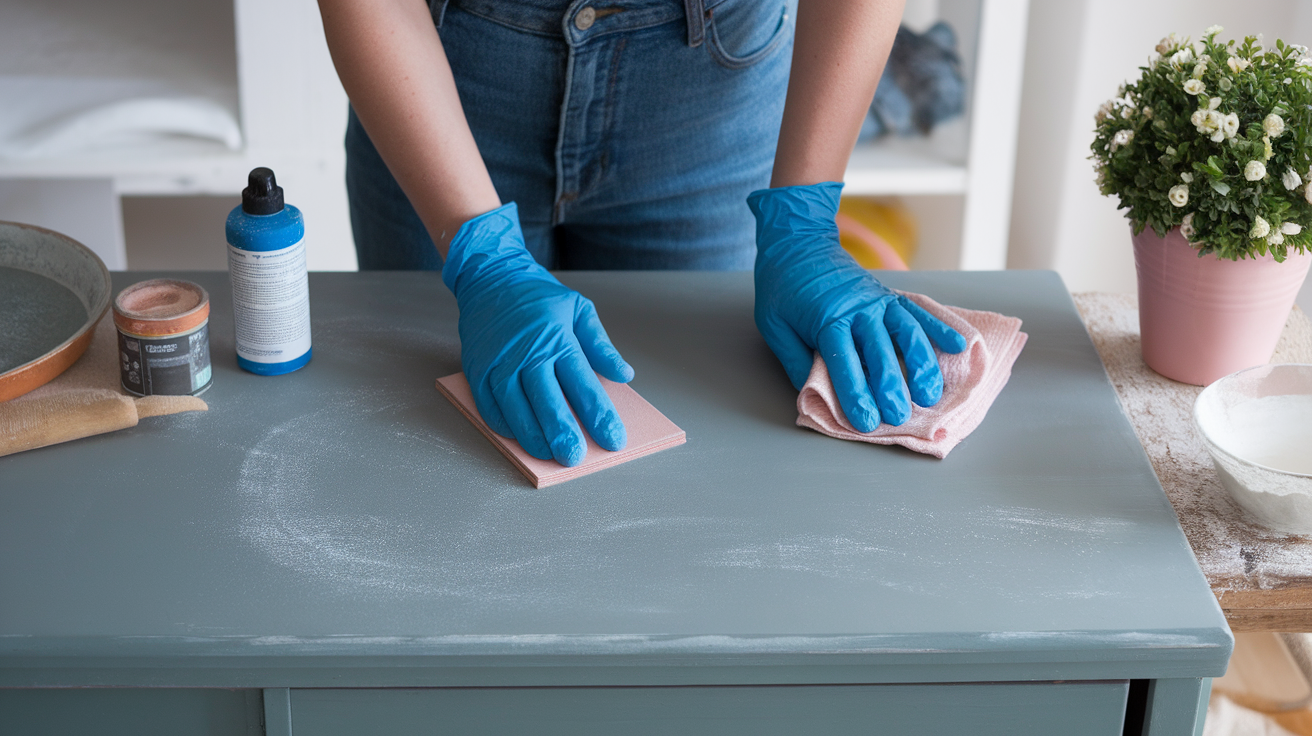
Lightly sand the surface with fine-grit sandpaper to create a rough texture. This helps the new paint stick better. Sanding also smooths out any imperfections or glossy areas that might affect the finish.
Wipe away any sanding dust before painting to ensure a smooth surface. If dust is left behind, it can cause uneven coverage or a bumpy texture.
Step 4: Apply Primer
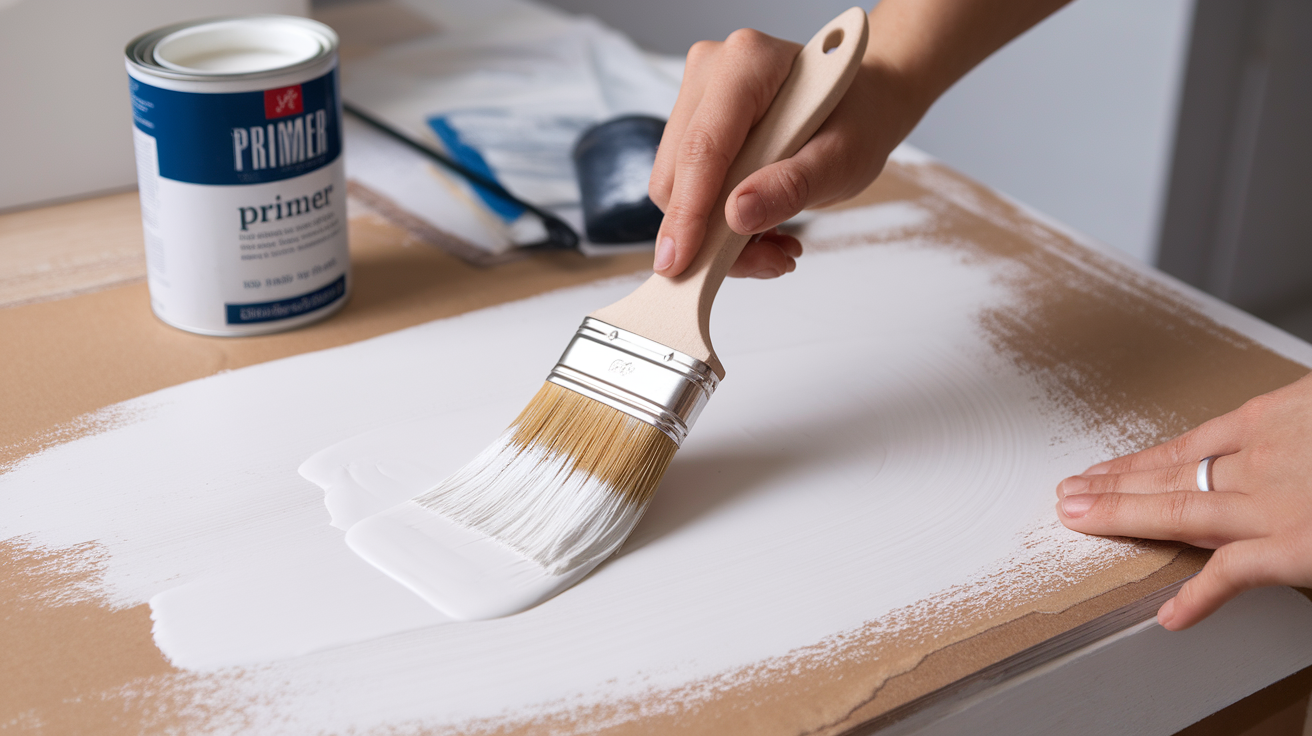
Apply a thin, even coat of primer to the surface. This helps the new paint adhere properly. Choose a primer designed for chalk-painted surfaces to ensure compatibility.
If you skip the primer, the paint may not bond as well, leading to chipping. For the best finish, let the primer dry completely before painting and avoid rushing this step.
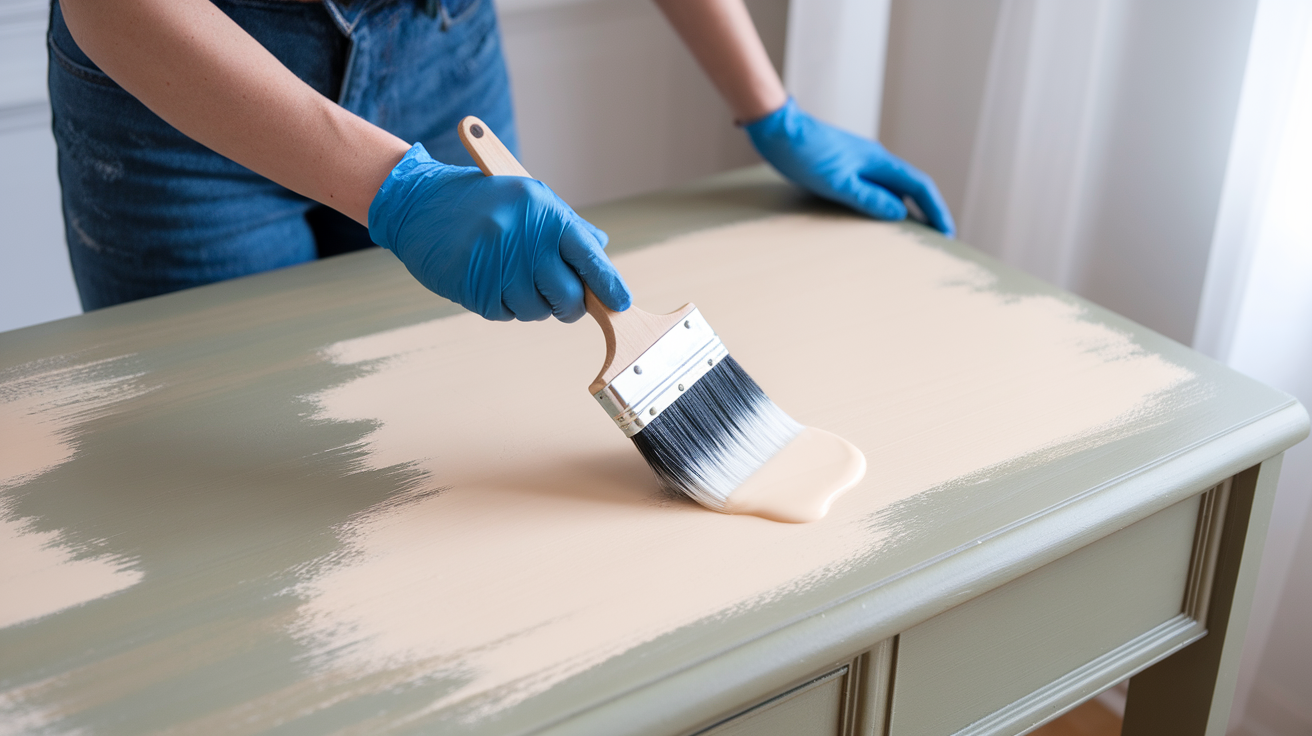
Step 5: Paint the Surface
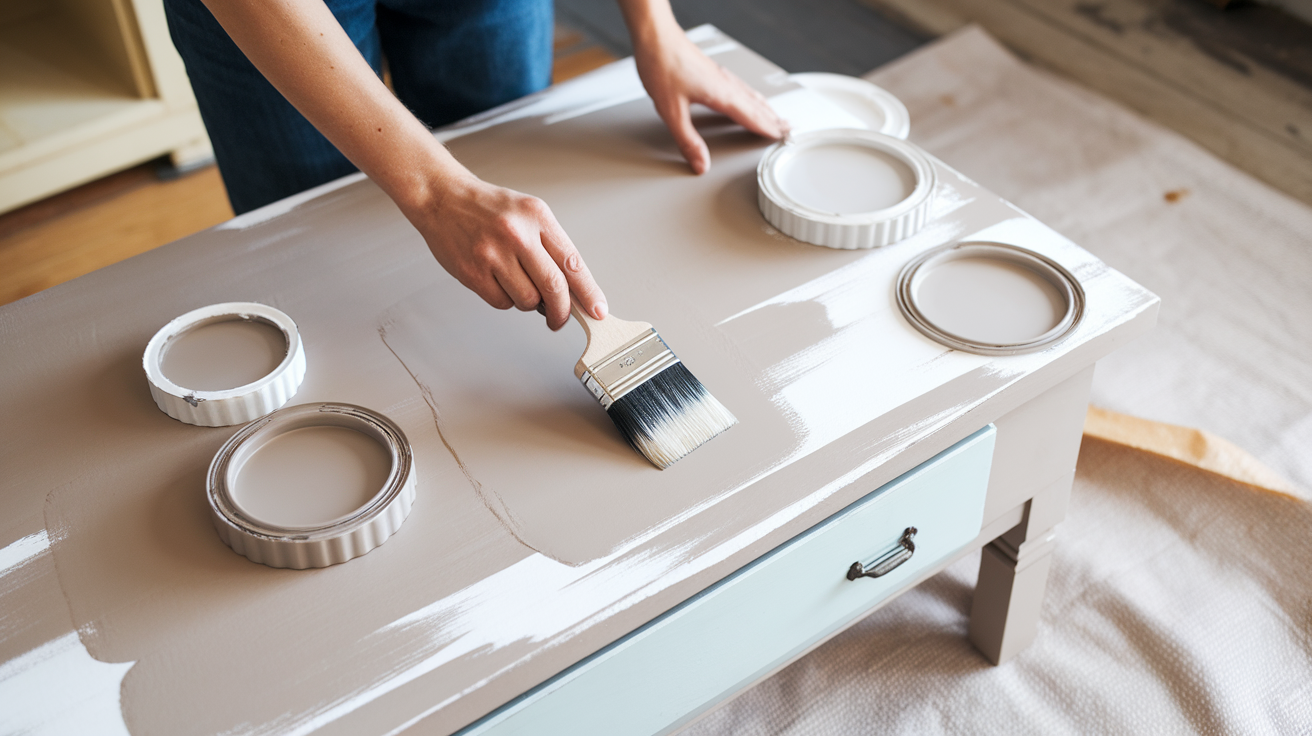
Use a high-quality latex or acrylic paint to cover the surface. Apply thin coats, letting each coat dry before adding another. This method ensures smooth, even coverage without drips.
Don’t overload the brush, as it can cause streaks or uneven paint distribution. Let each layer dry fully to avoid disturbing the surface when applying the next coat.
Step 6: Apply a Clear Topcoat (Optional)
For extra durability, I never skip applying a clear topcoat. This will protect your new paint from wear and tear, especially on furniture that sees daily use. Choose a topcoat that matches your paint type – polyurethane or polycrylic work well.
Allow the topcoat to dry completely, and then check it for imperfections before moving your furniture back into place.
Tips for a Professional Finish
Achieving a professional-looking finish doesn’t have to be complicated. Here are a few tips to help you get the best results.
- Test Paint Compatibility: Before you start painting the entire surface, test the new paint on a small, hidden area. This will let you see how the paint interacts with the primer or chalk paint. If the test area looks good, you’re good to go.
- Use Thin Coats: Apply thin, even coats of paint. Thick coats can cause drips and an uneven finish. Thin coats help the paint dry faster and give you a smoother, more professional look. It’s better to apply multiple light coats than one heavy coat.
- Proper Ventilation: Make sure the room is well-ventilated. Fresh air helps the paint dry faster and reduces fumes. Open windows or use a fan to keep air circulating. This will make the process more comfortable and safe.
- Allow Adequate Drying Time: Patience is key. Let each layer of paint and primer dry thoroughly before adding the next. If you rush, the paint might smear or not adhere properly. Give each layer time to fully dry for the best results.
Troubleshooting Common Issues
Sometimes, repainting goes wrong. Don’t worry; here’s how to fix the most common problems.
Peeling Paint: If the new paint starts peeling, there may be a few reasons why. Often, it’s because the surface wasn’t prepared well enough. You might also be using paint that doesn’t bond well with chalk paint or primer. To fix this, sand the surface and apply a good primer before painting.
Uneven Coverage: Uneven paint can happen if the primer or paint wasn’t applied evenly. Make sure you apply thin, even layers each time if you notice spots where the paint didn’t cover well, consider sanding between coats to create a smoother surface. This will help you achieve a more consistent finish.
Streaks or Brush Marks: Streaks or brush marks can happen if you don’t use the right tools or technique. To avoid this, use a high-quality brush or foam roller. Apply the paint in long, smooth strokes, and try not to overload your brush with too much paint. This will help you get a smoother, more even finish.
Conclusion
Repainting over chalk paint may seem challenging, but with proper preparation and technique, it becomes manageable.
Thorough cleaning, sanding, and applying primer are essential steps to help the new coat adhere properly and achieve a smooth, lasting finish. Taking the time to remove any wax and test your chosen paint can help prevent common mistakes.
Now that you understand the process, you can feel confident about moving forward. With the right tools and knowledge, you can refresh your furniture beautifully.
From a small table to a full bookshelf, stick to the outlined method, and you’ll see satisfying results. Work at your own pace, stay consistent, and enjoy transforming your piece. Happy painting!
Frequently Asked Questions
Can I Paint Over Chalk Paint without Sanding?
Sand lightly to ensure proper paint adhesion. Skipping this step can cause uneven coverage or peeling.
Do I Need to Remove All the Wax Before Painting?
Yes, wax can prevent paint from sticking properly. Use mineral spirits to remove it before repainting.
What Type of Paint Is Best for Painting Over Chalk Paint?
Latex or acrylic paints work best over chalk paint. These are durable and provide smooth coverage.