
I’ve always loved fixing up old furniture. A few months ago, I came across an old dresser with a shiny polyurethane finish. Honestly, at first, I wasn’t sure if I could paint it without making a mess.
After some digging around and experimenting, I figured out a simple step-by-step method that actually works.
In this guide, I’ll share exactly how to paint over polyurethane, including prepping, choosing the right materials, painting, and protecting the finish.
By the end, you’ll feel ready to tackle your own project. So, can you paint over polyurethane?
Yes, but only if you prep the surface correctly. Polyurethane makes surfaces smooth and shiny, so paint doesn’t stick without the right steps.
Gather Your Supplies for Painting Over Polyurethane
Before starting, ensure you have all the necessary items:
- Sandpaper (120-150 grit and 220 grit)
- Tack cloth or microfiber cloth
- Deglosser (optional)
- Bonding primer or shellac-based primer (e.g., Zinsser B-I-N)
- Paint (oil-based, latex, or chalk paint)
- Paintbrushes (angled and flat)
- Rollers (foam or microfiber)
- Painter’s tape
- Drop cloths or plastic sheeting
- Mild soap or TSP cleaner
- Bucket, water, sponge, or cleaning cloth
- Clear sealer (optional, like polycrylic or polyurethane)
- Safety gear (rubber gloves, safety goggles, respirator, or mask)
Step-By-Step Guide to Painting Over Polyurethane
Each step below covers exactly what you need to do, making sure you don’t miss anything important. Follow along closely for the best finish possible.
Step 1: Set up Your Workspace
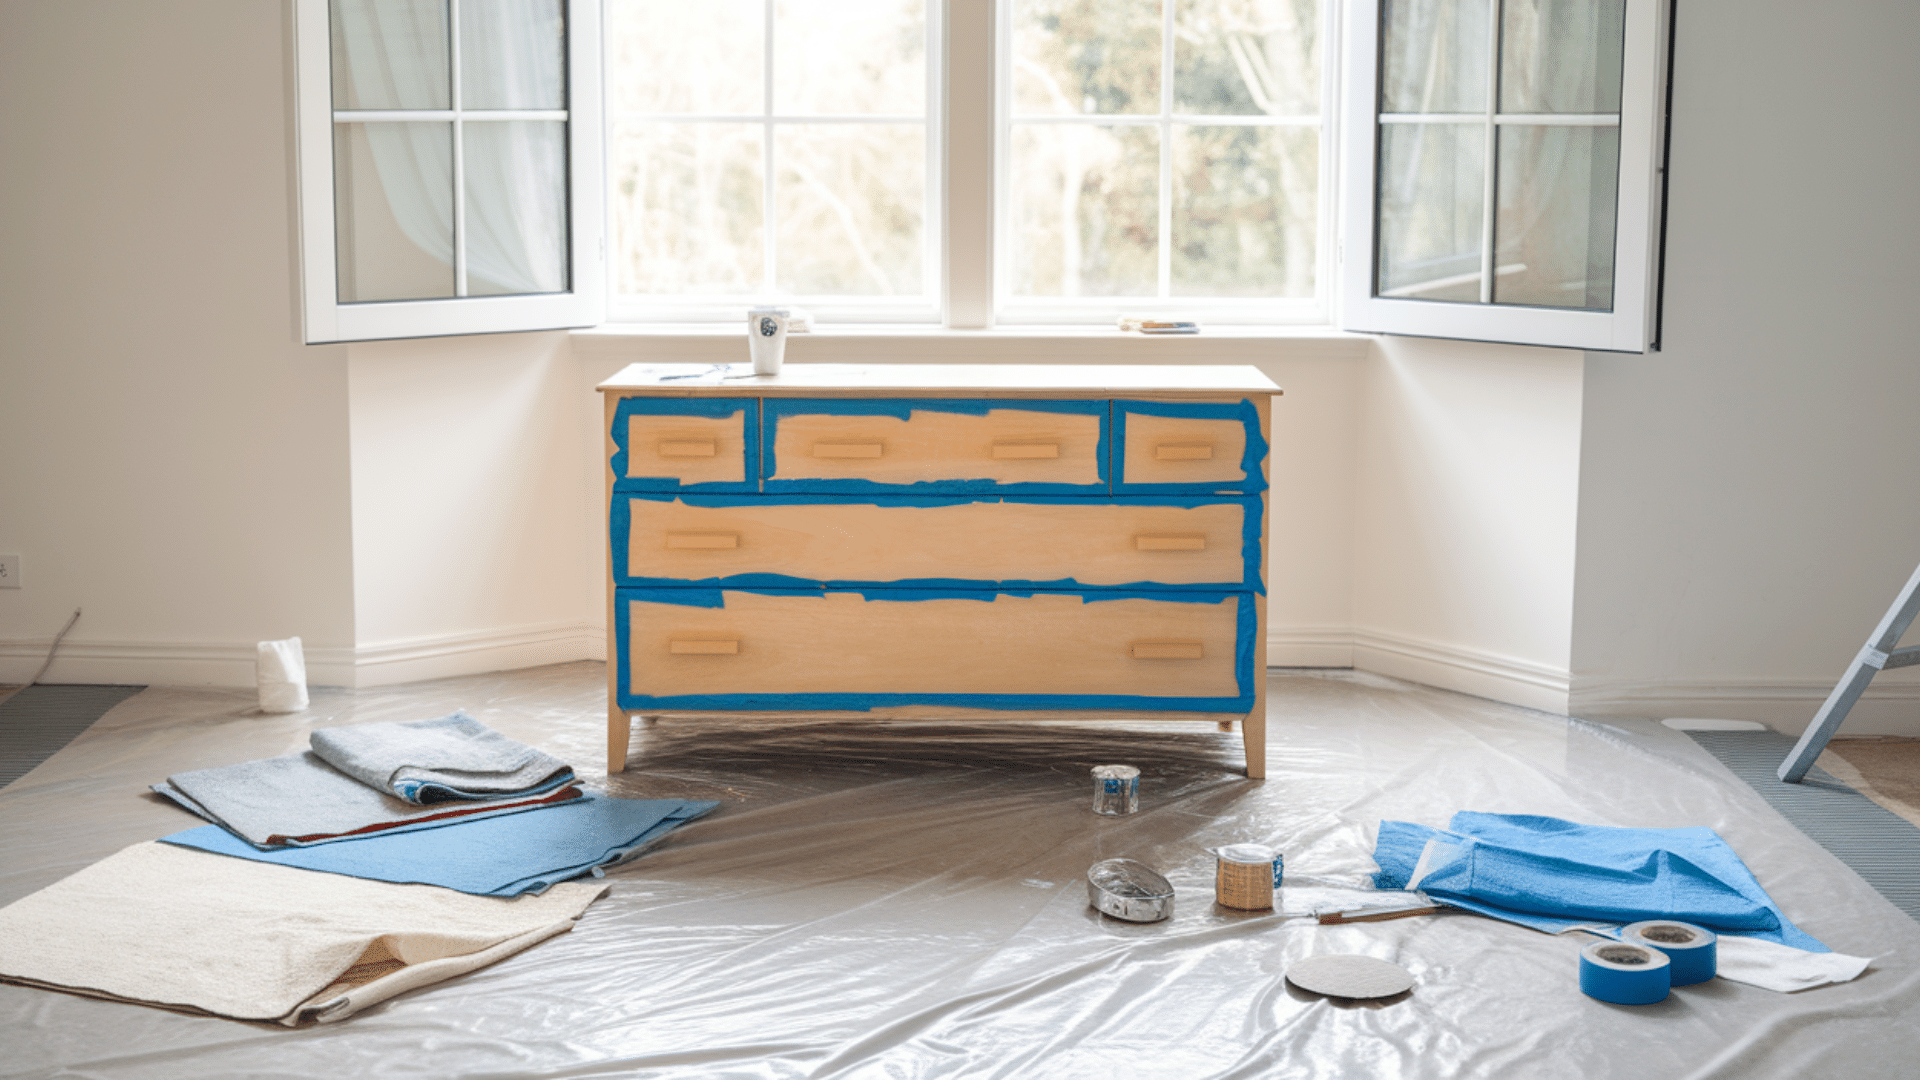
Pick a workspace that’s well-ventilated and spacious enough to move around comfortably while working.
Good airflow helps with drying and keeps fumes from building up. Before you begin, cover the floor and nearby surfaces with drop cloths or plastic sheets to catch any drips or spills and protect your space.
Use painter’s tape to carefully cover hinges, handles, trim, and any areas you want to keep paint-free for a clean, professional-looking result.
Step 2: Clean the Surface Thoroughly
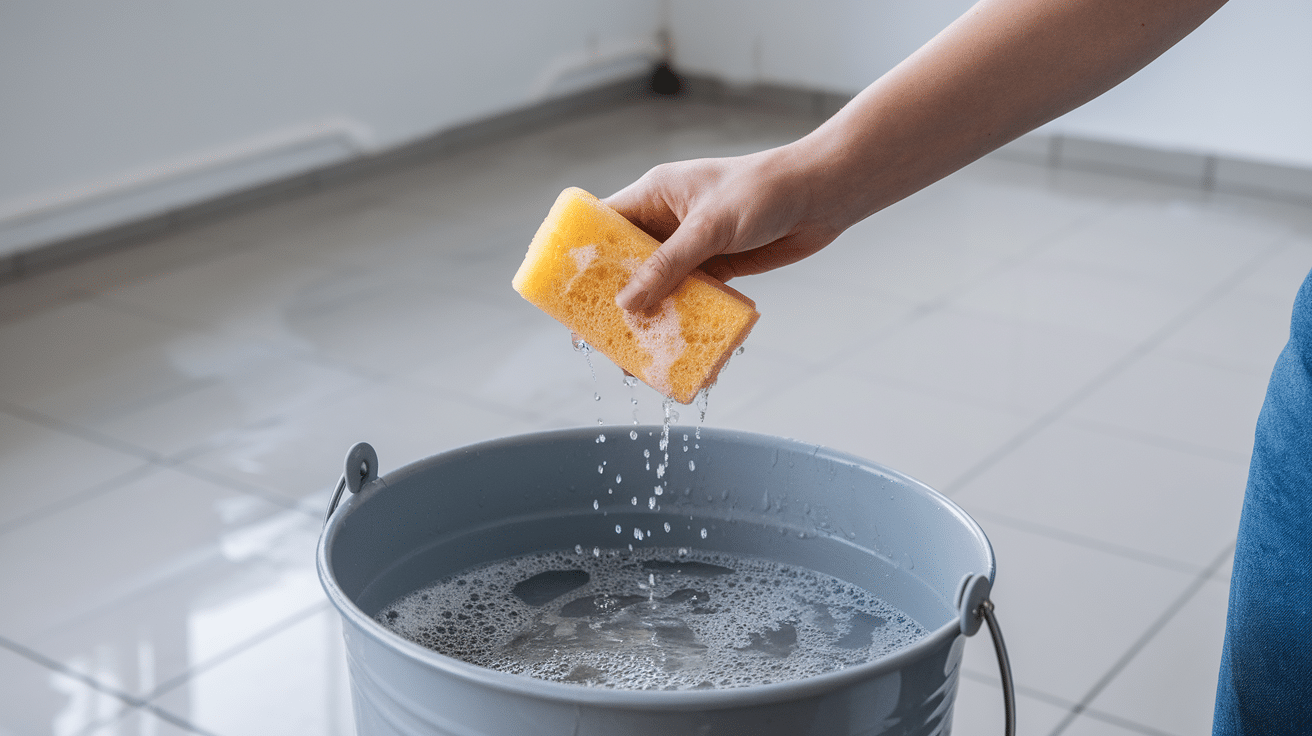
Mix mild soap or a tsp cleaner with water in a bucket according to the instructions. Dip a sponge or cloth into the solution, wring it out well, and thoroughly wipe down your furniture to remove dirt, grease, and grime.
Once cleaned, rinse the furniture with clean water using another cloth or sponge. Let the furniture dry completely, typically for 1-2 hours.
Step 3: Prepare the Surface
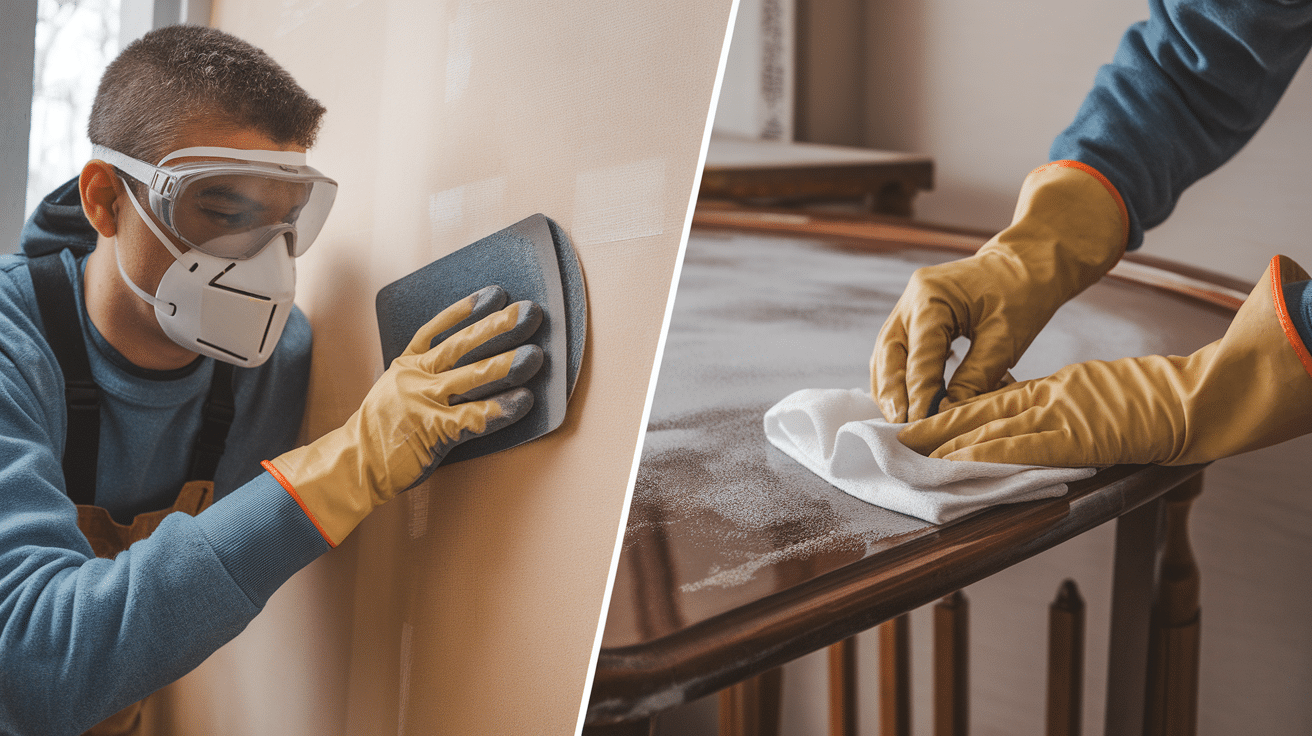
You can prep the surface in two ways: sanding or using a deglosser. For sanding, wear safety gear and start with 120-150 grit sandpaper, focusing on shiny spots until the finish looks dull.
Then, smooth it with 220 grit and wipe off dust using a tack cloth.
If using a deglosser, apply it evenly with a lint-free cloth as directed. Once the surface looks dull, wipe off any residue and let it dry for 30 to 60 minutes.
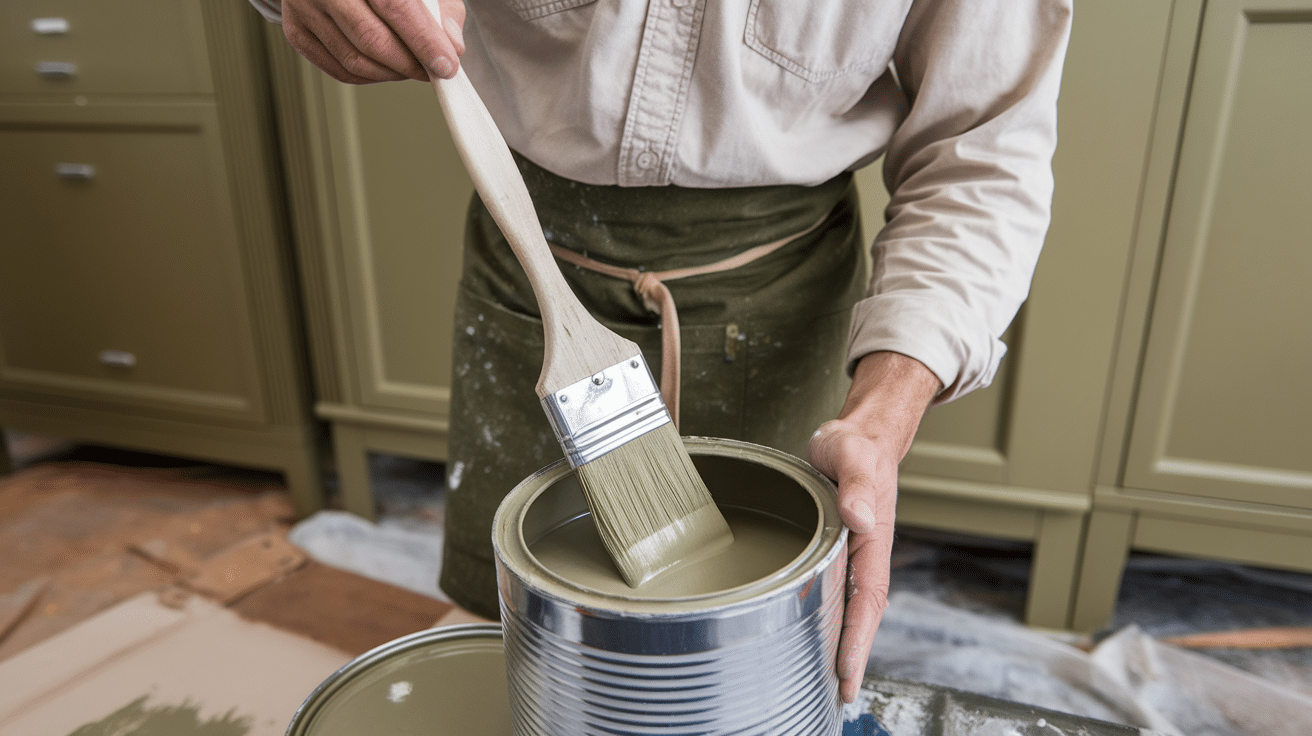
Step 4: Apply Primer
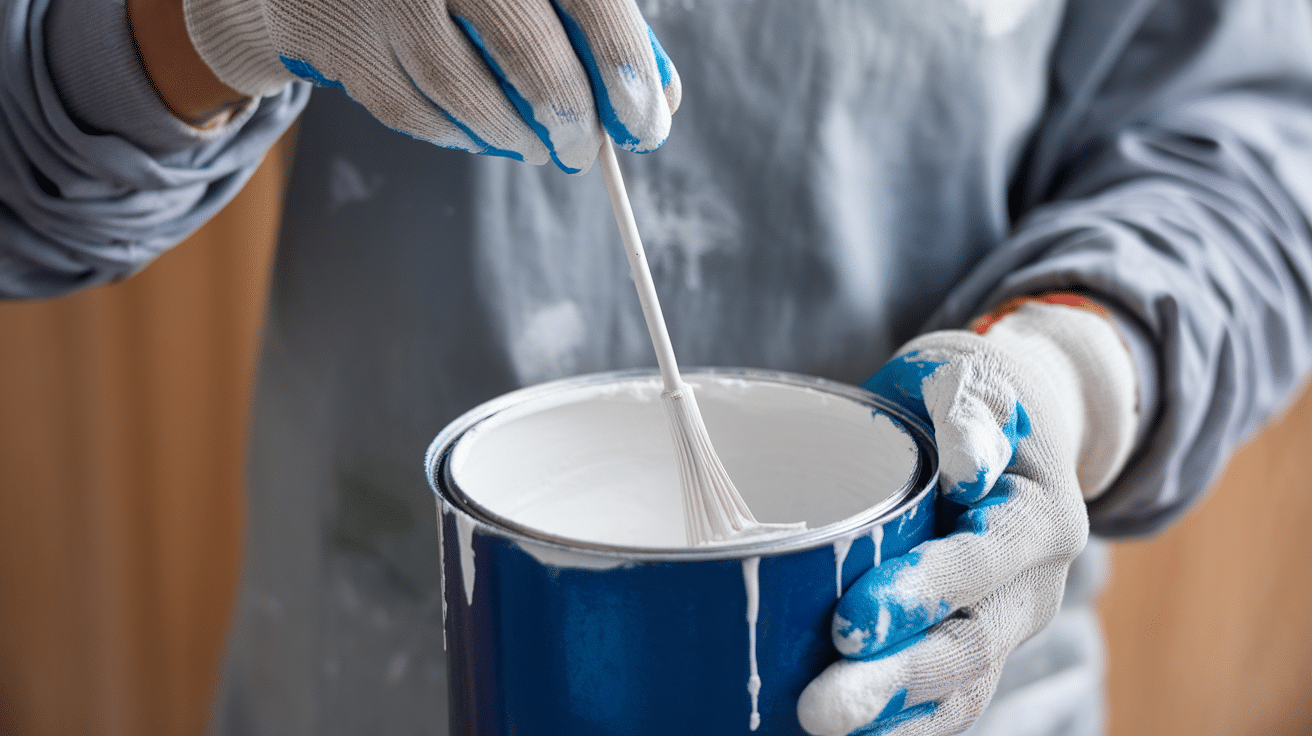
Open your bonding or shellac-based primer and stir thoroughly with a stir stick. Using an angled brush, start applying primer around edges, corners, and detailed areas.
For larger flat surfaces, switch to a roller or flat brush, spreading a thin, even coat. Let the primer dry fully, typically 1-2 hours. Once dry, lightly sand the primed surface with 220 grit sandpaper to achieve a smoother finish.
Clean off the sanding dust with a tack cloth. Apply a second thin coat of primer if necessary, following the same steps.
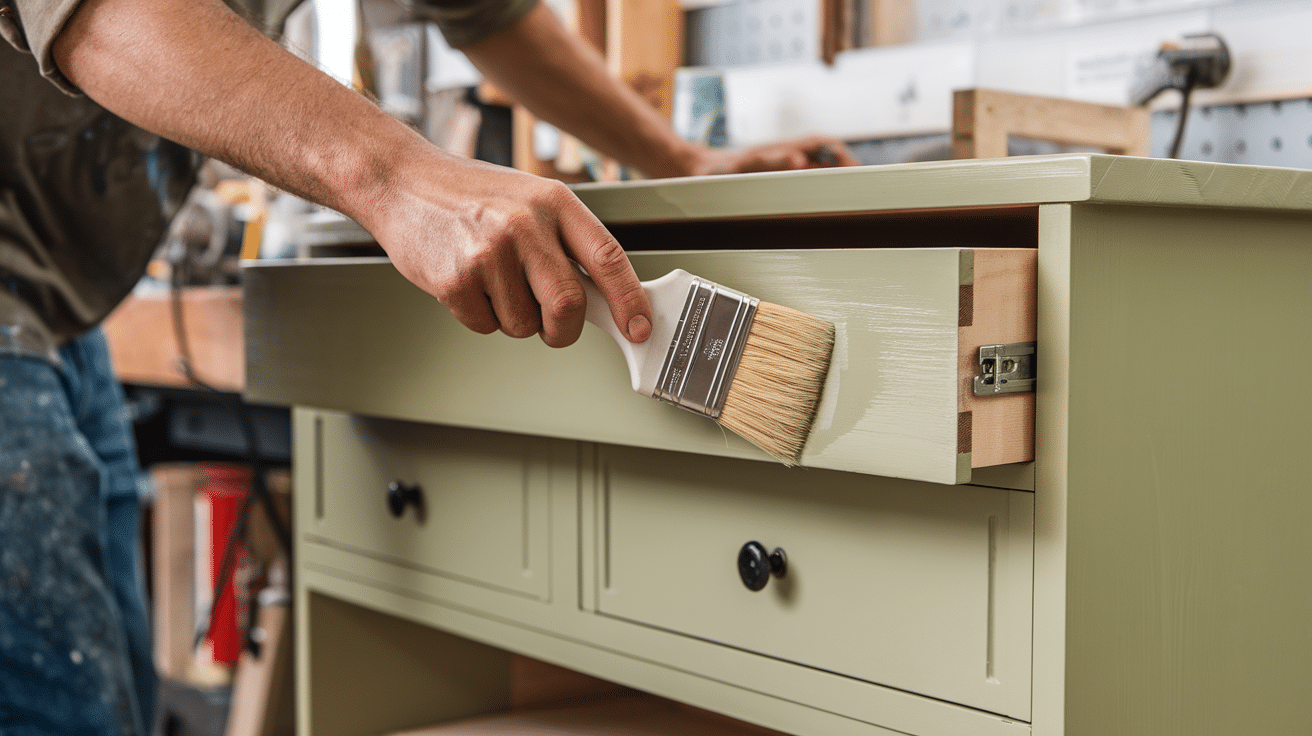
Step 5: Apply the Paint
Stir the paint well for a smooth texture. Use an angled brush for corners and edges, then switch to a roller or flat brush for larger areas.
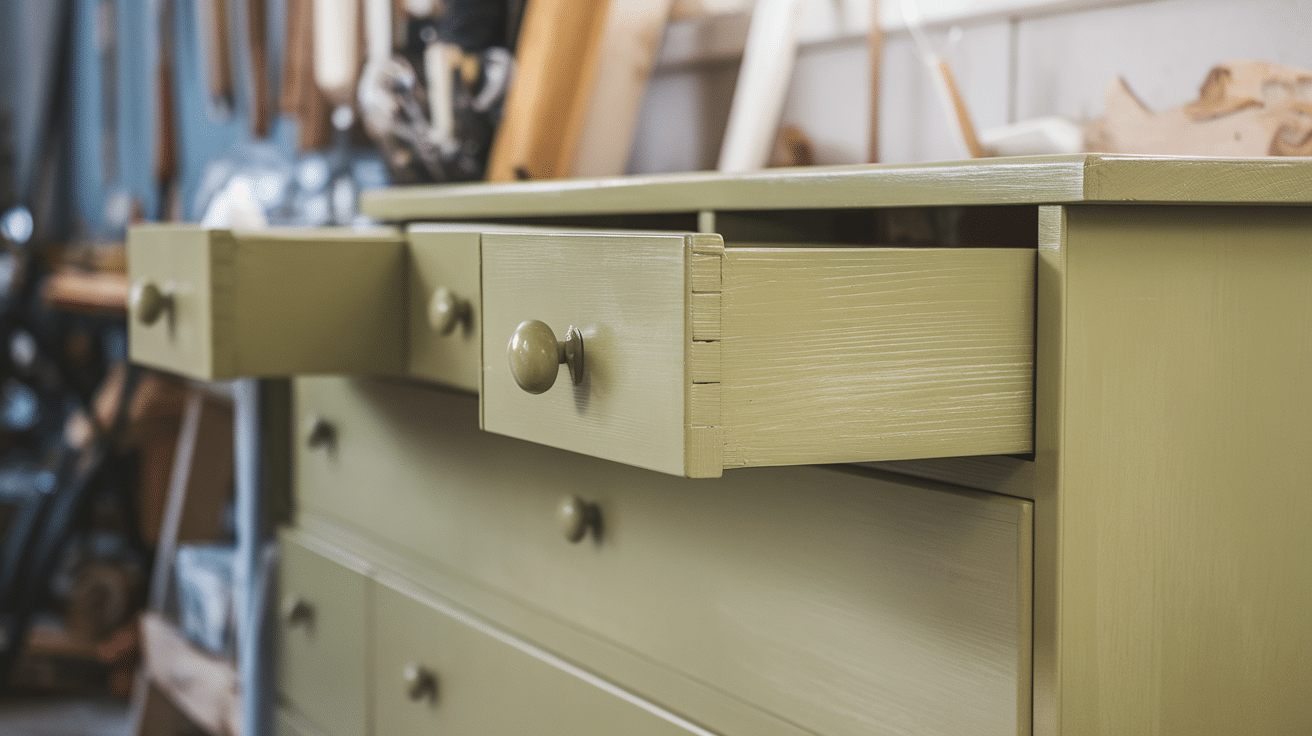
Maintain a thin and even coat of paint to prevent runs or uneven drying. Allow sufficient drying time, typically between 2 and 4 hours, before gently sanding the surface with 220-grit sandpaper to smooth any imperfections.
Always remove dust thoroughly after sanding. For optimal results and a durable finish, repeat this process, applying at least two to three coats.
Step 6: Protective Finish (Optional)
To provide added durability and protection to the painted surface, applying a clear protective finish is recommended. Use water-based polycrylic for a clear finish or oil-based polyurethane for more durability.
Apply thin, even coats with a good brush, avoiding drips. Let each coat dry for 2 to 4 hours.
Once dry, lightly sand with 220-grit sandpaper to smooth the surface, then wipe off the dust. Repeat for 2–3 coats to ensure lasting protection.
Step 7: Clean Up
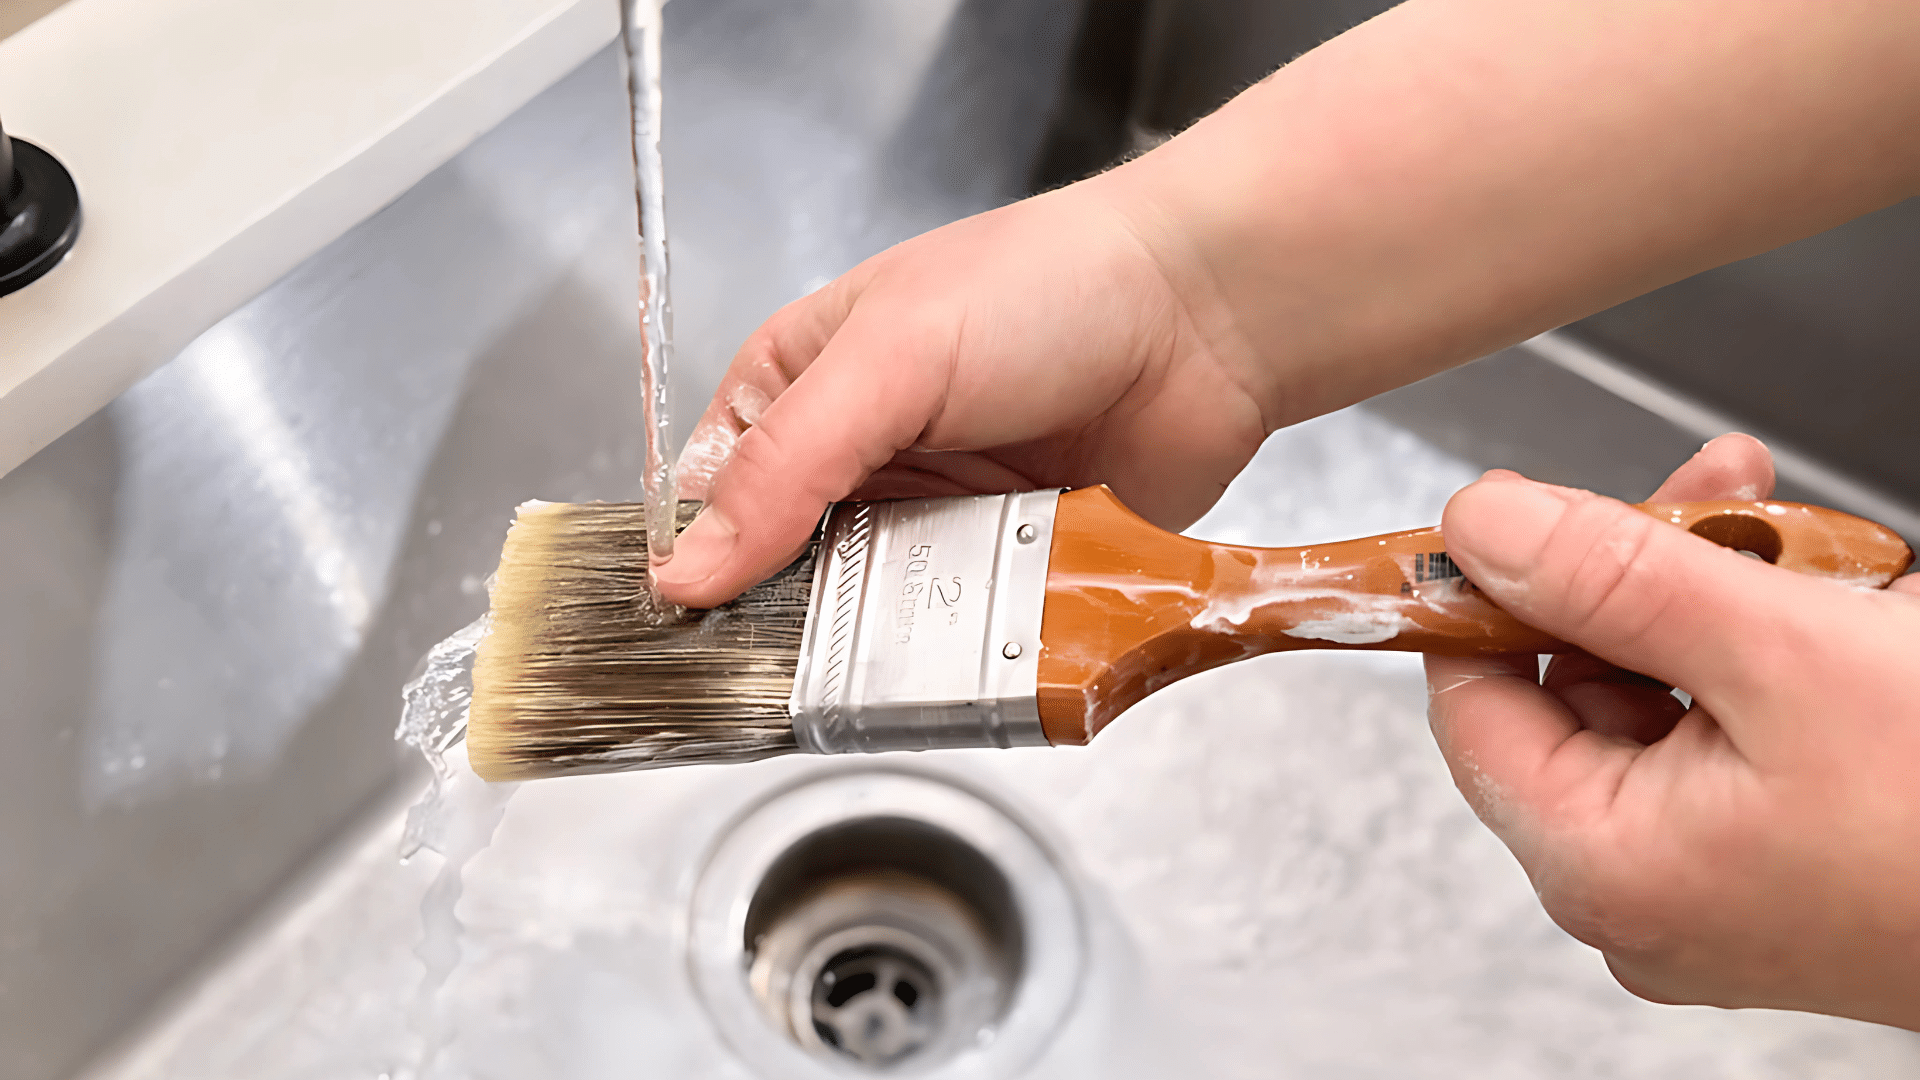
Carefully remove the painter’s tape shortly before the final coat fully dries to prevent lifting or peeling the edges of the fresh paint.
After completing the painting process, thoroughly clean all brushes and rollers. Use water to clean tools used with latex-based paints, and paint thinner for tools used with oil-based paints.
Chemical-soaked rags should be safely disposed of in a sealed, non-flammable container to prevent potential fire hazards. Keep the area well-ventilated during drying to stay safe and ensure a smooth, lasting finish.
Step 8: Allow Paint to Fully Cure
Give your furniture plenty of time to cure fully, typically 7-14 days depending on the paint and sealer used. Avoid heavy use or placing objects on freshly painted surfaces during this period to prevent damage.
By following this detailed step-by-step guide, you can confidently paint over polyurethane and achieve professional, lasting results.
When to Choose Stripping Over Painting Polyurethane?
It can be hard to figure out if you should paint directly over the polyurethane or remove it entirely. This is how you can easily decide:
| Condition | Action | Reason |
|---|---|---|
| Minor Scratches or Dullness | Paint over the polyurethane | Small imperfections are fine; painting over works for a quick update. |
| Heavily Peeling or Bubbling | Strip the polyurethane | A damaged surface will only worsen under paint, so stripping ensures a smoother finish. |
| Deep Scratches or Water Damage | Strip the polyurethane | Deep damage or water exposure affects the integrity of the surface, requiring a fresh start. |
| Good Overall Condition (No Damage) | Paint over the polyurethane | If the surface is intact, painting over it is an easy and effective solution. |
| Surface is Rough or Uneven | Strip the polyurethane | To ensure an even, professional finish, stripping will provide a better base for paint. |
If the polyurethane surface is in good condition, painting over it is a quick and effective solution, but if it’s damaged, stripping it completely will ensure a smoother, longer-lasting finish.
Essential Painting Tips for Common Issues and Special Projects
These are some quick tips to help with common issues and specific projects. These simple fixes and recommendations will make your painting projects easier and more durable.
- Peeling or chipping paint: Sand with 150-grit sandpaper. Apply bonding primer and let it dry.
- Yellow or brown stains: Use a shellac-based primer (e.g., Zinsser B-I-N) to block tannins.
- Rough or uneven paint: Sand lightly with 220-grit sandpaper between coats. Wipe dust with a tack cloth.
- Cabinets: Use oil-based or specialty cabinet paints for durability.
- Floors: Apply multiple thin layers of polyurethane, sanding gently between coats.
- Vintage trim: Use bonding primer to preserve details without heavy sanding.
- Outdoor furniture: Use paints and primers made for outdoor use to resist the weather.
Polyurethane Painting: Cost and Time Estimates
Knowing the time and cost helps you stay organized and avoid surprises. It ensures you have the right materials and enough time for each step.
| Project Size | Time | Cost |
|---|---|---|
| Small (e.g., nightstand or small table) | 1-2 days (including drying) | $30–$50 (sandpaper, primer, paint, brushes/rollers) |
| Medium (e.g., dresser or bookcase) | 2-3 days (with drying time between coats) | $50–$75 (paint, extra supplies) |
| Large (e.g., kitchen cabinets or large furniture sets) | 4-5 days (with prep and multiple layers) | $100+ (primer, paint, supplies for large projects) |
Conclusion
Painting over polyurethane takes careful prep, but it becomes simple when you follow each step closely. You now know how to properly clean, sand, prime, paint, and seal your furniture or surfaces for the best results.
Along the way, you’ve also learned how to fix common problems like peeling paint, yellowing stains, and rough textures, which can make a big difference in the final look.
Whether you’re refreshing old cabinets, giving an outdated table a new finish, or brightening up your floors, you’re ready to do it right.
Take your time, follow the guide, and you’ll end up with smooth, durable results you can feel proud of. This project is completely doable, and now you have the know-how to do it well.
Frequently Asked Questions
Is It Possible to Skip Sanding Altogether?
Yes, sanding can be skipped, provided the surface is thoroughly cleaned beforehand and a high-quality bonding primer such as Zinsser B-I-N is applied. Without sanding, the primer becomes even more essential.
Will Chalk Paint Adhere to Polyurethane?
Chalk paint generally adheres effectively, even without a primer, as long as the glossy surface is first dulled by brief sanding or applying a deglosser. Doing so ensures better adhesion for chalk paint.
Oil-Based vs. Water-Based Polyurethane: Which is Better?
Oil-based polyurethane is preferable when durability is the primary concern, although it tends to yellow slightly over time. For a clear finish with quicker drying times, water-based polyurethane is the better choice, despite being somewhat less durable.