
Black window trim is showing up everywhere lately—and it’s easy to see why. It’s bold. It’s clean. And it makes a big difference in any room.
Painting your trim black turns a simple window into a strong design feature. It’s like putting a frame around the view outside. Everything starts to look more finished and more pulled together.
You don’t need a brand-new house to try this look. It works in modern rooms and older homes too. The contrast adds a fresh edge without feeling overdone.
In this guide, I’ll show you how to do it the right way. You’ll learn which tools and paint to use. I’ll walk you through prep steps, painting tips, and clean-up.
And don’t worry—this is a project you can handle, even if you’re just getting started with DIY. Once you try it, you might want to paint every window in the house.
Let’s turn those plain windows into something that really stands out.
Why Paint Your Window Trim Black?
Have you ever seen how a black picture frame makes the artwork inside stand out? The same idea works with your windows.
When you paint the trim black, you’re framing the outside view. It pulls your eye to the window and makes everything look more put together.
Black trim works with almost any home style. In modern rooms, it adds strong lines and clean edges. In farmhouse spaces, it gives that popular modern farmhouse feel. And in traditional homes, it brings just the right amount of contrast.
It doesn’t just look good—it changes how your space feels. Black trim can make windows seem larger. The dark edge adds depth and makes the window feel more open.
It also works with just about any wall color. Crisp white? Yes. Rich green? Bold navy? It fits them all.
And the best part? You don’t need a huge budget. With some paint and a few simple tools, you can completely change the mood of a room.
This is the kind of project that gives you big results without a big price tag.
Step-by-Step Guide to Painting Windows Trim Black
Painting window trim black might sound intimidating, but it’s very doable with the right prep. Let’s see how to get crisp, long-lasting results.
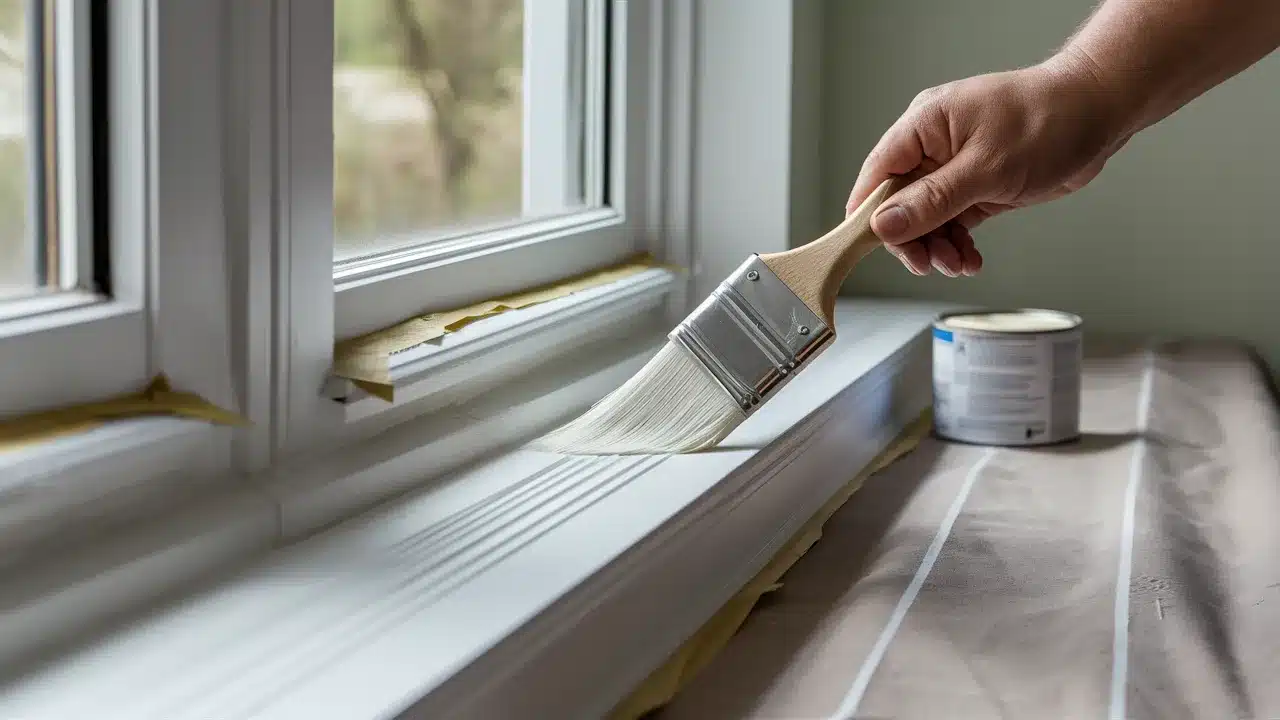
1. Clean the Trim
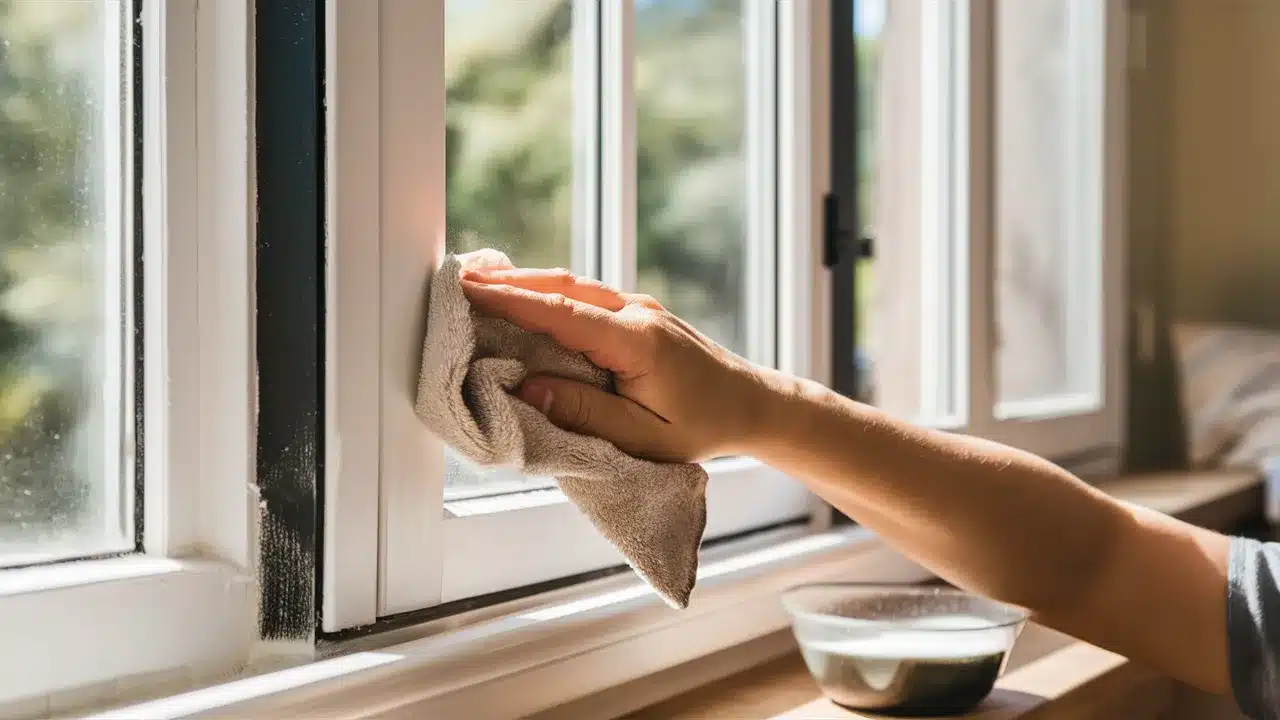
Before you do anything else, clean your window trim well. Dust, dirt, and fingerprints build up over time. That buildup can stop paint from sticking the right way.
Use warm water with a mild soap. Wipe down every part of the trim. Don’t forget the corners and edges—dust hides there.
For tougher spots, try water mixed with a little vinegar. After that, wipe everything again with plain water to remove any leftover soap.
Let the trim dry fully before moving on. A clean trim helps the paint go on smooth and stay put for years.
2. Lightly Sand the Surface
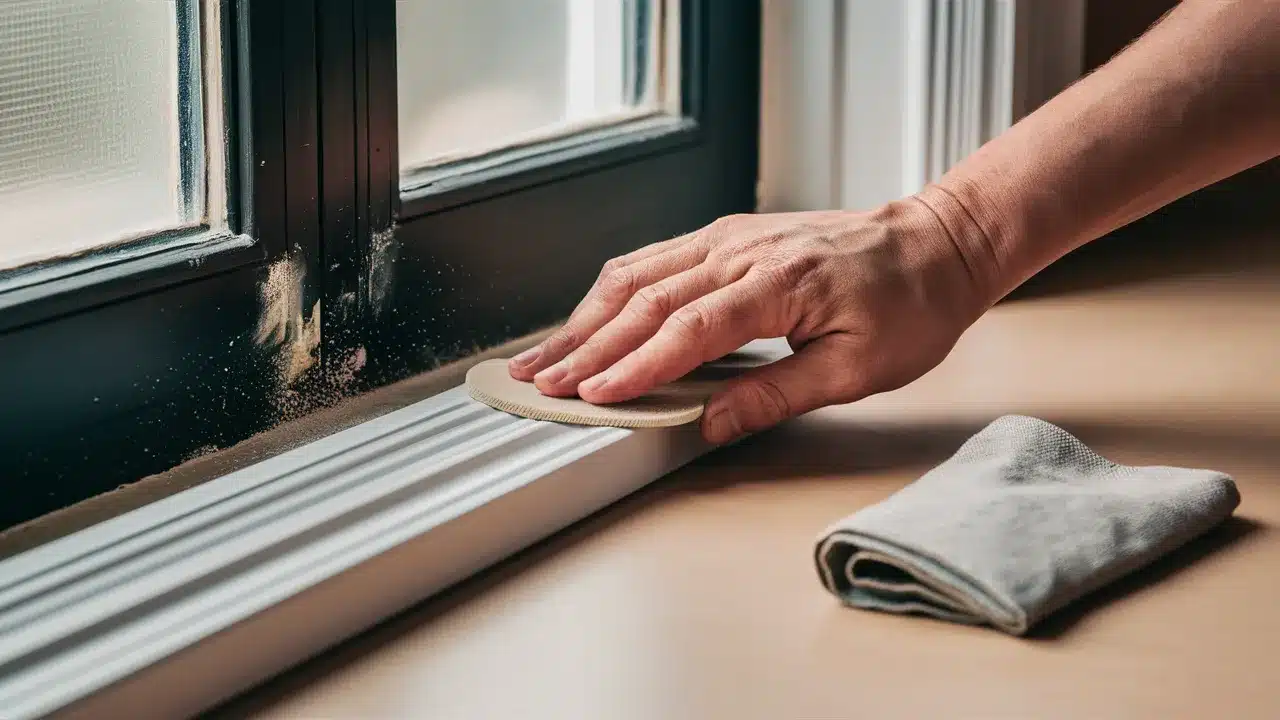
Even if the trim feels smooth, a quick sanding helps. Sanding gives the paint something to hold on to.
Use medium-grit sandpaper—around 120 to 150 grit. You don’t need to take off all the old paint. Just make the surface a little rough.
If the trim is already painted, smooth out any rough spots. For new wood, sand along the grain. This helps avoid scratches.
When you’re done sanding, wipe off all the dust with a damp cloth. Let it dry. This step may feel slow, but it makes a big difference.
3. Fill Holes or Gaps
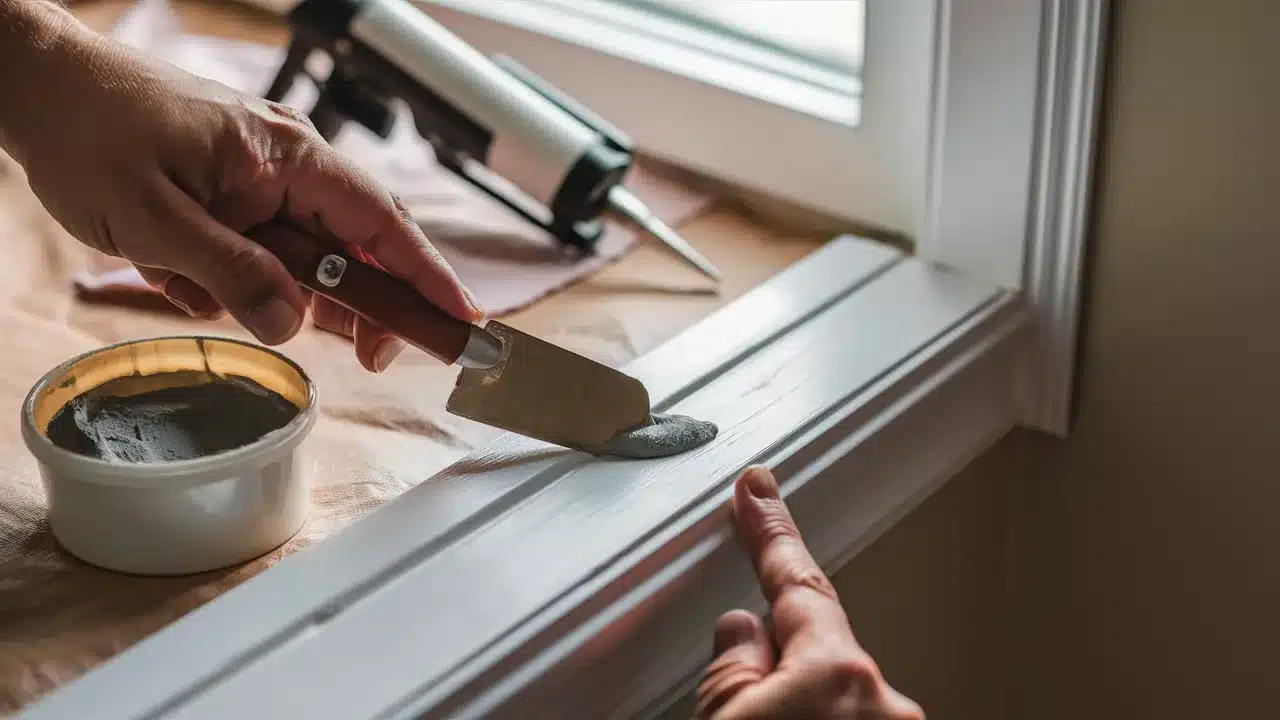
Check your trim for small holes or cracks. Dark paint shows every little flaw, so fill them now.
Use wood filler for nail holes or dents. Press it in with a putty knife and smooth it out. For bigger gaps—like where the trim meets the wall—use paintable caulk.
Apply a thin line of caulk, then smooth it with a damp finger. Let everything dry completely.
Once dry, lightly sand the patched spots so they blend in. Wipe away dust before painting. This extra care helps your trim look smooth and sharp when it’s finished.
4. Tape Off Surrounding Areas
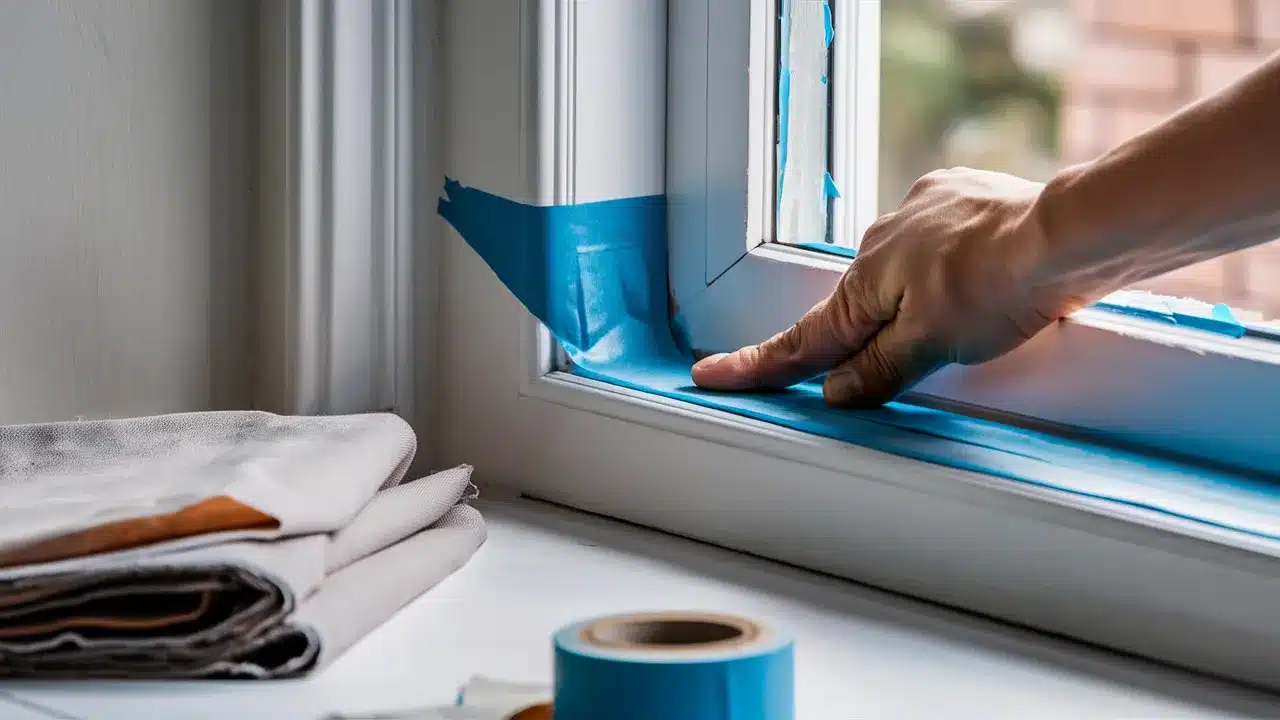
When painting trim black, clean lines matter. Dark paint shows every drip, smudge, or uneven edge. That’s why taping is so important.
Use painter’s tape to cover the edges where the trim meets the wall or glass. Press down firmly to seal the edge and stop paint from bleeding through.
For windows, tape right where the trim meets the glass. If your window has removable grilles, take them off and paint them separately.
Lay down a drop cloth to catch drips. Take your time. The better your taping is now, the less cleanup you’ll need later.
5. Prime (If Needed)
If your trim is bare wood or a light color, priming is a must. Use a primer made for trim or wood surfaces. Some stores can tint it gray to help your black paint cover better.
Use an angled brush to apply the primer in long strokes. Start with edges and grooves, then move to flat parts. You don’t need full coverage, but try to keep it even. Let the primer dry fully before moving on.
If you’re painting over dark trim or already painted surfaces, you might be able to skip this step—especially if the paint has good coverage.
6. Apply the First Coat of Paint
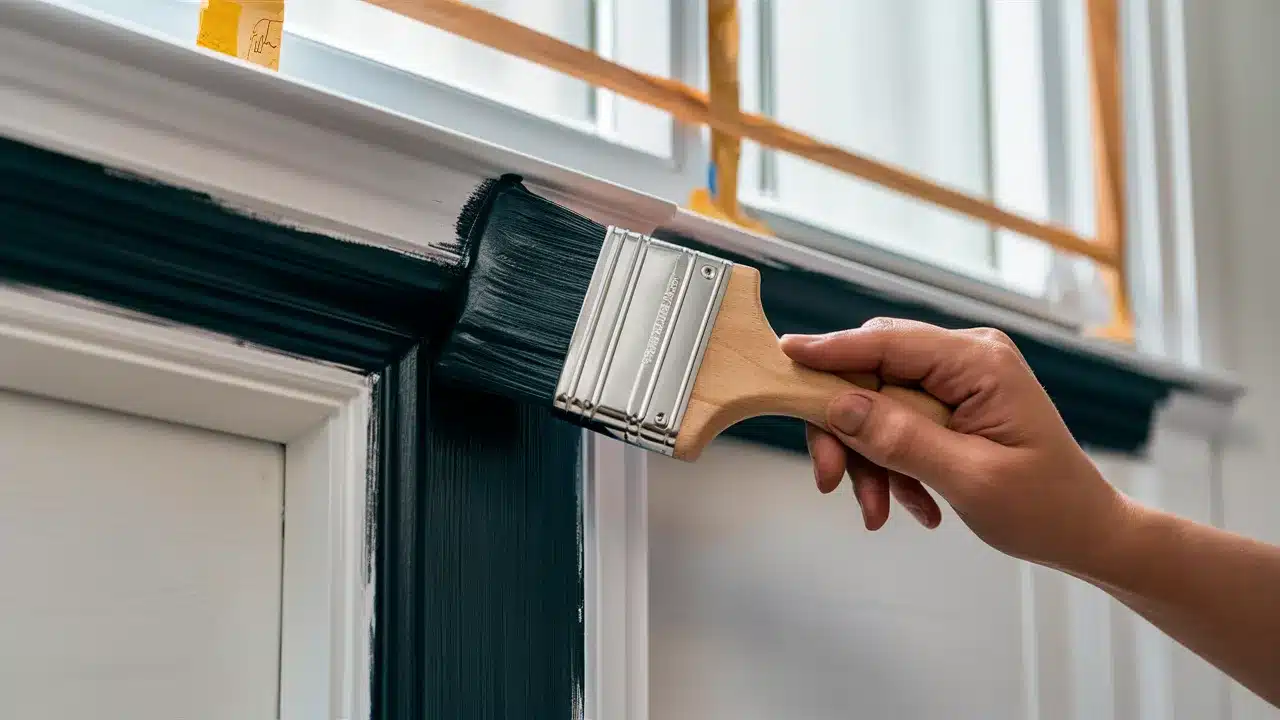
Now it’s time for the fun part—paint! Pick a good-quality black paint in a satin or semi-gloss finish. These finishes look great and hold up well on trim.
Use an angled brush for corners and edges. Paint in the direction of the wood grain. Keep your strokes long and even. Don’t load too much paint on the brush. Thin coats work better and help avoid drips.
It’s okay if the first coat doesn’t cover everything. That’s normal with black paint. Focus on smooth application. You’ll come back for a second coat later.
7. Let the Paint Dry Completely
After the first coat, let the trim dry all the way. Most paints need at least 4 to 6 hours, but always check the label. Some types take longer.
Don’t touch the trim to test it. Paint might feel dry but still be soft underneath. If you rush this step, the next coat won’t stick as well—and it might peel later.
While you wait, clean your brushes. If you used water-based paint, wash them with warm soapy water. For oil-based, use the right solvent.
Clean brushes help your next coat go on smoother and save time in the long run.
8. Apply the Second Coat
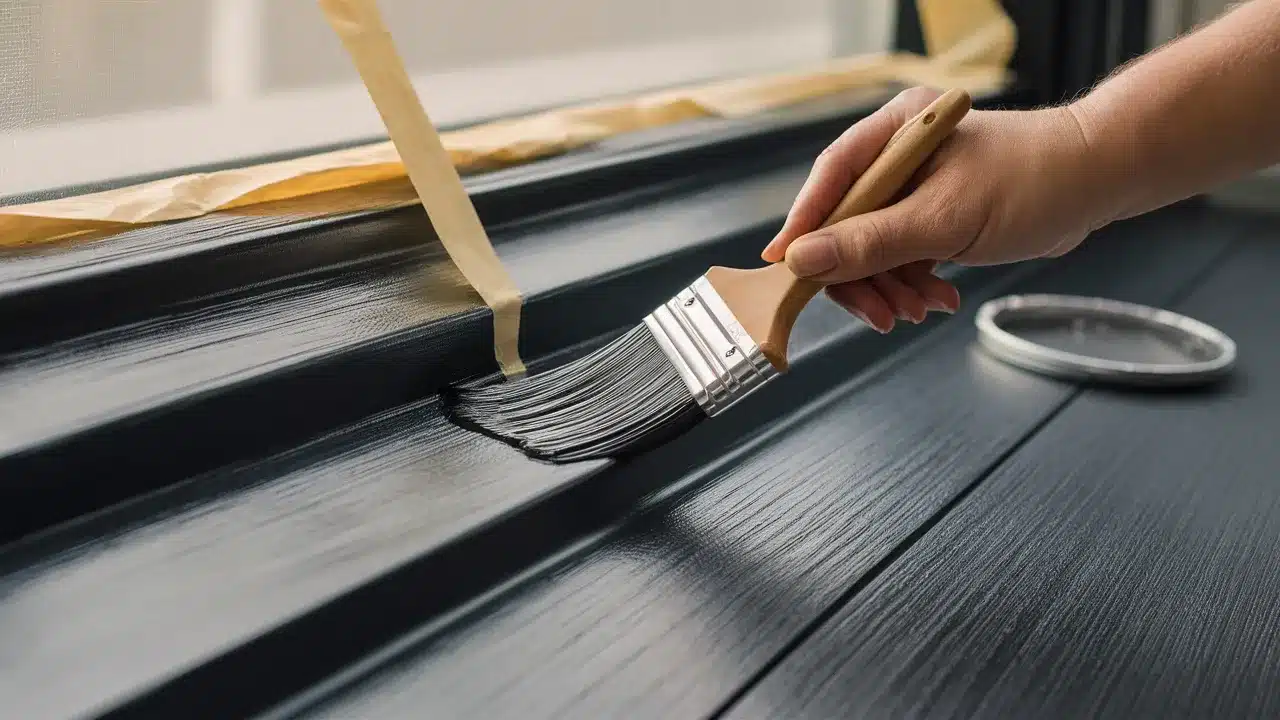
Once the first coat is fully dry, check how it looks. Black paint usually needs two coats to look even and deep.
Apply the second coat just like the first. Use long, smooth strokes. Start with the edges and corners, then fill in the flat areas.
Focus on any light spots or places where the first coat didn’t cover well. Don’t overload your brush. Thin coats look better and last longer.
This coat usually goes on easier than the first. The surface is smoother now, so you’ll get a clean, rich finish with fewer brush marks.
9. Remove the Tape Carefully
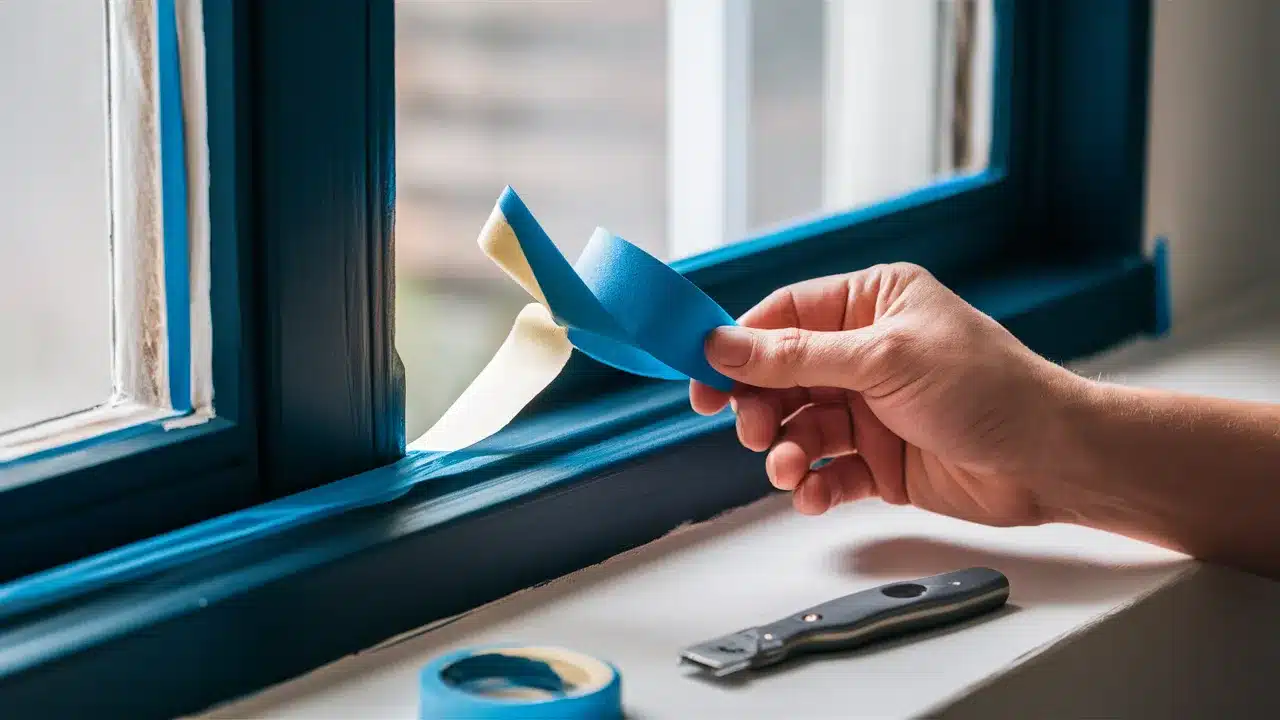
Don’t leave the painter’s tape on for too long. Wait until the paint is dry to the touch but not fully hardened. This is usually about 1 to 2 hours after your final coat.
Pull the tape off slowly at an angle. Go slow and steady. If the paint starts to lift, stop and use a small knife to score along the edge. This keeps the line sharp.
If any paint bled under the tape, it’s okay. Touch up small spots with a steady hand and a little matching wall paint.
A few fixes now make everything look polished later.
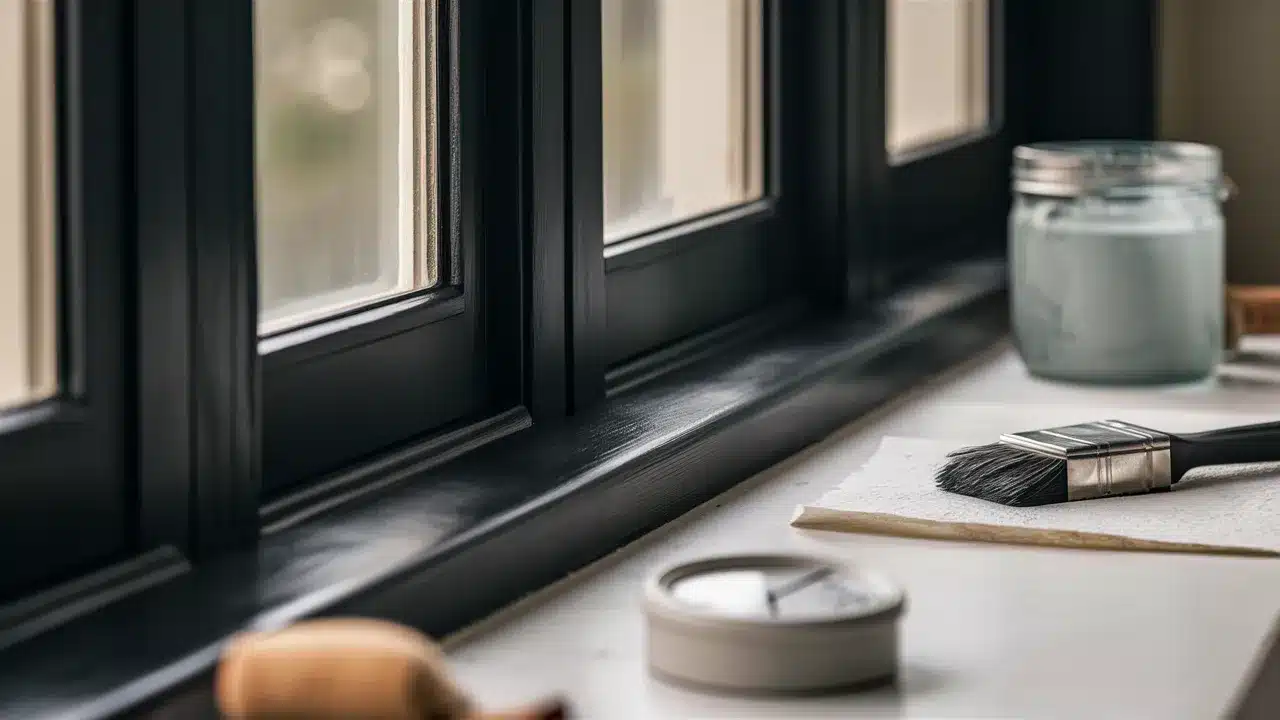
Styling Tips After Painting
Now that your window trim is freshly painted black, it’s time to let it shine. Black trim makes a big impact. The right choices around it can take the whole room to the next level.
Start with your walls. Light-colored walls—like soft white, cream, or pale gray—really make the black stand out. The contrast is bold and crisp, giving your space a clean, polished look.
Add a few black touches around the room to tie it all together. Think black picture frames, lamp bases, or even small decor pieces. These accents help the trim feel like part of a bigger plan.
Don’t forget the windows themselves. Black trim pairs beautifully with natural wood shades. They bring in warmth and texture.
For curtains, white panels create a classic contrast. If you like patterns, pick ones with a little black in them for a pulled-together feel.
Green plants also pop against black. A leafy houseplant near the window adds color and life. It’s a simple way to highlight your new trim without doing much at all.
Even the small details matter. Try swapping out old hardware for matte black knobs or handles. It’s a simple update, but it keeps the look consistent.
Black trim is bold by nature. So sometimes, less is more. Keep your other decor clean and simple, and let the windows speak for themselves.
They’re not just windows now—they’re a real design feature.
Conclusion
Painting your window trim black is a small change that makes a big impact. It adds contrast, style, and sharp detail to your space without needing a full makeover.
It’s an easy way to make your room feel more finished and more modern.
You’re not just painting—you’re giving your windows a whole new look. Black trim turns plain frames into bold features. It draws the eye and makes the view outside feel like a picture.
The best part? You can do it yourself. With some prep, patience, and the right tools, this is a DIY project anyone can try. Just make sure to clean, sand, tape, and let each coat dry fully.
Soft black gives a smooth, gentle look. A rich black adds more drama. Both pair well with light or dark walls and simple or bold decor.
If you’re unsure, test it in a small space first. A hallway or bathroom window is a great place to start. Have you tried black trim before? Or are you planning to?
Share your thoughts or questions in the comments—I’d love to hear what you think!