
Painting a wall might seem simple—dip the roller, spread the paint, and you’re done.
But that’s not the full story.
The wrong roller can leave streaks, drips, uneven patches, and even lint stuck in your paint. That’s why choosing the right roller makes all the difference.
This article helps you pick the best roller for your walls and shows you how to avoid common mistakes that ruin a fresh coat of paint.
In this guide, you’ll learn:
- Why the right paint roller matters for your project
- How to select the correct roller cover for your specific needs
- Tips for choosing the right roller frame and handle length
- Step-by-step techniques for a smooth, professional finish
You deserve walls that look smooth and even, not patchy and streaked. With the right roller and proper technique, you’ll get results that look like a professional did the job.
Why Choosing the Right Paint Roller Matters?
A paint roller is one of the best tools for covering large areas quickly and evenly. But not all rollers are created equal. A low-quality roller can cause:
- Uneven coverage – Some areas will look thicker than others.
- Roller marks – Visible streaks after drying.
- Excessive splattering – More paint on your floor than on the wall.
- Lint or fuzz sticking to the wall – Tiny fibers getting trapped in the paint.
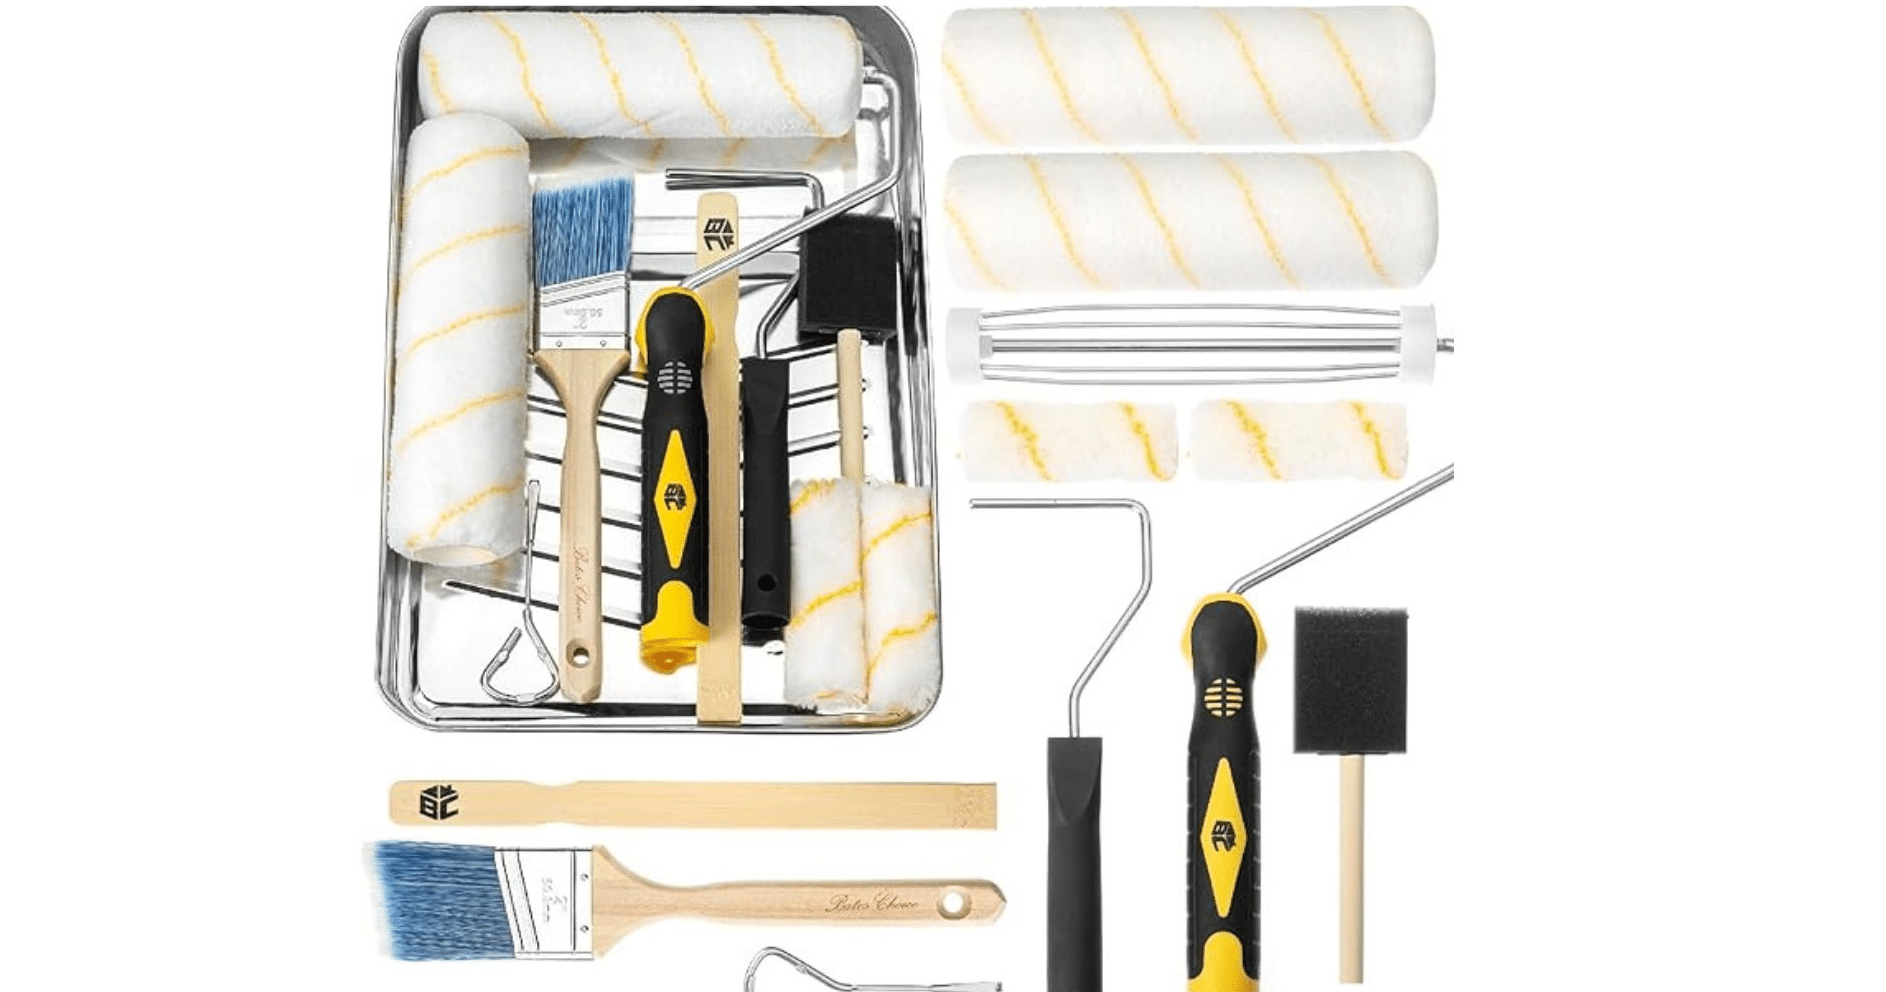
Recommended Product:
Understanding Paint Roller Covers
Paint roller covers can make a big difference in your painting results. Knowing which type to use for your specific project helps ensure a smooth, even finish on your walls and other surfaces.
Types of Paint Roller Covers
Each material works best with certain kinds of paint:
- Foam Rollers are great for ultra-smooth finishes, such as cabinets and doors.
- Microfiber Rollers hold more paint and reduce splatter, making them ideal for walls and ceilings.
- Synthetic (Polyester/Nylon) Rollers Work well with water-based paints like latex.
- Natural (Wool/Mohair) Rollers are best for oil-based paints and rougher surfaces but can shed fibers.
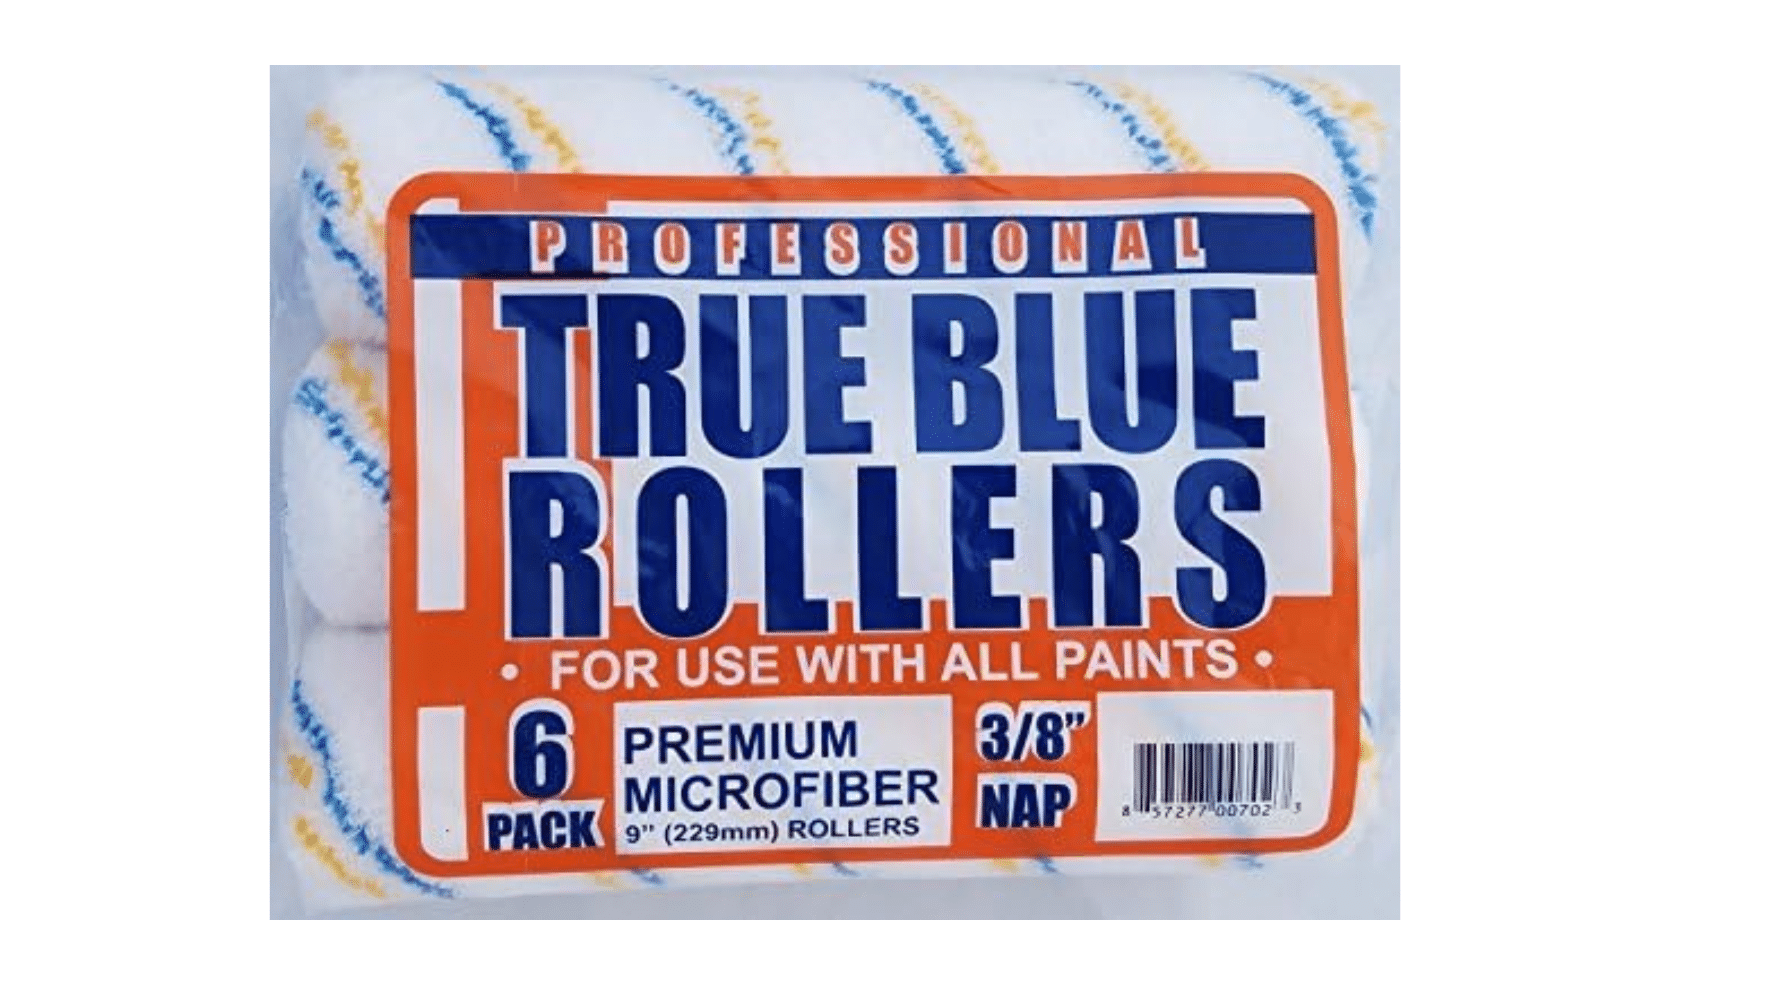
Recommended Products:
Choosing the Right Nap
The nap (or pile) refers to the thickness of the roller cover. It affects how much paint is absorbed and how it’s spread.
| Nap Thickness | Best For |
|---|---|
| ¼ inch | Ultra-smooth surfaces (metal, glossy walls) |
| ⅜ inch | Standard drywall, most interior walls |
| ½ inch | Slightly textured walls |
| ¾ inch+ | Heavy textures (stucco, brick, concrete) |
Recommended Product:
Picking the Right Paint Roller Frame
The paint roller frame plays a key role in how well your painting project goes. This often-overlooked tool deserves careful selection.
Types of Roller Frames
- 9-Inch Standard Frame – The most common size for walls and ceilings.
- 4- to 6-Inch Mini Rollers – Perfect for tight spaces, doors, and trim work.
- Adjustable Frames – Can fit different roller sizes for more flexibility.
Handle Length Matters
- Short Handles – Better for control and precision on small areas.
- Long Handles/Extension Poles – Ideal for ceilings and tall walls.
Recommended Products:
How to Use a Paint Roller for a Professional Finish?
Even with the best roller, bad technique can ruin the final look. Follow these steps for a flawless finish.
Prepping the Roller
- Remove loose fibers— The New roller covers shed. Wrap painter’s tape around the roller and peel it off to remove excess lint.
- Dampen the roller – Slightly wetting the cover helps it absorb paint evenly.
Loading the Roller with Paint
- Use a paint tray. Never dip directly into the paint can.
- Roll evenly – Move back and forth in the tray to coat the entire roller surface.
Applying Paint Like a Pro
- Use the “W” or “M” technique – Roll a “W” or “M” shape on the wall, then fill in the gaps. This method prevents streaking.
- Maintain even pressure – Too much pressure squeezes out paint unevenly.
- Work in sections – Keep a wet edge to avoid visible lines.
Common Painting Mistakes and How to Avoid Them
Even with the right paint roller, many people make simple errors that affect their final results. Let’s look at common mistakes and how to fix them:
| Mistake | How to Fix It |
|---|---|
| Using the wrong nap | Match the nap to your surface type (see nap thickness chart) |
| Applying too much or too little paint | Load the roller evenly and test before applying |
| Pressing too hard | Let the roller do the work—too much pressure leads to streaks |
| Not keeping a wet edge | Paint in sections and overlap slightly to prevent lines |
| Using a low-quality roller | Invest in a high-quality roller to avoid shedding and uneven coverage |
Recommended Product:
Essential Painting Accessories to Enhance Your Results
Having the right paint roller is crucial, but using the right accessories can take your painting project to the next level. A smooth, professional finish isn’t just about technique—it’s also about having the right tools to make the job easier and more efficient.
Painter’s Tape: Crisp Edges and No Mess
Painter’s tape is non-negotiable if you want sharp, clean lines. It helps prevent paint from bleeding onto trims, ceilings, and adjacent walls.
Using painter’s tape effectively:
- Choose the right tape – Use low-tack tape for delicate surfaces, medium-tack for walls, and high-tack for rough surfaces.
- Press it down firmly – Use a putty knife or your fingers to ensure a tight seal.
- Remove at the right time – For the best results, peel it off at a 45-degree angle while the paint is still slightly wet.
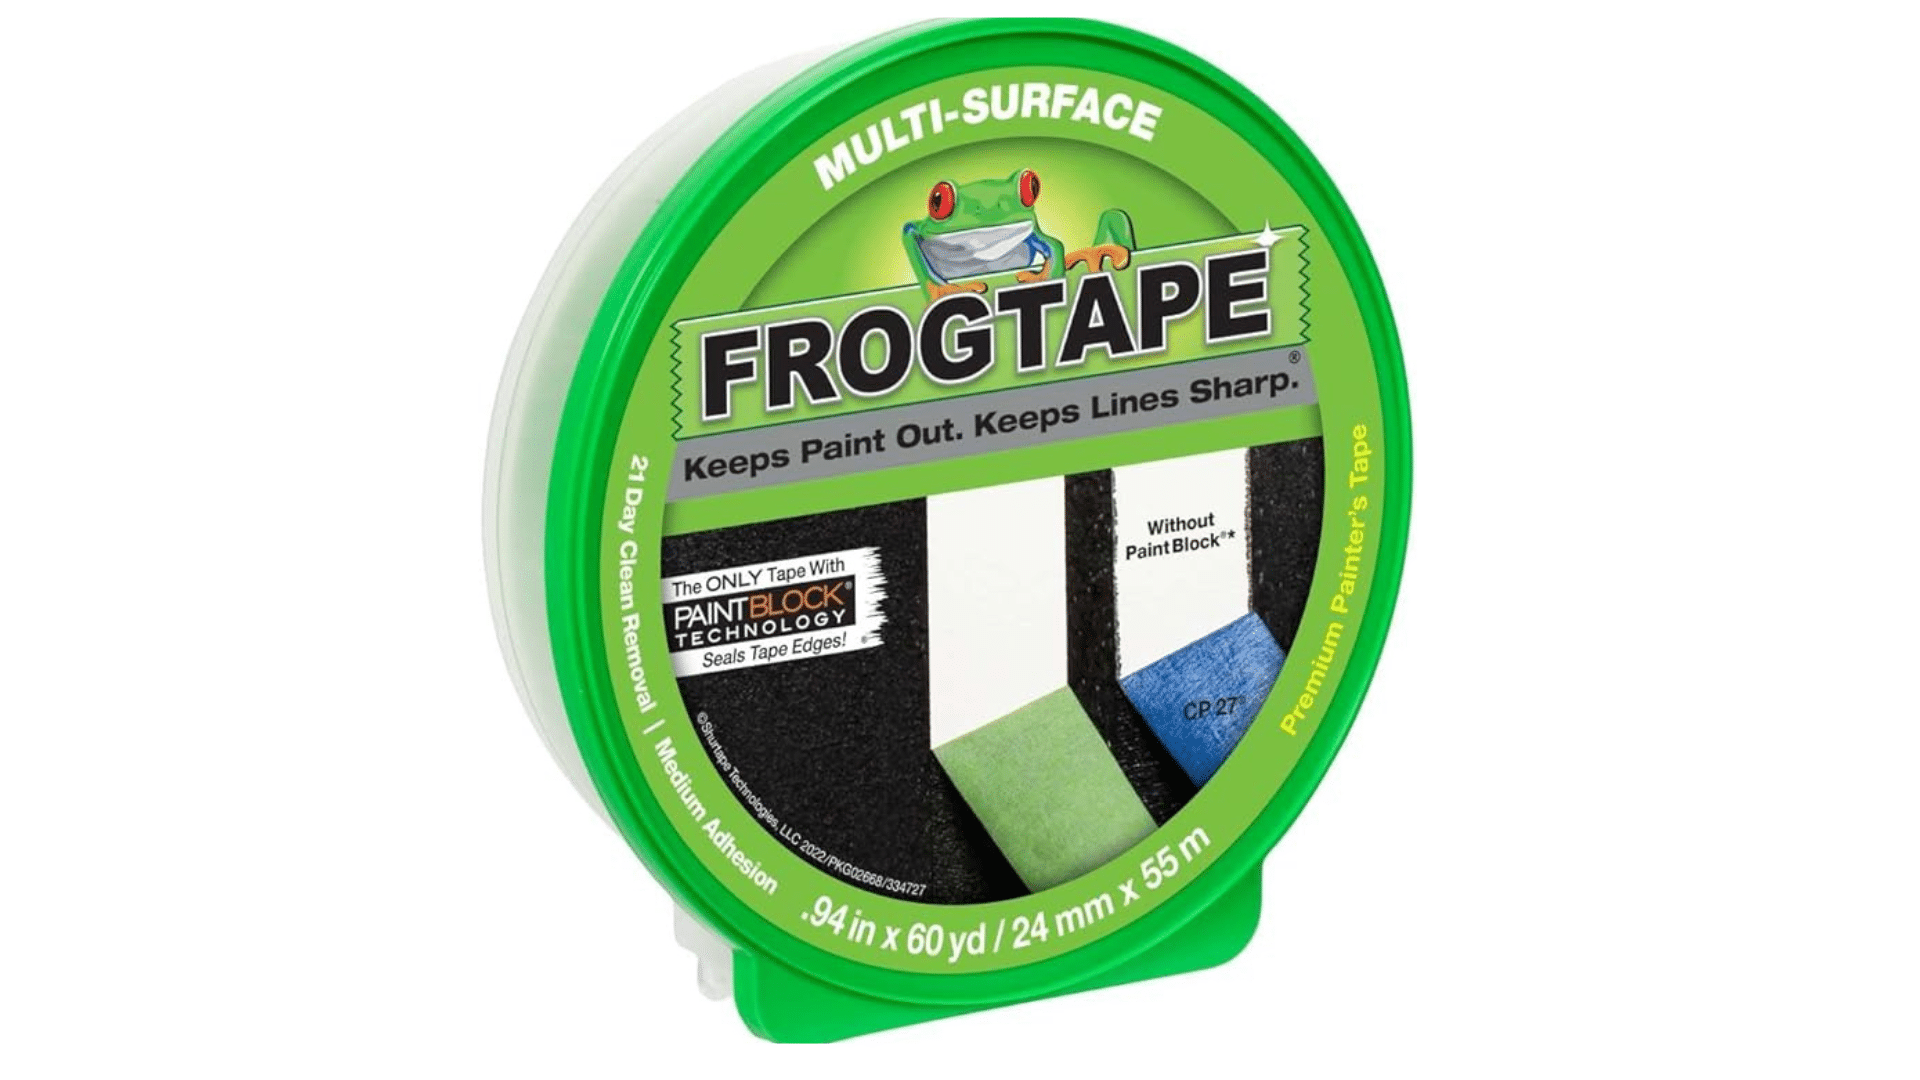
Recommended Product:
Drop Cloths and Protective Covers: Keep Your Floors and Furniture Safe
Paint splatters are inevitable, no matter how careful you are. Protect your floors and furniture by using a drop cloth or plastic sheeting.
- Canvas Drop Cloths – Reusable, highly durable, and absorbent. Best for long-term painting projects.
- Plastic Sheeting – Cheap and disposable, but can be slippery. Best for quick projects.
- Paper/Poly Drop Cloths – A mix of paper and plastic that is lightweight and non-slip.
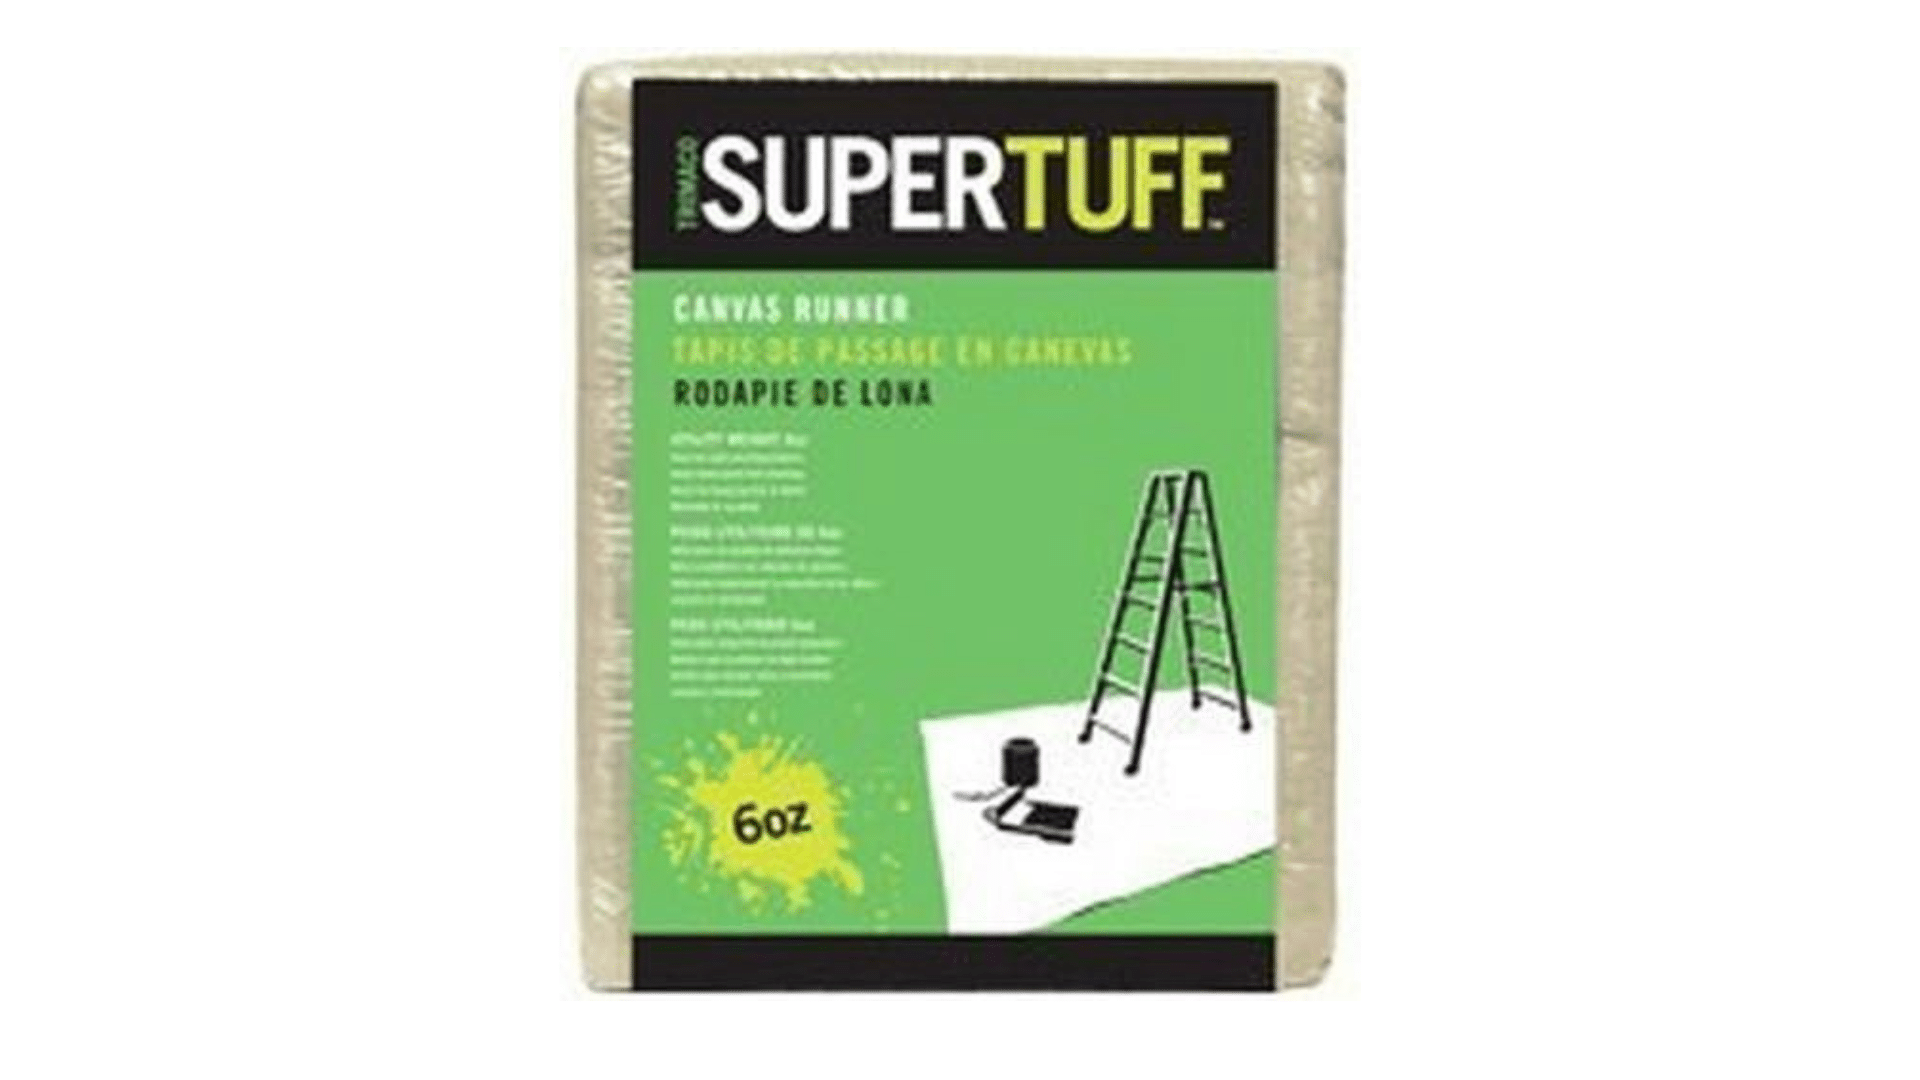
Recommended Product:
Paint Trays and Liners: Even Distribution of Paint
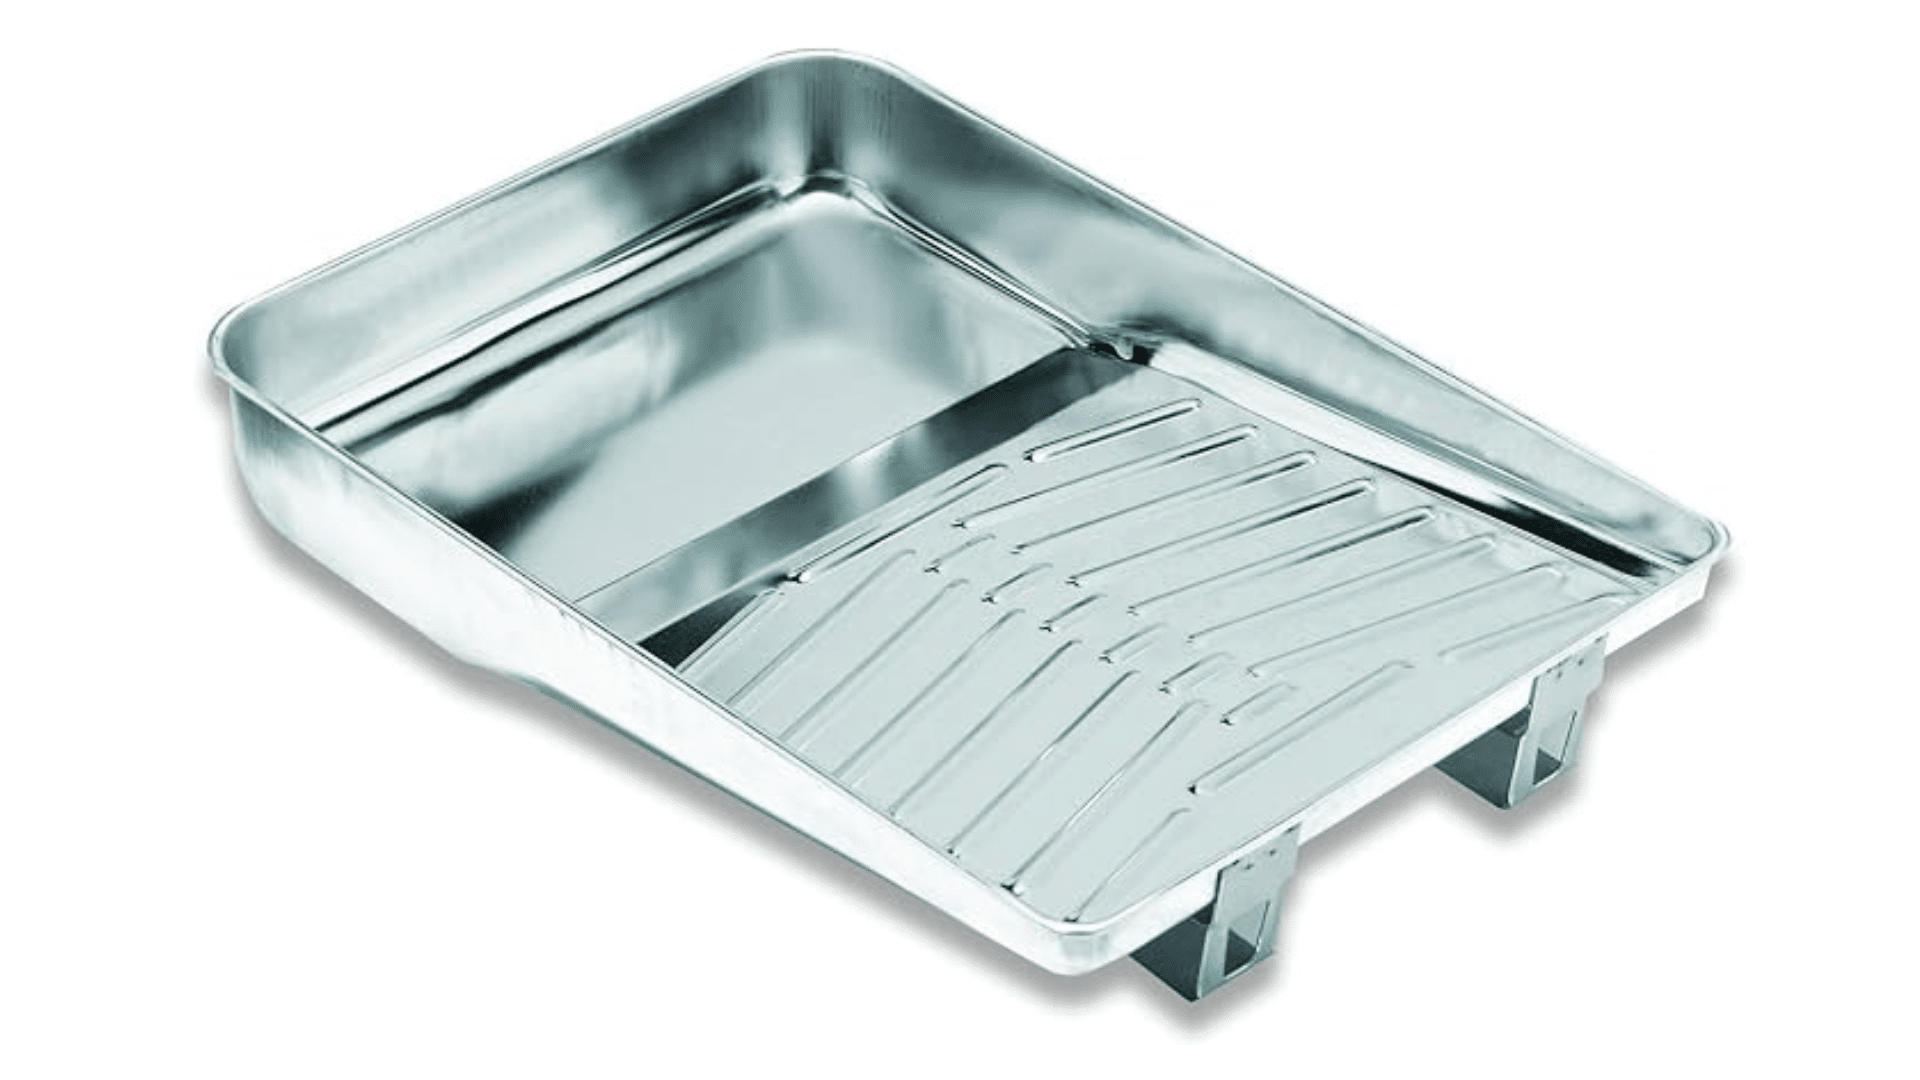
A high-quality paint tray helps you load the roller evenly and prevents over-saturation, which can lead to drips. Liners make cleanup fast and easy.
Pro Tips:
- Always use a deep-well tray if you’re painting a large wall.
- If you’re using multiple colors, disposable liners save you time.
Recommended Product:
Extension Poles: Reach High Areas Without a Ladder
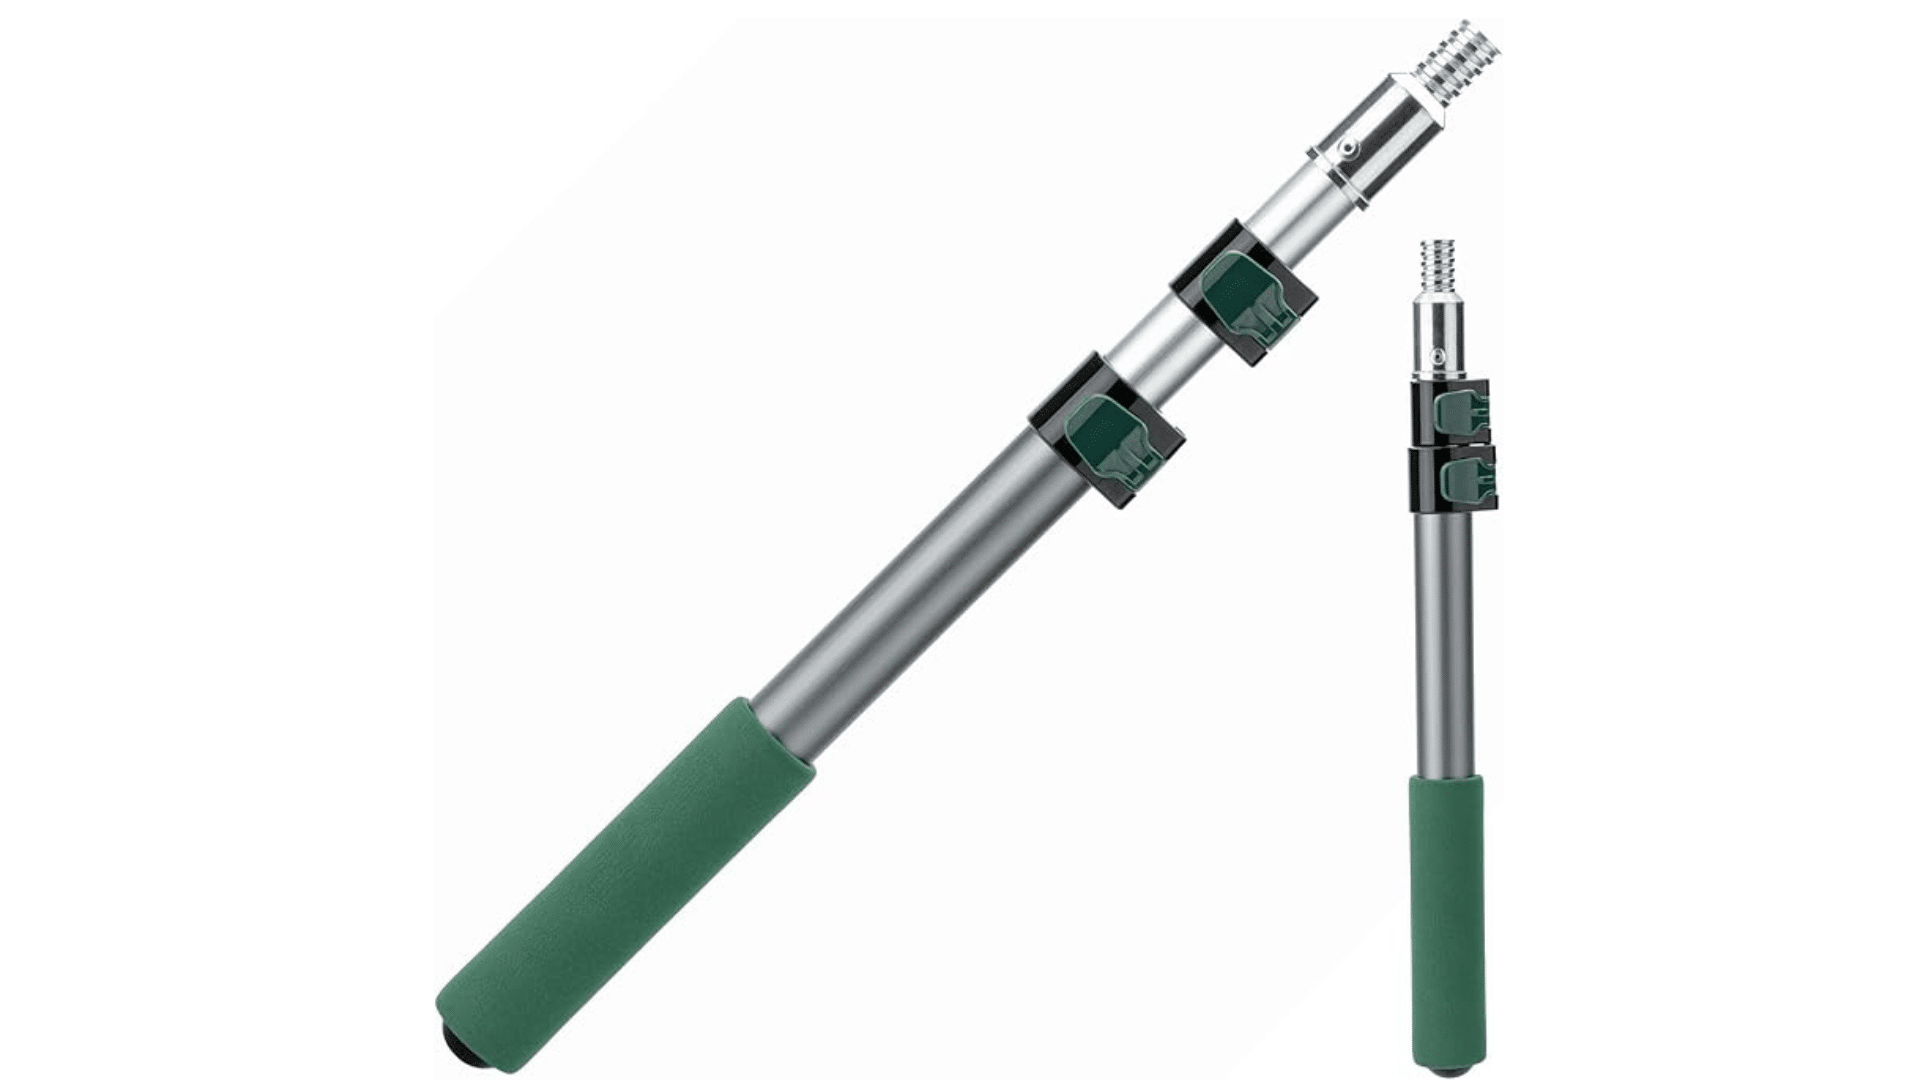
If you’re painting ceilings or tall walls, an extension pole is a game-changer. It helps you reach higher areas without straining your back or using a ladder.
What to Look For in an Extension Pole:
- Adjustable length – A pole that extends from 2 to 4 feet is great for most interior projects.
- Lightweight material – Aluminum poles are durable yet lightweight.
- Threaded tip – This ensures a secure attachment to your roller frame.
Recommended Product:
Cleaning and Storing Your Paint Rollers
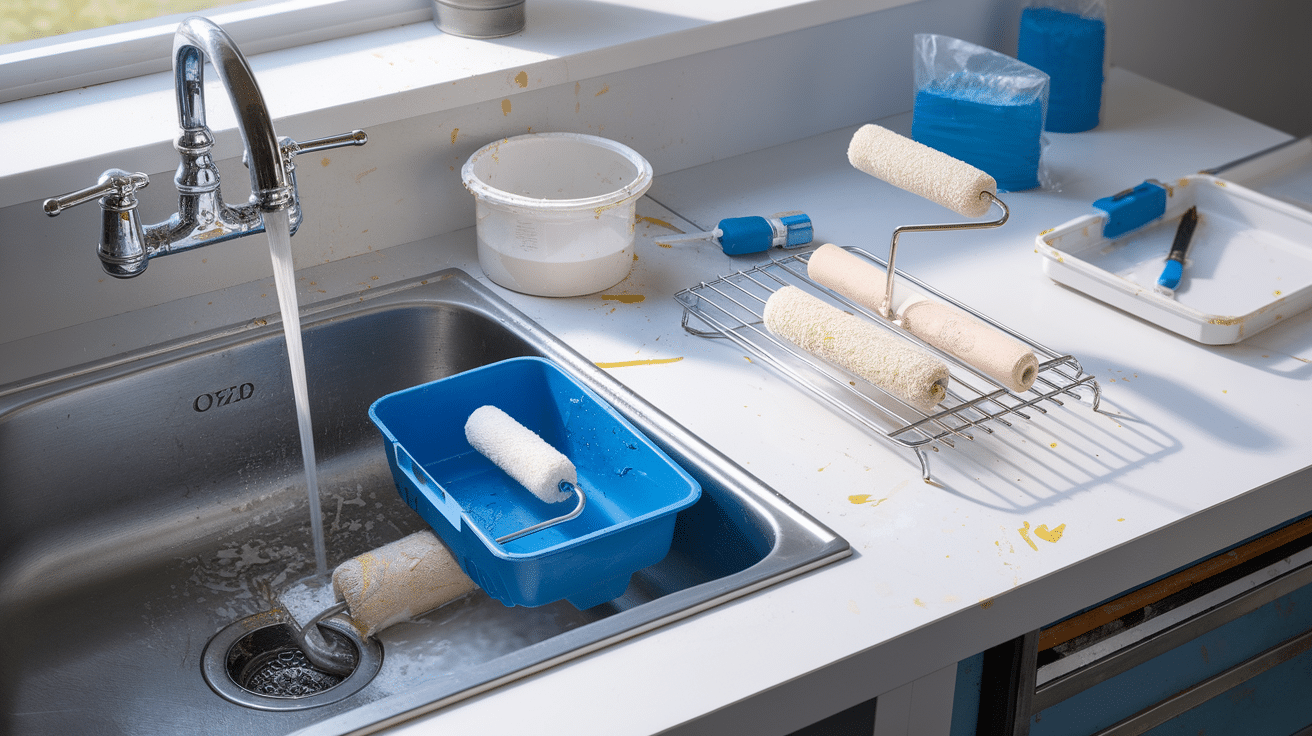
Proper cleaning and storage of paint rollers saves you money and ensures better results on your next painting project. Follow these simple steps to extend the life of your tools.
Cleaning Water-Based Paint (Latex)
- Rinse under warm water until the water runs clear.
- Use mild soap to remove excess paint.
- Shake off excess water and let it dry upright.
Cleaning Oil-Based Paint
- Use mineral spirits or paint thinner to clean the roller.
- Rinse with warm, soapy water.
- Store in a plastic bag to prevent drying out.
Conclusion
The right paint roller can save you time, money, and lots of frustration.
Let’s recap what we’ve learned:
- Choose a roller material that works with your paint type (foam for smooth finishes, microfiber for walls, synthetic for water-based paints)
- Match the nap thickness to your wall texture (thinner nap for smooth walls, thicker for textured surfaces)
- Pick a frame and handle that give you comfort and control
- Use proper technique to avoid streaks and uneven coverage
Remember: Before you start painting, take time to select the right tools. This small step makes a huge difference in your final results.
Your walls will look smooth, even, and professionally done with these tips. Did these tips help improve your painting results?