
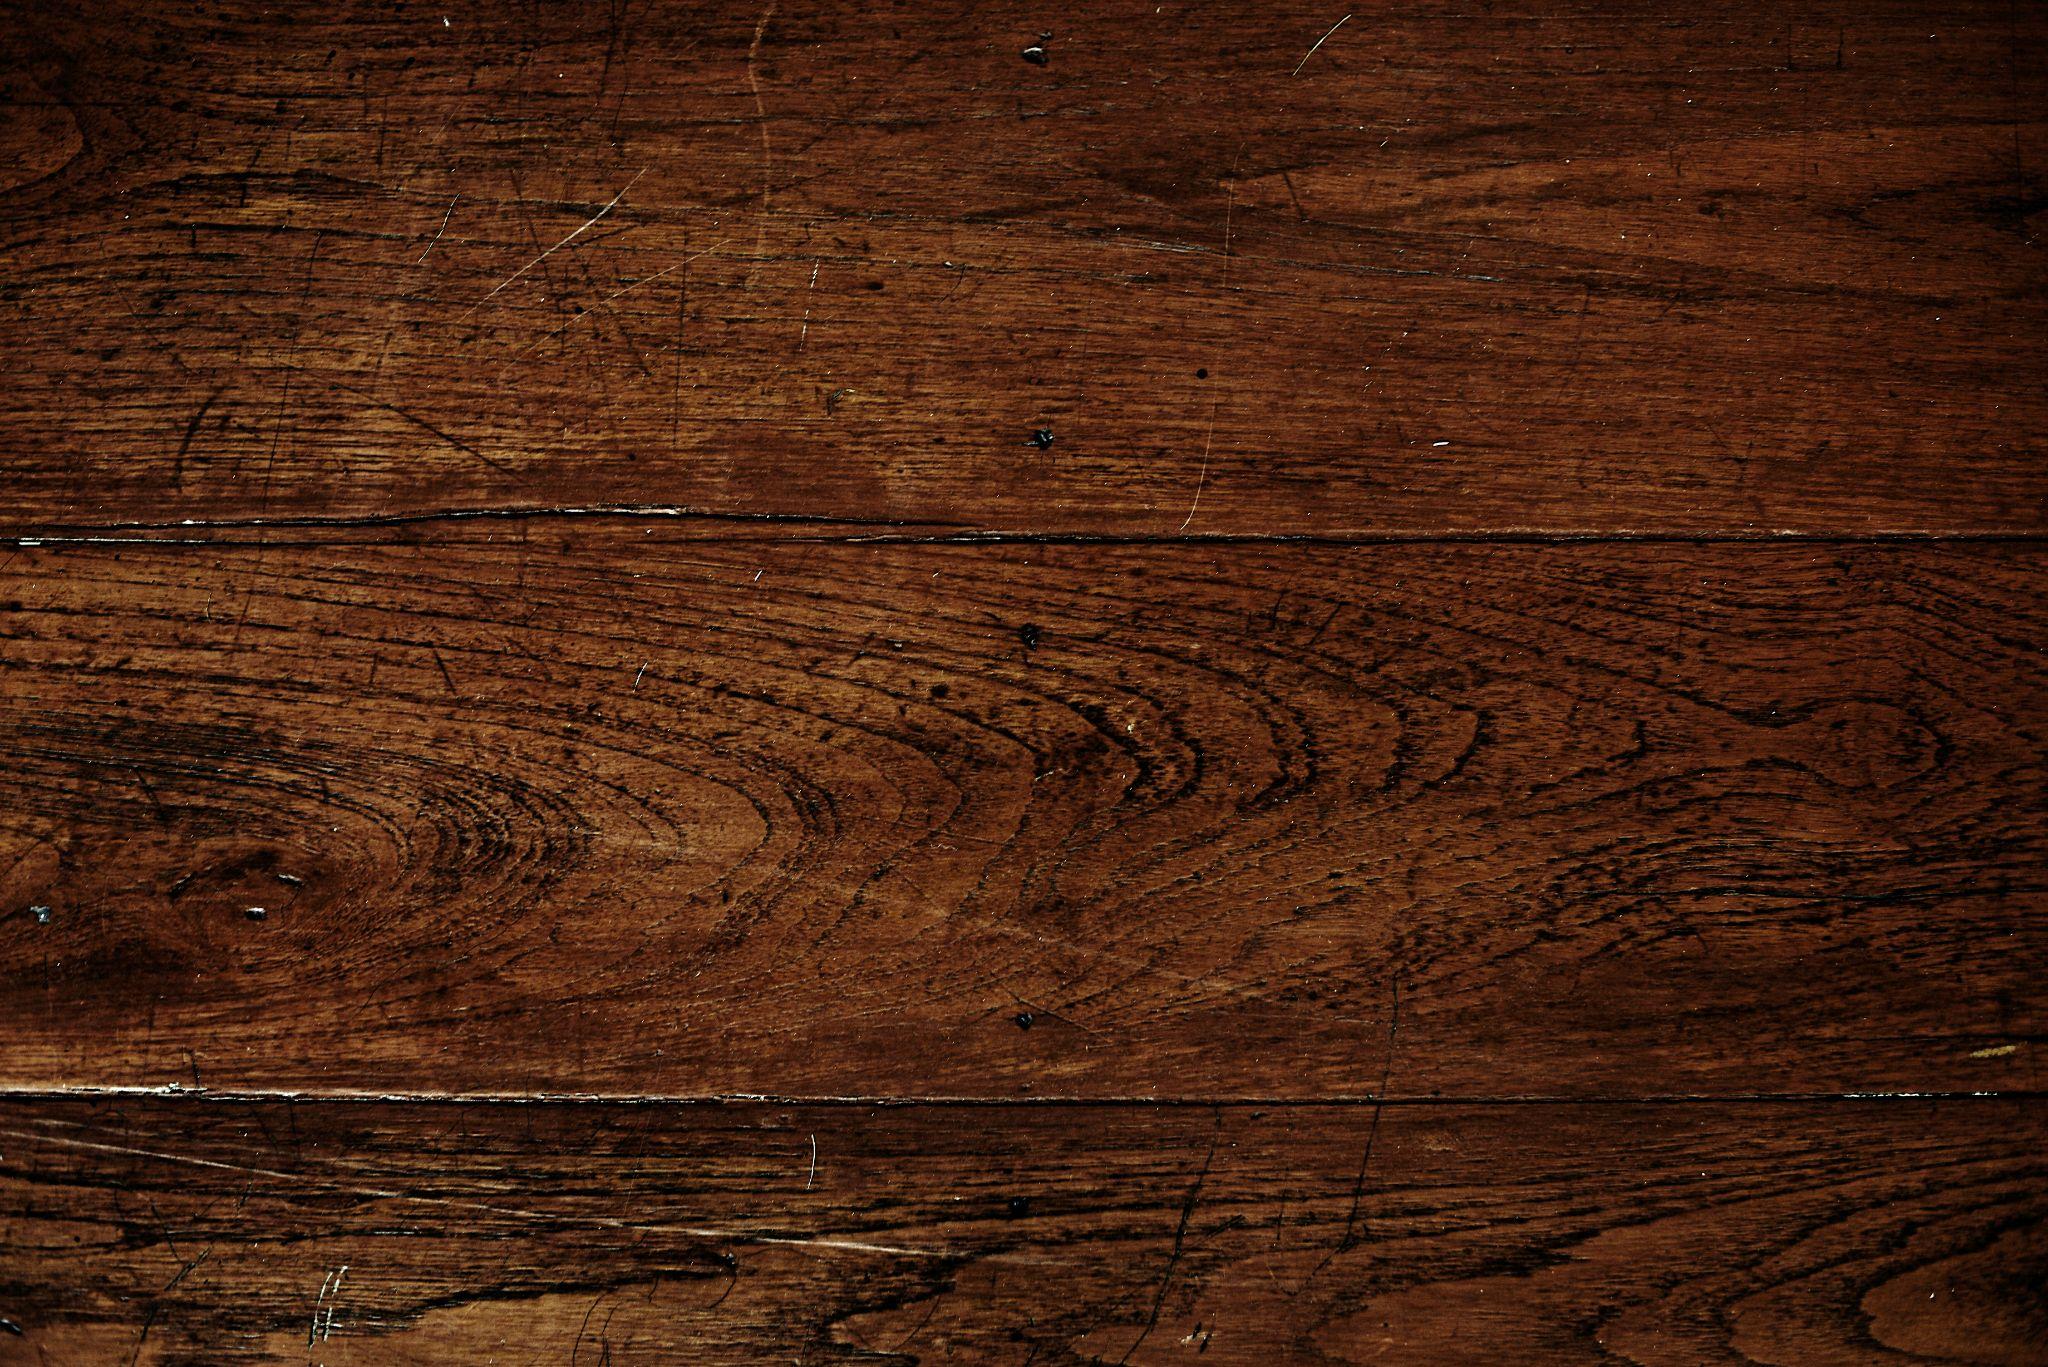
Hardwood floors add warmth, durability, and value to a home, but even well-maintained floors can develop scratches over time. Furniture movement, pets, grit from shoes, and everyday wear can leave marks that range from barely noticeable to deeply damaging. The good news is that many hardwood floor scratches can be repaired without refinishing the entire floor.
Knowing how to repair hardwood floor scratches starts with understanding the type and depth of the damage. This guide walks through practical repair methods based on scratch severity, outlines the tools you may need, and explains when professional help may be the better option.
Understanding the Type of Scratch Before You Repair
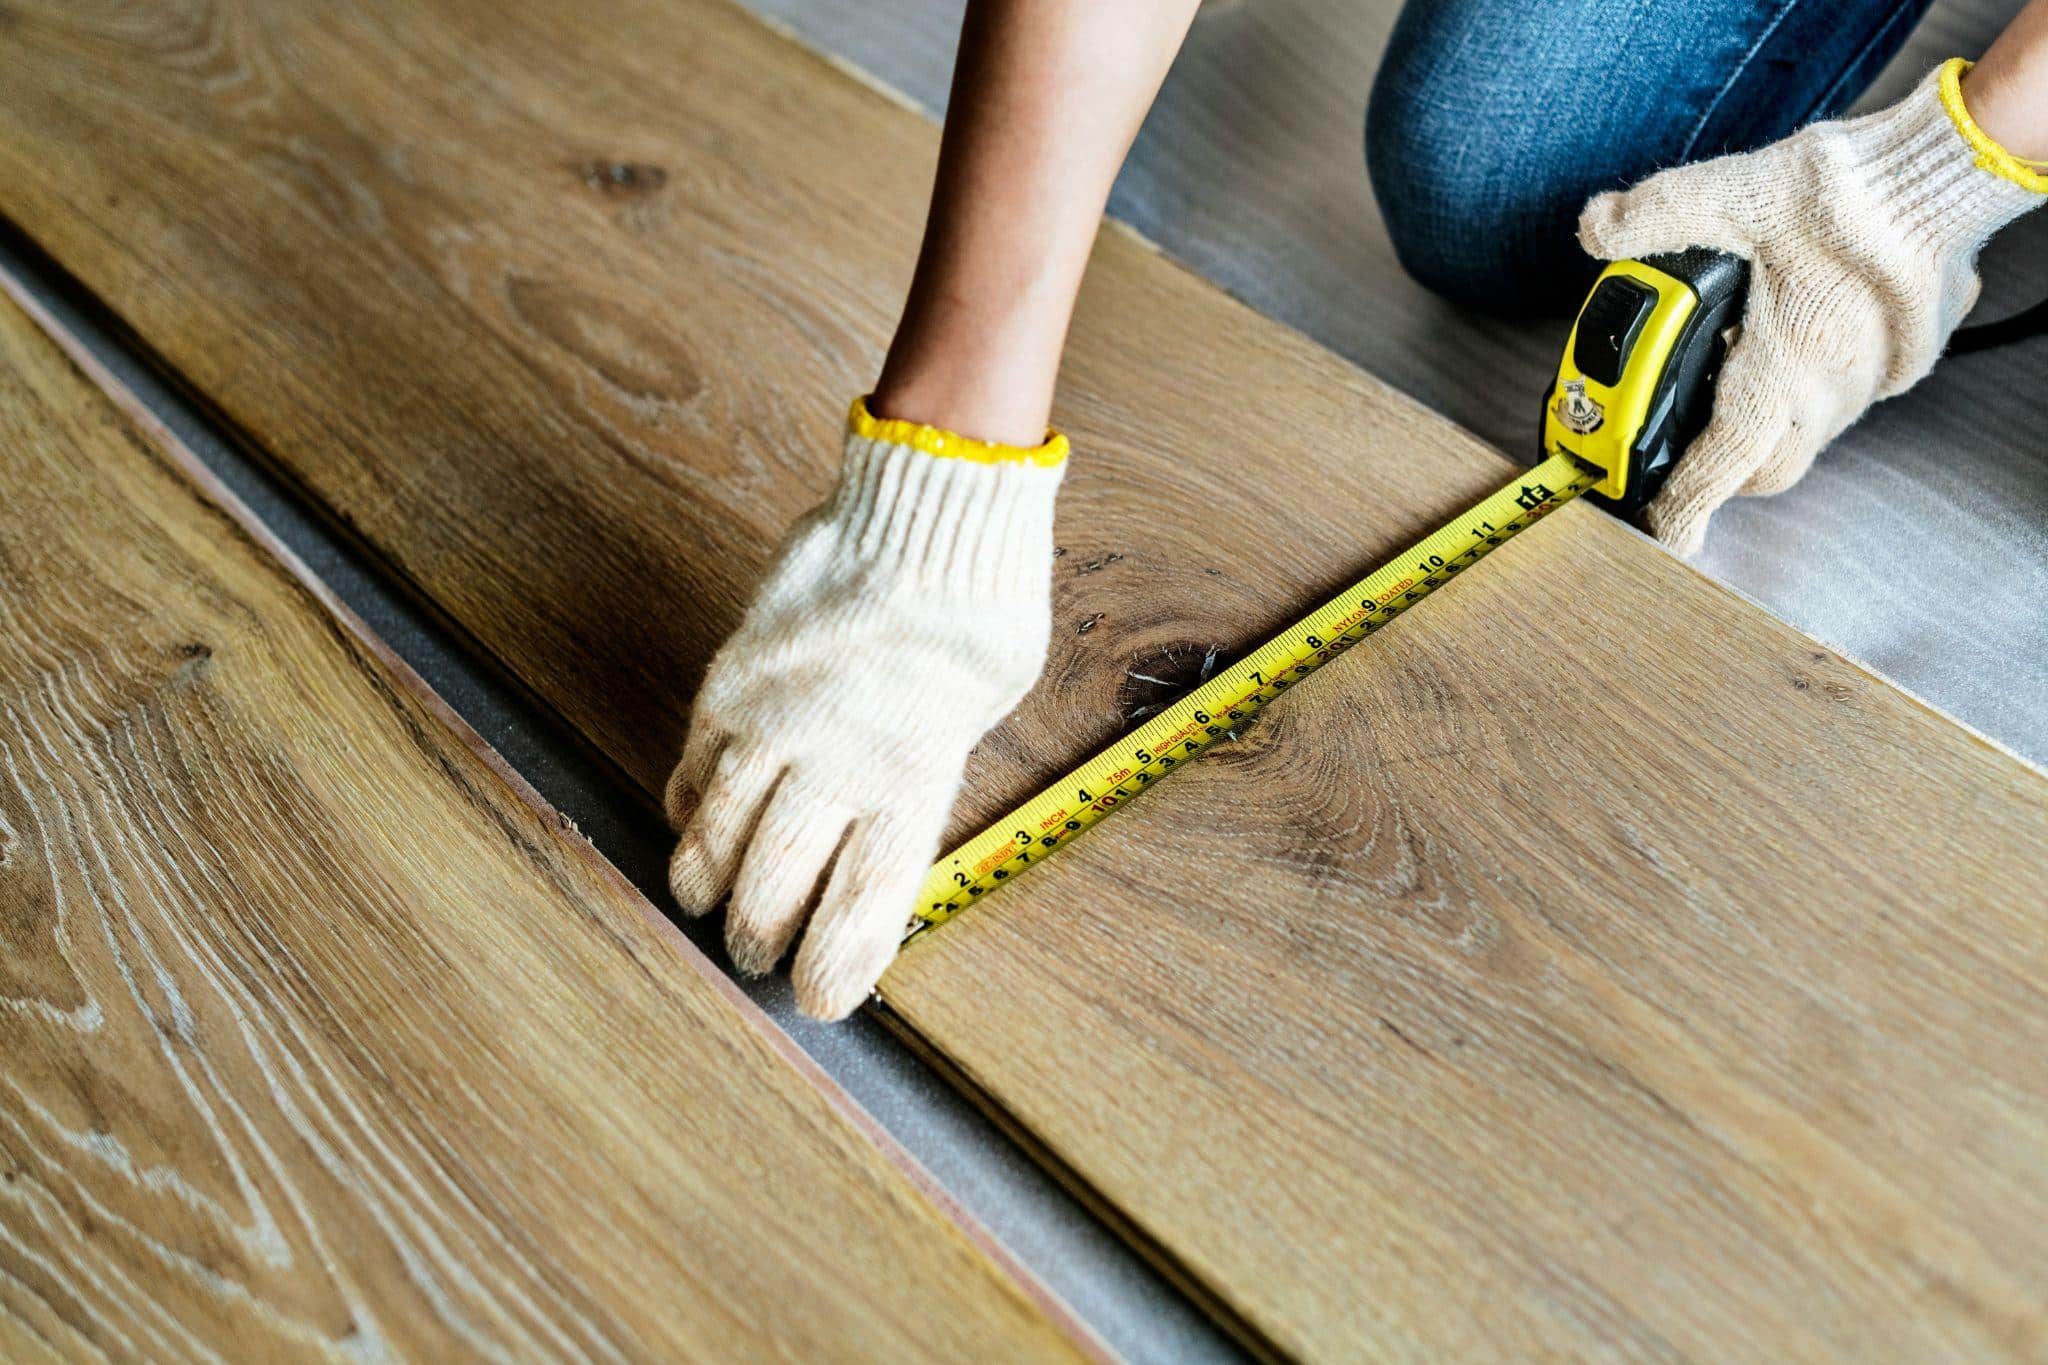
Before choosing a repair method, it’s important to determine how deep the scratch goes. Different levels of damage require different solutions, and using the wrong approach can make the problem worse.
Surface-Level Scratches (Finish Only)
These scratches affect only the protective finish, not the wood itself. They often appear as light scuffs or swirl marks that catch the light but don’t change the color of the wood underneath.
Medium Scratches (Through the Finish)
Medium scratches penetrate the finish and expose the stained wood below. These scratches are usually darker and more visible, but they don’t significantly alter the shape of the board.
Deep Scratches and Gouges (Into the Wood)
Deep scratches cut into the wood fibers themselves. You may feel an indentation when running your finger across the surface. These typically require filling, sanding, and refinishing to restore the floor’s appearance.
Tools and Materials You May Need
Depending on the severity of the scratch, common repair materials include:
- Hardwood floor cleaner
- Microfiber cloths
- Touch-up markers or stain pens
- Wax repair sticks
- Wood filler or putty
- Fine-grit sandpaper
- Applicator pads or small brushes
- Protective finish or sealant
Always test products in an inconspicuous area before applying them to visible sections of the floor.
How to Repair Light Hardwood Floor Scratches
Cleaning and Buffing the Area
Start by thoroughly cleaning the scratched area. Dirt and debris can exaggerate the appearance of scratches. Use a hardwood-safe cleaner and a microfiber cloth to remove residue, then gently buff the area to see if the scratch becomes less visible.
Using Stain Markers or Wood Polish
For shallow scratches, color-matched stain pens or wood polish can help blend the damaged area with the surrounding finish. Apply lightly, wipe away excess, and allow it to dry before assessing the results.
Applying Finish Restorer or Sealant
Once the scratch is blended, applying a finish restorer or sealant can help protect the area and restore sheen. This step also helps prevent future wear in high-traffic zones.
How to Fix Medium Scratches in Hardwood Floors
Light Sanding and Feathering
Medium scratches often benefit from light sanding to smooth the damaged area. Use fine-grit sandpaper and sand gently along the grain, feathering the edges so the repair blends naturally with surrounding boards.
Filling and Color Matching
After sanding, apply a color-matched filler or stain to restore the wood’s appearance. Choosing the correct tone is critical, especially on older floors where color has changed over time. Flooring professionals such as Best Floor Coverings help ensure materials and finishes are compatible when homeowners are unsure how to achieve a seamless match.
Repairing Deep Scratches and Gouges
Using Wood Filler or Putty
For deep damage, apply wood filler or putty to rebuild the surface. Press the filler firmly into the gouge, level it with a putty knife, and allow it to dry completely before sanding.
Staining and Refinishing the Repaired Area
Once dry, sand the area smooth and apply stain to match the surrounding floor. Finish with a protective topcoat to seal the repair and restore durability.
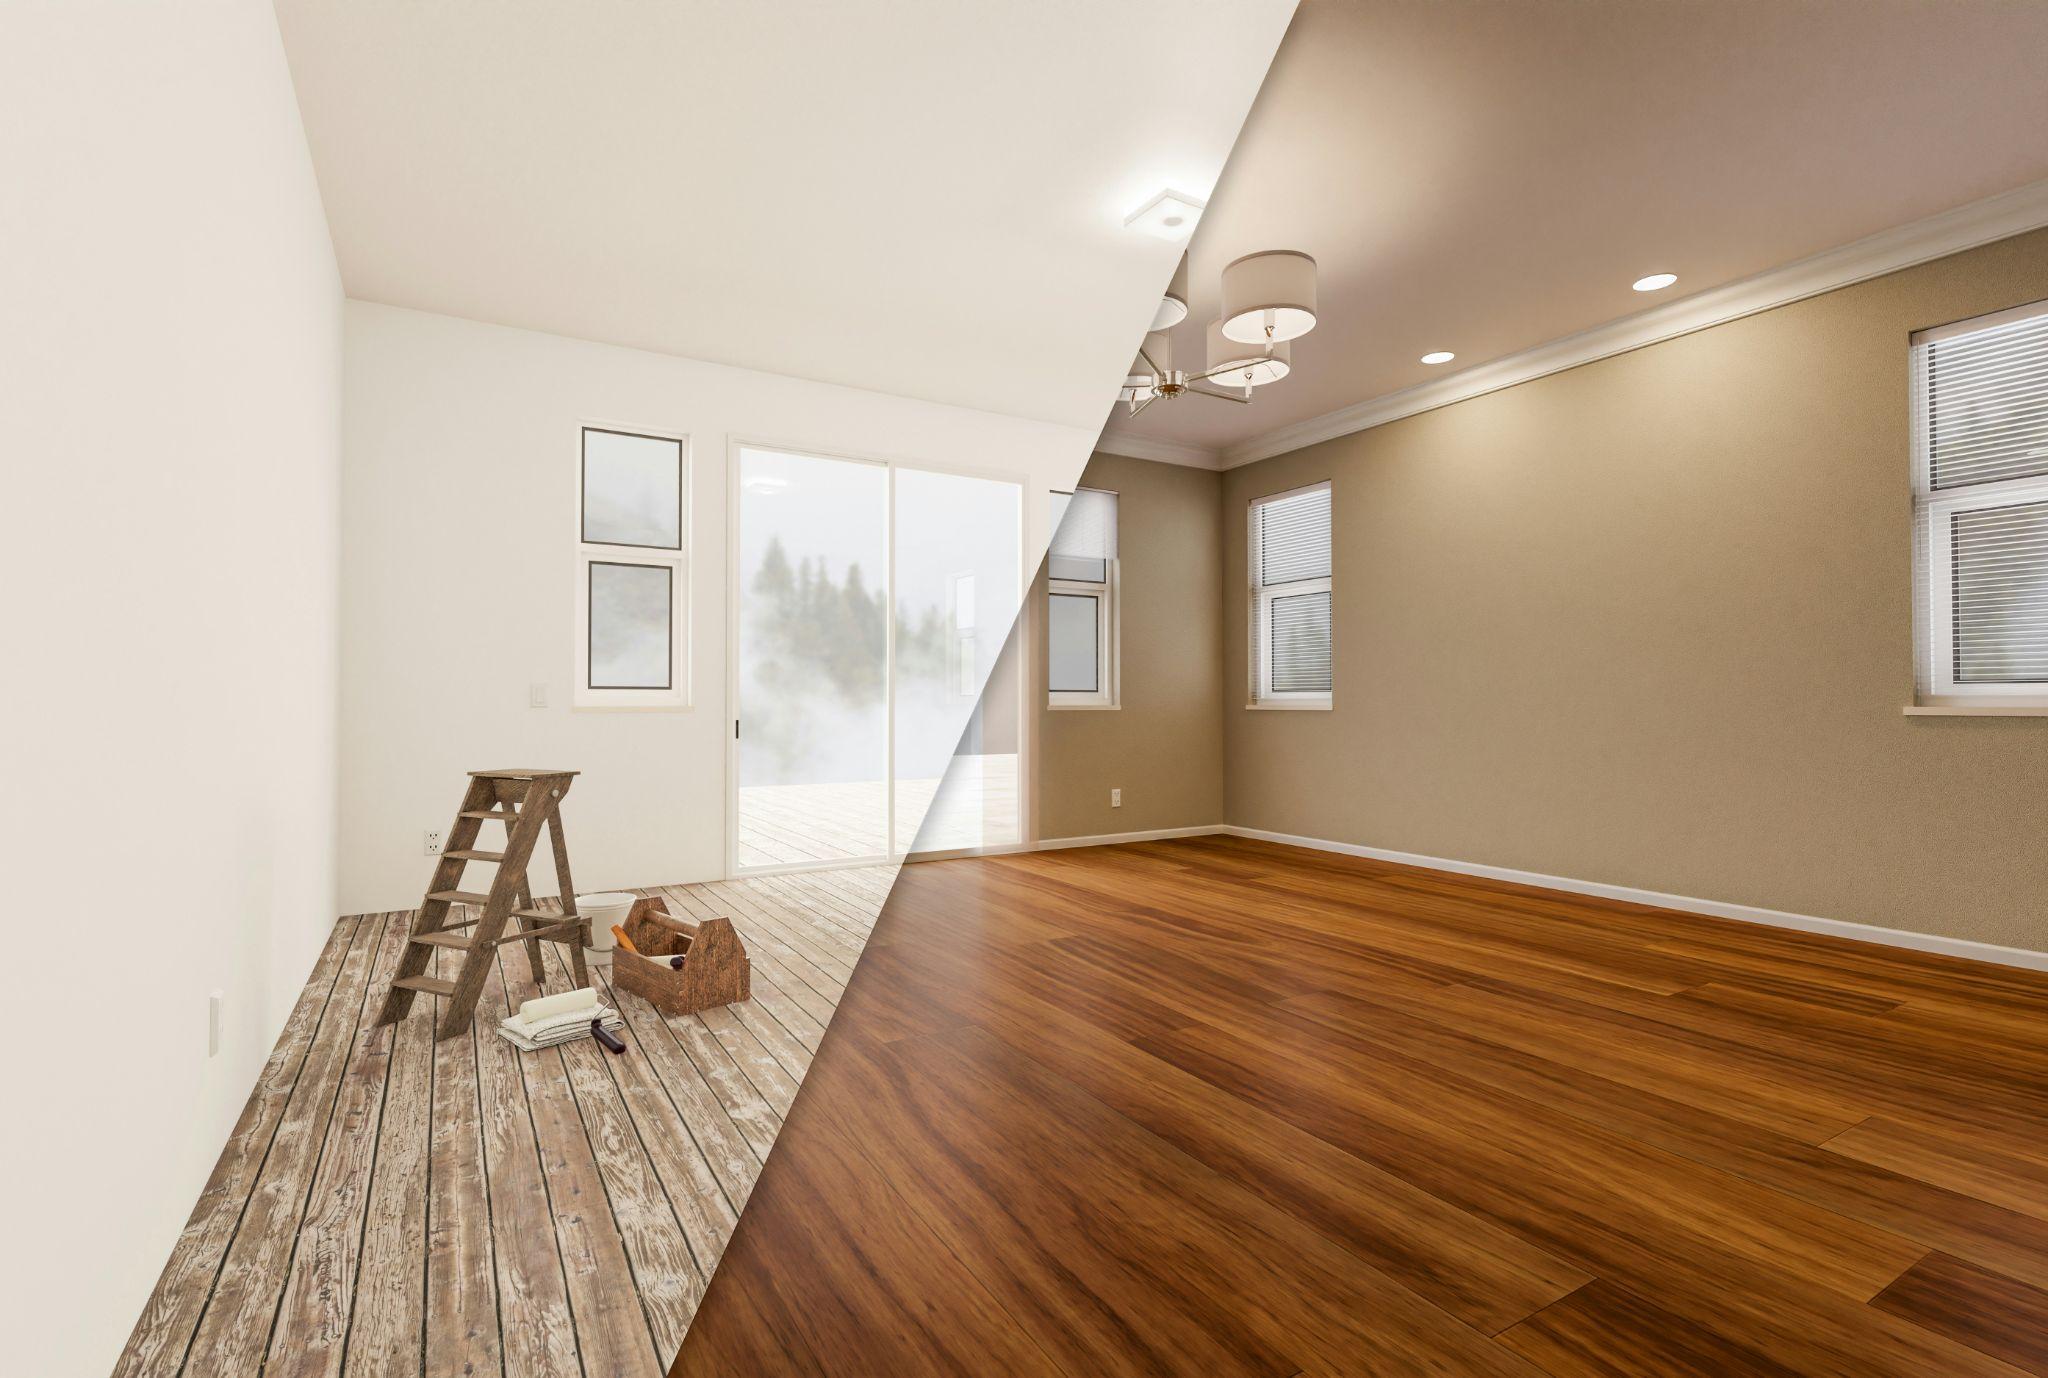
When Board Replacement Makes More Sense
If damage is extensive or affects multiple boards, spot repairs may no longer provide satisfactory results. In these cases, replacing individual boards or refinishing a larger section may offer a better long-term solution.
Common Mistakes to Avoid When Repairing Hardwood Floors
- Using products that don’t match the floor’s finish type
- Over-sanding small areas and creating uneven spots
- Skipping sealing steps, which leaves repairs vulnerable to moisture
- Rushing drying and curing times
Patience and proper preparation are essential for a successful repair.
Preventing Future Hardwood Floor Scratches
Furniture Pads and Area Rugs
Adding felt pads to furniture legs and placing rugs in high-traffic areas can significantly reduce wear. Entryway mats help capture dirt and grit before it reaches the floor.
Cleaning Habits That Protect Wood Floors
Regular sweeping or vacuuming prevents abrasive particles from scratching the surface. Avoid harsh cleaners or excessive water, which can damage wood over time.
Pet and Shoe-Related Damage
Keeping pet nails trimmed and encouraging shoe-free indoor habits can dramatically reduce scratches. Small preventative steps often make the biggest difference.
When to Call a Professional Instead of DIY
While many hardwood floor scratches can be addressed with DIY touch-ups, professional help becomes the better option when damage is widespread, wear patterns are uneven, or repairs are happening alongside broader design updates. In these cases, floor repairs are often just one component of a larger renovation, and working with a remodeling firm like Origami Design Build helps ensure scratch repairs, refinishing, and layout updates are coordinated with the overall interior design rather than treated as isolated fixes.
Conclusion
Learning how to repair hardwood floor scratches empowers homeowners to maintain the beauty and longevity of their floors. By identifying scratch severity, using the right repair methods, and knowing when to seek professional assistance, most damage can be addressed effectively. With proper care and preventative measures, hardwood floors can remain a durable and attractive feature of the home for decades.