
Ever found an old photograph glued to glass, panic rising as you fear ruining a precious memory?
Don’t worry. I’m here to help you rescue that treasured image without causing damage. This guide will walk you through:
- Safe techniques to separate pictures
- Tools you’ll need
- Step-by-step instructions
Handling delicate photographs requires patience and the right approach. I understand how much these memories mean to you.
My tested methods come from years of experience helping people just like you save irreplaceable images.
I’ll show you how to safely remove your photo from the glass so your cherished memory stays protected.
Ready to save your photo? Let’s get started.
Why Do We Need to Separate the Picture?
When a photograph becomes stuck to glass or another photo, it isn’t just inconvenient, it’s risky.
Over time, moisture or condensation can cause the emulsion (the image layer) to bond to the glass or backing.
If left in this condition, the photo can continue to deteriorate, mold, or become impossible to scan and restore.
Separating the image is crucial for preservation, restoration, and digitization.
It gives you access to clean up the image, archive it digitally, and even reprint or reframe it without losing details.
Whether you’re rescuing flood-damaged prints or recovering heirlooms, safe separation can be the first step to saving an important memory.
Tools You’ll Need
Before you begin, gather the right supplies and set up a clean, controlled environment. Proper preparation helps prevent further damage to your photo.
- Distilled water
- A shallow plastic or glass pan
- Nitrile gloves
- Soft, lint-free workspace
- Optional: high-resolution scanner
Step-By-Step Process to Separate a Picture Stuck to Glass
Stuck photographs can be heartbreaking. But with the right technique, you can rescue your cherished memories without causing damage.
This guide provides a careful, methodical approach to freeing your photo from glass, protecting its integrity and sentimental value.
Step 1: Assess the Damage
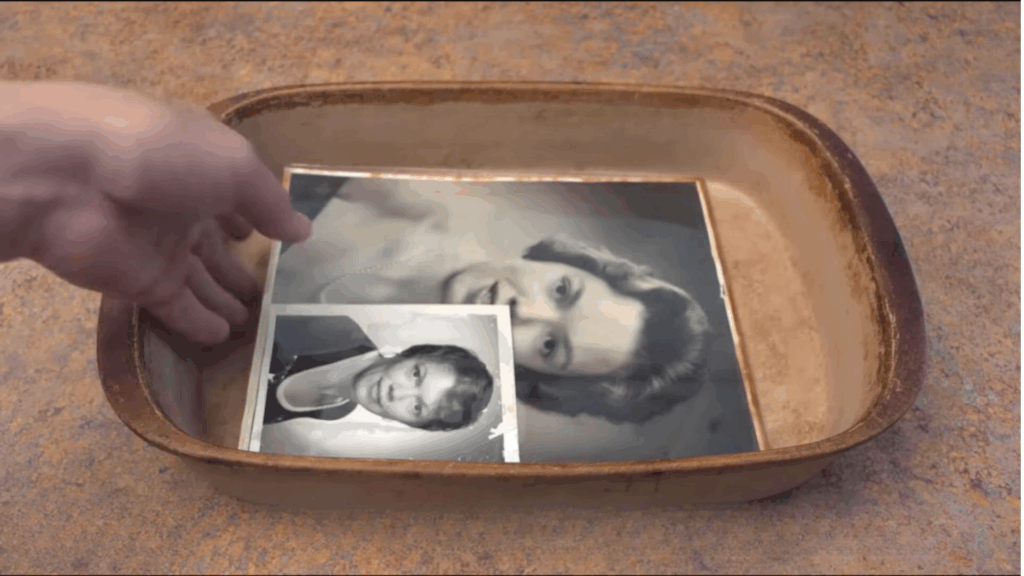
Carefully examine how the photos are stuck before starting the separation process. Check if the photo is bonded to glass or another image.
And look for signs of damage like water stains, cloudy patches, or glossy emulsion. Never peel or pull a dry photo, or it can tear or leave fragments behind.
Prepare for a slow and gentle separation using distilled water. Take a high-resolution scan or photo of the stuck image as a backup.
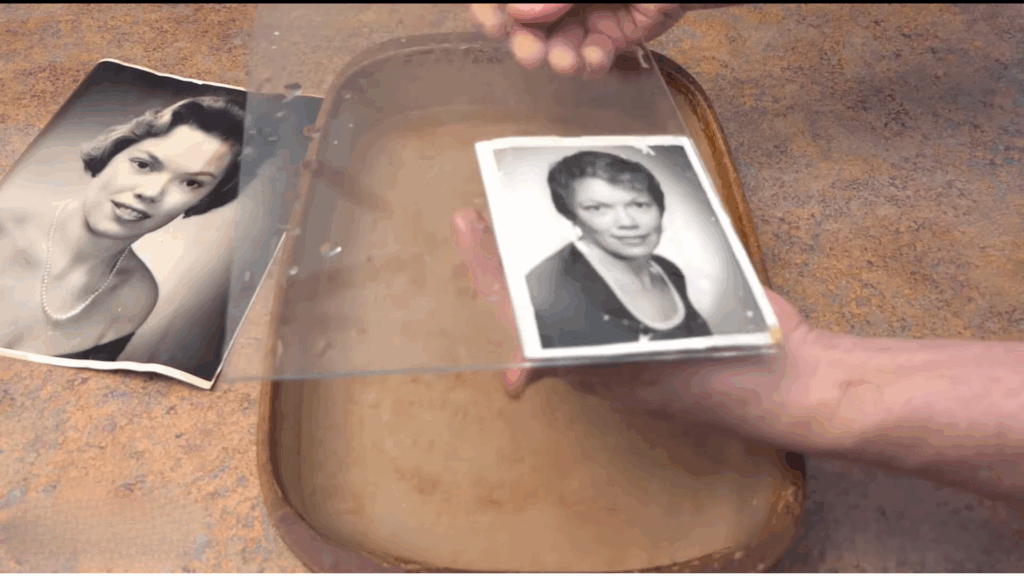
Step 2: Prepare a Water Bath
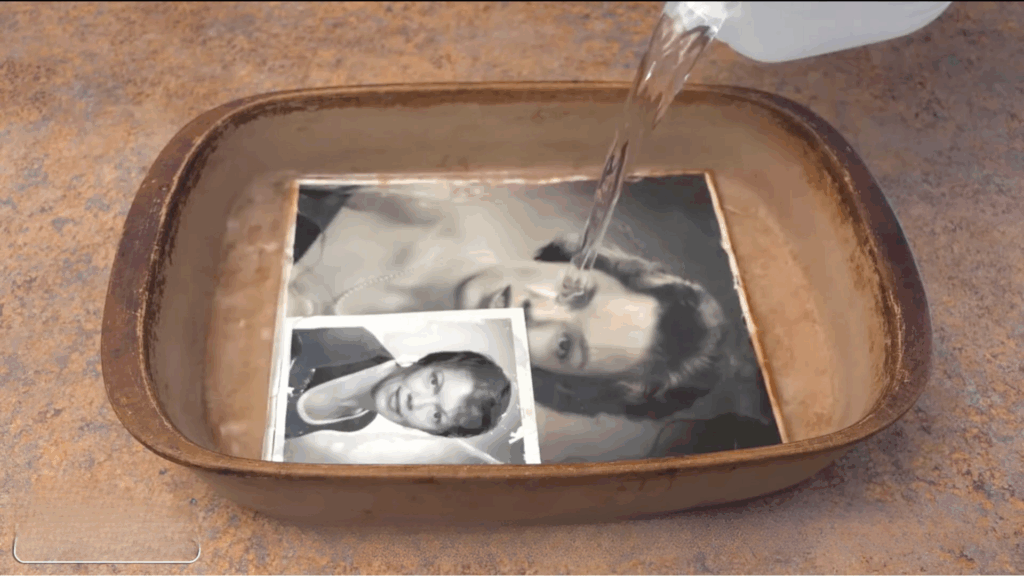
Next, use a shallow, clean container like a baking dish, and only use distilled water; tap water can cause staining or chemical damage.
Place the photo and the attached glass gently into the container. Then pour enough water to submerge both the photo and the glass fully.
Let the setup sit undisturbed to allow water to seep between the layers and ensure nothing touches the photo’s surface during the soak.
Step 3: Let it Soak
Separation may take 30 minutes to several hours, depending on the paper and ink, so avoid rushing, as it can cause tears or peeling of the image layer.
Gently check progress, but continue soaking if there’s resistance. Keep the container in a low-light, well-ventilated area.
Avoid direct sunlight, dust, or disturbances during the wait.
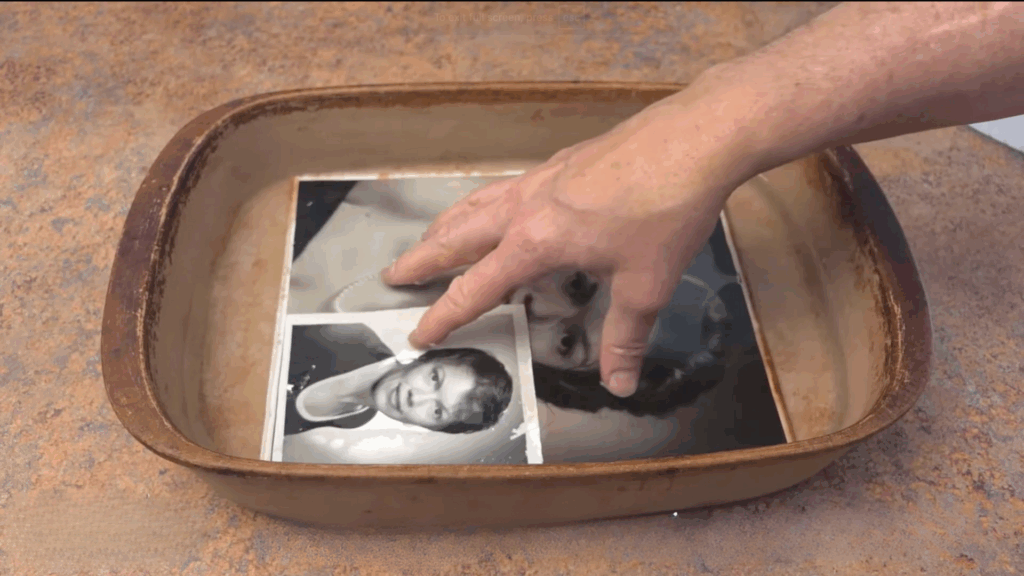
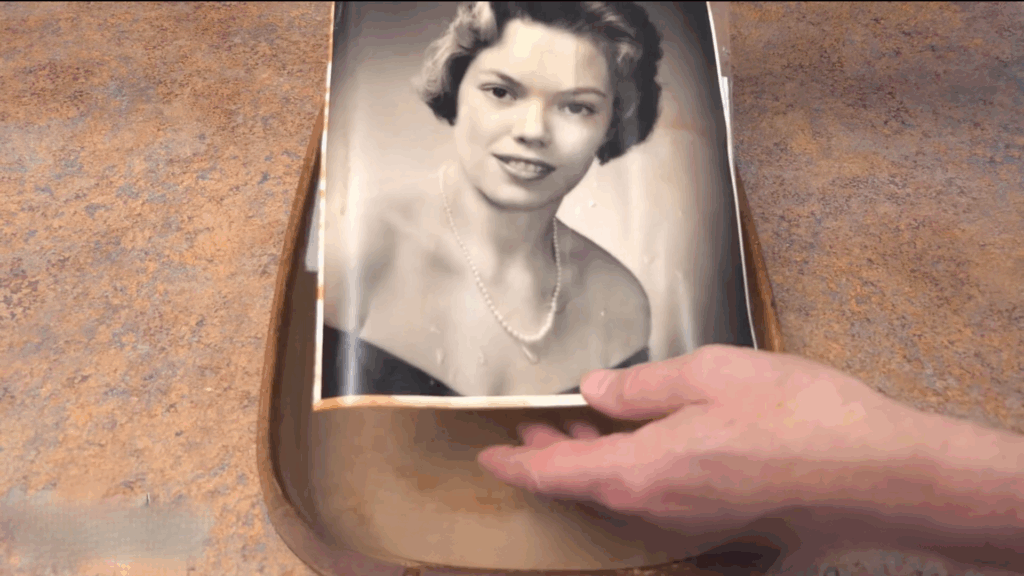
Step 4: Gently Test Separation

After that, carefully lift a corner of the top photo using your fingers, and if it moves easily, slowly continue separating it.
Use a gentle rocking motion instead of pulling in one direction. If there’s any resistance, submerge the photo again and wait longer.
Step 5: Know when to Stop
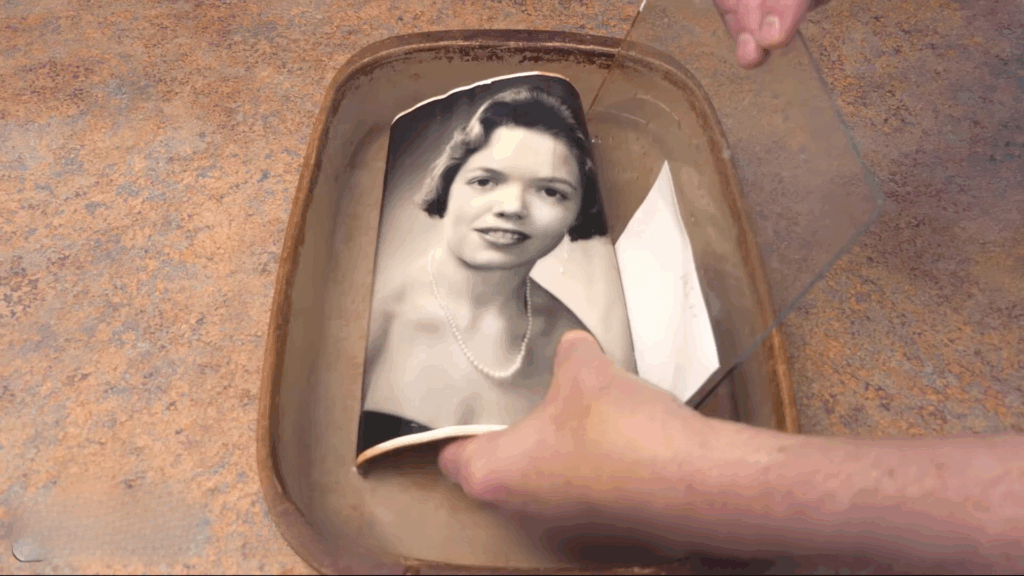
Now look for surface lifting or peeling. You can check for a sticky or soft texture on the emulsion.
Watch for ink running, bleeding, or smudging. Stop immediately if any of these signs appear.
Minor damage in background areas can often be digitally restored, but key features like faces or focal objects will not be restored.
So, preserve what’s intact and repair later.
Step 6: When to Leave the Photo on Glass
If a photo is too stuck to remove safely, preserve it digitally instead. You can use a high-resolution flatbed scanner to scan the image through the glass.
Clean up reflections or dust in post using photo editing software, and do not attempt removal if surface material begins to lift or tear.
Leaving it adhered protects the original and still allows for digital restoration.
Step 7: Let the Photographs Air Dry
Once separated, drying the photos gently is essential to prevent further damage.
Lay each photo face-up on a clean, absorbent surface like unprinted newsprint, archival blotting paper, or clean cotton fabric.
Allow them to dry in a shaded, well-ventilated area, never in direct sunlight. Do not use artificial heat (like blow dryers) or stack the photos while drying.
Be patient, as rushing can lead to warping, cracking, or surface damage, and only handle or scan the images once they are fully dry and flat.
This tutorial is based on a video from SpectraLight Photography. Huge thanks to the creator for sharing such a clear and detailed guide. You can watch the original on their YouTube channel or view it below.
Common Mistakes when Removing Pictures from Glass
When I first started rescuing stuck photographs, I made plenty of errors. Let me save you from the same pitfalls. Let’s see what not to do when trying to separate a picture from glass.
1. Rushing the Process: Impatience kills more old photos than you might think. I’ve seen people tear precious memories in seconds because they couldn’t wait. Slow down and take your time. Rushing guarantees damage.
2. Using Sharp Objects: Metal knives? Razor blades? Stop right there. These are photo killers. They’ll slice through your image faster than you can say “family heirloom”. Stick to soft plastic scrapers and gentle tools.
3. Applying Excessive Water: Water isn’t always your friend. Too much moisture can destroy the photograph’s colors and integrity. Think of your picture like a delicate flower – it needs just a hint of moisture, not a flood.
4. Ignoring Temperature: Extreme heat or cold can wreck your photo. A hairdryer might seem helpful, but beware. Direct heat can cause more harm than good. Room temperature is your safest bet.
5. Pulling Directly: Want to guarantee destruction? Pull the photo straight off the glass. Congratulations, you’ve just shredded a memory. Instead, use gentle, angled movements. Think of it like peeling a sensitive sticker.
6. Skipping Preparation: No plan? No success. Before touching anything, assess the damage. Check the photo’s condition. Understand the type of adhesive. Preparation prevents panic.
7. Forgetting Documentation: I learned this the hard way. Take before pictures. If something goes wrong, you’ll want proof of your initial condition. Plus, it helps if you need professional restoration later.
Tips for Unsticking Photos from Glass Surfaces
After years of rescuing photographs, I’ve learned some tricks that can make all the difference. These final insights might just save your precious memories.
1. Know When to Ask for Help: Sometimes, you’re in over your head. I’ve seen beautiful photos ruined by well-meaning attempts. If the picture is truly irreplaceable, consider a professional. Restoration experts have magic hands that can save what seems impossible.
2. Document Everything: Take photos of your process. Seriously. These before-and-after shots can be lifesavers. If something goes wrong, you’ll have a record. Plus, it helps if you need professional advice later.
3. Create a Safe Workspace: Prep matters. Spread a clean, soft towel on a flat surface. Good lighting is crucial. Remove any potential hazards that might cause accidental damage. Think of it like a photo rescue operation.
4. Protect Future Memories: Learn from this experience. Start storing your photos correctly. Acid-free albums are your new best friend. Keep them away from direct sunlight and moisture.
5. Emotional Preparation: Photos are more than paper. They’re memories, so take a deep breath and be patient with yourself. If you mess up, it’s okay. Memories live in your heart, not just on paper.
6. Practice Makes Perfect: Want to get good? Start with less important photos. Practice your technique. Each attempt teaches you something new. I’ve rescued dozens of photos by simply not giving up.
7. Technology is Your Friend: When all else fails, digital scanning can preserve memories. Take high-quality scans before attempting separation. At least you’ll have a backup.
Conclusion
Stuck photographs can feel like a disaster, but with the right method and a little patience, they can often be rescued.
This distilled water technique offers a safe and gentle way to release photos from glass or each other without tearing or distortion.
Whether you’re saving family albums, vintage prints, or documenting damage from a flood, following these careful steps can help you recover and restore your cherished memories.
It’s important to remember that slow, intentional handling is the key to success.
Taking time to prepare properly and avoid shortcuts ensures that your photographs remain as intact and detailed as possible.
With care, even photos that seemed ruined can often be brought back to life.