
I’ve worked with jars for home storage and simple canning, and I learned early that proper sterilizing makes a big difference.
It helps keep food safe, stops mold, and extends shelf life. If jars are not clean and germ-free, even fresh food can spoil fast.
That is why I always take a few extra minutes to sterilize them before use.
The good part is that you do not need special tools. There are a few easy methods like boiling, using the oven, or even using a dishwasher. Each method works well when done right.
This guide starts with quick steps you can follow right away. Then it covers each method, along with helpful tips and common mistakes to avoid.
What are the Best Uses for Sterilized Jars?
Sterilized jars help keep food safe and fresh for longer. They are useful for both kitchen storage and simple home projects.
- Jam and Jelly Storage: Sterilized jars keep jams fresher and safer for longer. They help stop mold and keep the flavor fresh.
- Pickling: Pickled foods need clean jars to stay safe and last longer. Sterilized jars help preserve the taste and keep it fresh.
- Dry Food Storage: Use sterilized jars to store grains, spices, or snacks safely. They keep food clean and free from moisture.
- DIY and Craft Uses: Sterilized jars work well for candles, gifts, or small decor. They provide a clean, safe base for craft ideas.
How to Sterilize Jars: Step-by-Step
Follow these simple steps to clean and prepare jars safely for storing food at home.
Tools and Materials Used
You need a few simple items to sterilize jars safely at home. Most of these tools are already available in your kitchen.
- Glass jars
- Metal tray
- Tongs
- Oven
- Towel or clean cloth
Step 1: Clean the Jars First
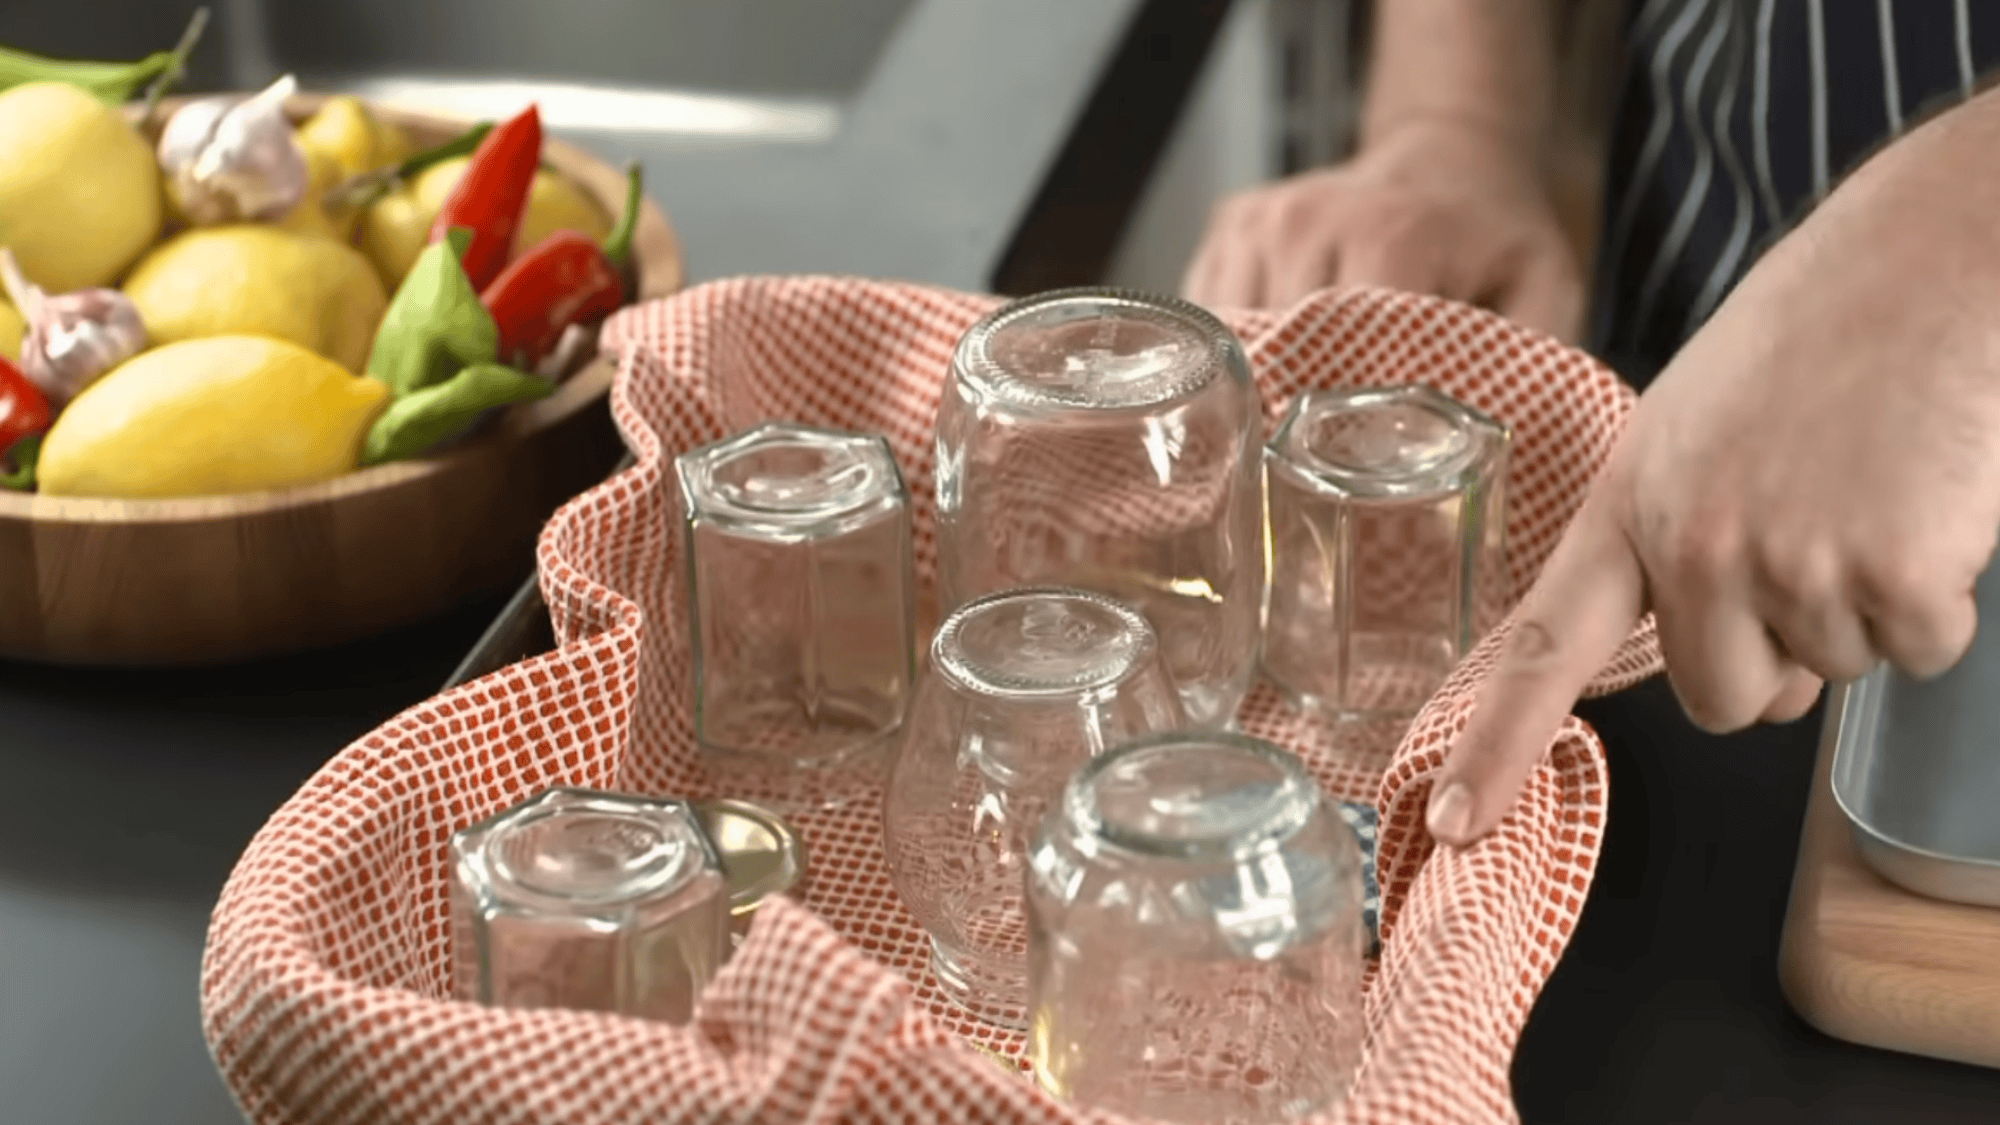
Start by washing your jars well using soap and warm water. Make sure to remove all dirt, dust, or old food from inside and outside the jars.
After washing, place the jars upside down on a clean cloth to drain. This helps remove extra water and keeps them clean before heating.
Proper cleaning is important because sterilizing works best on jars that are already free from visible dirt and residue before the next step begins.
Step 2: Place Jars on a Tray
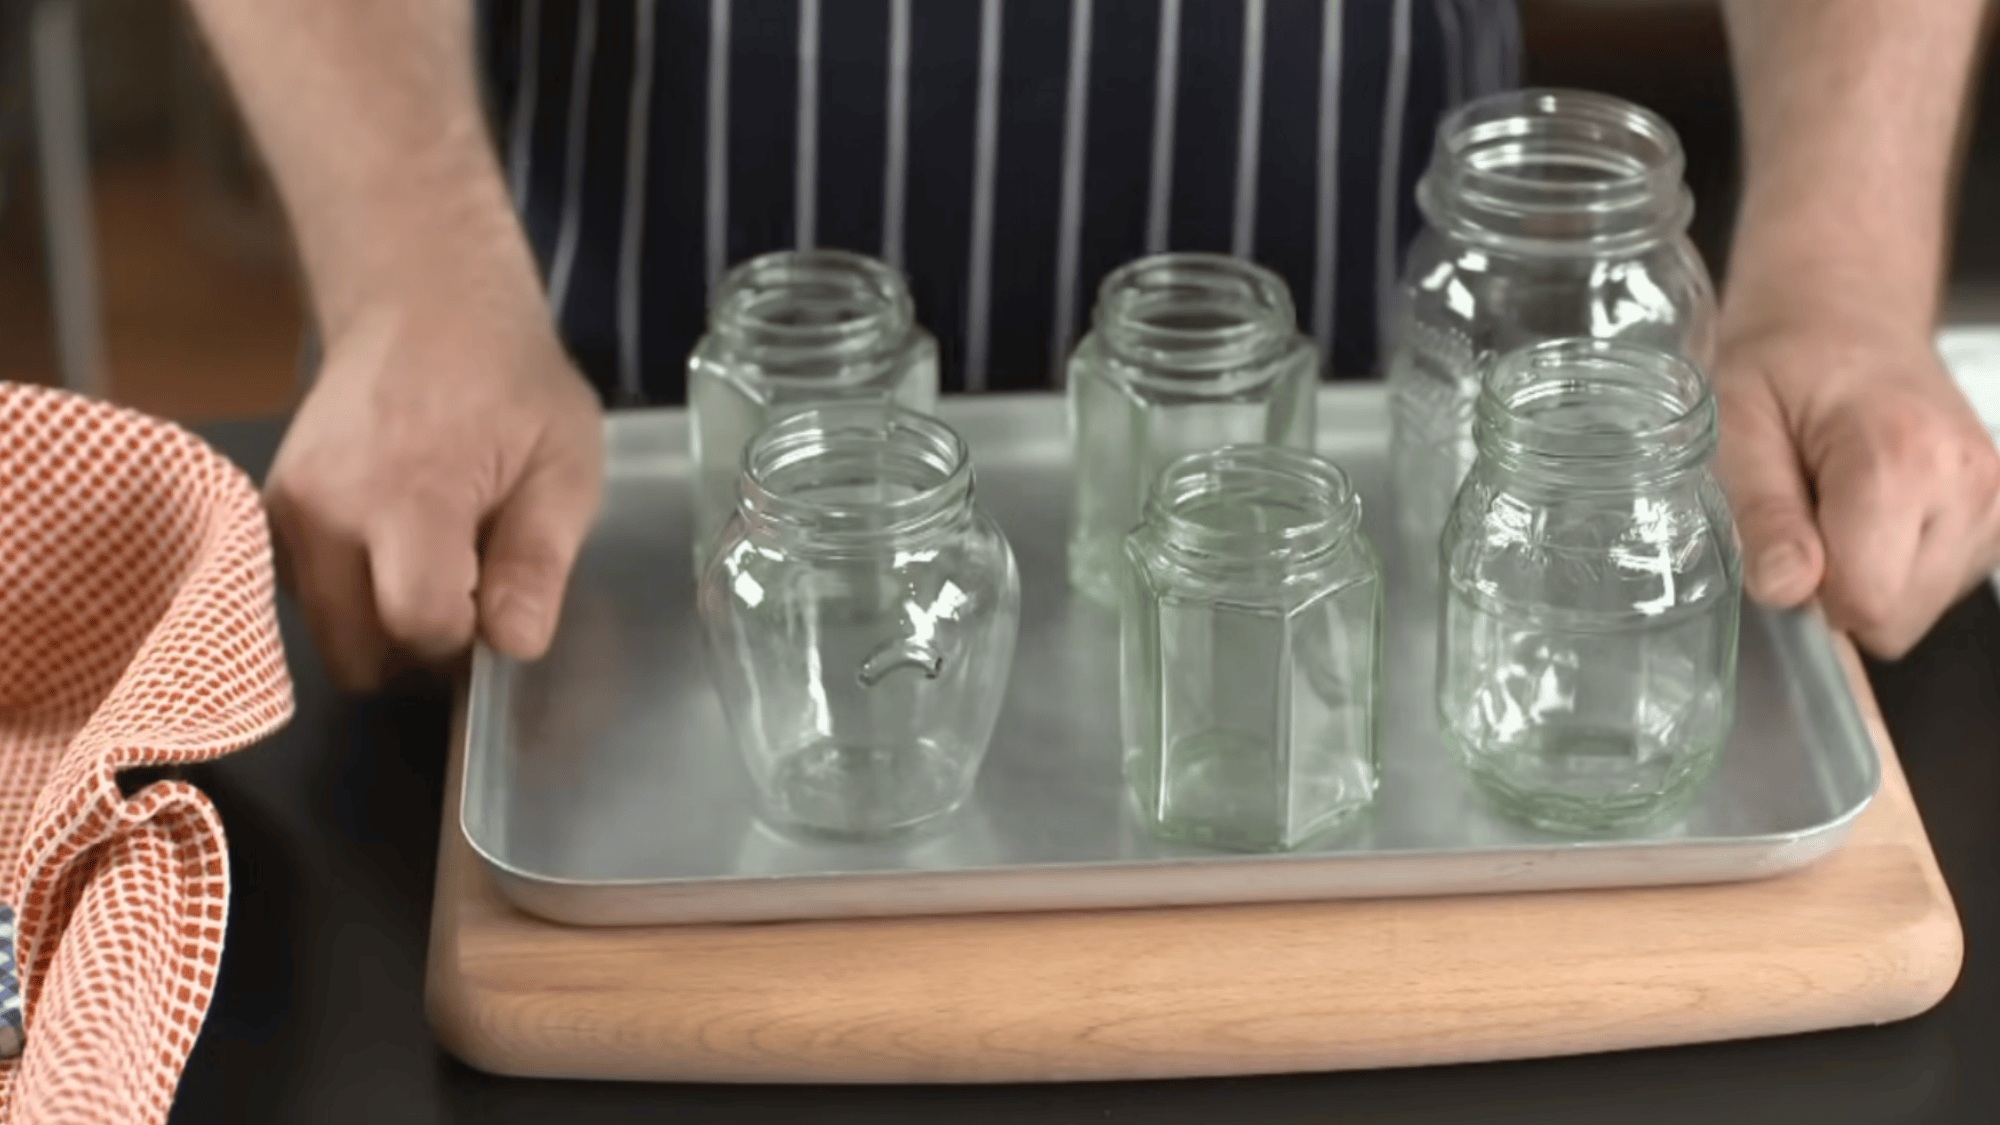
Take a metal tray that is safe to use in the oven. Place your clean jars on the tray carefully.
Make sure the jars do not touch each other, as this helps heat spread evenly and avoids damage. Keep some space between each jar.
This step is simple but important, as placing jars properly helps them heat safely and evenly during the oven process without cracking or breaking during the heating stage.
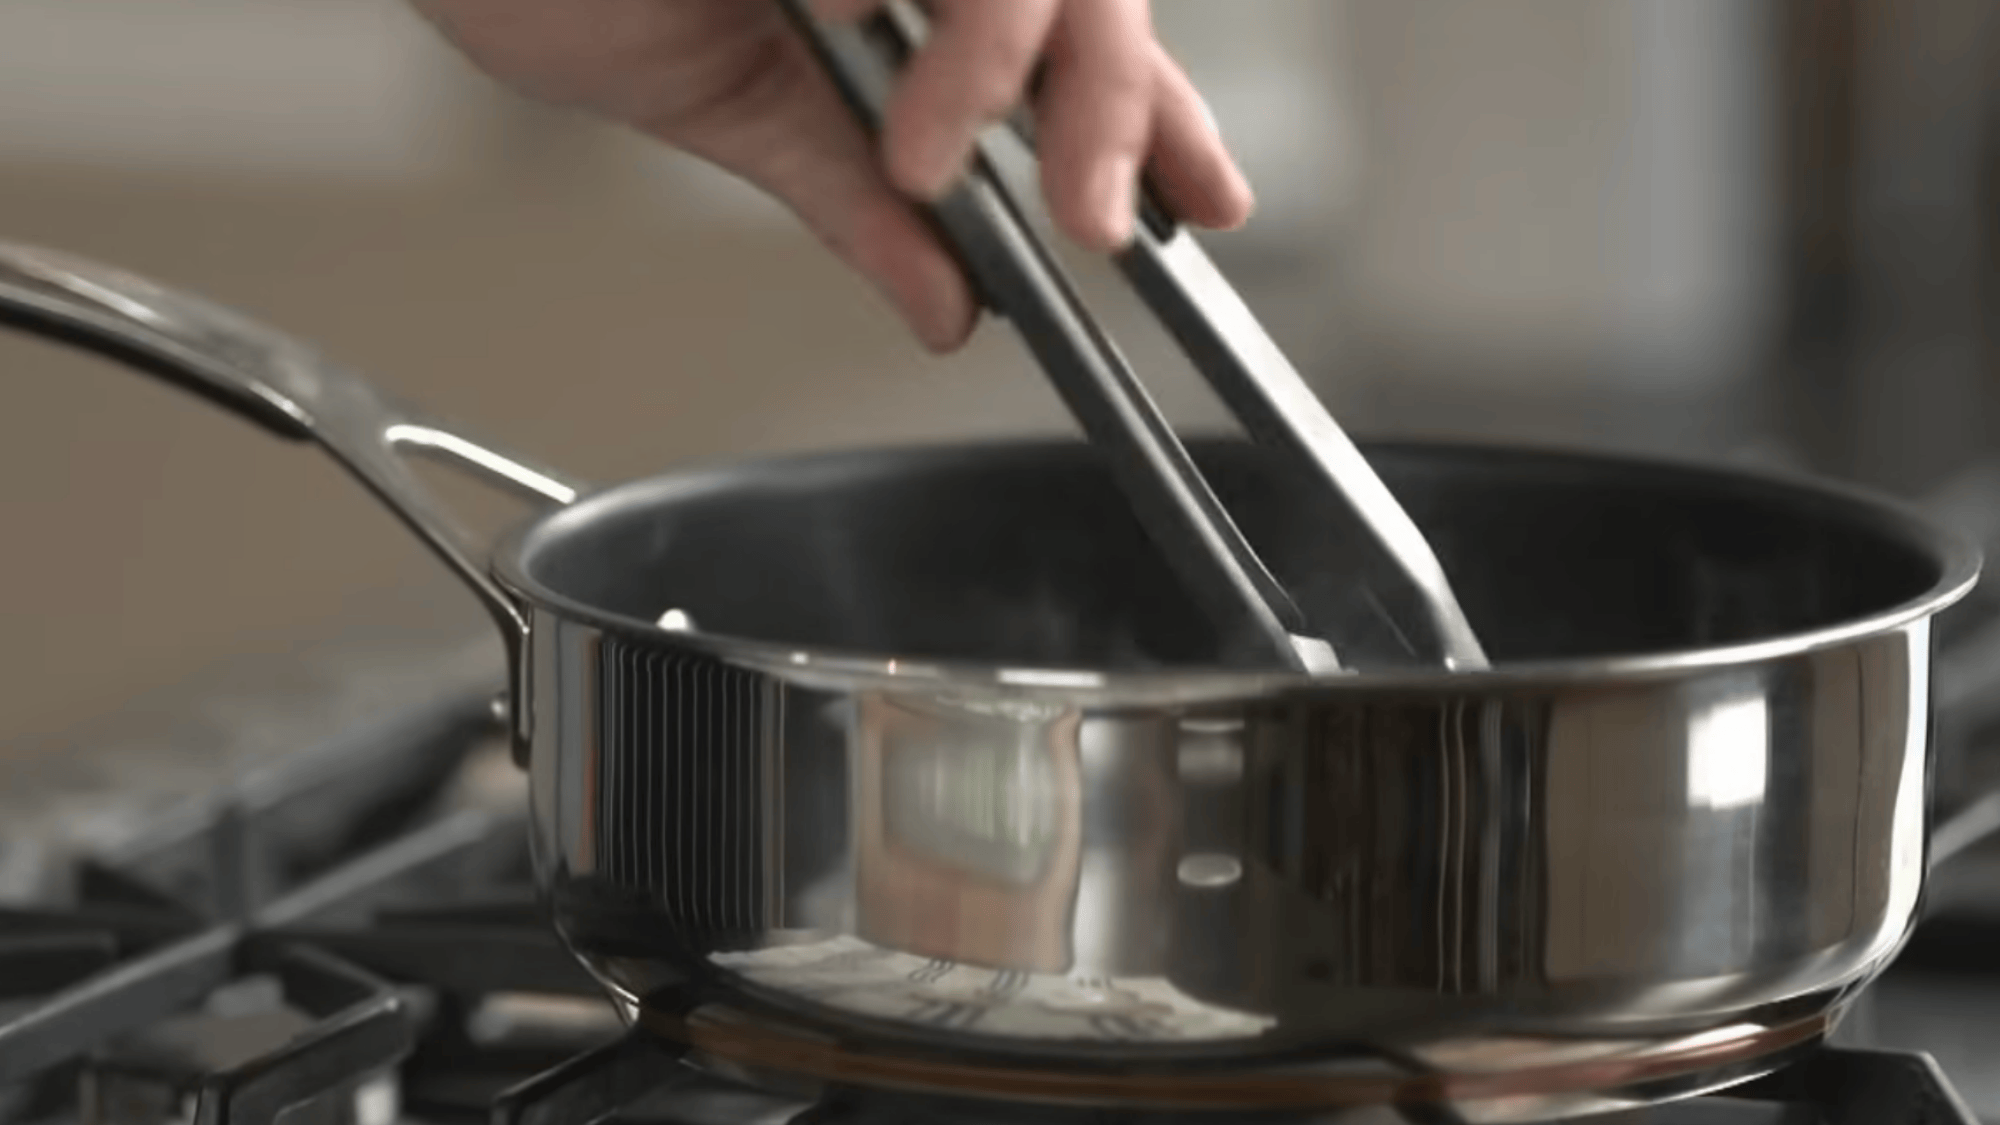
Step 3: Heat Jars and Lids
Preheat your oven to 180°C before placing the tray inside. Put the tray with jars into the oven and let them heat for about 10 minutes.
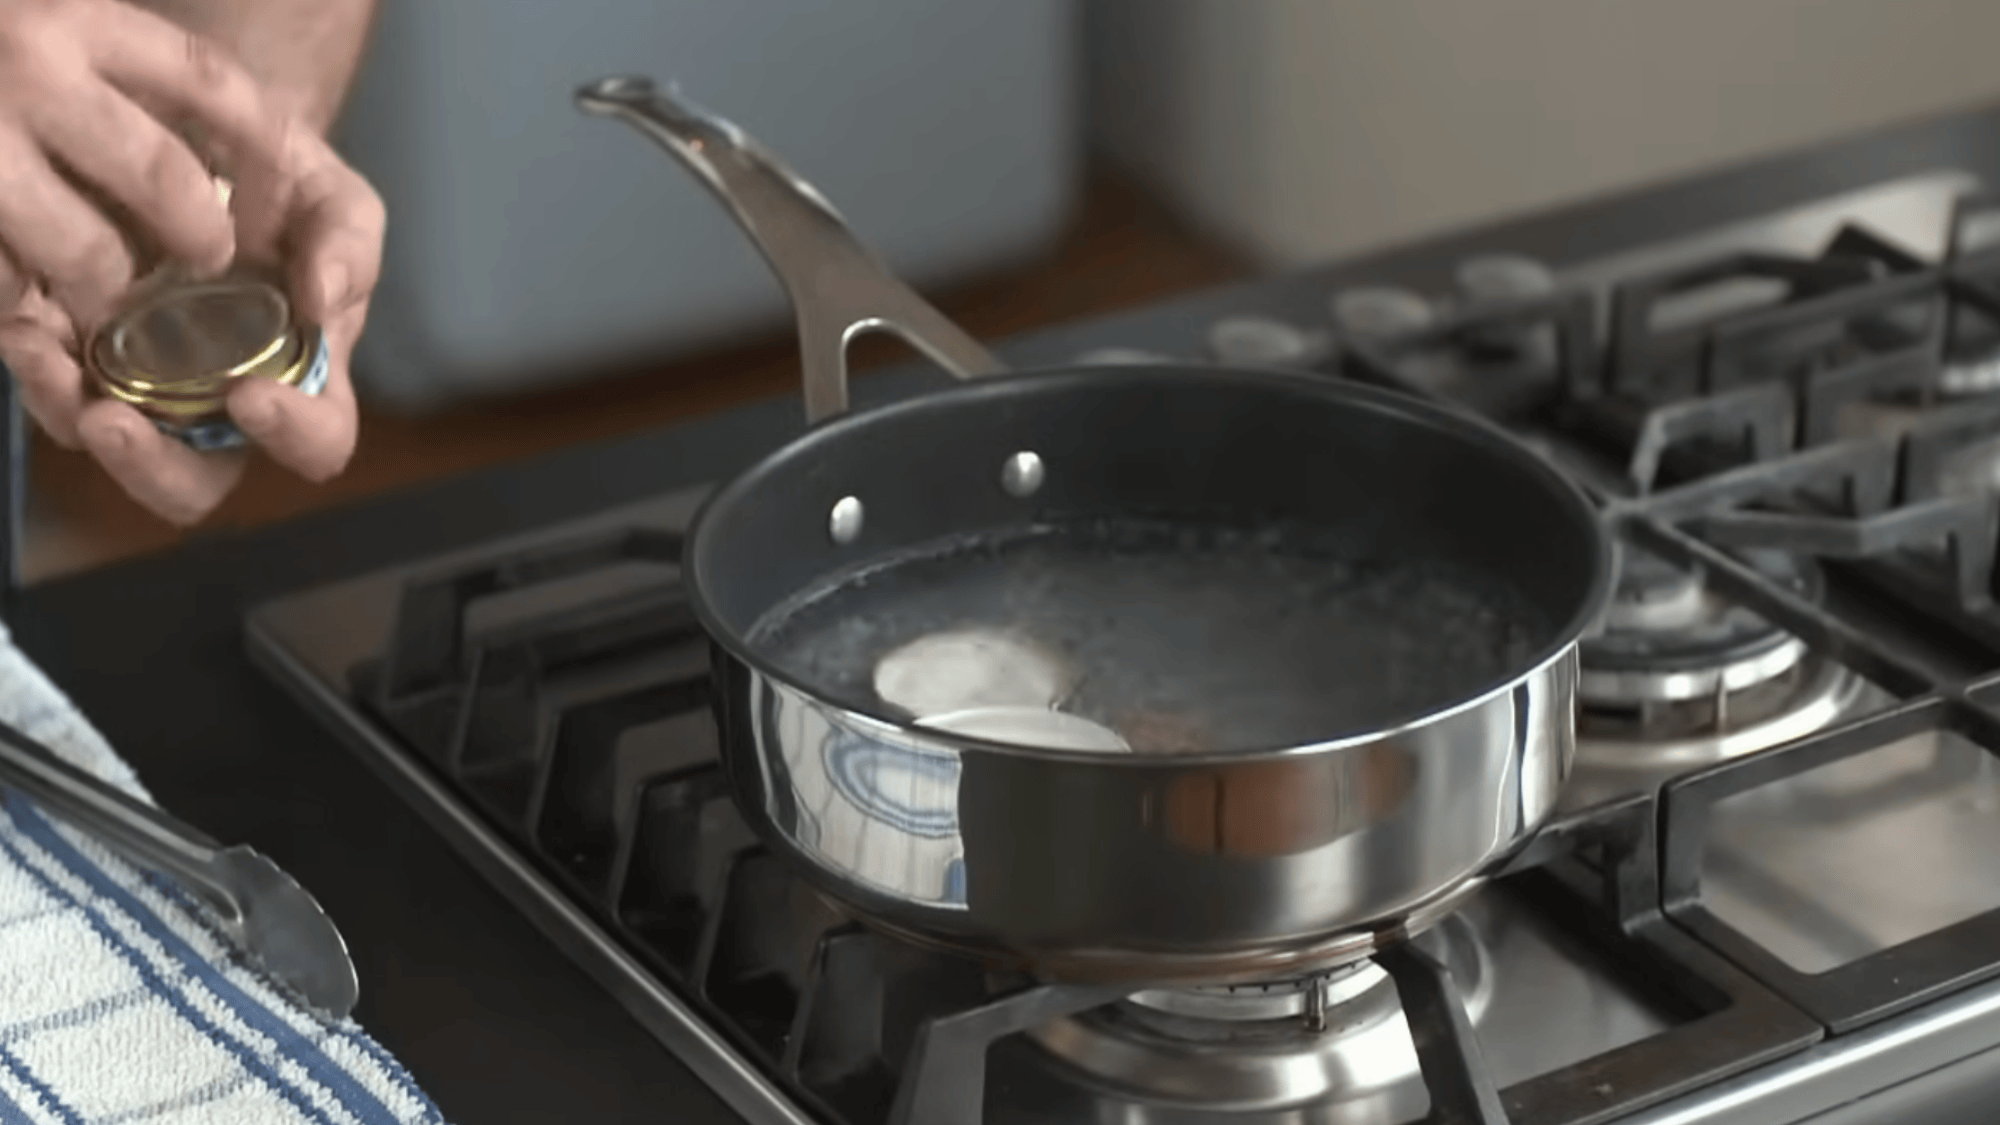
At the same time, place the lids in a pan of boiling water. Let the lids stay in boiling water for around 10 minutes as well.
This step makes sure both jars and lids are cleaned with heat and ready for safe food storage after the process is complete.
Step 4: Remove Jars Safely
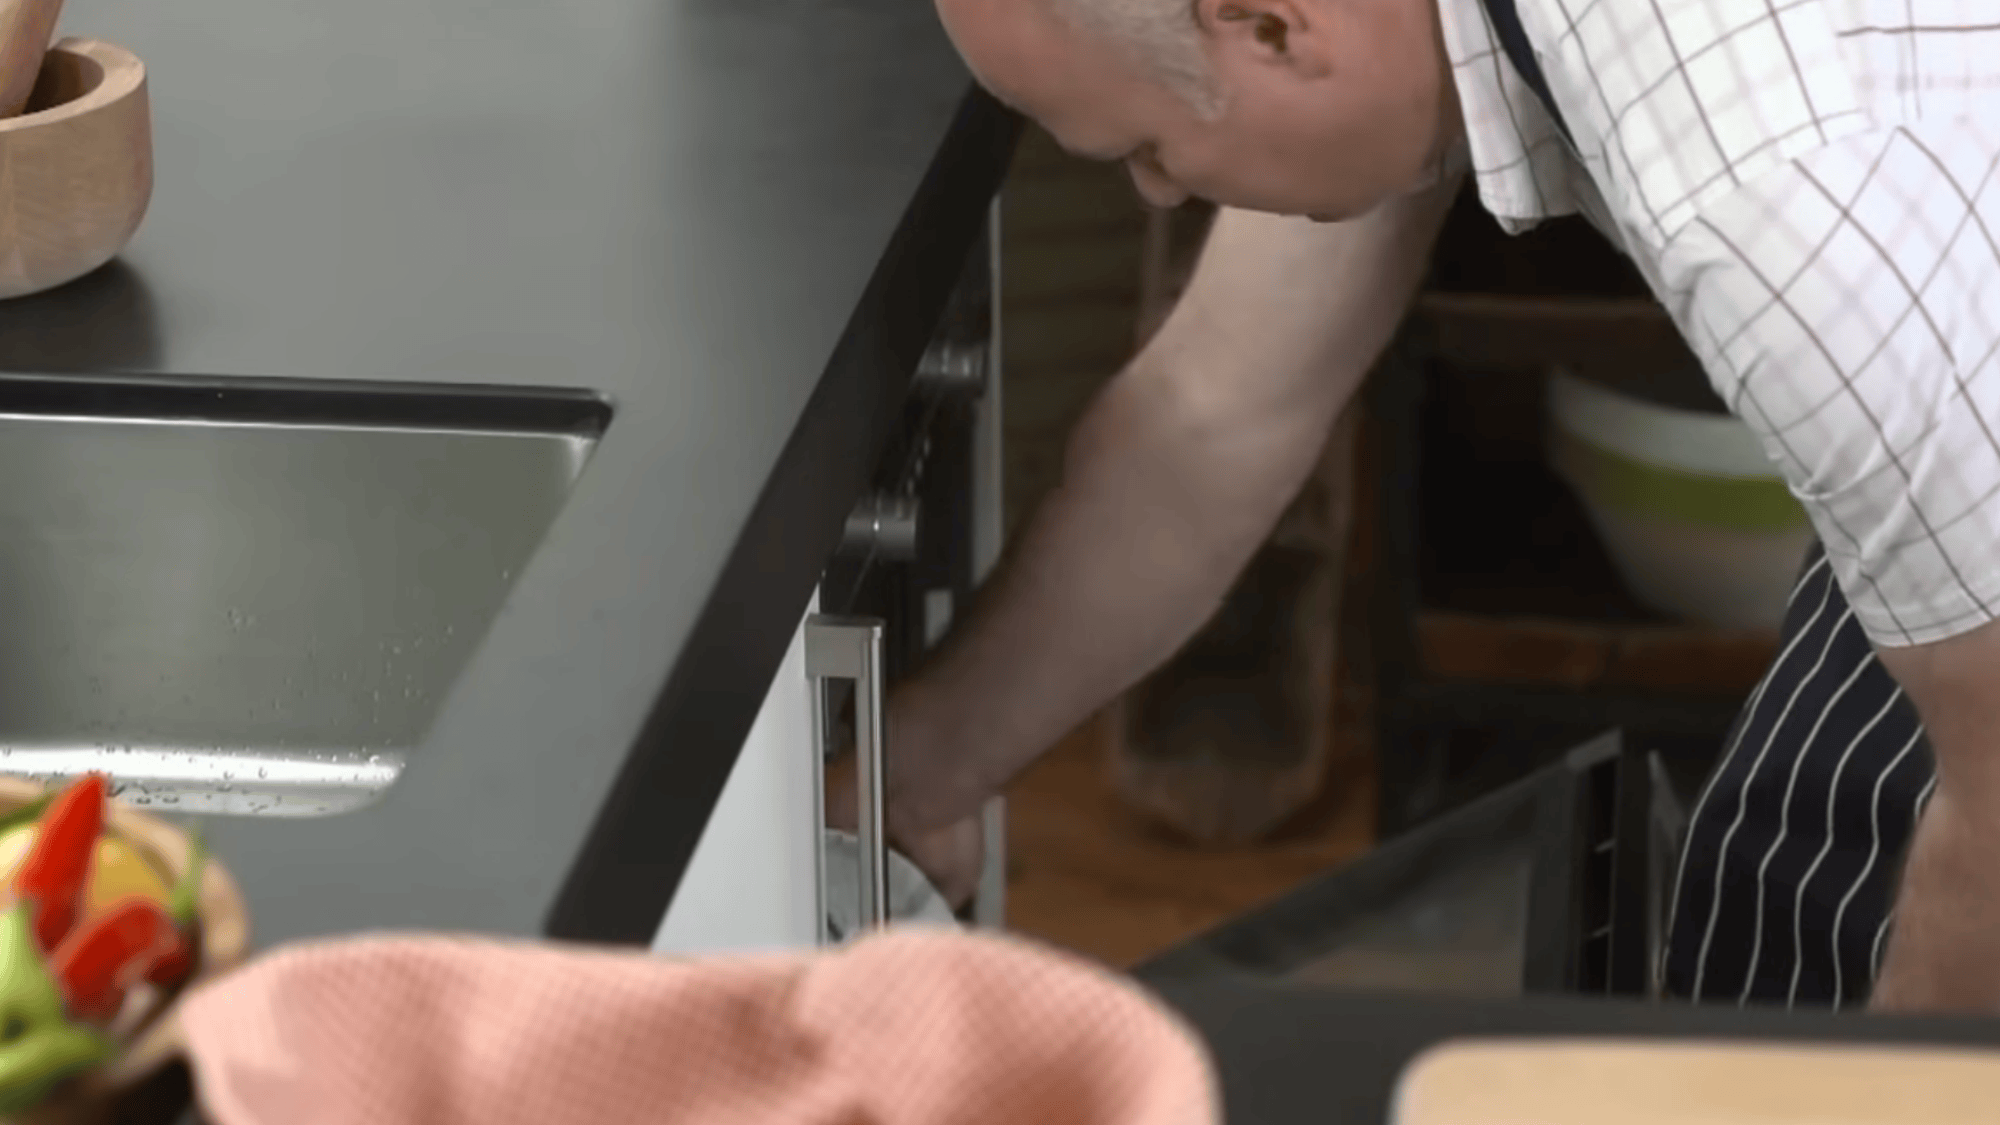
After 10 minutes, carefully take the tray out of the oven. The jars will be very hot, so handle them with care to avoid burns.
Place the hot jars on a clean cloth or towel. Do not place them on a cold surface, as sudden temperature change can cause cracks.
Keeping them on a clean surface also helps avoid any dust or dirt getting inside before you use them for filling food.
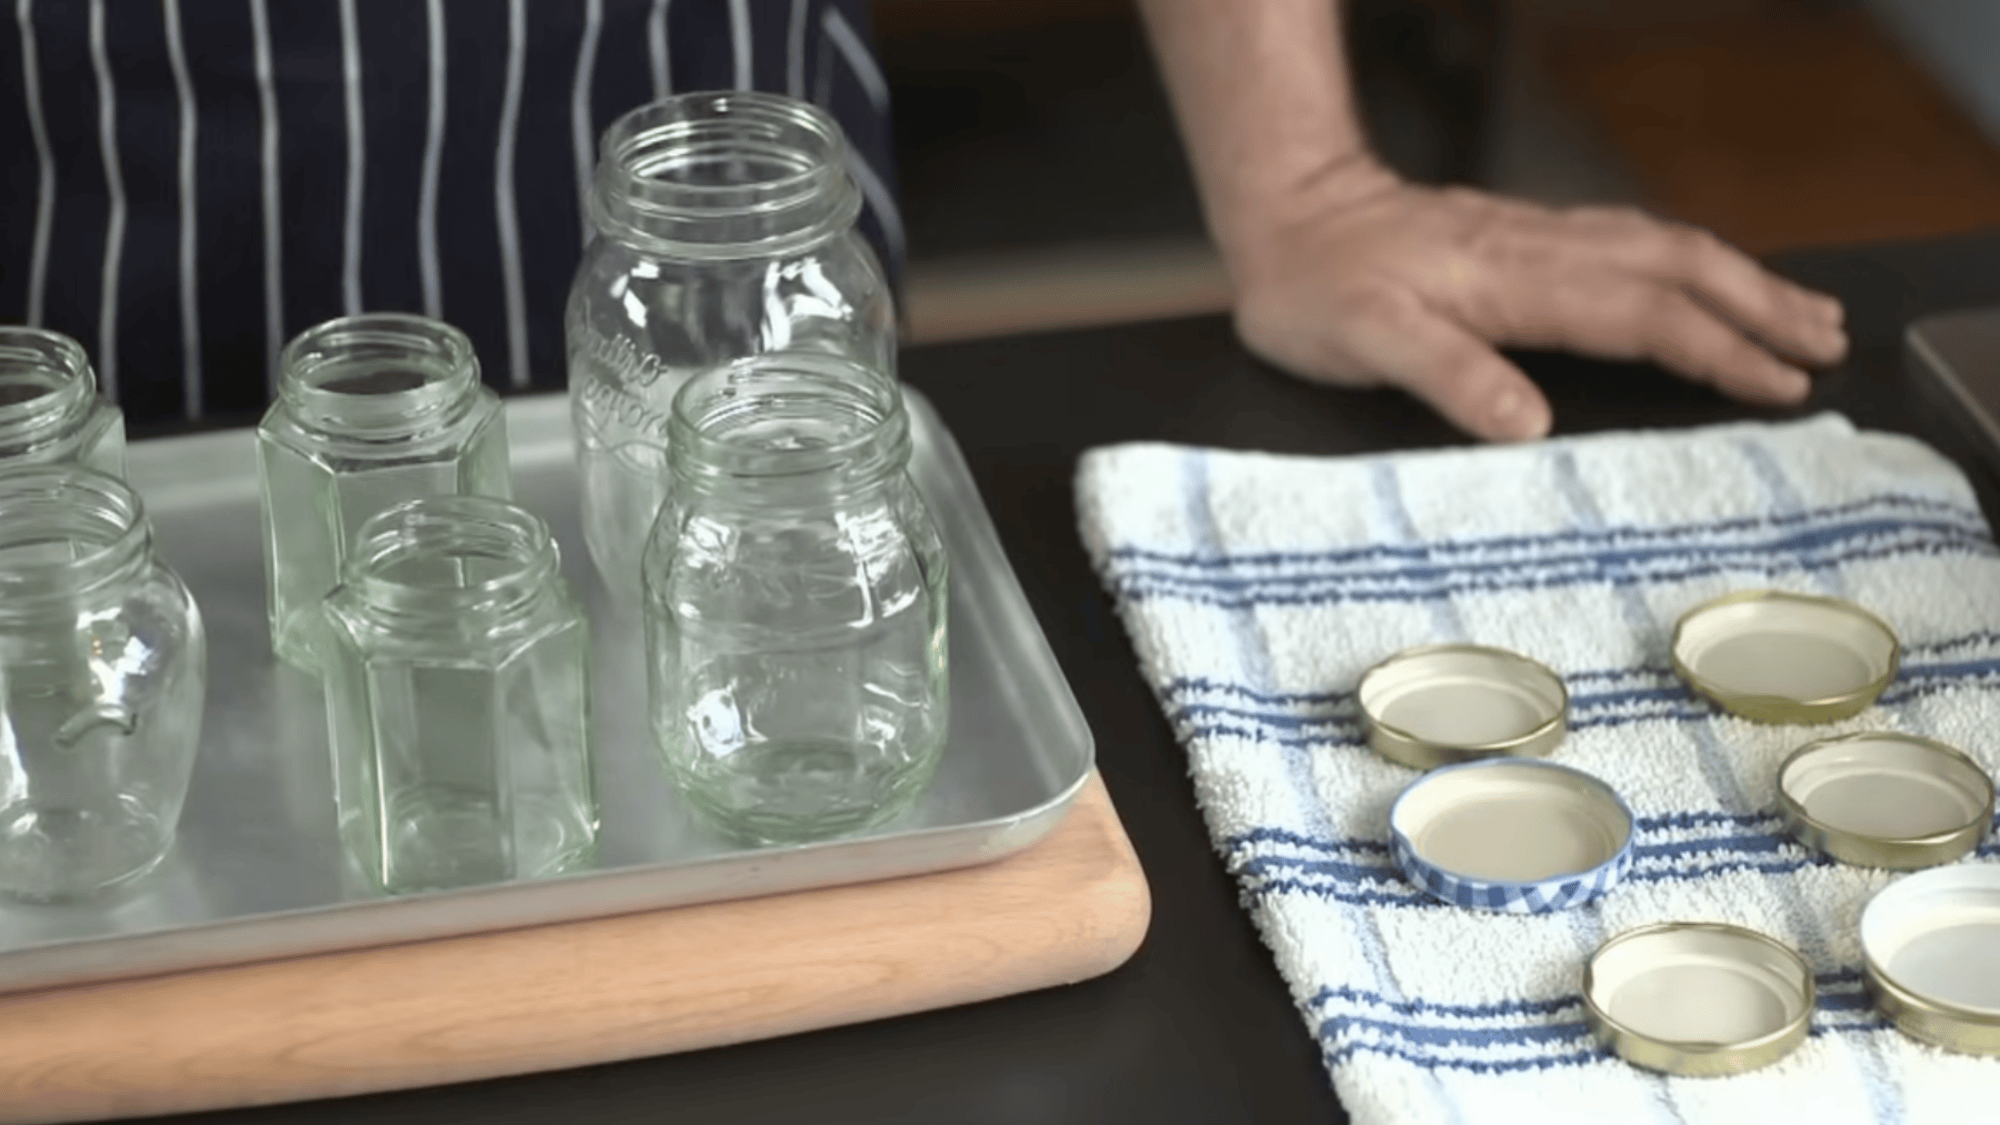
Step 5: Dry and Place Lids
Use tongs to take the lids out of the hot water safely. Shake off any extra water and place them upside down on a clean cloth.
This helps keep the inside of the lids clean and ready to use. Make sure the cloth is dry and free from dirt.
Keeping lids upside down also prevents dust from settling inside while they cool slightly before sealing the jars later.
Step 6: Fill and Seal Jars
Once jars and lids are ready, use them while they are still warm. Fill the jars with your food, like jam or pickles, without delay.
After filling, place the clean lids on top and seal them tightly. Using jars while warm helps keep them safe and reduces the risk of germs.
Make sure everything stays clean during this step so your stored food stays fresh and safe for longer use.
This tutorial is based on a helpful video by Jamie Oliver. You can check out the original video on their YouTube channel here or watch it below.
Signs Jars are Sealed Properly
This section helps you confirm that your jars are sealed well and safe for storage. It is useful after filling jars to avoid spoilage and keep food fresh.
| Check | What It Means |
|---|---|
| Press the lid | The lid should not move or make a sound when pressed. |
| Look at the center | The center should stay flat and not pop up. |
| Tightness | The lid should feel firm and fixed in place. |
| Check for leaks | No liquid should come out when the jar is turned. |
| After cooling | Lid stays sealed and does not loosen over time. |
Do You Always Need to Sterilize Jars?
You do not always need to sterilize jars, but it depends on how you plan to use them.
Sterilization is required when storing food for a long time, such as jams, pickles, or canned items. It helps kill germs and keeps food safe for longer periods.
Hot filling can be enough in some cases. If you are pouring very hot food into clean jars and sealing them right away, the heat can reduce germs.
This works for short-term storage or recipes with high sugar or acid.
Cleaning and sterilizing are not the same. Cleaning removes dirt and food residue using soap and water.
Sterilizing goes a step further by killing bacteria using heat. Both steps are important, but sterilizing gives extra safety when storing food.
How to Store Sterilized Jars Before Use?
Proper storage keeps jars clean and safe until you are ready to use them for food. It also helps prevent dust, germs, or dirt from getting inside after the sterilizing process.
- Keep jars upside down on a clean cloth. This helps stop dust or dirt from getting inside and keeps them clean.
- Do not touch the inside of jars or lids. This keeps them safe and germ-free before filling with food.
- Use jars within a few hours after sterilizing. This helps make sure they stay clean and safe for food storage.
- If jars cool down, heat them again before use. Warm jars help keep food safe and improve sealing results.
Common Mistakes to Avoid
Small mistakes can affect jar safety and food quality. Avoid these to keep your food fresh and safe.
| Mistake | What Happens |
|---|---|
| Skipping cleaning before sterilizing | Dirt stays on jars and can spoil food faster |
| Using damaged jars | Cracks can cause leaks or break during use |
| Letting jars cool before filling | Cool jars may not seal well with hot food |
| Improper sealing | Air can enter and make food go bad |
At the End
Sterilizing jars may seem like a small step, but it plays a big role in keeping your food safe and fresh. When jars are clean and heated the right way, they help stop germs and reduce the risk of spoilage.
From simple washing to using the oven or boiling water, each method is easy to follow and works well when done carefully.
By following the steps, using clean tools, and sealing jars properly, you can store jams, pickles, and other foods with confidence.
Small details like keeping jars warm and avoiding common mistakes can make a big difference in results.
Now that you know how to sterilize jars, you can use these methods anytime you prepare food for storage.
If you found this guide helpful or have any tips to share, feel free to leave a comment below.
Frequently Asked Questions
Can Jars be Sterilized without Boiling?
Yes, you can use an oven, dishwasher, or microwave. These methods use heat to clean jars and remove germs without boiling water.
How Long Should the Jars be Boiled to Sterilize Them?
Boil jars for about 10 minutes. Make sure they stay fully submerged in water throughout the cleaning process for proper cleaning.
Can Store-Bought Jars be Reused?
Yes, you can reuse them if they are not cracked. Clean and sterilize them well before using them again for food storage.
Is Oven Sterilization Safe?
Yes, it is safe if done right. Use low heat and keep jars spaced apart to avoid breaking or damage.