
A premium home cinema feels best when lighting, seating, climate, and controls work as one system rather than as separate gadgets. The practical goal is simple: reduce glare, support long-session comfort, and make every viewing mode easy to activate.
Ever paused a movie because the room was too bright, the walkway was too dark, or the best seat stopped feeling comfortable halfway through a two-hour film? A well-planned cinema can use layered lighting, automated scenes, and ergonomic recliners to solve those daily problems before they interrupt the experience. This guide shows how to design a smart home cinema that feels immersive, comfortable, and simple to operate.
Start with The Room, Not the Gadgets
Measure the Viewing Environment First
Before choosing fixtures, recliners, or control systems, map the room like a cinema designer would. Atlanta Home Theater recommends starting with room dimensions, ceiling height, natural light sources, surface finishes, and existing electrical infrastructure because these factors determine where glare, shadows, reflections, and wiring limits will appear.
For a dedicated cinema, a windowless room is often the easiest starting point because it reduces exterior light intrusion. In a multipurpose media room, the next best option is a light-control plan: blackout curtains, motorized shades, darker wall and ceiling paint, and carpeting or rugs that reduce reflected light. Avidia notes that darker walls, ceilings, and carpeting help keep light from bouncing around the theater, which protects screen contrast and prevents the room from feeling visually “busy” during playback.
Plan Around Seats and Sightlines
Seating should guide the lighting layout, not the other way around. Mark the primary viewing seats first, then check whether ceiling downlights, wall sconces, LED strips, or pathway lights will reflect on the screen, shine into viewers’ eyes, or create distracting shadows across the floor.
A practical test is to sit in each planned seat and look at three points: the center of the screen, the side walls, and the floor path to the door. If a fixture is visible in the screen reflection, directly in the viewer’s line of sight, or likely to trigger glare on glossy furniture, move it, dim it, shield it, or assign it to a non-movie scene only.
Use Layered Lighting for Immersion and Safety
Ambient, Accent, and Task Lighting Each Have a Job
Arendal Sound separates home theater lighting into three useful categories: ambient, accent, and task lighting. Ambient lighting is the room’s general illumination, accent lighting adds depth by highlighting architectural features or display shelves, and task lighting supports specific actions such as finding a seat, grabbing a drink, or walking to a popcorn machine.
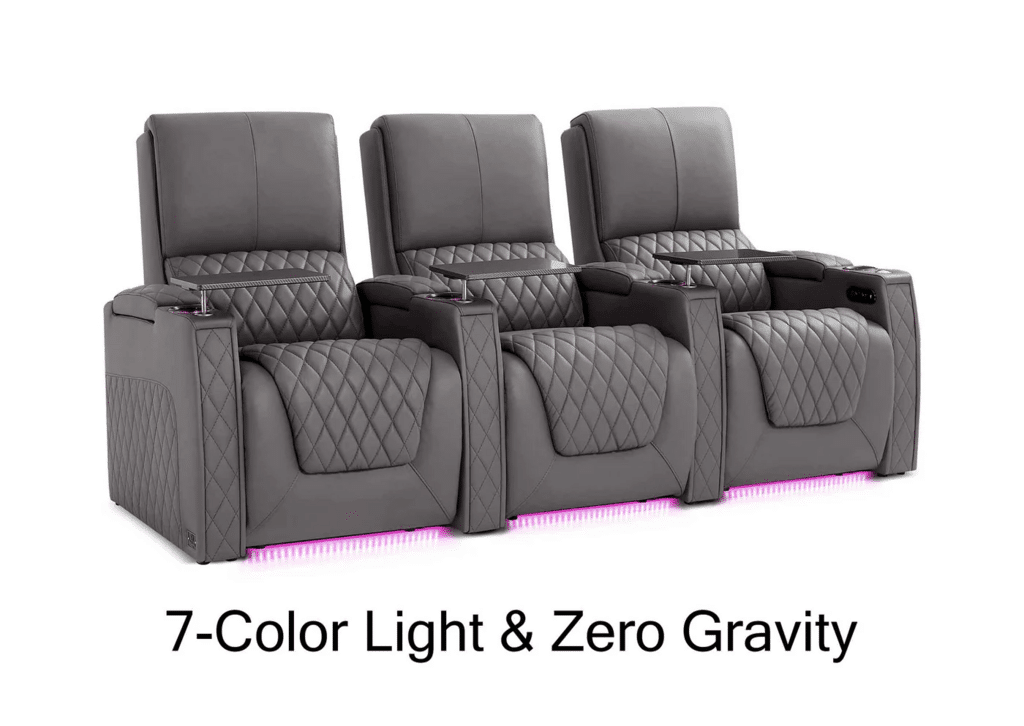
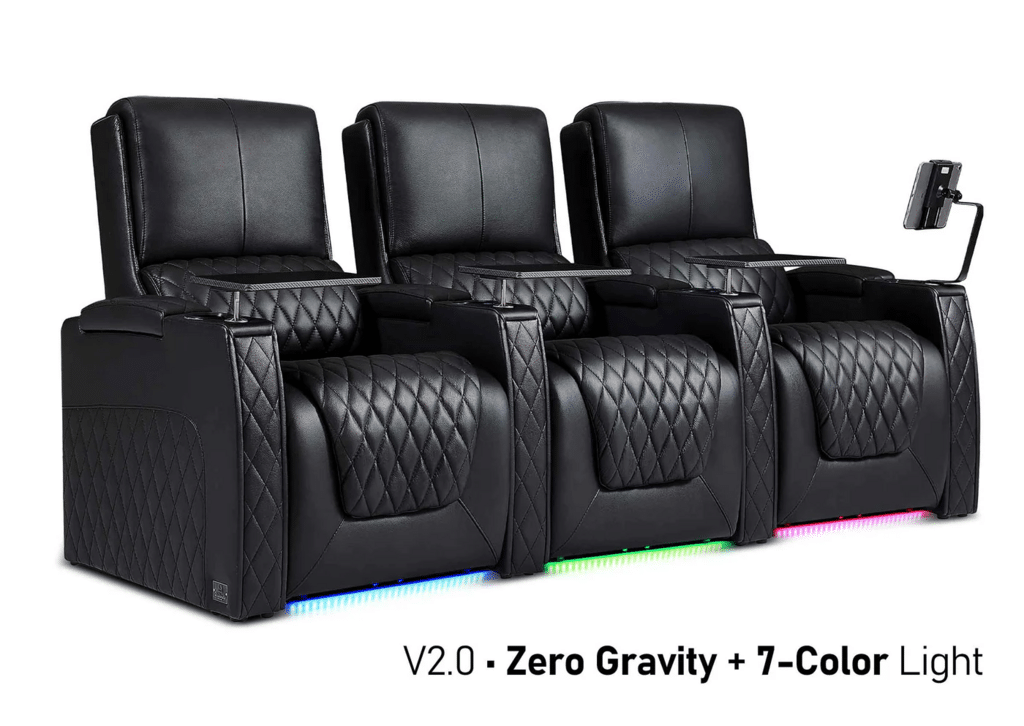
For smart-home cinema planning, LED ambient theater seats can be a useful reference when coordinating lighting scenes, recline comfort, and an immersive room atmosphere.
In a cinema, these layers should be controlled independently. For example, recessed ceiling lights can handle cleaning and setup, wall sconces can provide low-level room definition before playback, and floor-level LED strips can guide movement during a pause without washing out the screen. This is more useful than one dimmer controlling the whole room because it lets you keep safety lighting active while preserving the image.
A Three-Tier Lighting Layout Works Well
A dependable home cinema lighting plan often uses three tiers: ceiling fixtures for general illumination, wall-mounted fixtures for definition, and floor-level accents for atmosphere and navigation. Atlanta Home Theater highlights this kind of tiered approach because each layer contributes a different function and can be tuned separately.
For a practical setup, use ceiling fixtures at higher brightness only for cleaning, setup, and social use. Keep wall sconces dimmable and positioned so they do not splash light onto the screen. Reserve floor LEDs for the lowest brightness range, especially along risers, aisles, seat bases, or steps, where they can make the room safer without pulling attention away from the movie.
Make Interactive Lighting Useful, Not Distracting
Scenes Should Match Real Viewing Modes
Interactive lighting improves a home cinema when it responds to actual behavior. Avidia gives examples such as lights dimming when “play” is pressed, rising when “pause” is pressed, or floor LEDs activating through motion sensors. Those automations are valuable because they remove small interruptions that otherwise break immersion.
A strong scene library does not need dozens of presets. Start with four to six modes: Movie, Pause, Intermission, Kids’ TV, Gaming, and Cleaning. Movie mode can lower sconces to a faint glow, turn off ceiling fixtures, and keep pathway LEDs barely visible. Pause mode can raise pathway and side lighting just enough for movement. Gaming mode may allow more ambient light to reduce fatigue during longer interactive sessions, while Cleaning mode should bring the room to full practical brightness.
Test Scenes at The Time You Actually Watch
The first version of a lighting scene is rarely the final version. Atlanta Home Theater recommends testing scenes during real use and living with them for at least two weeks before finalizing. That matters because a scene that looks balanced at noon may feel too bright at 9 p.m., and a color temperature that feels pleasant during setup may look unnatural on skin tones during a film.
During the two-week adjustment period, evaluate brightness, color temperature, screen reflections, shadows, manual override frequency, and whether people can move safely without turning on overhead lights. If viewers repeatedly override the same setting, treat that as design feedback, not user error. The best smart cinema is the one people can use without thinking about the controls.
Choose Zero Gravity Seating for Long-Session Comfort
Focus on Support, Position Memory, and Layout
Zero gravity cinema recliners are useful when they support the body consistently through long movies, double features, sports nights, or gaming sessions. The most important features are independent back and leg adjustment, reliable lumbar support, headrest positioning, quiet motors, and memory presets that return each seat to a preferred viewing posture.
The comfort principle is straightforward: a reclined posture with elevated legs can reduce perceived pressure on the lower back and seat base for many users, especially compared with sitting upright for several hours. This is not a medical claim or a substitute for ergonomic needs, but in practical home cinema design, pressure distribution, neck angle, and arm support all affect how long the room remains enjoyable.
Match Seat Features to Viewing Behavior
Luxury recliner features should solve real viewing problems. Powered headrests help maintain a clear screen angle when the body reclines. Powered lumbar adjustment helps different household members use the same seat comfortably. USB-C charging, cooled cupholders, tray tables, and storage arms can be worthwhile if the cinema is used for long sports events, gaming, or family movie nights.
Avoid choosing the widest or most feature-heavy recliner without checking room spacing. Leave enough clearance for reclining, walking, cleaning, and emergency movement. In a rowed theater, test whether a fully reclined front row blocks sightlines from the second row. In a smaller room, two high-quality recliners with better spacing may deliver a better experience than four crowded seats with compromised viewing angles.
Connect Lighting, Seating, Climate, and Controls
One Command Should Change the Whole Room
The smart home ambiance goal is not to make every device visible; it is to make the room behave predictably. Control systems such as Control4, Crestron, and Savant are commonly used in premium cinema rooms because they can coordinate lighting, shades, media playback, and room modes from a remote, touchpad, or mobile app, as Avidia notes.
A polished “Movie” command might close motorized shades, set the projector or display input, lower ceiling lights to zero, dim wall sconces, set pathway LEDs to a low level, adjust the thermostat slightly, and move recliners to their saved positions. A “Pause” command might raise only floor and side lighting while keeping the screen environment controlled. The point is not novelty; it is repeatability.
Keep Manual Overrides Simple
Automation should never trap users in a complicated system. Every cinema should still have simple controls for lights up, lights down, pause lighting, climate adjustment, and seat position. Voice commands can help, but physical buttons or a dedicated remote are often more reliable during movies because they do not require people to speak over the soundtrack.
Use motion sensors carefully. Floor LEDs triggered by motion can be useful for late arrivals or bathroom breaks, but sensors near seating can create false triggers if viewers shift in their recliners. Atlanta Home Theater specifically warns against false sensor triggers and unwanted light spill, so sensor placement should be tested with people actually sitting, reclining, standing, and walking through the room.
Calibrate the Ambiance for Screen Quality
Control Reflections Before Adding Effects
The most cinematic lighting setup is often the most restrained one. Excessive color effects, bright LED strips, or poorly placed accent lights can reduce perceived contrast and distract from the screen. Arendal Sound notes that shades help block exterior light that can dull the image, while darker walls and ceilings help preserve image vibrancy by reducing reflections.
Bias or low-level ambient lighting can be helpful when placed behind or around the screen area with care, especially for viewers who dislike watching in total darkness. The key is to keep it subtle and indirect. If the screen image looks flatter, faces look tinted, or glossy surfaces start catching color reflections, the lighting is too strong or incorrectly placed.
Tune Color Temperature by Activity
Different activities can use different lighting temperatures. A warm, low-brightness setting often suits films and evening relaxation. A slightly brighter neutral setting can work better for setup, cleaning, or board-game use in a multipurpose media room. Gaming may benefit from a balanced scene that reduces harsh contrast between the screen and the surrounding room.
Do not rely on dramatic color presets as the default cinema mode. Saturated red, blue, or purple lighting can look impressive in photos but may become distracting during real viewing. Keep theatrical colors for pre-show, party, or music scenes, and make the main Movie scene quiet, low, and screen-friendly.
Practical Next Steps
Start by documenting the room: dimensions, ceiling height, window locations, wall colors, seating positions, screen location, and existing electrical points. Then design the lighting in layers: ceiling for general use, wall fixtures for low-level definition, and floor accents for safe movement. Position every fixture to avoid screen glare, harsh shadows, and direct eye contact from seated positions.
Build a small scene set before adding complex automations: Movie, Pause, Intermission, Gaming, Kids’ TV, and Cleaning. Test those scenes during real viewing for at least two weeks, watching for glare, skin tone shifts, overly bright pathways, false motion triggers, and frequent manual overrides. Adjust brightness and color temperature based on actual use, not showroom impressions.
For seating, prioritize ergonomic function over feature count. Choose zero gravity recliners with stable head support, leg elevation, lumbar adjustment, quiet motors, memory positions, and enough clearance for full recline. Once lighting and seating are reliable, connect shades, climate, playback, and controls into simple commands so the room can shift from everyday use to private cinema mode without friction.