
Cracked paint on your ceiling doesn’t just look bad. It also makes the whole room feel old and like it hasn’t been cared for in years.
These cracks form when the top paint layer splits and starts to pull apart, leaving rough lines that worsen over time.
I’ve fixed numerous ceilings with this same issue, and I can tell you that you can fix it too.
You don’t need to be a professional or have fancy training. You need the right tools and a little bit of time.
In this guide, I’ll show you step-by-step how to repair those cracks.
I’ll explain what causes them, which tools make the job easier, and how to make your ceiling look clean and smooth again.
Say goodbye to flaky paint and long lines across your ceiling. Once you’re done, it’ll feel like a brand-new room, clean, fresh, and something you can be proud of.
What Causes Paint Cracks on the Ceiling?
Cracked ceiling paint usually comes from a few main problems. One big reason is temperature changes.
As your house heats and cools, the ceiling expands and shrinks, which causes stress on the paint.
Moisture is another issue. Steam from showers and cooking rises, slowly weakening the paint.
Poor painting also causes cracks. If the surface isn’t properly prepped or the paint is applied too thick or too thin, it won’t last.
Old paint dries out over time. As it loses flexibility, it begins to crack.
Even a slight shift in the house can lead to cracks. When the foundation settles, it puts pressure on your ceiling and the paint.
Tools and Materials You’ll Need
The following is everything you need for this repair:
- Mesh Tape
- Joint Compound for First Coat
- Fine-grit sanding sponge
- Paint Brush
- Water
- Paint Roller
- Dry Cloth
- Knife for Scraping
Don’t skip any of these tools. Each one serves a specific purpose. Cheap tools will make your job harder.
How to Repair Paint Cracking on the Ceiling
This repair takes patience and attention to detail. Rush the job and you’ll see the cracks again soon. Follow each step carefully for lasting results.
1. Preparing the Area
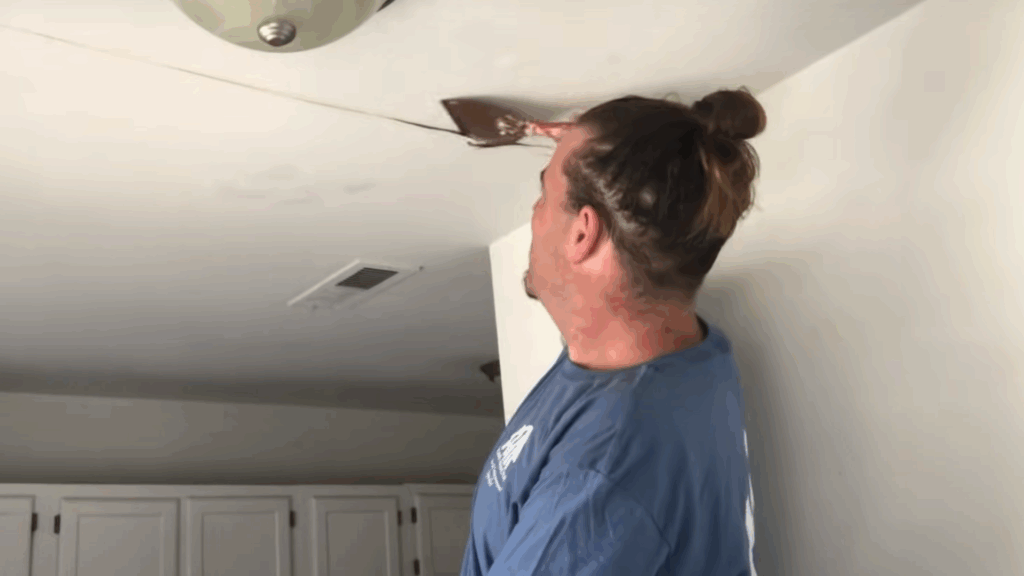
Start by gently scraping off all the loose or cracked paint. Use a scraping knife and press firmly, but avoid pushing too hard, as this can damage the drywall underneath.
Work your way along the crack, pulling off any paint that flakes easily. This provides a smooth and clean surface for fixing.
Once you’ve scraped everything, grab a dry cloth and wipe up all the little pieces. Make sure nothing is left behind.
If you leave debris, it’ll mess up the next steps and show through when you paint.
2. Reinforcing the Seam
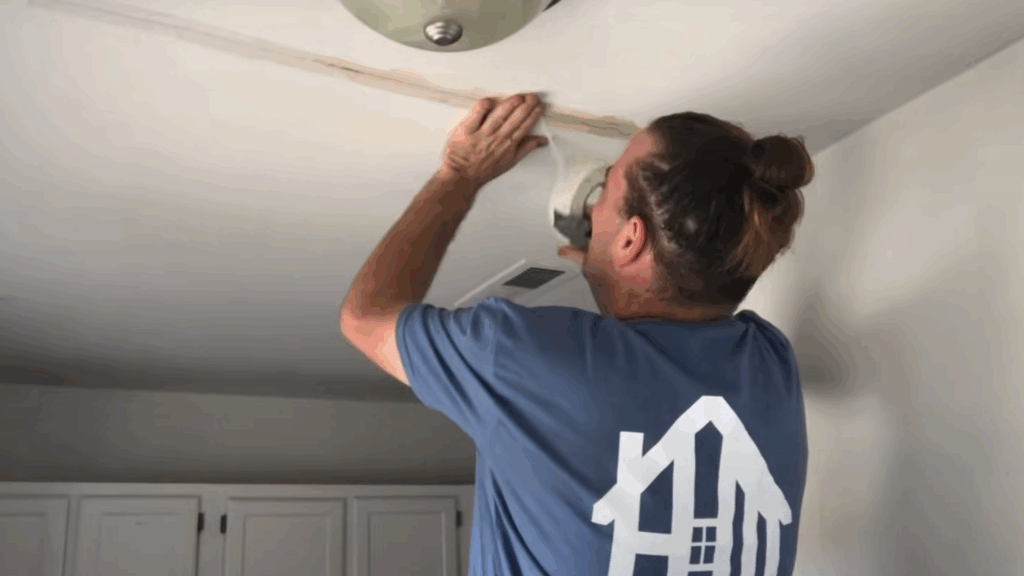
Take your mesh tape and place it directly over the crack. Press it down gently with your fingers to make sure it sticks flat against the ceiling surface.
The tape should fully cover the crack and extend slightly beyond both ends for extra support.
If the crack is long and one piece of tape isn’t enough, add another piece and overlap it slightly. That overlap adds strength and helps prevent future cracks.
Be careful not to stretch the tape too tightly. Let it sit naturally on the ceiling. If you pull it too tightly, it may peel off or bunch up later.
3. Apply The First Coat
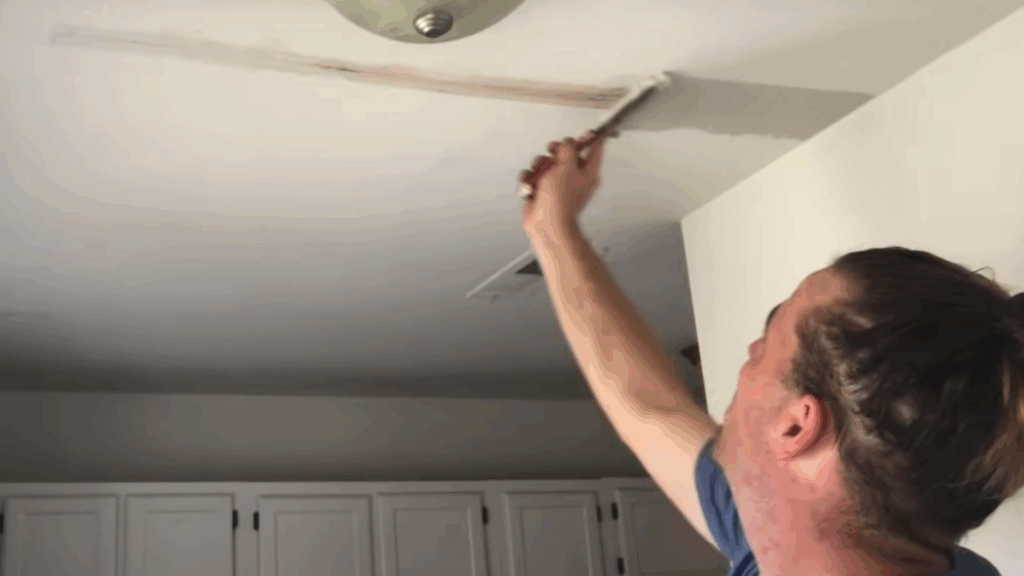
Next, spread joint compound over the mesh tape using a drywall knife. Press the compound firmly, but not too hard, and move the knife in long, even strokes.
Ensure that the tape is completely covered, so none of it shows through. Keep this first coat thin. Thick layers can crack while drying or take too long to set.
It’s better to build up the surface slowly by adding more thin layers later.
Be sure to feather the edges by making the compound thinner at the edges than in the center. This helps it blend better into the rest of the ceiling.
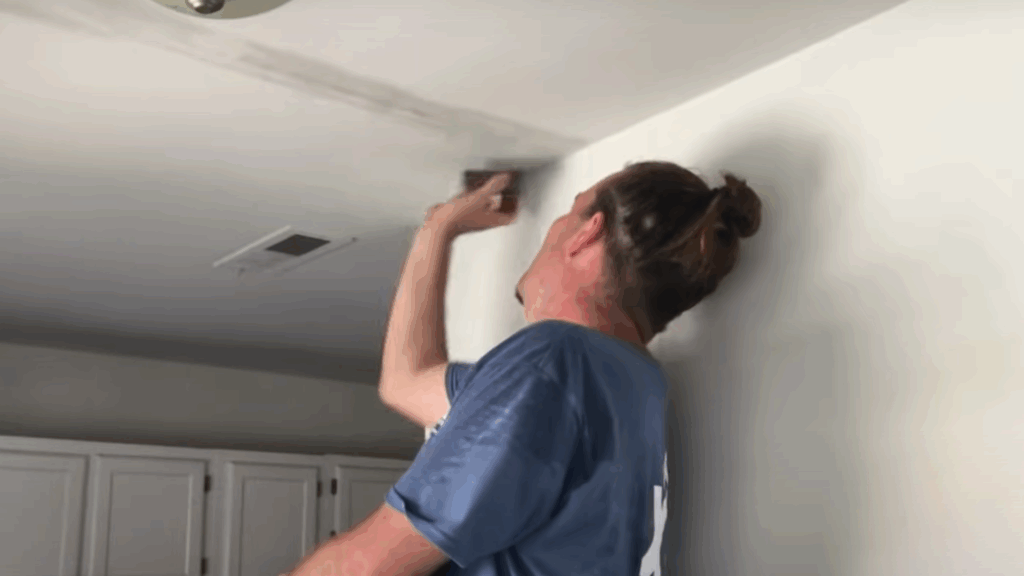
4. Smoothing Things Out
Allow the joint compound to dry completely before sanding. This typically takes around 24 hours, although the duration may be longer if the weather is particularly humid or cold.
Don’t rush this step; sanding wet compound will ruin your work. Once dry, sand it gently using a fine-grit sanding sponge.
Focus on smoothing out high spots and uneven areas without digging too deep. Run your hand across the surface to check for roughness.
After sanding, wipe the area clean with a dry cloth. Any leftover dust can interfere with the second coat, preventing it from adhering properly.
5. Apply The Second Coat
After sanding, apply another thin coat of joint compound. This time, spread it over a slightly larger area than before.
You’re not just covering the tape now, you’re blending the patch into the ceiling. Smooth, overlapping strokes and feather the edges out even further.
This will help the repair blend in so it’s invisible after painting. Take your time and check the surface from different angles.
If you see small dips or gaps, fill them now while the compound is still wet. Waiting will only mean more sanding and more work later on.
6 Final Smoothing
Once your final coat of compound is fully dry, give it one more light sanding. Use gentle pressure and go slowly; you’re just trying to smooth out the finish, not remove it.
Feel the surface with your hand as you go. If anything feels rough or raised, sand it down carefully. You want it to feel perfectly even with the rest of the ceiling.
After sanding, wipe the area with a clean, dry cloth. Ensure that every bit of dust is removed.
Any leftover dust will stop your paint from sticking and ruin your final finish.
7. Painting for a Seamless Blend

Start by applying a coat of primer to the repaired area. Hisses the joint compound, helping the paint adhere better.
Use a small brush for the edges and a roller for the flat parts. Try to match your ceiling paint exactly. Est the color in a corner if you’re not sure.
Sometimes, you’ll need to paint the entire ceiling to achieve a perfect match.
Roll the paint in the same direction and with the same texture as the original. It helps the patch blend in so no one can tell it was ever there.
Want to see the steps in action? Watch this helpful video by @homemend. It is short, to the point, and informative.
Prevent Future Ceiling Paint Cracks
Preventing paint cracks is easier than fixing them later. With a little care and regular upkeep, you can keep your ceiling looking smooth and fresh for years.
The following are a few simple ways to stop cracks before they start:
- Control moisture in your home: Use exhaust fans in bathrooms and kitchens to improve air quality.
- Maintain steady temperatures: Avoid extreme heating and cooling.
- Use quality paint and primer: Cheap products fail quickly.
- Prep surfaces properly before painting: Clean walls and prime bare spots.
- Inspect your ceiling regularly: Catch small cracks early.
Conclusion
Fixing cracks in your ceiling paint isn’t as hard as it might seem. You need the right tools, a little patience, and a step-by-step plan that works.
The most important part is starting with good prep because it sets up everything that comes next.
Don’t ignore small cracks. They might look harmless now, but they grow quickly and can lead to more significant, expensive repairs later.
I’ve seen plenty of ceilings where a simple fix turned into a full patch job because someone waited too long to address the issue.
Go slow with each step. If you rush through, you’ll end up with uneven spots or peeling paint later. A little extra time now saves you hours later.
Also, don’t forget to keep moisture low and temperatures steady. That alone can keep your ceiling smooth for years to come.
If you tried these tips, drop a comment. Others can learn from what worked for you, too.
Frequently Asked Questions
How Long Should I Wait Between Coats?
Wait at least 24 hours between compound coats. If you apply the next coat too soon, it won’t stick properly and may crack or bubble after drying.
What If My Crack Keeps Coming Back?
If the crack returns, your ceiling may be shifting. This could be due to a settling foundation or excessive moisture. Fix the cause first before trying to patch it again.
Should I Paint the Whole Ceiling?
Yes, for best results, paint the whole ceiling. Even if you use the same color, small differences in age or sheen can make patch areas stand out under light.
Can I Use Regular Tape Instead of Mesh?
Paper tape works, but it is harder to apply overhead. Mesh tape sticks better and is easier for most people to use, especially on ceilings where tape sagging is a problem.
When Should I Call a Professional?
Call a professional if the crack is over three feet long or if there are multiple cracks. This may indicate deeper problems that require expert tools and skills to resolve.