Art doesn’t always have to be flat. When you add texture, your art can stand out — literally!
Textured art supplies help you feel the art as well as see it. Whether you’re using thick paint, paste, or textured paper, these tools can make your work more fun and creative.
In this guide, we’ll explain everything step by step. You’ll learn what textured art supplies are, how to use them, and simple tips to try.
What Is Textured Art?
Ever run your fingers across a painting and felt something? That’s textured art at work.
Texture brings art to life. It’s what makes you want to touch a canvas even when the “No Touching” sign is right there.
In this article, you’ll discover:
The simple difference between visual and physical texture
How artists use texture in mixed media, abstract art, and impressionism
Easy ways to spot textured techniques in any gallery
Whether you’re confused about art terms or just curious about those bumpy canvases, I’ve got you covered. As an artist with 15 years of experience, I know how texture transforms ordinary art into something extraordinary.
No more feeling lost in art conversations. By the end of this article, you’ll understand textured art better than most gallery visitors.
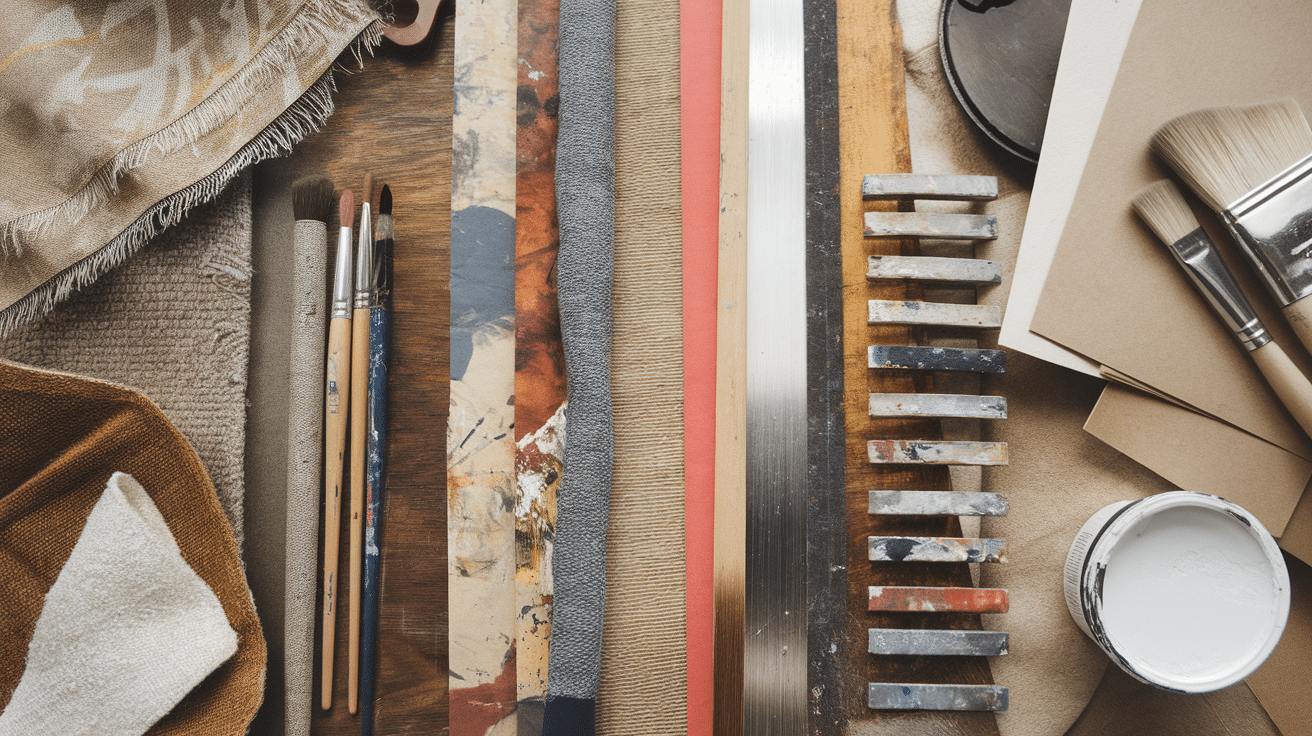
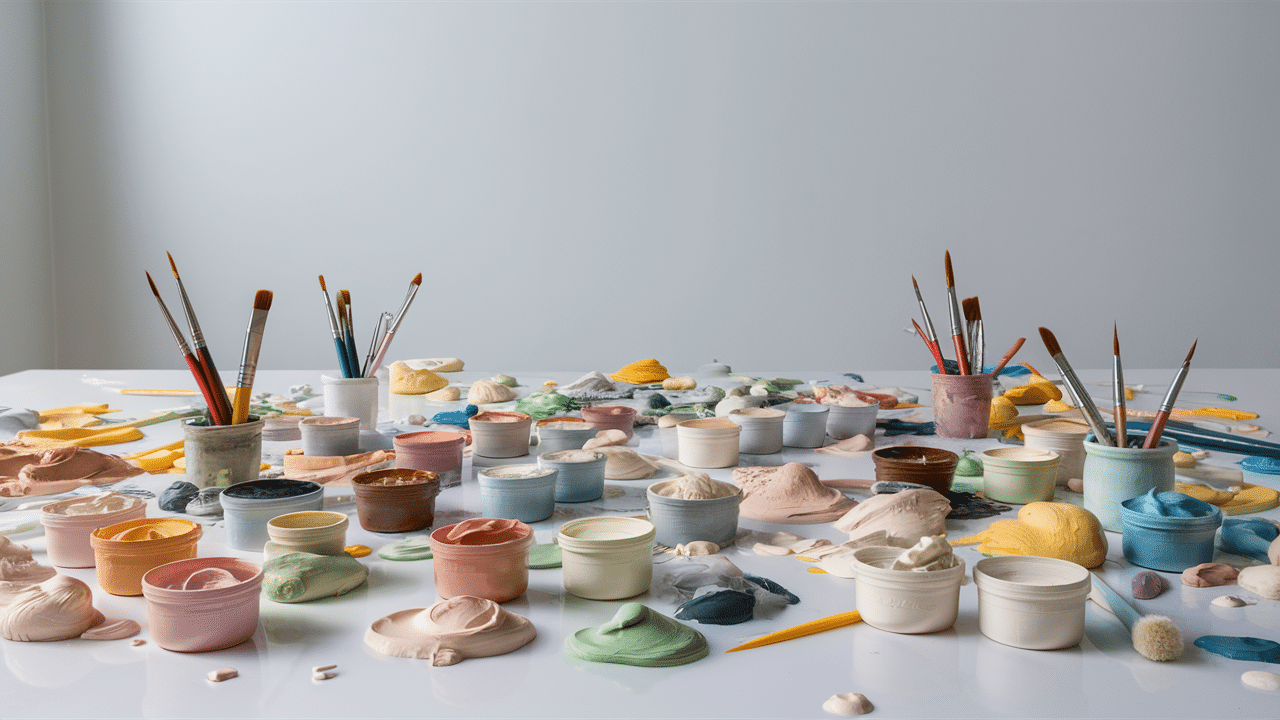
Core Supplies to Create Texture
Gather basic textural elements like modeling paste, gesso, sand, fabric scraps, and found objects that can be pressed into wet surfaces.
Remember essential tools, including palette knives, stiff brushes, sponges, and various applicators, which help create distinctive surface patterns.
Modeling paste, gesso, and gel mediums for building surfaces
Textural additives like sand, coffee grounds, and crushed eggshells
Palette knives and spatulas for application and manipulation
Stiff brushes, sponges, and cardboard for creating patterns
Found objects (bubble wrap, lace, leaves) for impression techniques
Spray bottles for creating drips and weathered effects
Assorted sandpaper for controlled abrasion and smoothing
A heat gun or hairdryer for quick-drying between layers
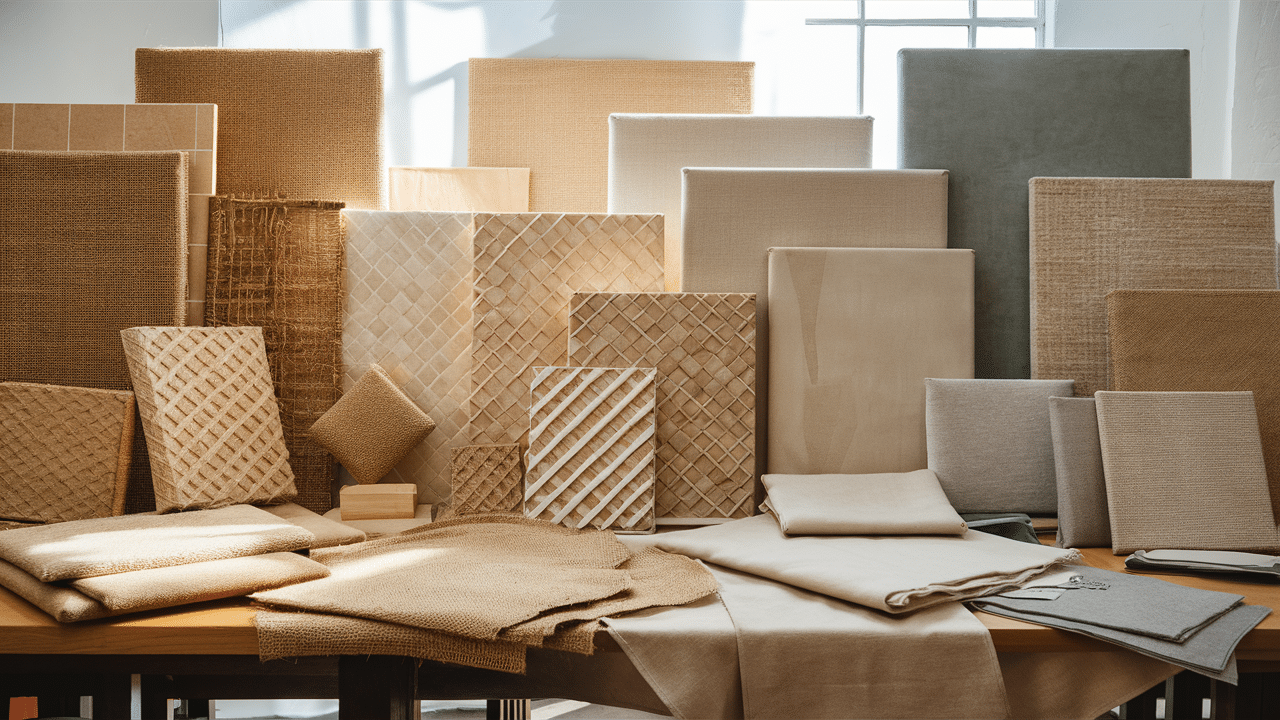
Best Surfaces for Textured Art
Canvas (Standard and Heavy-Duty)
The classic choice for textured art with good reason. Standard canvas offers a natural tooth that accepts texture mediums well, while heavy-duty canvas provides extra strength for heavier applications.
The slight give of the canvas creates a responsive surface that works beautifully with impasto techniques and raised textures. The fabric weave itself adds a subtle underlying texture.
Wood Panels
Wood panels offer a solid, stable foundation for heavy texturing. Unlike canvas, wood panels won’t flex or give under pressure, making them ideal for extreme texturing or when mounting objects.
The smooth, hard surface allows for precise texture control and can support significant weight without warping, making them perfect for mixed-media applications.
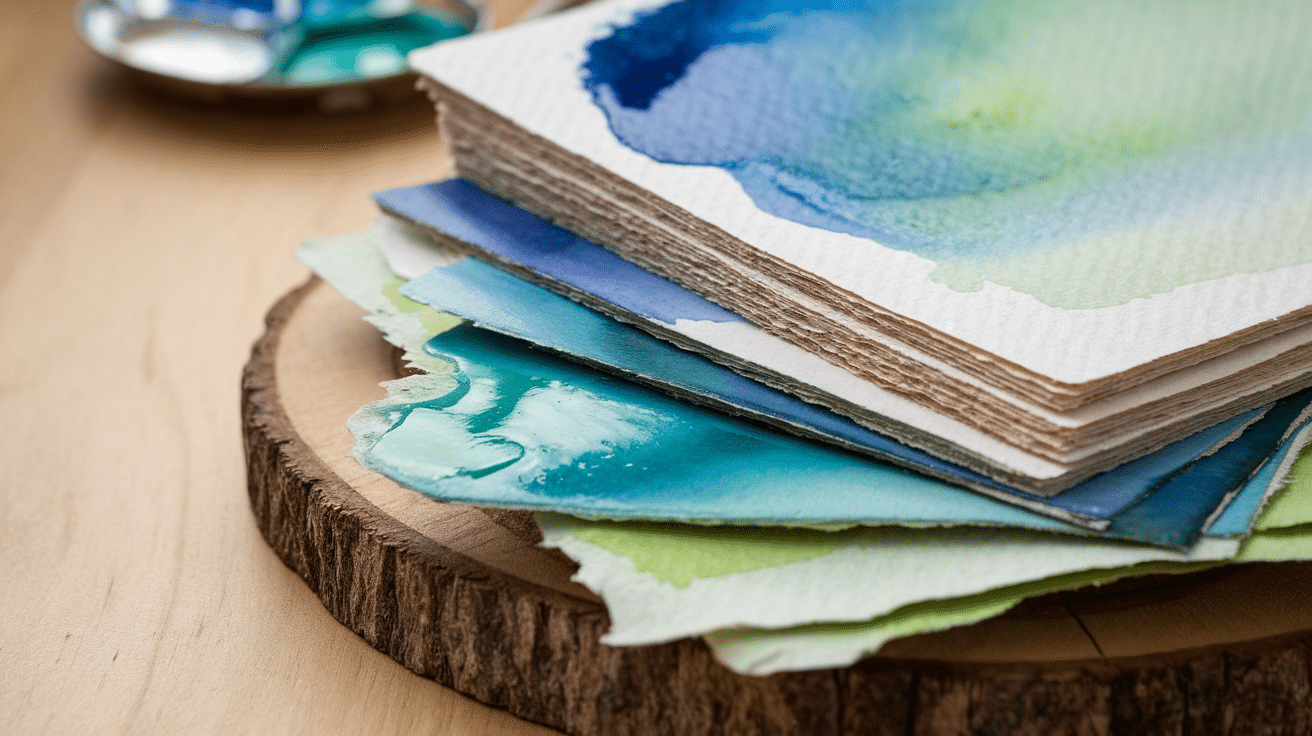
Thick Watercolor Paper
It provides a versatile surface with a natural texture built in. The cotton fibers create an organic feel that enhances applied textures.
When properly prepared with gesso, watercolor paper can withstand heavy applications while maintaining its character. The paper’s texture shows through lighter applications, adding depth and interest.
Recycled Materials (Cardboard, Fabric)
Bring their unique textures and stories to your art. Corrugated cardboard offers built-in ridges and an industrial quality, while fabrics add their weave patterns and flexibility.
These unconventional surfaces not only support added textures but also contribute their inherent character to your work. They create instant interest and often inspire unexpected textural combinations.
Step-by-Step: How to Use Textured Art Supplies
Textured art supplies add dimension to artwork by strategically layering materials like modeling paste, gels, and mix-ins.
Apply with tools such as palette knives and combs, let dry, then add color and seal to protect your three-dimensional creation.
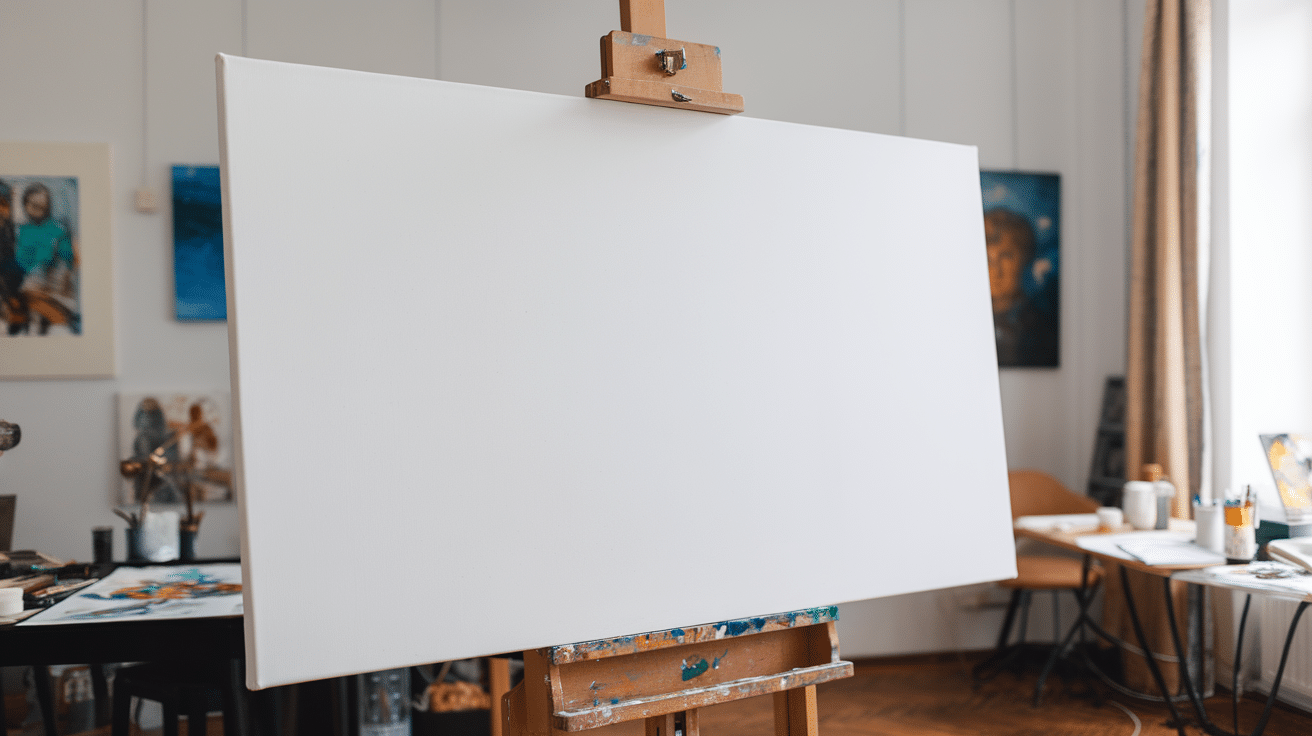
Step 1: Choose Your Base
Select a sturdy base that can handle texture – this is crucial for successful textured art. Canvas works great for most textured techniques, giving you flexibility while maintaining strength.
Thick paper (140lb+) is good for lighter texturing, but avoid thin paper as it tears and warps easily under the weight of textural elements. Consider wood panels for very heavy applications where durability is essential.
Remember that the heavier your materials, the stronger your base should be to prevent sagging or damage over time. Apply gesso first to strengthen your surface and create the ideal foundation for your textural elements. Before beginning your project, make sure your base is properly stretched or mounted to prevent warping as the materials dry.
Step 2: Prep the Surface
Use gesso to prime the canvas. This creates a solid foundation for textures. Let it dry fully before you start painting—rushing leads to cracking.
If you want a rough base, use a sponge or brush to add bumps while it’s wet. Apply gesso in different directions for a more natural-looking texture that will enhance your final piece.
Two thin coats typically work better than one thick coat, providing better coverage without excess weight. White gesso brightens colors; clear gesso preserves the surface color of your base.
Sanded gesso creates extra tooth for better adhesion of heavy materials. Dark-colored gesso (black, gray) creates dramatic shadows in textured work, adding depth before you even begin adding your main textures.
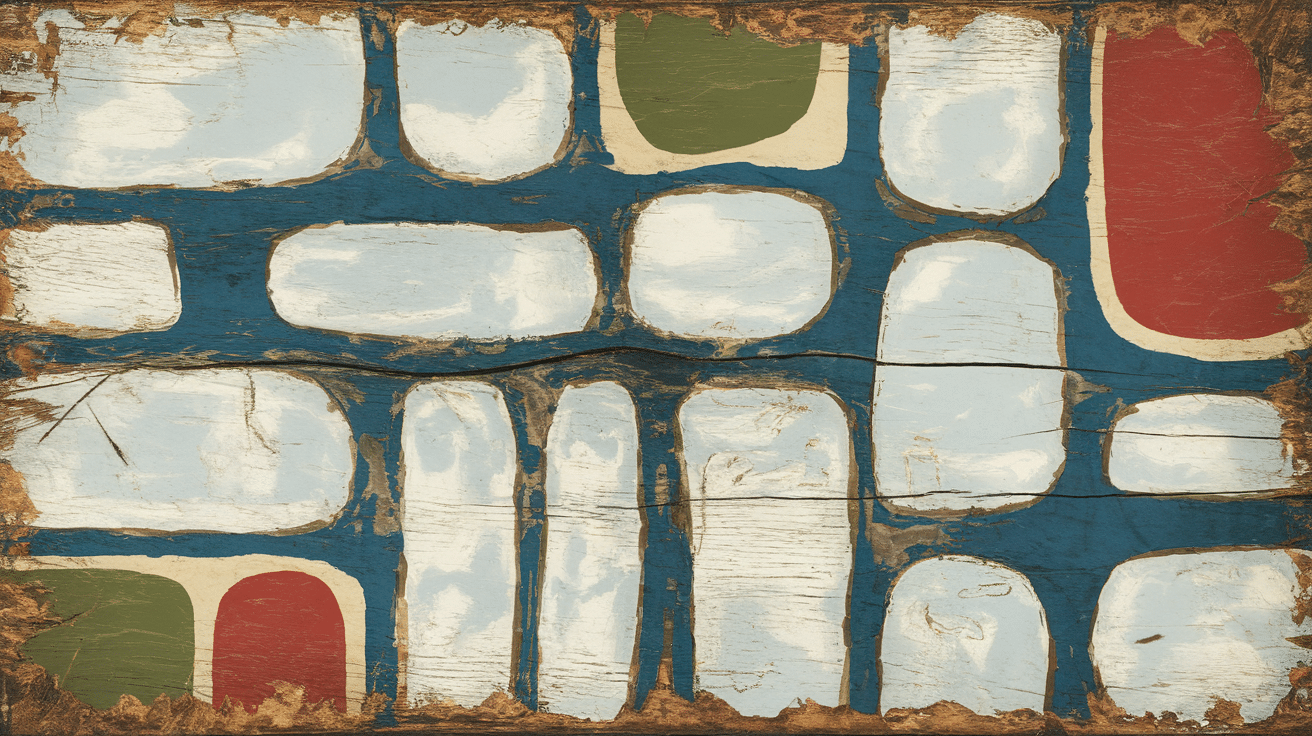
Step 3: Add Texture Materials
Using Modeling Paste
Working with texture paste can be really fun! Start by scooping some onto your surface with a palette knife. You can spread it thick for bold texture or shape it into specific designs – whatever matches your creative vision.
It will take several hours to dry completely, so plan your project accordingly. While the paste is still wet, try pressing various objects into it to create unique imprints—things like leaves, textured fabric, or even small household items can create fascinating patterns.
For more dramatic effects, consider building up multiple layers. You can add a layer, let it partially dry, and then add more to create depth. If you’re working with white paste, you can easily tint it with acrylic paint to add color to your textured creation.
Using Texture Gel
Working with mixed media is all about creative exploration! Start by gathering materials like yarn, paper, buttons, fabric, or small found objects to create texture and interest. It helps to arrange everything first to plan your composition before committing with glue.
Always give your project plenty of time to dry completely before painting over your collaged elements. This prevents smearing and ensures better adhesion. Incorporating natural elements like leaves or twigs creates beautiful organic textures, but consider how they’ll hold up over time.
Be mindful of the weight of your materials. Heavy objects might require stronger adhesives like E6000 rather than regular craft glue. This extra strength will keep everything securely in place and prevent disappointment later when items start falling off your finished piece.
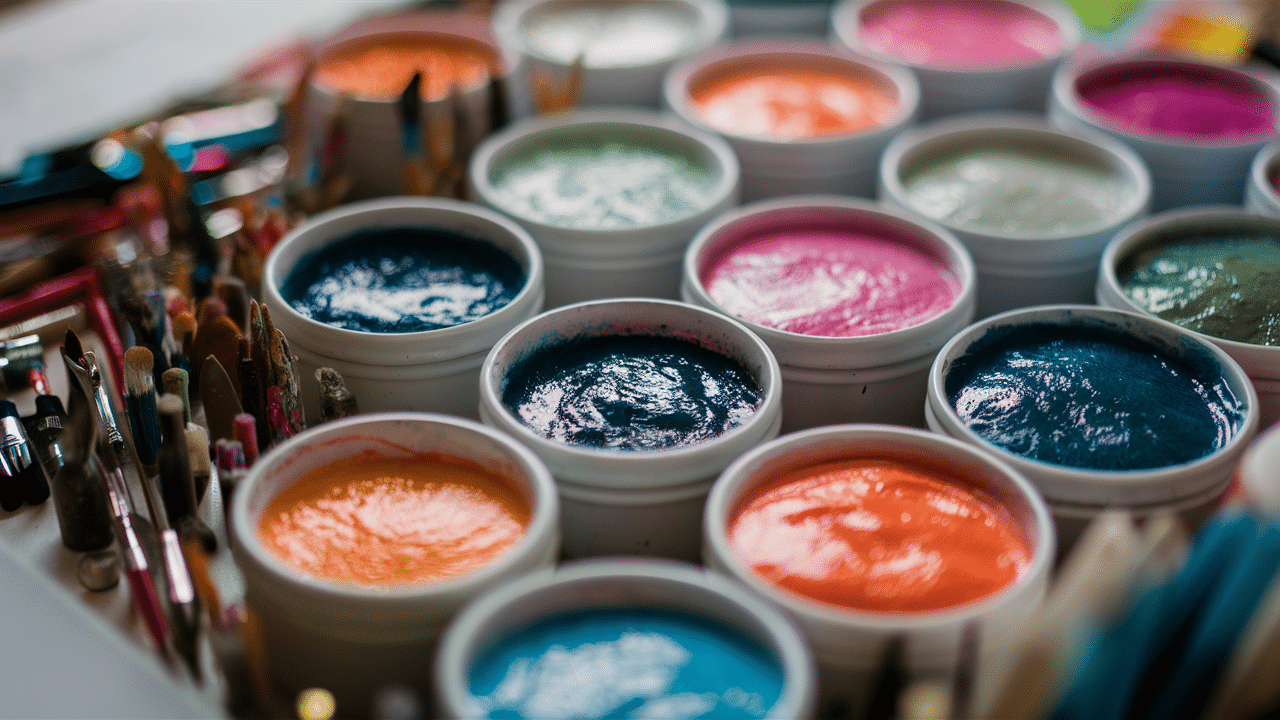
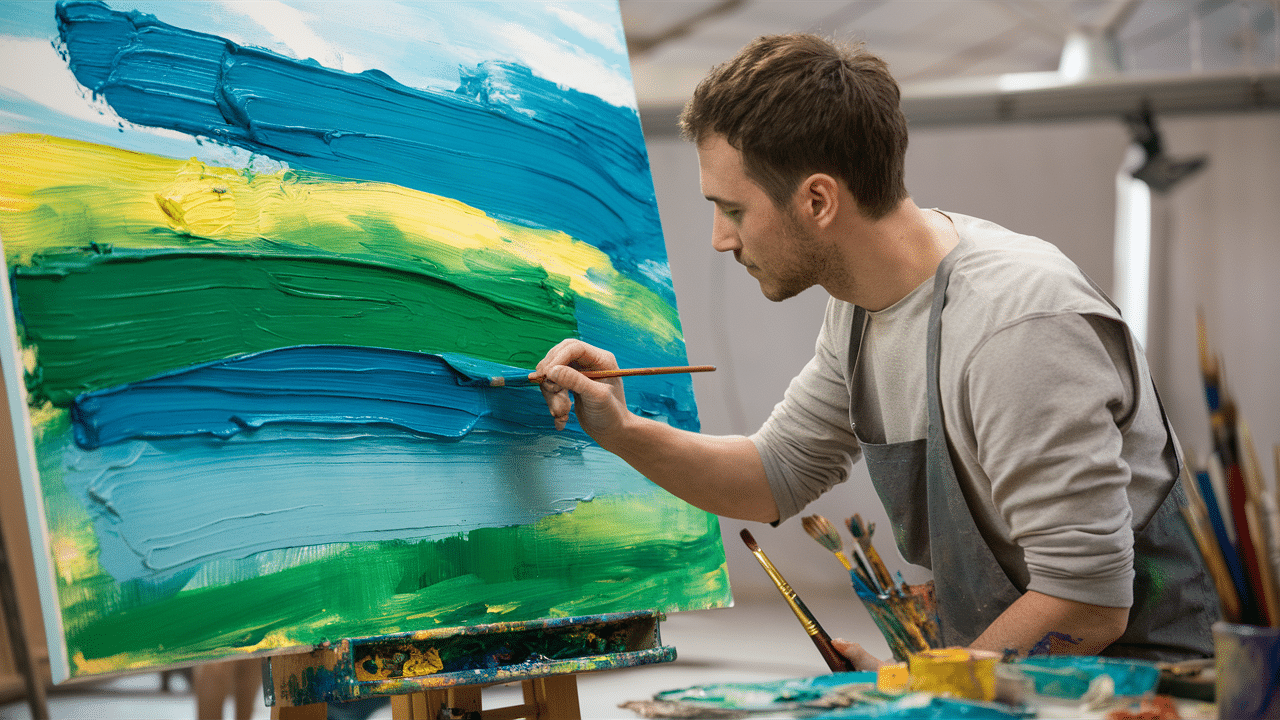
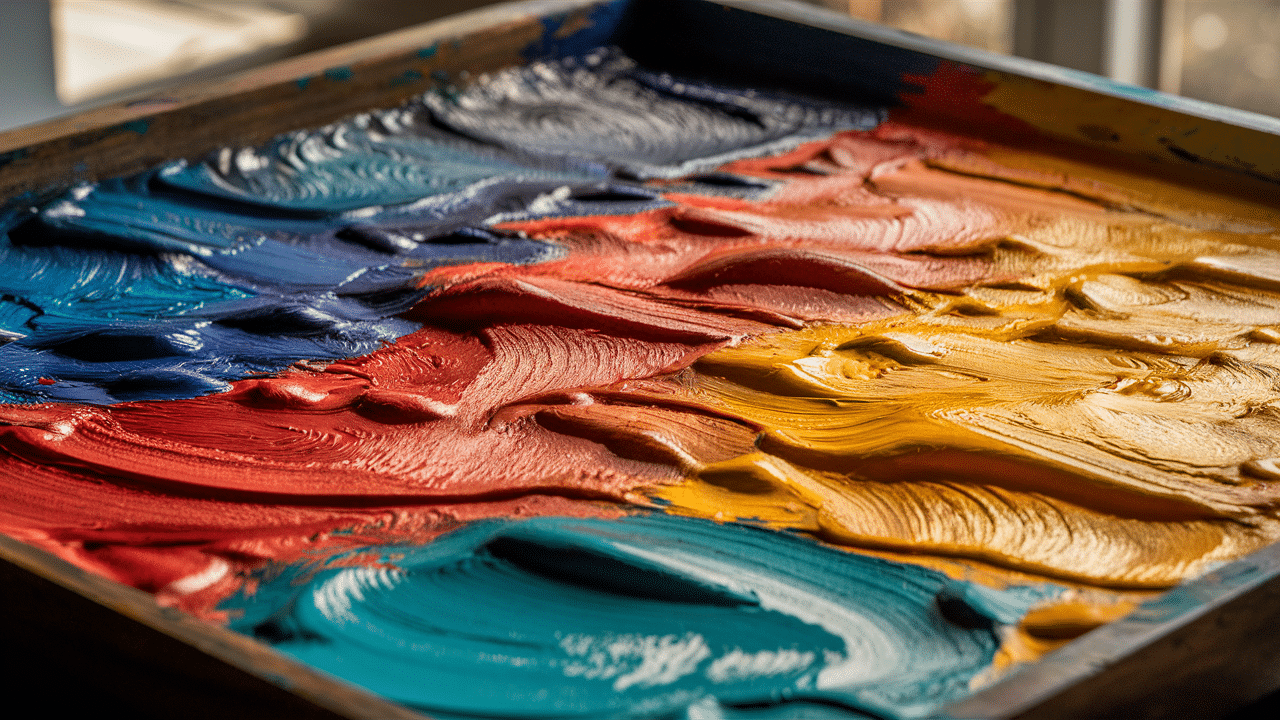
Step 4: Apply Paint
Adding color to your textured work brings it all to life! Grab those paints and decide how you want to approach it. Thick paint creates bold, dramatic effects that really stand out, while dry brushing (using just a touch of paint on your brush) is perfect for highlighting just the raised areas of your texture.
Don’t be afraid to get hands-on – sometimes, fingers or sponges give you better control for dabbing color onto textured parts. When layering, start with darker colors and work toward lighter ones – this creates natural depth and dimension.
Patience pays off here. To keep your colors crisp, let each layer dry completely before adding the next. Take breaks to step back and look at your work from a distance. This gives you a better perspective on how it’s all coming together.
Remember to trust the process! Sometimes, a piece looks awkward partway through, but as you continue adding color, it transforms into something amazing. What colors are you thinking of using for your project?
Step 5: Layer and Blend
Creating beautiful paint blends is all about patience and technique! Start with thin, light layers as your foundation before gradually building up to more intense colors. Using multiple colors creates that wonderful depth and dimension that makes artwork pop.
For smooth transitions, try blending edges with a clean brush or a slightly damp sponge. Waiting between layers is crucial—rushing often leads to muddy colors, while patience gives you the clean, vibrant results you’re looking for.
Experiment with different tools since each one creates its unique blending effect. The wet-into-wet technique gives you those soft, dreamy blends, while dry-on-dry creates more distinct, defined layers.
Remember to step back regularly to check your overall progress. It’s easy to get lost in details when you’re up close. Most importantly, trust your instincts! As you practice, you’ll develop your unique blending style that becomes your artistic signature.
What kind of project are you planning to use these blending techniques on?
Tips to Make Your Art Stand Out
Mix textures and colors rough against smooth, light against dark, to create contrast and make your work visually dynamic.
Take your time with each step, and don’t be afraid to experiment with unexpected tools or techniques that break traditional rules.
Start small: test ideas on a scrap before a big project
Mix textures: rough next to smooth makes each part pop
Don’t rush: let each layer dry before adding the next
Keep tools clean – dried paste on tools is hard to remove
Play with color: use light and dark shades to show depth
Create focal points: draw the eye to important areas with contrast
Use odd numbers: groups of 3 or 5 elements look more natural than even numbers
Try unexpected tools: household items can create unique patterns
Break the rules: sometimes the “wrong” technique creates the perfect effect
Step away: looking with fresh eyes helps you see what’s really working
Common Mistakes to Avoid
Rushing through drying times or using too much material in one application can ruin your artwork’s texture and appearance.
Mistake
Fix
Using too much water
Stick to thicker paints
Adding heavy items without strong glue
Use a stronger adhesive or lighter objects
Painting before the texture dries
Wait longer before painting
Overloading the canvas
Start simple, then add more if needed
Skipping the base layer
Always prep your surface
Conclusion
Creating textured art opens a world of possibilities. Through each step—preparing materials, building layers, adding texture, applying paint, and blending colors—you’ve learned techniques that bring dimension to your work.
Remember to start small, mix textures strategically, and give each layer proper drying time. Clean tools matter. Experiment with colors to create depth and interest.
Avoid common pitfalls like rushing or overworking your piece. Sometimes, the best effects come from unexpected techniques or “happy accidents.”
Your artistic voice emerges through practice and exploration. Each project teaches something new about materials and methods.
Trust your creative instincts. The techniques in this guide are just starting points—adapt them to fit your unique vision. The tactile joy of textured art awaits your personal touch.