
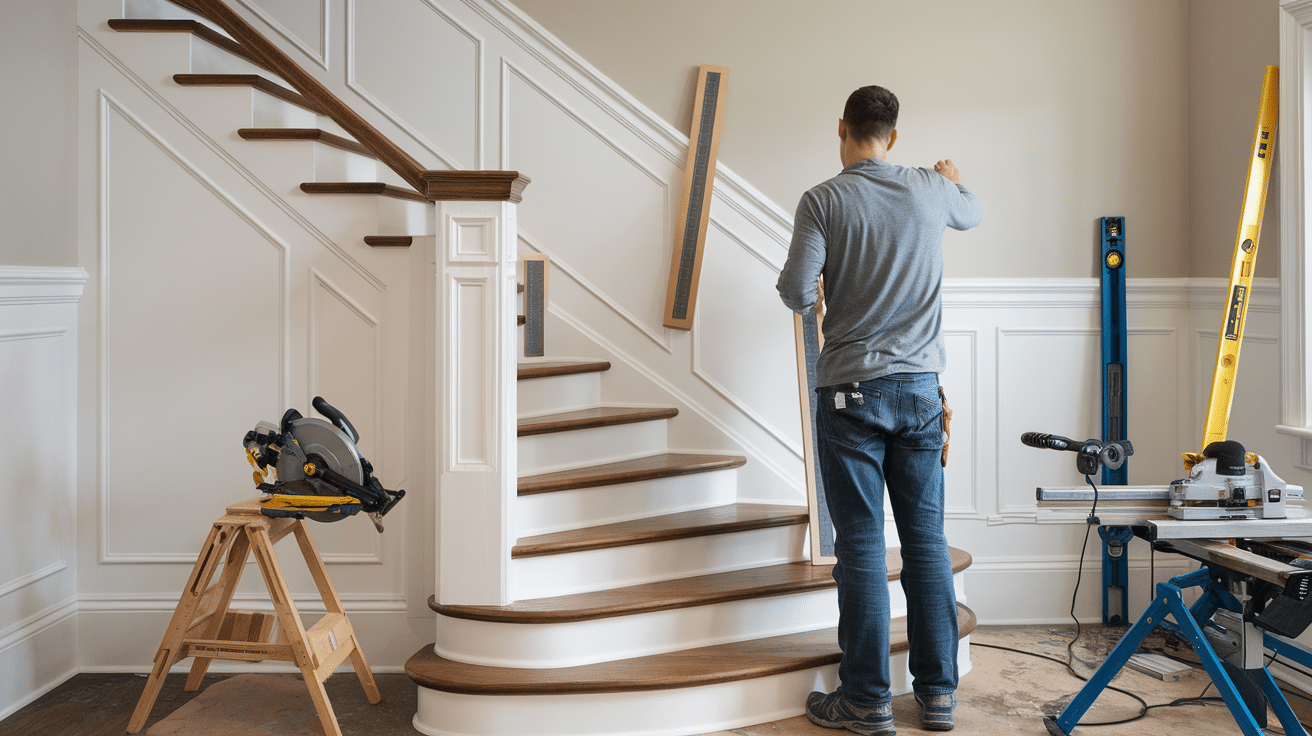
Tackling wainscoting on a staircase can make even experienced DIYers break into a cold sweat. Those tricky angles where panels meet the stairs seem designed to frustrate anyone with a saw and measuring tape.
In this guide, I’ll walk you through the entire process of installing staircase wainscoting—with special attention to those challenging angles. You’ll learn how to measure correctly, cut precisely, and install with confidence, even if you’ve never tackled wainscoting before.
I’ve been installing trim and wainscoting for over a decade, making every mistake possible so you don’t have to. The techniques I’m sharing have been refined through dozens of staircase projects in homes of all ages and styles.
Whether you’re hoping to add classic charm to your entryway or increase your home’s value before selling, this step-by-step guide will help you create professional-looking staircase wainscoting without frustration or costly errors.
What Is Angle Wainscoting?
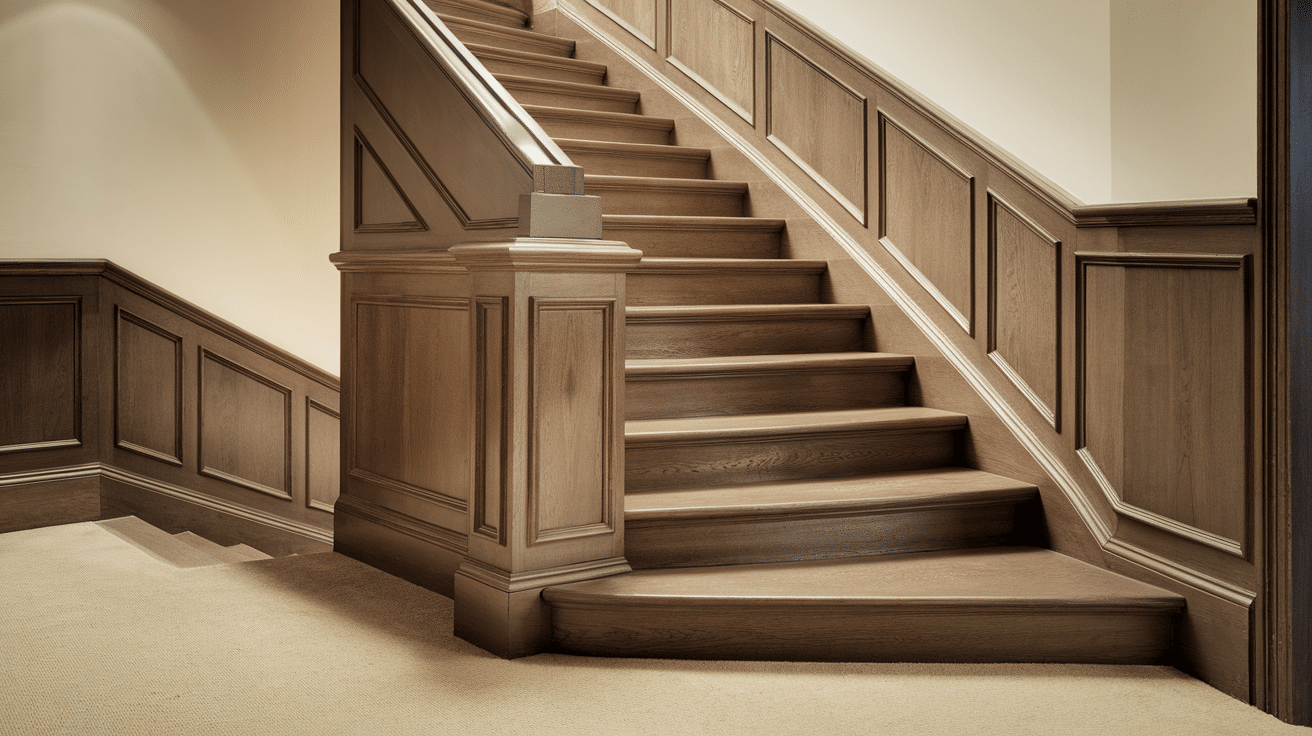
Angle wainscoting is a special type of wall paneling that follows the slope of your staircase. Unlike standard wainscoting on flat walls, it requires precise angle cuts to match the stair’s incline.
Think of it as a continuous band of decorative paneling that flows smoothly up your stairway wall. The magic happens when the horizontal lines of your panels perfectly match the angle of your stairs.
I’ve installed angle wainscoting in dozens of homes, and it always transforms an ordinary staircase into a standout feature.
How It Differs from Flat-Wall Wainscoting
Regular wainscoting is straightforward—everything stays level and square.
But on stairs:
- The top cap rail must be cut at precise angles to follow the slope
- Panel heights change as they progress up the stairs
- Corner joints meet at odd angles instead of 90 degrees
- Installation requires more complex measuring and cutting
This is why many DIYers avoid stair wainscoting, but with the right approach, you can handle it!
Where and Why It’s Used
Angle wainscoting serves multiple purposes in your home.
- Protection: Shields walls from scuffs and damage in high-traffic stairways
- Visual interest: It creates a flowing design element that draws the eye upward
- Architectural detail: Adds character and craftsmanship to newer homes
- Continuity: Connects design elements between different floors
- Value: Increases home value with a custom, high-end look
Angle wainscoting is most often found in entryways, main staircases, and homes with traditional or transitional styling. It works especially well in colonial, craftsman, and coastal-style homes.
The challenge is worth it—nothing else adds the same level of craftsmanship and charm to your stairway.
Types of Molding for Wainscoting
Choosing the right molding is crucial for your stair wainscoting project. Each type creates a different look and requires specific installation techniques.
1. Base Molding
- Sits at the bottom of your wainscoting panels
- Covers the gap between panels and floor/stair treads
- Usually 3-5 inches tall with decorative profiling
- Must be scribed to match stair treads and risers perfectly
Base molding anchors your entire wainscoting design. I recommend selecting a style that matches or complements any existing baseboards in your home.
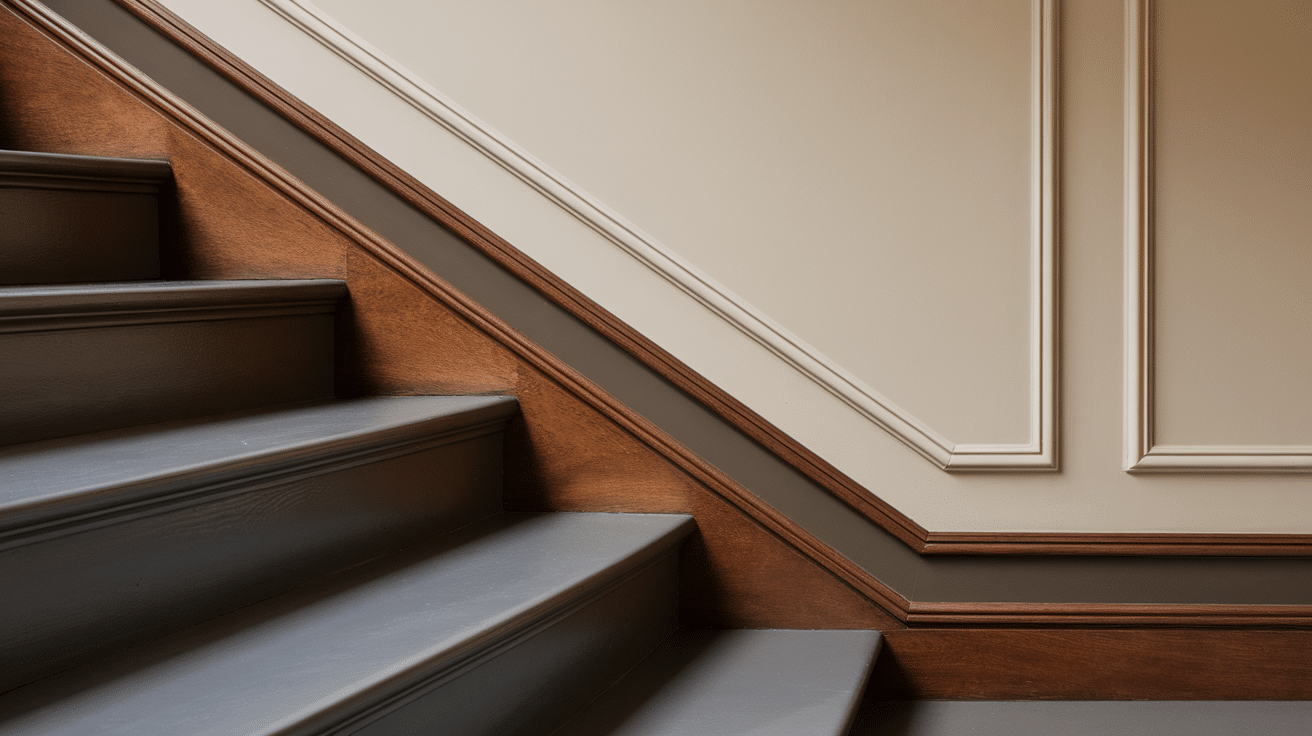
2. Chair Rail
- Runs along the top of your wainscoting panels
- Traditionally installed at “chair height” (32-36 inches from the floor)
- Must be ripped at the correct angle to follow your stair slope
- It comes in various profiles, from simple to ornate
The chair rail is highly visible and ties your whole design together. This is where the precision of your angle cuts will be most noticeable.
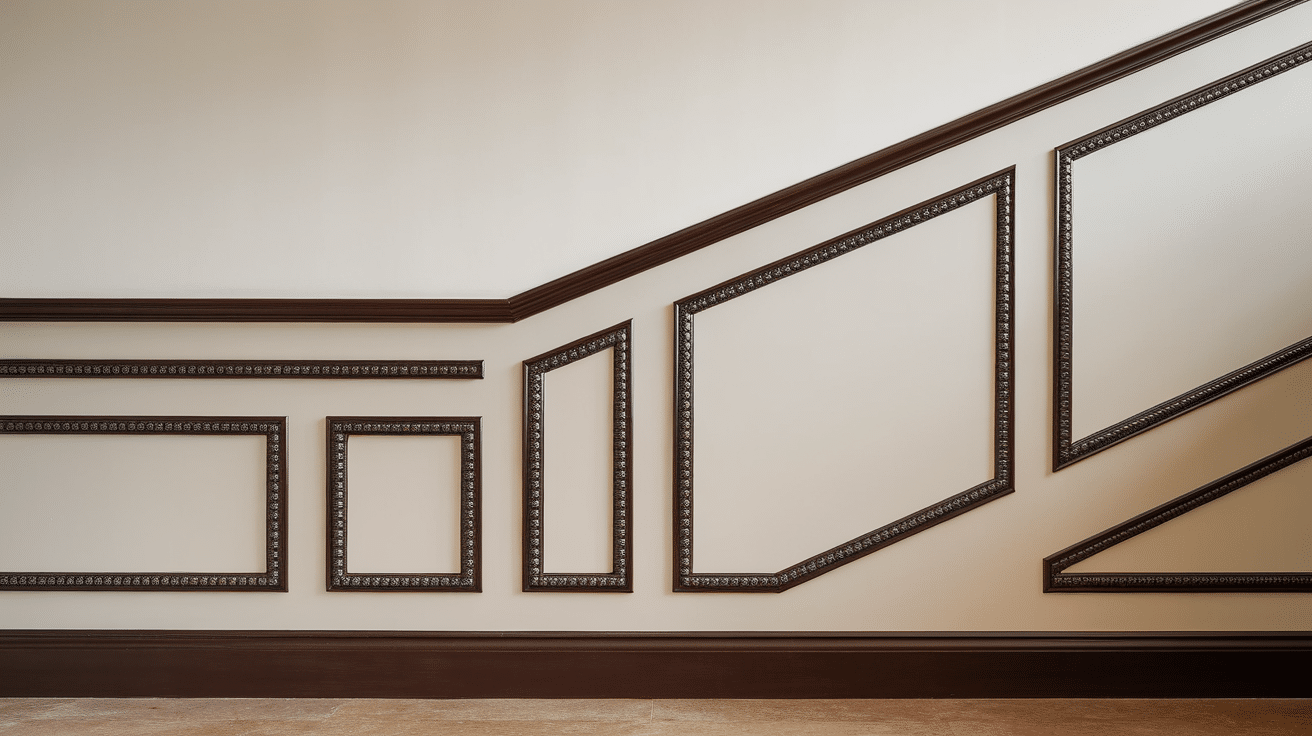
3. Panel Molding
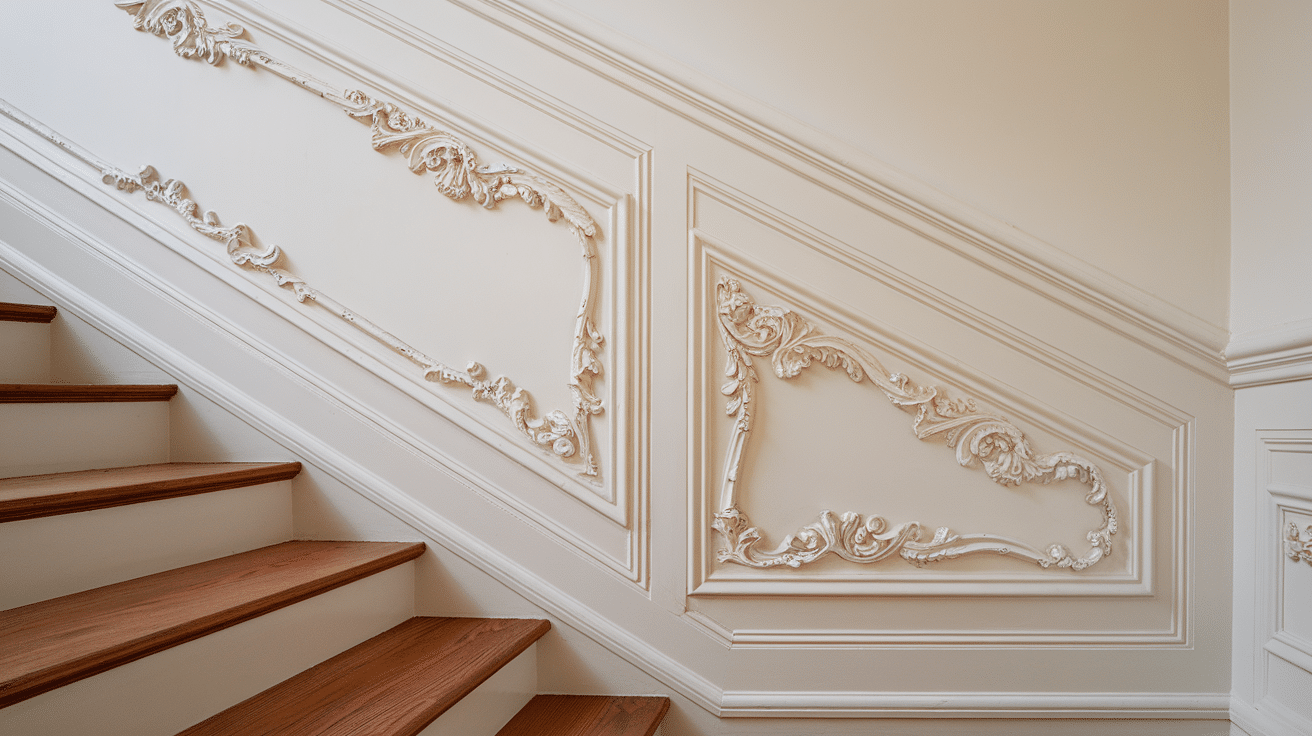
- Creates frames on the wall (applied directly or surrounding separate panels)
- Typically 1-2 inches wide with a simple profile
- Requires mitered corners at precise angles
- Available in wood or flexible polyurethane versions
Panel molding defines the character of your wainscoting. Flexible versions can be helpful on stairs to follow the incline without complex angle cuts.
4. Cap Molding
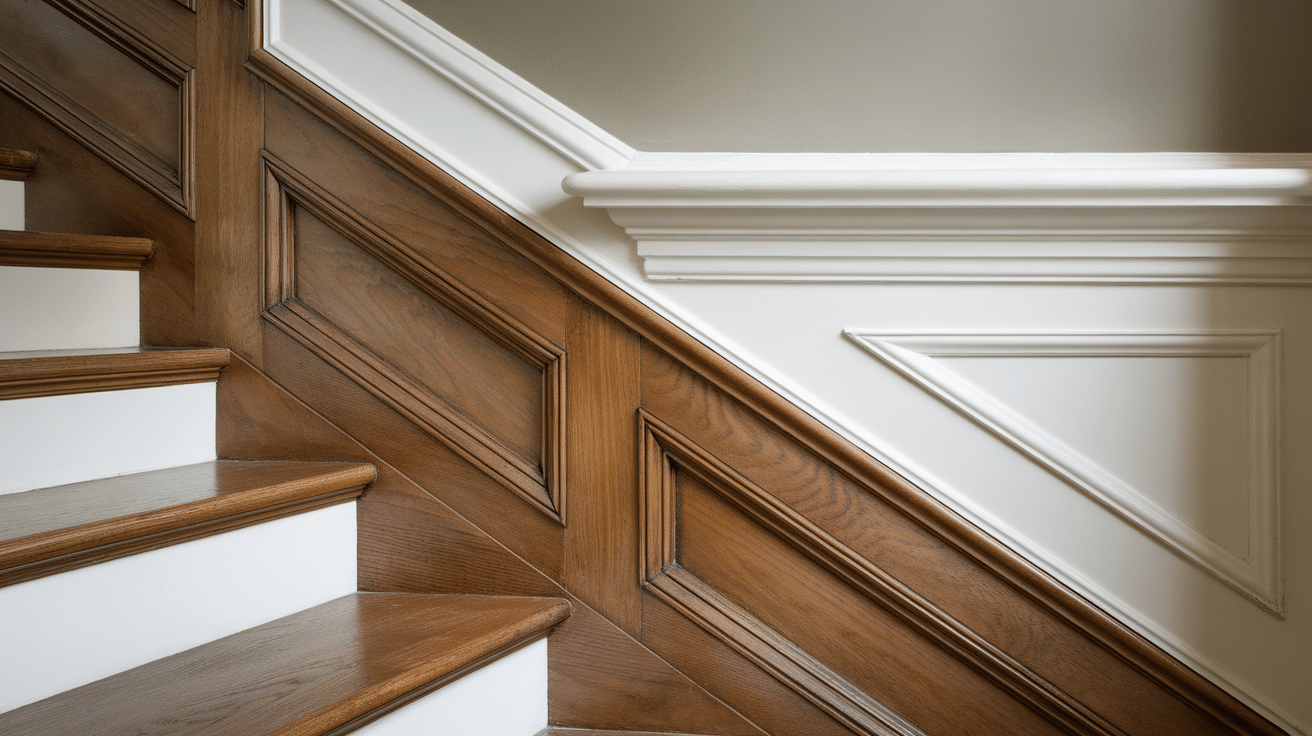
- Optional decorative piece that sits on top of the chair rail
- Adds more dimension and visual interest
- Creates a small shelf-like projection from the wall
- Requires careful measurement around corners and transitions
Consider your home’s style when selecting moldings. Colonial homes often feature more ornate profiles, while craftsman or modern homes look better with simpler, cleaner lines.
I often recommend starting with simpler profiles for stair wainscoting. They’re more forgiving when working with angles.
Supplies and Tools You’ll Need
Getting the right supplies and tools before starting will save you countless headaches during your stair wainscoting project. Here’s everything you should gather:
Supplies
- Wainscoting panels (MDF, plywood, or solid wood)
- molding
- Construction adhesive
- Finishing nails (1½” and 2″)
- Wood putty or filler
- Caulk (paintable, matching your paint color)
- Primer
- Paint
- Sandpaper (120, 180, and 220 grit)
- Painter’s tape
I always buy about 15% extra material for mistakes and waste, especially for a stair project where angles make cutting trickier.
Essential Tools
- Tape measure
- Stair angle finder/protractor
- Miter saw (ideally a compound miter saw)
- Table saw for ripping long angles
- Jigsaw for cutouts around outlets or vents
- Drill and bits
- Coping saw for inside corners
- Utility knife
The right tools make all the difference on angled wainscoting. If you don’t own a compound miter saw, consider renting one for this project—it’s worth every penny for making precise angle cuts.
Don’t forget safety equipment: eye protection, hearing protection, and a dust mask are necessary when cutting wood or MDF.
Planning and Measuring for Stair Wainscoting
Proper planning is the foundation of a successful stair wainscoting project. Taking time to measure carefully now prevents costly mistakes later.
1. How to Choose the Right Height
You have two main options for stair wainscoting height:
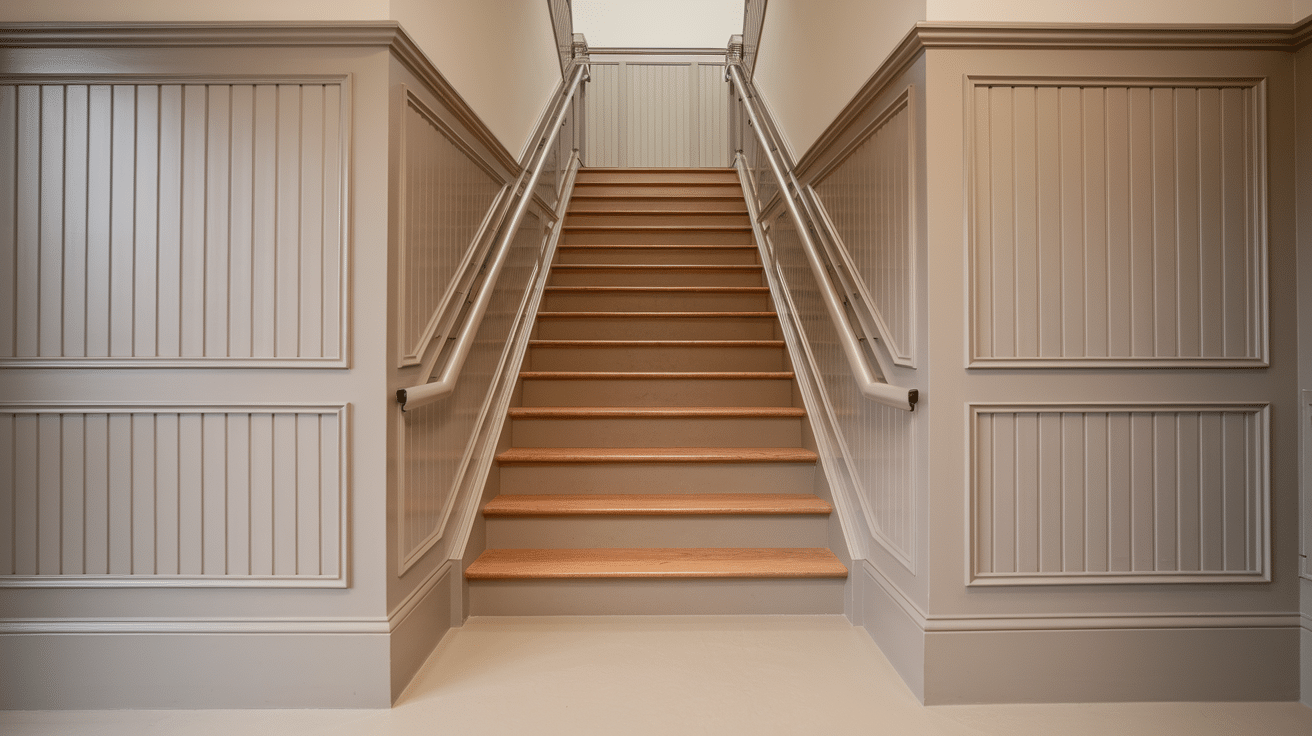
Parallel to stairs: The top rail follows the exact angle of your staircase. This creates a clean, continuous line that flows with the stairs and is easiest to install since all panels remain the same height. It works best in modern homes or with simpler designs.
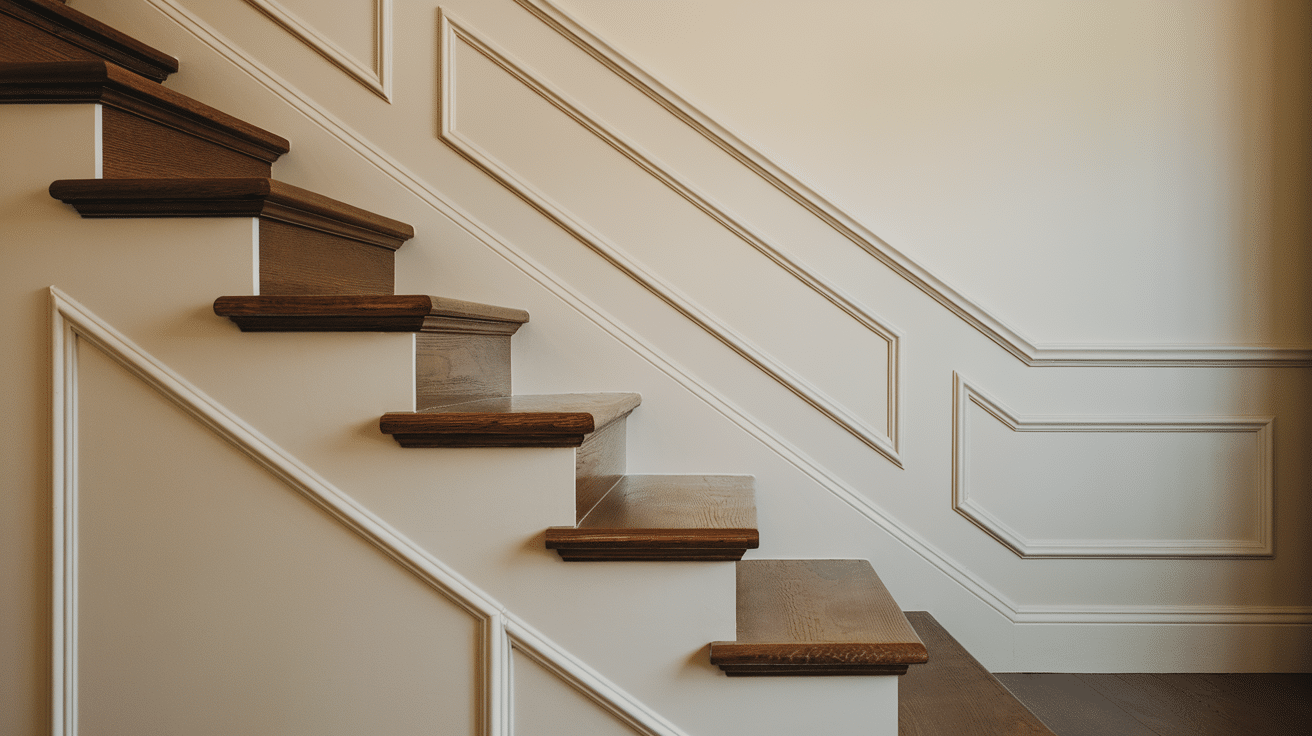
Stepped layout: The wainscoting maintains a consistent height from the floor. Panels step up as they follow each stair, creating a more traditional, formal look. It’s more challenging to install but very elegant when finished.
I typically recommend the parallel approach for first-time installers. It’s more forgiving and requires fewer complex cuts.
2. Tips for Spacing Panels Evenly Along Angled Walls
Getting even panel spacing on stairs can be tricky. Measure the total length of your stairway wall and decide on your desired panel width (usually 12-24 inches). Calculate how many panels will fit with equal spacing, then adjust panel width slightly for even distribution.
Remember that panels will appear shorter when viewed from below. Avoid having very narrow panels at the top or bottom of the stairs—they look like afterthoughts.
3. Using Painter’s Tape to Visualize Before Cutting
Before cutting any wood, apply painter’s tape to mark the top and bottom lines of your wainscoting. Add vertical tape lines to show panel divisions. Stand back and look from different angles, take photos, and review them. Make adjustments until the layout looks balanced.
This simple step has saved me from countless layout mistakes.
4. Marking Reference Lines for Accurate Layout
Once you’ve finalized your design, use a level to mark a horizontal reference line at the bottom of your stairs. Measure and mark your wainscoting height at this point. Use an angle finder to determine your stair slope (usually 30-38 degrees), then transfer this angle to mark the ascending reference line—Mark stud locations for secure attachment.
These reference lines will guide your entire installation and ensure everything lines up perfectly.
How to Cut and Install at Stair Angles
This is where most DIYers struggle, but with the right approach, you can master these tricky cuts.
1. Finding Your Stair Angle
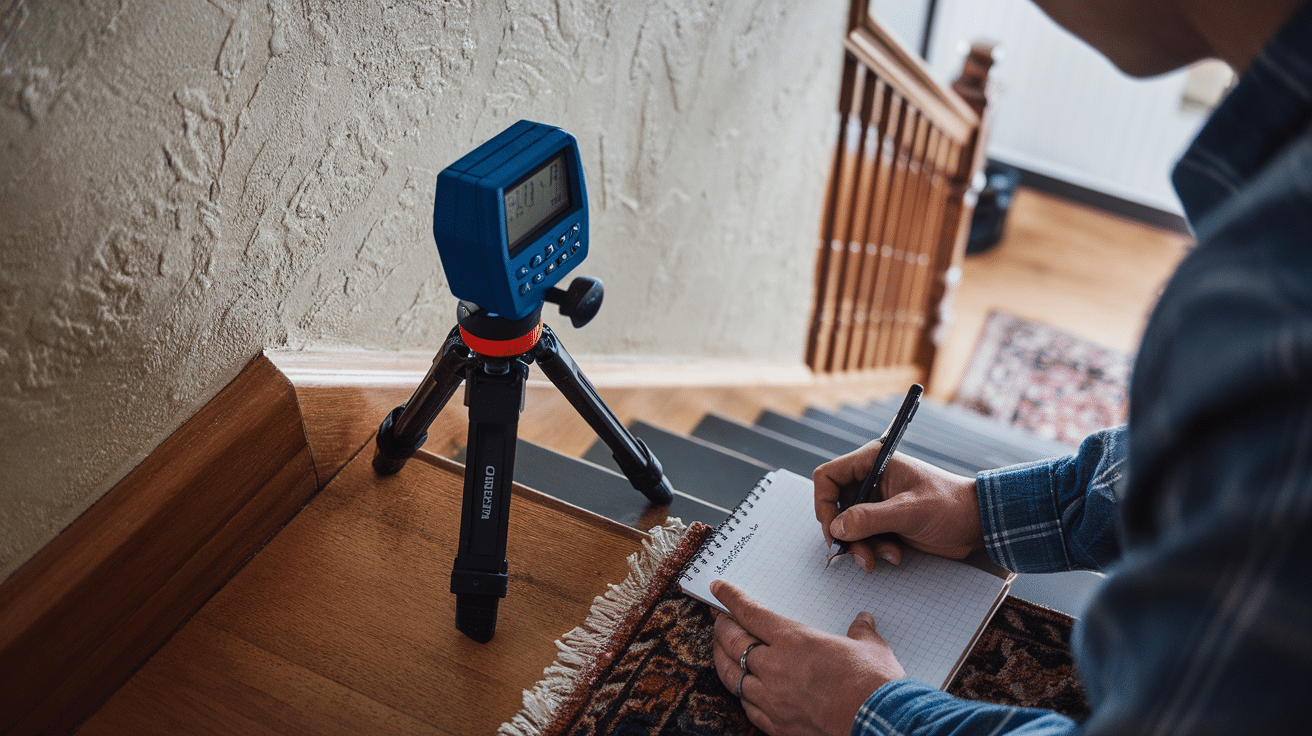
Start by measuring your exact stair angle. Place an angle finder along the stringer (the diagonal board supporting your stairs) or along your stair nosing. Most staircases fall between 30 and 38 degrees but never assume—always measure your specific stairs.
Please write down this angle and use it for all your cuts. The length of your staircase magnifies even small errors.
2. Cutting the Chair Rail
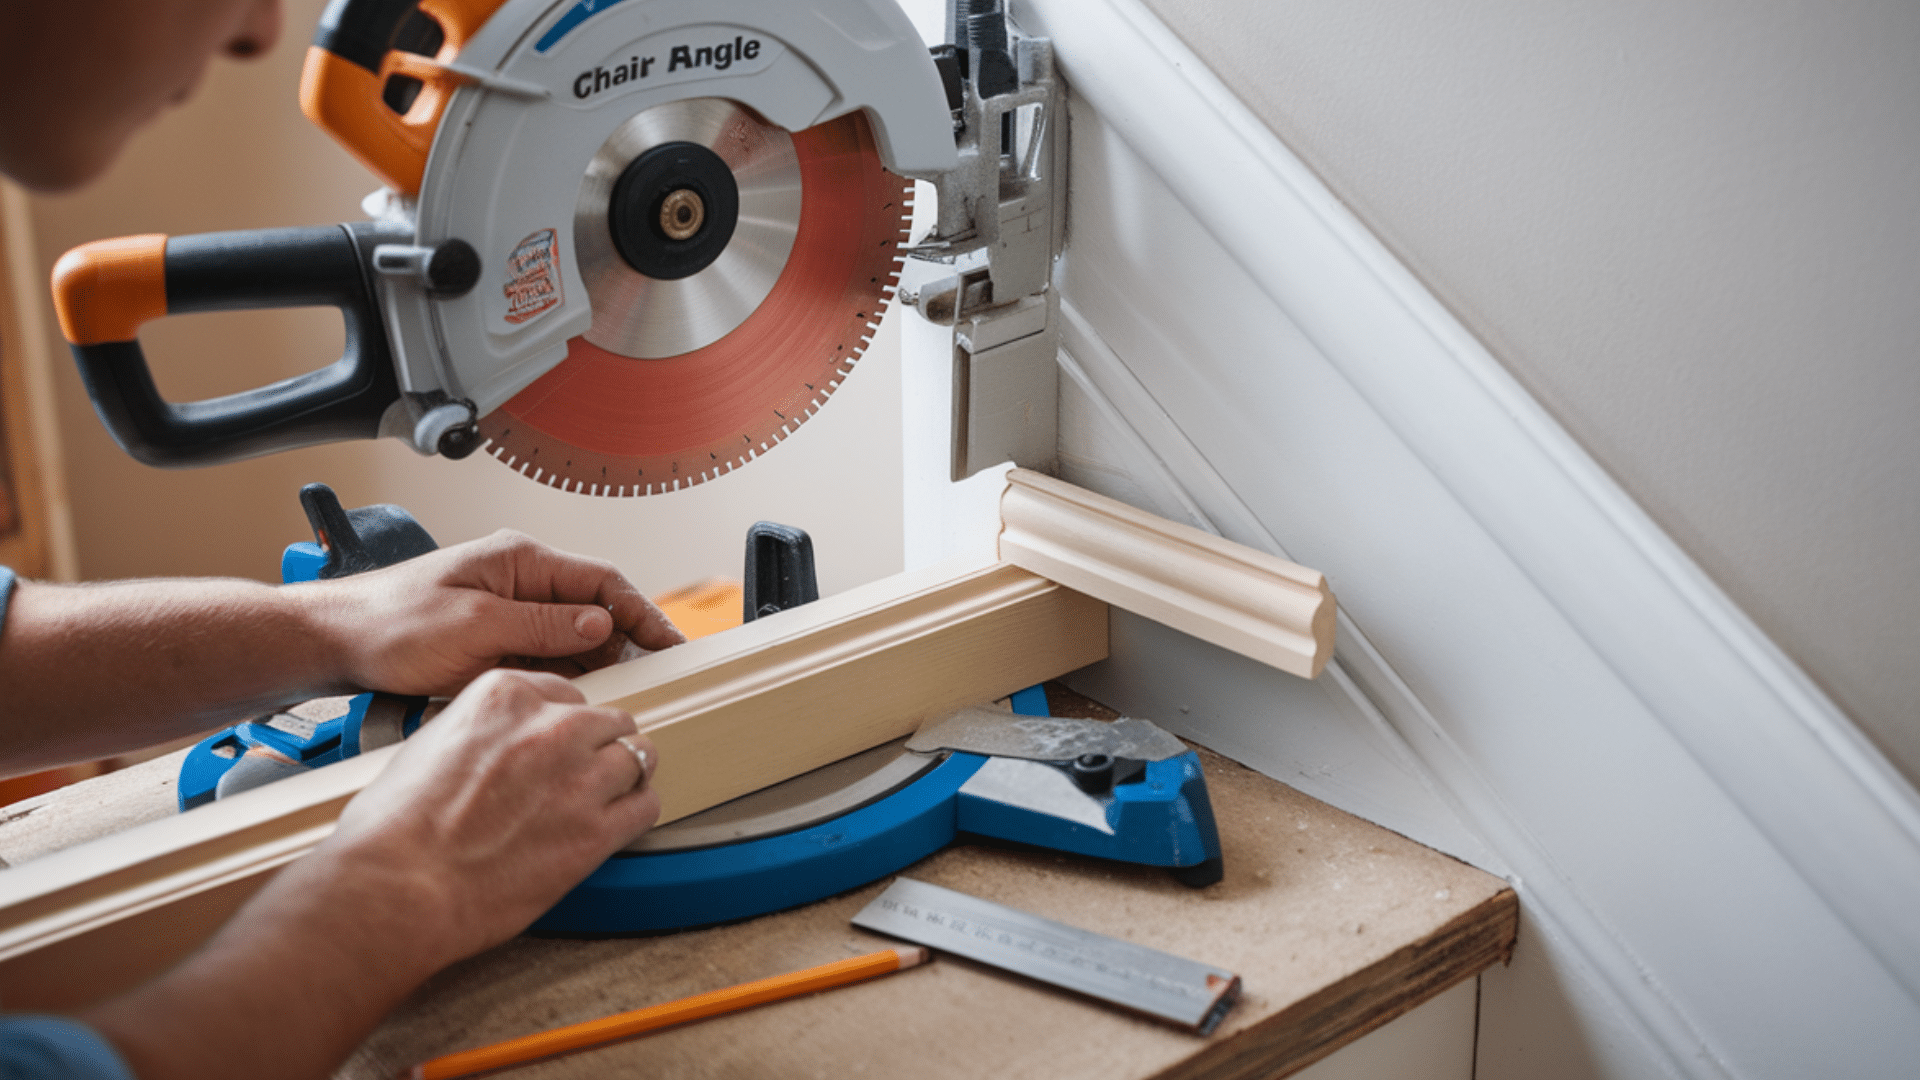
The chair rail requires the most precise angle cuts. Set your miter saw to the angle you measured and make a test cut on scrap wood first. Hold it in place on your stairs to verify the fit before cutting your actual materials.
For inside and outside corners where the stair rail meets level sections, you’ll need compound cuts that account for both the stair angle and the corner angle. Take your time with these critical transitions.
3. Panel Installation Techniques
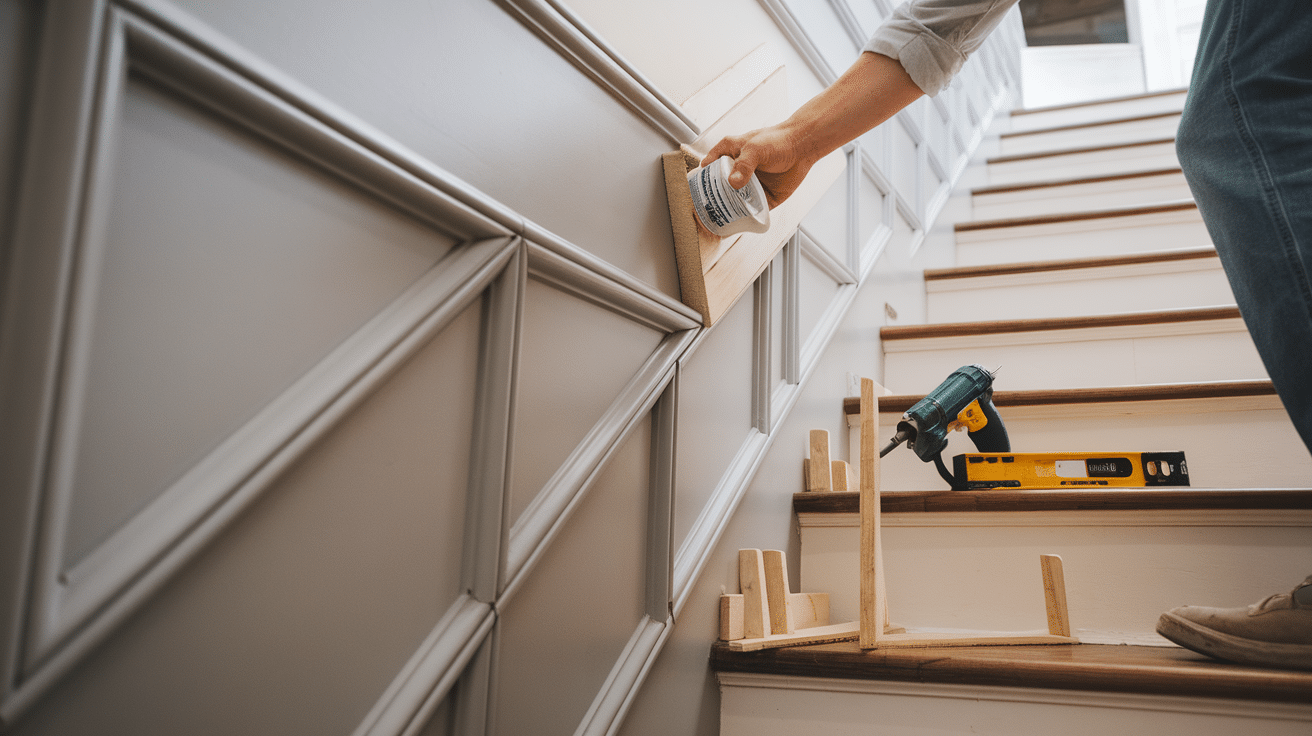
When installing panels on the angled section, keep them perpendicular to the floor, not the stairs. This looks more professional and makes the installation easier.
Apply construction adhesive to the back of each panel before nailing. This prevents squeaks and ensures panels stay firmly attached over time.
I always install from the bottom up, using temporary spacers to maintain consistent gaps between panels. This method helps prevent errors from accumulating as you work up the stairs.
4. Dealing with Transitions
The trickiest part is where angled wainscoting meets horizontal sections at the top and bottom of the stairs. First, make these transition cuts on scrap wood until you perfect them.
For a seamless look, consider gradual transition pieces rather than abrupt angles. This creates a more elegant flow as your wainscoting changes direction.
Take frequent breaks to step back and view your progress from different angles. This helps catch alignment issues before they become permanent problems.
Painting and Decoration
The finishing touches transform your stair wainscoting from a carpentry project into a striking design feature. This final stage requires patience and attention to detail.
Preparation Is Essential
Before painting, fill all nail holes with wood putty and sand them smooth once dry. Caulk every seam where the molding meets the wall or where pieces join together. This creates a seamless, professional look that hides minor imperfections in your cuts.
Sand all surfaces lightly with 220-grit sandpaper to ensure the paint adheres properly. Wipe everything down with a tack cloth to remove dust.
Priming Techniques
Always use a high-quality primer designed for woodwork. For the best results on wainscoting, I recommend an oil-based primer. It seals the wood better and provides a superior base for your topcoat.
Apply primer with a brush for moldings and a small roller for flat panels. Work methodically from top to bottom to avoid drips. Allow the primer to dry completely – rushing this step leads to finishing problems later.
Application Tips
Use high-quality paint brushes and rollers designed for smooth finishes. For the smoothest result, apply at least two coats of paint, sanding lightly between coats.
When painting the wall above, use painter’s tape on the dry-painted wainscoting for crisp lines where it meets the wall color.
The stairway lighting will highlight your wainscoting, so examine the painted surface at different times of day to ensure you’ve achieved even coverage with no missed spots.
When everything is complete, your stair wainscoting will be both a beautiful design element and a durable surface that handles the high traffic of your stairway for years to come.
What Else Can You Use for Stair Wainscoting?
Beyond traditional wood paneling, several alternative materials work beautifully for stair wainscoting. These options can match different home styles and budgets.
1. Beadboard Panels
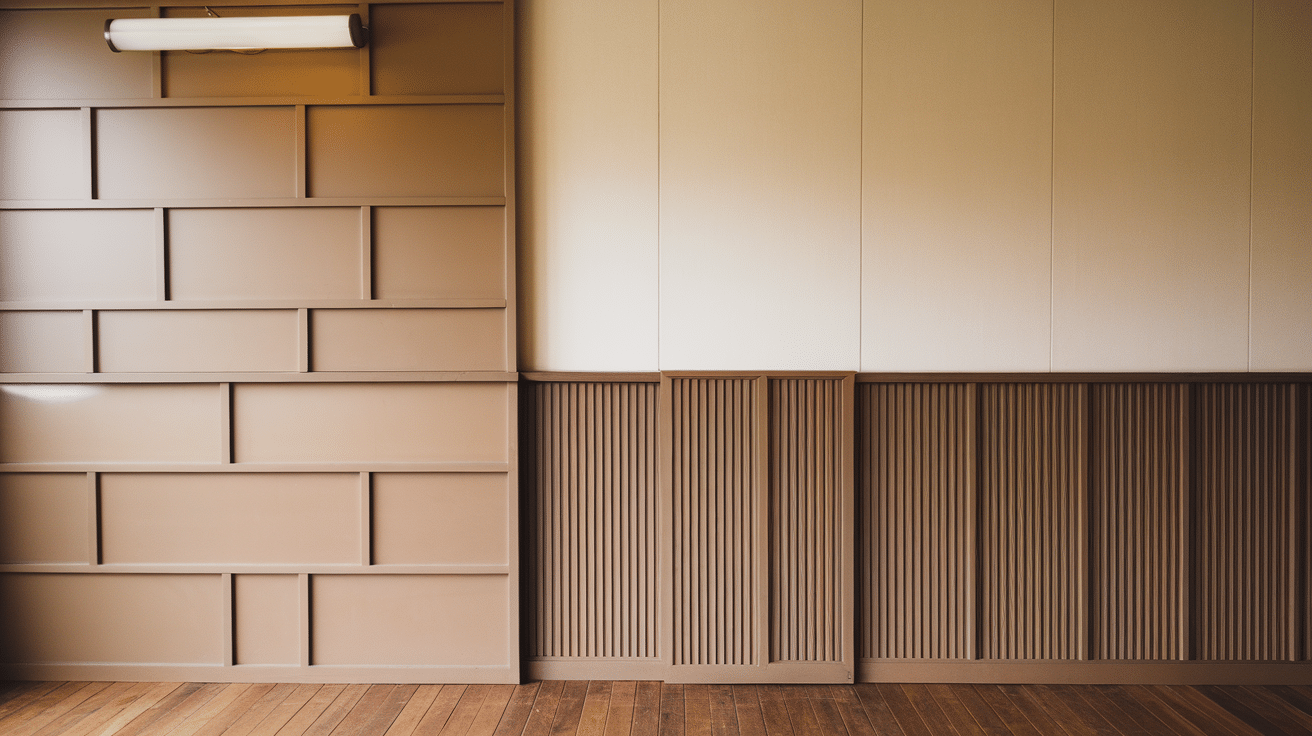
With its distinctive vertical grooves, beadboard creates a casual, cottage-style look. It comes in large sheets that can be cut to follow your stair angle. The uniform pattern helps disguise minor imperfections in your cuts. Beadboard is more forgiving than formal panel wainscoting and adds wonderful texture to a stairway.
2. Shiplap
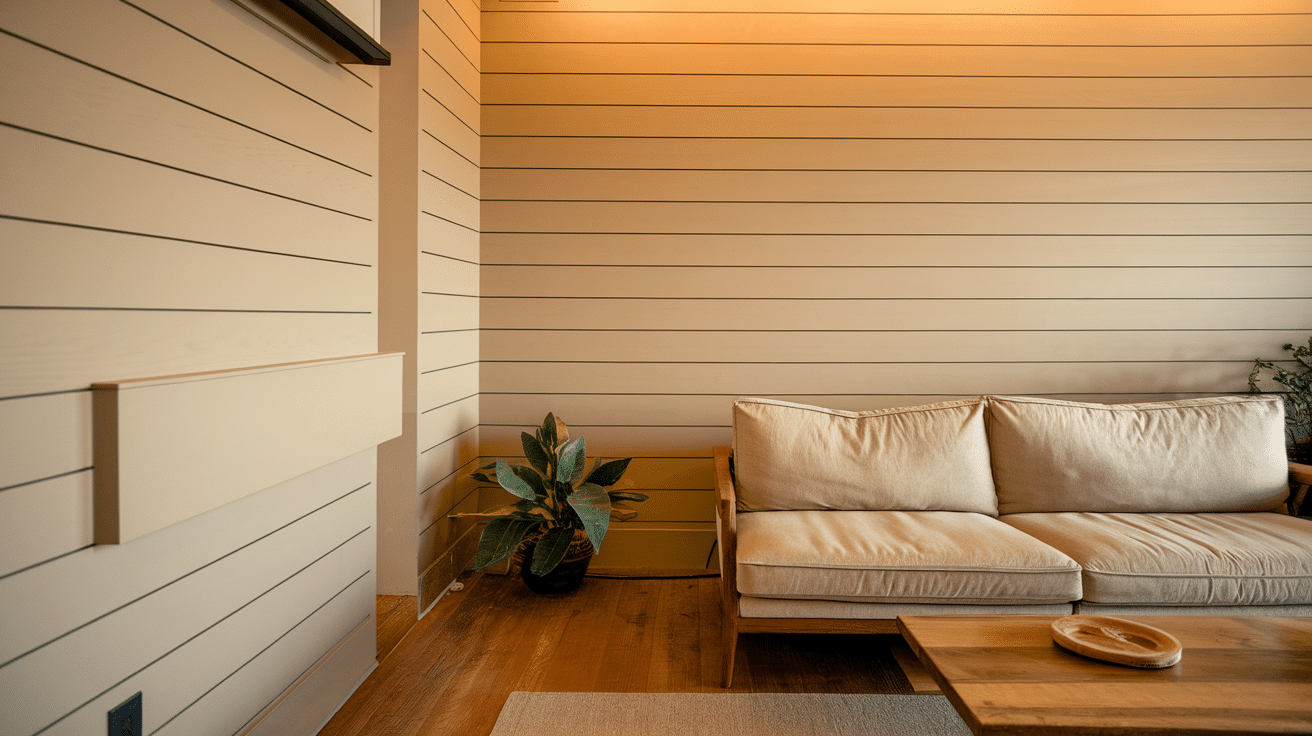
Shiplap has become incredibly popular for its modern-rustic appeal. The horizontal boards create strong lines that contrast with the diagonal of your stairs. The boards can either follow the stair angle or remain horizontal with staggered ends. Both approaches create interesting visual effects.
3. Tongue and Groove Boards
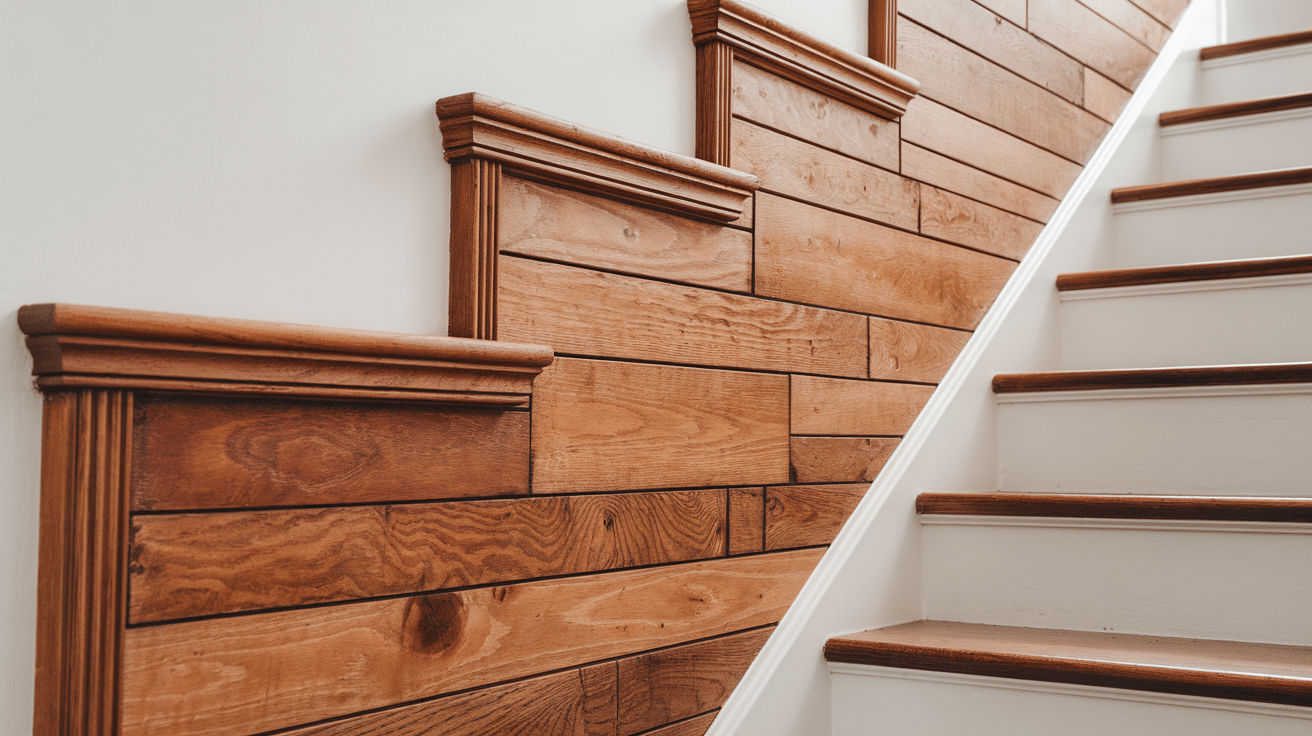
These boards interlock for a secure fit. They come in various widths. They can be installed vertically or horizontally. The interlocking nature helps ensure straight, even installation on angled walls.
4. Board and Batten
This style uses flat boards with vertical battens applied over the seams. It creates a craftsman or farmhouse look. The simplicity makes it easier to adapt to stair angles. It’s ideal for DIYers with basic skills.
5. PVC or Composite Materials
These are good for moisture-prone areas. They resist dents and stains. They stand up to damage from children and pets. They may cost more initially. Their durability makes them worthwhile for high-traffic stairways.
Each alternative brings its own character to your stairway. Choose what complements your home’s architecture and your style
Common Mistakes to Avoid
Even professional carpenters make errors when installing stair wainscoting. Here are the pitfalls to watch for during your project.
1. Not Measuring the Actual Stair Angle
Never assume all stairs have the same angle. Each staircase is slightly different. Measure your specific stair angle before making any cuts. Even a one-degree difference will cause visible gaps in your installation.
2. Rushing the Layout Planning
Many DIYers jump straight to cutting without proper planning. Take time to map out your panel spacing first. Use painter’s tape to visualize the layout. Ensure panels are evenly spaced with no awkward narrow sections.
3. Forgetting about level changes
The transition from angled stairs to level landings creates tricky joints. Plan these transitions carefully. Make templates from cardboard first. Test-fit everything before making final cuts on expensive materials.
4.. Installing from Top to Bottom
Always work from bottom to top when installing stair wainscoting. This approach prevents errors from accumulating. It allows you to establish a level baseline and maintain consistent measurements.
5. Skipping the Prep Work for Painting
Don’t rush to paint without proper preparation. Fill all nail holes completely. Sand all surfaces thoroughly. Caulk every seam and joint. Prime everything properly. These steps ensure a professional-looking finish.
Conclusion
Stair wainscoting transforms an ordinary staircase into a standout feature of your home. Though the angled installation presents challenges, careful planning makes this project accessible to dedicated DIYers.
Measure your specific stair angle precisely, plan your layout thoroughly, and work methodically from bottom to top. Choose materials that complement your home’s style while considering your skill level.
Quality preparation—filling holes, sanding surfaces, and caulking seams—leads to professional results that last for years. The effort pays off not just in aesthetics but in added home value.
Stair wainscoting adds architectural interest to an often overlooked space while protecting walls from damage in high-traffic areas. Whether you choose traditional panels, casual beadboard, or trendy shiplap, your attention to those tricky angles will create a custom feature that impresses guests and satisfies you every day.
Frequently Asked Questions
How Much Does Stair Wainscoting Typically Cost?
Materials for DIY stair wainscoting generally range from $200-$600, depending on your chosen materials and the size of your staircase. Professional installation can add $500-$1,500 to this cost.
How Long Does It Take to Install Stair Wainscoting?
For an average DIYer, expect to spend one weekend measuring and cutting materials and another weekend installing and painting. More complex designs or larger staircases may take longer.
Can I Install Wainscoting on Curved Stairs?
Yes, but it’s significantly more challenging. Flexible materials like bendable MDF or beadboard are better options for curved stairs. Consider hiring a professional for complex curved installations.
Should Stair Wainscoting Match the Rest of My Home’s Trim?
Ideally yes. For a cohesive look, use the same style and color as your existing trim. This creates visual flow throughout your home and prevents the stairway from feeling disconnected.
What’s the Ideal Height for Stair Wainscoting?
Most stair wainscoting ranges from 32-36 inches high, measured perpendicular to the stair treads. However, the right height depends on your home’s style and ceiling height.