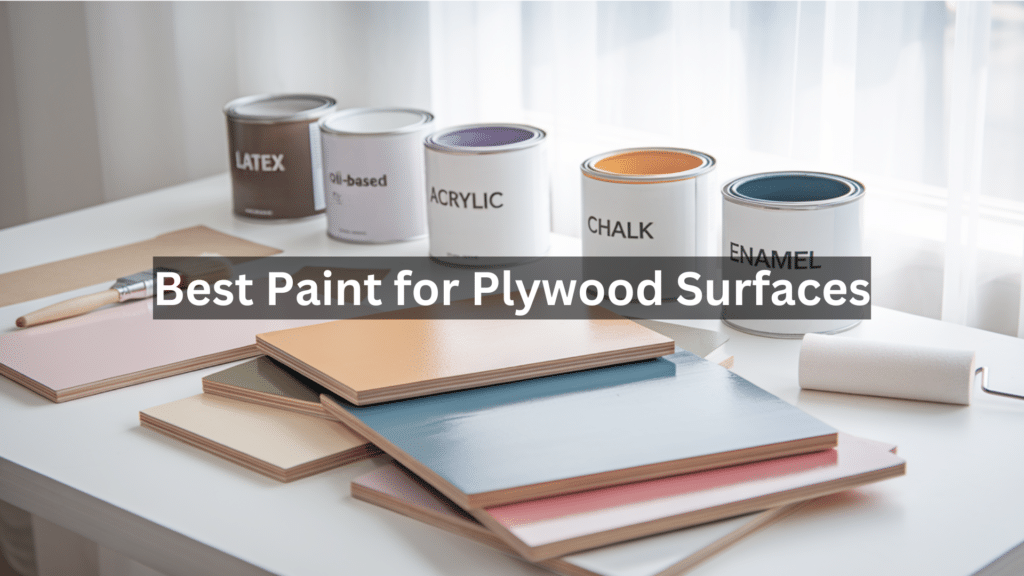
Are you staring at a plywood project and wondering what paint to use? I’ve been there too.
In this guide, I’ll explain everything you need to know about painting plywood surfaces, from preparation to finishing touches. You’ll also find specific paint recommendations for furniture, walls, floors, and outdoor projects.
I’ve spent years working with plywood and testing different paints, so I know what works and what doesn’t. If you’re a DIY beginner or an experienced woodworker, I’ll help you avoid common mistakes that waste time and money.
By the end of this article, you’ll know:
- Which types of paint work best on plywood
- How to prep your surface properly
- Step-by-step painting techniques
- How to maintain your painted plywood
Let’s turn that plain plywood into something beautiful.
What to Know Before Choosing the Best Paint for Plywood?
Before you buy any paint, understand what you’re working with. Plywood has layers that can affect how paint sticks to it.
Let’s see what I’ve learned:
- Wood grade matters – higher-grade plywood has fewer voids and takes paint better
- Moisture content affects paint adhesion – dry plywood works best
- Surface texture impacts the final look – sanded plywood needs less primer
- Indoor vs. outdoor use requires different paint types
- Project purpose determines durability needs
The biggest mistake I made when starting out was ignoring these basics and rushing to paint. For better results, take time to check your plywood type first.
Best Paint for Plywood
When painting plywood, choosing the right paint is crucial for durability and appearance. These are the best options for different applications:
Benjamin Moore Regal Select
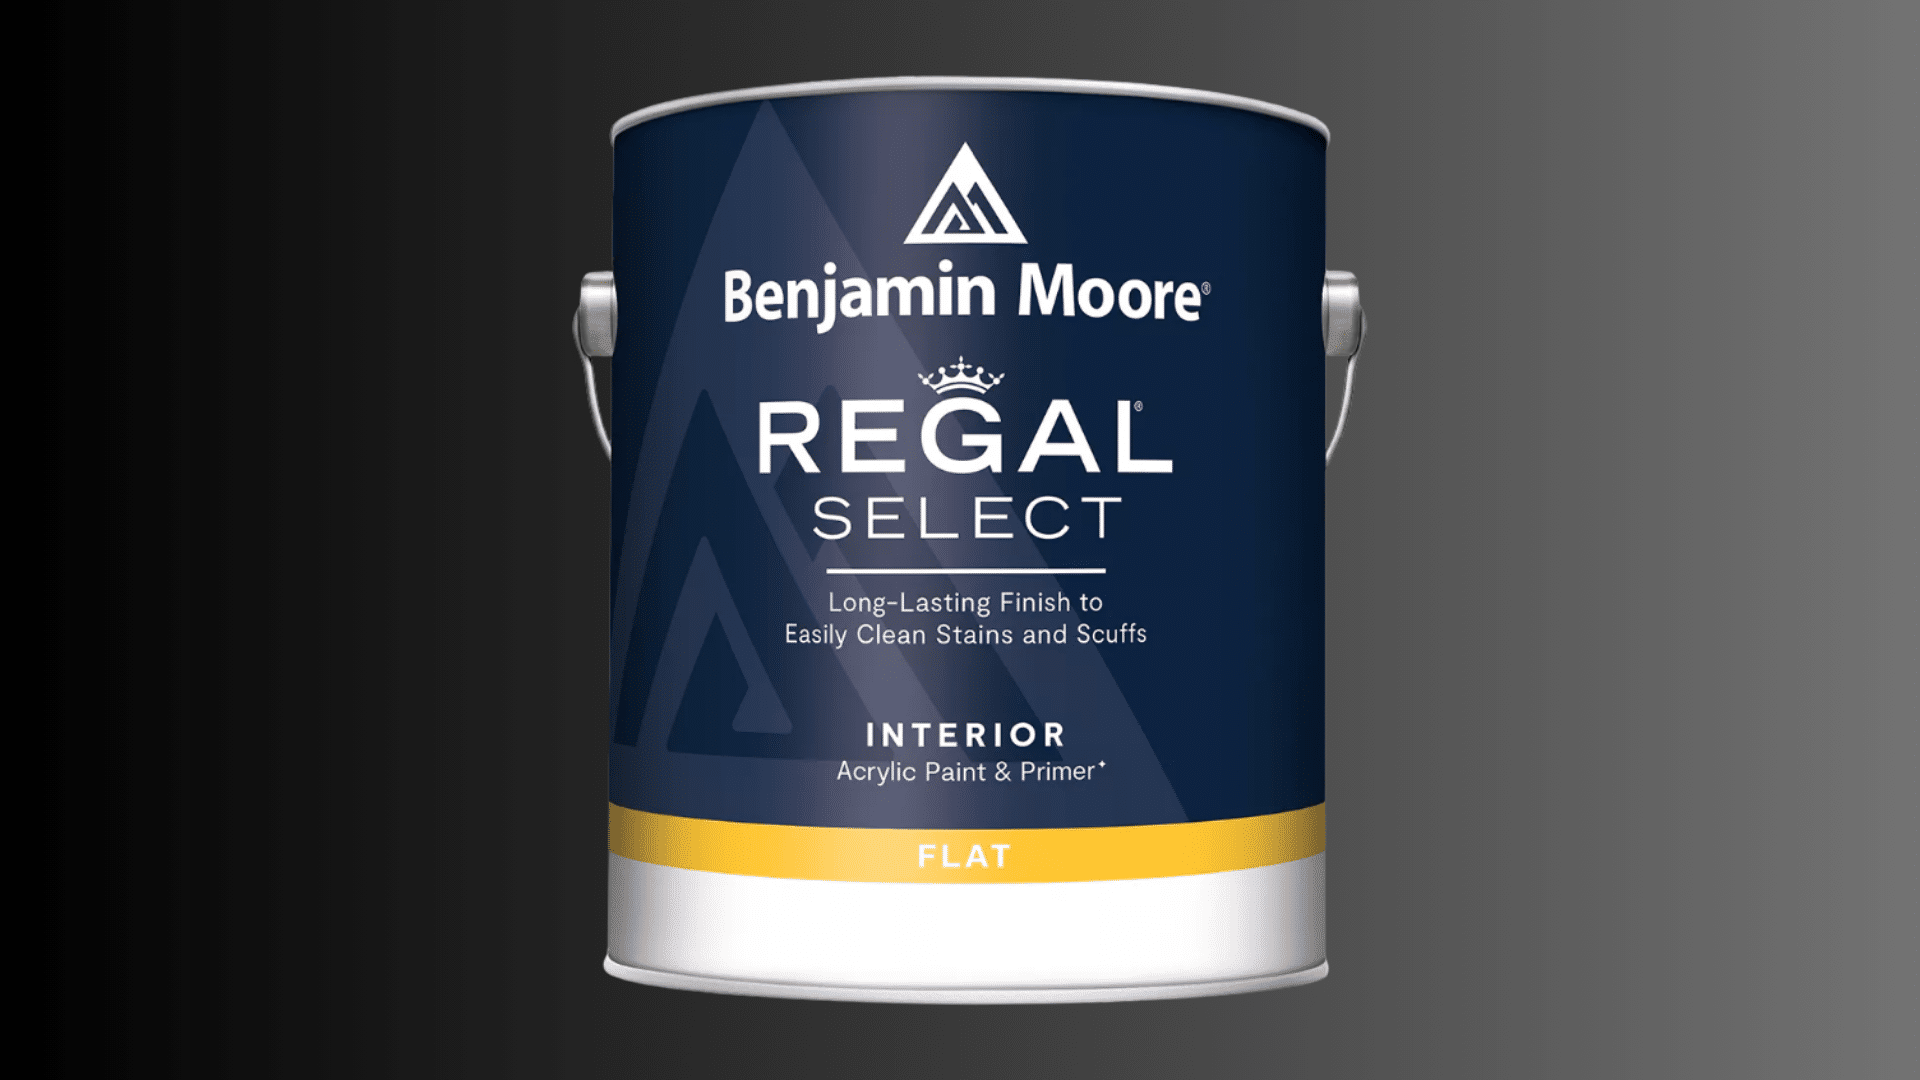
This premium paint offers excellent coverage on plywood surfaces. I’ve used it on multiple cabinet projects with great results.
It self-levels nicely, reducing brush marks, and cures to a hard, washable finish. While it costs more than budget options, you’ll use less paint overall and save time with fewer coats.
Sherwin-Williams ProClassic
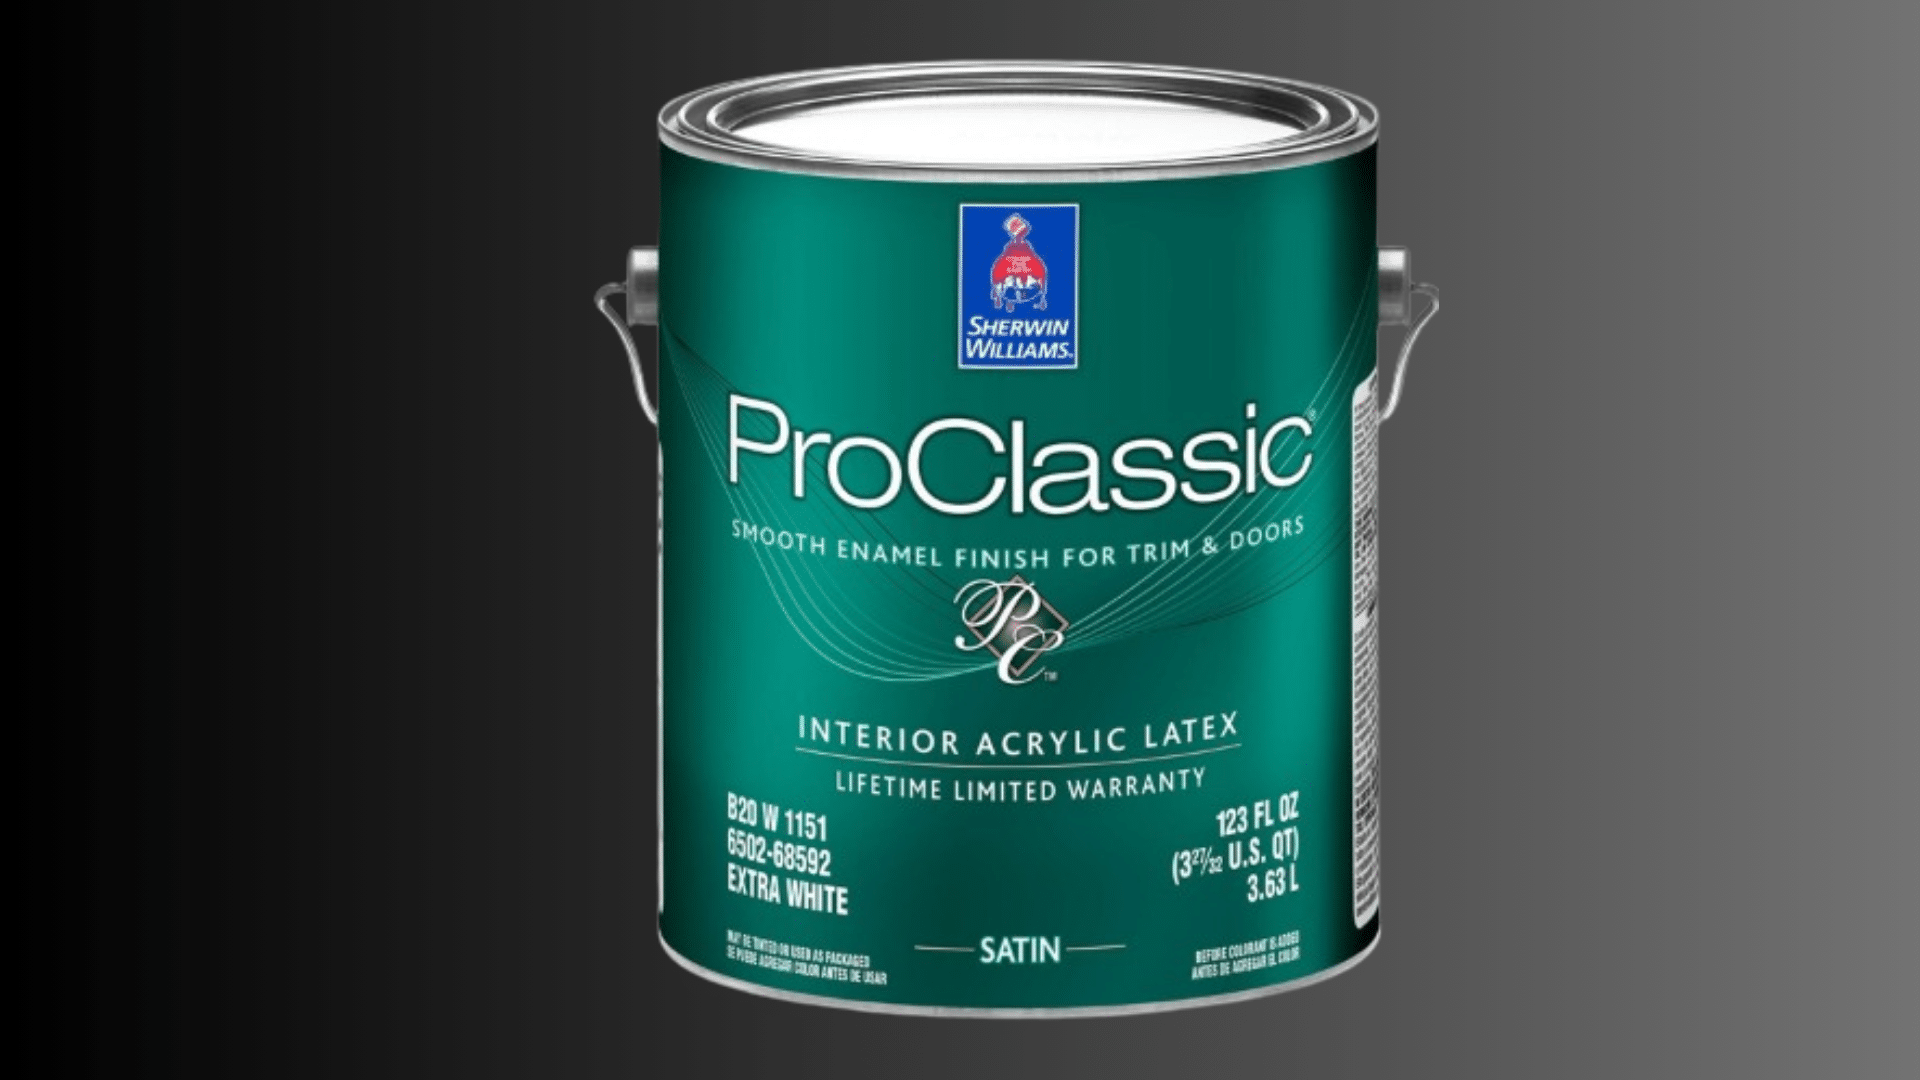
When I need a paint that stands up to heavy use, ProClassic is my go-to. It bonds strongly to properly primed plywood and resists chipping.
The acrylic-alkyd formula combines the best of water-based and oil-based paints. I especially like it for shelving and furniture that gets daily use.
KILZ Original Primer
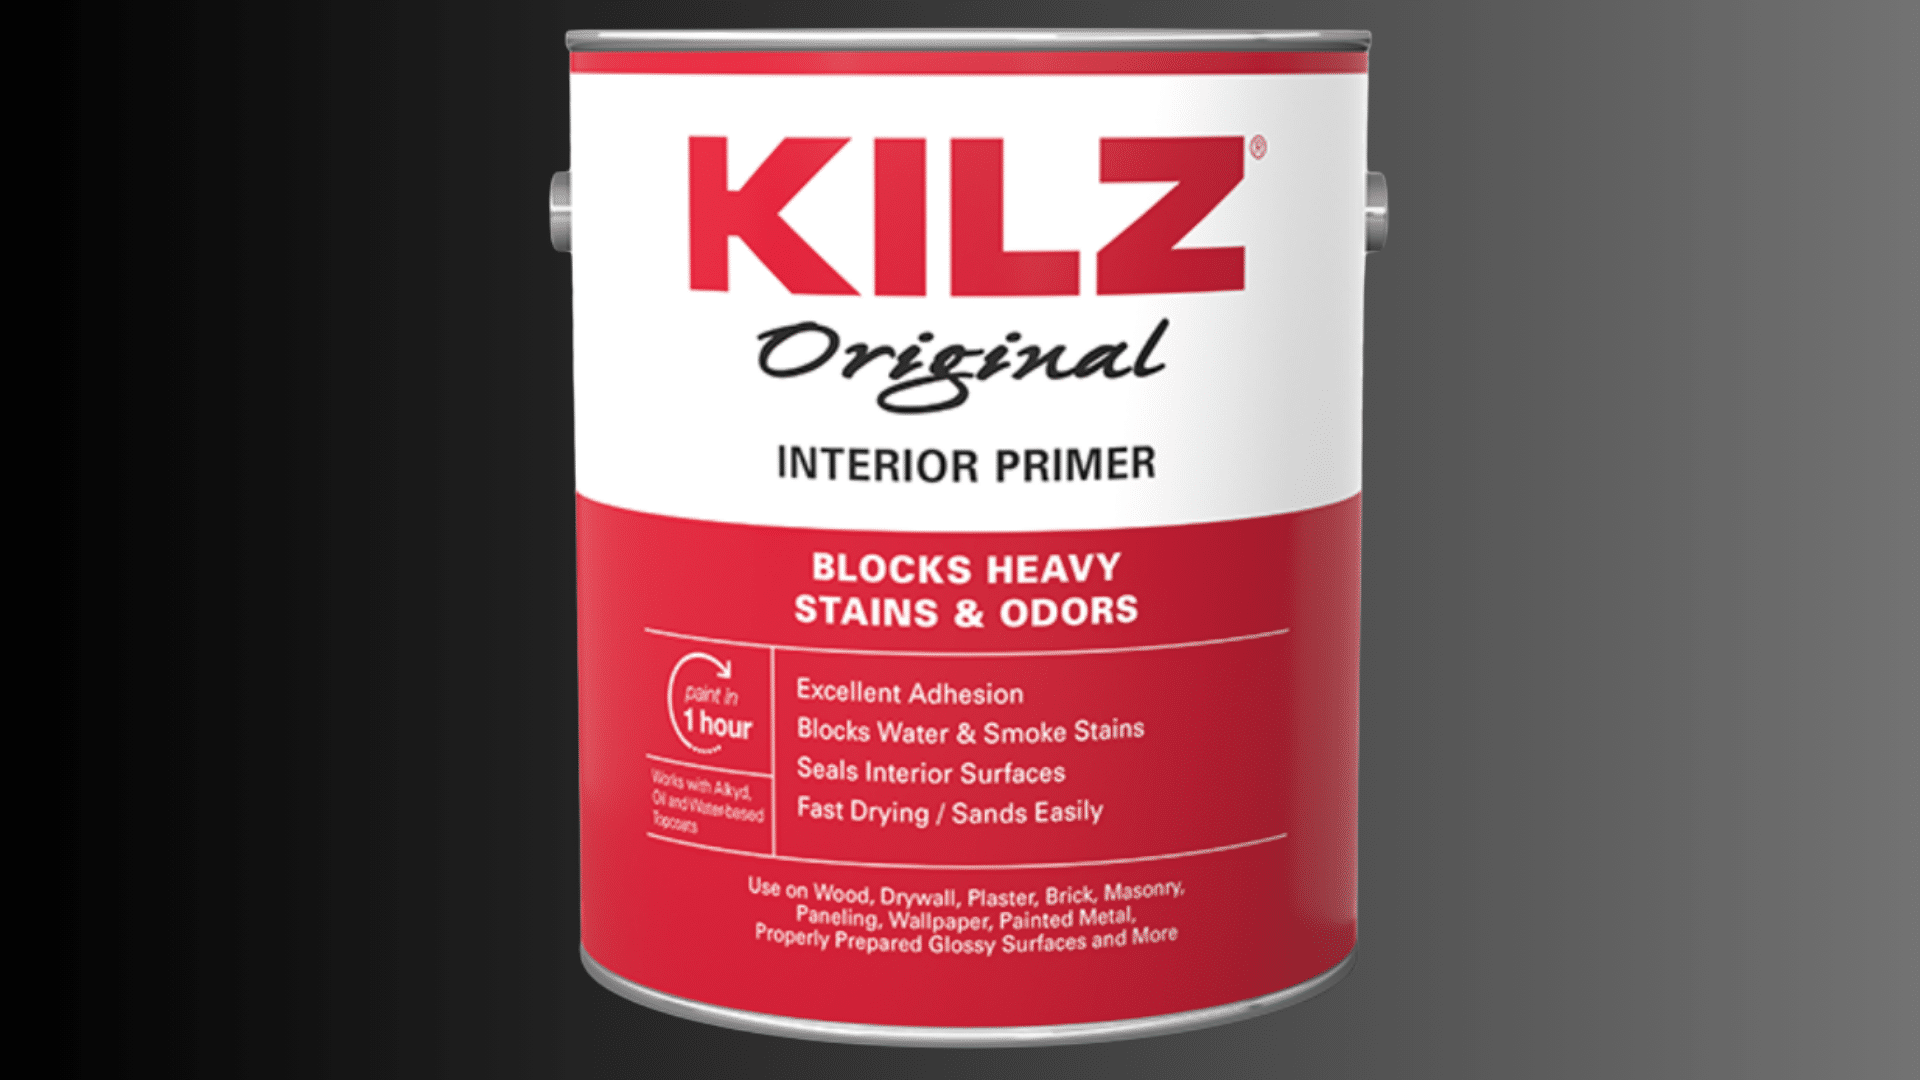
This oil-based primer is not paint but essential for plywood. It seals porous surfaces and prevents tannins from bleeding through your topcoat.
I always use it on raw plywood before applying any paint. It dries quickly and sands easily for a smooth base.
Rust-Oleum Cabinet Transformations
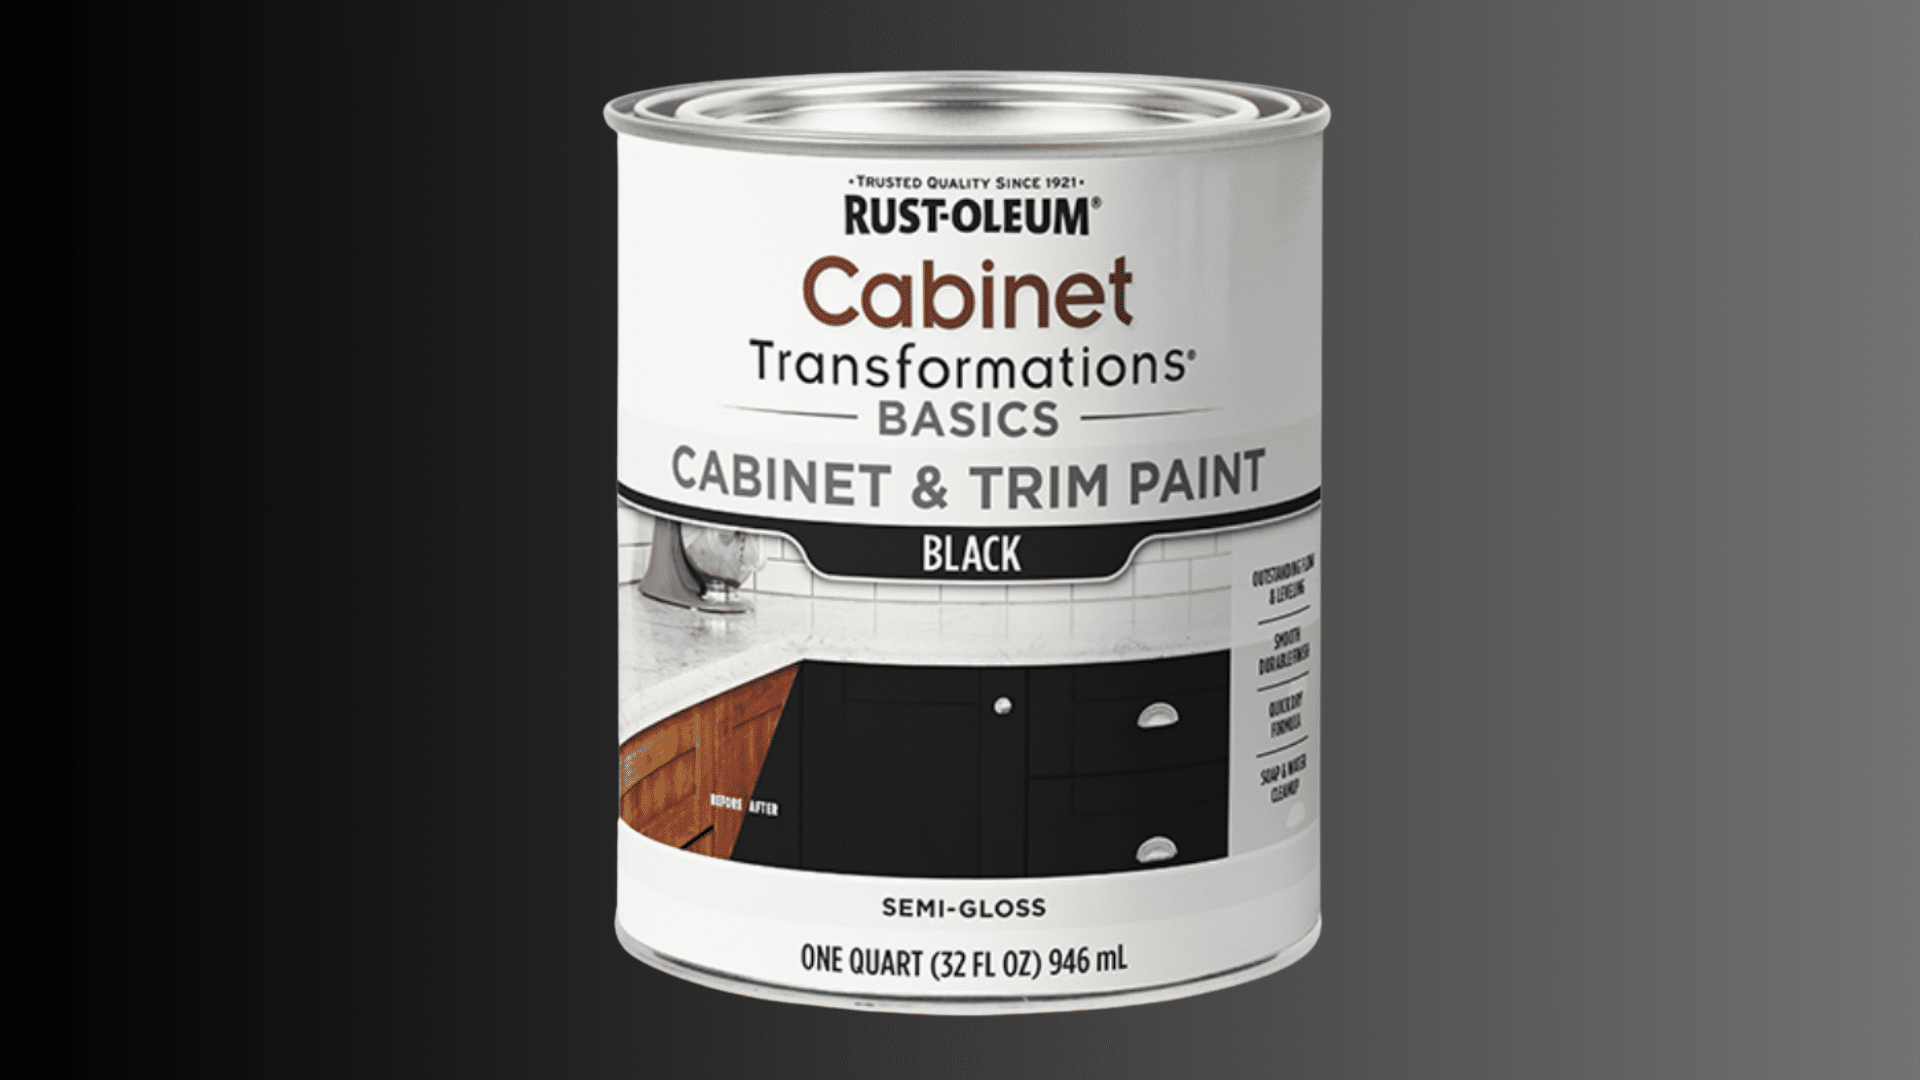
This kit includes everything needed for plywood kitchen or bathroom cabinets: bond coat, color coat, and protective top coat.
The results look professional with minimal skill required. I recommend it for beginners tackling large cabinet projects.
General Finishes Milk Paint
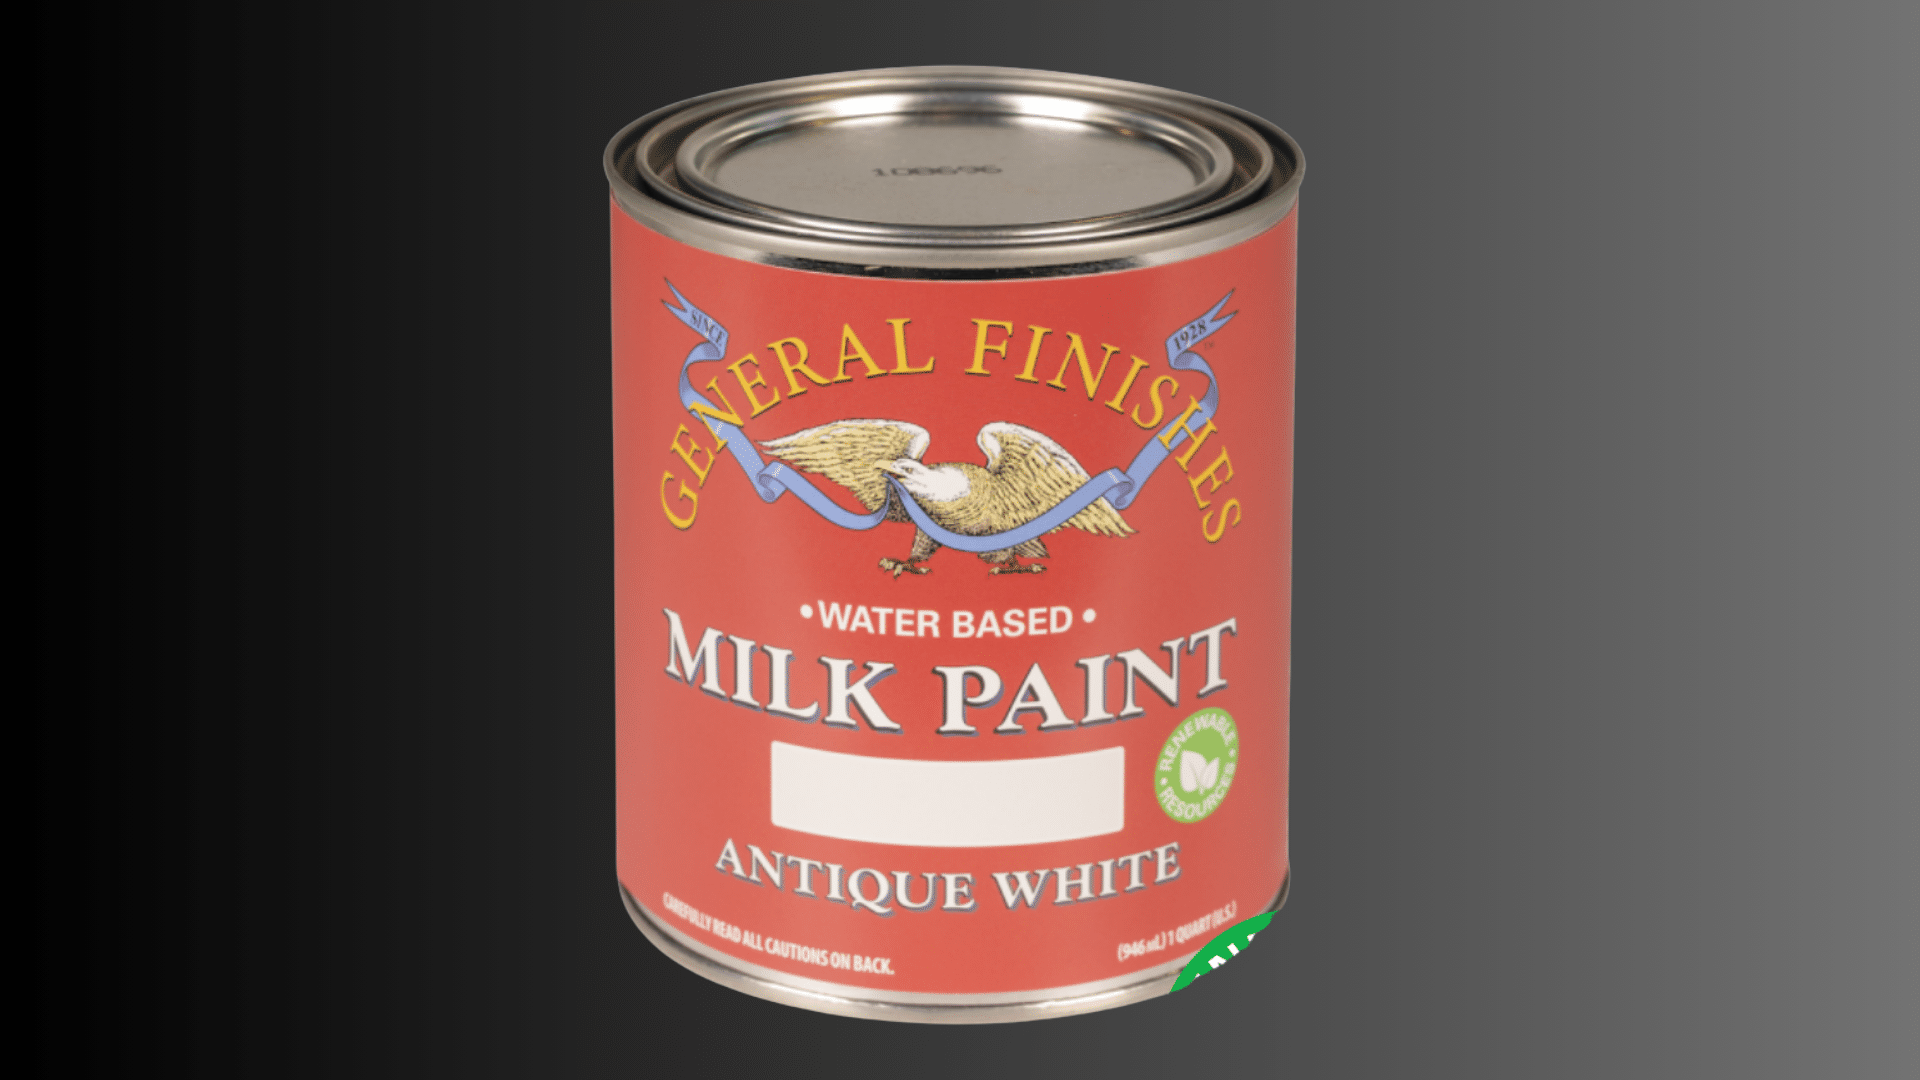
Despite the name, this is actually an acrylic paint with a soft matte finish. It flows nicely on plywood and builds up well with multiple coats.
For crafts and decorative items, it offers beautiful colors that don’t look plastic-like when dry.
What to Look for In Best Plywood Paint?
When shopping for plywood paint, I focus on these key features:
- Good adhesion – Paint that grips wood fibers without peeling
- Proper coverage – Hides the wood grain if desired
- Durability – Stands up to the expected wear and tear
- Water resistance – Especially for kitchens, bathrooms, or outdoor use
- Low VOCs – Safer to use indoors with less smell
I always check whether the paint needs a primer or is an all-in-one product. This saves me time and money on simpler projects.
Which One Is the Best Paint for Plywood?
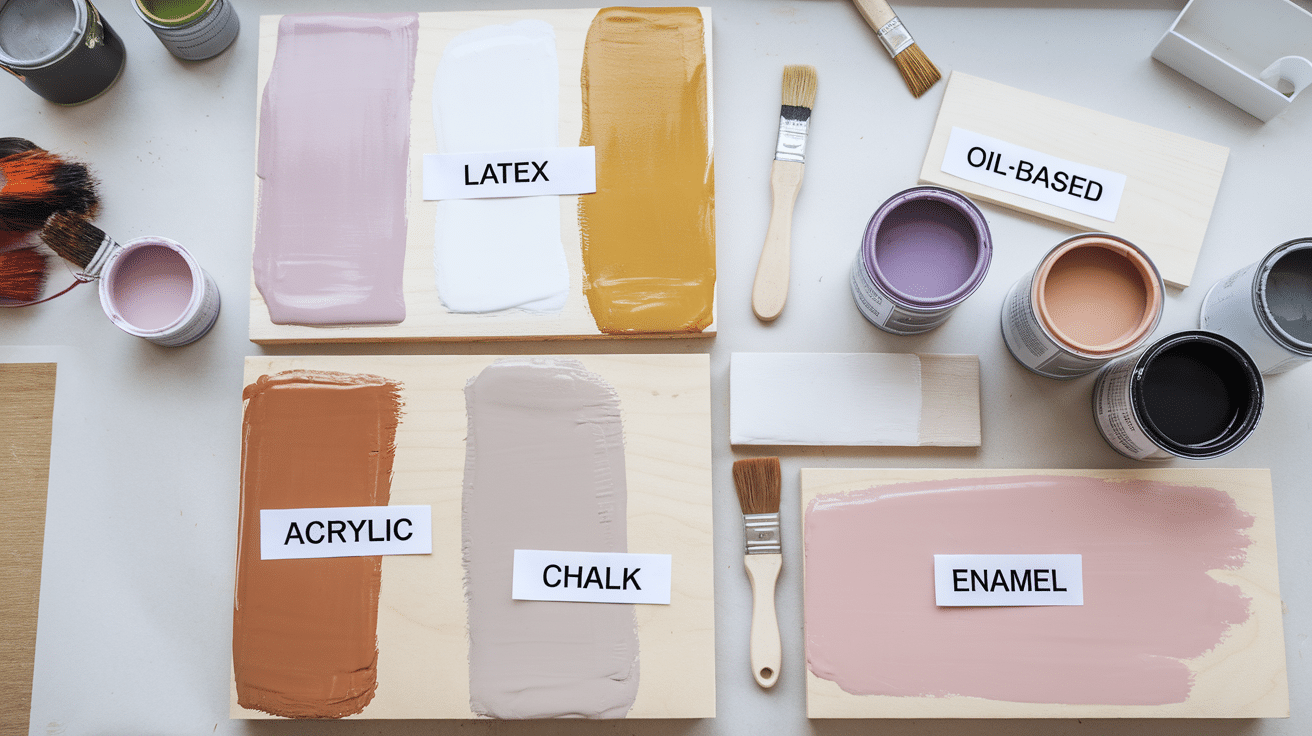
I’ve tried many paint types on plywood. Here’s how they compare with each other:
Latex Paint
Water-based latex paint is my most common choice for plywood. It cleans up easily with just soap and water and dries within a few hours.
The low odor makes it good for indoor plywood projects like bookshelves or wall paneling. While it’s not as durable as other options, modern formulations have improved significantly.
For best results, I use a latex primer first, especially on raw plywood that tends to absorb unevenly.
Oil-Based Paint
When I need a hard, smooth finish that will last for years, I choose oil-based paint. It creates a shell-like surface that’s highly durable for high-traffic items like floors or tables.
The downside is the longer drying time (often 24+ hours between coats) and stronger smell during application. I always make sure to have good ventilation and wear a respirator when using these paints.
Acrylic Paint
I prefer acrylic paint for most of my plywood furniture projects. Its flexible nature means it’s resistant to cracking when wood expands and contracts with temperature changes.
It works particularly well for craft projects and has excellent color retention, even in areas with direct sunlight. The durability falls between latex and oil-based paints, making it a good middle-ground option for most projects.
Chalk Paint
When I want a vintage or rustic look, chalk paint is perfect. The minimal prep work needed saves time—often, no priming is required, even on raw plywood. It creates a beautiful matte, vintage look that’s easy to distress for a shabby chic style.
The main drawback is that it always needs to be sealed with wax or polyurethane for protection, which adds an extra step to your project.
Enamel Paint
Enamel paint provides a hard, glossy finish that resists stains and moisture for plywood cabinets or furniture that will see heavy use.
It’s very durable and cleans easily, making it ideal for kitchen or bathroom applications. The downside is that it often requires good ventilation when applying and takes practice to apply without leaving brush marks.
For a factory-smooth finish, I thin it slightly and apply multiple light coats.
Prepping Plywood Before Using the Best Paint
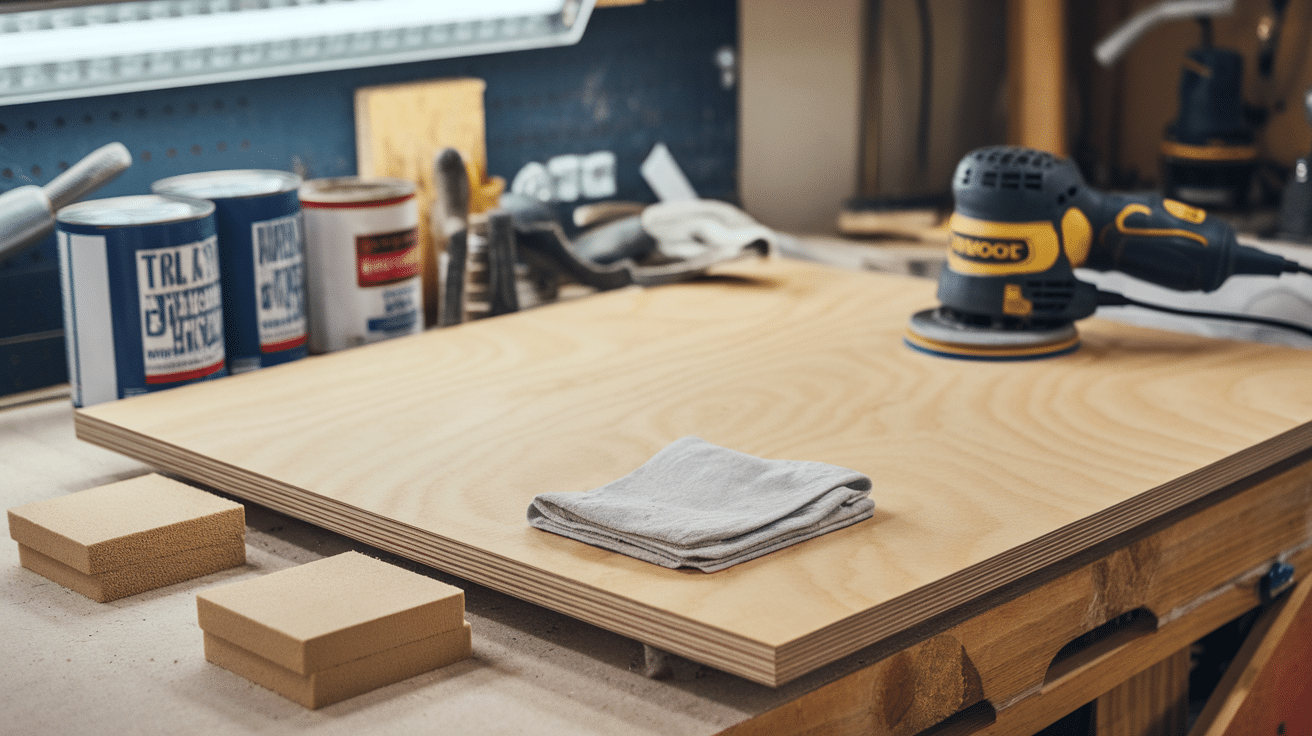
Proper prep is crucial! I’ve ruined projects by skipping these steps:
- Sand the surface with medium grit (120), then fine grit (220) sandpaper. Sand with the grain to avoid scratches that show through paint.
- Clean off all dust with a tack cloth after vacuuming with a brush attachment. Tack cloths catch fine particles that regular rags miss.
- Fill any voids with flexible wood filler, especially along edges. Apply with a plastic putty knife, overfill slightly, then sand to level when dry.
- Apply edge banding if edges will be visible. Iron it on, trim excess with a utility knife, then sand lightly to blend with the surface.
- Use wood primer specifically for raw surfaces. Apply two thin coats rather than one thick coat, sanding lightly between them.
- Before painting, check for flaws in good lighting. Run your hand over the surface to feel for rough spots your eyes might miss.
When I take time with prep, my paint job lasts much longer and looks more professional. Don’t rush this part!
How to Use the Best Paint for Plywood the Right Way?
Plywood requires specific preparation and application techniques to achieve professional results. The porous nature of plywood and its tendency to show grain patterns means that proper preparation is just as important as the paint selection.
Taking time to properly prepare your plywood surface will dramatically improve your finished result and extend the life of your paint job.
Tools You’ll Need
- Quality brushes
- Foam rollers
- Paint trays
- Painter’s tape
- Drop cloths
- Sandpaper
- Stirring sticks
Step 1: First coat
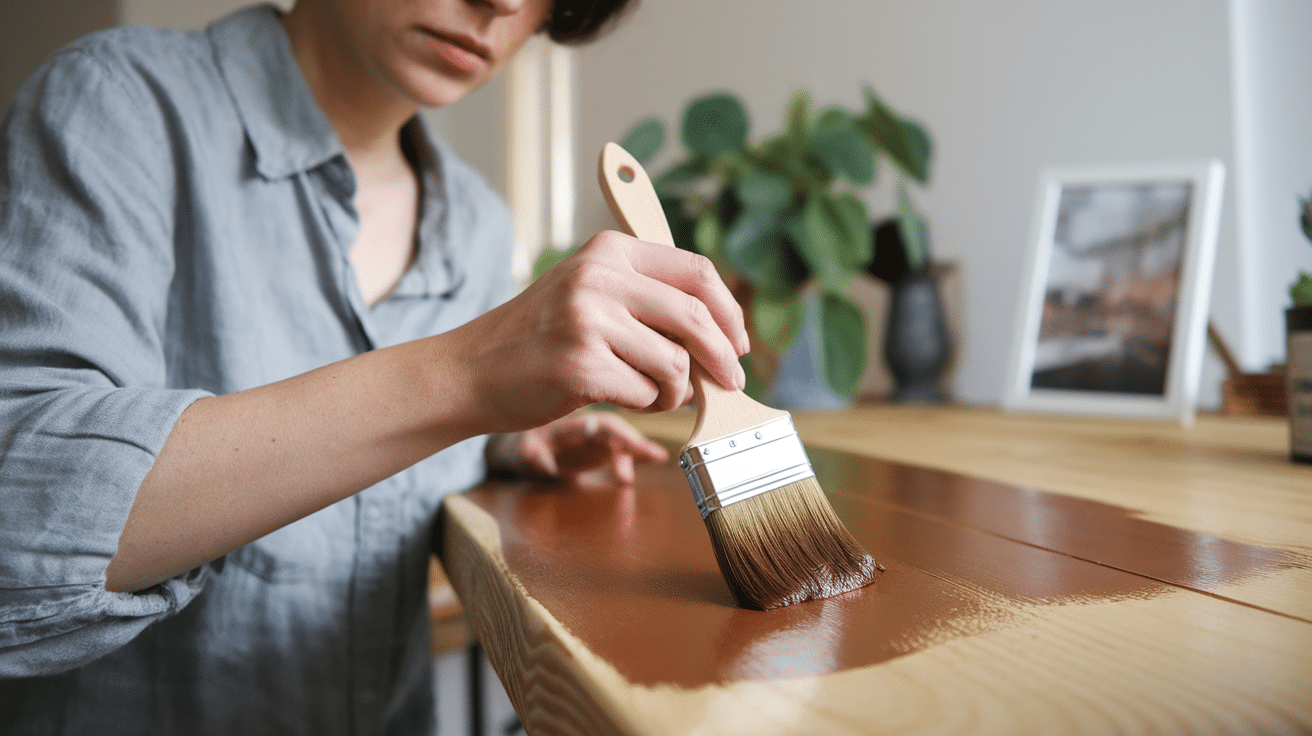
- I apply thin, even coats, moving with the wood grain. Thick paint leads to drips and longer drying times.
- For large flat surfaces, I use a roller first, then a brush for edges and details.
- I start in the middle of the panels and work outward to avoid paint buildup at the edges.
- Keeping a “wet edge” is crucial—I don’t let one section dry before blending in the next area.
- When painting vertical surfaces, I work from top to bottom to catch and smooth out any drips.
Step 2: Drying
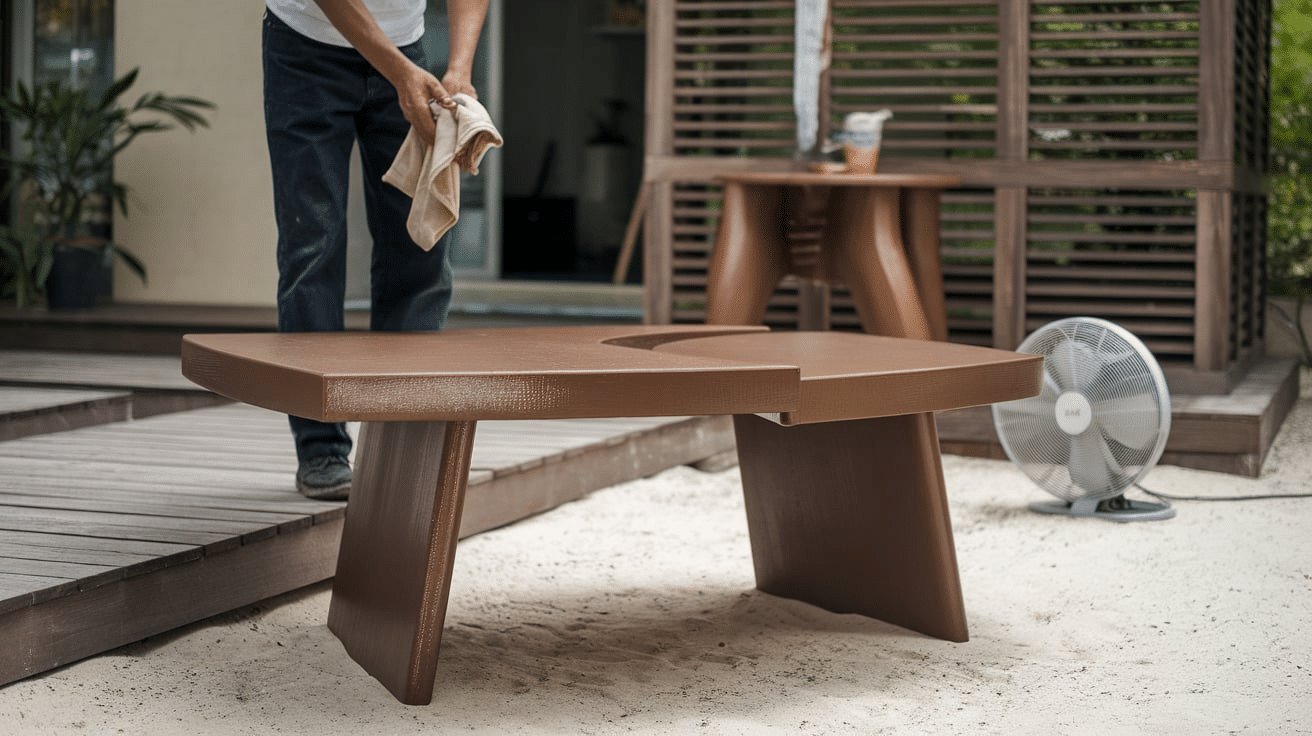
- I always follow the manufacturer’s recommended drying time—usually 2-4 hours for water-based paints and 6-8 hours for oil-based paints.
- Room temperature and humidity affect drying times. Cooler temperatures slow drying; higher humidity extends it.
- I avoid touching or placing items on the surface during drying, even if it seems dry to the touch.
- Good airflow helps paint cure properly, but I avoid direct fans that might blow dust onto the wet surface.
- If the paint feels tacky after the recommended drying time, I wait longer before proceeding—forcing the next step leads to problems.
Step 3: Second Coat
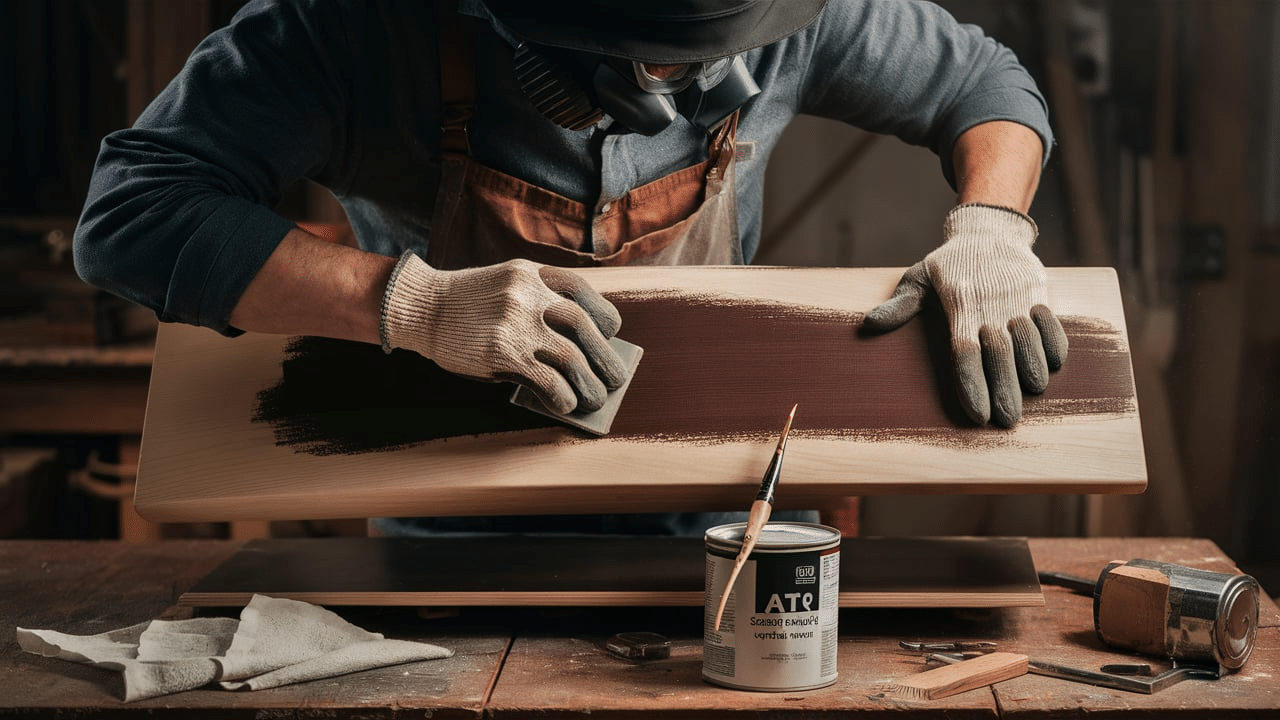
- Before applying the second coat, I lightly sanded with fine-grit sandpaper (320 grit) and wiped it clean.
- This helps the next coat stick better and creates a smoother finish by removing dust nibs and minor imperfections.
- I use a tack cloth rather than a damp rag to avoid introducing moisture to the partially cured paint.
- The second coat typically uses less paint than the first because the surface is sealed.
- I pay special attention to areas that might have been missed in the first coat, particularly edges and inside corners.
Tips for Smooth and Even Layers:
- Work in good lighting to spot uneven areas
- Keep a wet edge by not letting paint dry as you work across a section
- Sand between coats for professional results
- Use thin coats rather than one thick coat
- Paint in a dust-free environment to avoid particles in your finish
Best Paint for Plywood by Project Type
Different plywood projects have specific requirements for durability, appearance, and performance. Selecting the right paint for your particular application will ensure better results and longer-lasting protection.
Furniture
For furniture, I use semi-gloss enamel or satin acrylic paints. These resist stains and clean easily. For pieces that will see heavy use, I add a clear polyurethane topcoat for extra protection.
Walls or Floors
On walls, I use eggshell latex for a subtle sheen that hides imperfections. For floors, I only use porch and floor paint designed to handle foot traffic. Regular wall paint won’t last on floors.
Outdoor Plywood
Outdoor projects need exterior grade acrylic latex or oil-based exterior paints. These resist UV damage and moisture. I make sure the label specifically mentions exterior use and wood surfaces.
DIY crafts
Acrylic craft paints work well for smaller crafts. They come in many colors, dry quickly, and don’t need special cleanup. For children’s toys, I use non-toxic acrylic paints that are certified safe.
What Not to Do When Picking the Best Paint for Plywood?
- Don’t skip primer on raw plywood – paint won’t stick well and will likely peel within months. Even paints labeled “paint and primer in one” often need a separate primer on bare plywood.
- Don’t use interior paint outdoors – it will fail quickly when exposed to sunlight and moisture. I once used leftover interior paint on a plywood planter box, and within one season, it was peeling and fading badly.
- Don’t shake latex paint – stir it gently instead to avoid introducing air bubbles that will show up in your finish. These tiny bubbles can create a rough texture that’s hard to sand out.
- Don’t rush between coats – proper drying prevents peeling and ensures good adhesion. Each coat needs to cure properly, not just feel dry to the touch. I usually wait at least 24 hours even if the can says 4 hours.
- Don’t use wall paint on floors or furniture without a protective topcoat. Wall paint isn’t formulated to handle physical contact or cleaning. The first time someone places a hot mug on your painted plywood table, you’ll regret not using the right product.
How to Keep the Best Paint for Plywood Looking Good?
- Clean with mild soap and water – avoid harsh chemicals
- Touch up chips promptly before moisture gets under the paint
- Apply a fresh topcoat every few years on high-use surfaces
- Keep outdoor items covered when possible
- Use coasters and pads on painted furniture
- Addressing moisture issues in the room to prevent paint failure
Conclusion
Choosing the right paint transforms ordinary plywood into beautiful, lasting projects. The key is matching your paint to both the plywood type and your project’s needs.
From my years of experience, proper preparation makes the biggest difference—sanding, cleaning, and priming create the foundation for success.
Quality matters too. I’ve found that investing in better paint saves money over time with fewer coats and longer-lasting results.
If you’re painting furniture, walls, or outdoor projects, remember that patience pays off. Apply thin, even coats and allow proper drying time between them.
Don’t rush the process. With these simple steps, you’ll achieve professional results that will look good for years. Your plywood projects deserve this attention to detail, and you’ll enjoy the satisfaction of a job well done.
Frequently Asked Questions
Can I Use Leftover Wall Paint on My Plywood Furniture Project?
Wall paint isn’t durable enough for furniture without a protective topcoat. For best results, use paint specifically formulated for wood furniture or add a clear polyurethane sealer.
How Do I Prevent My Painted Plywood Edges from Showing Wood Layers?
Apply wood filler to the edges and sand smooth before painting. For a professional look, you can also add iron-on edge banding before priming and painting.
What’s the Best Way to Paint Plywood Without Brush Marks Showing?
Use a foam roller for large surfaces and high-quality synthetic brushes for edges. Self-leveling paints like Benjamin Moore Advance or thinning your paint slightly also helps eliminate brush marks.
How Can I Get a Factory-Smooth Finish on Plywood Cabinets?
Sand between each coat with 320-grit sandpaper and wipe with a tack cloth. Use a paint sprayer rather than brushes for the final coat to avoid any application marks.
Will Regular Exterior Paint Work on Plywood Outdoor Furniture?
Exterior paint alone isn’t enough for furniture that will be exposed to weather. Apply an exterior primer first, then use exterior paint, and finish with a marine-grade sealer for maximum durability.

