
Are you tired of messy closets and never being able to find what you need? A DIY closet shelf might be just what you need to take back control of your space. The good news? You don’t have to be a pro to do it! With a little planning and some basic tools, you can build your own shelves and make your closet way more organized.
If you need extra space for clothes, shoes, or just random stuff, adding shelves can make a big difference. In this blog, I’ll walk you through the whole process—step by step.
You’ll learn how to plan your design, pick the right tools, and build shelves that actually fit your needs. Let’s get started on turning that messy closet into a space that works better for you—without spending a ton of money!
Importance Of Closet Shelving
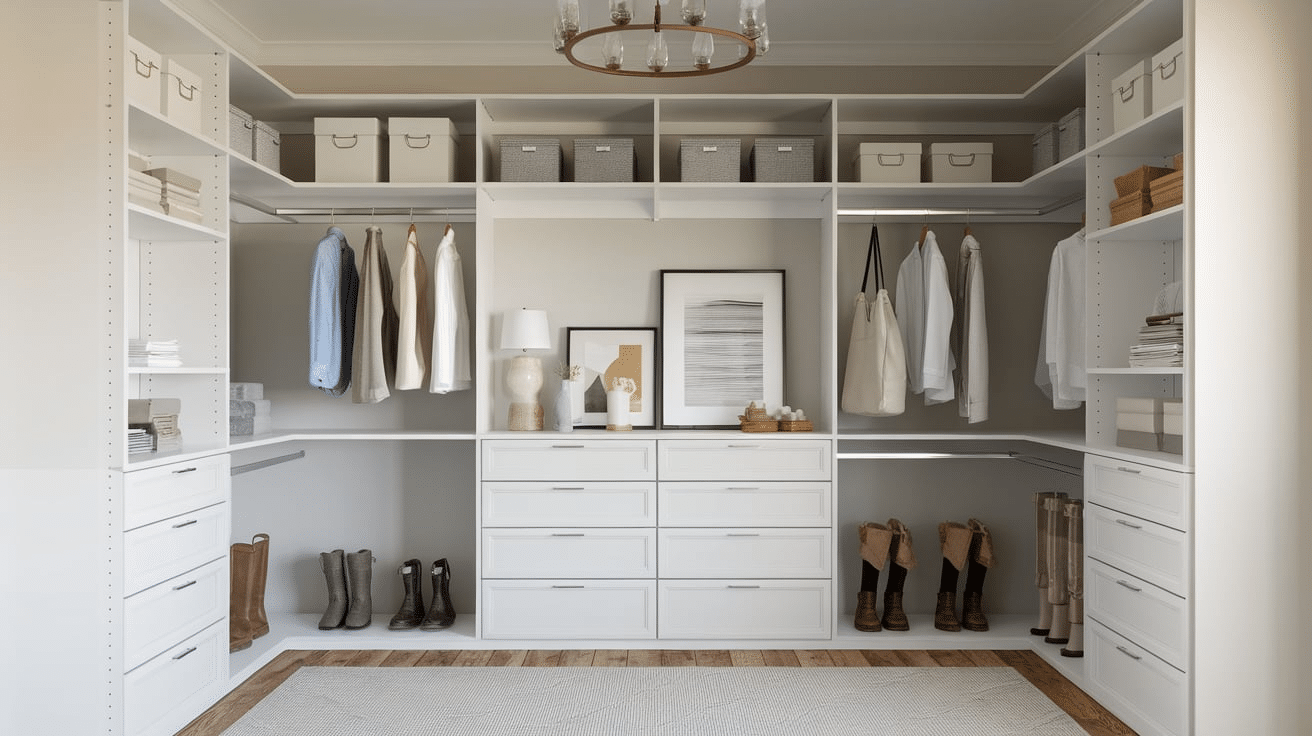
Closet shelving is super important if you want to keep things neat and easy to find. Without shelves, everything just ends up in a big pile, which makes getting dressed or finding anything a total pain.
Shelves help you use all the space in your closet, from top to bottom. You can stack clothes, store shoes, fold sweaters, or even keep boxes and bins off the floor. When everything has a place, it’s a lot easier to stay organized.
Plus, it just feels better to open your closet and see everything in order. Shelving also helps you see what you actually have, so you don’t end up buying things you already own. No matter if your closet is big or small, adding shelves can make a huge difference in how it works for you every day.
Planning Your Closet Shelving
Before you grab your tools, it’s important to make a plan. A little planning now will save you time and frustration later.
1. Think About What You Need to Store: Look at what you’re keeping in your closet. Do you have a lot of shoes? Folded clothes? Boxes? Knowing what you need to store helps you decide how many shelves you need.
2. Measure Your Closet Space: Grab a tape measure and write down the height, width, and depth of your closet. Be sure to check for any weird angles, doors, or light switches that could get in the way.
3. Sketch a Simple Layout: Draw a quick sketch of your closet on paper. Then, mark where you want your shelves to go. Keep it simple—just enough to give you a good idea of what will fit.
4. Choose the Right Shelf Heights: Consider how tall the items you want to store are. For example, shoes might only need 6–8 inches of space, while stacked clothes might need 12–15 inches.
5. Leave Room to Grow: If possible, plan for a little extra space. Your storage needs might change, so it’s smart to leave a little wiggle room for future stuff.
6. Decide on Permanent or Adjustable Shelves: Do you want shelves that stay in place or ones you can move around later? Adjustable shelves are great if you like to switch things up or add new items over time.
With a solid plan in place, you’ll be ready to move on to the fun part—building your closet shelves!
Materials and Tools
Before you start building, make sure you have everything you need.
-
Wood boards (for shelves)
-
Shelf brackets or supports
-
Screws and screwdriver
-
Wall anchors (if not drilling into studs)
-
Paint or stain (optional)
-
Measuring tape
-
Pencil
-
Level
-
Drill
-
Saw (hand saw or circular saw)
Having all your materials and tools ready will make the project faster and easier.
Step-By-Step Guide: How to Build Your DIY Closet Shelves
Building your own closet shelves might sound challenging, but it’s really just a series of simple steps. Once you plan things out and take your time, you’ll be surprised at how great your closet can look—and how much more useful it becomes.
Step 1: Clear Out Your Closet
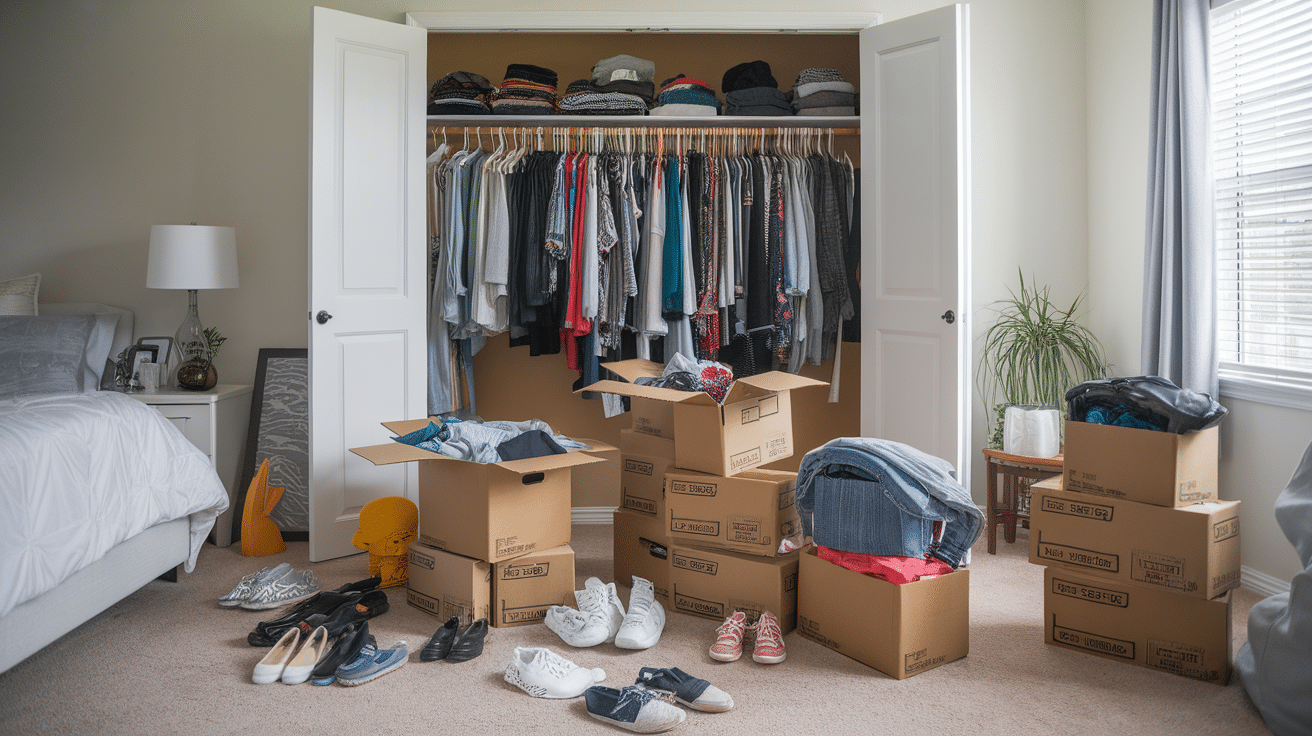
The first thing you need to do is empty the closet. Take out all the clothes, shoes, boxes, or anything else that’s in there. You want the space to be totally clear so you can measure and move around easily.
Tip: Use this time to sort through your stuff. If there are clothes you don’t wear anymore or items you forgot you had, consider donating or tossing them. Less clutter = more space!
Step 2: Measure and Plan Your Shelves
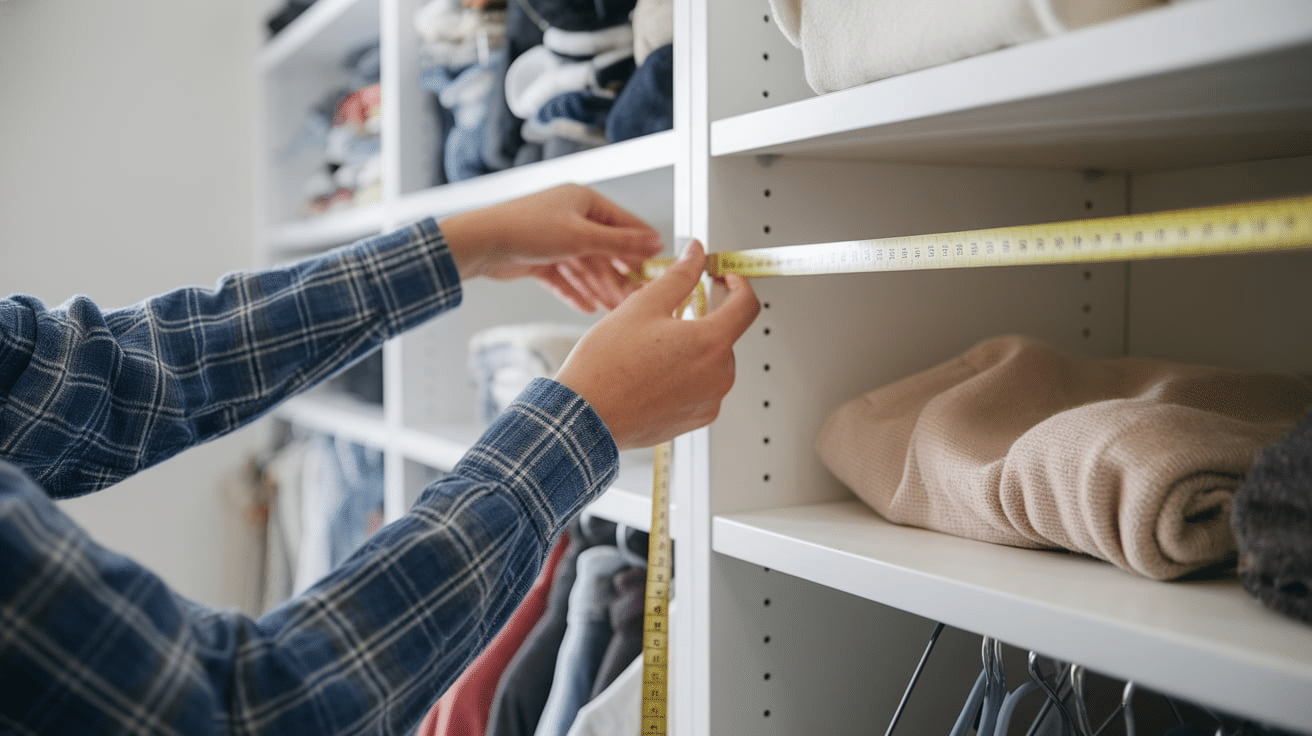
Use a measuring tape to find the width, height, and depth of your closet. Write everything down so you don’t forget.
-
Decide how many shelves you want.
-
Think about what you’re storing—taller items like boots need more space, while folded shirts or shoes don’t need much room.
-
Mark where each shelf will go on the wall using a pencil and level. Keep the shelves evenly spaced unless you need different sizes.
Sketching out your shelf plan on paper can really help you visualize everything before you start building.
Step 3: Find and Mark the Studs
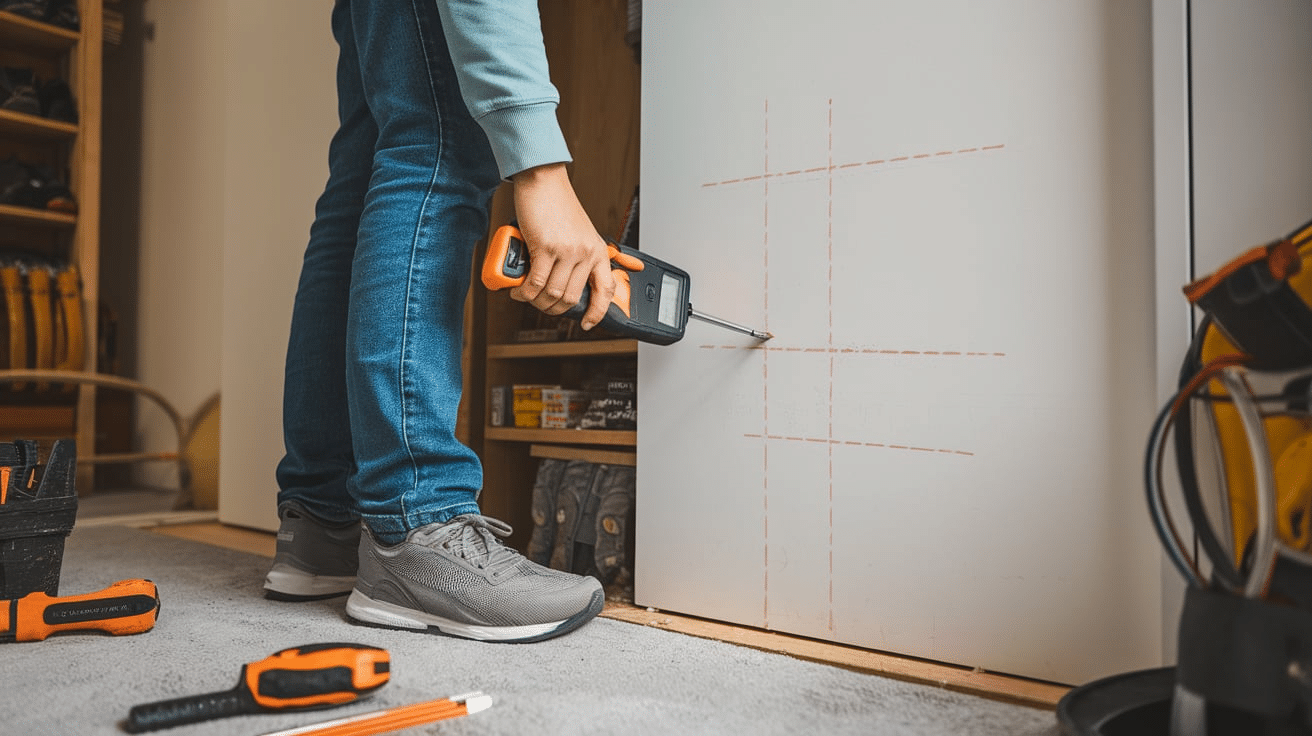
You want your shelves to be strong and sturdy so they don’t fall when you put stuff on them. To do that, you’ll need to screw the shelf brackets into the wall studs (the wooden beams behind your drywall).
Use a stud finder (you can find one at a hardware store or borrow one) to locate the studs. Mark each one with a pencil so you know where to drill later.
Step 4: Install the Brackets
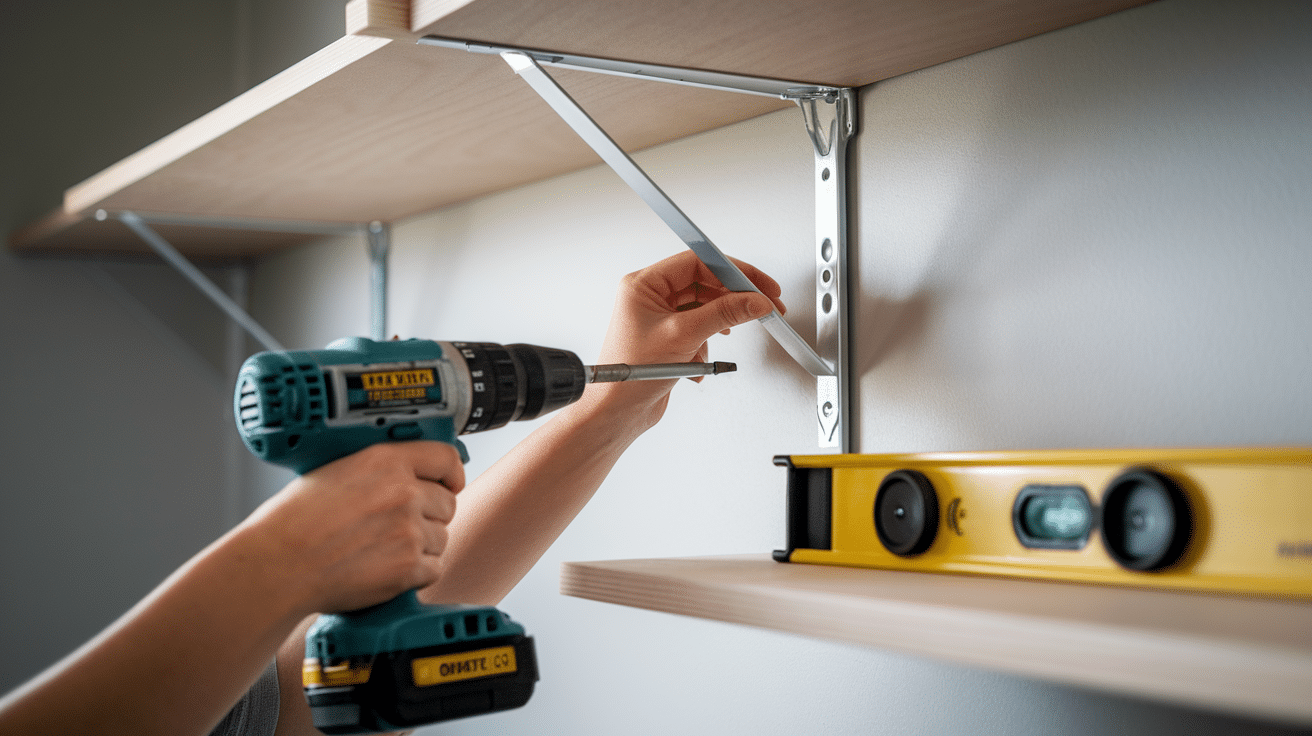
Now, it’s time to install your shelf brackets. These will hold the shelf boards in place.
-
Line the brackets up with the stud marks you made.
-
Use your level again to make sure they’re perfectly straight—crooked shelves are no fun!
-
Drill the brackets into the wall. If you can’t find a stud in some spots, you can use wall anchors to keep the brackets strong and secure.
Make sure the brackets are even on both sides of the closet so your shelves don’t tilt or look uneven.
Step 5: Cut the Shelf Boards
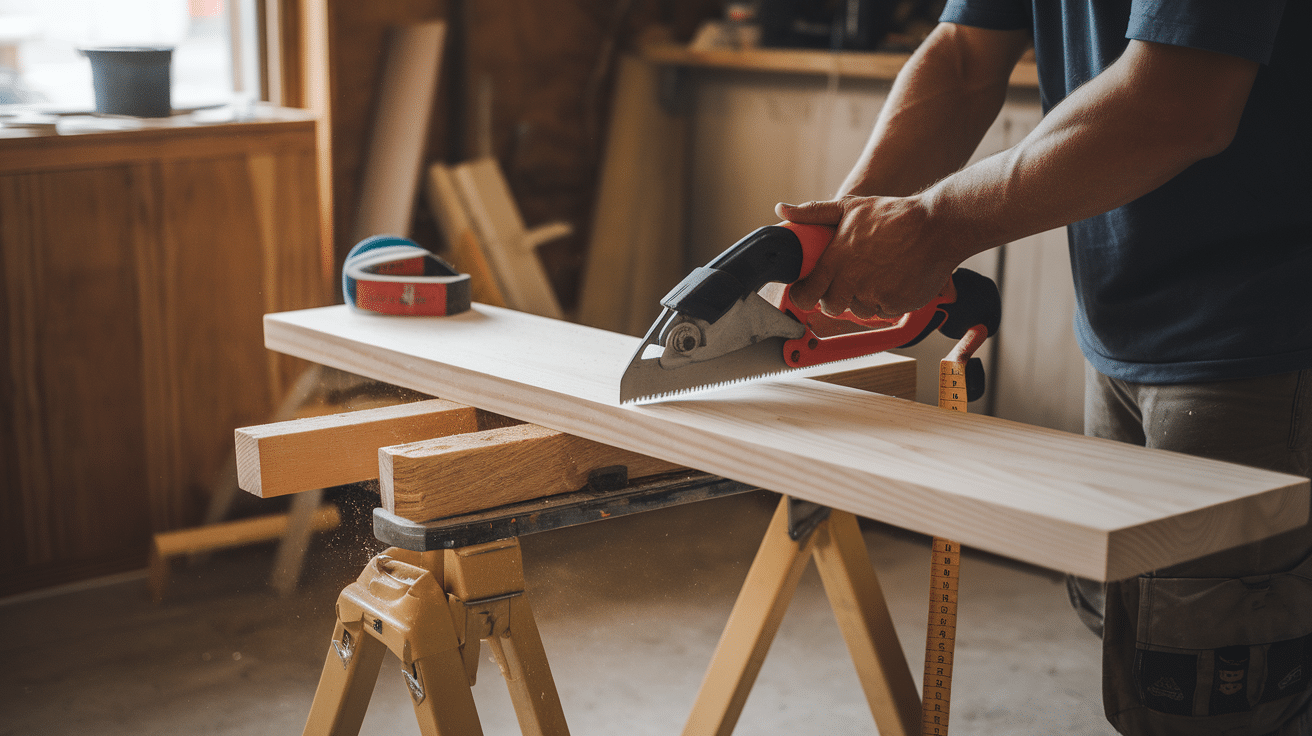
Next, it’s time to cut your wood boards to fit the space.
-
Measure the distance between the walls where your shelves will go.
-
Cut each board to the right length using a saw. A hand saw works fine, but a circular saw is faster if you’re comfortable using one.
-
After cutting, sand the edges so they’re smooth and safe to handle.
Step 6: Paint or Stain the Shelves (Optional)
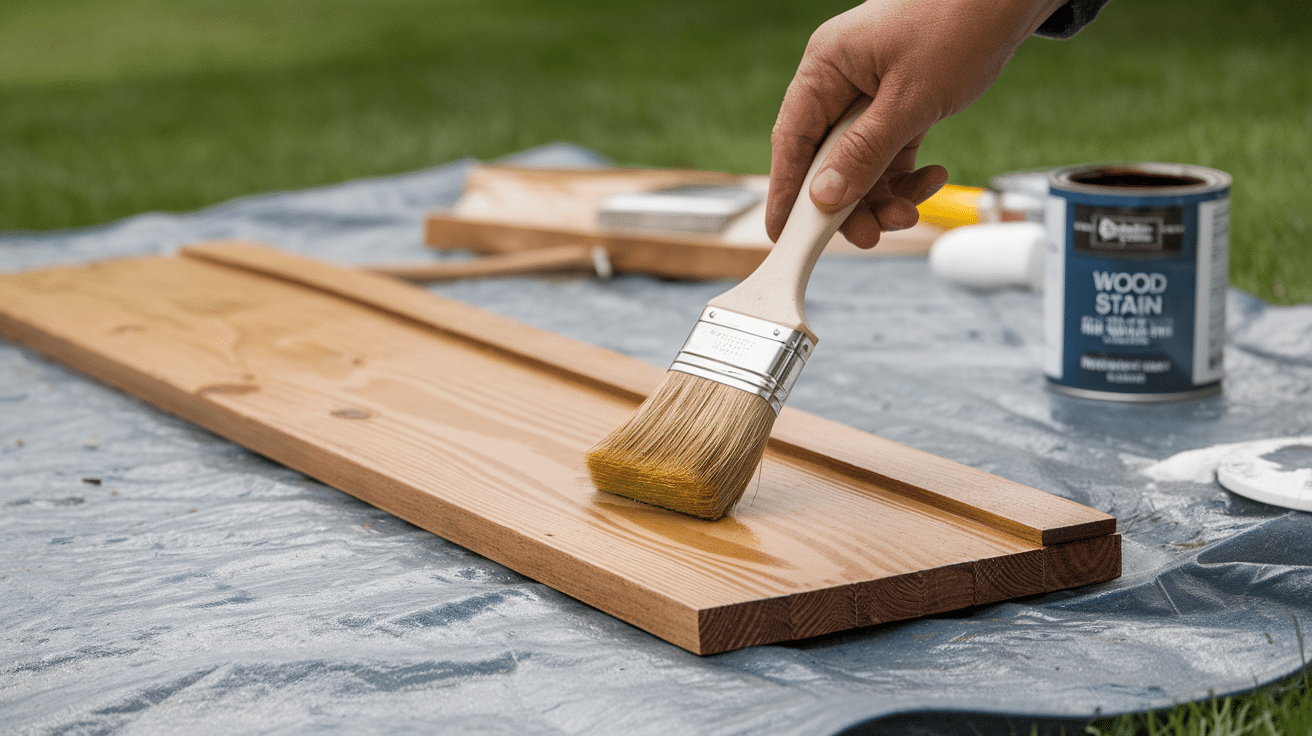
If you want your shelves to look extra nice or match your closet color, now’s a good time to paint or stain them.
-
Choose a paint or wood stain you like.
-
Lay the boards on a drop cloth or newspaper.
-
Use a brush or roller to apply paint or stain evenly.
-
Let them dry fully—this might take a few hours or overnight.
You can also leave the wood natural for a simple, rustic look.
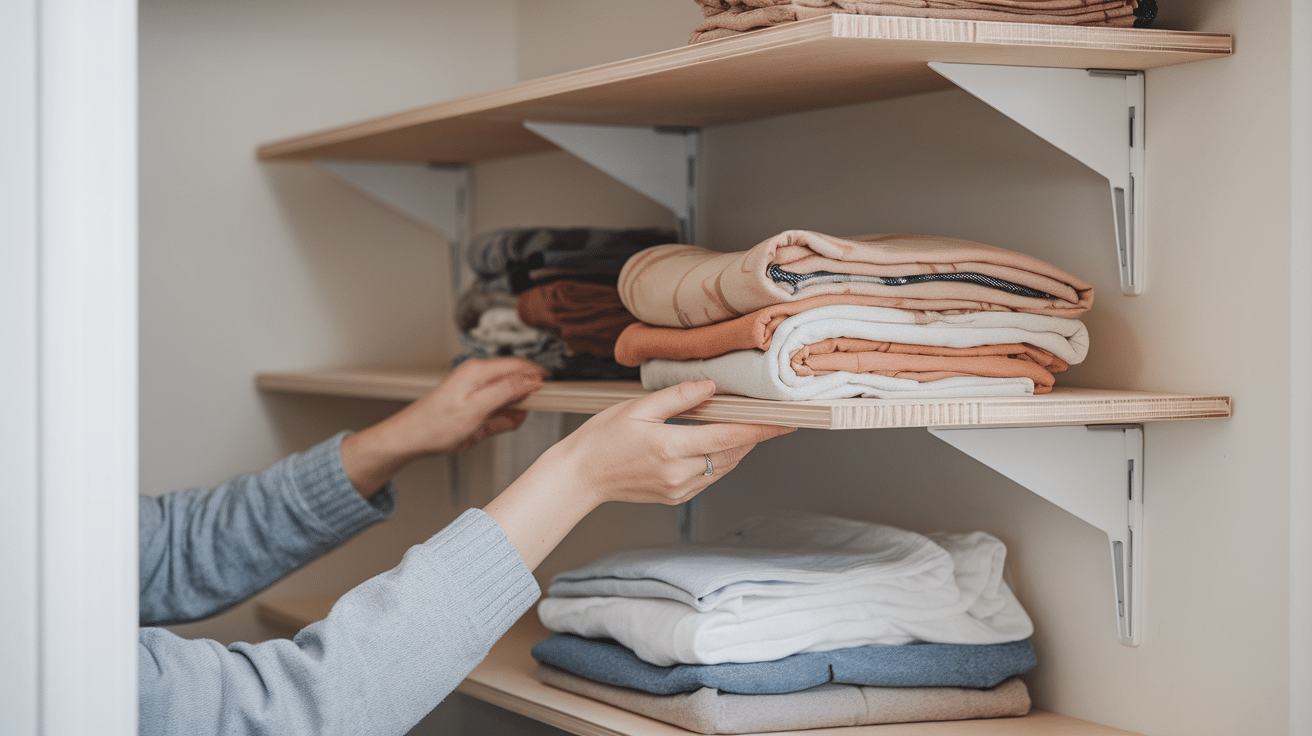
Step 7: Install the Shelves
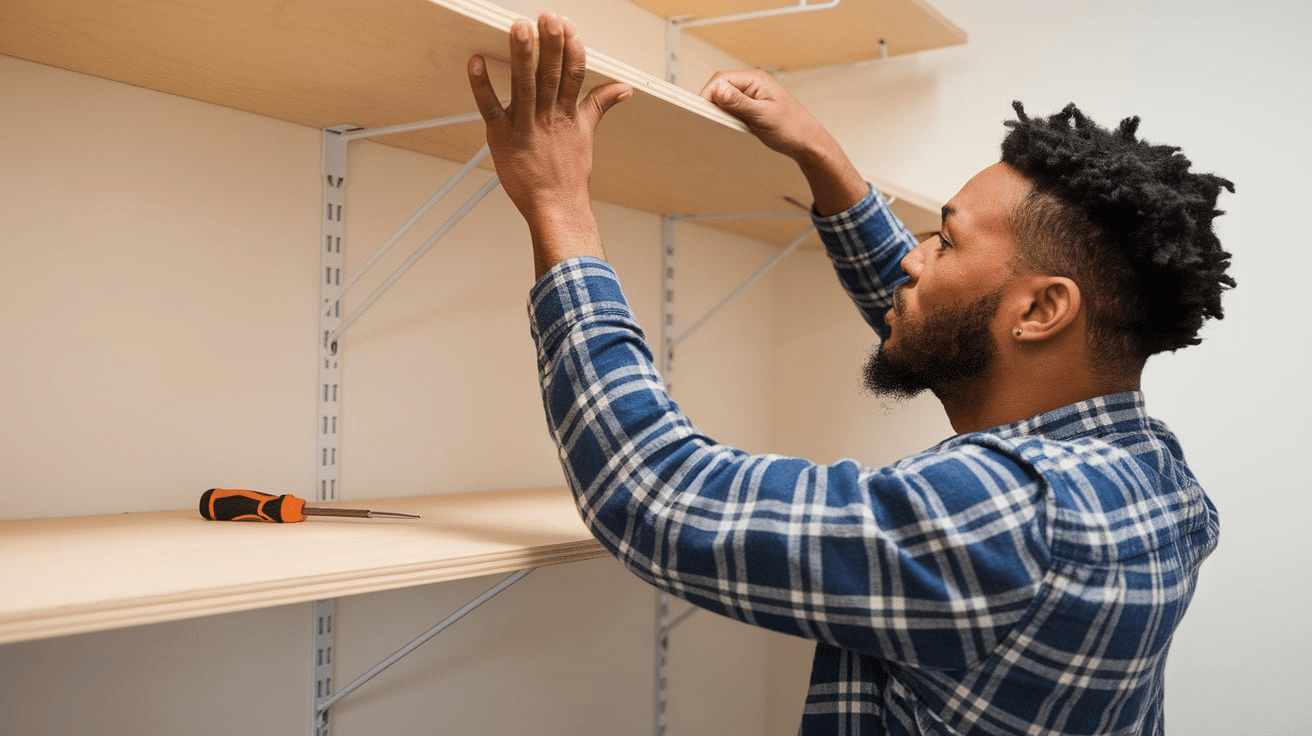
Once your boards are dry, place them on top of the brackets. Depending on the bracket-style, you might screw the shelf into the bracket or just let it rest on top.
-
Make sure the shelf is centered and even.
-
If needed, add a couple of screws from underneath to keep the shelf from sliding.
Test each shelf by gently pressing down. It should feel firm and not wobble.
Take a step back and admire your work—you just built your own closet shelves! Not only is your space more useful now, but you also did it yourself, which is pretty awesome. You’ll notice right away how much easier it is to find things, and your closet will feel much less stressful.
How Much Does a DIY Closet Shelf Cost?
One of the best parts about building your own closet shelves is that it doesn’t have to cost a lot. You can totally work within your budget and still make something that looks great and works well.
-
Wood boards: Approx. $10–$25 each, depending on size and type
-
Shelf brackets: About $3–$10 each
-
Screws and wall anchors: Around $5–$10 total
-
Paint or stain (optional): $10–$20
-
Tools (if you don’t already have them): Can vary, but basic tools like a drill or saw can cost approx. $20–$50
If you already have some tools at home, you could build a small closet shelf setup for approx. $40–$80. Bigger closets or more shelves will cost more, but it’s still way cheaper than hiring someone or buying a fancy closet system.
Customizing and Organizing Your Closet Shelves
Now that your shelves are up, it’s time for the fun part—making your closet work for you! Customizing and organizing your space helps you stay neat and makes it easier to find what you need.
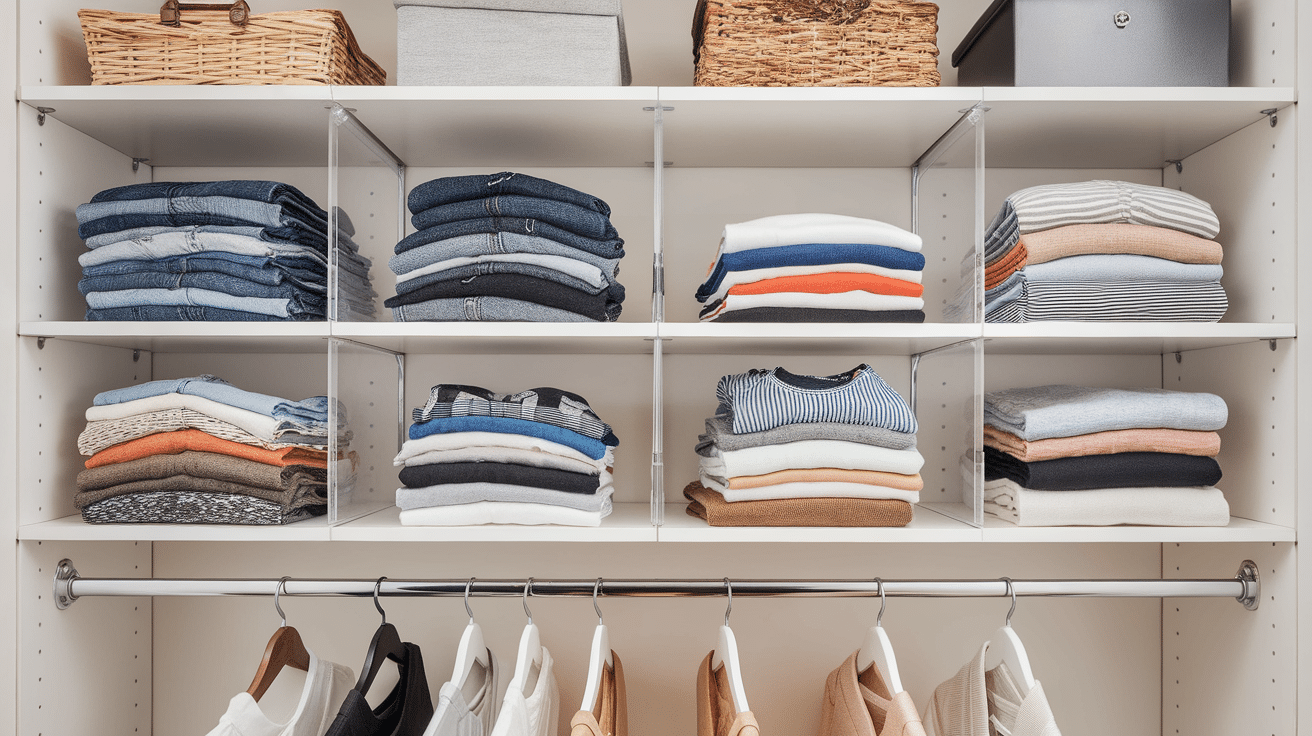
1. Group Similar Items Together
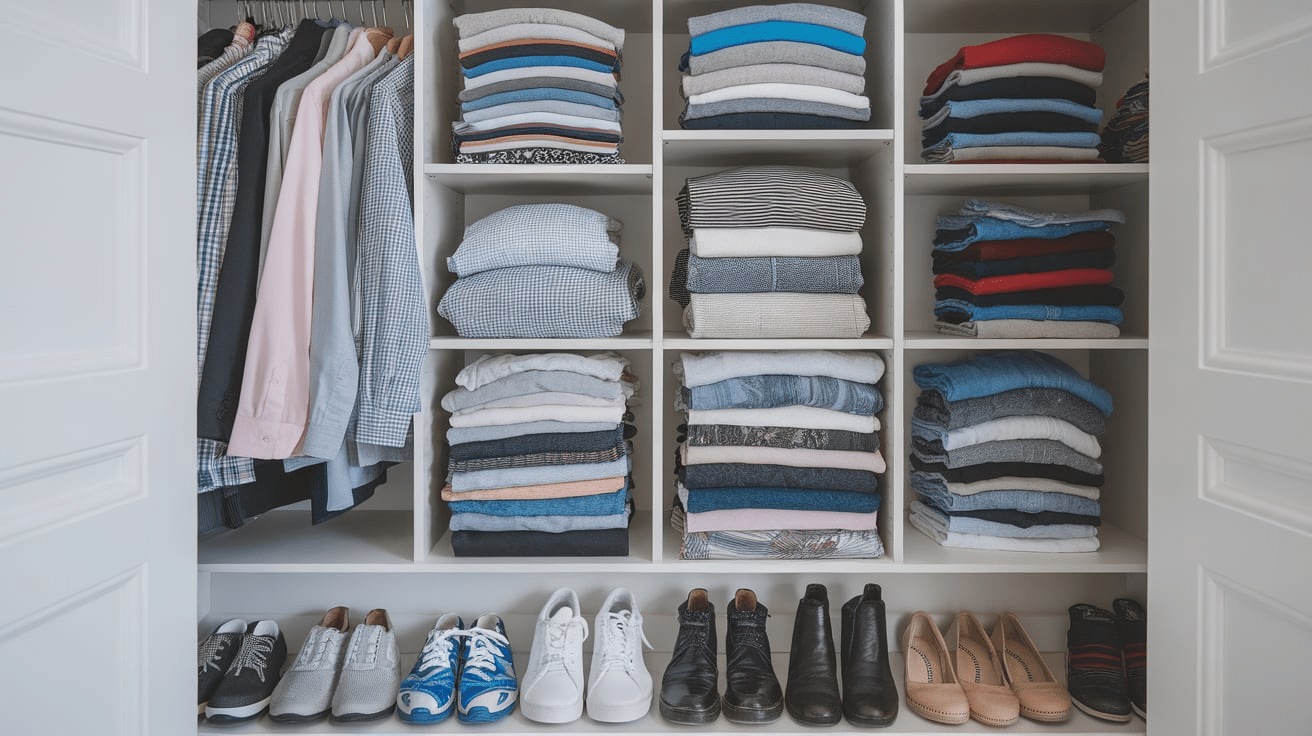
Start by sorting your stuff into categories. This makes everything easier to find and looks way more organized. When things are grouped, you won’t waste time digging around for what you need.
-
Keep all your folded shirts together.
-
Stack jeans or pants in one spot.
-
Place shoes in a row or on a lower shelf.
-
Keep bags, hats, or accessories in their areas.
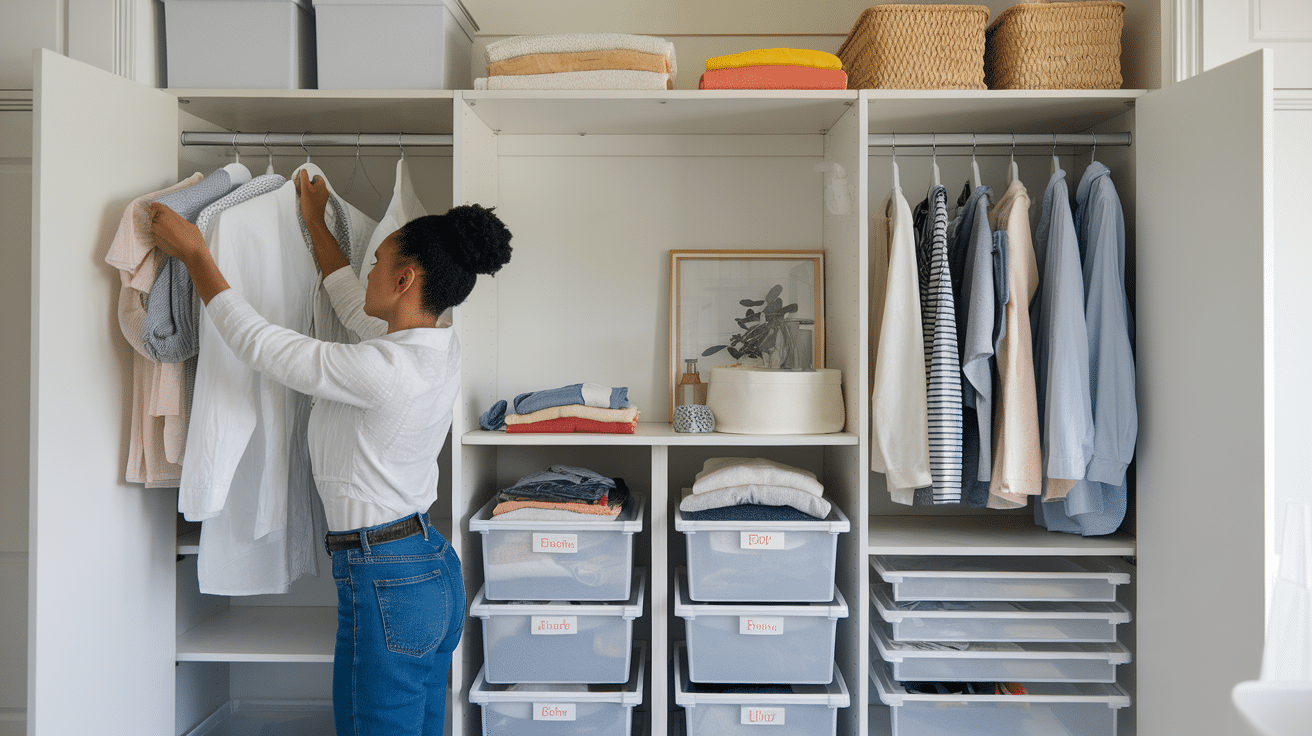
2. Use Baskets and Bins for Small Items
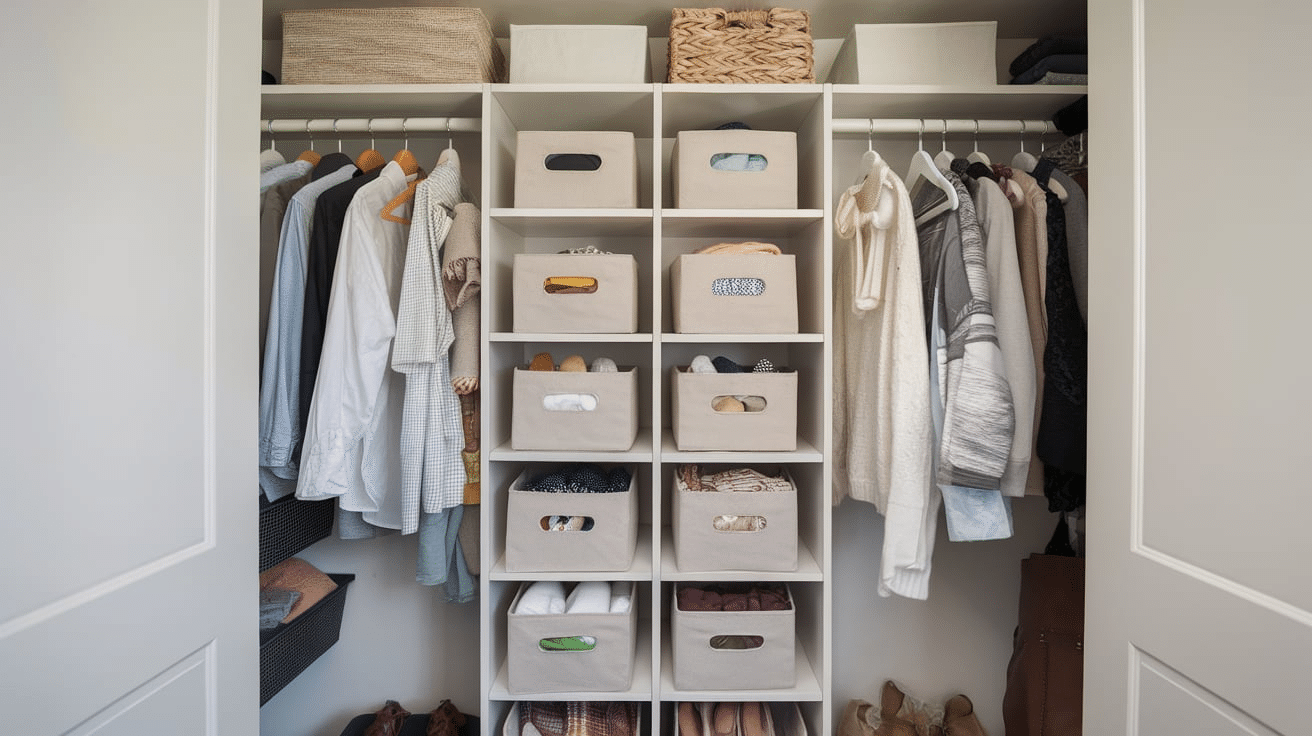
Not everything can sit neatly on a shelf. That’s where baskets and bins come in handy! This keeps the little stuff from turning into a big mess.
-
Store socks, belts, scarves, or small accessories in labeled bins.
-
Use clear containers so you can see what’s inside.
-
Choose baskets that fit your shelf size and match your style.
3. Label Everything
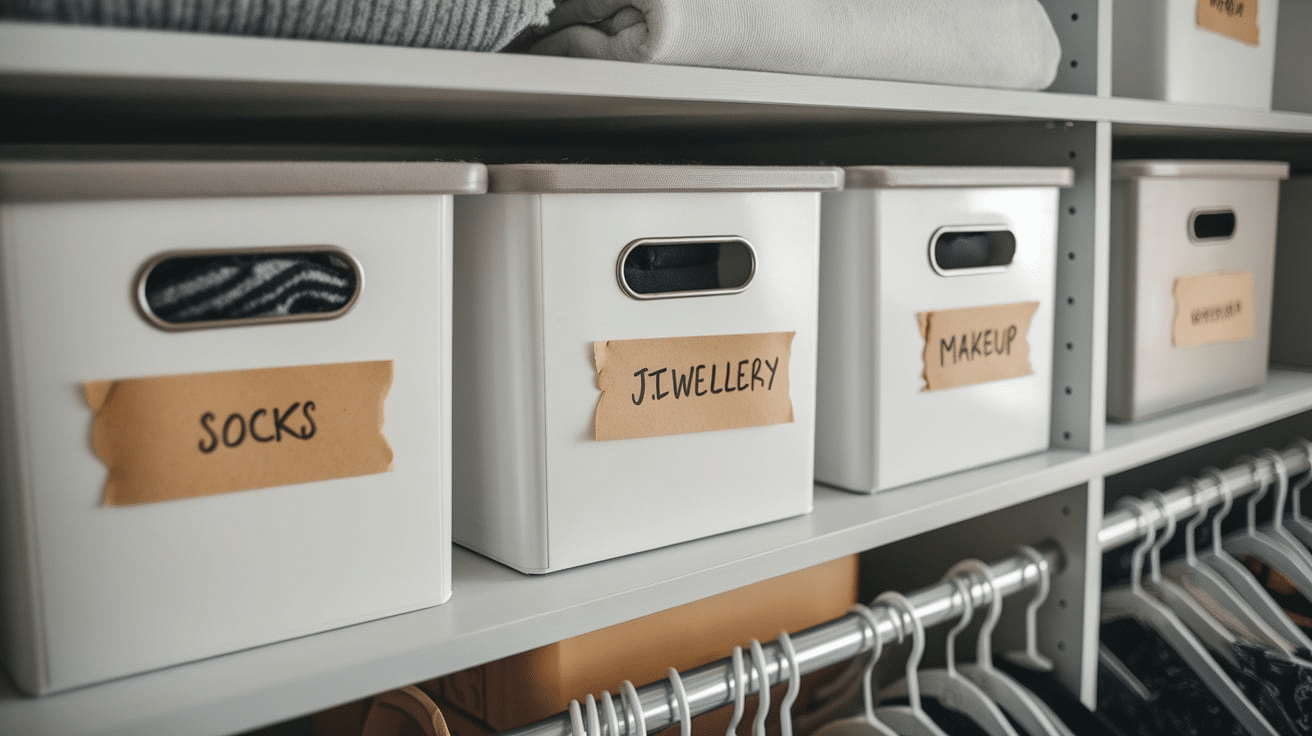
Labels aren’t just for school supplies—they work great in closets too! Plus, if other people share the closet, labels help everyone stay organized.
-
Label baskets, bins, or boxes, so you always know where things go.
-
You can write on tape, use sticker labels, or buy cute tags from the store.
-
Labels help keep things in the right place, even when you’re in a hurry.
4. Add Hooks or Hanging Rods
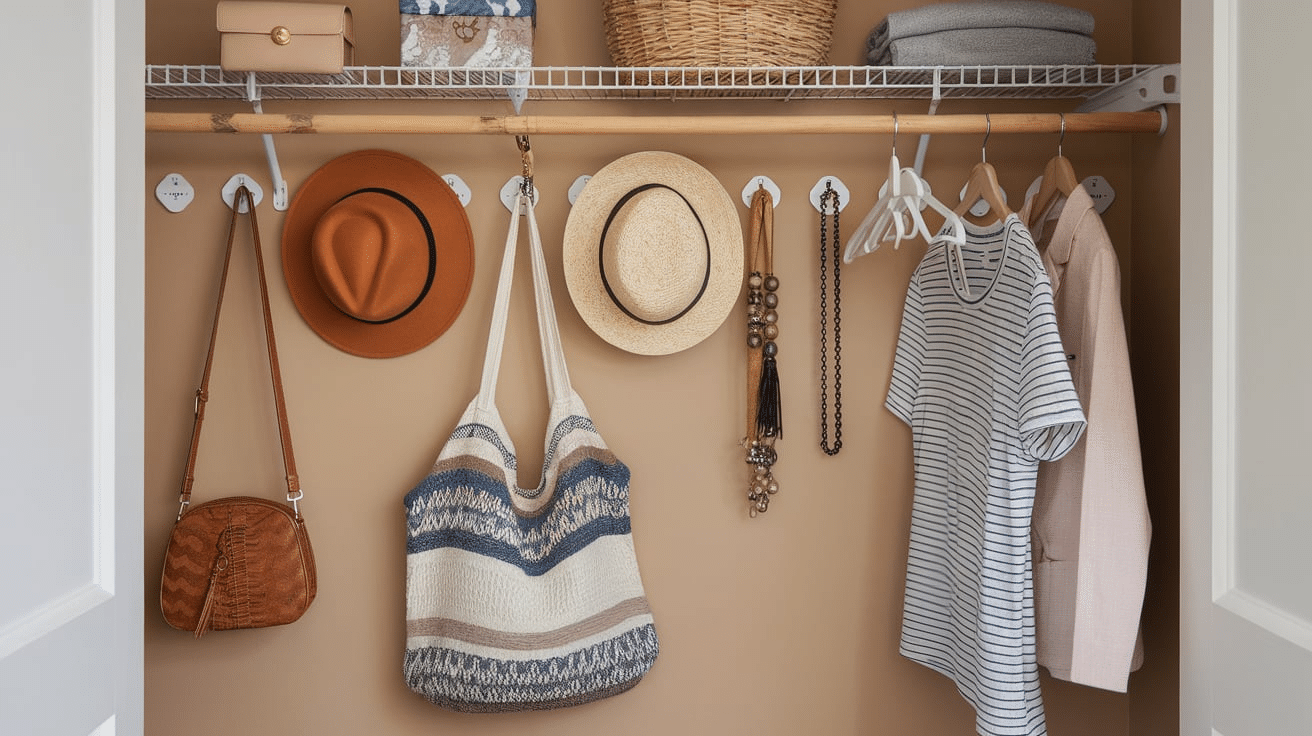
If you have extra wall space or sides of the closet that aren’t being used, consider adding:
-
Hooks for bags, hats, or jewelry.
-
Tension rods for extra hanging space—great for short items like shirts or kids’ clothes.
-
Command strips or adhesive hooks if you don’t want to drill.
These little add-ons can give you more storage without taking up shelf space.
5. Adjust Shelves If Needed
If you made your shelves adjustable—or you’re open to moving things around—it’s okay to change your setup later.
-
As the seasons change, you might want to move sweaters higher and tank tops lower.
-
If you buy new shoes or clothes, rearrange them to make room.
-
The cool thing about DIY shelves is that you can change things whenever you want.
6. Use Shelf Dividers
If you have wide shelves, your stacks of clothes can get messy fast. Shelf dividers can help with that! They’re simple but super helpful for keeping things neat.
-
They keep folded items from falling over.
-
You can separate jeans from leggings or towels from tees.
-
You can buy clear ones or even make your own with cardboard or thin wood.
7. Keep It Clean and Tidy
Once your closet is organized, try to keep it that way. A little effort each week goes a long way. The more you use your new system, the easier it gets to stay organized.
-
Take a few minutes to refold clothes or put things back in place.
-
Do a quick clean-out every season to get rid of what you don’t wear.
-
If you notice clutter building up, try using more bins or adjust shelf space.
With the right mix of organizing and customizing, your closet will be more than just a place to toss your clothes—it’ll be a clean, easy-to-use space that actually helps you stay on top of things.
Maintenance Tips for Your Closet Shelves
Keeping your closet organized doesn’t stop after building the shelves. A little upkeep goes a long way.
- Do a quick tidy-up weekly – Refold clothes, fix stacks, and return items to their spots.
-
Declutter seasonally – Get rid of things you no longer wear or need every few months.
-
Wipe down shelves – Dust and clean shelves regularly to keep them looking fresh.
-
Check for loose screws – Make sure brackets and shelves stay tight and secure.
-
Reorganize as needed – Change your setup if your storage needs change.
-
Don’t overload shelves – Spread items out to avoid sagging or damage.
With just a little care, your closet will stay neat, strong, and super useful for a long time.
Conclusion
Building your own closet shelves is a great way to make your space more organized and useful. It might seem like a big project at first, but once you break it down step by step, it’s totally doable—even if you’ve never built anything before. With just a few tools, some simple planning, and a little bit of time, you can create a closet that actually works for you.
Plus, it feels pretty awesome knowing you did it yourself! Whether you’re making room for clothes, shoes, or storage bins, custom shelves can help keep everything neat and easy to find. And the best part? You don’t have to spend a lot of money to get great results.
So, if your closet has been driving you crazy, now’s the perfect time to fix it. Start small, take your time, and have fun with it. You’ve got this!