
Are you tired of staring at worn-out kitchen cabinets and wishing they looked new again? Gel staining is a budget-friendly way to completely refresh them without dealing with the cost or mess of a full cabinet replacement.
Unlike traditional stains that soak into wood, gel stain sits on top of the surface, which makes it a perfect choice for cabinets that already have a finish.
In this article, I’ll walk you through nine important tips that can help you get amazing before-and-after results with gel stain, even if you’re a beginner.
You’ll learn which products work best, how to prepare your cabinets correctly, and the techniques professionals use to achieve a flawless, smooth finish. I’ve been refinishing cabinets for over ten years, and I’ve made plenty of mistakes, so you don’t have to.
With the right approach, you can give your kitchen a beautiful new look in just a weekend—and you can do it all for under $100.
What is Gel Stain and Why Use It?
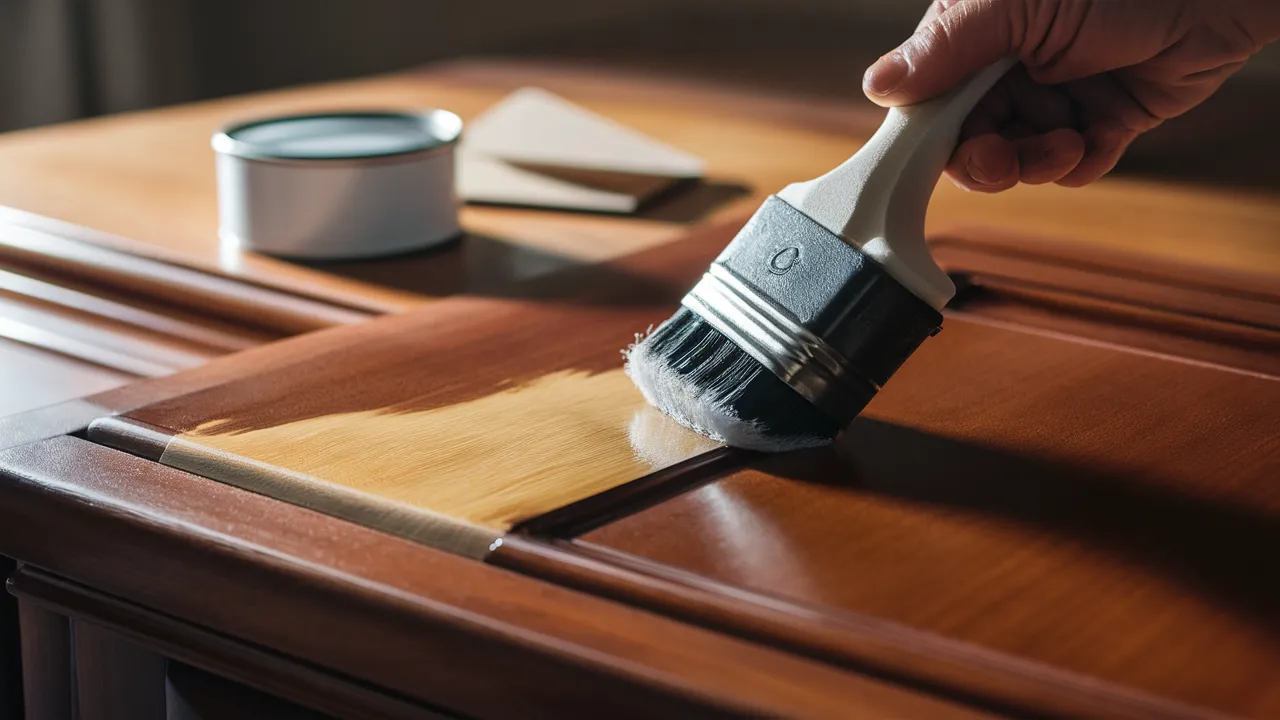
Gel stain isn’t your regular wood stain because it has a thick, pudding-like texture that sits on top of surfaces instead of soaking into the wood. This makes it perfect for cabinets that are already finished or made from materials that don’t accept regular stains well.
One reason I love using gel stain is that it gives you much more control—the thick texture means less dripping and smoother application, especially on vertical cabinet doors.
It also provides more even coverage, which is important when you’re working with woods like oak that have strong grain patterns.
The best part is that you don’t have to strip your cabinets down to bare wood completely. A light sanding is usually enough.
Gel stain also works on wood, laminate, metal, and even fiberglass, allowing you to update almost any cabinet in your home. It’s great for covering imperfections, drastically changing color, or creating a fresh, uniform look without needing a full replacement.
Essential Tips for Gel Stain Cabinets: Before and After
These tips will help you achieve the dramatic before-and-after gel staining effects you see online. I’ve gathered them from years of experience, so you can avoid mistakes and get professional-looking results without the professional price tag.
1. Choose the Right Gel Stain
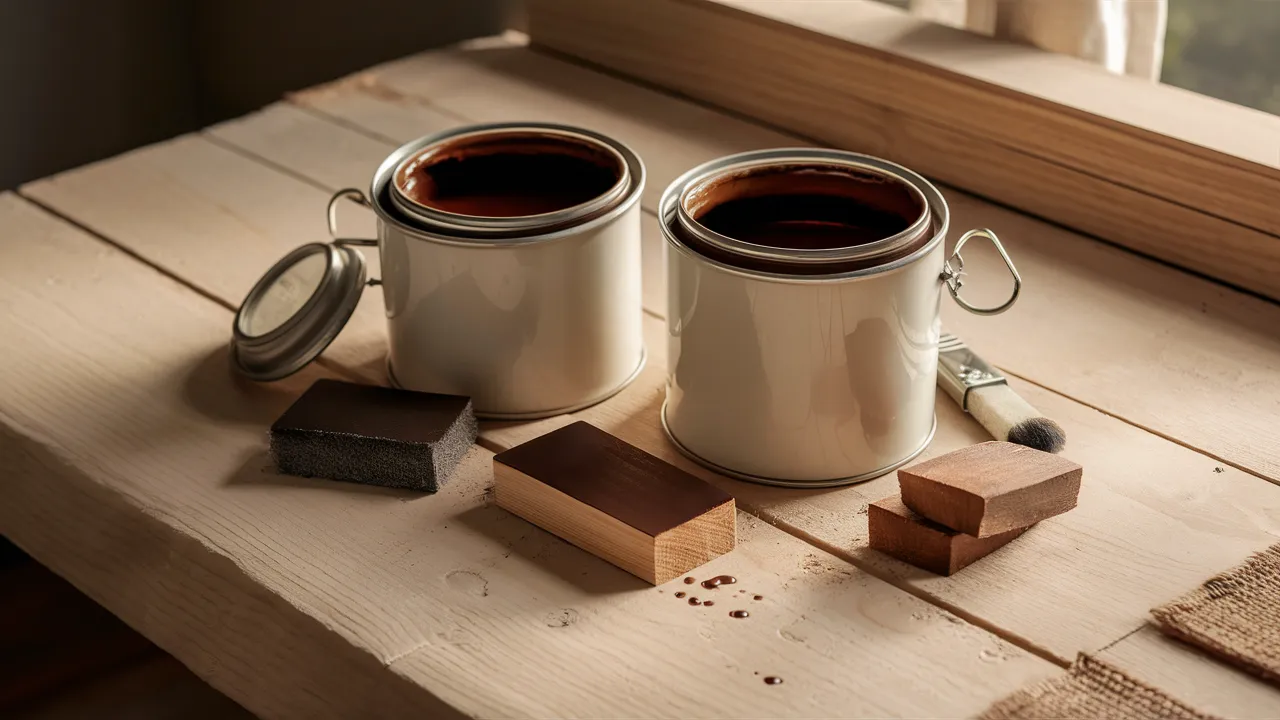
Selecting the right gel stain is the first crucial step to achieving amazing results. Not all gel stains are the same, and choosing a quality brand makes a huge difference in how easy the project feels.
General Finishes Java Gel is my top pick for beginners because it’s forgiving, easy to apply, and gives a rich, deep color that looks great on kitchen cabinets. Minwax Gel Stain is another good option and is more readily available in local stores.
Always test the color first on a hidden spot, as gel stain covers more like paint and can appear differently from what you expect.
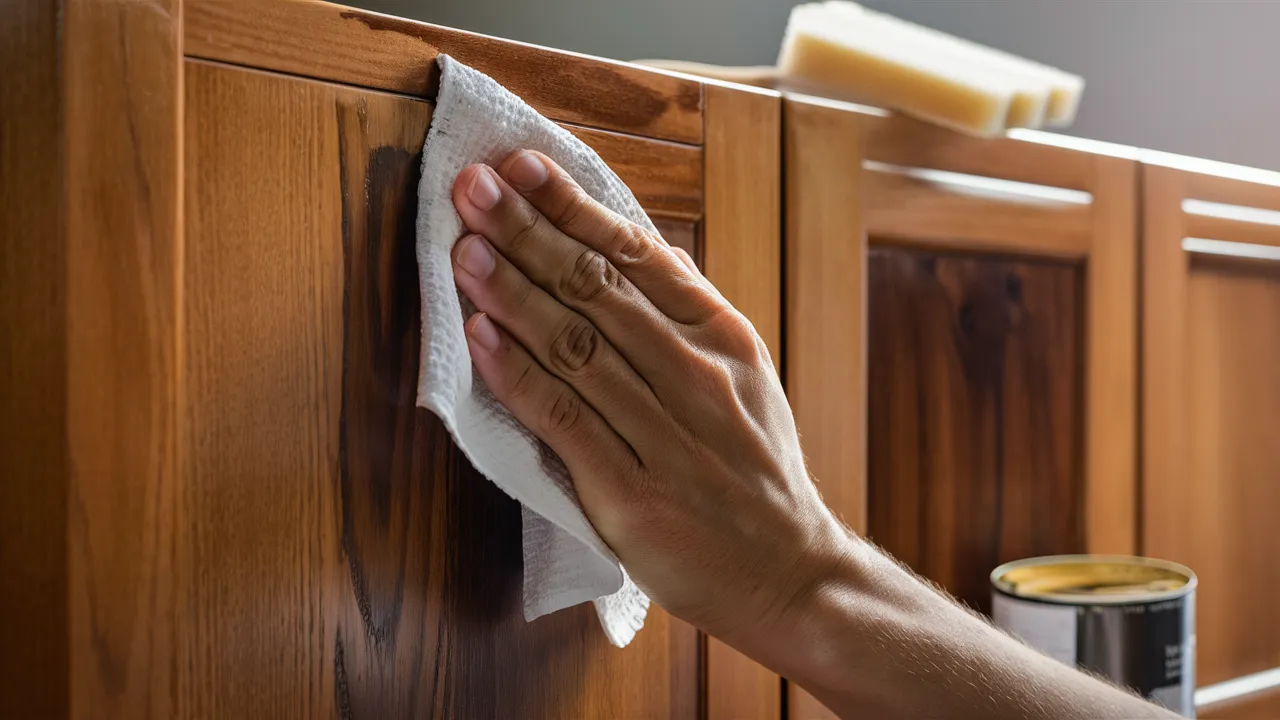
2. Don’t Skip the Cleaning Step
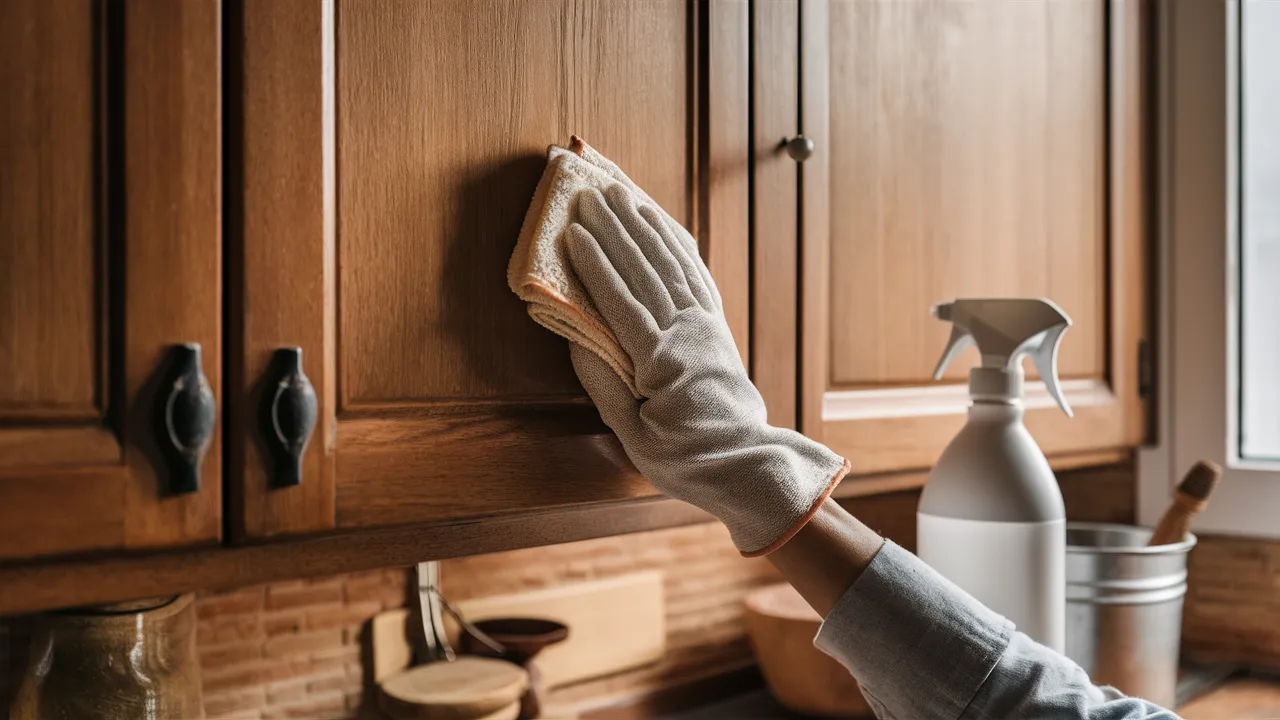
Cleaning your cabinets carefully is just as important as staining them. Kitchen cabinets collect oils, dirt, and grime that you might not even notice, and if you don’t clean them properly, the gel stain won’t adhere correctly.
Use a degreaser like TSP and ensure you wipe down every surface thoroughly, especially around handles and corners.
After cleaning, rinse with fresh water and let everything dry completely before proceeding. It may seem like a small step, but it can make a significant difference in achieving smooth, lasting results.
3. Lightly Sand for Better Adhesion
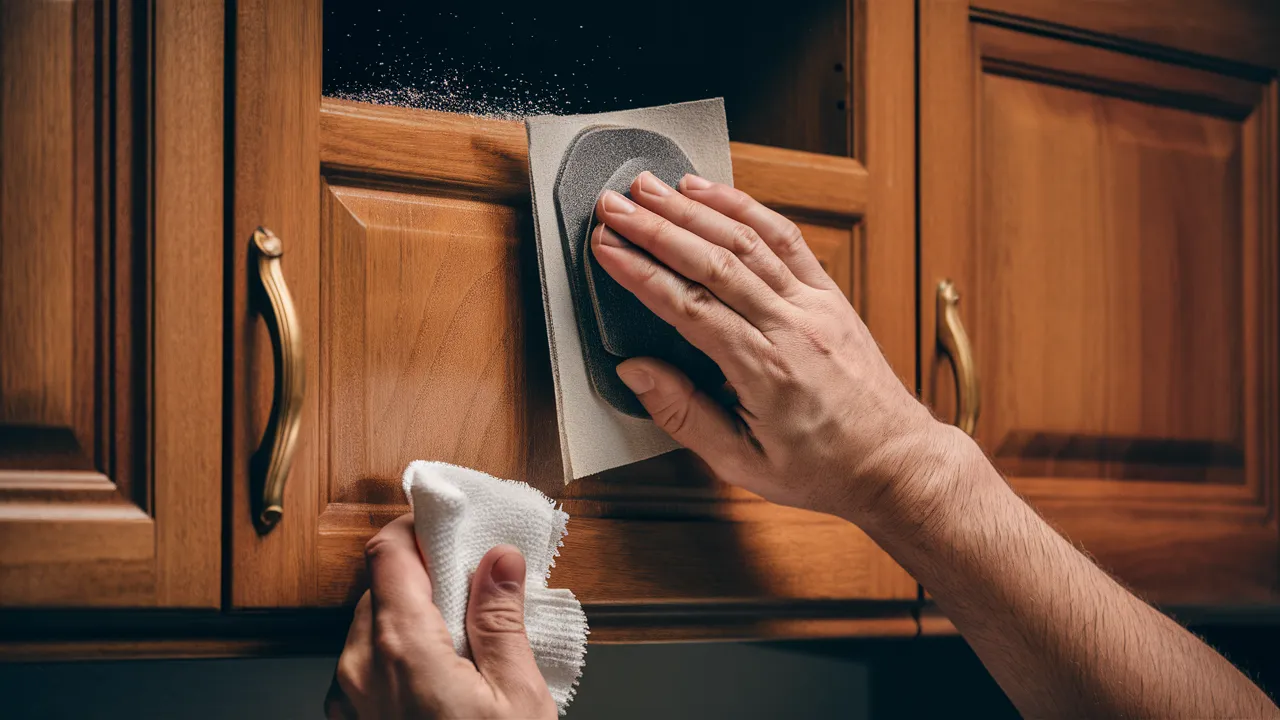
Light sanding helps the gel stain grip better to your cabinets better. You’re not trying to sand all the way down to bare wood—you need to scuff up the glossy finish a little bit.
Use 150-220 grit sandpaper or a sanding sponge, and ensure you wipe off all dust when finished using a tack cloth or microfiber cloth.
If your cabinets have intricate details or curves, wrap sandpaper around a craft stick to access the tight spots. A well-sanded surface makes the stain appear more even and professional.
4. Use a Foam Brush
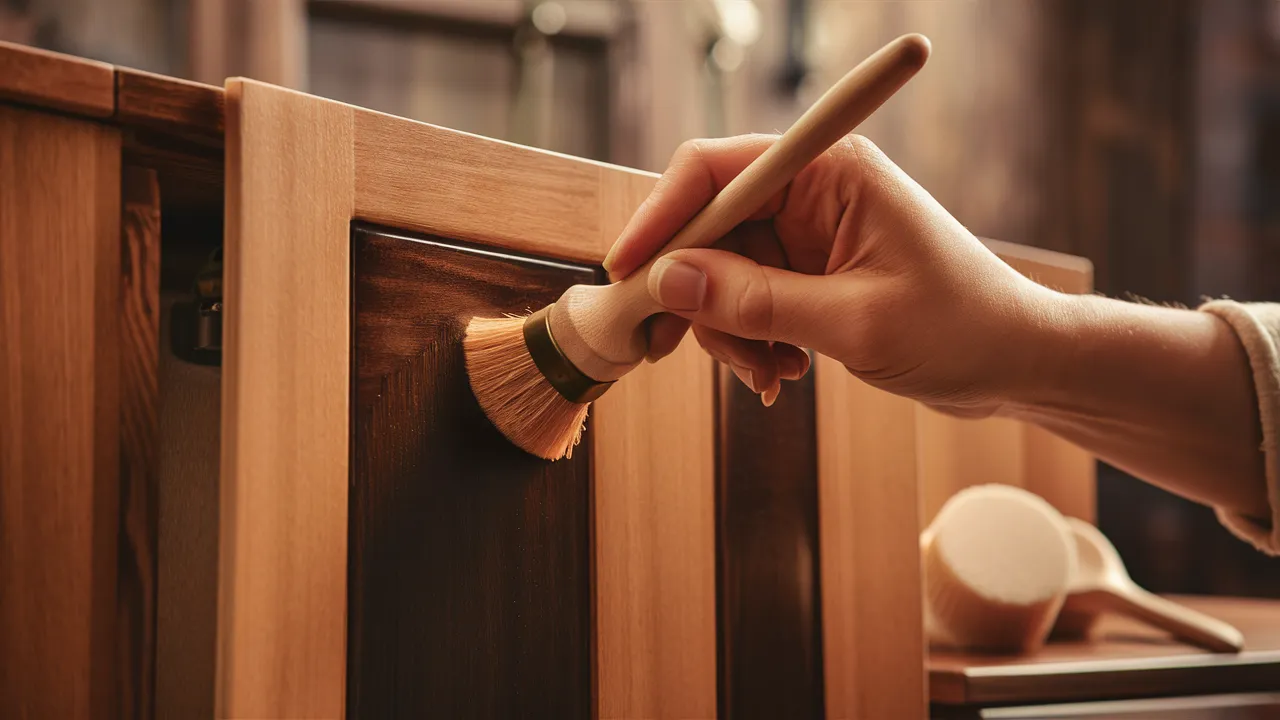
The tool you use is crucial when applying gel stain, and foam brushes are the best choice for beginners. They spread the stain evenly without leaving brush marks, and they’re affordable enough that you can discard them after each use.
Keep a few different sizes on hand so you can use smaller ones for detailed corners and bigger ones for wide, flat areas.
For larger areas, you can use a foam roller, but always smooth it out afterward with a foam brush to maintain an even finish.
5. Apply Thin, Even Coats
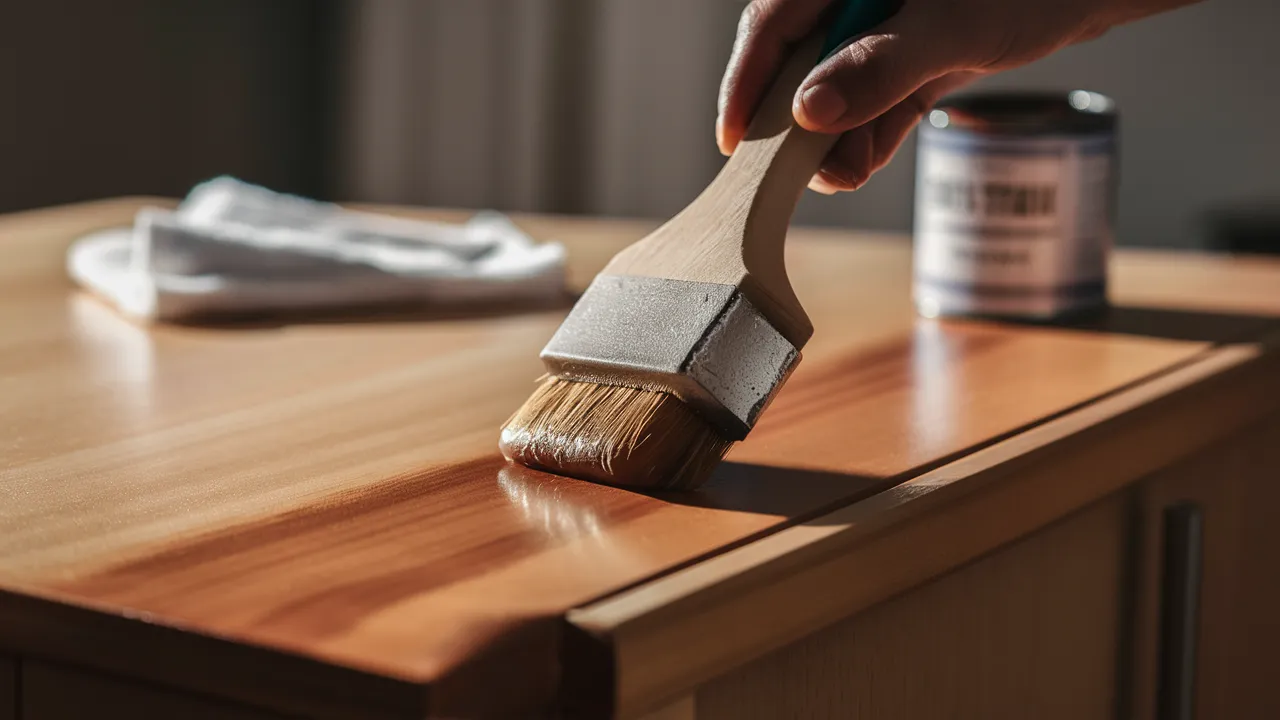
The biggest mistake I see with gel stain is applying it too thickly. Thick coats take forever to dry, often resulting in a streaky and uneven appearance.
Instead, dip your foam brush lightly into the stain and apply thin, even layers across the surface. The first coat may appear a little streaky, but that’s okay because gel stain builds up with each subsequent coat.
Most projects require approximately 2–3 coats to achieve a rich, even color, and waiting for the full drying time between coats is crucial for a beautiful, professional finish.
6. Work in Sections
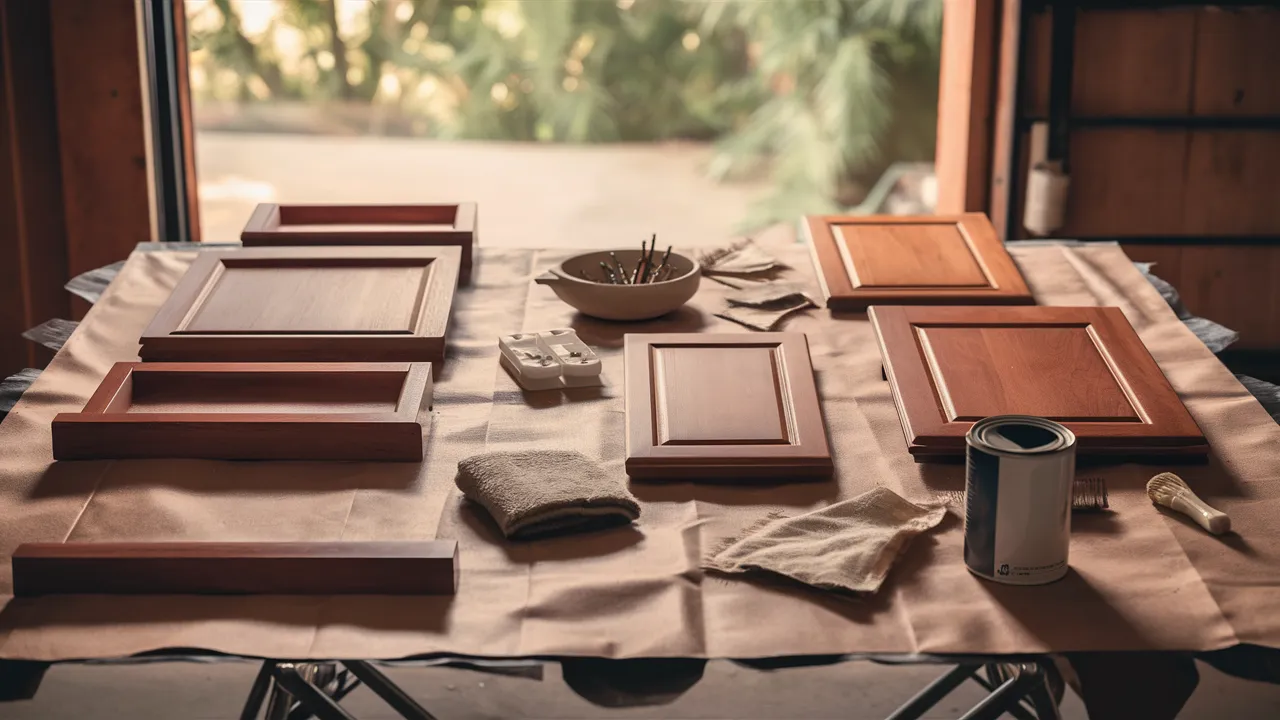
Tackling the entire kitchen all at once can feel overwhelming and stressful, so it’s better to work in smaller sections instead.
Please start with the upper cabinets on one wall, complete them, and then proceed to the lower cabinets underneath. This method helps you stay organized and keeps your work smooth and even.
If you prefer, you can remove cabinet doors and drawers, label them carefully, and stain them separately in your garage or workspace. Always label hardware and take a few photos before you start, because reattaching everything will be much easier later.
7. Wipe Off Excess Promptly
With gel stain, wiping off the excess product is just as important as applying it. After using the stain on a small area, wait 1–3 minutes (as directed by the brand), then gently wipe away the excess with a clean, lint-free cloth.
Wipe in the direction of the wood grain for the best look. Wiping lightly leaves a darker, richer color, while wiping more firmly reveals the wood grain more clearly.
Don’t let the stain sit too long, or it will become sticky and difficult to wipe off evenly, which can damage the finish.
8. Allow Ample Dry Time Between Coats
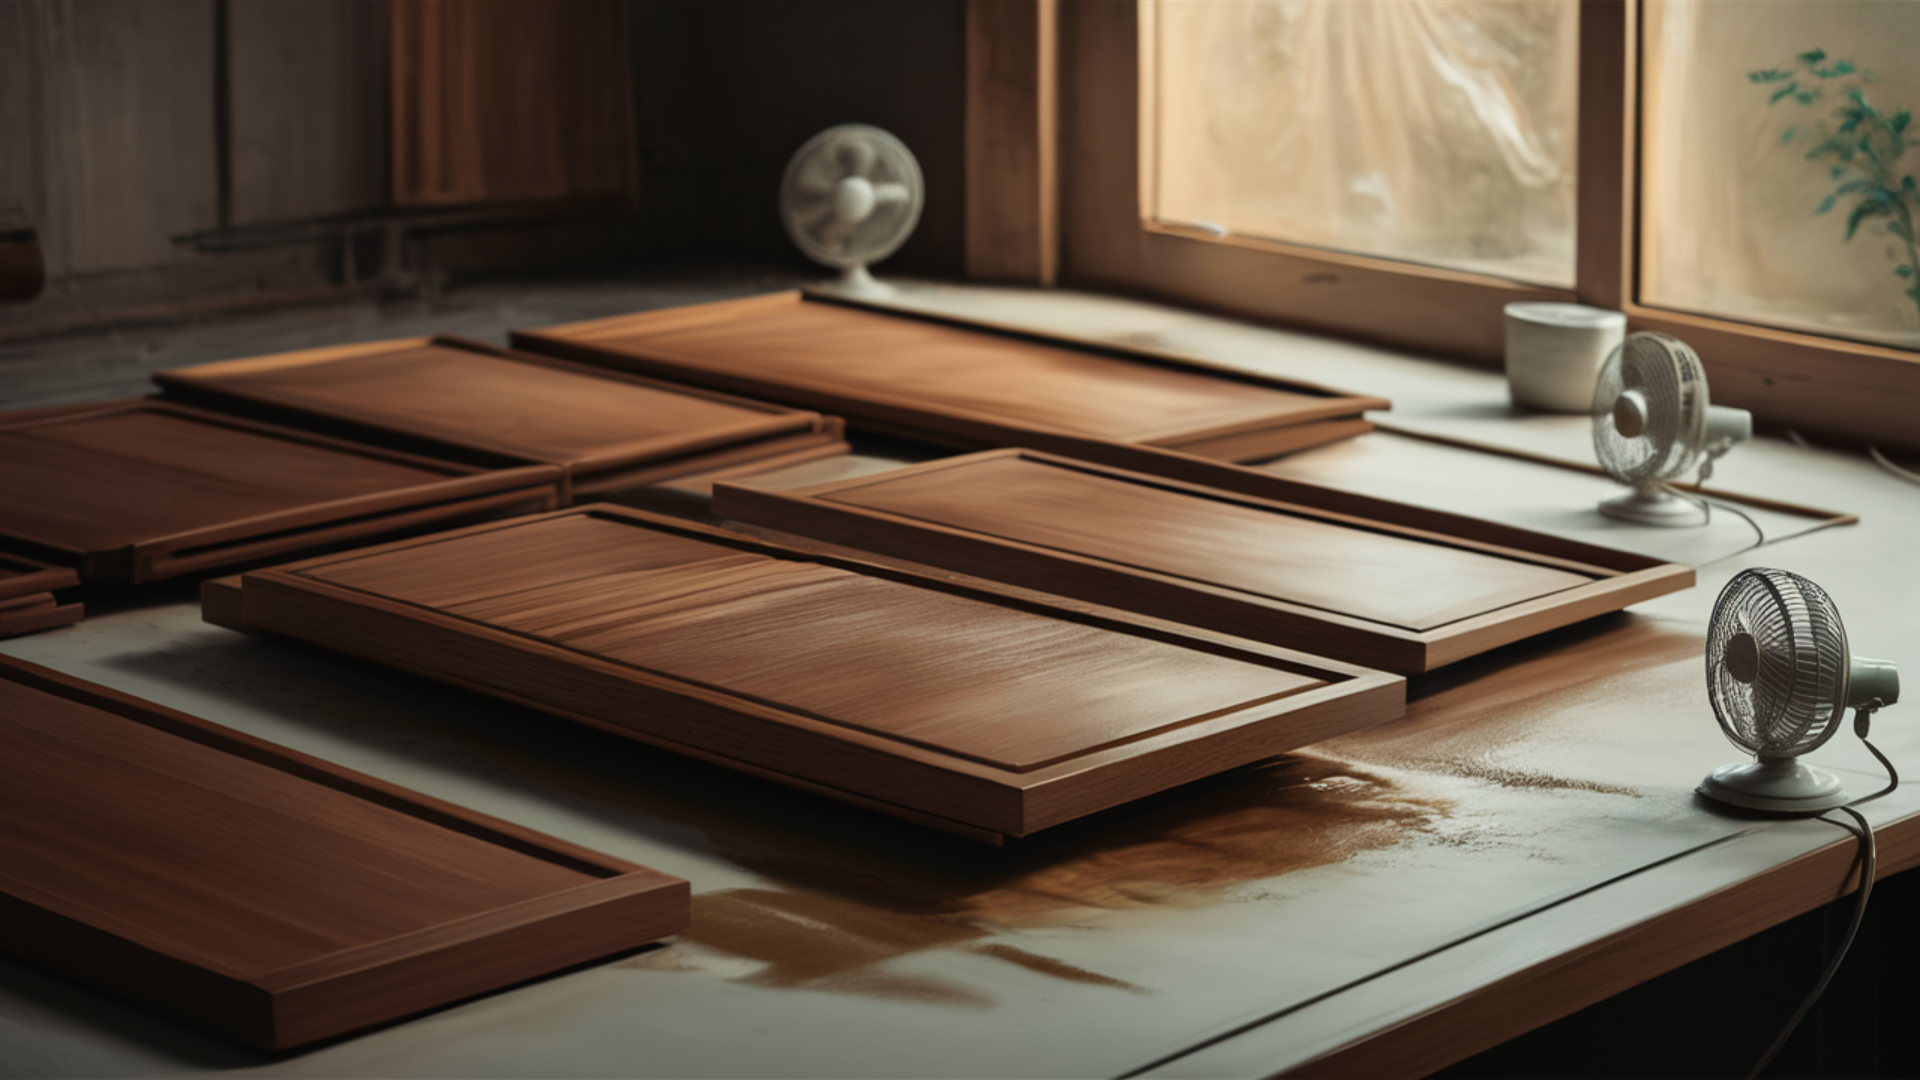
Gel stain requires extra drying time compared to regular stains due to its thicker texture, so patience is crucial.
Most gel stains need at least 24 hours to dry between coats, but humidity or cold temperatures can prolong the drying time. If the surface feels sticky at all, it’s not ready for the next layer.
Rushing this step can cause peeling, streaks, or lifting, and once these issues occur, it’s challenging to correct them. Set up fans for better airflow if necessary, but avoid blowing dust onto the wet stain. Allow each coat sufficient time to cure properly.
9. Finish with a Protective Topcoat
The final and most important step is applying a protective topcoat, which should never be skipped. Polyurethane is ideal for kitchens because it effectively protects the surface from scratches, spills, and everyday wear.
Use a water-based satin polyurethane for a softer, non-shiny finish. Apply it just like the stain—in thin, even coats—using a clean foam brush.
Plan for 2–3 coats for strong protection. Lightly sand between each coat with very fine sandpaper (about 320-grit) and clean off the dust before adding the next layer. The topcoat will make your finish smoother, stronger, and even more beautiful.
Common Mistakes to Avoid
Even when you follow all the best tips, there are still some common mistakes you’ll want to avoid when gel staining your cabinets.
Skipping the step of removing cabinet doors might seem easier, but taking them off makes staining smoother and gives you a much more professional finish.
Rushing through cleaning and sanding often leads to problems later because the stain won’t stick properly. Always work in good lighting so you can catch drips or missed spots before they dry.
Avoid staining in extreme temperatures, as gel stain dries best when the temperature is between 65–75°F with normal humidity.
Also, don’t rush to reassemble your cabinets too soon—wait at least 24–48 hours after the final topcoat to avoid damage. Finally, remember to stir (not shake) the gel stain each time you use it to maintain an even and consistent color throughout your project.
Conclusion
Improving your cabinets with gel stain isn’t difficult, but it does require patience, careful preparation, and the right techniques to achieve amazing results. The dramatic before-and-after difference you’ll see is definitely worth the time and effort you put into it.
Always remember that good preparation is half the battle—take time to clean your cabinets properly, sand them lightly but thoroughly, and apply the stain in thin, even layers.
Don’t rush through drying times because letting each coat cure fully is what gives you a strong, beautiful finish that will last for years.
I hope these nine tips help you feel confident and ready to tackle your cabinet makeover without feeling overwhelmed. The money you’ll save by refinishing instead of replacing your cabinets makes this one of the smartest and most rewarding projects you can do for your home.
Have you tried gel staining cabinets before? Or are you getting ready to start your project soon? I’d love to hear about your experience—drop your questions, tips, or before-and-after photos in the comments below!