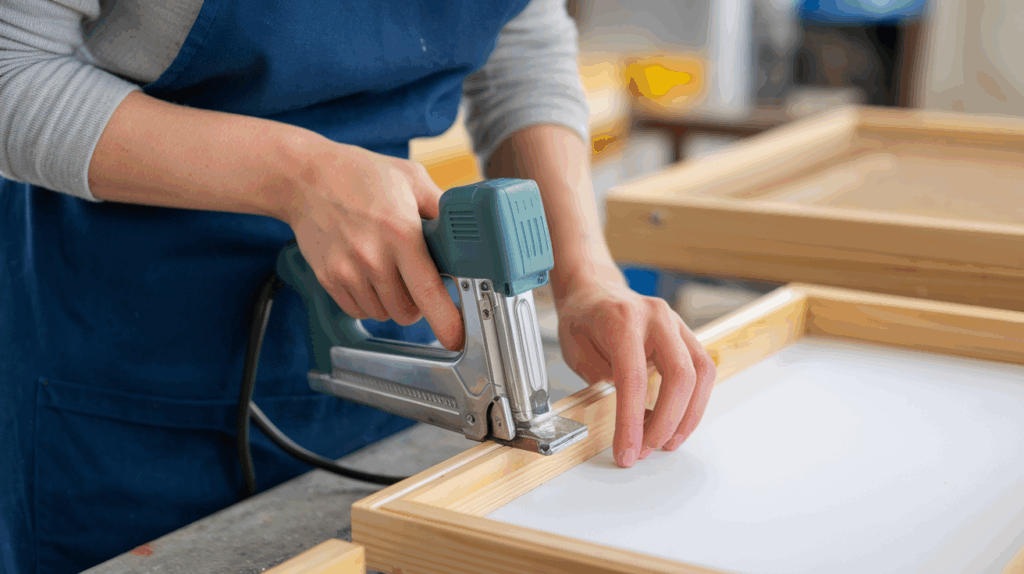
A staple gun is a powerful tool I often use to fasten materials like wood, fabric, or plastic.
You’ll find it handy for all kinds of projects, home repairs, crafts, upholstery, and even light construction.
Whether I’m using a manual, electric, or pneumatic staple gun, one thing I always keep in mind is this: knowing how to load it safely and correctly matters.
Loading it the right way helps prevent jams, misfires, and injuries. It also saves me time and frustration while I work.
Even if you’re new to using a staple gun, don’t worry. The process is pretty simple once you know the steps.
In this guide, I’ll show you how to load staples into most standard staple guns. You’ll learn how to open the magazine, insert the staples, close it properly, and test the gun.
No matter your experience level, these clear, easy steps will help you get the job done quickly and safely, just like they’ve helped me
What Is a Staple Gun?
A staple gun is a handheld tool used to drive heavy-duty staples into various materials. Unlike a regular office stapler, a staple gun is built for tougher jobs.
It’s commonly used in home improvement, furniture upholstery, crafting, wiring, insulation, and light construction.
Manual staple guns rely on hand pressure, making them ideal for small tasks. Electric ones plug in or use batteries, offering more power with less effort.
Pneumatic staple guns connect to an air compressor and are often used by professionals for heavy-duty work.
Staple guns come in different designs, but they all perform the same basic function: quickly fastening materials with sharp metal staples.
Identify the Type of Staple Gun You Have
Before you load staples, you need to know what kind of staple gun you’re using. There are three main types, manual, electric, and pneumatic, and each one works a little differently.
1. Manual Staple Guns
Manual staple guns work by squeezing a handle to force a staple into your material. They’re commonly used for light-duty tasks like crafting, upholstery, and small home repairs.
These tools don’t need electricity or air pressure, which makes them portable and easy to use anywhere.
The magazine is usually spring-loaded and located at the bottom or back. They require some hand strength but are reliable for quick, simple jobs.
2. Electric Staple Guns (Corded or Cordless)
Electric staple guns use a motor to fire staples, making them easier on your hands compared to manual models.
They’re great for repetitive tasks or larger projects, like installing insulation or doing upholstery work.
Corded versions plug into an outlet, while cordless models run on rechargeable batteries.
These guns often have a safety lock and may include a button to release the magazine.
Always power off or unplug the unit before loading to avoid accidental firing.
3. Pneumatic (Air-Powered) Staple Guns
Pneumatic staple guns run on compressed air and are often used by professionals for heavy-duty jobs like roofing, flooring, or framing.
They provide strong, consistent power and can shoot many staples quickly. You’ll need to connect them to an air compressor using a hose.
Before loading staples, always disconnect the air line to prevent accidental discharge. The magazine typically opens by sliding or releasing a latch.
Safety First: What to Do Before Loading Your Staple Gun
Before you begin loading your staple gun, take a few simple safety steps. These precautions can help prevent accidents and make the process easier.
- Unplug or disconnect your tool: If you’re using an electric staple gun, unplug it or remove the battery. For pneumatic models, disconnect the air hose. This stops the gun from firing while you’re loading it.
- Check for jams or leftover staples: Open the magazine and make sure it’s clear. Remove any old staples or blockages to prevent misfires later.
- Put on safety glasses if needed: If you’re working in a dusty area or using a high-powered gun, wearing safety glasses is a smart choice.
- Work on a flat, clean surface: Set the tool on a stable surface to avoid slipping or dropping it during loading.
Step-by-Step Instructions to Load Staples in a Staple Gun
Once you’ve identified your staple gun type and followed basic safety steps, it’s time to load the staples.
Step 1: Open the Staple Gun
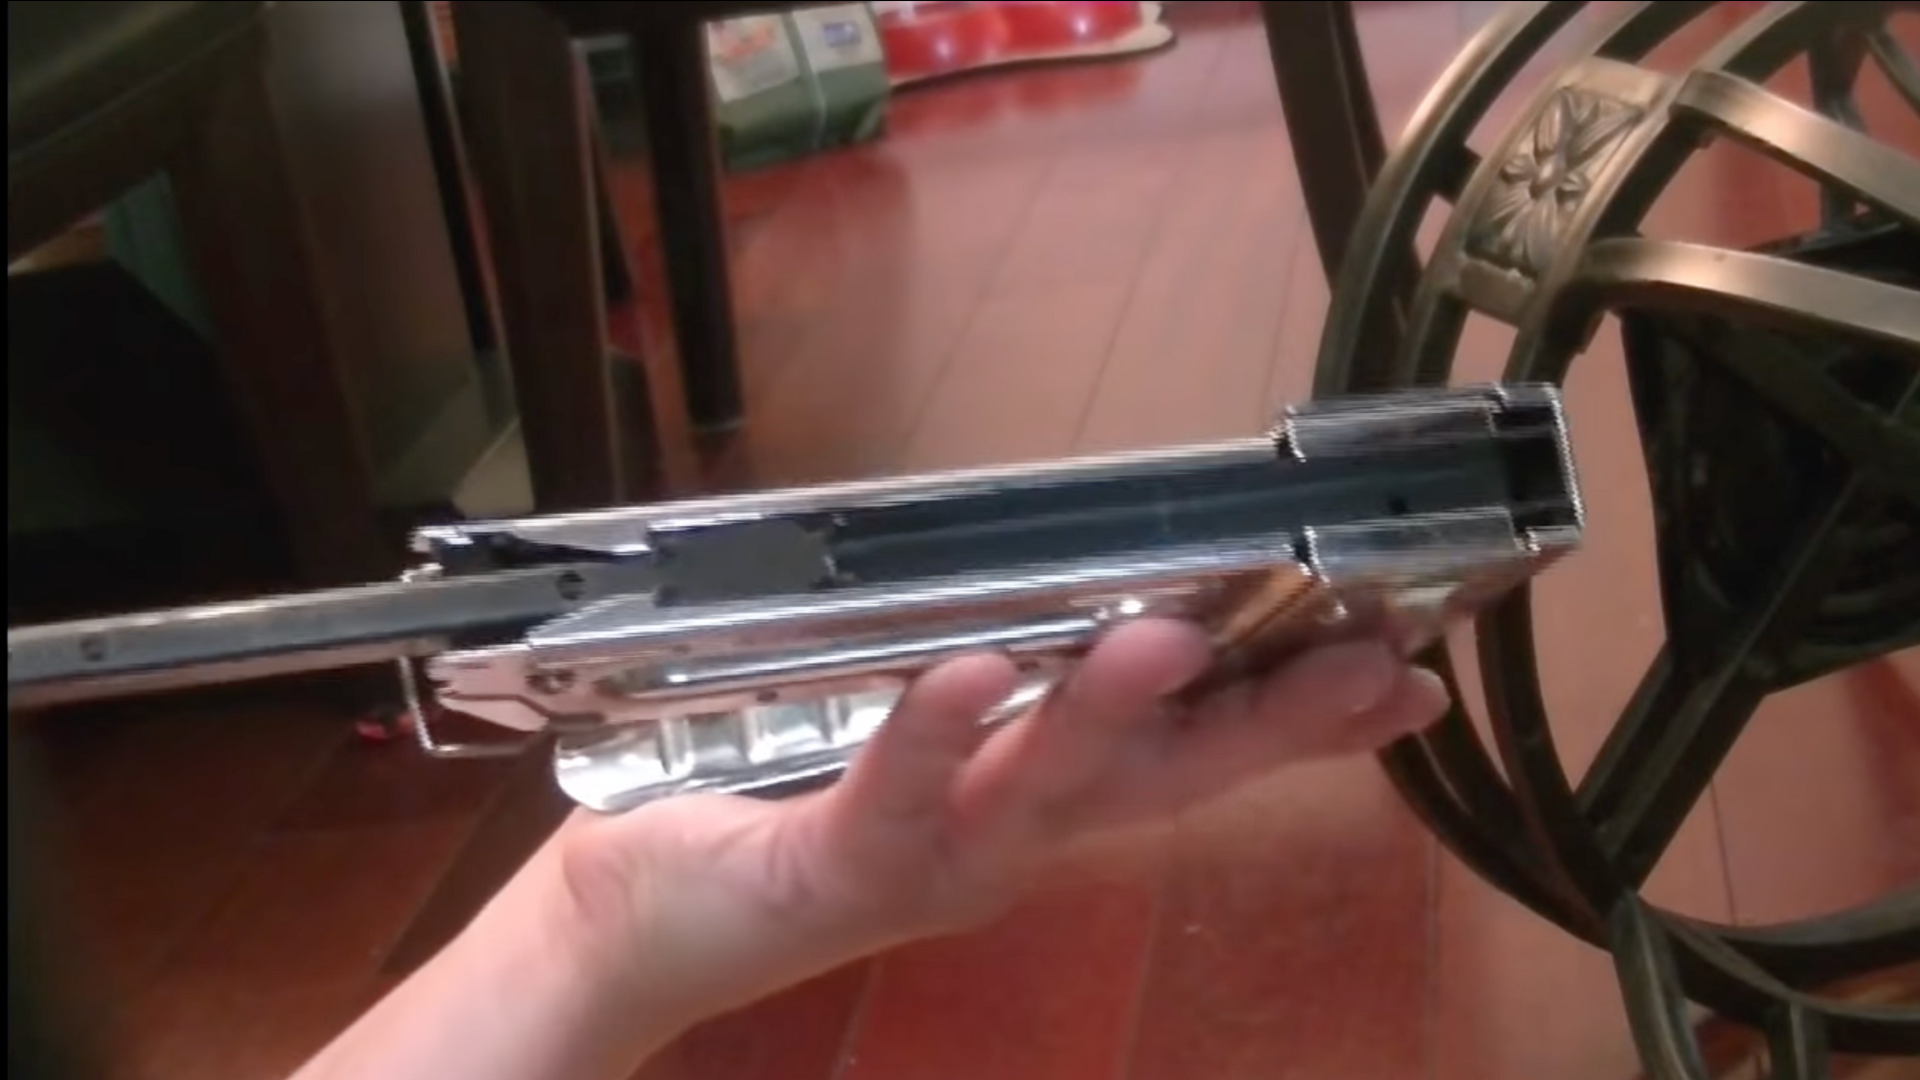
Start by turning the staple gun on its side so you can easily see the back end. Look for a small black latch or knob, this is usually located at the very rear of the gun.
It holds the spring-loaded pusher in place. Pinch this piece firmly and pull it out slowly. You may feel some resistance, especially if the spring is tight.
Once it’s out, you’ll expose the staple channel, this is where the new row of staples will go. Be sure to set the latch aside in a safe place so you don’t lose it
Step 2: Prepare the Staples
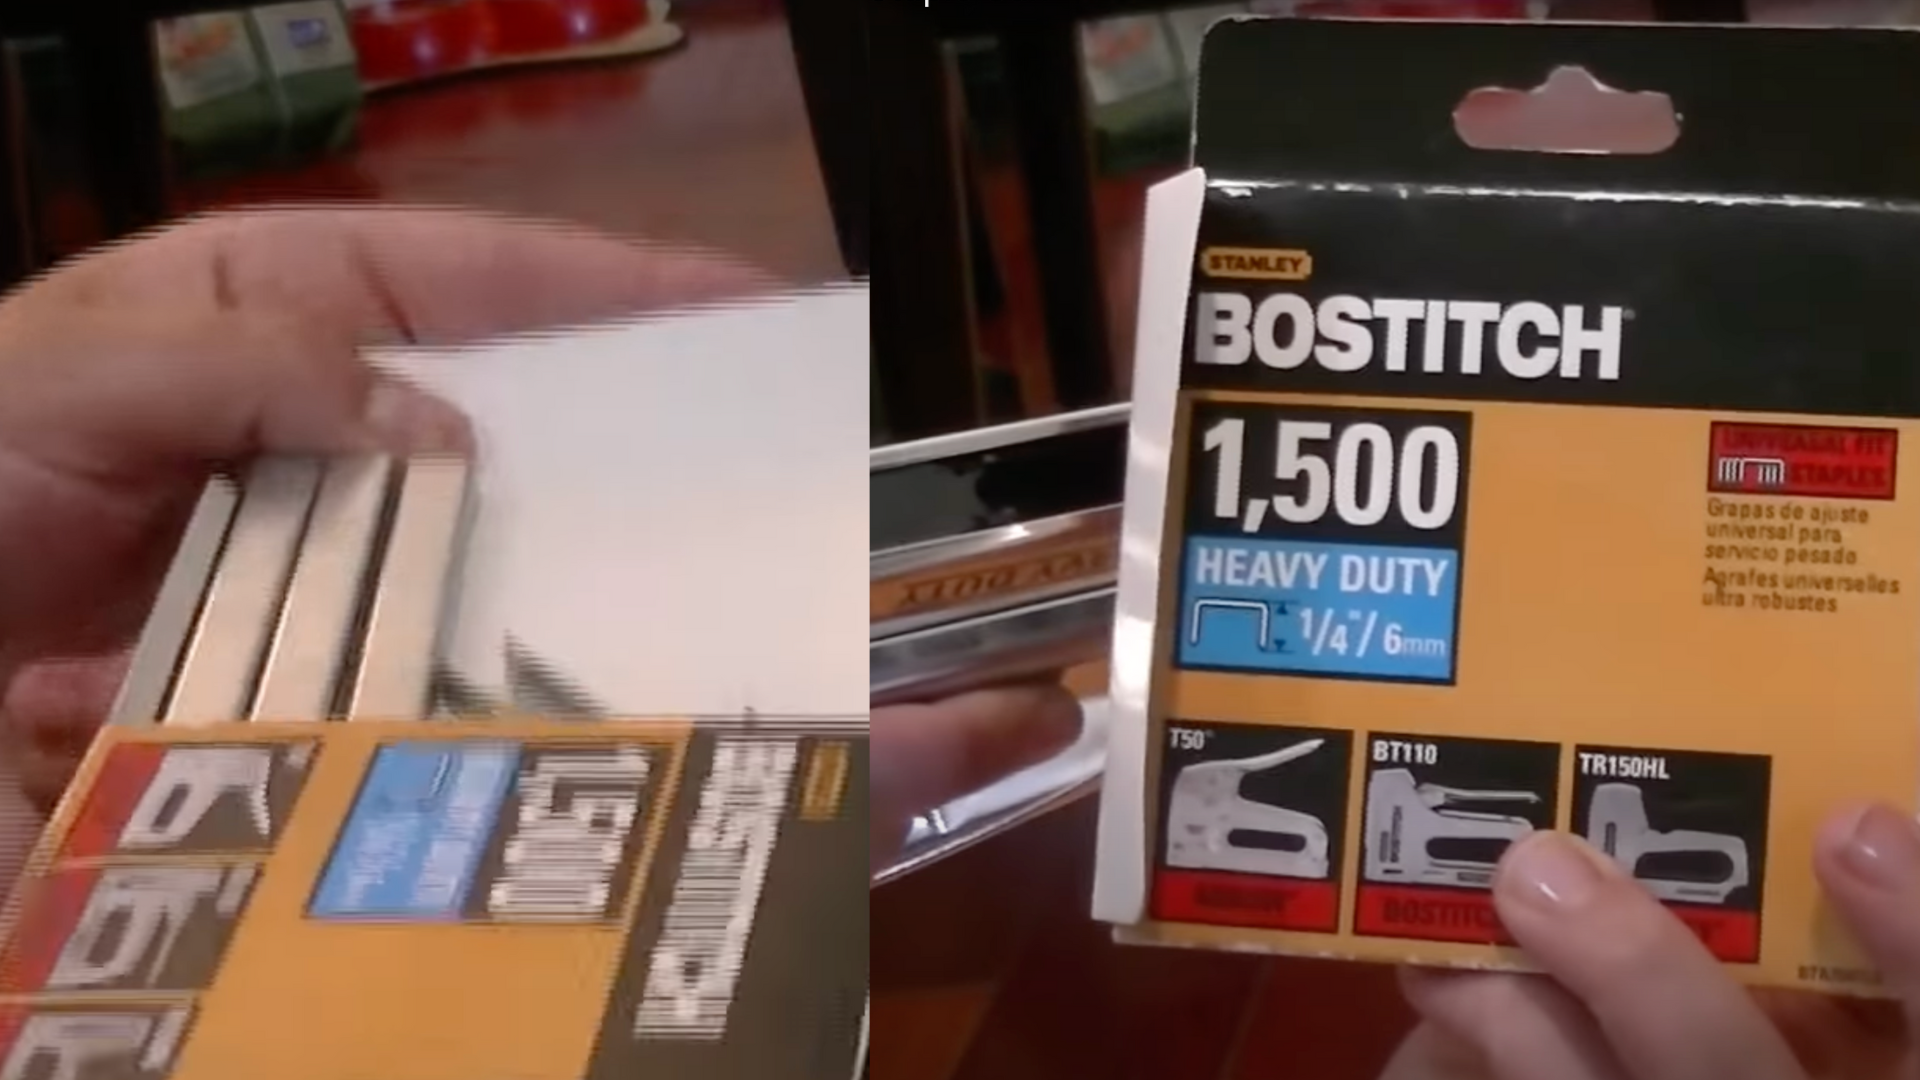
Before loading anything, double-check your staple gun’s manual or labeling to determine the correct staple size and type.
Using the wrong staples can cause jams or damage the tool. Standard staple sizes often include 1/4″, 5/16″, or 3/8″, but this varies by model.
Make sure the staples are straight and not bent. If they’re warped or misaligned, they won’t feed properly, and you might end up frustrated mid-project.
Line them up so they’re ready to slide into the chamber smoothly
Step 3: Load the Staples
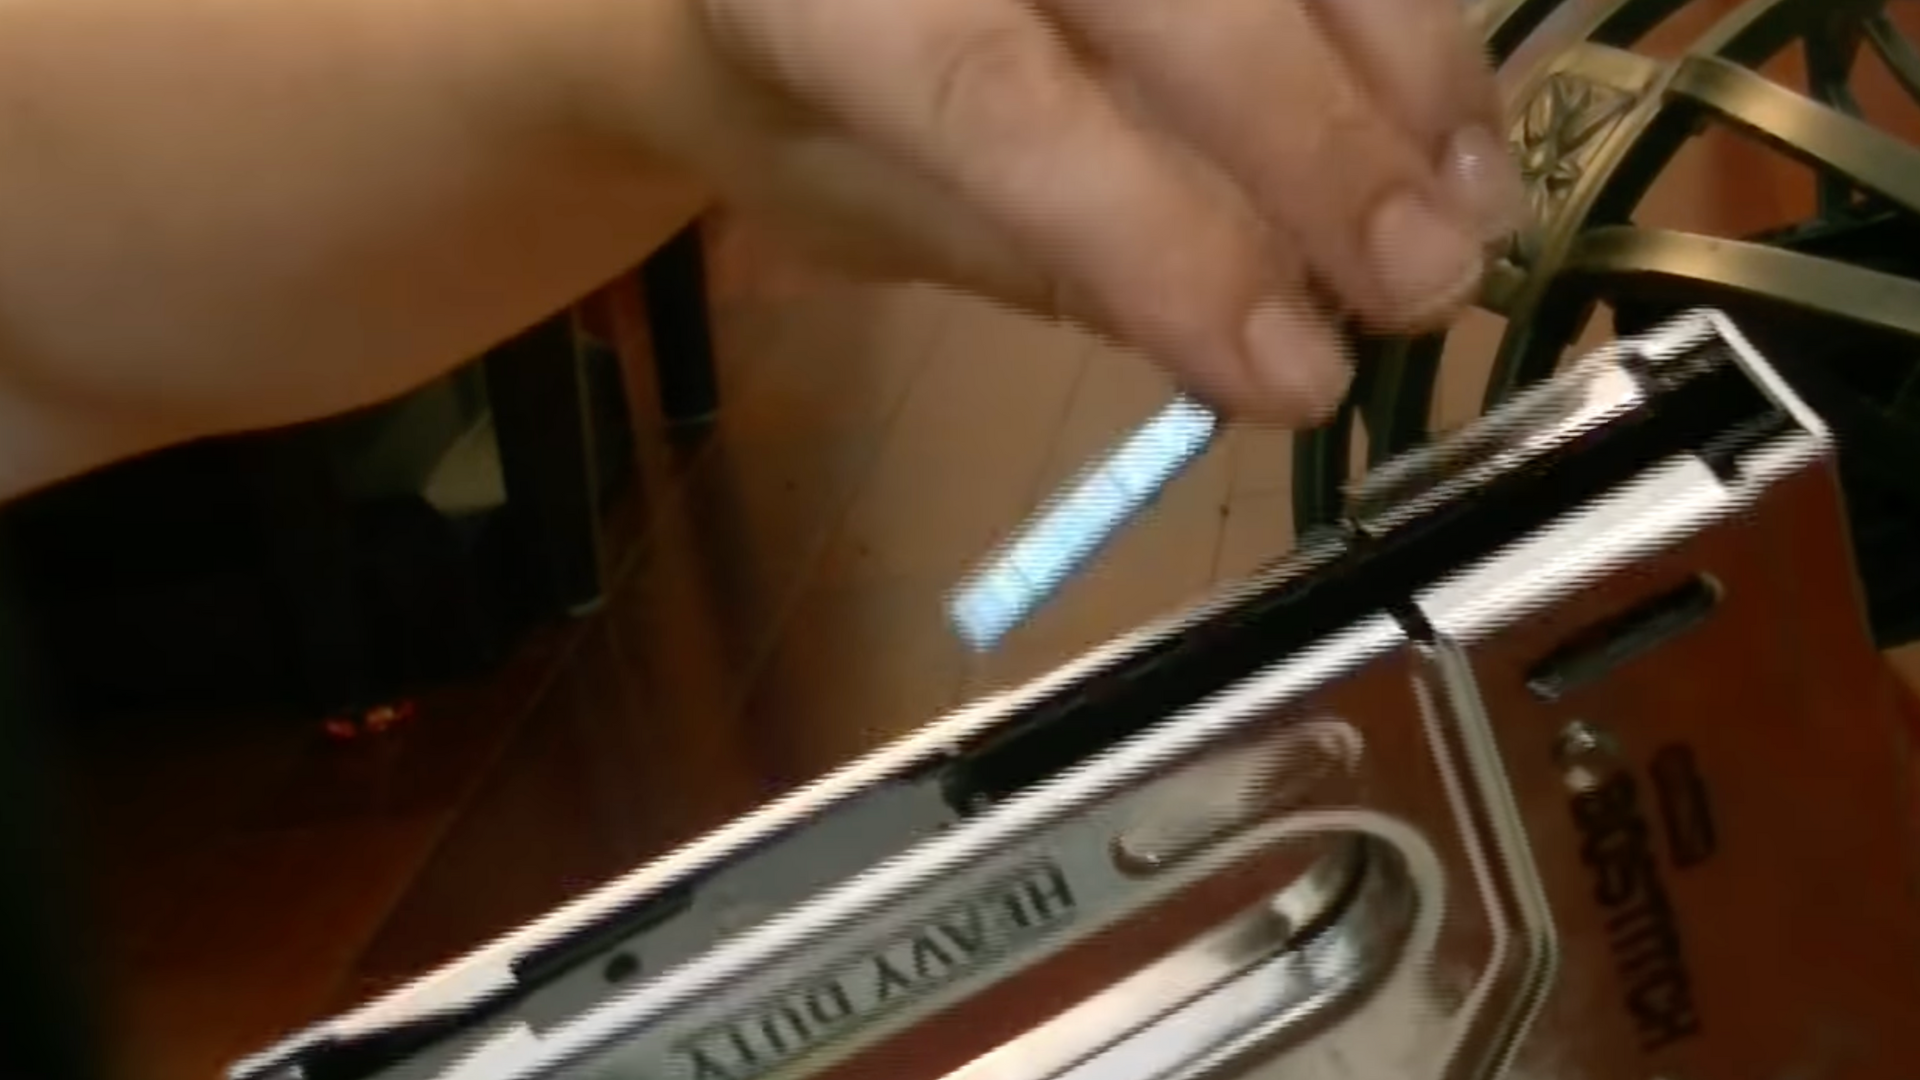
Hold the staple gun steady and carefully insert the staples into the channel with the pointed ends facing down and toward the front of the gun (toward the area where the staples come out).
Think of it like this: the staples should face the same direction they’ll shoot out. Make sure they sit flat and snug within the channel.
If they’re tilted or misaligned, remove and reinsert them. Taking the time to place them properly now prevents annoying jams later.
Step 4: Close the Staple Gun
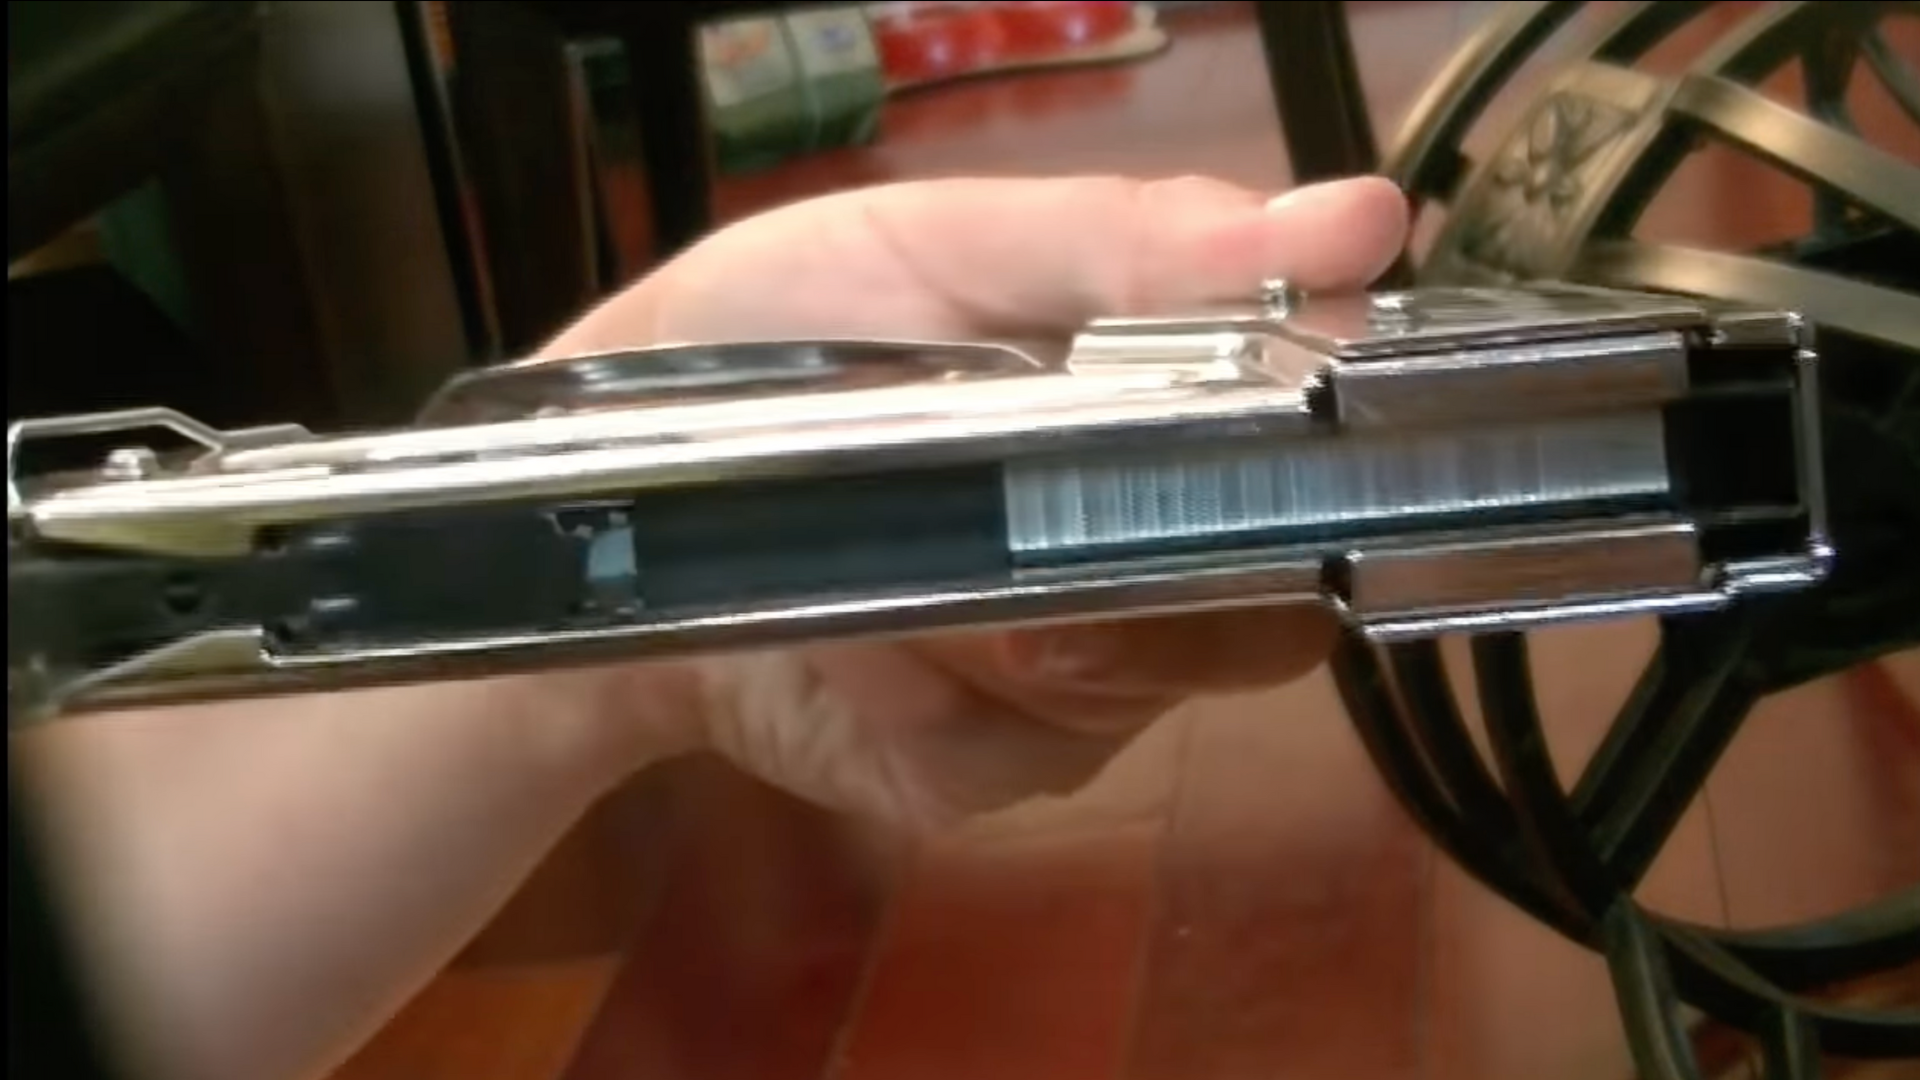
Grab the black pusher piece you removed earlier. Slide it slowly back into the channel until you hear or feel it click into place.
This locks the staples inside and resets the spring mechanism. Give the back end a gentle tug to confirm it’s secure; you don’t want it popping out unexpectedly.
Once everything’s closed up, point the gun at a scrap piece of wood or cardboard and fire a few test staples. If they shoot cleanly, you’re ready to start your project with confidence.
Recommended: Still unsure about any step? This short video from YouTube by @stefanias.journey shows exactly how to load staples the right way.
Test It Out: Make Sure the Gun Is Working
Once your staple gun is loaded, it’s important to make sure it’s working properly before starting your actual project.
- Fire one or two test staples into a piece of scrap wood, cardboard, or thick fabric. This helps you confirm the staples are feeding and firing correctly.
- Check for any issues like jams, double shots, or weak staples. If the staple doesn’t go in all the way or fires at an odd angle, something might be misaligned.
- Reopen the magazine if needed, realign the staples, and make sure the spring or pusher is in the right position. Then close it securely and test again.
Tips for Using a Staple Gun Safely
Staple guns are powerful tools, and like any tool, they need to be used with care.
Whether you’re working on a small craft or a big construction task, following basic safety guidelines can help you avoid injuries and keep your tools in good condition.
- Always disconnect it before reloading: Unplug electric models or detach the air hose on pneumatic ones.
- Never point the tool at yourself or others: Treat it like any power tool, with caution.
- Store it unloaded when not in use: This prevents accidental discharge and keeps it safer around kids or pets.
- Keep it clean and inspect it regularly: Wipe it down after use and check for rust, damage, or worn parts to keep it in good shape.
Common Staple Gun Problems
Even when you load your staple gun correctly, things don’t always go as planned. Jams, misfires, and feeding issues are common, especially if the wrong staples are used or the tool is worn out.
- Staples won’t fit: Double-check the staple size. Every staple gun is designed for specific sizes. Look at the user manual or markings on the tool to match the correct staples.
- It keeps jamming: Open the magazine and remove any bent or misfired staples. Make sure you’re not overloading the tray. Also, keep the magazine clean—dust and debris can cause jams.
- Spring or plunger seems weak: If the staple gun fires inconsistently or won’t push staples forward, the internal spring or plunger might be worn out. Consider replacing the part or the entire unit if it’s older or heavily used.
Conclusion
Loading a staple gun doesn’t have to be complicated.
By following a few simple steps, checking your tool, inserting the staples correctly, and testing it, you’ll be ready to tackle your next project with confidence.
Whether you’re using a manual, electric, or pneumatic model, taking the time to load it properly and maintain it in good condition makes a significant difference.
Remember to perform regular maintenance and always follow safety practices.
If you have any questions or handy tips of your own, feel free to share them in the comments!
Have a favorite staple gun brand or a go-to troubleshooting trick? Drop your thoughts in the comments below. Your advice might help someone else!

