
Looking at a wilted orchid can feel heartbreaking. Those once-vibrant blooms now droop sadly on the windowsill. Many people struggle with orchid care because they treat these plants the same way all year round.
But orchids don’t work like that.
These beautiful plants need different things as the seasons change. What works in spring might harm them in winter. The temperature shifts, light changes, and humidity levels all play a role.
Caring for orchids through every season isn’t as hard as it seems. With the right approach, anyone can keep these stunning flowers thriving all year long. Here’s what every orchid owner needs to know.
How to Water Orchids Properly
Watering orchids isn’t rocket science, but it does require some attention. These plants hate sitting in water, yet they also don’t like drying out completely. The key is finding that sweet spot.
Most orchids prefer a good soak followed by a drying period. Stick a finger into the potting medium; if it feels dry an inch down, it’s time to water.
During warmer months, this might mean watering weekly. In winter, every 10-14 days often works better.
Always use room-temperature water and let it drain completely. Soggy roots lead to rot, which is one of the fastest ways to kill an orchid. Pay attention to what the plant is telling you.
How to Take Care of Orchids
Taking care of orchids doesn’t have to be complicated. These plants thrive when their basic needs are met consistently. Here are some practical tips that make orchid care straightforward and manageable.
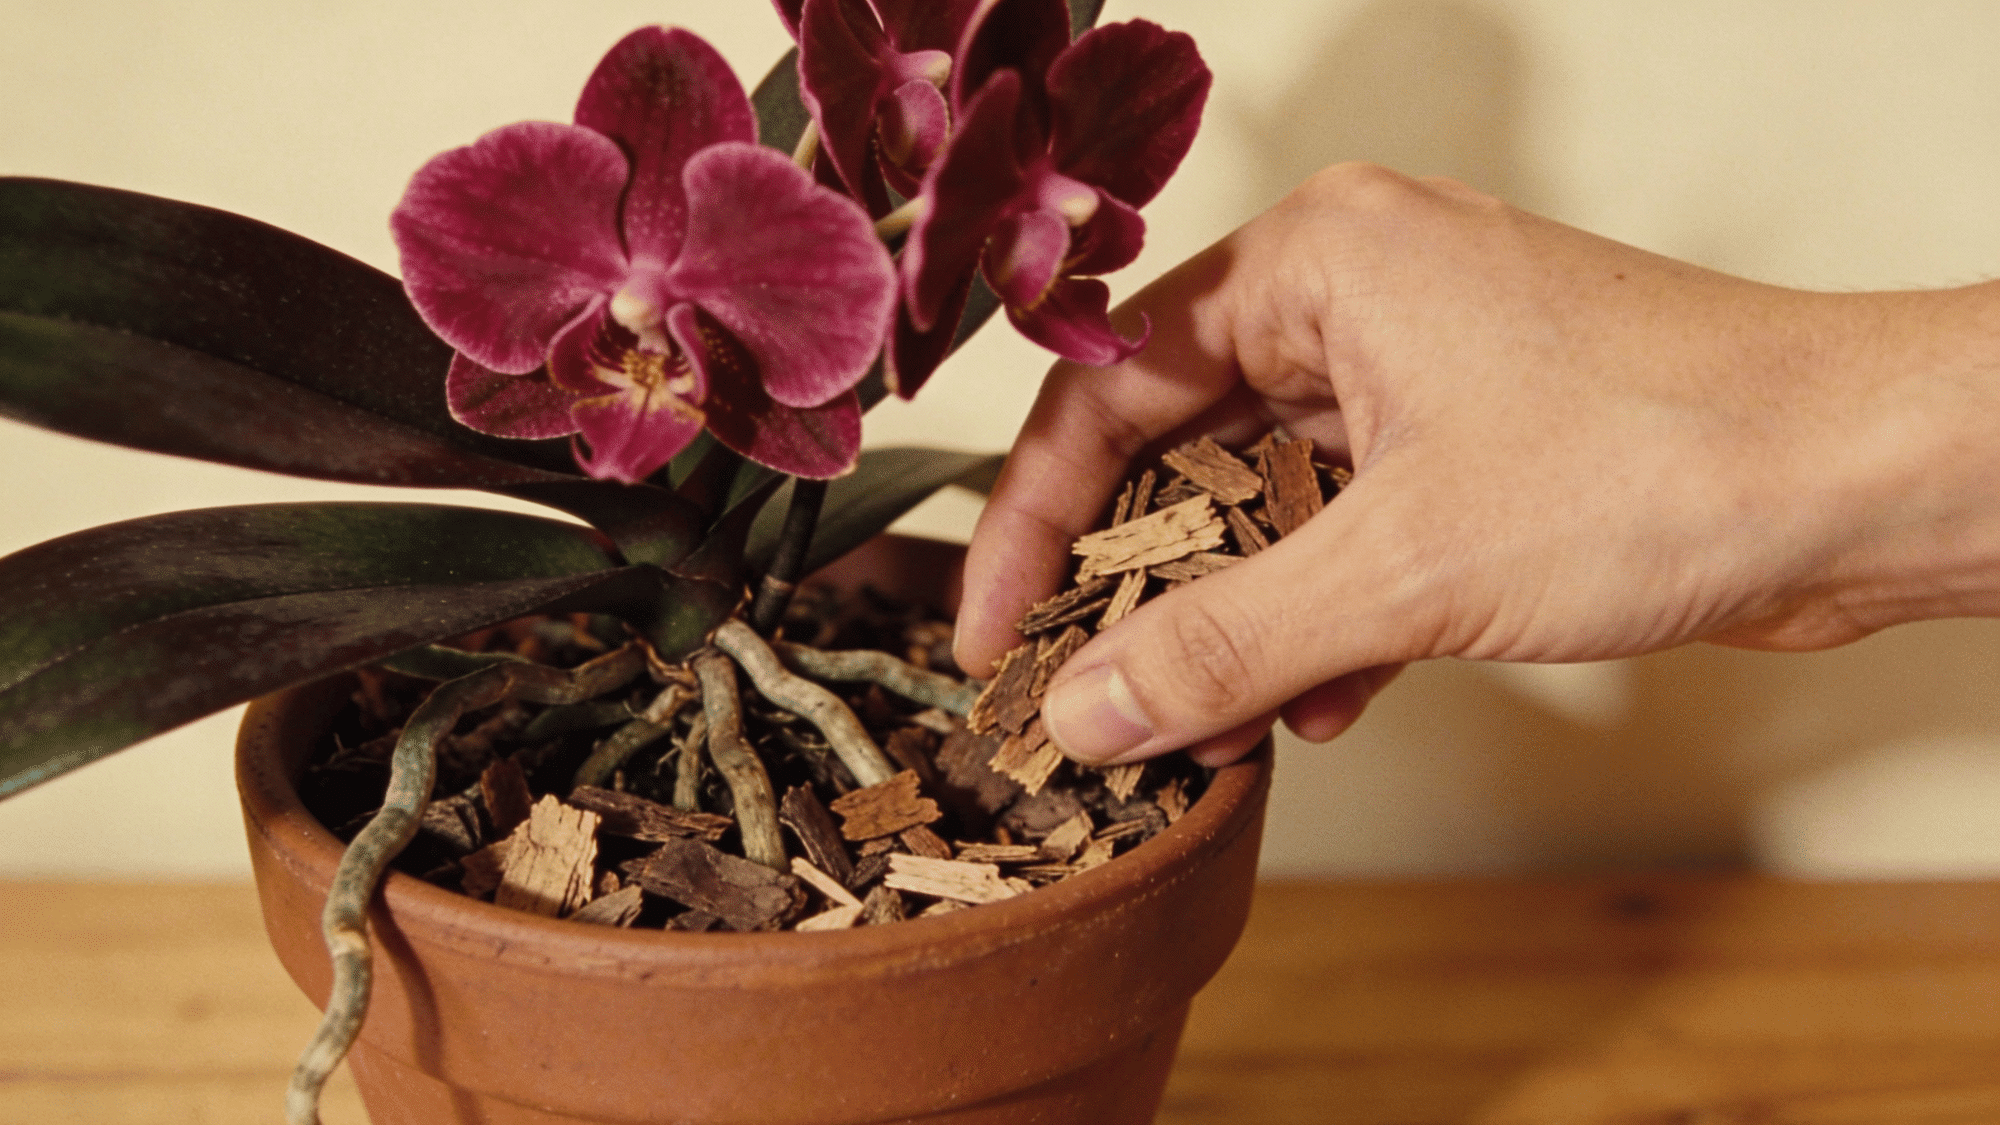
1. Choose the Right Potting Medium
Orchids don’t grow in regular soil. They need a special mix that allows air to reach their roots.
Bark chips, sphagnum moss, or a combination of both work well. The medium should drain quickly and never stay soggy.
When roots turn green after watering, that’s a healthy sign. Replace the potting medium every couple of years to keep it fresh and effective.
2. Provide Adequate Light
Light makes all the difference for orchid blooms. Most orchids love bright, indirect sunlight. A spot near an east or west-facing window works perfectly.
If leaves turn dark green, the plant needs more light. Yellowish leaves mean it’s getting too much. Adjusting the plant’s position by just a few feet can solve most light-related problems quickly.
3. Maintain Proper Humidity Levels
Orchids come from tropical environments where humidity runs high. Aim for 40-70% humidity in the home.
Grouping plants together helps, or place the pot on a tray filled with pebbles and water. The water shouldn’t touch the pot’s bottom. Bathrooms and kitchens naturally have higher humidity.
A small humidifier nearby works wonders during the dry winter months.
4. Ensure Good Air Circulation
Stagnant air invites problems like mold and pests. Orchids need gentle air movement around their leaves and roots. A small fan set on low speed does the trick.
Don’t blast them with air conditioning or heating vents directly. Opening windows when the weather permits helps too.
Good airflow also helps water evaporate from leaves, preventing bacterial issues that thrive in moisture.
5. Fertilize Regularly but Lightly
Orchids are light feeders compared to other houseplants. Use a balanced orchid fertilizer diluted to half strength. Feed them weekly during active growth periods, usually spring and summer.
Cut back to monthly feeding during fall and winter when growth slows.
Some growers follow the “weakly, weekly” approach. Too much fertilizer burns roots and causes more harm than skipping a few feedings.
6. Repot When Necessary
Orchids need repotting every 1-2 years, not because they outgrow their pots, but because the medium breaks down. Old medium holds too much water and suffocates roots.
The best time to repot is right after flowering when new roots start appearing.
Choose a pot that’s only slightly larger than the current one. Trim any dead or mushy roots with sterilized scissors before repotting.
7. Monitor Temperature Fluctuations
Most orchids prefer temperatures between 60-80°F during the day. They actually need a 10-15 degree drop at night to trigger blooming.
Keep them away from drafty windows and heating vents that cause sudden temperature swings.
Cold windowsills in winter can damage roots. A slight temperature variation between day and night mimics their natural habitat and encourages healthy flowering cycles.
8. Trim Dead Roots and Leaves
Dead plant material invites disease and pests. Brown, mushy roots should be cut away with clean scissors. Healthy roots look firm and white or green.
Yellow leaves at the bottom are normal aging; gently remove them. Never pull off leaves forcefully; wait until they come away easily. Sterilize cutting tools between plants to prevent spreading any potential infections from one orchid to another.
9. Watch for Common Pests
Scale, mealybugs, and spider mites love orchids. Check under leaves and around stems regularly.
Isolate any infected plant immediately to protect others. Wipe pests off with a cotton swab dipped in rubbing alcohol. For heavier infestations, insecticidal soap works well.
Spray early morning so leaves dry before nightfall. Prevention is easier than treatment; regular inspections catch problems before they spread throughout the collection.
10. Support Flower Spikes Properly
Heavy blooms need support to prevent breaking. Use bamboo stakes and soft plant ties or clips designed for orchids. Insert the stake carefully to avoid damaging roots.
Secure the spike loosely, allowing some natural movement. As flowers open, adjust ties if needed. After blooming ends, don’t automatically cut the spike.
Sometimes orchids rebloom from the same spike, especially Phalaenopsis varieties that often produce secondary flowering.
11. Understand Your Orchid Type
Not all orchids have identical needs. Phalaenopsis orchids tolerate lower light than Cattleyas.
Dendrobiums need a dry winter rest period. Research the specific type of orchid in the collection. Knowing whether it’s a warm-growing or cool-growing variety matters.
Some prefer to dry out completely between waterings, while others like staying slightly moist. Understanding these differences prevents frustration and plant losses.
12. Allow Rest Periods
Many orchids need a rest period after blooming to gather energy for the next flowering cycle. During this time, reduce watering and stop fertilizing for several weeks.
The plant might look like it’s doing nothing, but it’s actually preparing underground. Some varieties drop leaves during rest; this is normal.
Resume regular care when new growth appears. Respecting these natural cycles results in stronger plants and more abundant blooms.
13. Be Patient with Blooming
Orchids bloom on their own schedule, not ours. Some flowers once a year, others multiple times.
A healthy plant that doesn’t bloom might just need more time or a temperature shift. Don’t give up on an orchid just because it hasn’t flowered in months.
Keep providing consistent care, and eventually, those buds will appear. The wait makes the blooms even more rewarding when they finally open.
Best Orchid Potting Mix for Beginners
Choosing the right potting mix sets orchids up for success. Here are the most beginner-friendly options that work reliably well.
| Potting Mix Type | Best For | Key Benefits | Watering Frequency |
|---|---|---|---|
| Bark-Based Mix | Phalaenopsis, Cattleya | Excellent drainage, good airflow to roots, widely available | Every 5-7 days |
| Sphagnum Moss | Mounted orchids, high-humidity lovers | Retains moisture well, lightweight, easy to work with | Every 7-10 days |
| Bark and Perlite Blend | Most orchid types | Balanced moisture retention and drainage, affordable | Every 6-8 days |
| Coconut Husk Chips | Eco-conscious growers | Sustainable alternative to bark, breaks down slowly | Every 5-7 days |
| Pre-Mixed Orchid Blend | Complete beginners | Ready to use, formulated specifically for orchids | Every 7-10 days |
How to Get Orchids to Rebloom Every Year
Getting orchids to rebloom isn’t magic; it’s about mimicking their natural cycle. Here’s what triggers those stunning flowers again.
- Provide a 10-15 degree temperature drop at night for 2-4 weeks to signal blooming time.
- Cut back on watering and stop fertilizing after flowers fade to give the plant a rest period.
- Ensure the orchid gets enough bright, indirect light throughout the year, especially during bud formation.
- Don’t cut the flower spike immediately after blooms drop; some orchids rebloom from the same stem.
- Resume regular feeding with a bloom-boosting fertilizer once new spike growth appears at the base.
To Conclude
Orchids reward those who pay attention. These plants aren’t as delicate as their reputation suggests; they just need the right conditions and a bit of consistency.
The most important lesson? Listen to what the plant shows. Green roots mean happiness. Wrinkled leaves signal thirst. No blooms might mean patience is needed.
Start with one or two simple changes. Maybe adjust watering frequency or move the pot to a brighter spot.
Orchid care becomes second nature with practice. Before long, those gorgeous blooms will arrive like clockwork. The effort is always worth it.