
Glass adds light and openness to a room, but it does not always provide enough privacy. Many homeowners want a simple way to block views without replacing windows or doors.
Frosting glass is a practical solution that changes the look while keeping natural light. It can update bathrooms, entryways, and cabinets with a clean, modern finish.
The process is affordable and can be done at home with basic tools. With the right approach, the results can look smooth and professional.
This guide explains how to frost glass at home using spray paint, with clear steps and helpful tips for a neat finish.
How Frosted Glass Spray Paint Works?
Frosted glass spray paint is designed to create a translucent, matte finish on clear glass. It is different from regular spray paint because it does not fully block light. Instead, it produces a cloudy effect that reduces visibility.
This type of paint is usually labeled as “frosted glass spray,” “glass frosting spray,” or “privacy glass spray.”
It bonds to glass surfaces and dries to a semi-transparent finish. Most brands are suitable for indoor use, and some are also safe for outdoor surfaces.
Before starting the project, it is important to read the product label. Each brand may have slightly different drying times, coverage levels, and temperature requirements.
Where You Can Use Frosted Spray Paint
Many glass surfaces inside a home can benefit from frosted spray paint, especially in areas where privacy matters most.
- Bathroom Windows: Bathroom windows are one of the most common areas for frosting. Clear glass can feel uncomfortable, especially at night. Frosting allows light to enter while protecting privacy.
- Front Door Glass Panels: Many entry doors have decorative glass inserts. While they look attractive, they also allow people to see inside. A frosted finish provides privacy without removing the design.
- Shower Doors: Frosting shower doors can create a spa-like feel. It also hides water spots and soap marks better than clear glass.
- Cabinet Doors: Glass cabinet doors in kitchens or offices can be frosted to hide clutter while maintaining a light, open appearance.
- Interior Glass Partitions: In modern homes, glass walls or partitions are often used to divide spaces. Frosting adds separation without making the room feel closed off.
Tools and Materials Required
| Tool / Material | Purpose |
|---|---|
| Frosted glass spray paint | Creates the translucent frosted finish |
| High-quality blue painter’s tape | Protects door frames and edges from overspray |
| Cardboard or masking board | Shields larger areas while spraying |
| Glass cleaner | Removes dirt, grease, and residue |
| Razor blade window scraper | Removes stuck varnish or polyurethane |
| Lint-free cloth | Dries and polishes the glass surface |
| Organic vapor mask | Protects from strong spray fumes |
| Gloves | Keeps hands clean and protected |
| Fan and open windows | Improves ventilation during spraying |
Step-by-Step Guide: How to Frost Glass
Frosting glass with spray paint is a practical way to add privacy while still allowing natural light to pass through. Follow the steps below to achieve a smooth, even frosted finish.
Step 1: Decide Which Side of the Glass to Spray
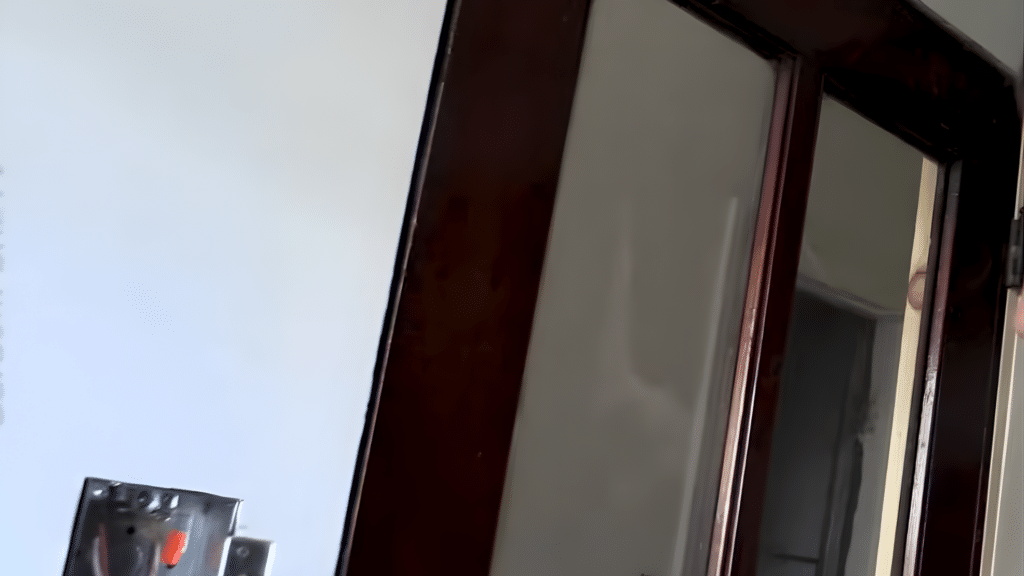
Before applying the spray, decide which side of the glass should be frosted. The frosted coating can scratch if it is touched frequently, so it is best to apply it to the side that will have less contact.
Think about how the door or window is used daily. If one side is usually exposed to more hands or movement, choose the opposite side.
Making this decision early helps protect the finish and keep the frosted surface looking clean for longer.
Step 2: Clean the Glass Thoroughly and Let It Dry
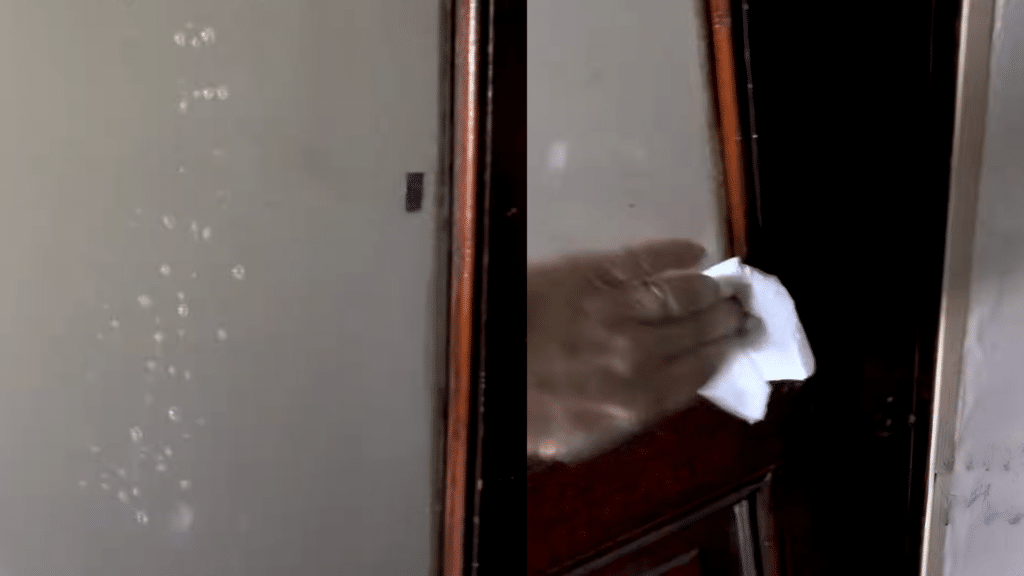
Proper cleaning is essential for a smooth finish. Start by spraying the glass with a quality glass cleaner, then wipe it down with a lint-free cloth.
Remove all dust, fingerprints, grease, and residue. If you notice old varnish, polyurethane, or stubborn buildup on the glass, carefully use a razor blade scraper to remove it.
After cleaning, wipe the surface again and make sure it is completely dry. Any moisture or debris left on the glass can cause streaks, uneven texture, or poor adhesion.
Step 3: Mask the Edges and Surrounding Areas
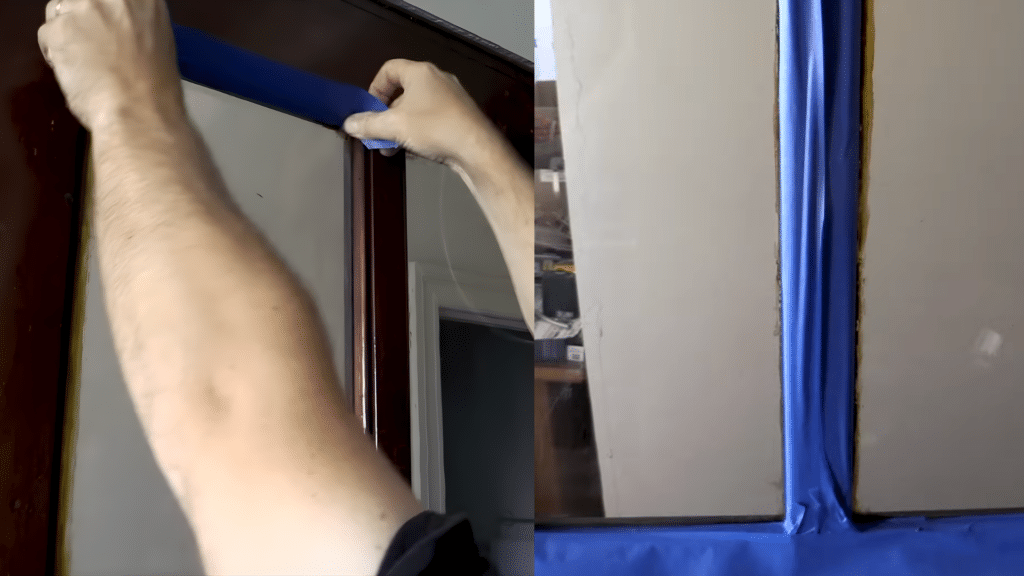
Carefully protect the areas around the glass before spraying. Apply high-quality blue painter’s tape along the edges of the glass to create clean lines.
Press the tape down firmly to prevent paint from seeping underneath. If you are concerned about overspray, extend the taped area slightly beyond the edges.
You can also hold a piece of cardboard along the frame while spraying to shield larger sections. Taking time to mask properly ensures a neat, professional-looking result without unwanted paint marks.
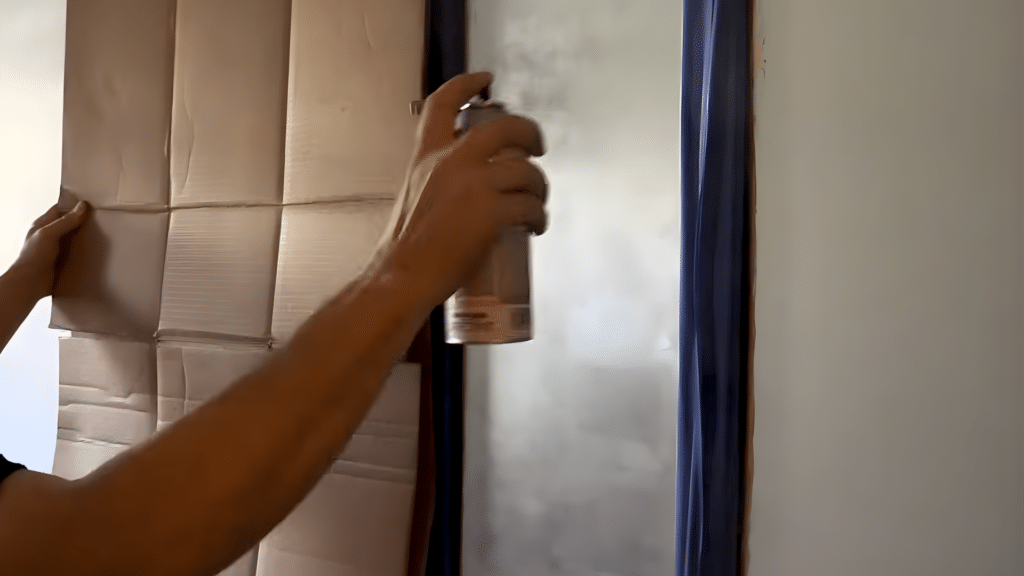
Step 4: Shake the Can and Apply a Light First Coat
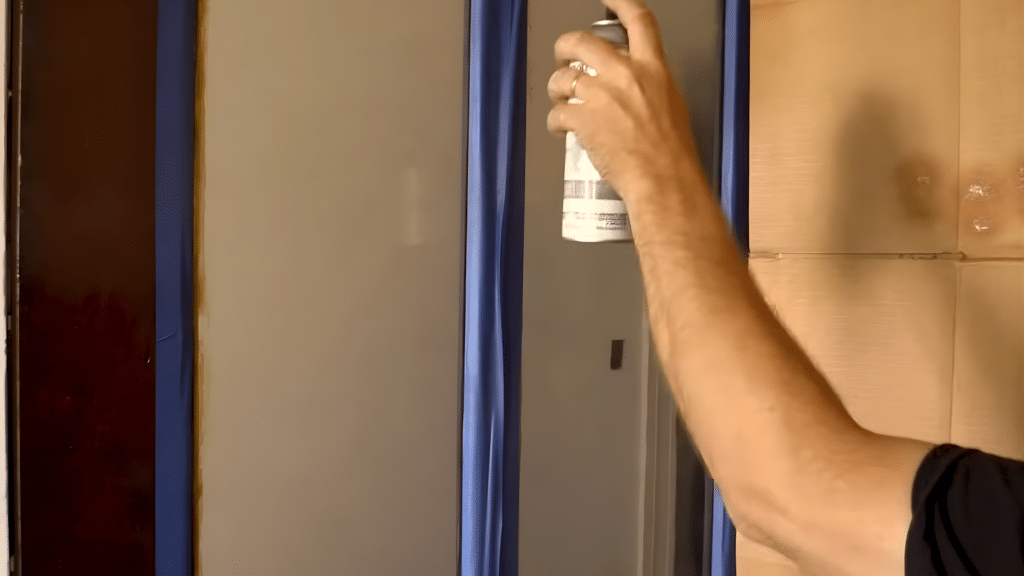
Shake the spray can thoroughly for at least one minute to ensure the contents are fully mixed. Hold the can upright and position it about 8 to 12 inches from the glass surface.
Apply the spray in smooth, steady motions, moving side to side across the glass. Do not try to fully frost the glass in one pass. A light, even coat is the goal.
Thin layers reduce the risk of drips and streaks. Make sure the area is well ventilated and wear an organic vapor mask to protect yourself from fumes.
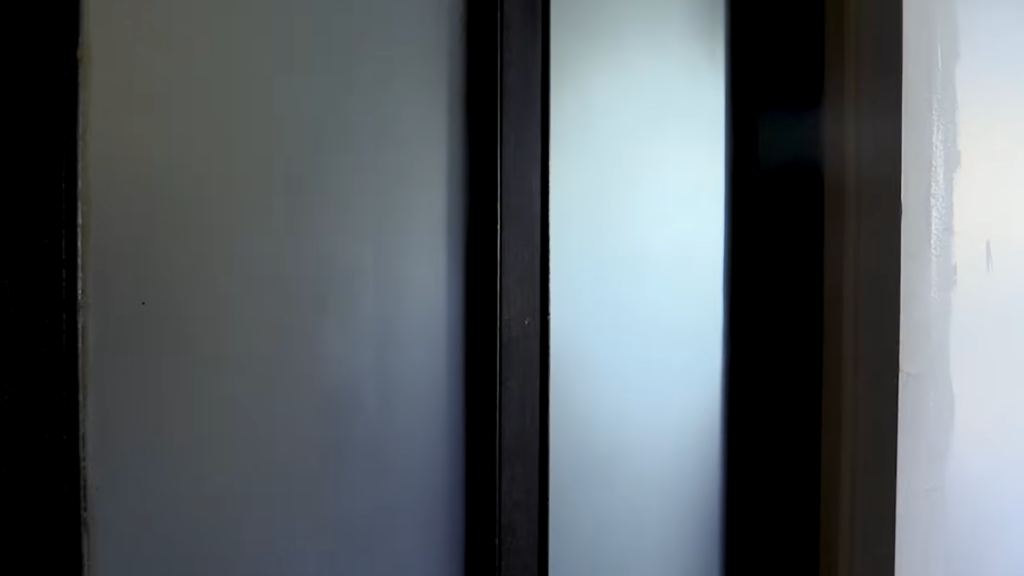
Step 5: Allow It to Dry and Apply Additional Coats if Needed
After applying the first coat, allow the glass to dry for about 10 minutes or as directed on the spray can. At first, the frosting effect may seem faint, but it becomes more visible as it dries.
Once dry, evaluate the level of privacy. If you want a more opaque finish, apply another light coat using the same steady motion.
Two thin coats usually provide a strong frosted appearance. Continue adding light layers until you reach the desired look, allowing proper drying time between each coat.
Step 6: Final Check and Finishing Touches
Once the final coat has dried completely, inspect the surface for even coverage. If everything looks smooth and consistent, carefully remove the painter’s tape.
Pull the tape away slowly at an angle to avoid lifting the finish. Allow the glass to cure fully before touching or cleaning it. The result should be a soft, matte surface that provides privacy while still letting light pass through.
With proper preparation and patience, frosted spray paint can give your glass a clean and updated appearance.
For a more detailed guide, watch this YouTube tutorial by @GardenFork:
Can Frosted Spray Paint Be Removed?
Yes, frosted spray paint can usually be removed if needed. This makes it a flexible option for renters or temporary design updates.
Removal typically involves gently scraping with a razor blade and using glass cleaner or acetone to dissolve the residue. Always test removal methods on a small corner first to prevent scratches.
If the paint was applied in heavy layers, removal may require more effort. Patience is important during this process.
Common Mistakes to Avoid
Many DIY projects fail due to small but avoidable errors. When learning how to frost glass at home, attention to detail makes a difference.
- Avoid Heavy Coats: Applying too much paint at once can cause drips and an uneven texture. Thin layers are more effective and easier to control.
- Maintain Proper Distance: Holding the can too close to the surface creates thick patches. Holding it too far away results in uneven coverage. Keep a consistent distance throughout the process.
- Do Not Skip Cleaning: Dust and oils create visible imperfections. Proper cleaning ensures smooth adhesion.
- Watch the Temperature: Most spray paints perform best between 50°F and 90°F. Extremely cold or hot temperatures can affect drying and finish quality.
Conclusion
Frosted glass offers a clean, modern way to improve privacy without blocking natural light. Spray frosting is affordable, flexible, and easy to adjust if you ever want a different look.
It allows you to update existing doors or windows instead of replacing them, which saves both time and money.
When applied carefully, the finish blends into the space and enhances the overall design. Small upgrades like this can change how a room feels.
Take the next step and gather your supplies, then start with one panel to see the difference for yourself.