
A plain mirror can make a room feel unfinished and a bit dull. Even a simple frame can change how a mirror looks and help the space feel more neat and complete.
A frame adds style, covers plain edges, and makes the mirror stand out better in any room.
It can also match the look of your furniture or walls. It also adds safety by covering sharp edges and helping the mirror stay more secure on the wall. This is helpful in busy areas like bathrooms or hallways where mirrors are often used.
A proper frame can also help protect the edges from small damage.
The good part is that no special skills are needed. With a few basic tools and some time, the mirror can get a clean and fresh look.
And in this guide, you will find easy steps that work for different setups and simple home projects.
Choosing the Right Mirror Framing Method
Before you start, choose a framing method that fits your mirror, space, and skill level. Wood trim is flexible and gives a custom look, but it may not suit every project.
| Method | Best For | Skill Level | Cost Range | Moisture Resistance |
| Wood trim (this guide) | Living rooms, bedrooms, entryways, custom sizing | Intermediate | $20–$100 | Low unless sealed; not ideal for humid bathrooms without caulk |
| Ready-made frame kit | Standard-size bathroom mirrors, quick upgrades | Beginner | $15–$140+ | Medium: many kits include moisture-resistant materials |
| Tile or mosaic border | Bathrooms, decorative accent mirrors | Intermediate | $30–$120 | High when properly grouted and sealed |
Tools and Materials Needed to Frame a Mirror
You need a few basic items to start. Gather quality supplies so the frame fits well and lasts longer. Good prep tools also help you get clean cuts and a smooth finish.
- Thin wood strip for depth
- Construction glue for mirrors
- Wood glue
- Primer
- 120-grit sandpaper
- Miter saw
- Measuring tape
- Stop block
- Clamps
- White vinegar
- Caulking gun
- Level tool
How to Frame a Mirror as a Beginner?
This simple project helps upgrade a plain mirror using basic tools and trim. It saves money, adds style, and can be done in just a few easy steps.
Step 1: Add a Wooden Strip for Depth
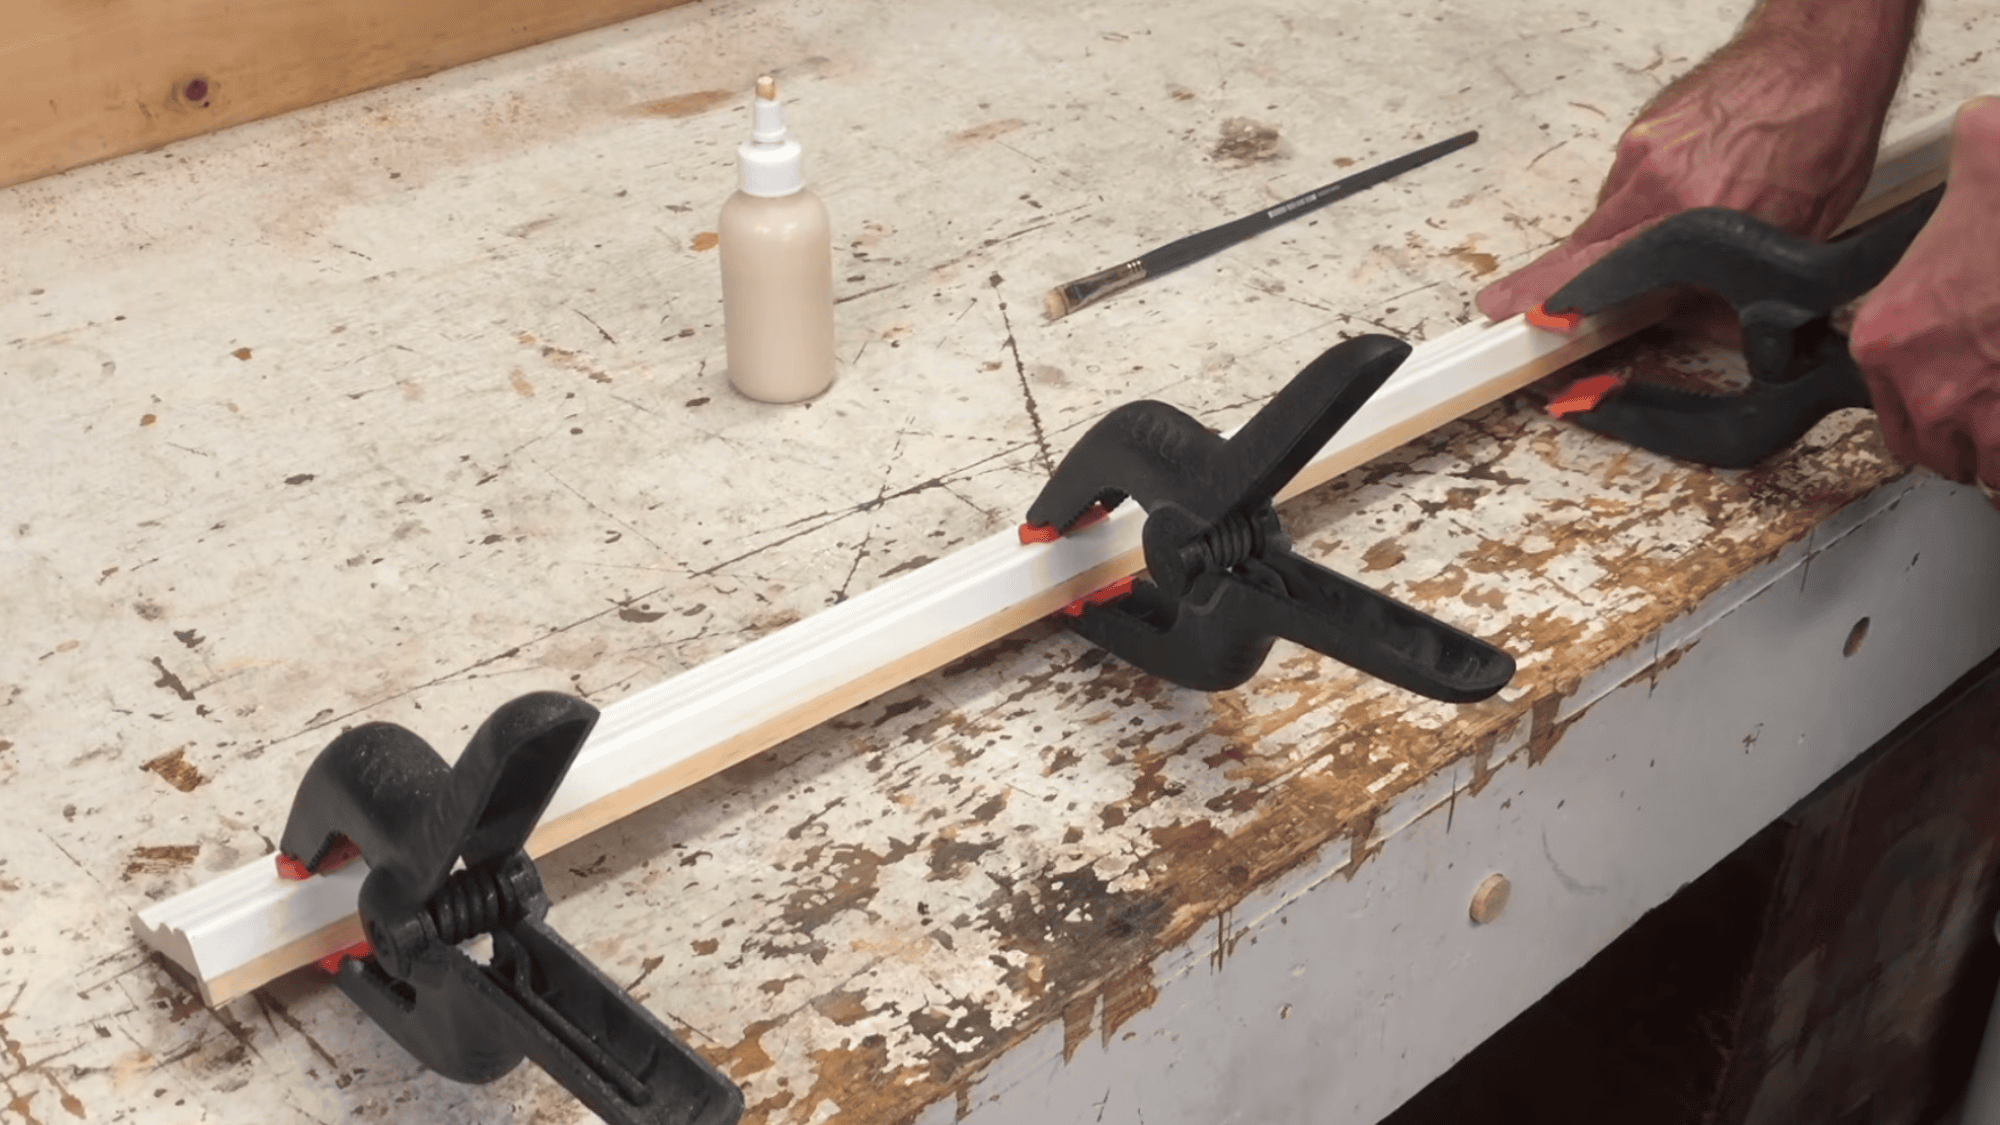
Measure the space between the mirror and the wall to find the right depth for your frame. Cut a thin wood strip to match this depth, then glue it to the back of the trim.
Spread the glue evenly on both surfaces so it sticks well. Press the pieces together and use clamps to hold them in place while drying.
Let it dry fully before moving ahead. This extra strip helps the trim sit flat and gives your mirror a clean, well-fitted frame.
Step 2: Sand and Prep the Trim
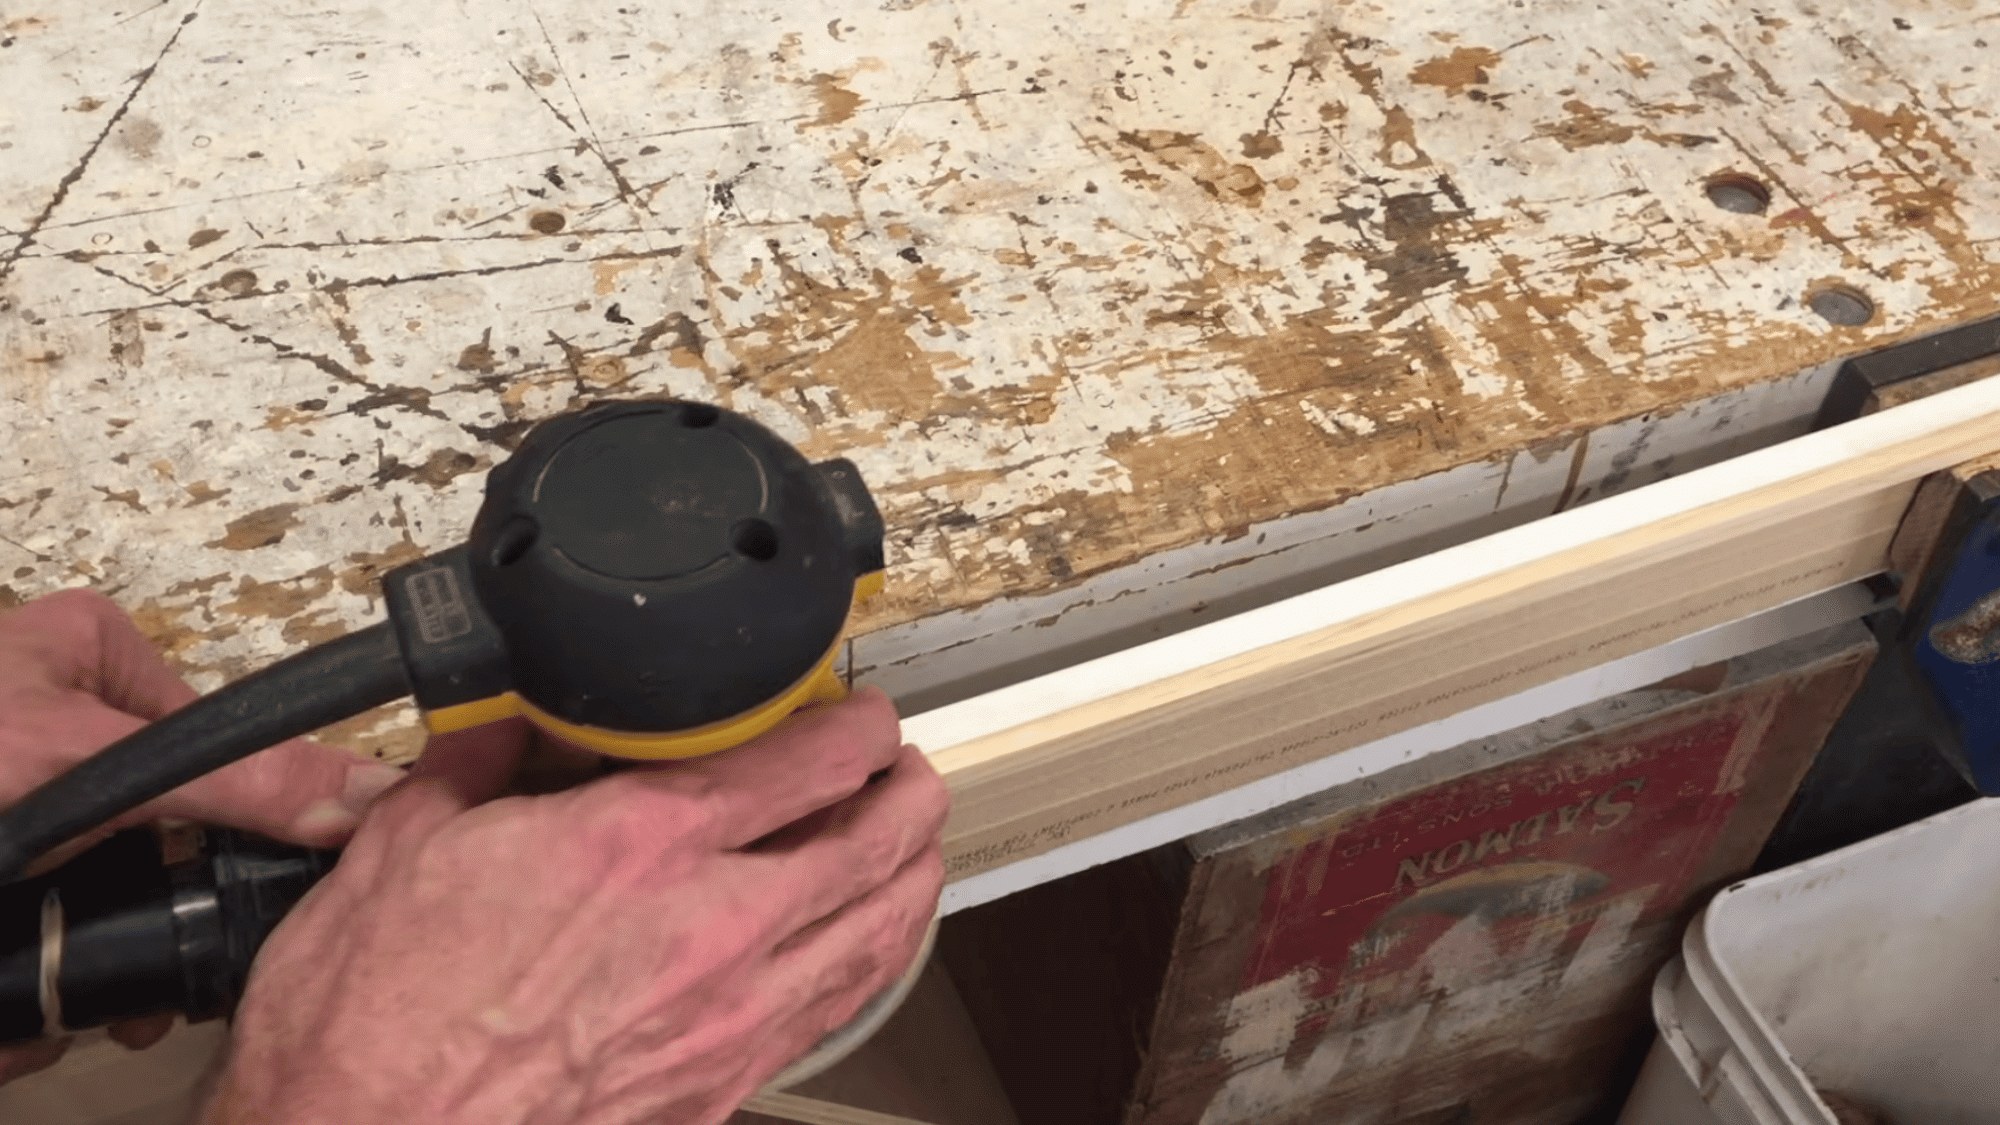
Once the glued strip is fully dry, use 120-grit sandpaper to smooth the surface. Focus on smoothing the joint where the extra strip meets the trim.
Sanding removes rough edges and prepares the wood for primer and paint.
A smooth surface helps the paint stick better and gives a cleaner final look. Take time to sand evenly across all edges so the trim looks even and ready for the next finishing steps.
Step 3: Prime and Paint Carefully
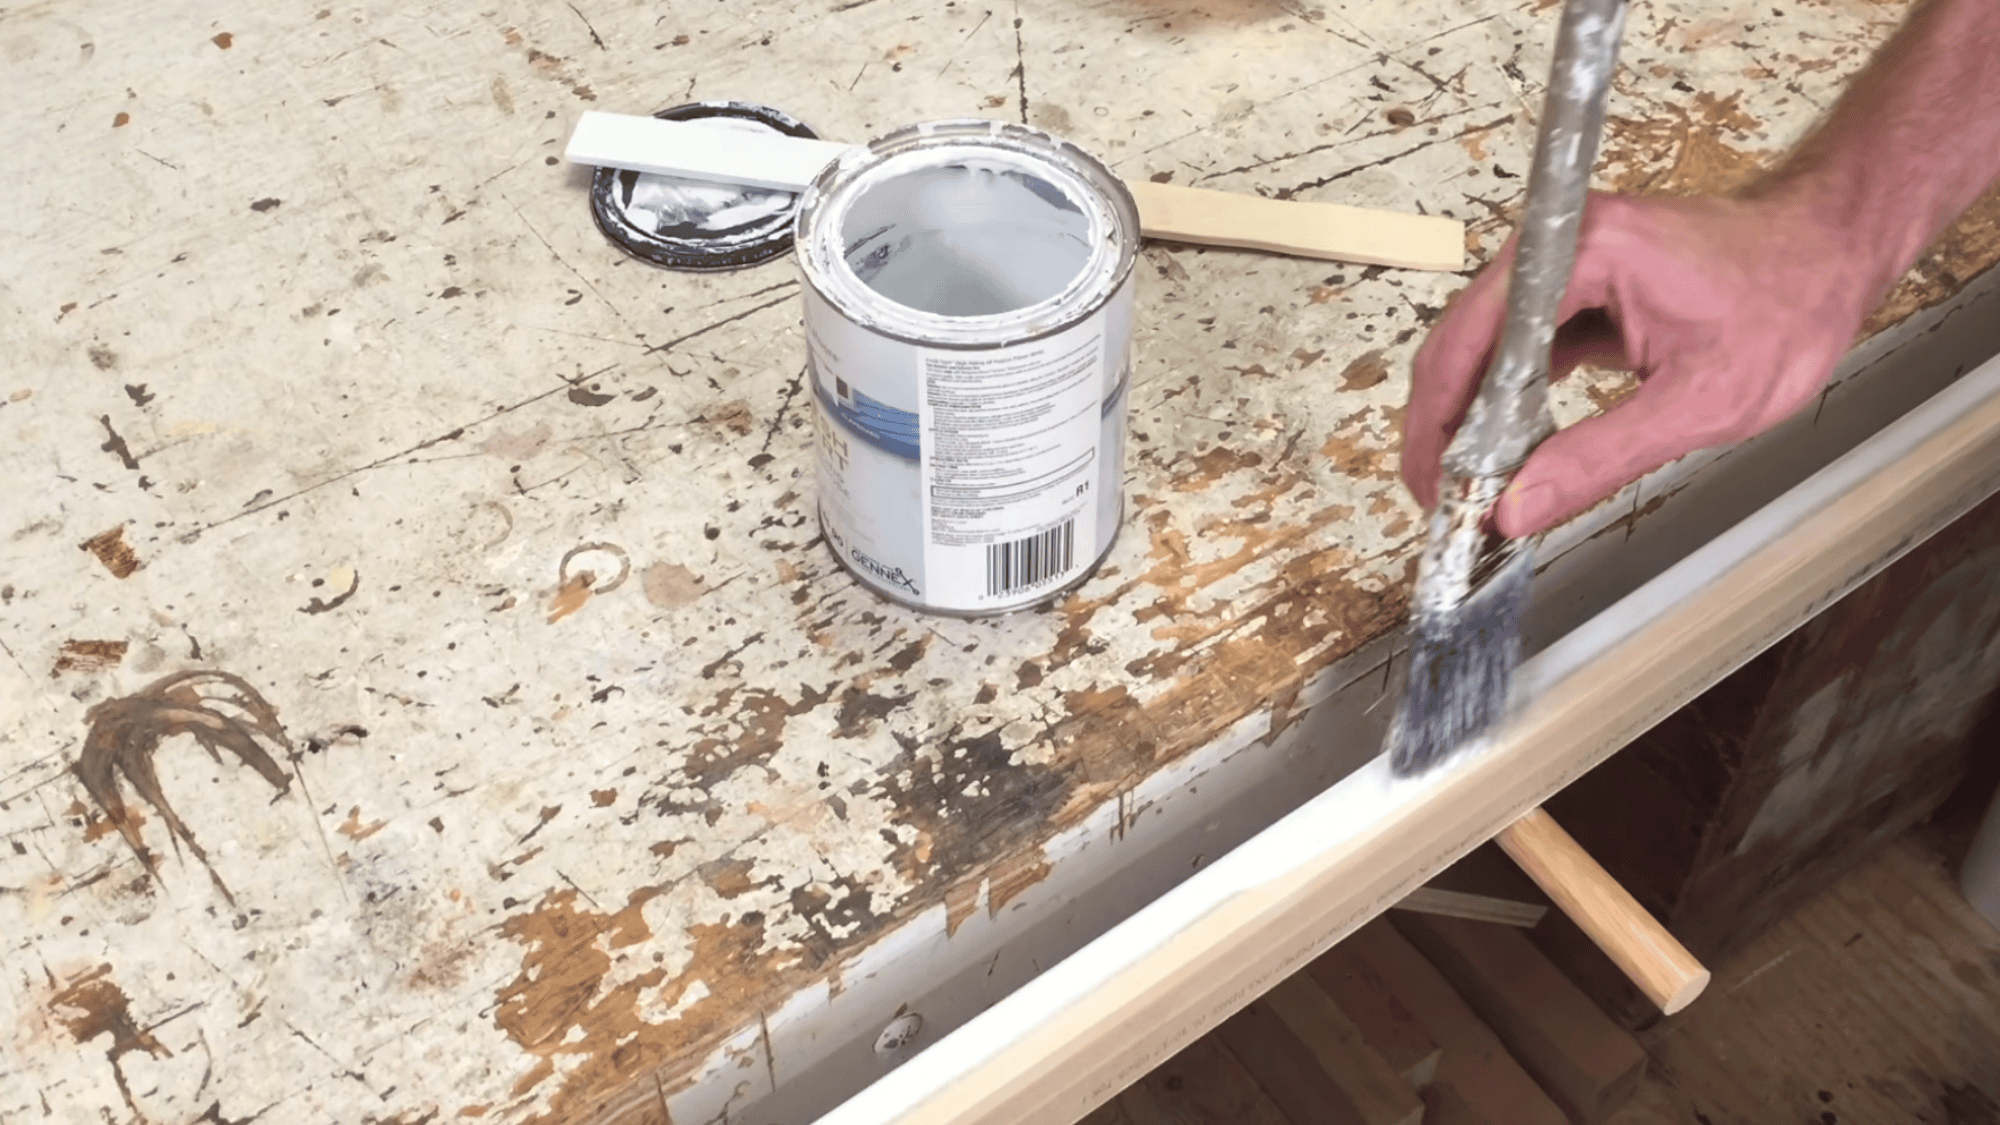
Apply primer to all bare wood surfaces so the paint sticks well and lasts longer. Once the primer dries, paint the trim evenly on all visible sides for a smooth finish.
Focus on the inner edge facing the mirror, since it will reflect in the glass and show any missed spots.
Leaving it bare can expose raw wood in the reflection. Also, keep paint off areas where glue will go later, so the trim bonds strongly when attached to the mirror.
Step 4: Measure and Plan Cuts
Measure the height and width of the mirror accurately before cutting the trim pieces. Add about a quarter inch to each measurement to allow for a slight extra edge.
This prevents the mirror edges from being visible after the frame is placed.
Cutting slightly longer pieces is safer than cutting too short. Proper measurements help ensure all trim pieces fit well and line up correctly, resulting in a clean, neat frame around the mirror.
Step 5: Cut Perfect Miter Angles
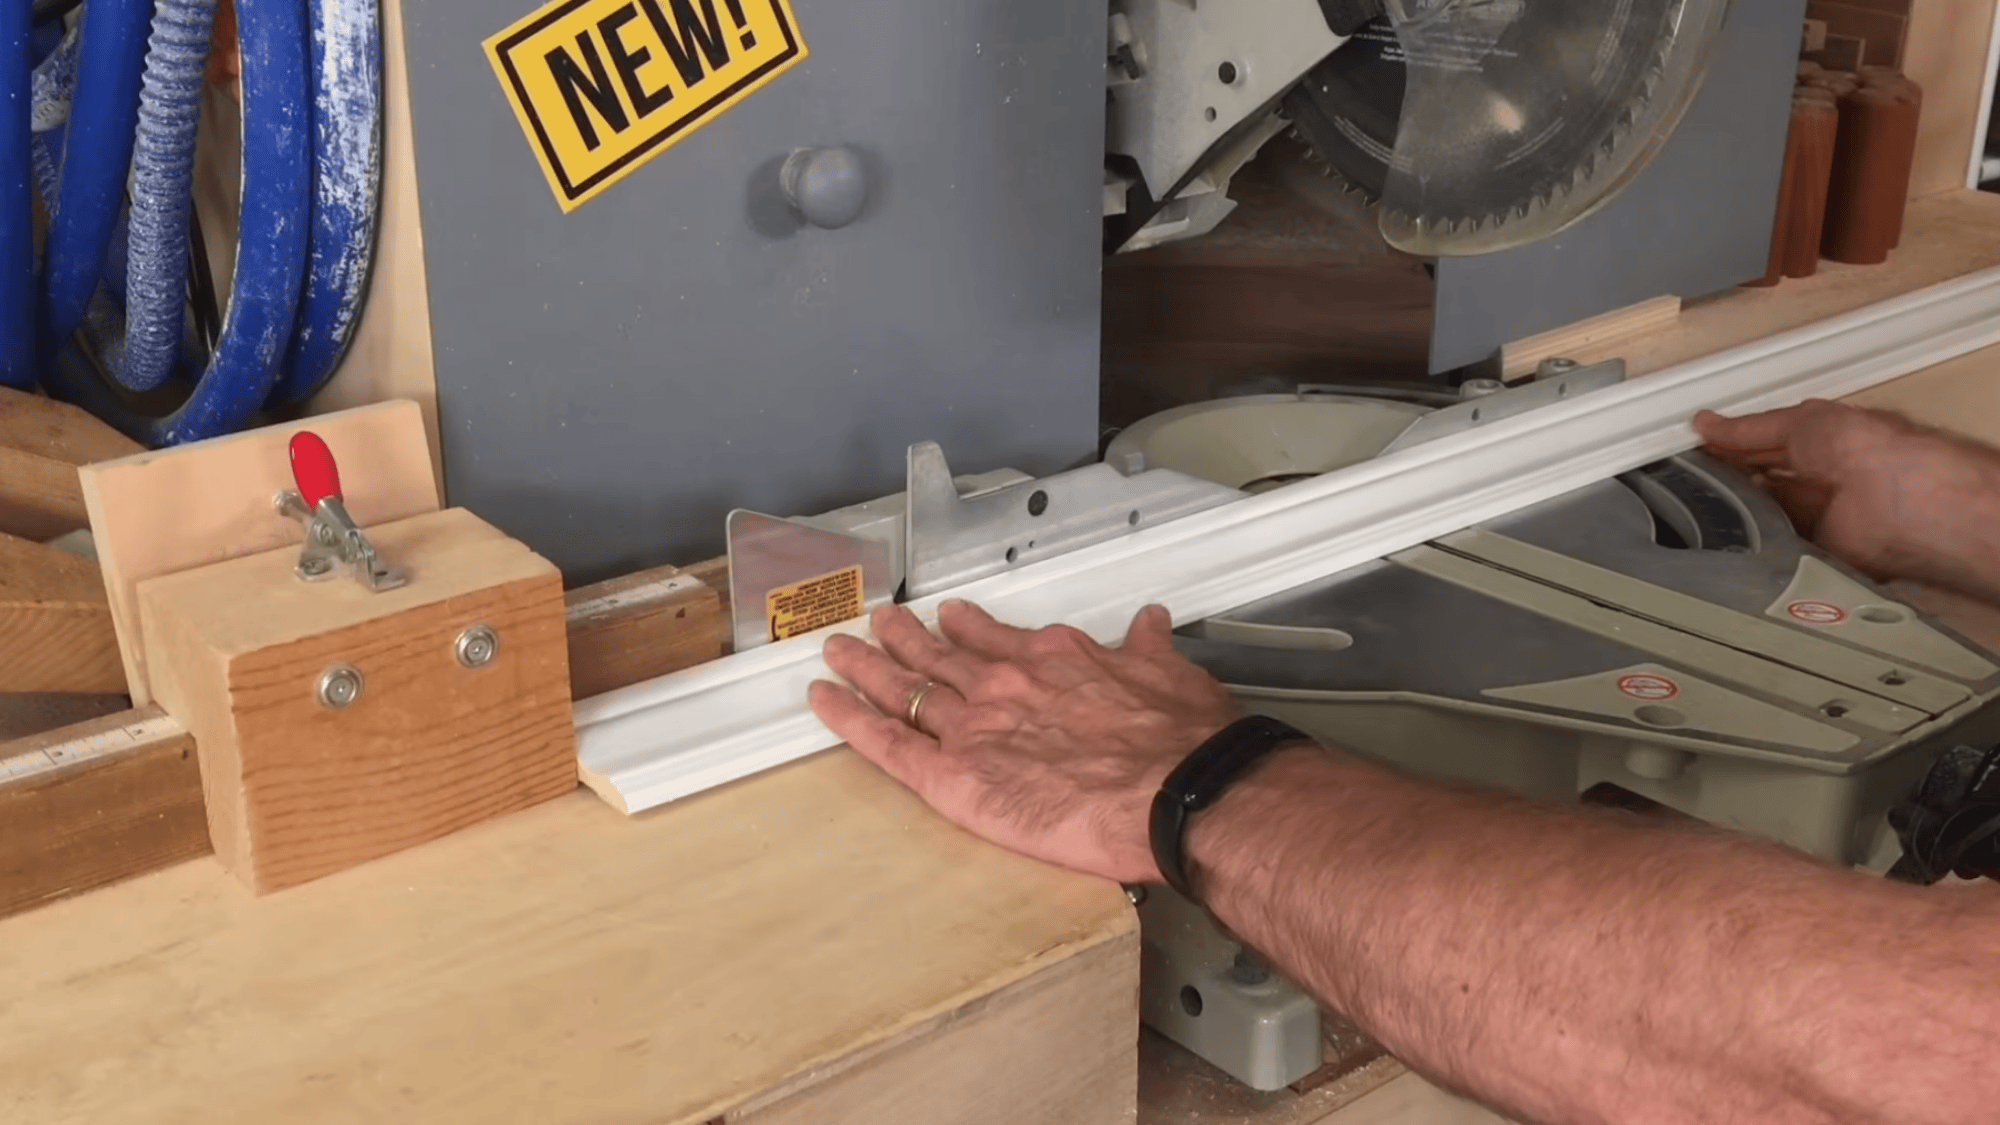
Set the miter saw to a 45-degree angle and test it to make sure it is cutting correctly. Cut each trim piece carefully, making sure both matching sides are the same length.
Use a stop block or fixed reference point to keep the cuts even. Uneven cuts can lead to gaps at the corners.
Clean miter cuts allow the trim pieces to meet tightly, creating neat and sharp corners that improve the overall look of the mirror frame.
Safety note: Wood cutting and tool use can be risky if done without proper care. If you are not familiar with a miter saw, work with someone experienced or consult a professional before attempting cuts.
This step is worth getting right, and there is no shame in asking for guidance.
Step 6: Clean the Mirror Surface
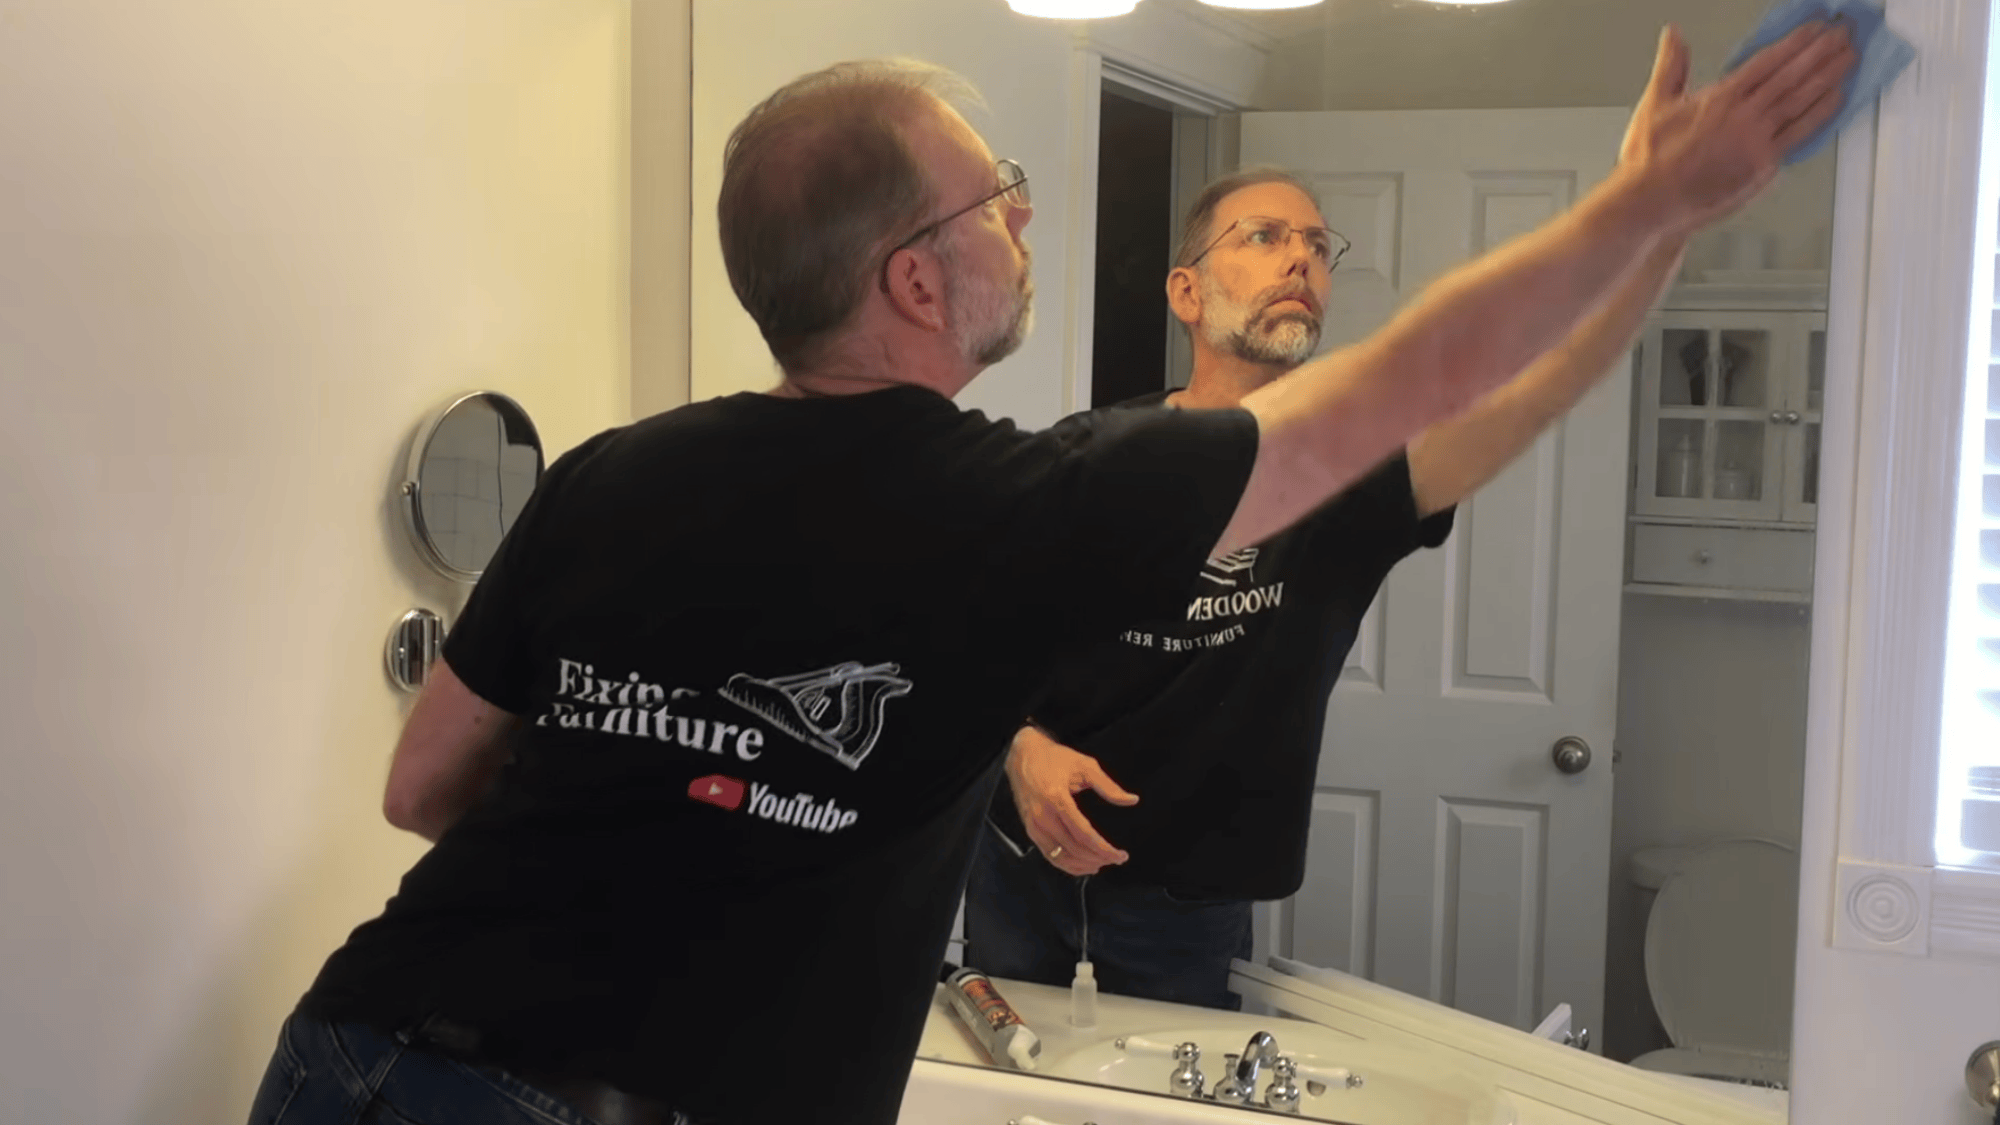
Clean the mirror well before applying any glue so the trim sticks properly. Use a soft cloth with white vinegar to remove dust, grease, and buildup from the surface.
Wipe every area evenly to avoid weak spots. If any dirt or oil remains, the glue may not hold, and the trim can shift or fall later.
After cleaning, let the mirror dry fully before moving on.
This step helps create a strong, secure bond between the mirror and the trim for a lasting result.
Step 7: Apply Adhesive Properly
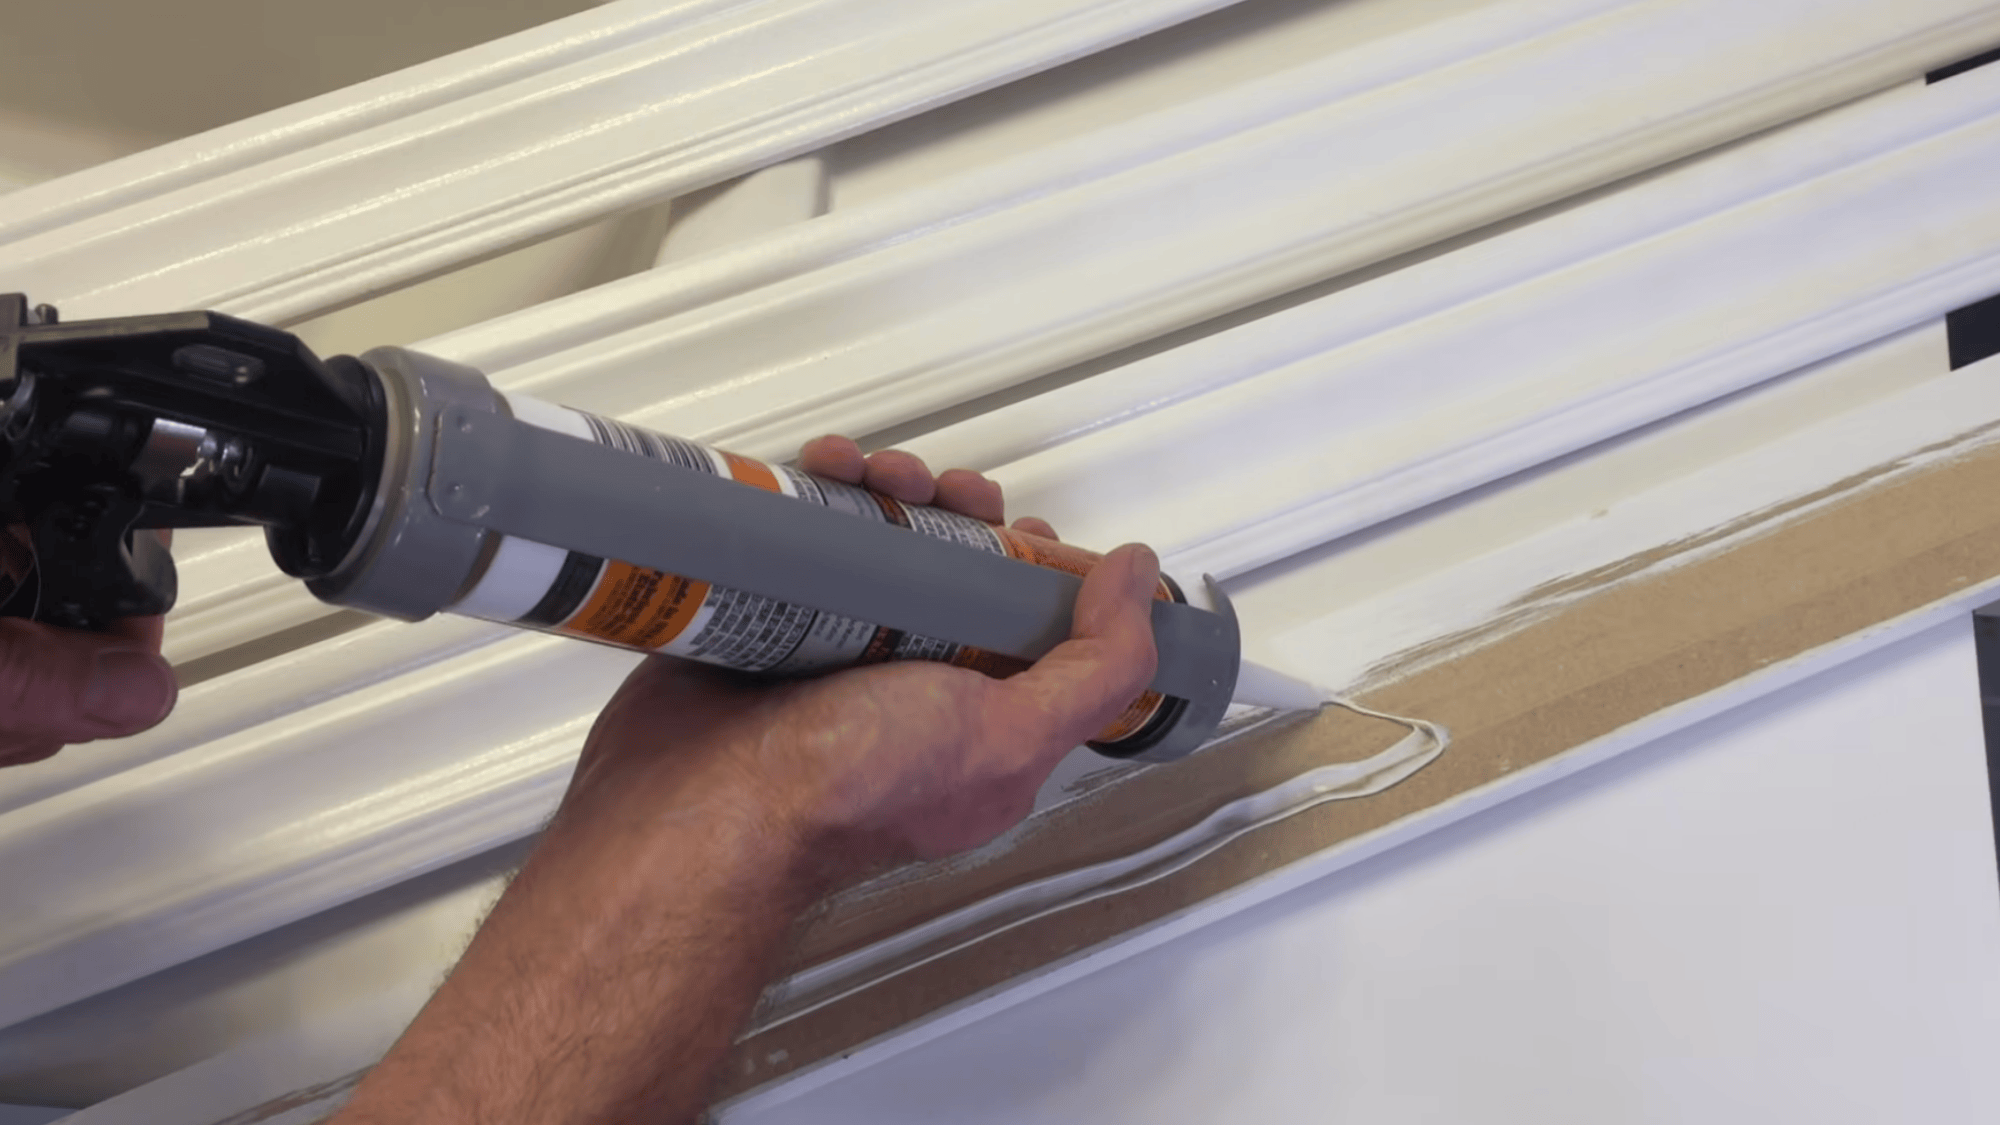
Apply construction glue along the flat sections on the back of the trim. Avoid placing glue too close to the edges to prevent extra glue from coming out.
Use steady lines instead of small dots to improve grip and spread.
Make sure there is enough glue to hold the trim firmly without extra support. Proper use helps the trim stick well to the mirror and reduces the need for tape or other temporary holding methods.
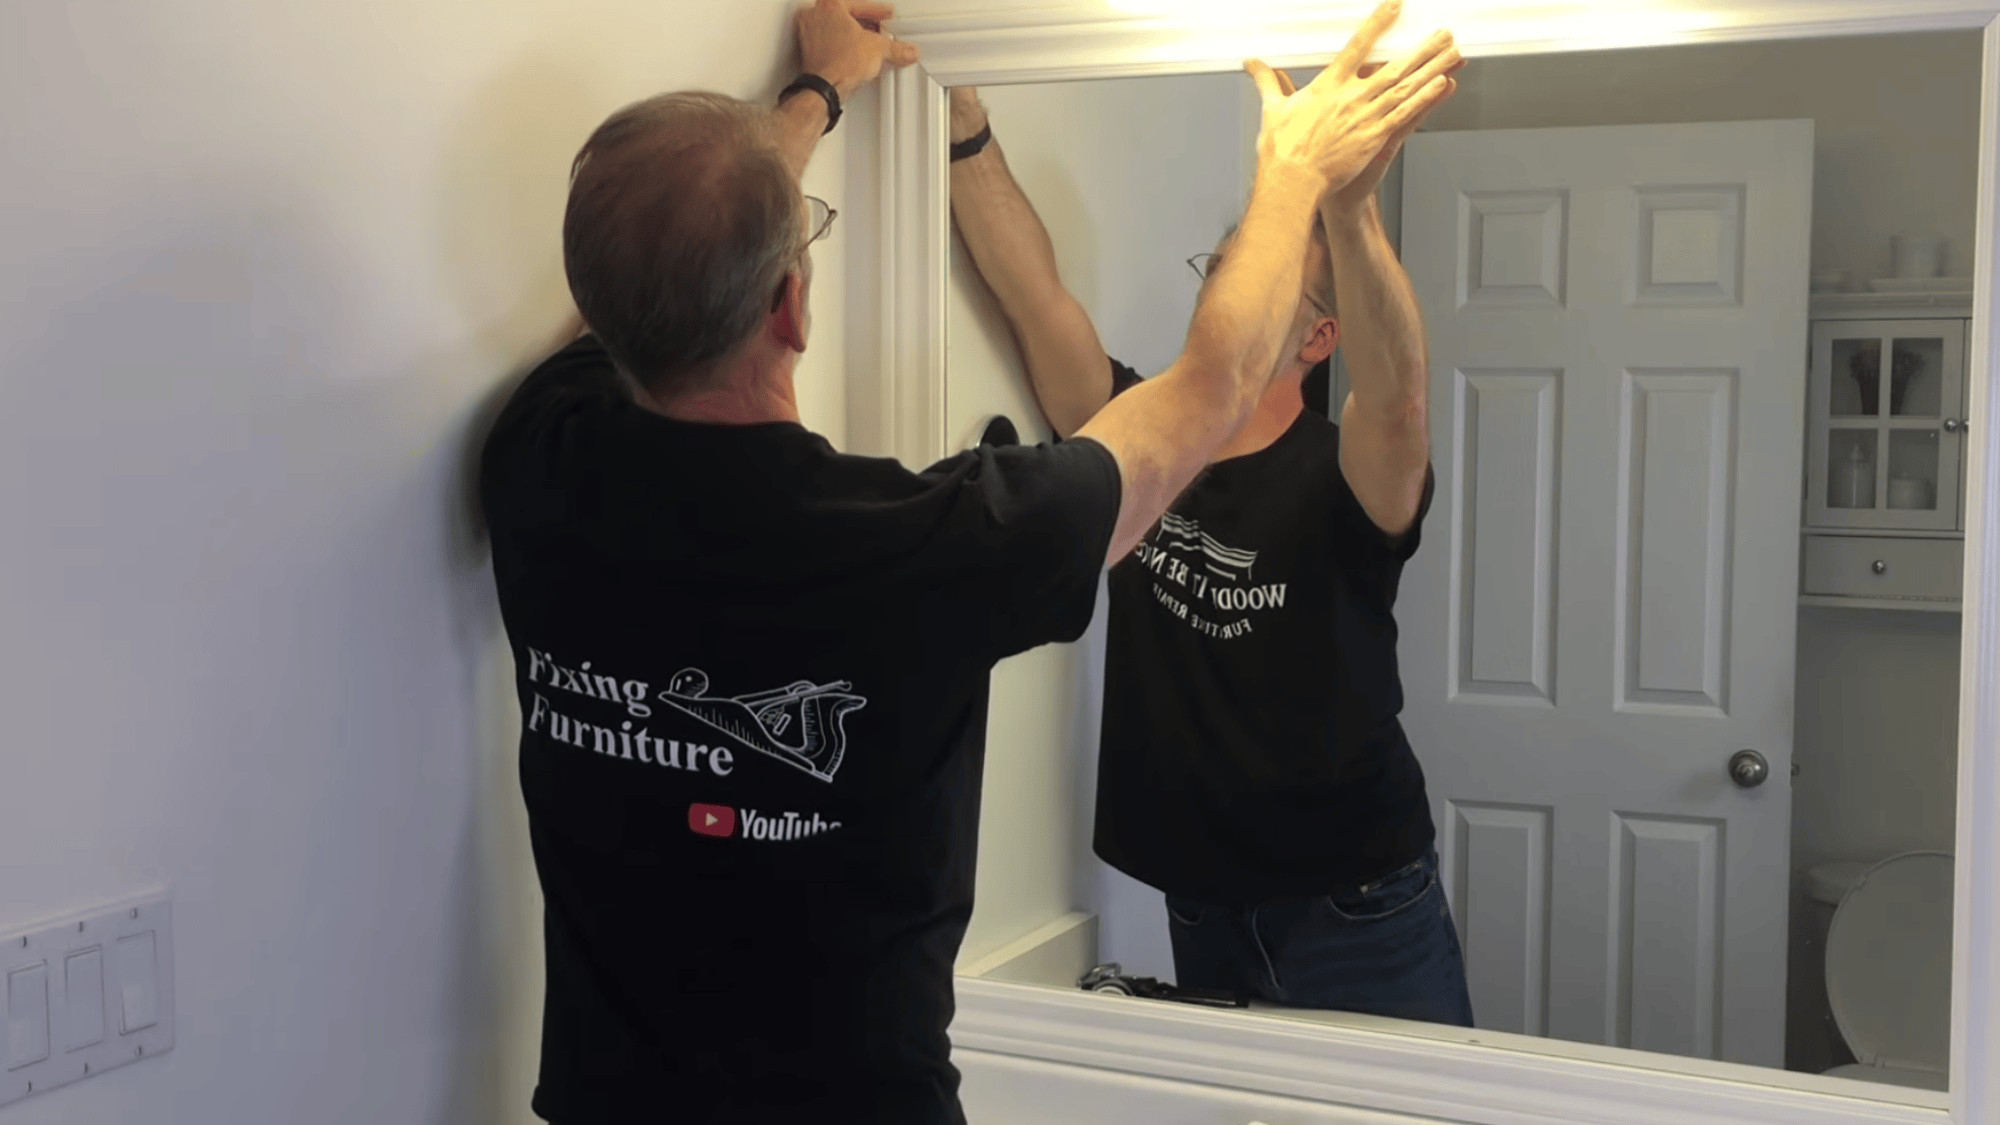
Step 8: Attach the Trim to the Mirror
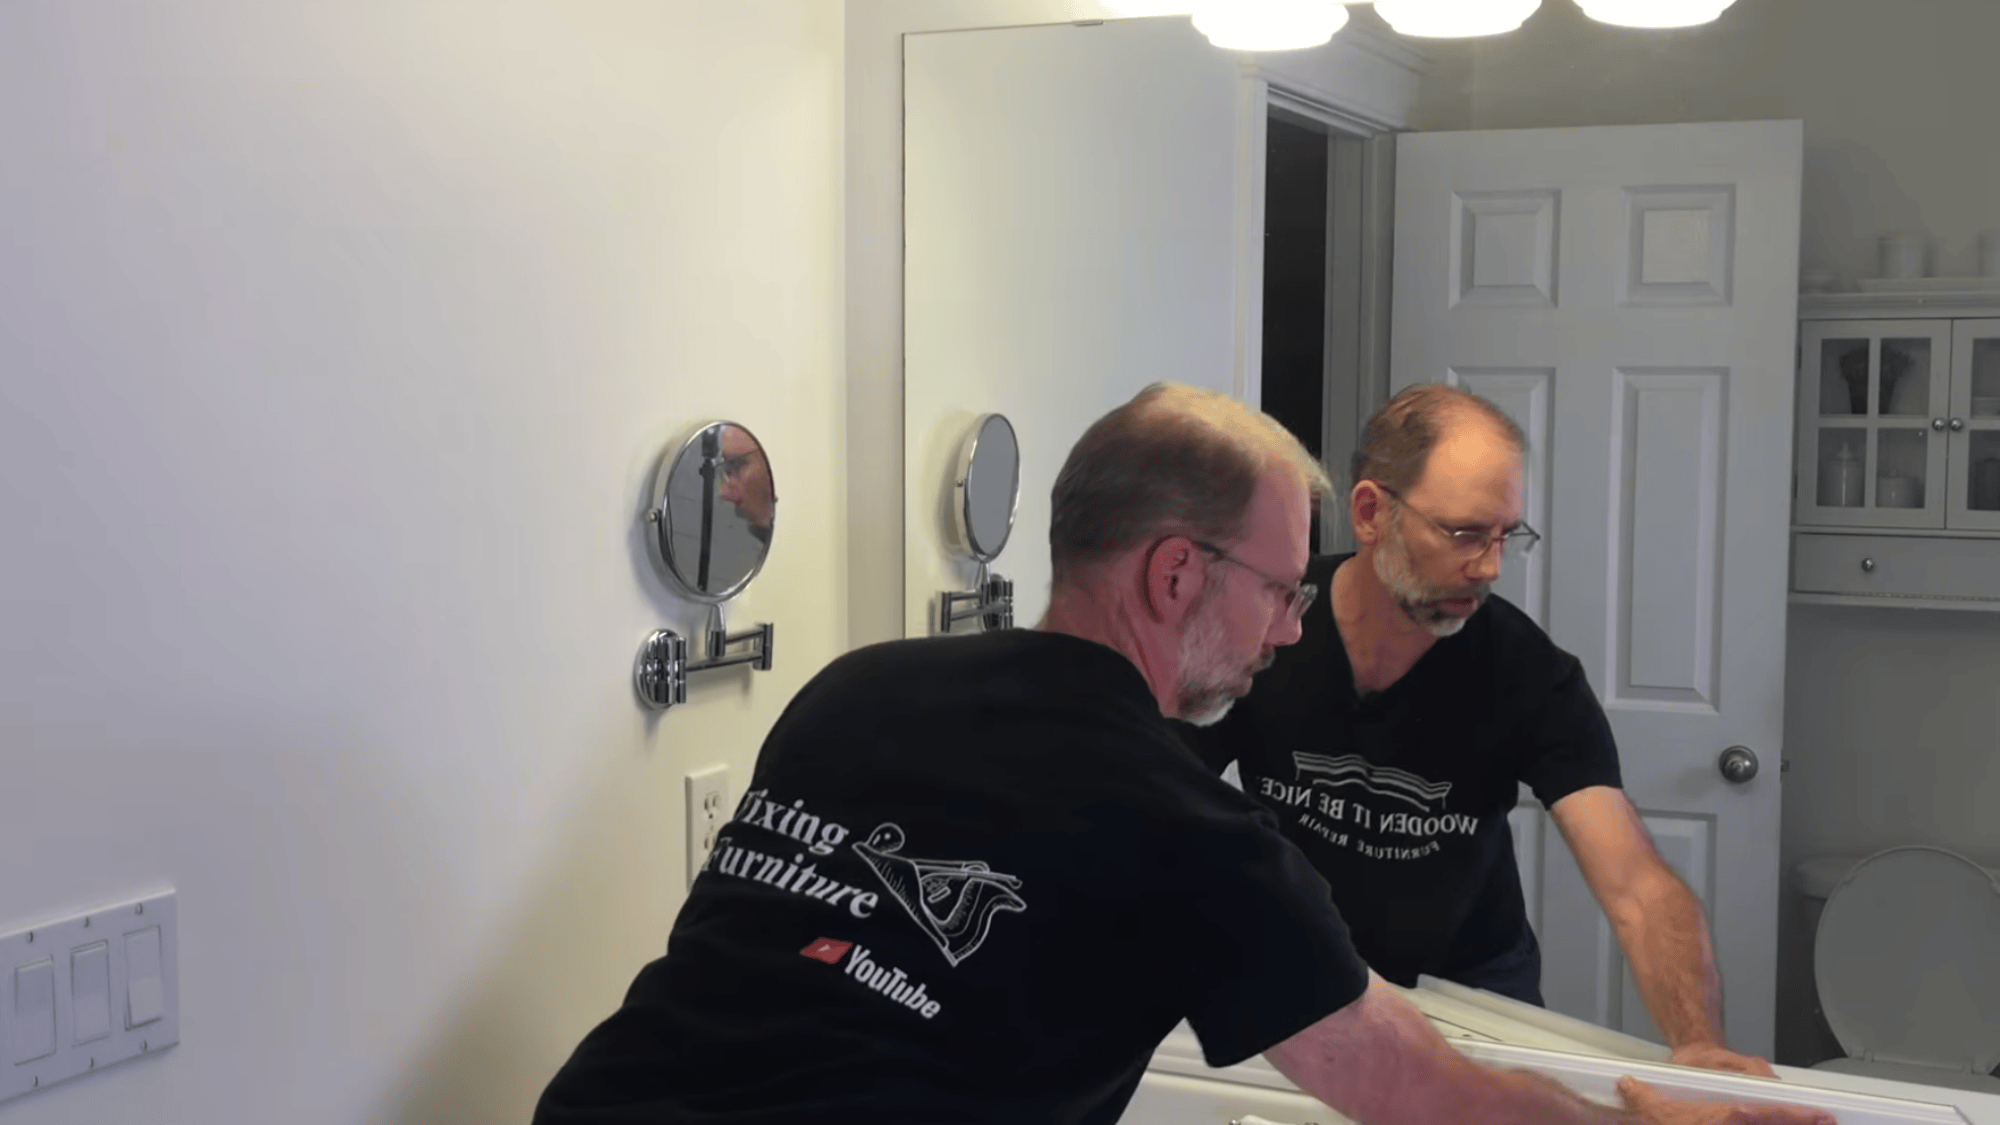
Position each trim piece carefully on the mirror surface. Press it into place and move it slightly side to side to spread the glue evenly.
This helps create a strong bond. Work quickly, as the glue allows only a short time for adjustments.
Place each piece along the edges of the mirror, ensuring it sits straight and lines up properly. Continue until all sides are in place and form a complete frame.
Step 9: Align Corners and Adjust
Check all corners and adjust the trim while the adhesive is still soft and workable. Make sure each miter joint fits tightly with no gaps between pieces.
Gently move the trim as needed to get proper alignment on all sides. This step is key to a clean and neat final look.
Take your time to confirm everything is straight and even.
Ensure the corners match well before the adhesive begins to set, so the trim holds firmly and stays in the correct position.
Step 10: Touch up the Corners and Let It Dry
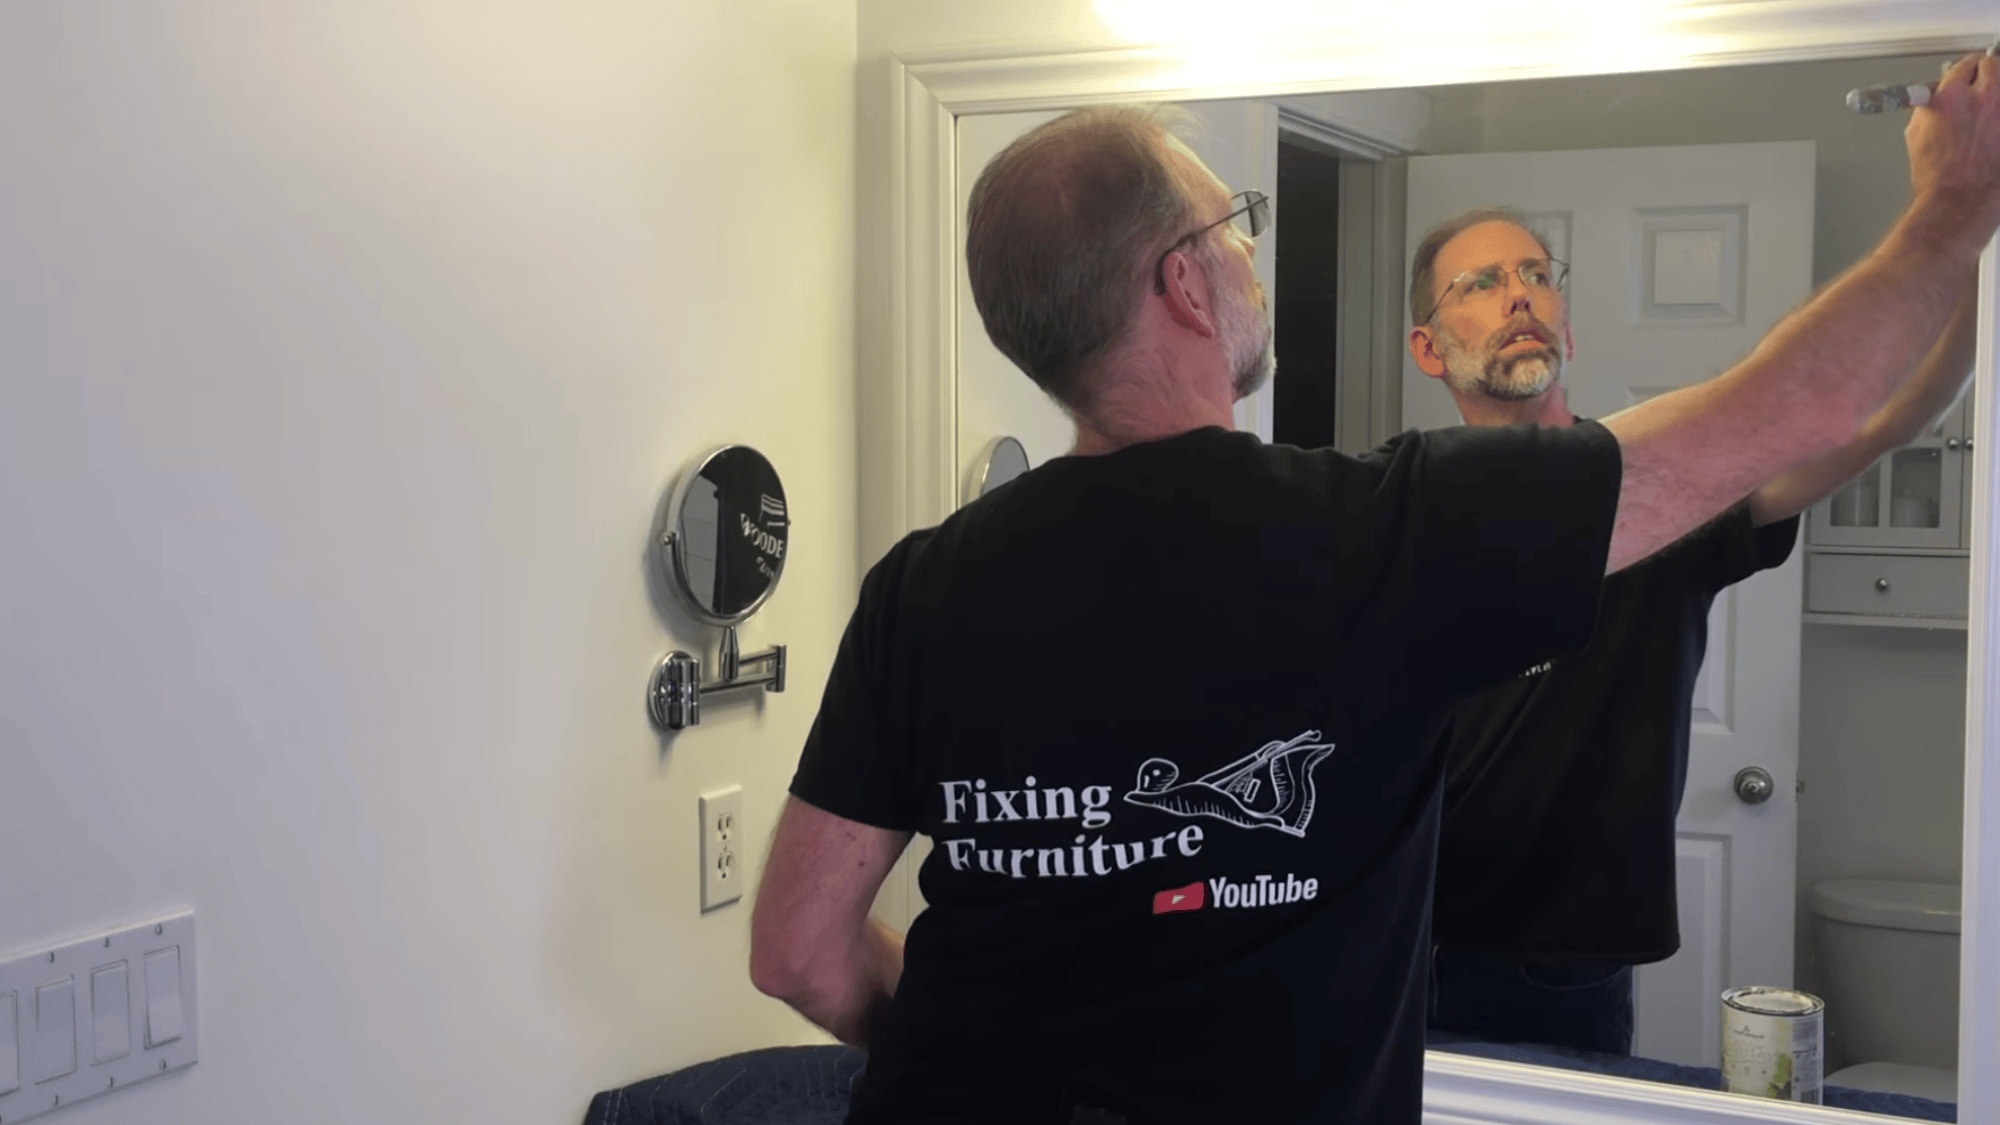
Inspect the corners for small gaps or flaws after placing the frame. Use a small brush to apply paint to these spots. This smooths the joints and makes them less visible.
Focus only on areas that need correction, rather than repainting the trim.
Allow the glue to dry fully without moving the frame. Once dry, the trim stays firm and gives a clean finish. Give it enough time to set well so the frame holds strong and looks even overall.
This tutorial is based on a helpful video by Home Improvement Woodworking. You can check out the original video on their YouTube channel here or watch it below.
Tips for a Clean and Strong Finish when You Frame a Mirror
These simple tips can help you get a neat look and make sure your mirror frame stays in place for a long time.
- Use Clamps If Possible: Use clamps to hold the trim in place while the glue dries. This helps keep the frame tight and prevents movement.
- Clean Mirror Before Attaching: Clean the mirror surface before adding the trim pieces. This helps the glue stick better and hold longer.
- Use Level for Straight Frame: Use a level to make sure the frame sits straight. This keeps the final look neat and even on all sides.
- Seal Edges in Bathrooms: Seal the edges if the mirror is in a bathroom area. This helps protect the frame from moisture and damage.
When to Replace Instead of Framing a Mirror?
When you are deciding between replacing something or fixing it with a frame, focus on its condition, cost, and long-term value.
If the item is badly damaged, worn out, or no longer safe, replacement is often the better choice. Small cracks, loose parts, or surface issues can usually be fixed with a simple frame or repair.
Think about money as well. If repair costs are almost the same as buying new, it makes more sense to replace.
Also, check the age. Older items may fail again soon, even after repair. Replace when safety or durability is at risk is a good rule to follow.
Choose framing or repair when the issue is minor, the structure is still strong, and you want to save money and keep your overall costs under control.
Cost to DIY Frame a Mirror
The cost to frame a mirror can vary based on the method you choose and the materials used, so it helps to compare each option before deciding.
| Option | Cost Range | Details |
|---|---|---|
| DIY Cost Breakdown | $20 – $100 | Basic materials like wood trim, glue, and paint usually cost between $20 and $50, while better materials can raise the cost up to around $100, depending on quality and size. |
| Ready-Made Frame Kits | $15 – $140+ | Frame kits are a mid-range option and often cost $15 to $50 for simple kits, while premium styles can reach around $99 to $140 or more. |
| Professional Framing Cost | $100 – $300+ | Professional work is the most expensive option and can range from $100 to $300 or more based on size, labor, and finish. |
Common Mistakes to Avoid While Framing a Mirror
Avoiding simple mistakes can save time and give better results. These are common errors that can affect your final outcome.
- Wrong measurements: Using incorrect measurements can lead to poor fitting and wasted material. Always double-check sizes before cutting or assembling anything.
- Skipping the dry fit: Not testing the fit before final assembly can lead to alignment issues later. A quick dry fit helps you catch problems early and fix them easily.
- Using weak glue: Low-quality glue may not hold parts together for long. Always choose a strong adhesive suited for your project type.
- Not allowing drying time: Rushing the drying process can weaken the final result. Give enough time for proper bonding and long-lasting strength.
Conclusion
Framing a mirror is a simple project that can improve your space. Start by gathering materials, preparing the trim, and cutting clean angles.
Clean the mirror and apply glue well so the frame holds. Adjust corners and add touch-ups for a neat finish.
This method improves your mirror’s look and saves money over buying a new one.
With some care and patience, you can do it at home and get solid results. I’ve seen a simple painted pine frame turn a basic mirror into something that looks clean and complete.
People notice the size, color, and neat corners, and all of that depends more on good prep than special skill.
Try this simple guide on how to frame a mirror and give your space a fresh new look today.
Frequently Asked Questions
What Type of Wood Is Best for Mirror Frames?
Lightweight woods like pine or MDF work well. They are easy to cut, paint, and handle, making them a good choice for simple DIY projects.
What Adhesive Should Be Used to Frame a Mirror?
Use a mirror-safe construction adhesive. Avoid regular glues, as they can damage the mirror backing. Always check the label or ask for a non-corrosive option.
Can Nails Be Used Instead of Glue to Attach the Frame?
Glue is safer for mirrors because nails can damage the glass. Strong construction adhesive is the better option for a secure hold.
How to Maintain a Framed Mirror?
Clean it regularly with a soft cloth and avoid harsh chemicals. Check the frame edges regularly to ensure everything stays secure.
Can the Frame Color Be Changed Later?
Yes, you can repaint the frame at any time. Light sanding and a fresh coat of paint will easily give it a new look.