
I use my electric kettle every day, so I have seen how quickly it gets dirty. Over time, white limescale builds up inside due to hard water.
I also notice stains and a slight smell if I skip cleaning for too long. This can affect the taste of water and make the kettle look old.
The good part is that it is very easy to fix. You can clean an electric kettle using simple items like vinegar or lemon in just a few steps.
A quick cleaning routine every few weeks helps keep the kettle fresh and safe to use. Regular cleaning also improves taste and helps the kettle last longer without buildup problems.
Follow this simple guide below to clean your electric kettle properly.
Signs Your Electric Kettle Needs Cleaning
It is easy to miss the early signs of buildup inside a kettle. These simple signs can help you know when it is time to clean it.
- White spots or buildup inside: You may see a chalky white layer forming on the inner surface. This is limescale, and it builds up from hard water over time.
- Water takes longer to boil: The kettle may take longer than usual to heat water. This happens when limescale blocks proper heat transfer.
- Strange taste in water: The water may not taste fresh after boiling. Buildup inside the kettle can affect the flavor.
- Unusual smell: You might notice a slight smell when using the kettle. This can happen if cleaning is skipped for too long.
- Loud or different boiling noise: The kettle may sound louder or different while heating. This is often due to mineral buildup inside.
What Causes Limescale in Electric Kettles?
Limescale forms when water with high mineral content is heated repeatedly. This type of water is called hard water, and it contains calcium and magnesium minerals.
When the kettle boils water, these minerals do not evaporate. Instead, they stay behind and slowly stick to the inner surface. Over time, this creates a white or chalky layer called limescale.
The more hard water you use, the faster limescale builds up. In areas with very hard water, you may need to clean the electric kettle every 2 to 3 weeks instead of monthly.
Pro Tip: Using filtered water in your kettle significantly reduces limescale buildup and means you need to clean it less often.
Is Limescale Harmful?
Limescale itself is not toxic. It is made up of calcium carbonate, which is a natural mineral. However, it can:
- Affect the taste and smell of your water
- Reduce the efficiency of your kettle and increase energy use
- Shorten the lifespan of the heating element
- In some cases, flakes off into your drinks
While not dangerous, it is best to remove limescale regularly to keep your kettle working well and your water tasting fresh.
How to Clean an Electric Kettle?
Cleaning your electric kettle does not take much time if you follow these simple steps.
Tools and Materials Needed
Here are the tools and materials required in the process to clean an electric kettle.
Step 1: Remove and Soak the Filter
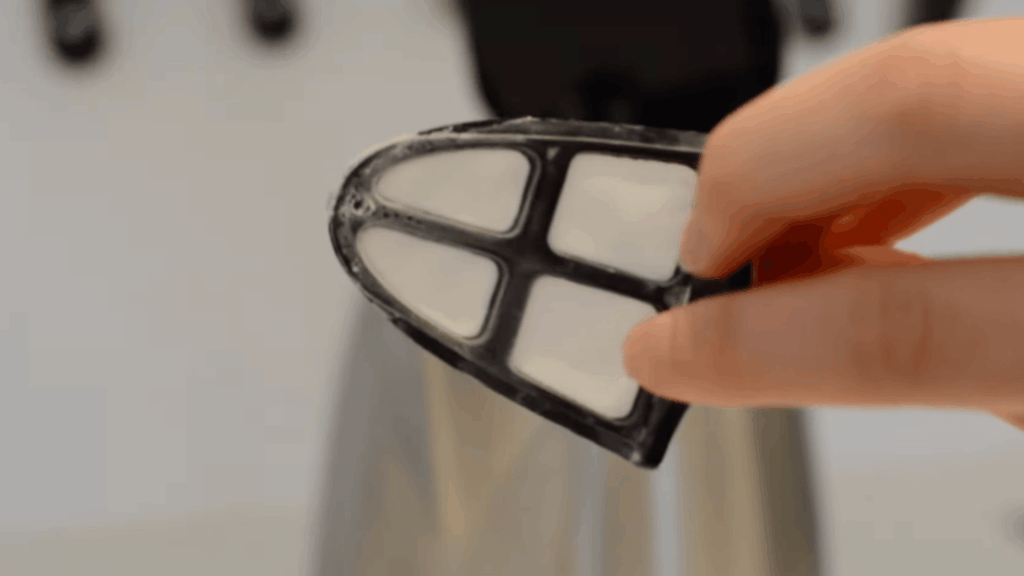
Start by carefully removing the filter from the kettle, as it is a delicate part that can bend or break easily.
Avoid scrubbing it, as this may cause damage to the mesh. Place the filter in a bowl filled with equal parts white vinegar and water. Let it soak for about 5 to 10 minutes.
This soaking process helps loosen dirt, stains, and limescale buildup without effort, making the filter cleaner and safe to use again.
Step 2: Fill the Kettle with Cleaning Solution
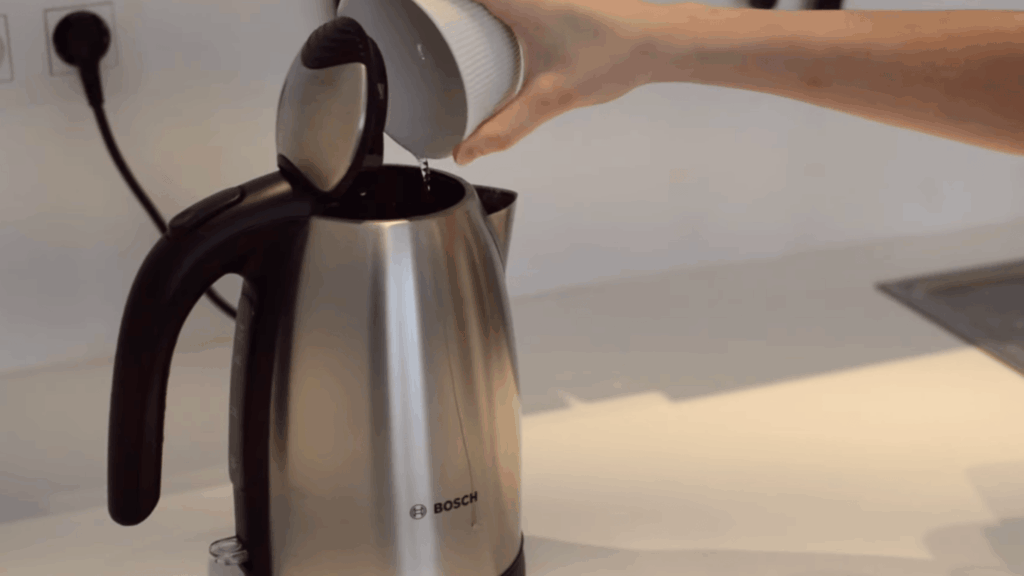
Prepare a cleaning solution using equal parts white vinegar and water. Pour this mixture into the kettle and fill it halfway so it covers the areas where limescale builds up the most.
Avoid overfilling, as the liquid may rise during boiling. This simple solution works well to break down mineral deposits inside the kettle.
It also prepares the surface for deeper cleaning in the next steps without using any strong or harmful products.
Step 3: Boil and Let It Sit for Cleaning
Turn on the kettle and let the vinegar-water solution boil fully. The heat helps break down the limescale inside. Watch the kettle while it boils to avoid spills.
Once it boils, turn off the heat and leave the solution in for about 20 minutes. This helps loosen tough buildup and stains.
If needed, let it sit longer. This step makes cleaning easier and reduces the need for scrubbing later.
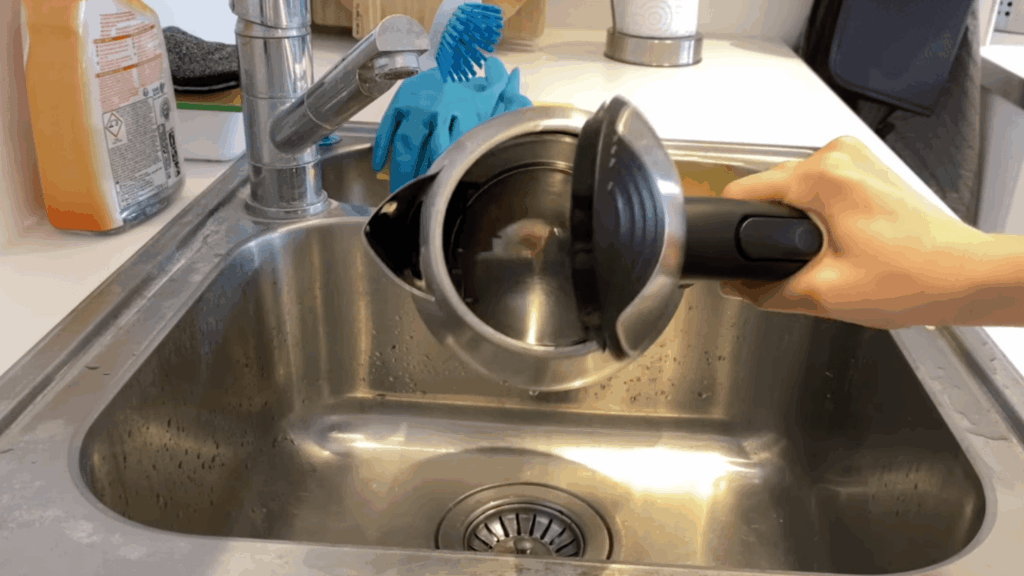
Step 4: Rinse Thoroughly
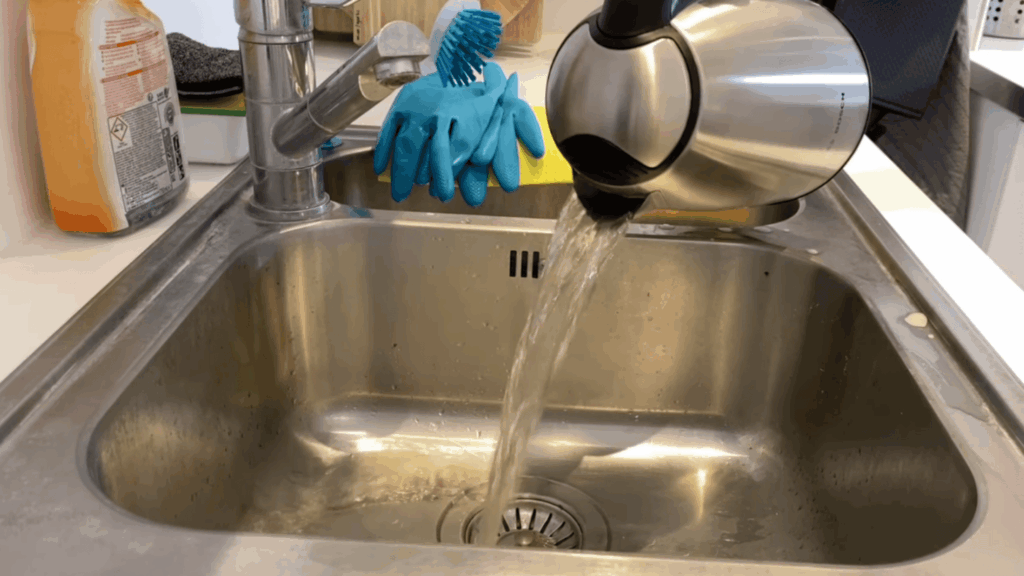
Once the soaking time is complete, carefully pour out the cleaning solution. Rinse the kettle several times with clean water to remove any remaining vinegar and loosened residue.
Proper rinsing is important to avoid any strong smell or taste in future use. For better results, boil plain water once and discard it.
This final rinse step ensures the kettle is fully clean, fresh, and safe for regular use, with no leftover cleaning solution.
Step 5: Repeat or Scrub if Needed
If some limescale is still visible inside the kettle, repeat the cleaning steps. Fill it again with the vinegar-and-water mix, boil, and let it sit.
For spots that do not clear, use a soft brush to scrub gently. Do not use hard scrubbers, as they can scratch the inside surface.
This step helps clear any leftover buildup. In most cases, one repeat is enough to make the kettle look clean again.
Step 6: Clean the Outside Safely

To clean the outside, use a soft cloth or rag and add a small amount of regular cleaner. Wipe the outer surface gently to remove stains, dust, and marks.
Do not put the kettle in water or rinse it under a tap, as it can damage the inner parts.
Keep the cleaning dry and careful. This method helps keep the kettle clean on the outside without harming its working parts.
Step 7: Prevent Future Buildup

To avoid limescale in the future, empty the kettle after each use. Do not leave water sitting inside for long periods.
Clean the kettle once every month using the same method to keep it fresh. Regular cleaning helps stop buildup before it gets thick and hard.
Using clean water also helps reduce marks inside. These simple habits make the kettle easier to maintain and help it work well without needing deep cleaning too often.
This tutorial is based on a helpful video by Accidental Adult. You can check out the original video on their YouTube channel here or watch it below.
Best Ways to Clean a Tea Kettle Naturally
Natural methods are simple, safe, and easy to use at home. These options help remove stains and limescale without harsh cleaners.
| Method | How It Works | Best For |
| Vinegar Method | Uses vinegar and water to break down buildup. | Simple and quick cleaning. |
| Lemon Method | Uses lemon juice to clean and neutralize odors. | Light scale and fresh smell. |
| Baking Soda Method | Uses baking soda to scrub and lift tough stains. | Heavy stains and buildup. |
What Causes Limescale in Electric Kettles?
Limescale forms when water with a high mineral content is heated repeatedly. This type of water is called hard water, and it contains minerals like calcium and magnesium.
When the kettle boils water, these minerals do not evaporate.
Instead, they stay behind and slowly stick to the inside surface. Over time, this creates a white or chalky layer called limescale.
You can notice buildup as white spots or rough patches inside the kettle. The kettle may also take longer to boil, and the water may taste a bit different.
In some cases, you might hear more noise while boiling. These are clear signs that the kettle needs cleaning to keep working properly.
Common Mistakes to Avoid
Avoid small mistakes that can damage your kettle or reduce its life. Simple care can keep your kettle clean and working well.
- Using Harsh Scrubbers: Rough scrubbers can scratch the inside surface. Always use a soft brush or cloth.
- Overfilling the Kettle: Too much water can cause spills while boiling. Fill only to the safe level.
- Not Rinsing Properly: Leftover cleaning solution can affect taste. Rinse well before using the kettle again.
Can Other Cleaning Products be Used?
Some people prefer ready-made cleaners for quick results. It is important to know what is safe before using any product.
| Cleaning Option | Description | Safe or Not |
|---|---|---|
| Store-bought descalers | Special liquids made to remove limescale easily | Safe if used as directed |
| Safe products | Mild cleaners made for kettles or food use | Safe |
| Unsafe products | Strong chemicals or bleach | Not Safe |
At the End
I have found that keeping an electric kettle clean does not take much time if done regularly. Limescale, stains, and smell can build up fast, but simple methods like vinegar or lemon work well.
The steps are easy to follow and do not need any special tools. Boiling, letting it sit, and rinsing properly can make a big difference.
From my experience, cleaning the kettle once a month helps avoid heavy buildup and keeps the water tasting fresh.
It also helps the kettle last longer and work better. Small habits like emptying water after use can prevent future problems.
A clean electric kettle is not hard to maintain. With a simple routine, it stays fresh, safe, and ready for daily use without much effort.
Start today and keep your kettle clean for better taste and longer life. Drop a comment below if this guide helped you.
Frequently Asked Questions
Is it Safe to Boil Vinegar in a Kettle?
Yes, it is safe. Vinegar helps remove limescale. Just rinse the kettle well after cleaning to remove any smell or taste before using it again.
Why does the Kettle Smell After Cleaning?
The smell stays if the vinegar is not rinsed properly. Rinse the kettle a few times, or boil plain water once, to remove any lingering odor.
Can the Outside of the Kettle be Cleaned the Same Way?
No, do not use vinegar inside and outside the same way. Use a mild cloth cleaner on the outside, and avoid water near electrical parts.