
Bubbles never get old. Kids love them, parents love watching them, and they cost almost nothing to make at home. The problem? Most store-bought solutions run out fast, and buying more adds up.
I’ve tested a lot of these recipes over the years while working on DIY projects with my kids on weekends, and the homemade versions consistently outperform the dollar-store versions.
A good batch costs pennies and takes less than five minutes to mix.
In this guide, you’ll find the best homemade bubble solution recipes that actually produce big, long-lasting bubbles for kids and outdoor playtime.
This post walks you through the classic recipe, easy variations, mixing tips, and how to store what you make. Everything here is safe for kids and simple enough to try today.
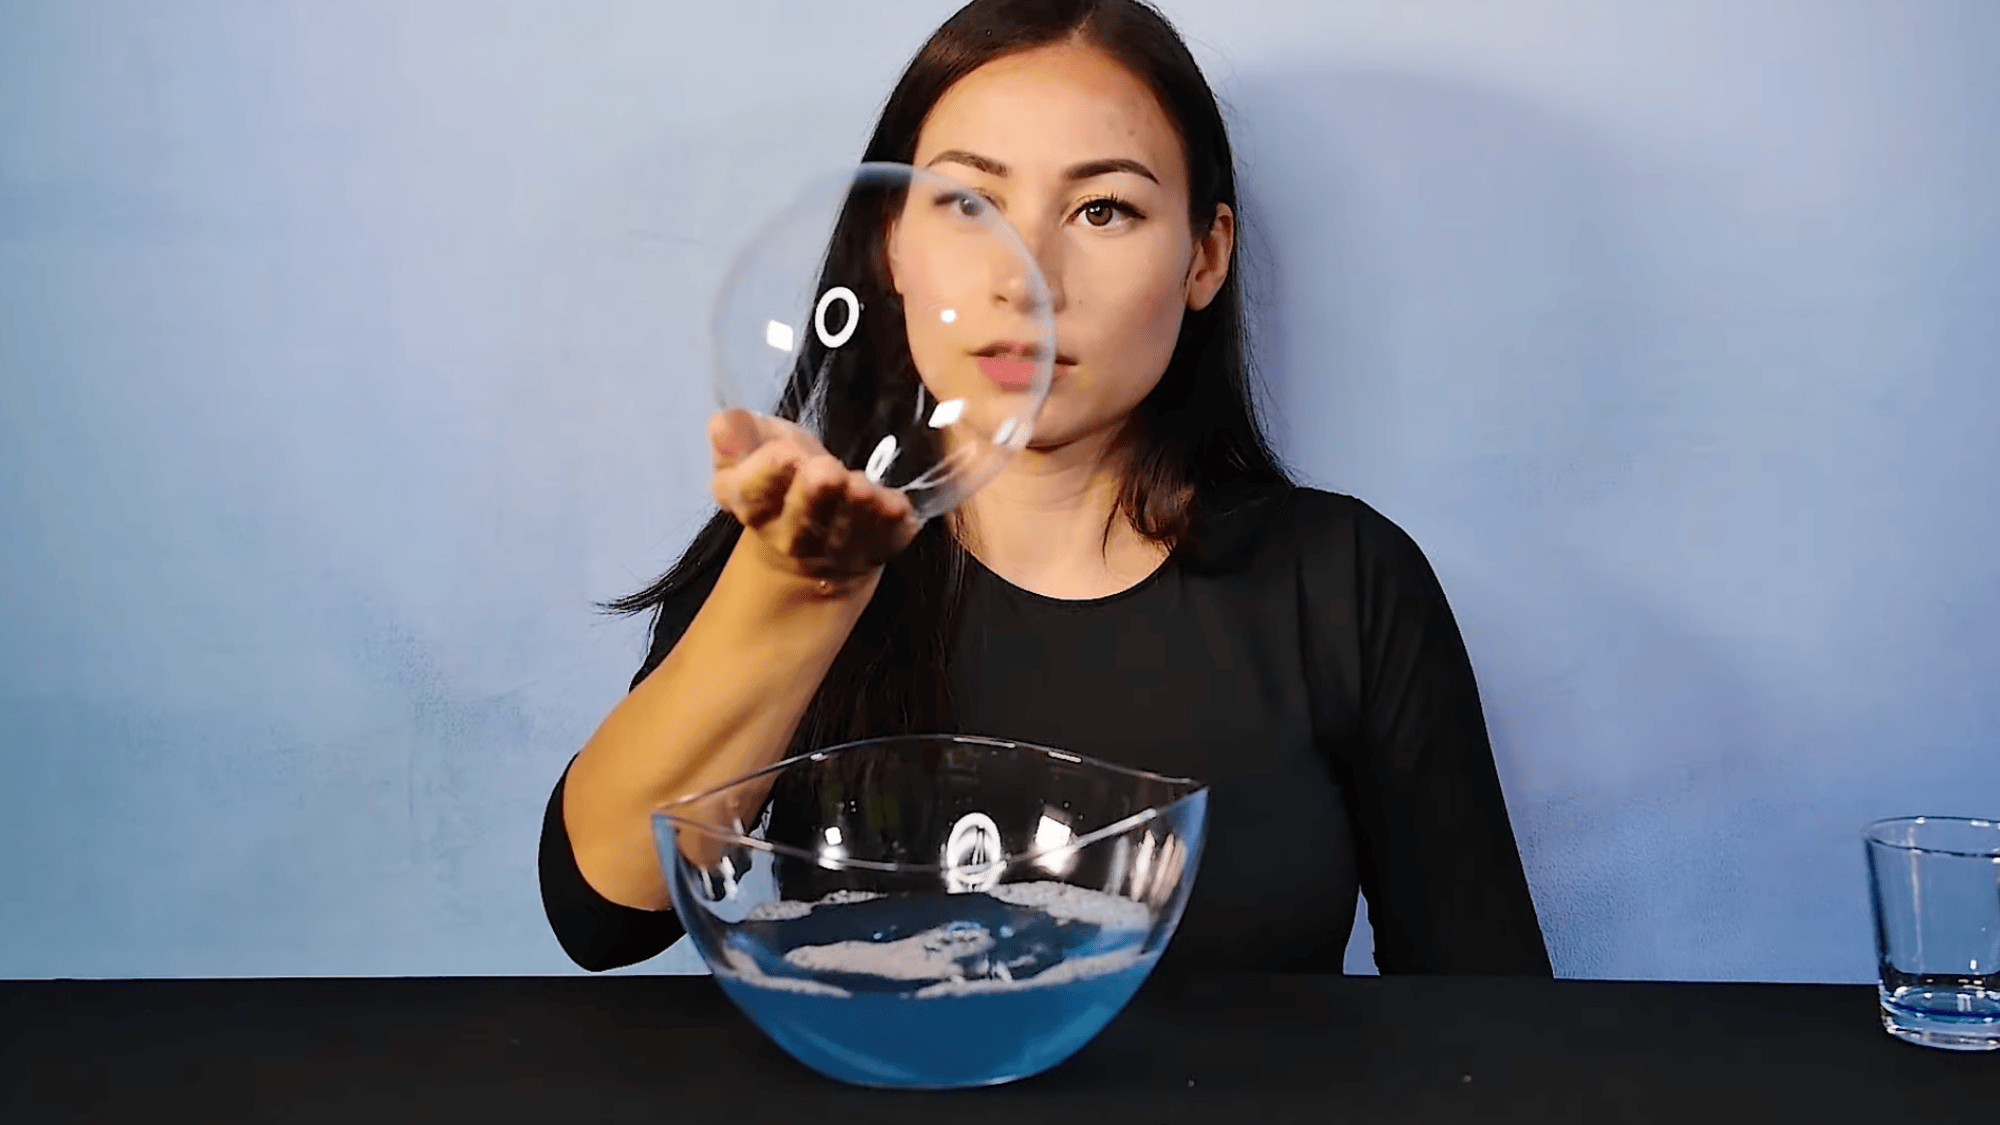
Basic Homemade Bubble Solution Recipe
Making a basic homemade bubble solution only takes a few minutes and a handful of simple ingredients you likely already have at home.
This recipe works well for regular bubbles and is completely safe for kids of all ages. It also works in bubble machines if you have one sitting around.
The sugar in this recipe acts as a binding agent, thickening the bubble wall just enough to keep it from popping on contact.
Without it, bubbles tend to be weak and short-lived. The dish soap creates the film, and the water gives it the right consistency.
One thing worth noting: the soap brand matters more than most people expect. Dawn dish soap (original blue) consistently produces the best results because of its surfactant concentration.
Generic dish soaps can work, but results are less reliable. Avoid any soap with added moisturizers or antibacterial ingredients both break down bubble film faster.
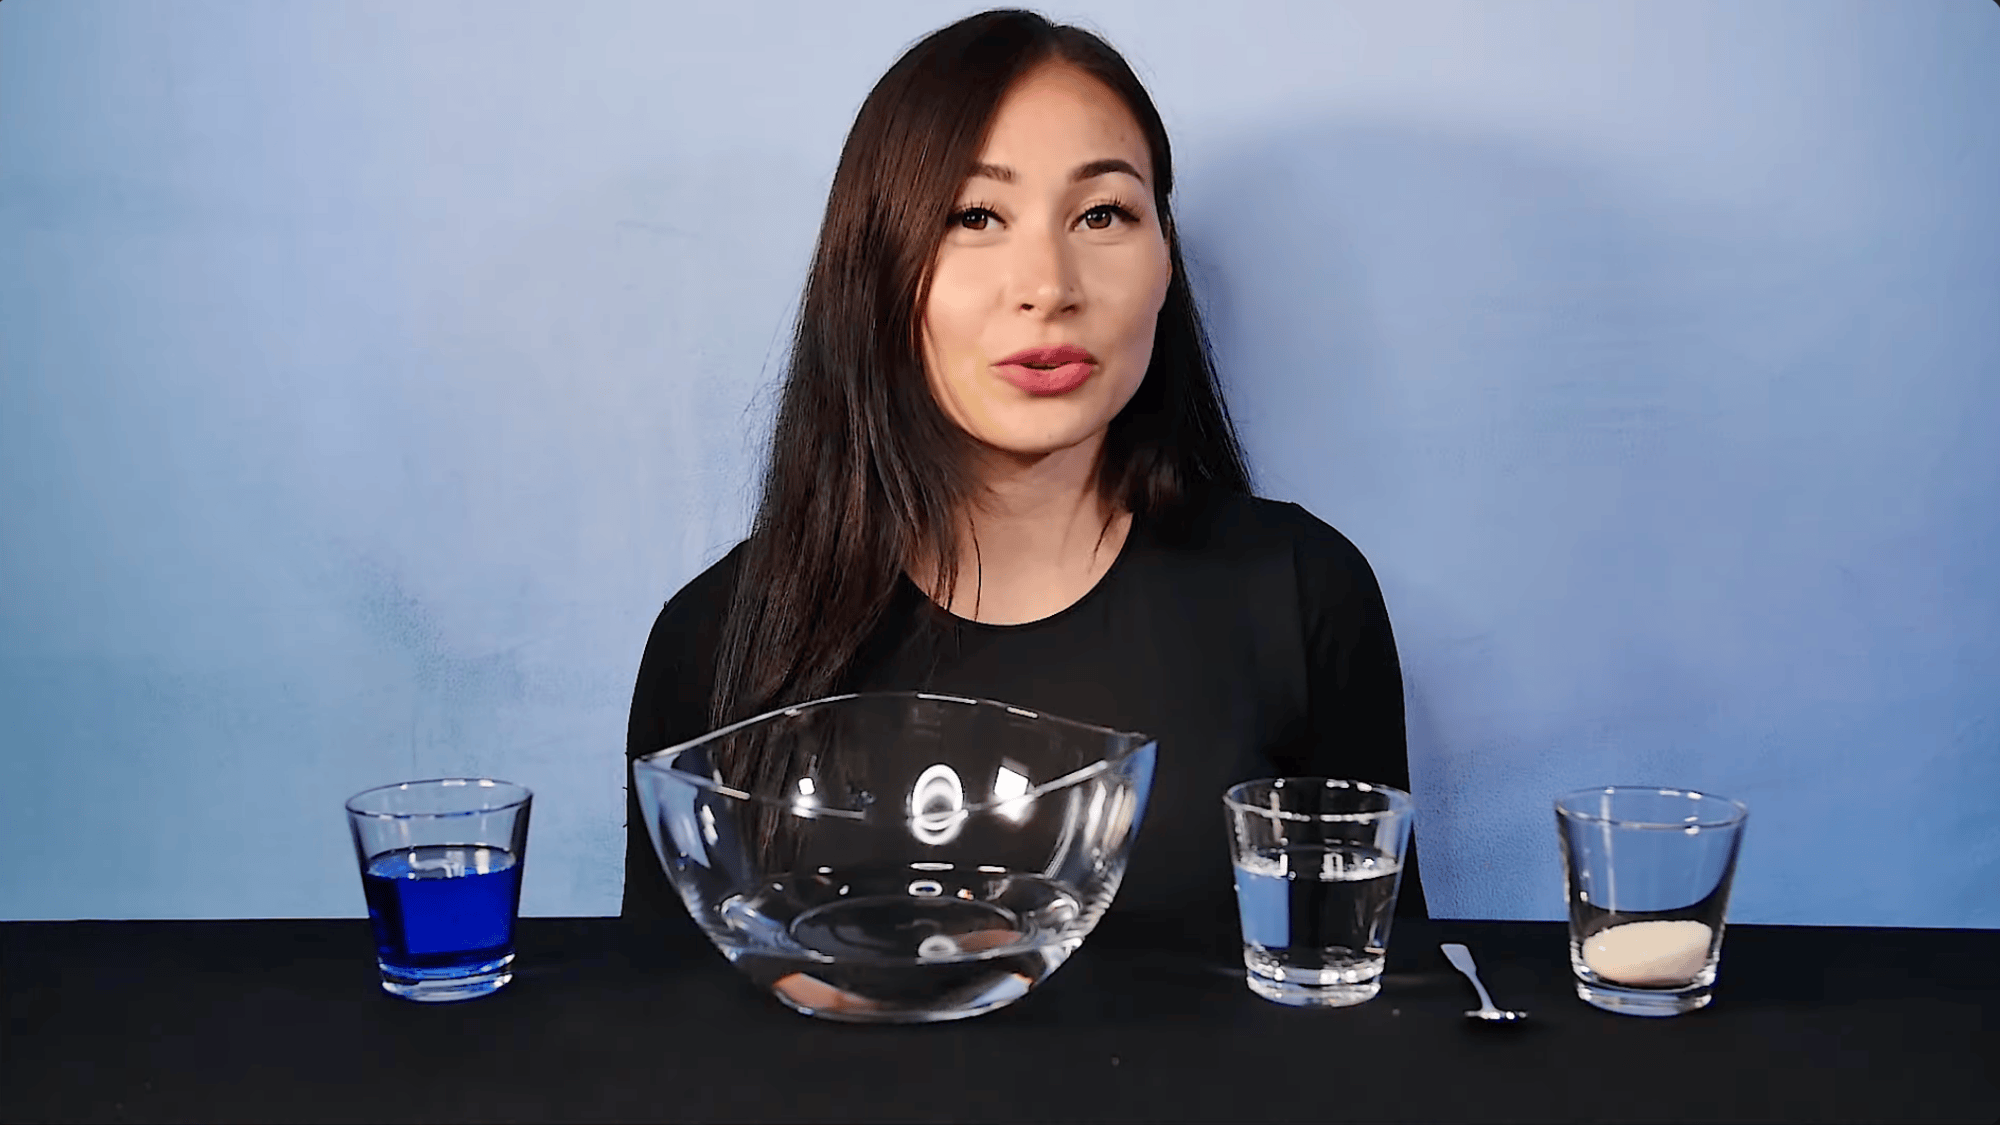
Ingredients You Need
Making a bubble solution at home is simple. You only need four basic ingredients, and there is a good chance you already have them in your kitchen.
- 2 Tablespoons of Sugar
- ½ Cup of Hot Water
- 1 Cup of Room Temperature Water
- ½ Cup of Dishwashing Soap
How to Make a Homemade Bubble Solution?
You do not need to buy bubble solution from a store. A simple mix of household ingredients gets the job done just as well.
Step 1: Gather Your Ingredients
Before you start, get everything ready on your counter. You will need 2 tablespoons of sugar, 1/2 cup of hot water, 1 cup of room-temperature water, and 1/2 cup of dishwashing soap.
Measure everything out before you begin. This keeps the process simple and reduces back-and-forth trips to the kitchen.
When your ingredients are lined up and ready to go, mixing takes only a few minutes from start to finish, with no hassle or extra effort required.
Step 2: Dissolve the Sugar in Hot Water
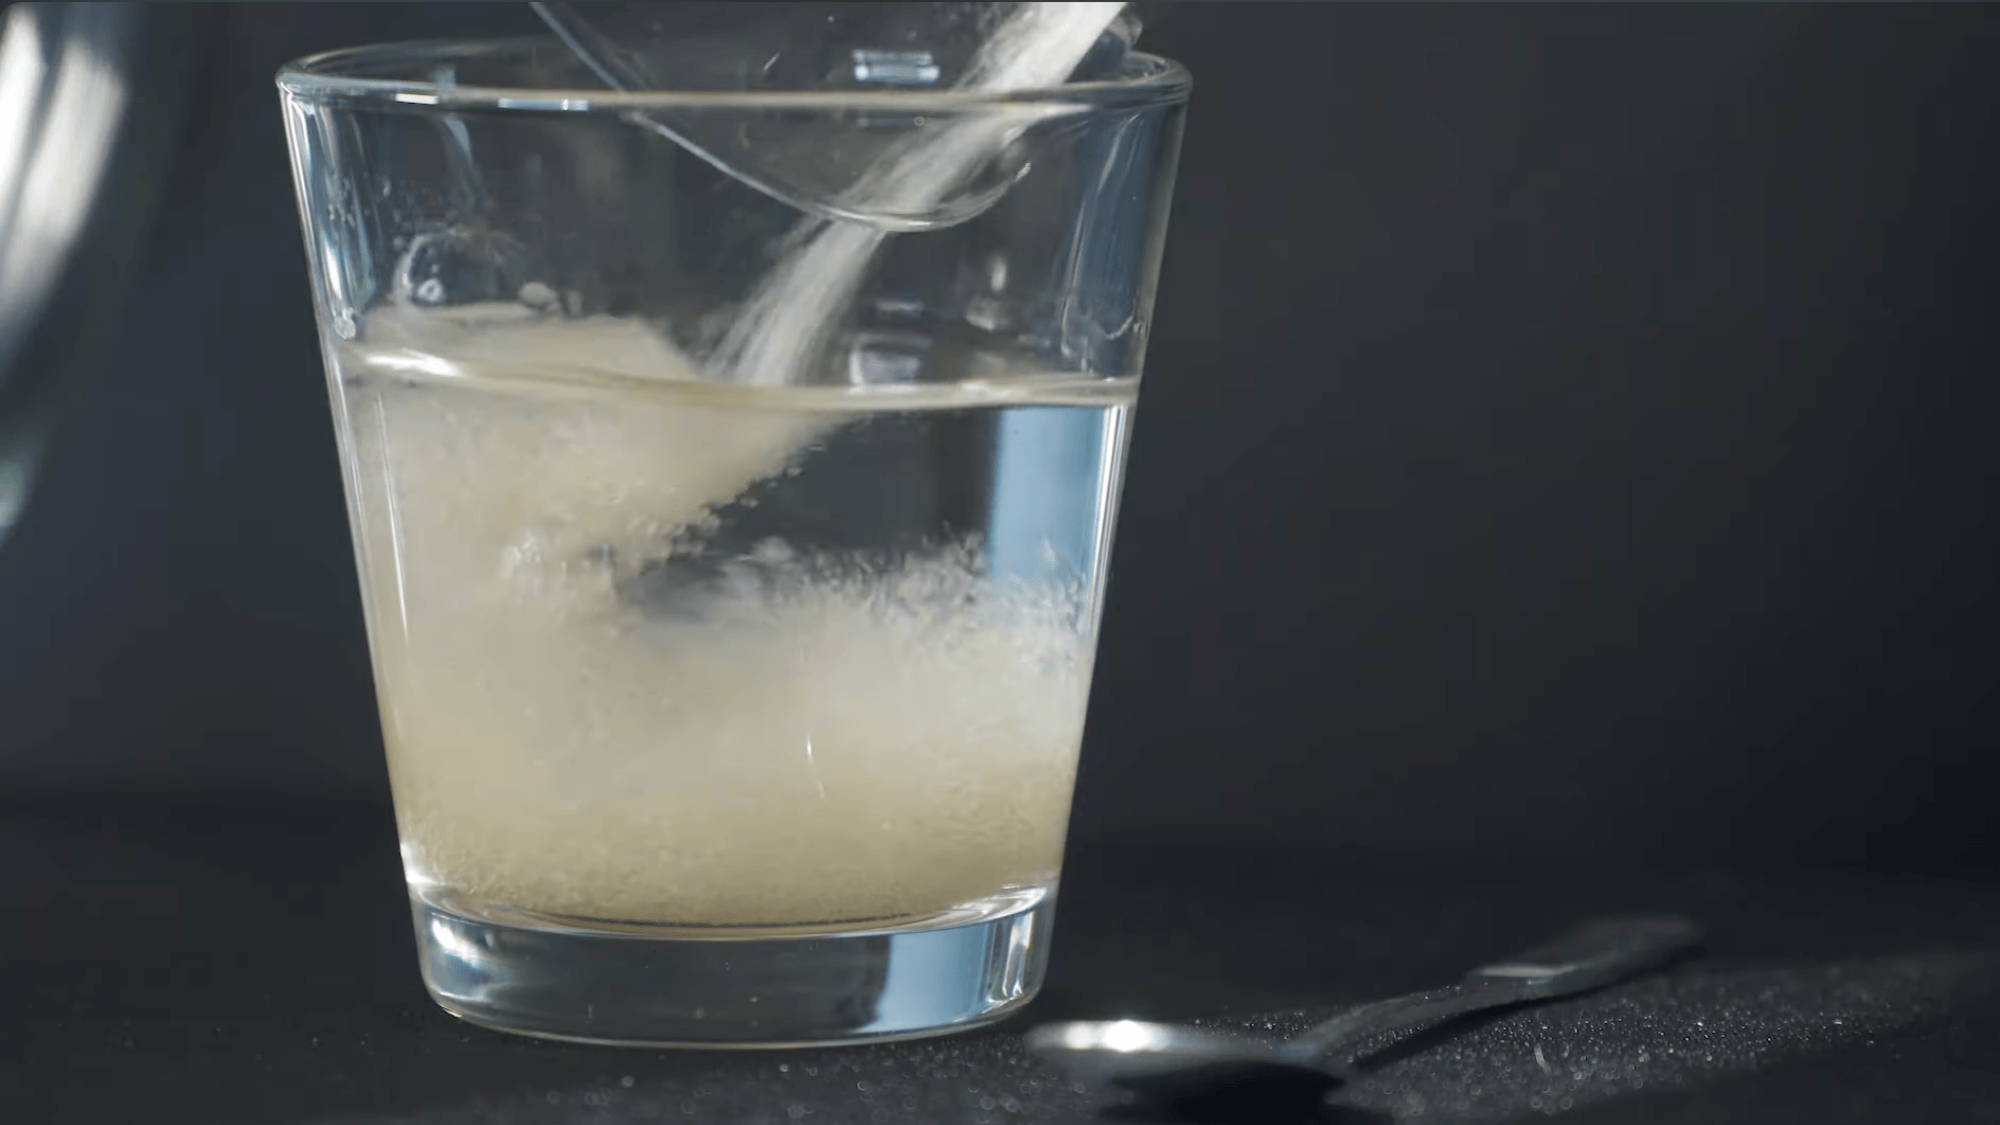
Pour the sugar into the hot water and stir until fully dissolved. This step matters more than it looks. Sugar acts as a binding agent, helping bubbles retain their shape rather than popping right away.
Hot water breaks the sugar down quickly, so keep stirring until the water looks clear with no visible sugar sitting at the bottom.
A cloudy mix means the sugar has not fully dissolved yet, so give it a few more stirs before moving on.
I skipped this step once and used cold water. The sugar never fully dissolved, and the bubbles popped almost immediately. This step is worth the extra two minutes.
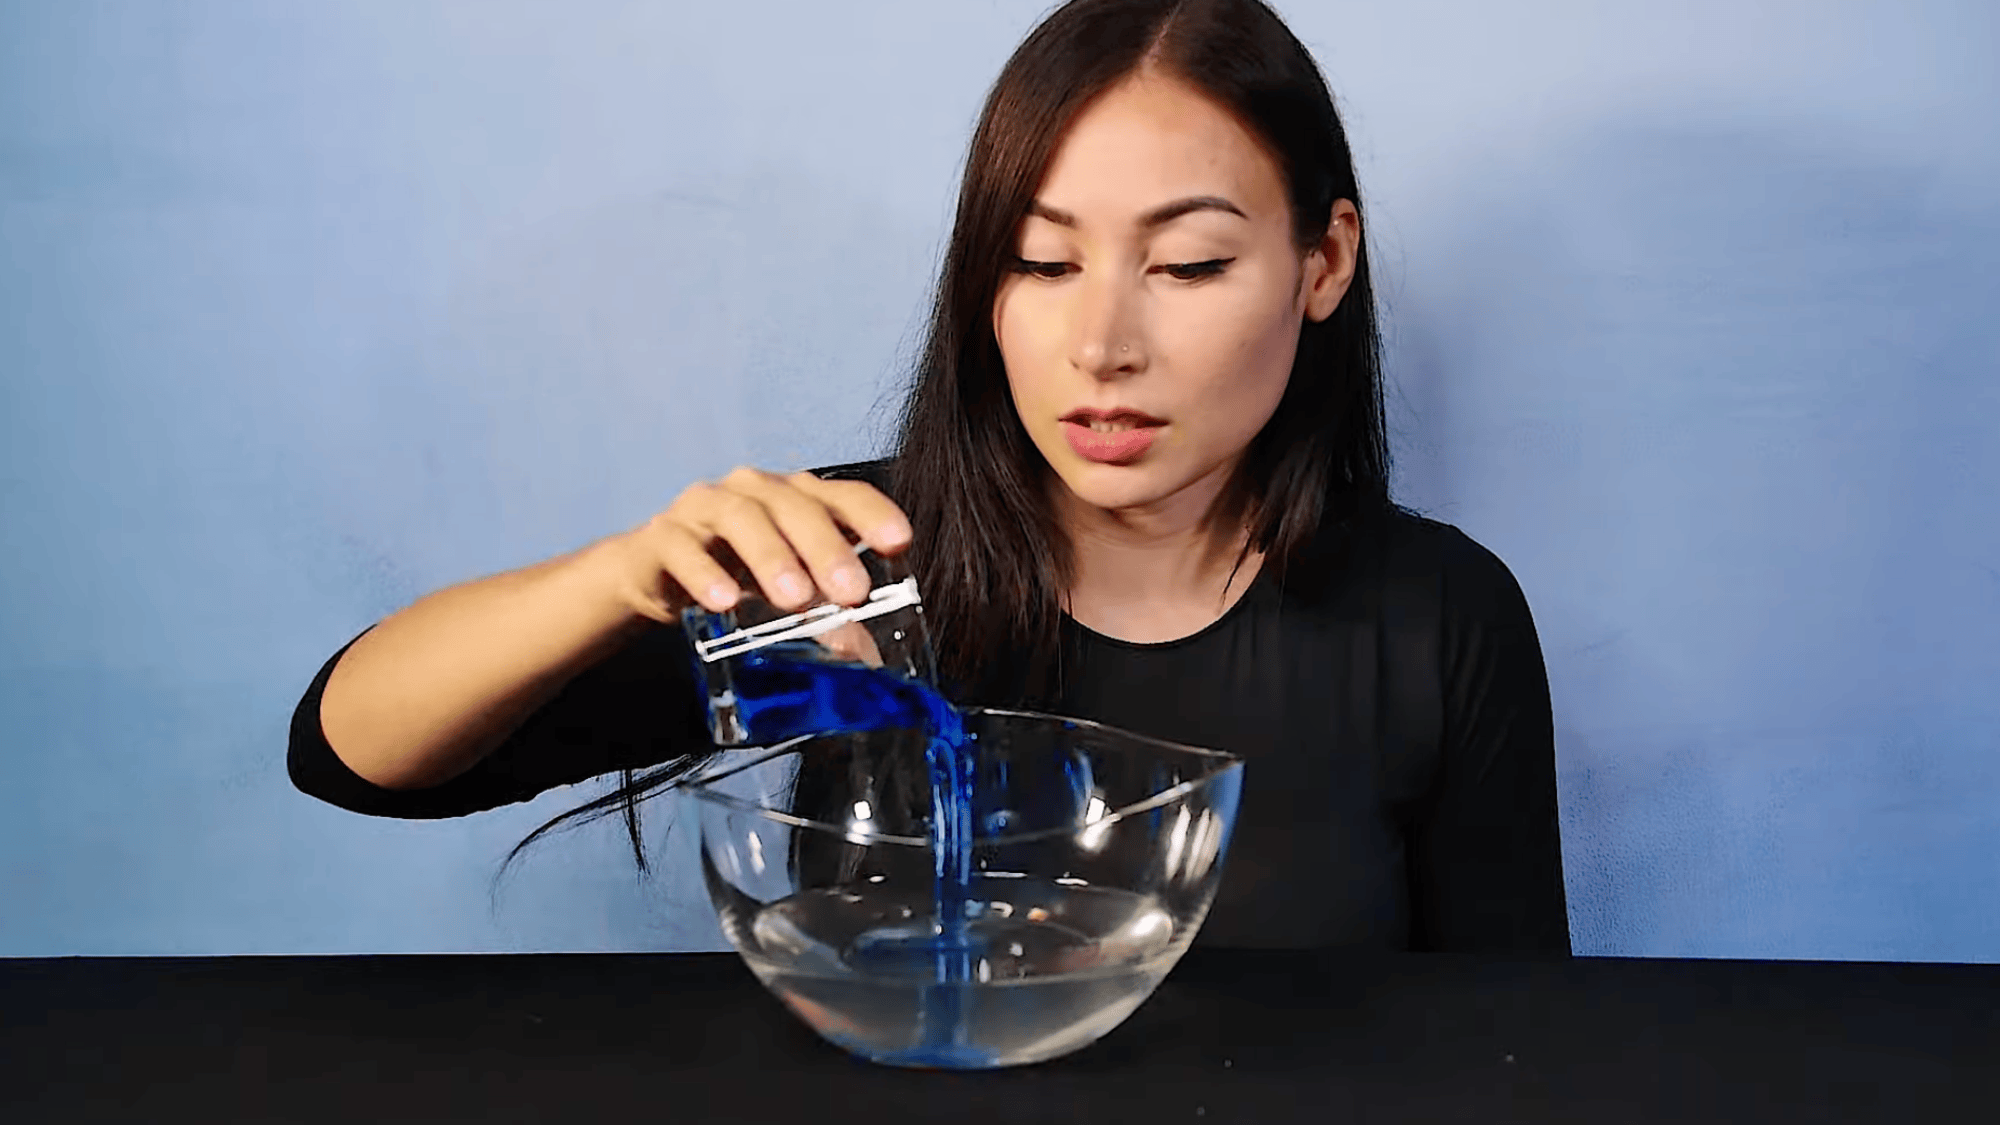
Step 3: Add the Sugar Water to Room Temperature Water
Pour the sugar water into the cup of room-temperature water and stir gently to combine. This step cools the mixture down before the soap goes in.
Adding soap to hot water creates excessive foam, which compromises the quality of your solution. A gentle stir is all you need here.
You are not trying to blend aggressively; you are just bringing the two together so the temperature drops and the mix is ready for soap.
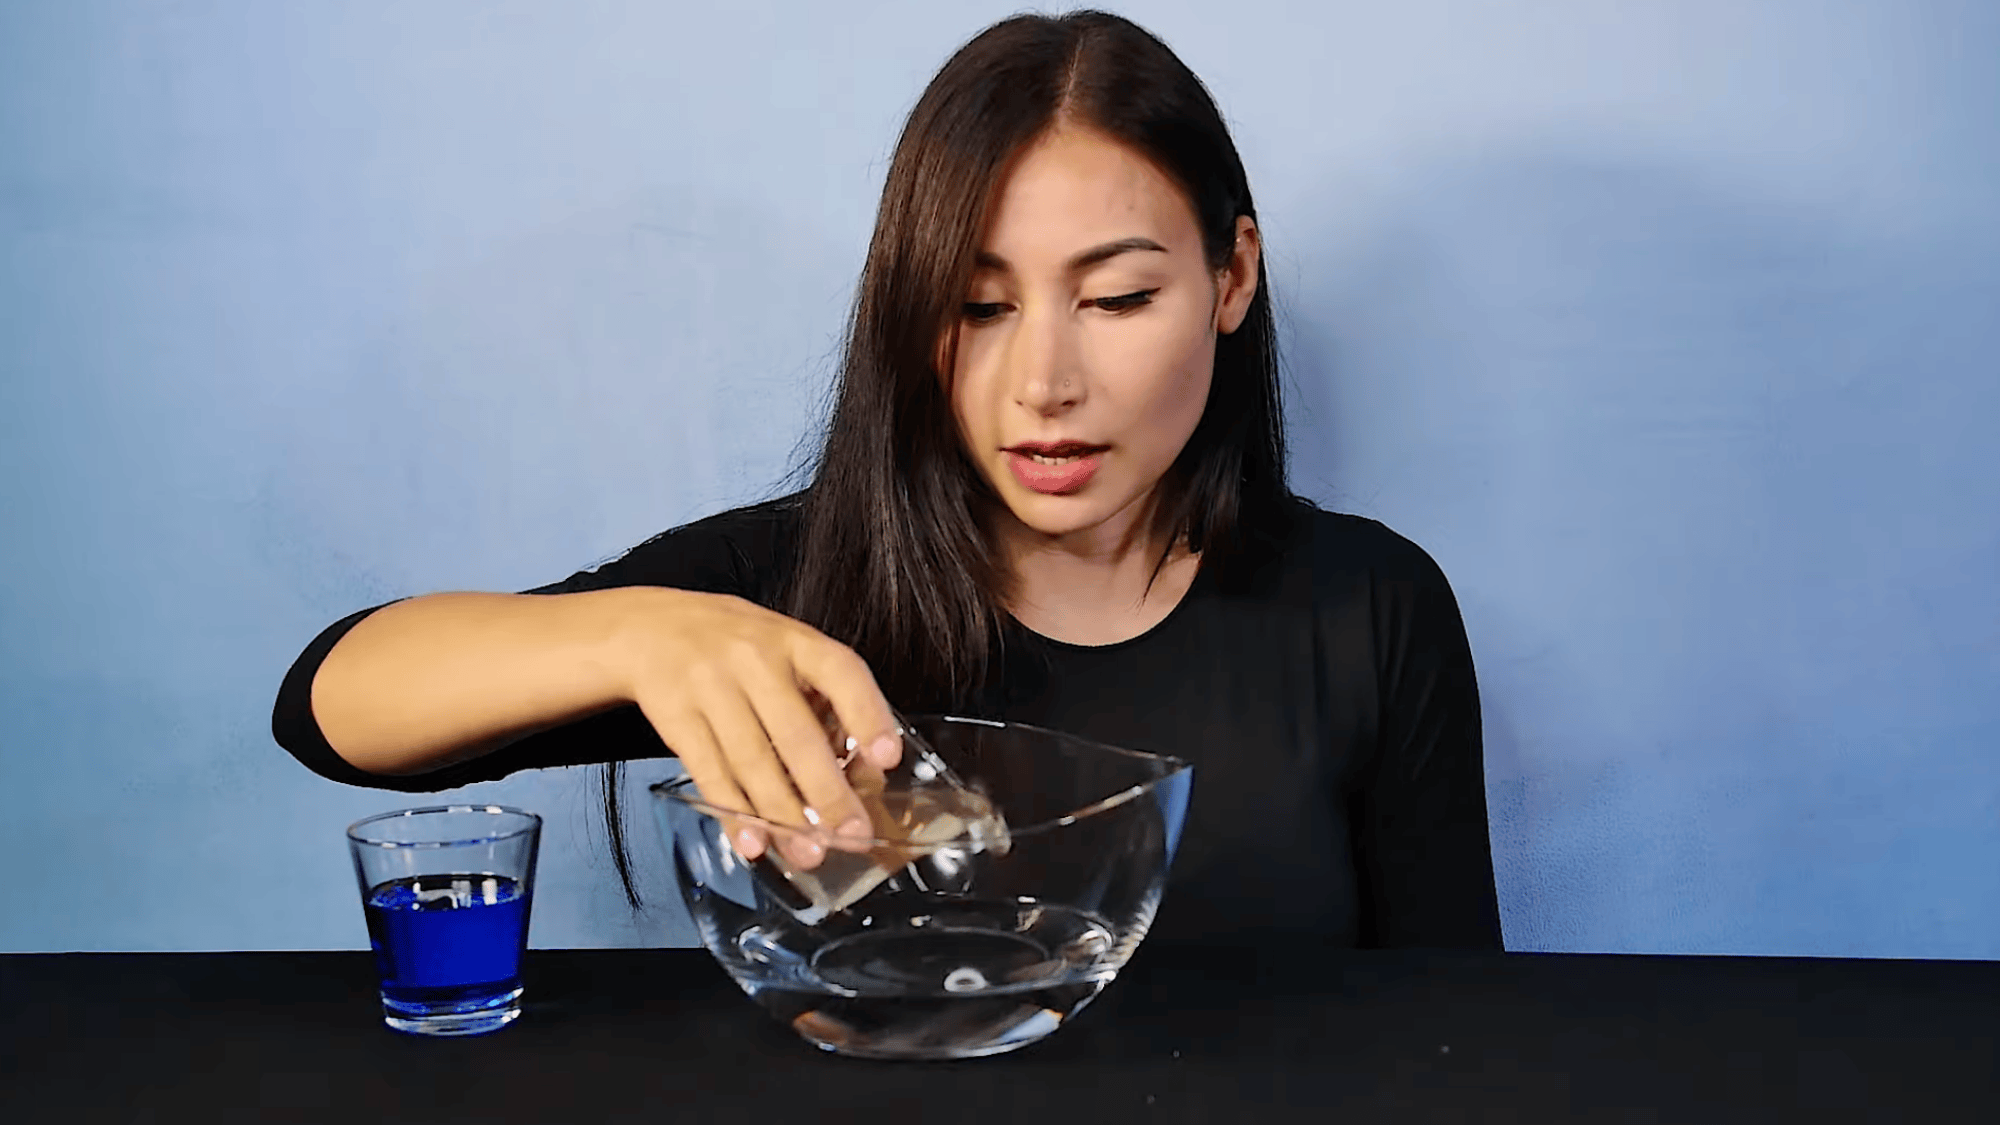
Step 4: Pour in the Dish Soap
Add half a cup of dishwashing soap to the mixture and stir slowly. Do not shake the cup or mix too fast to prevent foam and keep the solution smooth.
Fast mixing traps air and creates foam, altering the texture of your solution and reducing its effectiveness. Stir just enough to evenly combine everything.
Once the mix looks smooth, with no visible soap streaks, stop stirring. Your bubble solution is fully combined and ready to use.
If foam forms on the surface, skim it off with a spoon before using the solution. Foam on top is trapped air; it weakens the batch if you dip your wand into it.
Step 5: Test Your Bubble Solution
Dip your bubble wand into the solution and blow gently. This basic recipe produces small to medium-sized bubbles. Do not expect giant ones from this mix.
It works well for casual play and bubble machines. If you want larger bubbles, a recipe using glycerin or corn syrup will give you better results.
This version is quick to make, uses everyday ingredients, and costs almost nothing, which makes it a good starting point for most people.
This tutorial is based on a helpful video by Melody Yang. You can check out the original video on their YouTube channel here or watch it below.
Easy Homemade Bubble Solution Recipes to Try
The right bubble solution depends on what you have at home and what kind of bubbles you want. Here are five simple recipes to choose from.
| Recipe | Key Ingredients | Best For | Bubble Size | Durability |
|---|---|---|---|---|
| Classic Dish Soap Bubble Solution | Dish soap, water, sugar | Quick, simple 3-ingredient mix | Small–medium | Good |
| Sugar-Based Bubble Mix (No Glycerin) | Dish soap, water, sugar | Households without glycerin | Small–medium | Good |
| Glycerin Super Bubble Solution | Dish soap, water, glycerin | Bigger, longer-lasting bubbles | Large | Best |
| Corn Syrup Bubble Solution | Dish soap, water, corn syrup | Sticky but strong bubbles | Medium–large | Very good |
| Baby Shampoo Bubble Solution | Baby shampoo, water, sugar | Toddlers and sensitive skin | Small–medium | Good |
Each recipe uses everyday ingredients and takes less than five minutes to put together.
Glycerin vs. Corn Syrup: Which Should You Use?
Both glycerin and corn syrup act as humectants, but they perform differently in practice.
Glycerin, available at most pharmacies for a few dollars, produces consistently larger, more elastic bubbles because it integrates more evenly into the water-soap film.
Corn syrup works well and is easier to find at the grocery store, but the bubbles tend to be slightly stickier and less spherical.
When I ran both side-by-side on the same afternoon with the same batch of Dawn, the glycerin version produced bubbles roughly 20–30% larger and kept them airborne about two seconds longer on average.
For a birthday party or outdoor event where visual impact matters, glycerin is worth the small extra cost. For a quick weekday activity, corn syrup is perfectly fine.
Pro Tip: Use 1 tablespoon of glycerin per cup of water as a starting ratio. More glycerin does not automatically mean better bubbles; above about 4 tablespoons per cup, the solution becomes too viscous and bubbles stop forming cleanly.
Common Mistakes to Avoid
Making bubble solution sounds easy, but a few small mistakes can ruin the whole batch. Here is what to watch out for.
- Using Hard Water: Hard water contains minerals that break down bubbles quickly. Use distilled or filtered water instead for better results.
- Overmixing: Stirring too hard traps air in the solution and creates foam. Foam weakens your mix. Stir slowly and stop as soon as everything is combined.
- Wrong Soap Type: Not all soaps work the same way. Avoid anything with added moisturizers or antibacterial ingredients. A plain dish soap works best.
- Skipping Resting Time: Your solution needs time to settle after mixing. Give it at least an hour before using it. This small wait makes a big difference in bubble quality.
Fun Ways to Use Your Homemade Bubble Solution
Homemade bubble solution is not just for blowing bubbles in the backyard. Here are some fun ways to put it to use.
| Activity | What You Need | How It Works |
|---|---|---|
| Giant Bubbles | Two sticks and a piece of string or rope | Tie the string between the sticks, dip it into the solution, and wave it slowly through the air |
| Bubble Games for Kids | Bubble wands, timer, open space | See who can blow the biggest bubble or keep one in the air the longest |
| DIY Bubble Machines | Small fan and a sponge or mesh | Dip the mesh in the solution and point the fan through it for a steady stream of bubbles |
| Outdoor Party Ideas | Large trays, hula hoops, bubble wands | Set up stations around the yard and let kids move between them |
Any of these ideas works well with the recipes in this post, so mix a big batch and let the fun begin.
How to Store Homemade Bubble Solution?
Making a big batch of bubble solution is a smart move. Here is how to keep it fresh so nothing goes to waste.
Use an airtight container, such as a mason jar or a plastic bottle with a tight lid. This keeps the solution from drying out or picking up dust between uses.
Store it in a cool, dry spot away from direct sunlight. Heat and UV light degrade the soap faster, so avoid leaving it outside or in a hot car.
A basic dish soap solution lasts up to 2 weeks. If you used glycerin or corn syrup, it can last a little longer. Always check for any strange smell before using it again.
Give the solution a slow, gentle stir before each use. Ingredients can settle at the bottom over time, and a quick stir brings everything back together.
Label your containers with the date you made the solution. It takes five seconds and saves you from guessing whether a jar in the back of the fridge is a week old or three weeks old.
Final Thoughts
To wrap things up, I can honestly say making your own bubble solution is one of the easiest and most fun things you can do at home.
A few basic ingredients, a couple of minutes, and you have something kids can play with all afternoon.
The classic recipe is a great place to start, but do not stop there. Try the glycerin version for bigger bubbles or the baby shampoo mix if you have little ones with sensitive skin.
The two things that make the biggest difference in results are using the right soap and letting the batch rest. Both take almost no extra effort, but the payoff is clear.
After testing these recipes across a handful of weekend projects with my kids, the overnight rest consistently produced the best bubbles. Avoid hard water, stir slowly, skim any foam off the top, and pick a low-wind day for outdoor use.
If you tried one of these recipes, drop a comment below and tell us which one worked best for you.
Frequently Asked Questions
How Long does Homemade Bubble Solution Last?
Homemade bubble solution usually lasts up to 2 weeks when stored in an airtight container in a cool place.
Why are My Bubbles Popping Quickly?
This often happens due to hard water, wrong soap, or skipping sugar/glycerin.
Can I Use Any Dish Soap?
No, plain dish soap works best. Avoid soaps with moisturizers or antibacterial ingredients.