

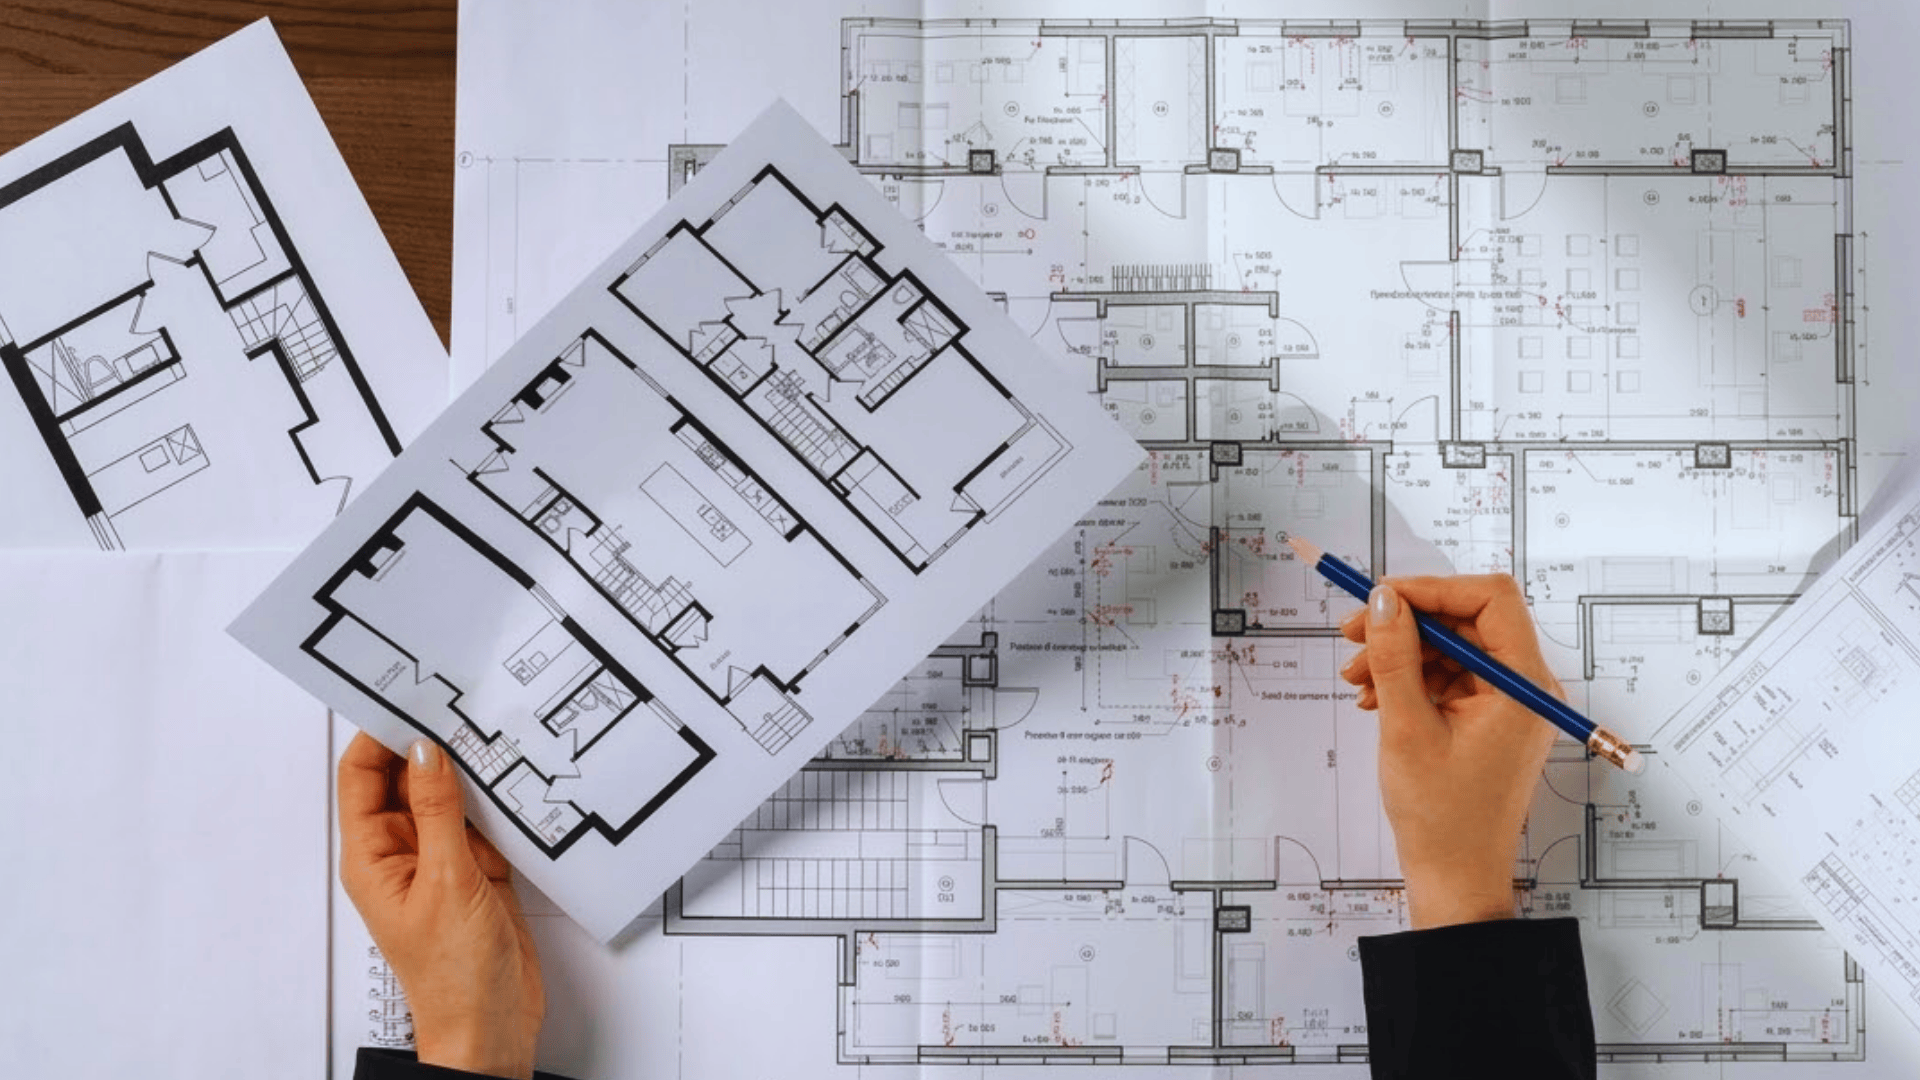
If you’ve ever looked at a building plan, you’ve probably noticed a drawing that shows lights, vents, and ceiling details laid out across the space. That drawing is a reflected ceiling plan and it does more work than it appears.
In this article, you’ll learn what a reflected ceiling plan is, what it includes, how to read one, and who uses it on a real project. Whether you’re a student, a contractor, or just someone making sense of construction drawings, the basics aren’t hard once someone walks you through them.
What is a Reflected Ceiling Plan?
A reflected ceiling plan is a drawing that shows what’s on the ceiling of a room. It maps out the locations of lights, vents, sprinklers, and other ceiling elements.
The word “reflected” comes from the idea of looking at the ceiling in a mirror placed on the floor. The reflection shows you the ceiling layout and that’s exactly what this drawing captures.
That orientation is intentional. Because the plan is reflected rather than flipped, it keeps the same north/left/right alignment as the floor plan.
Place both drawings side by side and every wall, column, and room boundary lines up.
That’s what makes the RCP useful as a coordination tool you can overlay it directly with the floor plan to check that ceiling elements land exactly where they need to.
It’s a standard part of any building document set. Architects use it to design the ceiling layout. Engineers use it to plan lighting, air systems, and other installations. Contractors use it on-site to know exactly what goes where during construction.
Why Architects and Designers Use a Reflected Ceiling Plan?
A ceiling involves more systems than most people realise. Lighting, HVAC, fire suppression, and AV all compete for the same overhead space. The RCP keeps everything organised in one drawing so the whole project team stays aligned.
Coordinating Systems and Teams: Lighting, HVAC, sprinklers, and speakers all share the same ceiling space. The RCP puts every system in one drawing so architects, engineers, and contractors all work from the same picture.
Preventing On-Site Conflicts: When a recessed light and an HVAC duct overlap, the trade that arrives second stops work and the schedule slips. The RCP is where those clashes get caught and resolved on paper.
Showing Ceiling Changes: Soffits, coffers, dropped ceilings, and height variations are clearly marked with AFF annotations. Contractors know exactly what to build before they step on-site.
Meeting Code Requirements: Fire suppression systems and safety equipment must be placed in specific locations. The RCP makes it straightforward to verify that every element meets the required guidelines.
The RCP is not just a ceiling drawing. It is the document that keeps every trade working from the same picture of what is happening overhead.
Components Found on a Reflected Ceiling Plan

A lot goes into a ceiling, more than most people expect. These are the main elements you’ll find marked on a reflected ceiling plan, and what each one actually means on the drawing.
1. Lighting Fixtures
Lighting is usually the first thing you’ll notice on an RCP. It shows the fixture type, its exact position on the ceiling, and which switch controls it.
Different areas often have separate switching zones. The electrician uses this to wire each section correctly the first time.
Miss it on paper and rewiring after the ceiling is closed becomes an expensive fix.
2. HVAC Supply and Return Vents
These are the openings that move air in and out of a room. The plan shows where each vent sits so it doesn’t land too close to a light fixture or get blocked by a ceiling beam.
Correct placement keeps air flowing evenly across the space. It also gives the mechanical engineer confidence that the system will perform as designed once the building is occupied.
3. Fire Sprinkler Heads
Sprinklers can’t go just anywhere. Their positions are dictated by fire safety codes, and those codes are specific about coverage distances and clearances.
The RCP marks each head so contractors and inspectors can review the layout before installation begins. If placement doesn’t meet code, it has to be corrected and that adds time and cost to the project.
4. Ceiling Grid and Tile Layout
In rooms with drop ceilings or suspended tile systems, the plan shows how the grid runs across the ceiling. Tiles need to align neatly with lights, vents, and other fixtures, a misaligned grid makes the finished ceiling look sloppy.
It also makes future maintenance easier. Individual tiles can be lifted to access the systems above without disturbing the rest of the ceiling.
5. Soffits, Coffers, and Ceiling Height Changes
Not every ceiling sits at the same level. Soffits, coffers, and stepped sections all change the height in different parts of a room.
The RCP includes elevation notes that specify the height of each section. In practice, these are written as AFF measurements, Above Finish Floor. A note reading “9′-0″ AFF” means the ceiling in that area sits nine feet above the finished floor surface.
Different zones in the same room will carry different AFF values. Contractors use these numbers directly when framing and finishing each section, without them, there’s a real risk of building at the wrong height in the wrong part of the space.
6. Smoke Detectors and Exit Signs
Smoke detectors and exit signs are life safety elements. Their placement is regulated by building codes, not left to preference.
The plan shows where each one goes so the project meets all required safety standards. Inspectors can review the layout before installation begins. Placing them incorrectly, or leaving them off the plan entirely, can delay approvals and force expensive corrections.
7. Speakers and AV Equipment
In offices, restaurants, retail spaces, and high-end homes, ceiling-mounted speakers and AV devices are part of the overall design.
The RCP marks where each piece of equipment goes so cables can be routed correctly during the build. Planning this early avoids last-minute drilling or patching after the ceiling is already finished and ensures consistent audio and visual coverage across the space.
8. Ceiling Material and Finish Notes
The plan also specifies the ceiling material and finish in each area. Whether it’s painted drywall, plaster, wood panels, or acoustic tiles, these details are noted directly on the drawing.
When different ceiling types are used across multiple rooms, these notes prevent on-site confusion and make sure every section gets the right treatment from the start.
How to Read a Reflected Ceiling Plan?
Reading an RCP is straightforward once you know what you’re looking at. Work through it in this order and it’ll make sense quickly.
1. Orient Yourself
The drawing shows the ceiling from above, with the room’s walls visible beneath it. The orientation matches the floor plan. North on the RCP is the same north as on the floor plan. Once that clicks, the rest follows.
2. Read the Legend and Symbol Key
Start here before looking at anything else. Most RCPs use a consistent set of standard symbols:
- Recessed lights appear as circles or squares
- Fluorescent fixtures as dashed rectangles
- Sprinkler heads as small triangles
- HVAC diffusers as X-marks
- Ceiling material boundaries shown with dashed lines where the ceiling changes height or finish
3. Identify Ceiling Heights
Look for AFF (Above Finish Floor) annotations. These tell you the height of the ceiling in each zone, including any soffits, coffers, or dropped sections. If a room has multiple ceiling levels, each one will have its own AFF note.
4. Follow the Lighting Layout
Trace the fixtures and note the switching zones. This shows which lights are grouped together and where each fixture type is located across the space.
5. Check System Coordination
Look at how lights, vents, and sprinkler heads are spaced relative to each other. A well-drawn RCP keeps these systems clear of each other. If something looks too close, flag it before construction starts.
The more RCPs you read, the faster this process gets. After a few, you’ll move through a drawing in minutes.
Who Creates and Uses a Reflected Ceiling Plan?
The RCP starts with an architect and grows from there. Multiple professionals contribute to it, and just as many rely on it once construction is underway.
Who builds it:
- Architects produce the base drawing, establishing the overall ceiling design
- MEP engineers (mechanical, electrical, plumbing) overlay their systems, including HVAC ducts, electrical circuits, and sprinkler layouts
- Interior designers confirm that lighting, finishes, and fixture placements match the design intent
Who uses it on-site:
Contractors and subcontractors take the RCP into the field as their installation guide. RCPs are part of the full construction document set and are submitted with building permit applications.
The drawing carries real legal and financial weight, and errors can cause inspection failures and costly rework.
How they’re made:
- Typically produced in AutoCAD or Revit
- In Revit, the RCP links directly to the BIM model, so ceiling design changes update automatically across all related drawings
In smaller residential or design-build projects, a single architect or designer may handle the entire RCP from start to finish.
Conclusion
Most people never think about what goes into a ceiling. But as you’ve seen, there’s a lot happening up there, and the reflected ceiling plan is what keeps it all in order.
It brings every system, every trade, and every detail together in one place. That’s what makes it such a practical tool on any building project, big or small.
Have you come across a reflected ceiling plan on a project, or is this your first time learning about one? Share your experience in the comments below, would love to hear from you.
Frequently Asked Questions
What Is the Difference Between a Ceiling Plan and a Reflected Ceiling Plan?
A ceiling plan shows the layout from a top view looking down at the ceiling. A reflected ceiling plan shows the ceiling as if reflected in a mirror on the floor, preserving the same orientation as the floor plan so both drawings align correctly.
What Does a Reflected Ceiling Plan Show?
A reflected ceiling plan shows lights, HVAC vents, sprinkler heads, smoke detectors, exit signs, speakers, ceiling grid layouts, material and finish notes, and ceiling height annotations (AFF). It covers every element mounted on or built into the ceiling.
Does a Reflected Ceiling Plan Show Windows?
A reflected ceiling plan may show window outlines if they affect the ceiling design. For example, where a soffit runs above a window wall. It focuses on ceiling elements rather than full window details.
What Are the Benefits of Using an RCP?
An RCP coordinates multiple ceiling systems in one drawing, catches conflicts before construction begins, documents compliance with fire and safety codes, and gives every trade a shared reference. It prevents the kind of on-site surprises that stop work and add cost.