
Choosing kitchen floor plans can feel overwhelming at first. There are five main types, a triangle rule nobody fully explains, and about a thousand opinions on whether you need an island.
But it’s simpler than it looks. Your room shape, your door positions, and three appliance locations: that’s most of the decision right there.
Find out what it is all about so that by the end, you know exactly which layout fits your space and why.
What is a Kitchen Floor Plan?
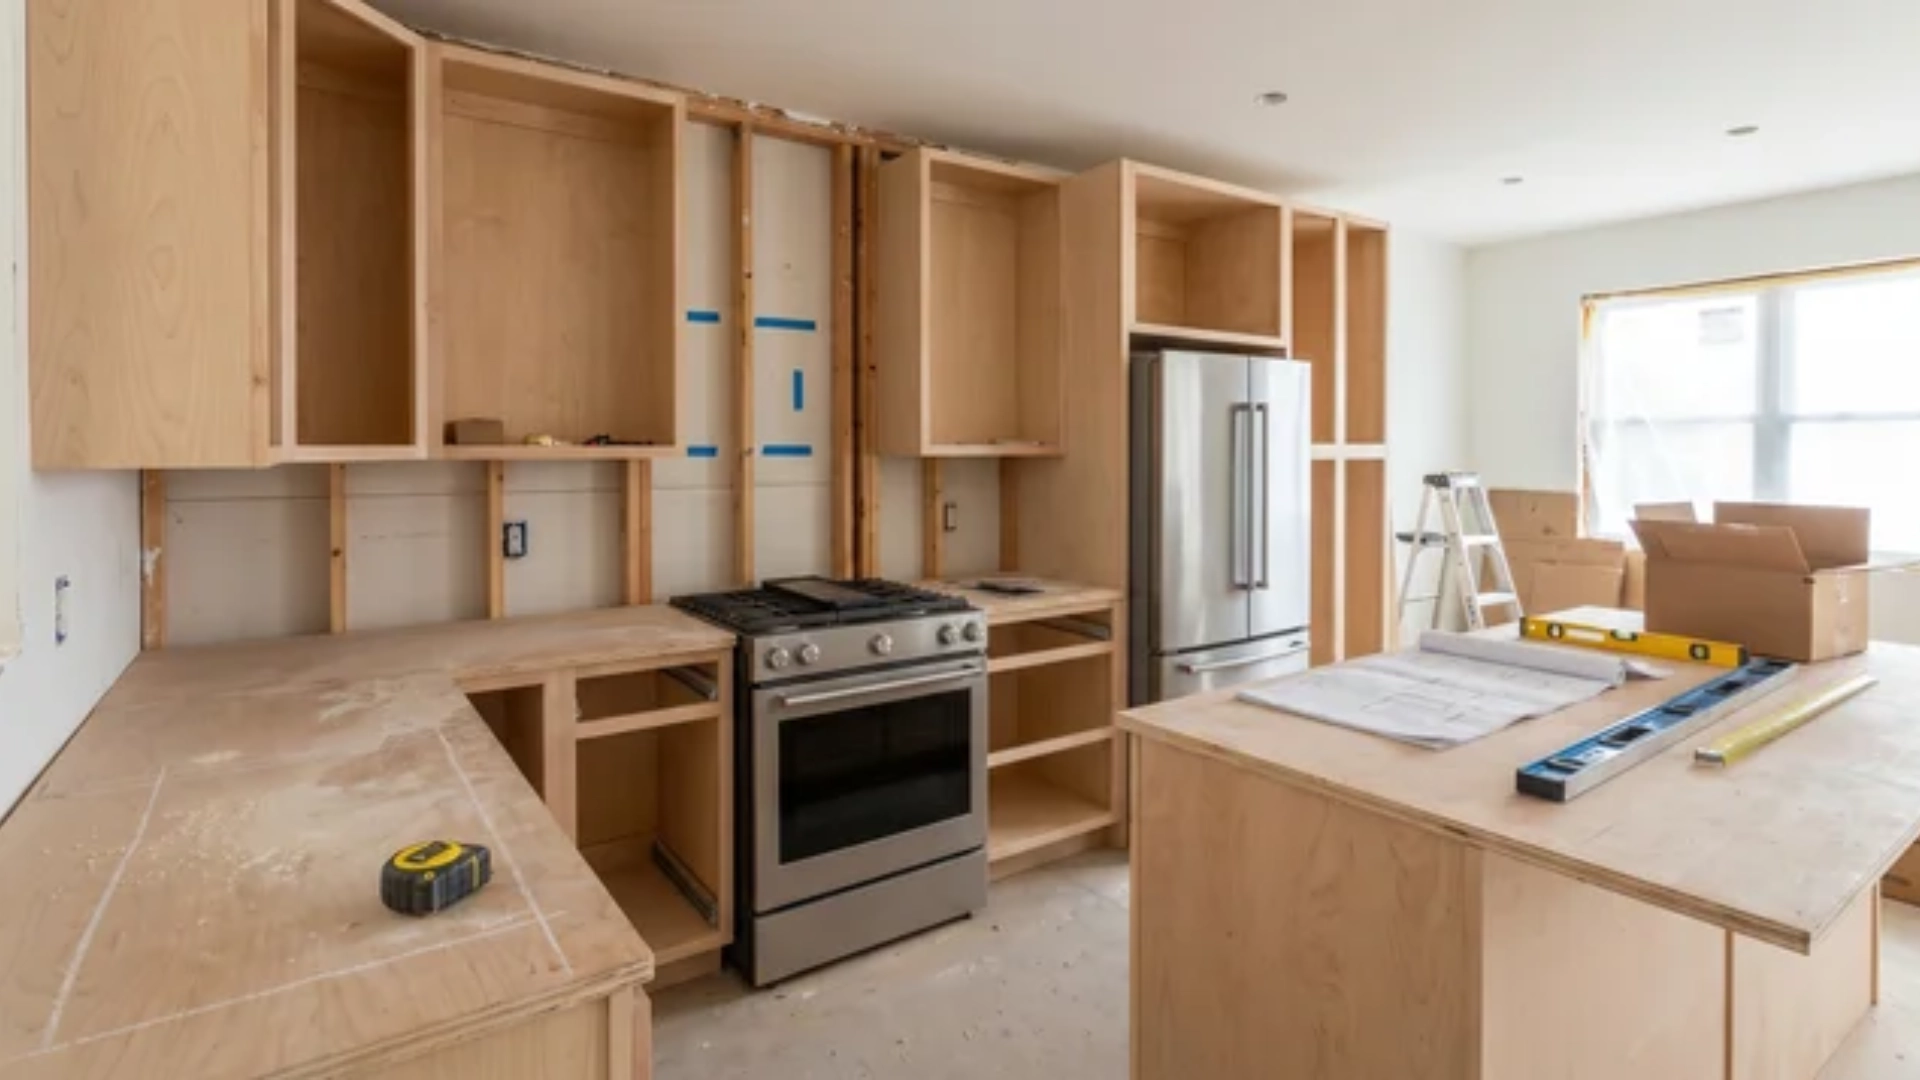
A kitchen floor plan is a scaled overhead diagram. It maps where your appliances, cabinets, and work zones sit relative to your walls, doors, windows, and utility connections.
It’s the foundation your kitchen design is built on. Everything else: countertops, finishes, and hardware are decided after the layout is confirmed. Not before. The layout defines how you move through the space and where you cook.
How does traffic flow when more than one person is in the room at once? Open-concept kitchens carry extra weight here. When your kitchen shares space with a living or dining area, the floor plan has to account for sightlines and traffic from those rooms too.
The Core Kitchen Layout Types
Every kitchen layout comes down to one thing: how many walls carry the work. That determines the shape of your workflow, the size of your work triangle, and whether the space actually functions the way you need it to.
Here are the layouts you’ll encounter in almost every home:
1. One-Wall Layout
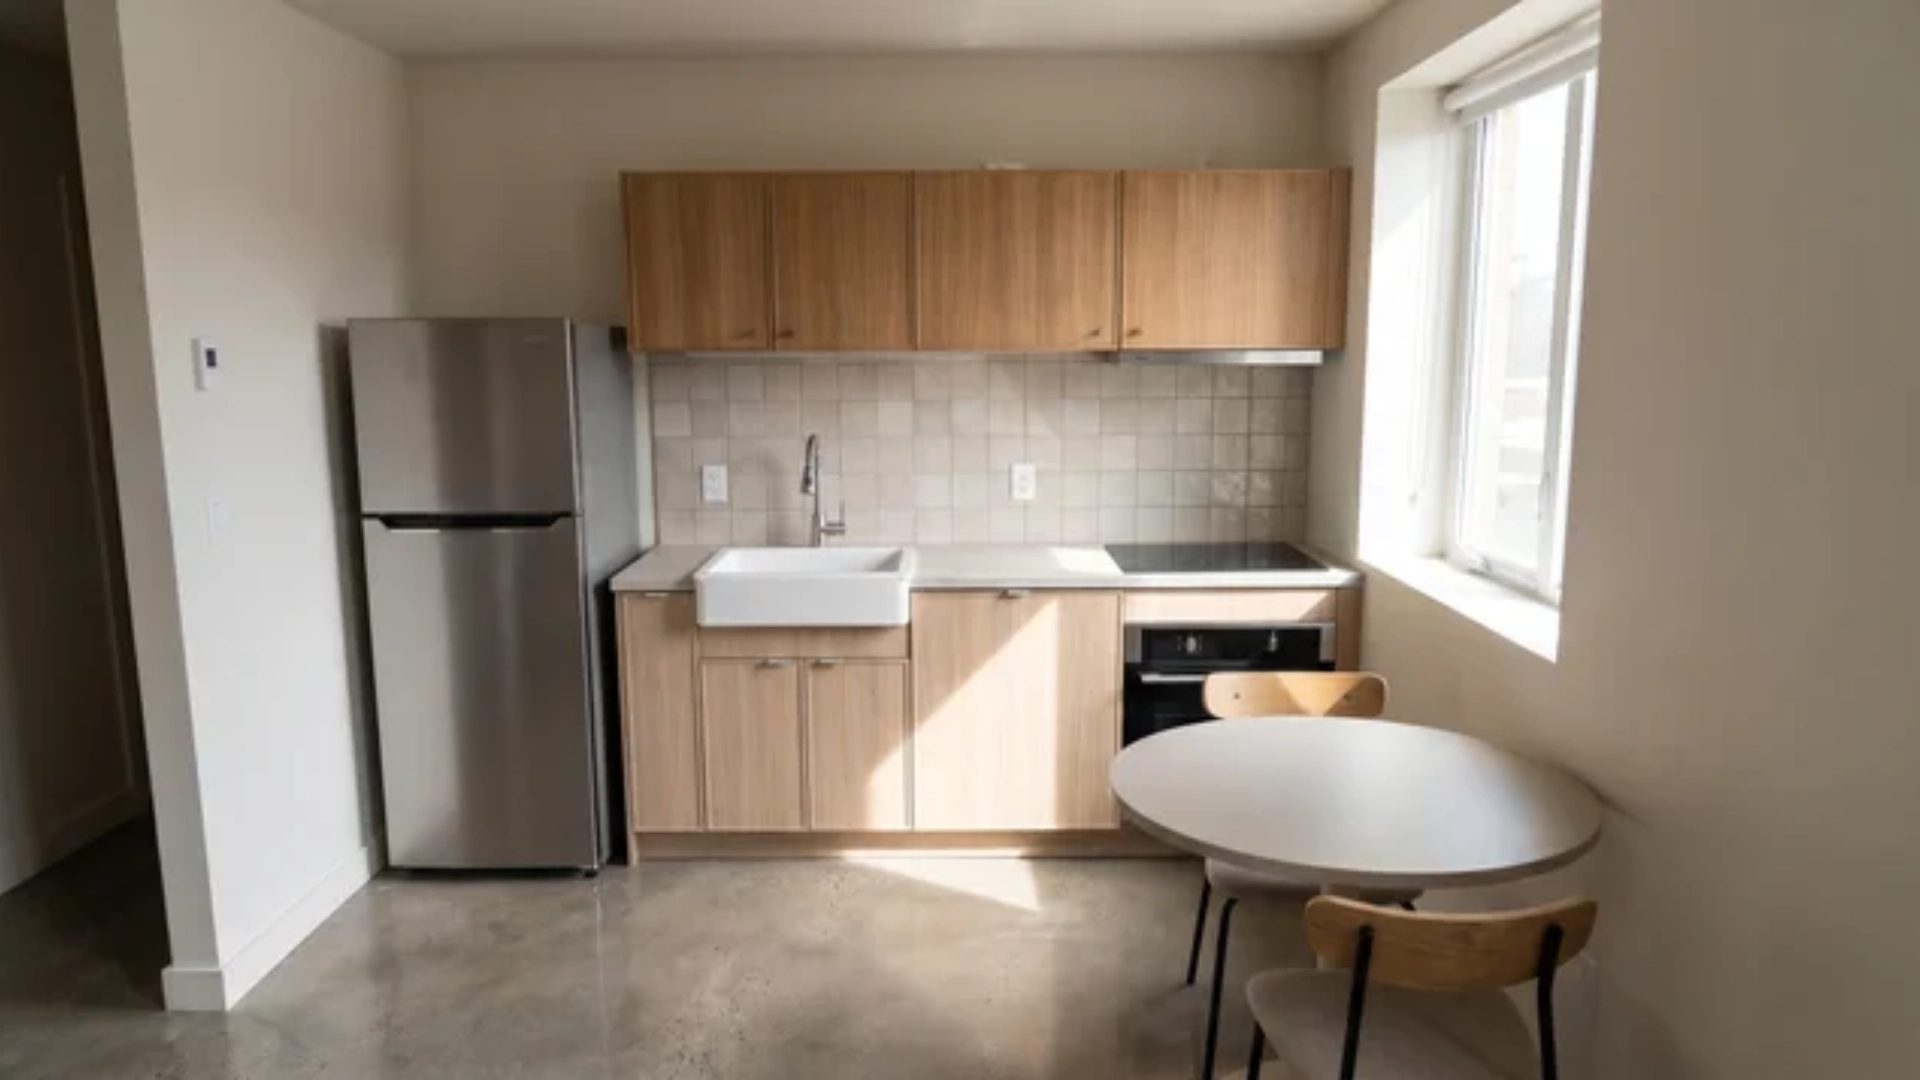
Everything runs along a single wall: refrigerator, sink, and cooktop in one continuous line. It’s the most space-efficient configuration, which is why you’ll find it in studio apartments and narrow galley-style spaces where there isn’t room for anything else.
The trade-off is real. With no opposing surfaces, counter space is limited, and the work triangle collapses into a straight line. It works. It just works harder when you have a second person in the kitchen.
2. Galley Layout
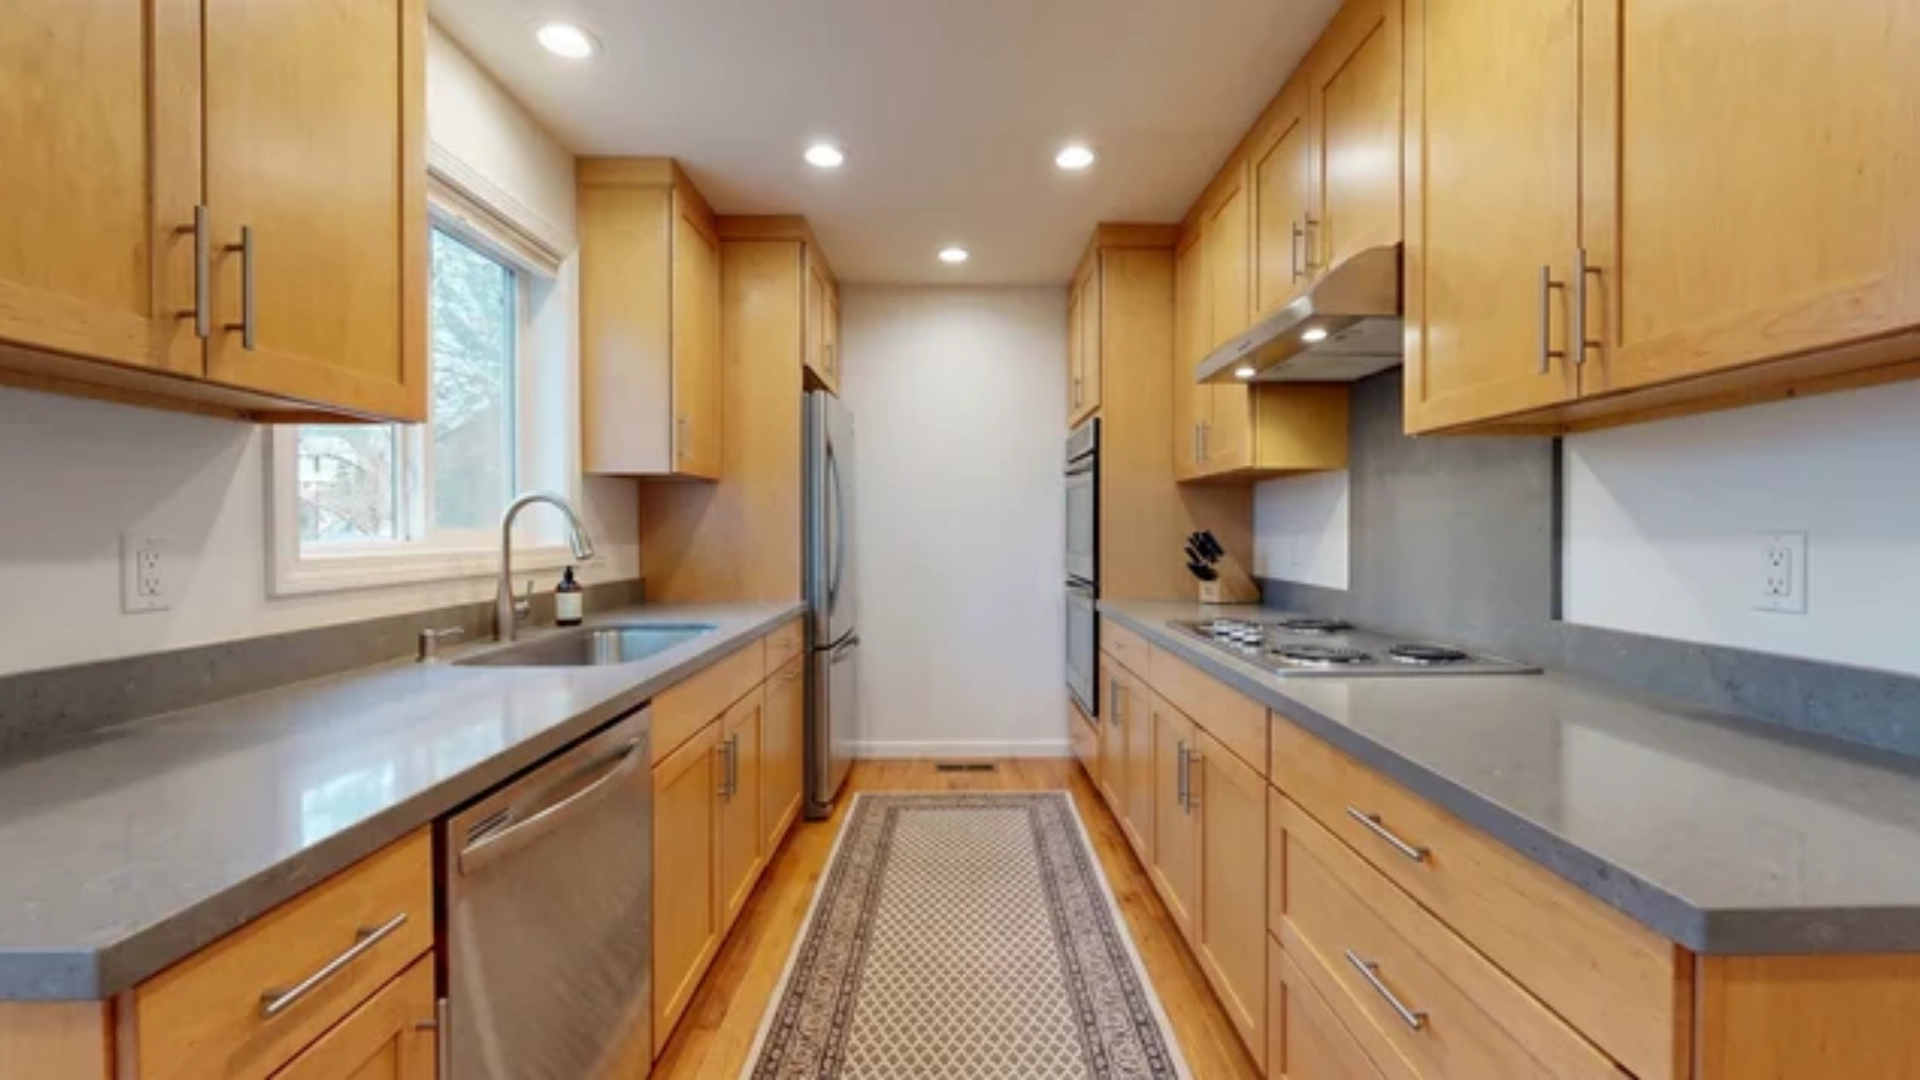
Two parallel walls face each other, with a corridor running between them. It’s one of the most efficient layouts for a single cook: everything is close, the triangle is tight, and there’s no wasted movement.
The variable that makes or breaks it is traffic. If that corridor is also a through-route to another part of the house, the layout fights you every time someone walks through mid-cook. Ideally, a galley kitchen has a closed end.
3. L-Shaped Layout
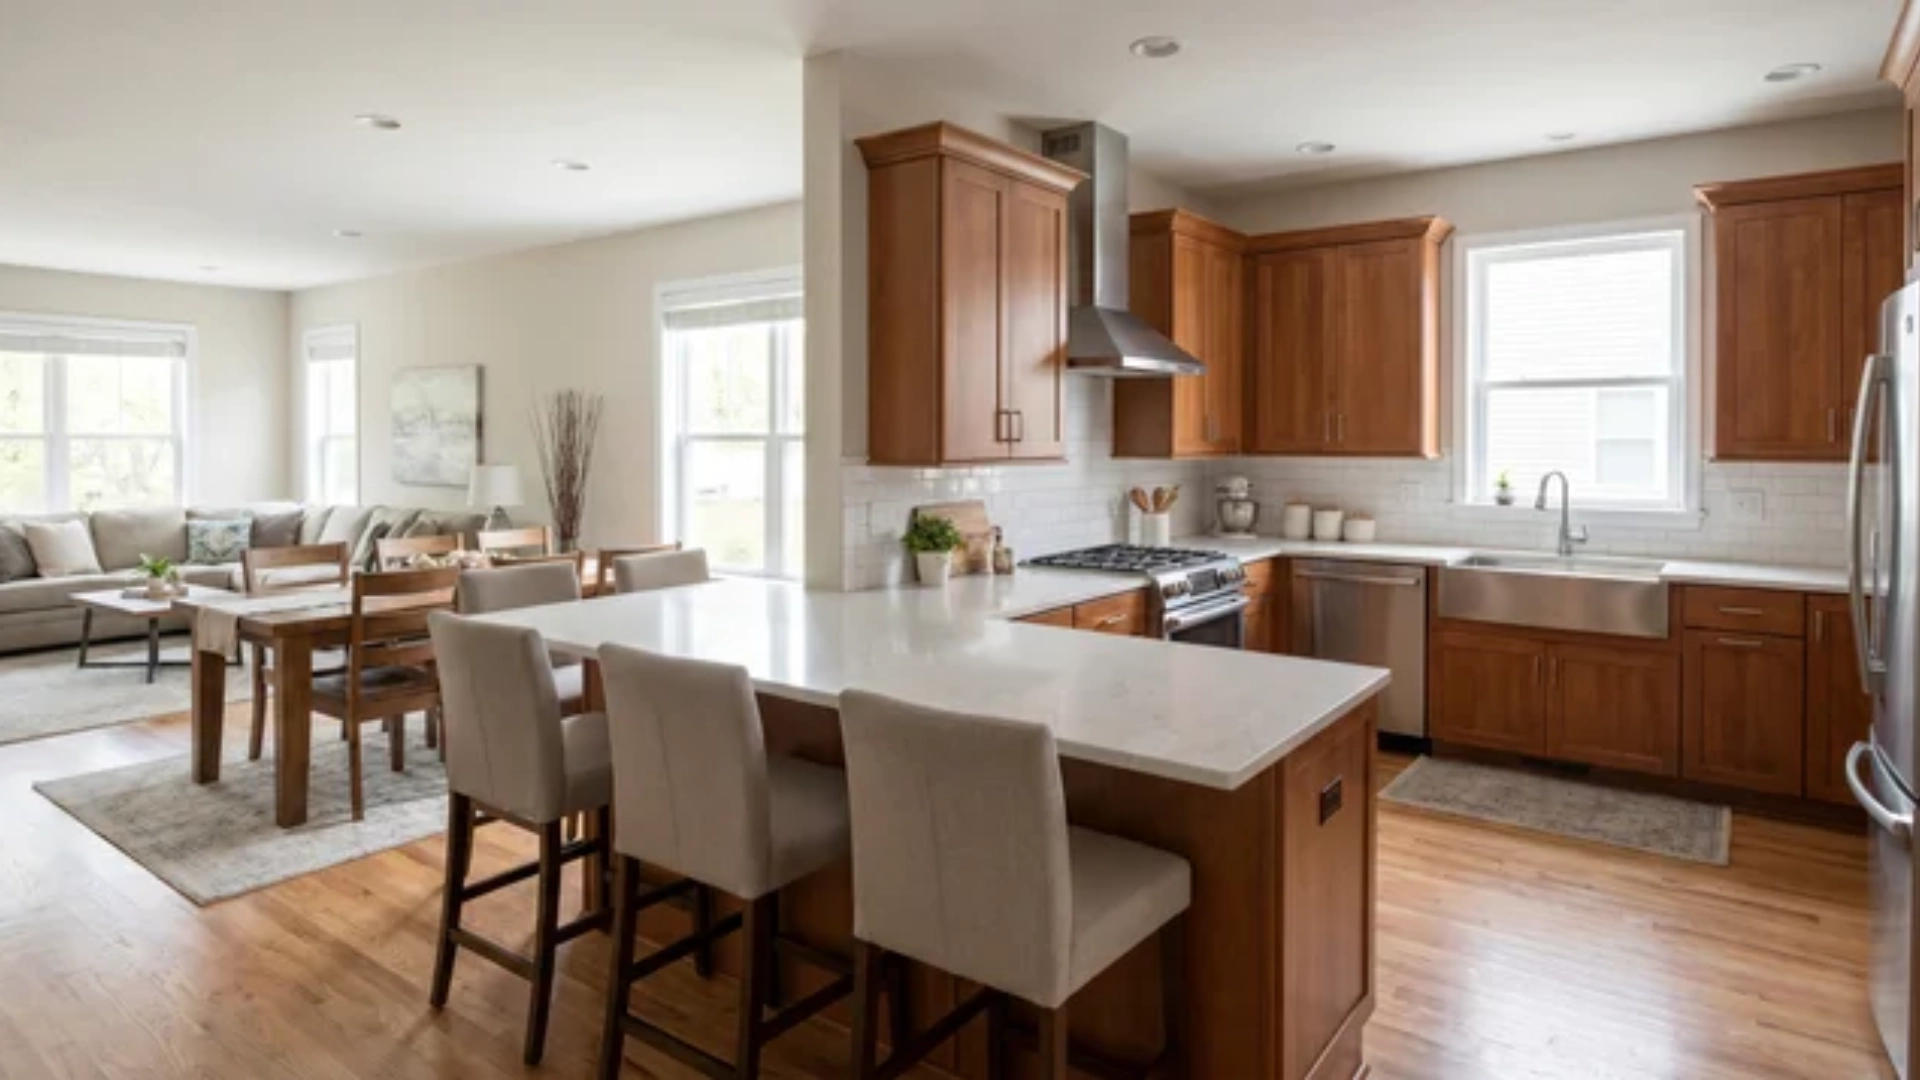
Two walls meet at a corner, forming an L. It’s one of the most common layouts in residential homes because it adapts well to different room sizes and leaves the rest of the space open, which is why it suits open-plan living so naturally.
The corner junction is where it earns its reputation for lost space. A standard cabinet corner creates a deep, awkward pocket that’s genuinely hard to access. It’s a functional problem, worth solving at the planning stage, not after installation.
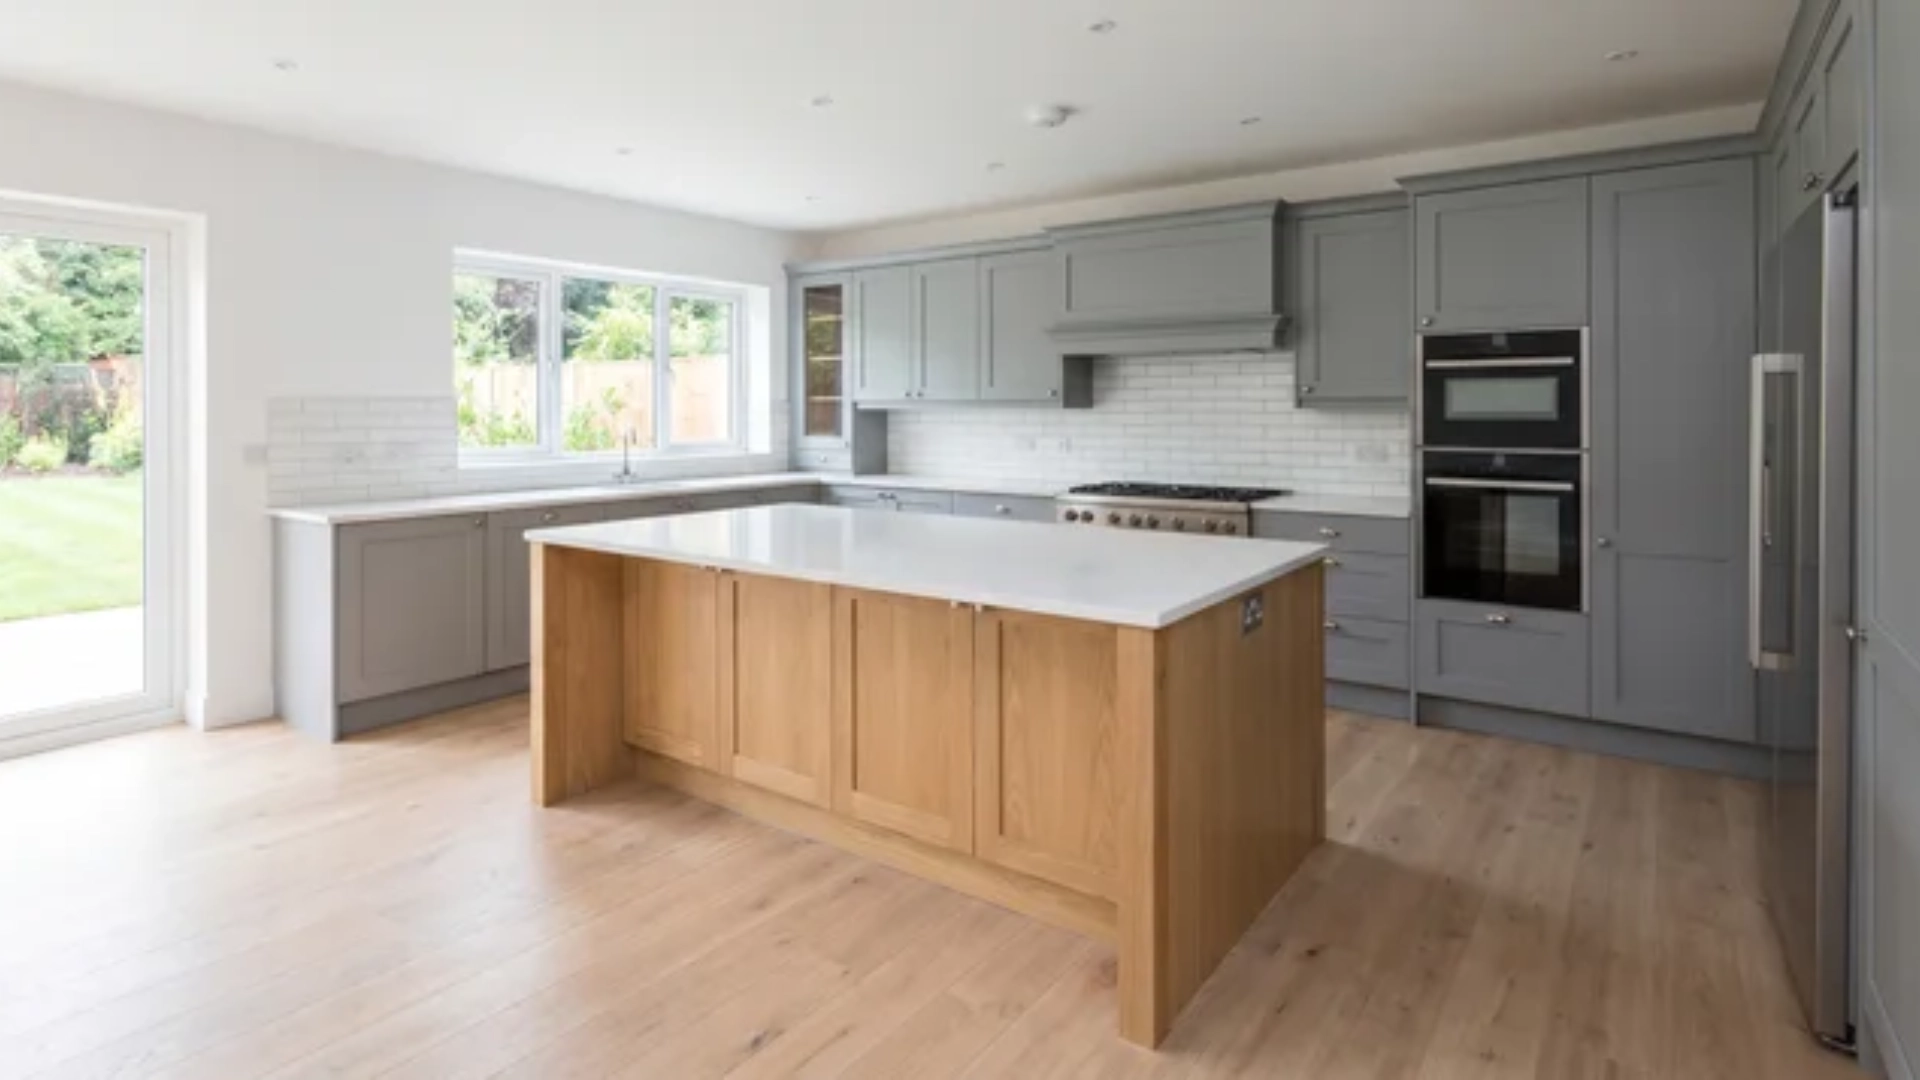
4. U-Shaped Layout
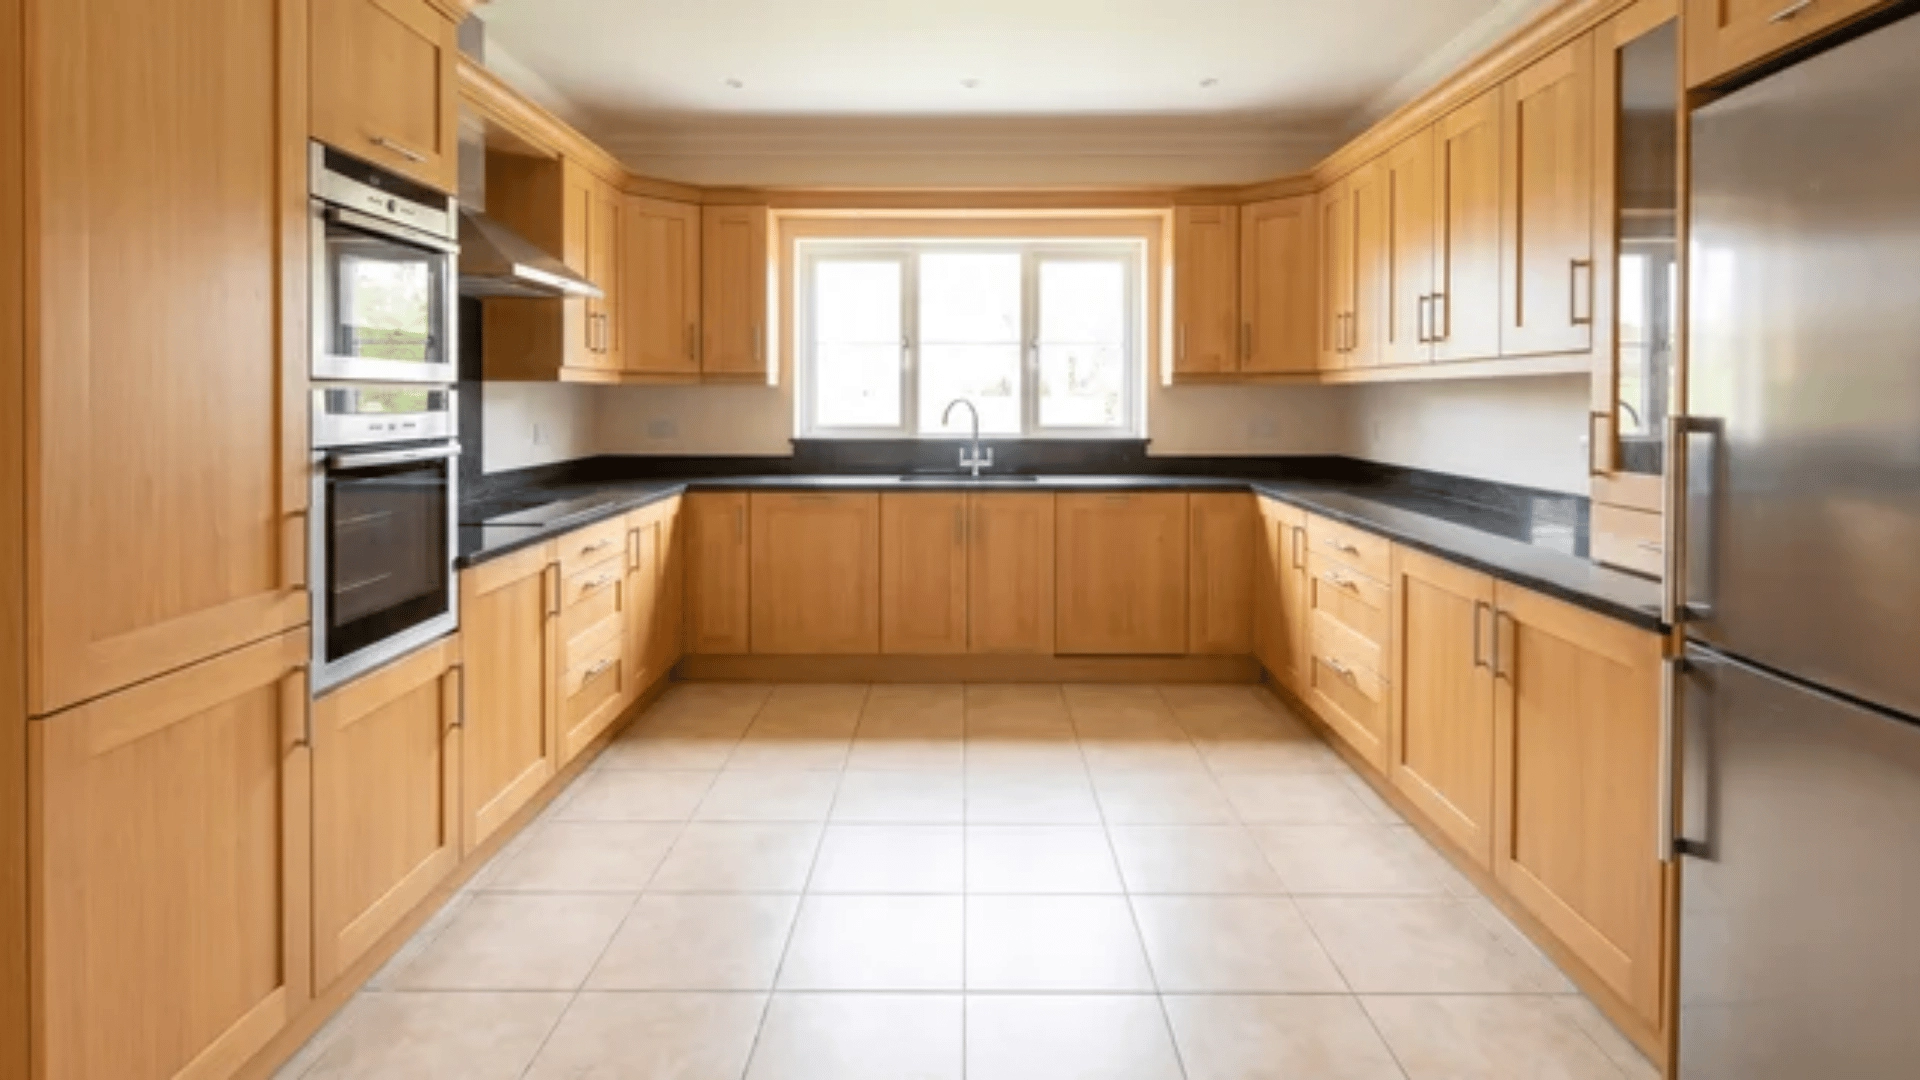
Three walls form a U, wrapping the cook on three sides. More wall runs mean more counter space, more storage, and a work triangle that stays tight without feeling cramped, provided the room is wide enough.
That last part matters. You need at least 10 feet between opposing walls for a U-shape to be usable. Below that, the corridor between the two runs becomes too narrow for comfortable movement, let alone for two people working at once.
5. G-Shaped Layout
The G-shape adds a peninsula to a U-shaped base: a fourth partial run that extends from one arm of the U without fully closing the space. It adds counter space and can create a natural boundary between the kitchen zone and an adjacent dining or living area.
The trade-off is entry. That peninsula narrows the opening into the kitchen. In a busy household, it can feel like a bottleneck. It’s worth walking the traffic pattern on paper before committing to it.
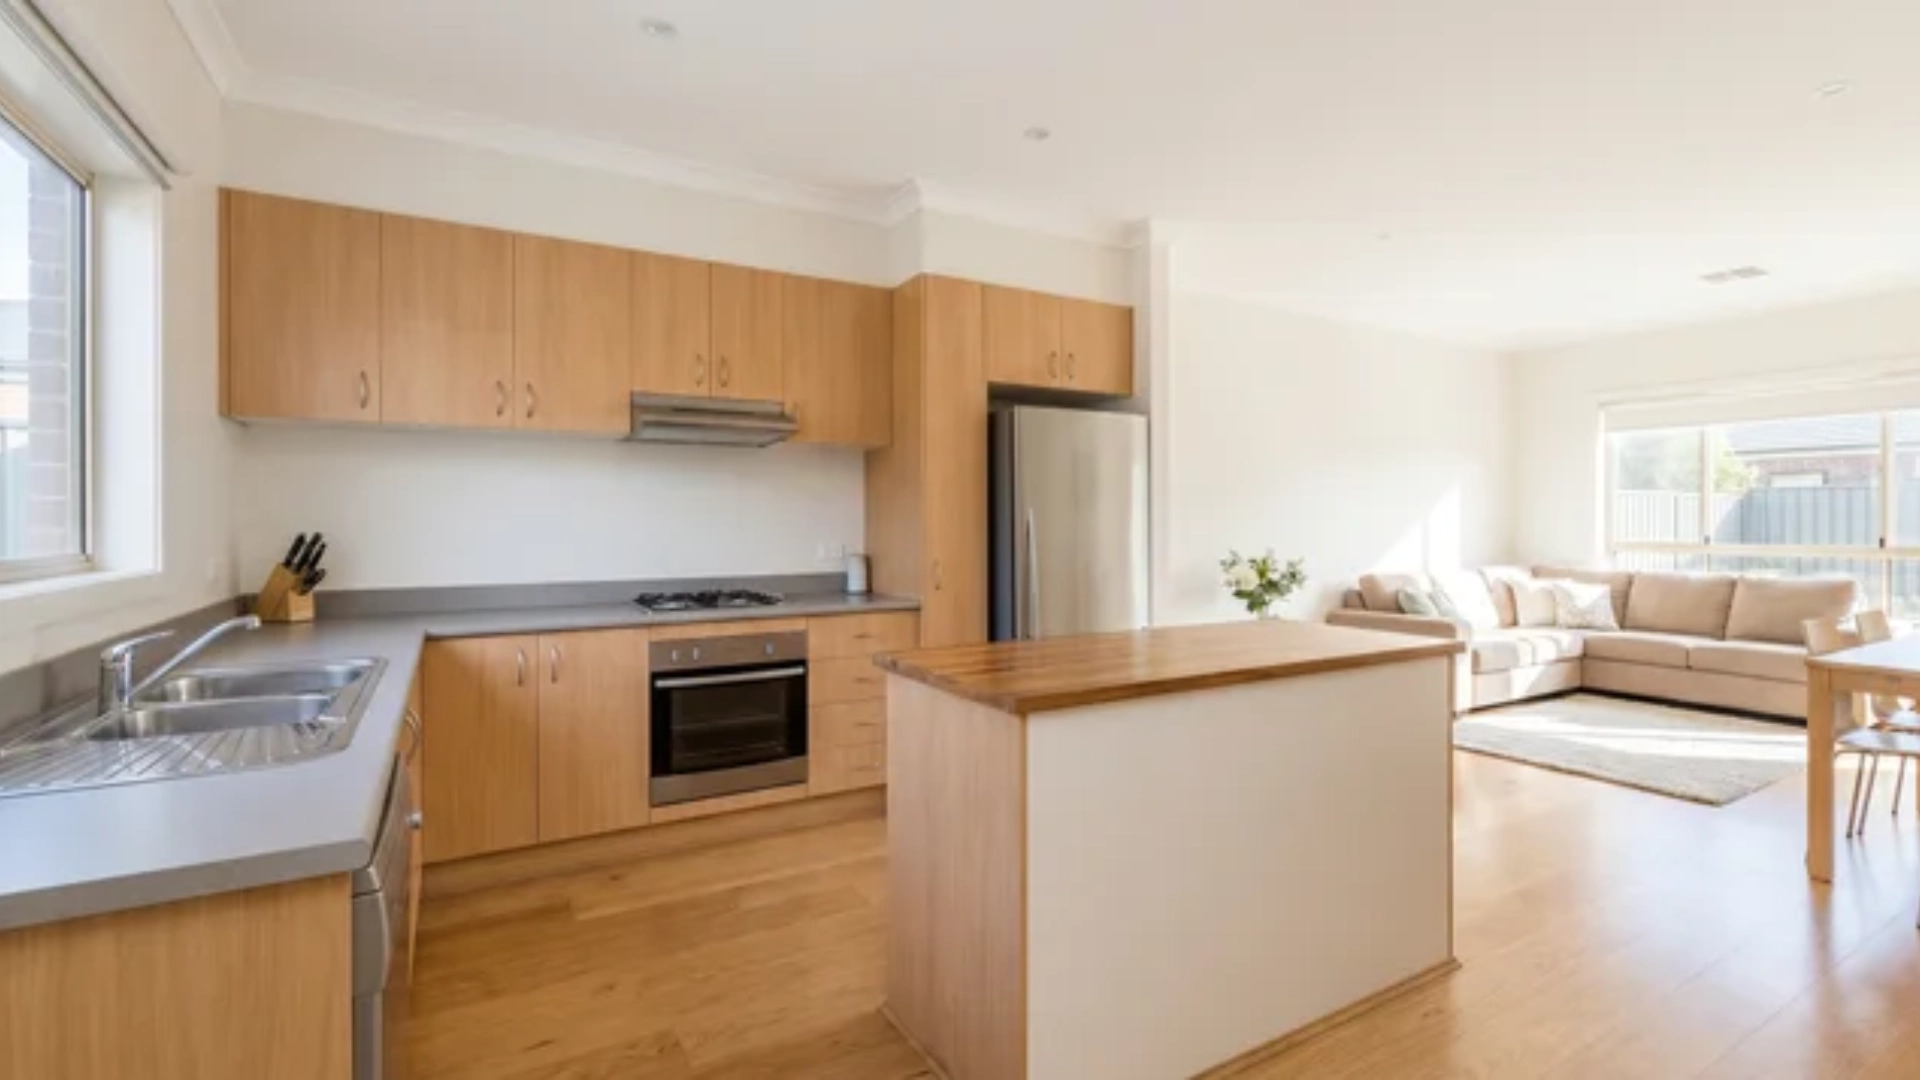
6. Island Layout
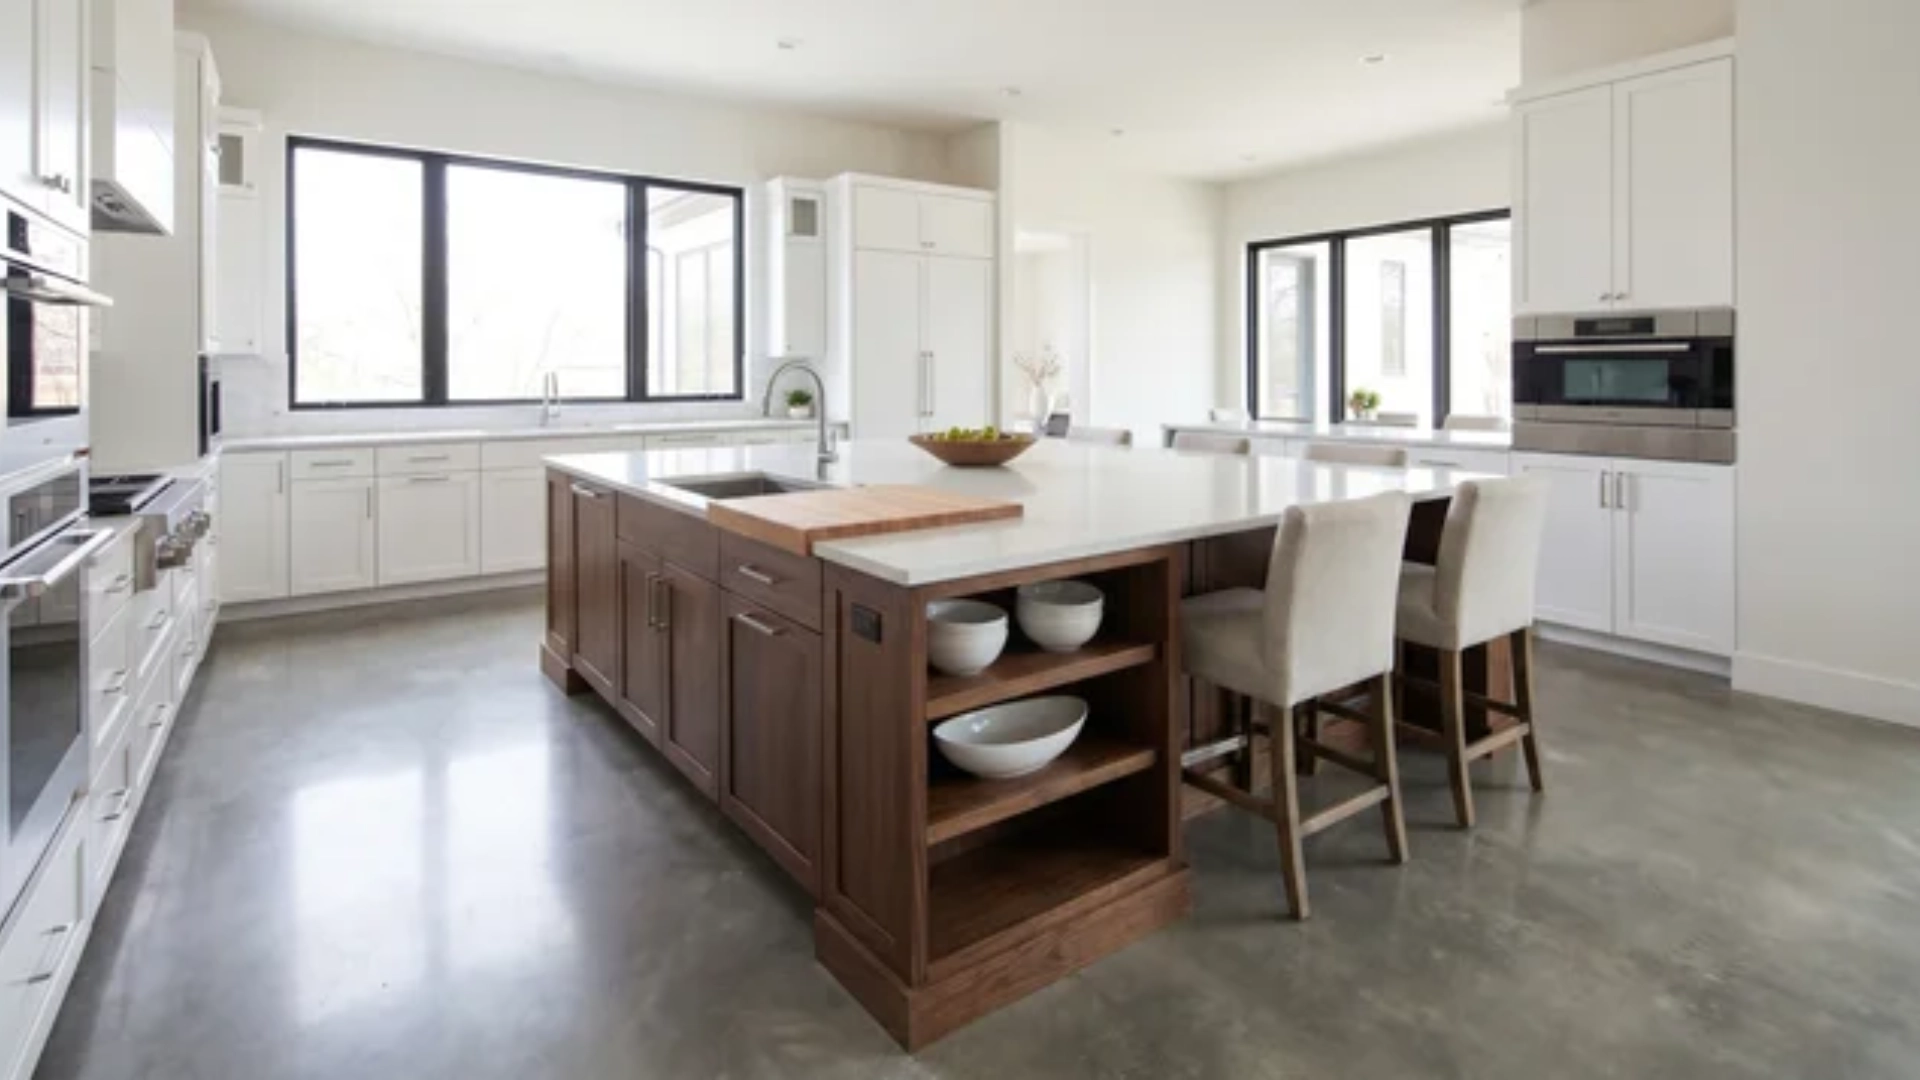
A freestanding island sits at the center of the room rather than against a wall, adding prep surface, storage, and often seating without extending the perimeter. It’s the most requested feature in kitchen renovations and the most frequently misapplied.
An island requires 42 inches of clear floor space on all sides, and in kitchens under roughly 150 sq ft, that clearance rarely survives contact with the actual floor plan.
If the numbers don’t work, a peninsula offers most of the same benefits at a fraction of the cost of the footprint.
How the Work Triangle Determines Whether a Layout Actually Works

Picking a layout that matches your room shape is a good start. It’s not enough on its own. The work triangle is what tells you whether the layout will actually function or look right on paper.
What the Work Triangle Measures
The triangle connects your three primary work zones: the refrigerator, the sink, and the cooktop.
Draw a line between each one, and you get a triangle. The total length of those three lines is what you’re measuring.
The standard guidance puts the sweet spot at a combined height between 13 and 26 feet.
Under 13 feet, and the zones are so close they start getting in each other’s way. Over 26 feet, and you’re covering too much ground every time you cook.
That range exists for a reason. A triangle that’s too tight creates congestion. One that’s too wide creates fatigue.
Why the Shape of the Triangle Matters Too
Total perimeter isn’t the whole picture.
A long, narrow triangle, where two zones sit close together and one sits far away, creates an uneven workflow. You’ll shuttle back and forth along one leg constantly while barely using the other two.
A roughly equal triangle distributes movement. No single leg dominates. That’s what you’re aiming for.
Where It Breaks Down in Practice
Doorways and traffic paths often disrupt the kitchen triangle. A clean floor plan fails when door swings or corridors frequently cut through working movement lines.
One triangle works for a single user, but shared cooking needs separate zones or overlapping workflow management space.
Some kitchens address dual-use by adding prep sinks, islands, or cooktops, allowing simultaneous work without blocking movement or causing repeated interruptions in task flow.
Ignoring these realities leads to kitchens that function for one person but frustrate others, especially during busy meal preparation, daily routines, and everyday use.
When to Add an Island: and When It Works Against the Layout
An island is the most requested feature in a kitchen renovation. It’s also the one most likely to be added without checking whether the space can actually support it.
The question isn’t whether you want one. It’s whether your layout has room for one to function properly.
The Clearance Rule Isn’t a Suggestion
You need at least 42 inches of clear passage on every side of an island: 48 inches if two people regularly cook together.
That’s not a style preference. It’s the minimum space a person needs to open an oven door, pull out a drawer, and turn around without being blocked.
Measure that before anything else. If the room can’t give you 42 inches on all sides after the island is placed, the island is making the kitchen smaller, not better.
What an Island Actually Does to a Layout
A freestanding island works as a layout modifier. It adds a work surface and creates a natural zone boundary, but it also introduces a new object into the traffic path.
In a U-shaped or L-shaped kitchen with enough width, it can extend the work triangle usefully and add prep space close to the cook. In a galley kitchen, the same island turns a functional corridor into an obstacle. The layout type matters as much as the room size.
When a Peninsula Makes More Sense
If the room is too narrow for a freestanding island but you still need the extra surface, a peninsula is usually the better answer. It connects to an existing cabinet run, so it doesn’t consume clearance on all four sides: only three.
It achieves most of what an island does: extra counter space, a zone separator, seating if you want it without demanding the same footprint.
I’ve seen kitchens where a peninsula solved the problem cleanly, and a freestanding island would have made the space genuinely unpleasant to cook in. The difference was about 18 inches of room width. That’s how tight the margin can be.
One Layout Where It Rarely Works
A one-wall kitchen with an island sounds appealing: it doubles your surface area in a single move. In practice, unless the room is exceptionally wide, you end up with two narrow corridors instead of one usable kitchen.
The one-wall layout works because everything is accessible from one position. An island in front of it pulls you away from that wall constantly. The efficiency that made the layout work disappears.
How to Choose the Right Layout for Your Kitchen
Room shape is the first filter in kitchen layout selection, before square footage, before style preferences, before any other consideration.
Shape-to-layout mappings before anything else:
- Corridor room: galley or one-wall
- L-shaped room: L-shaped layout as the natural starting point
- Square room: U-shaped or peninsula
- Open-plan footprint: the question shifts from “Which layout fits the room” to Which layout fits the room and the surrounding space”
In each case, shape eliminates two or three options before you’ve made a single decision. Once it narrows the field, square footage and traffic flow do the rest of the filtering.
Small Kitchens (Under 150 Sq Ft)
Small kitchens under 150 sq ft need layouts that fit the room’s shape, not ones that force in extra elements that reduce usable space.
- One-wall layout: Works best in square rooms where everything sits on a single line, keeping movement simple and open.
- Galley layout: Fits narrow, corridor-style spaces with two parallel counters for efficient cooking flow.
- Island caution: Islands rarely work here, as they need about 42–48 inches of clearance on all sides, which small kitchens usually cannot spare without sacrificing function.
- Peninsula option: Can add prep space or seating within a tighter footprint, but only works if the measurements allow sufficient clearance for movement.
Small kitchens benefit more from clear flow and usable counter space than from adding extra features that reduce practicality.
Medium Kitchens (150–300 Sq Ft)
This is where the widest range of options becomes viable, and where the decision genuinely requires judgment. L-shaped, U-shaped, and peninsula configurations can all work, but the right answer hinges on one factor: whether the kitchen is a dead end or a pass-through.
- Dead-end kitchen (single entry/exit point): tolerates a U-shaped layout well. The horseshoe configuration keeps the work triangle tight and traffic contained.
- Pass-through kitchen (people regularly move through it): a U-shape creates a bottleneck. An L-shaped or peninsula layout keeps the traffic path open while still defining the work zone.
If the kitchen sits between a back door and a living area, treat it as a pass-through regardless of how the floor plan looks on paper.
Large or Open-Plan Kitchens (300+ Sq Ft)
Island and G-shaped layouts become genuinely viable above roughly 300 sq ft. The planning risk here runs in the opposite direction to a smaller kitchen: not cramming too much in, but spreading zones too far apart.
- Over-extended triangle: any single leg exceeding 9 feet adds unnecessary steps during cooking and erodes the efficiency the layout is supposed to deliver.
- Zone separation in open-plan spaces serves a second role, marking where the kitchen ends and the living area begins. Its placement has to serve the cooking workflow and the sightlines from adjacent rooms simultaneously.
Good planning at this scale is about keeping everything connected enough to stay efficient while still allowing clear separation of zones.
Conclusion
Your kitchen floor plan is the decision everything else builds on. Get it right, and the space works with you: the workflow feels natural, the triangle holds, and there’s actually room to cook.
Get it wrong, and no amount of beautiful cabinetry will fix it.
You now know how the five core layouts work, what the work triangle is actually measuring, and how to read your room before you commit to anything. That’s the part most people skip.
So start there. Sketch your fixed features, measure what you have, and let the room tell you what fits. The layout that works best isn’t always what you had in mind; it’s their space that can actually support.
Frequently Asked Questions
What is the most functional kitchen layout?
The U-shaped layout is generally the most functional for a single cook. Three wall runs keep the work triangle tight and counter space generous. The catch is the room width: you need at least 10 feet between opposing walls. Below that, the corridor becomes too narrow for comfortable use, and a well-planned L-shape will outperform it.
What is the kitchen work triangle rule?
The work triangle connects your refrigerator, sink, and cooktop. The combined length of the three legs should fall between 13 and 26 feet. Short of 13 feet, the zones crowd each other. Beyond 26 feet, you’re covering too much ground every time you cook. No leg should cross a doorway or main traffic path.
Can a small kitchen have an island?
Only if 42 inches of clear passage exist on every side after the island is placed. Most kitchens under roughly 150 square feet can’t meet that threshold without compromising movement. A peninsula, connected to an existing cabinet run, achieves most of the same benefits without requiring the same clearance on all four sides.
What is the difference between a kitchen layout and a kitchen design?
A kitchen layout is the spatial arrangement of appliances, cabinetry, and work zones. It determines how the kitchen functions: a kitchen design layers aesthetic choices onto a confirmed layout: finishes, fixtures, lighting, and hardware. Layout decisions should be finalized before design decisions are made. Doing it the other way around is one of the most common reasons renovations stall mid-project.