

| Room | Kitchen |
| Budget | $30 to $600 per shelf section (DIY to custom built-in) |
| Remodel Level | Cosmetic to light structural (most projects don’t require permits) |
| Timeline | A few hours to a weekend per section |
| Best Materials | Sealed hardwood, powder-coated metal, tempered glass |
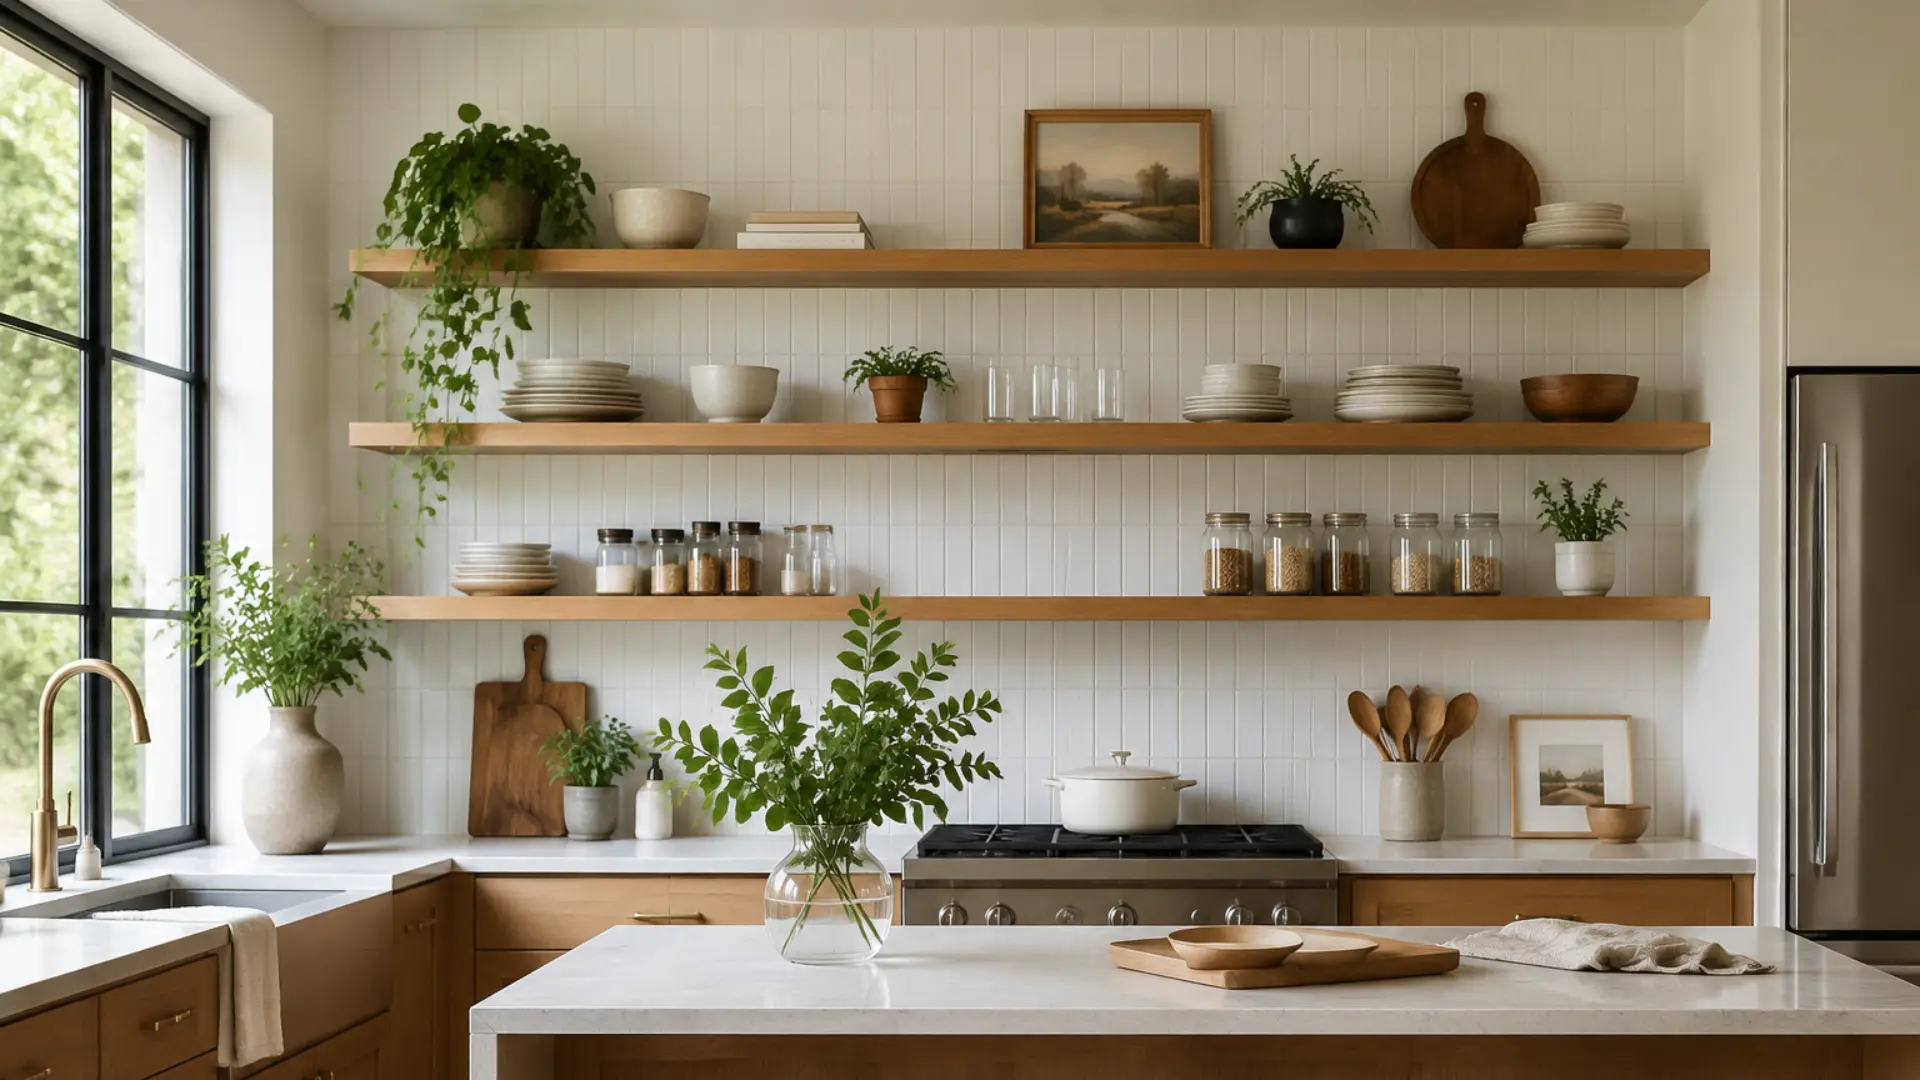
An open shelving kitchen can look bright, stylish, and effortless, but keeping it practical is often harder than it seems. You may love the open feel yet worry about clutter, dust, limited storage, or shelves that do not suit your daily routine.
I believe the best results come from choosing a setup that matches how you cook, clean, and organize. The right shelf depth, spacing, material, and placement can make a major difference.
This guide covers creative shelf styles, smart installation tips, useful sizing advice, and simple maintenance ideas. You will also learn how to balance display and storage without making your kitchen feel crowded or difficult to manage.
Get the Sizing Right Before You Buy Anything
Most open shelving problems trace back to one thing: shelves that were sized for the wall instead of the dishes. Before you install anything, work backward from what you’re storing. The same measure-first habit that matters for vanity depth planning applies here too: guessing a size because it looks right on the wall usually means redoing the install later.
- Shelf depth: 10 to 12 inches handles standard dinner plates and glassware without the shelf reading as bulky. Go shallower (8 inches) only for mugs, spices, or decor-only sections.
- Clearance above the counter: Leave 18 to 22 inches between the countertop and the bottom shelf so you still have real prep space underneath.
- Space between shelves: 12 to 15 inches lets you stack plates or stand a cookbook upright without items touching the shelf above.
- Weight planning: A fully loaded 36-inch wood shelf holding stacked dinnerware can easily carry 25 to 40 pounds. Mount into studs, or use rated anchors built for that load, not standard drywall anchors.
Once the dimensions are settled, the next decision is which style actually fits how you cook and clean.
Beautiful Ideas for An Open Shelving Kitchen
Open shelving adds storage while keeping your space open, bright, and easy to organize.
The right shelving design can display everyday essentials, décor, and personal touches without making the room feel cluttered. Below are creative open shelving ideas to help you design a functional and stylish space.
1. Embrace Built-In Open Shelving
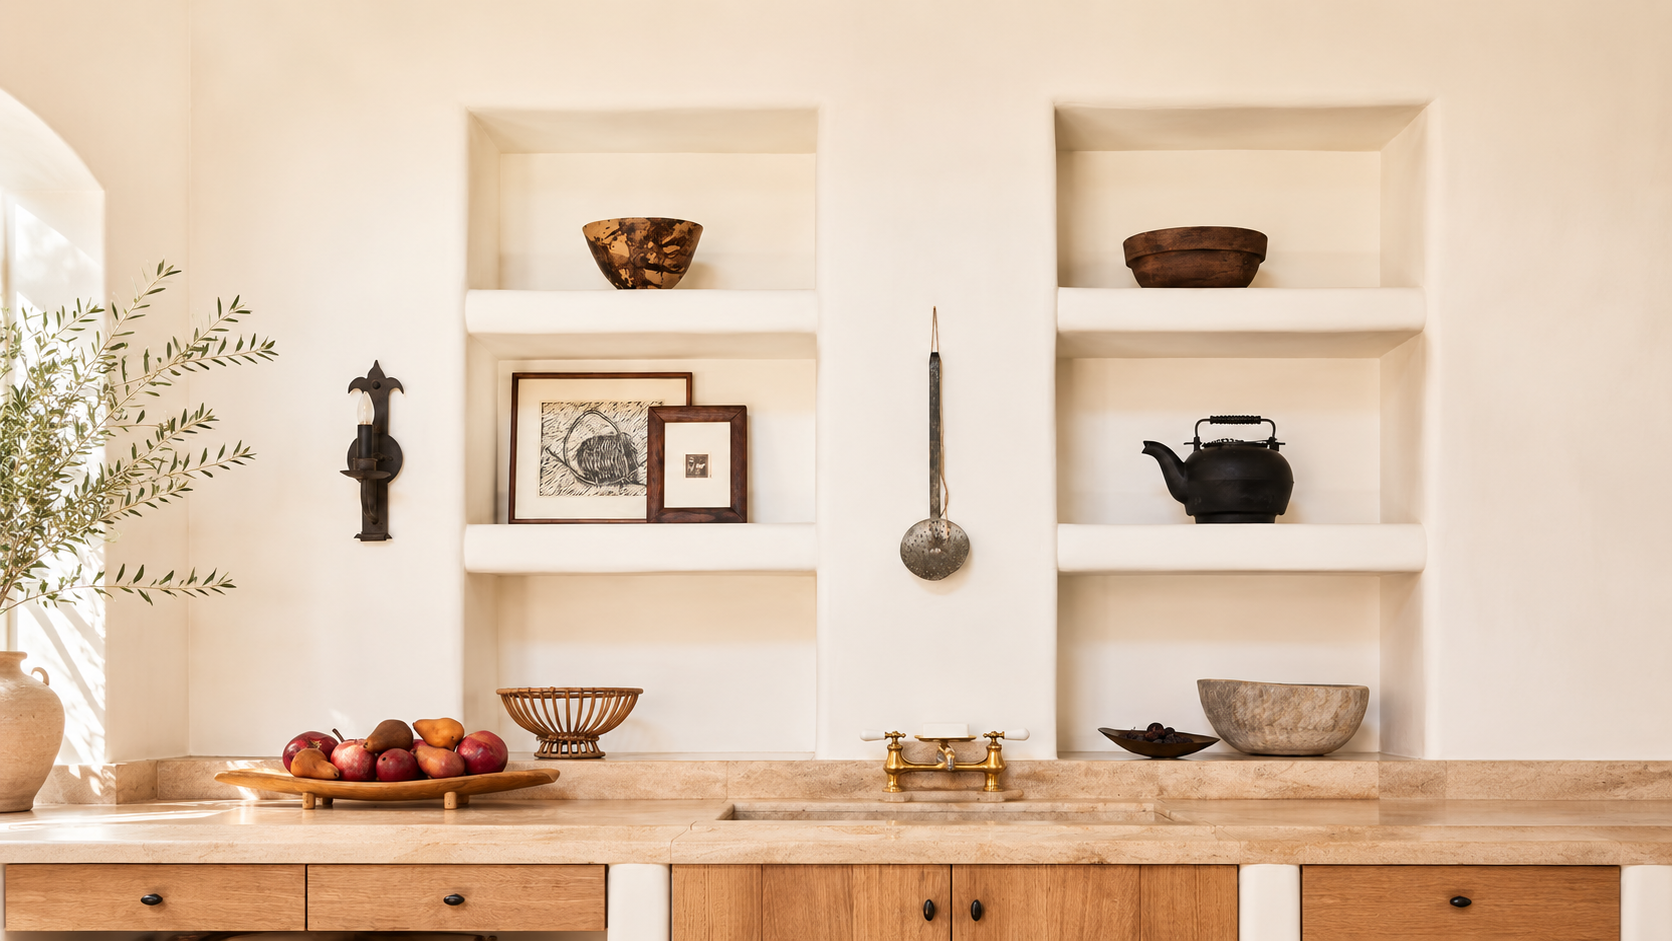
Built-ins use dead wall space, corners, and old cabinet gaps, adding depth to the room. If you’d rather keep everything behind doors instead, running cabinets up to the ceiling solves the same storage gap without leaving anything on display.
For open shelving specifically, match the material to your existing cabinetry so it reads as intentional, and keep daily dishes on the lowest shelf.
2. Create a Modular Shelf Wall
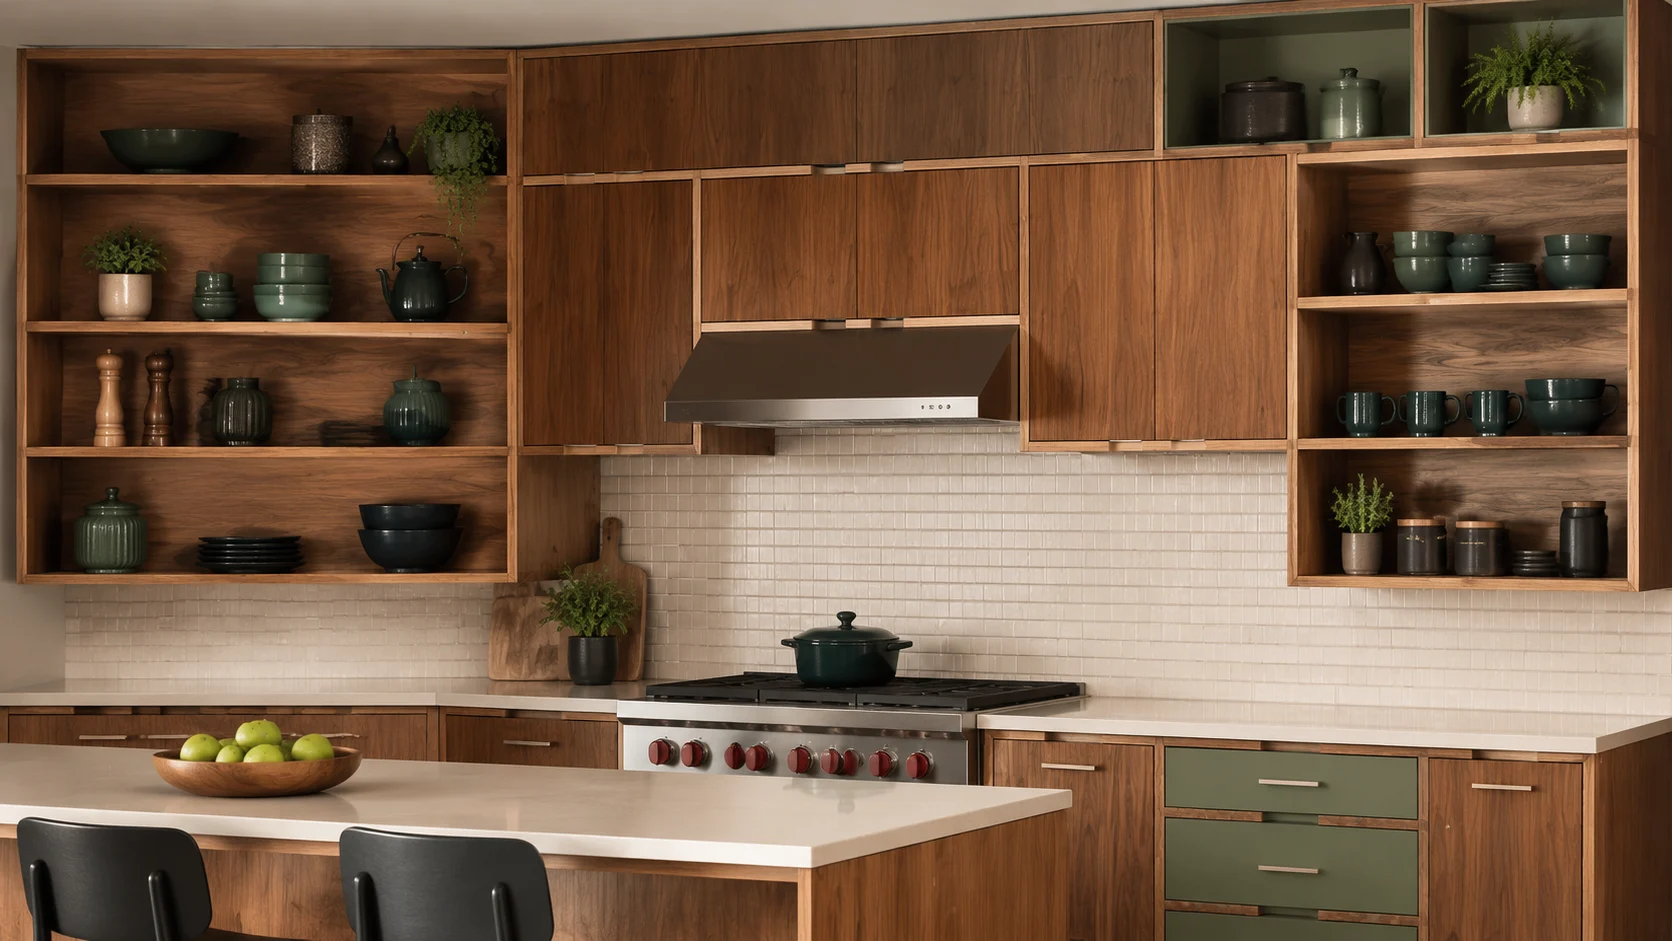
Modular shelves bring flexibility to kitchens by letting you adjust storage layouts as your needs change. They create an open, modern look while keeping dishes, jars, and cookware within reach.
Choose a modular shelf system that fits your wall size and install sturdy brackets into studs for support. Group everyday items on lower shelves and reserve higher sections for decor.
3. Add Industrial Metal Shelving
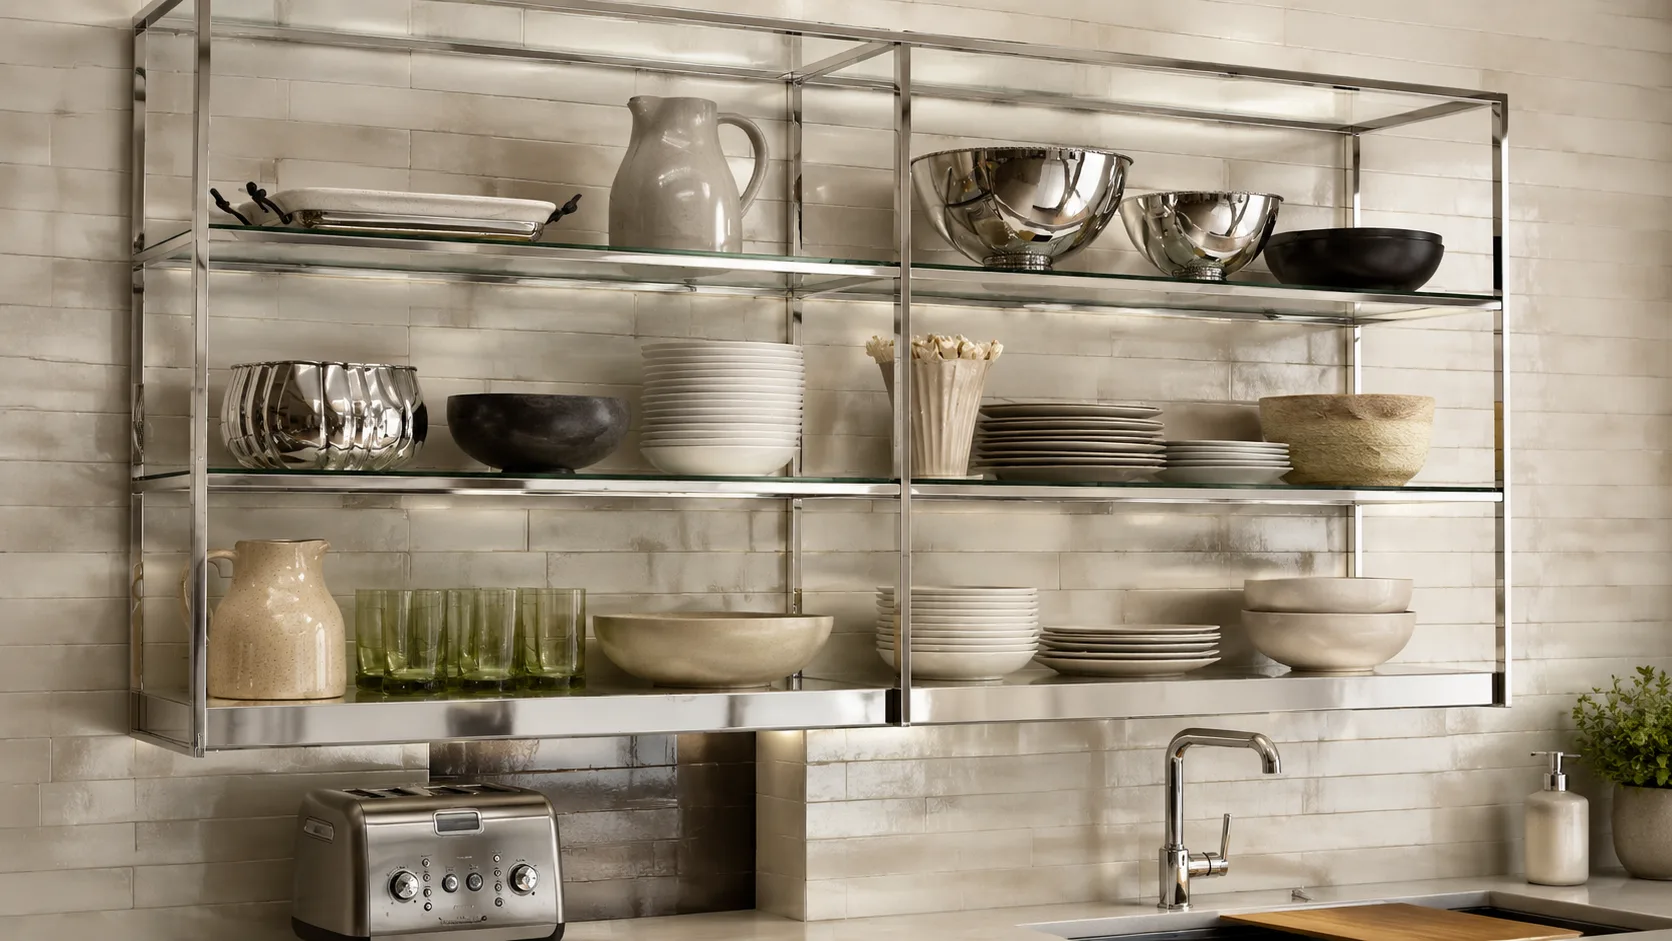
Metal display shelves add an industrial touch to kitchens while creating strong, open Storage. Their slim frames make the space feel lighter and work well with wood, glass, or stone finishes.
Pick powder-coated or rust-resistant metal shelves for better durability in kitchen conditions. Mount them securely, then arrange plates, cookware, and plants with enough space to keep the display neat.
4. Design a Sectioned Storage Display
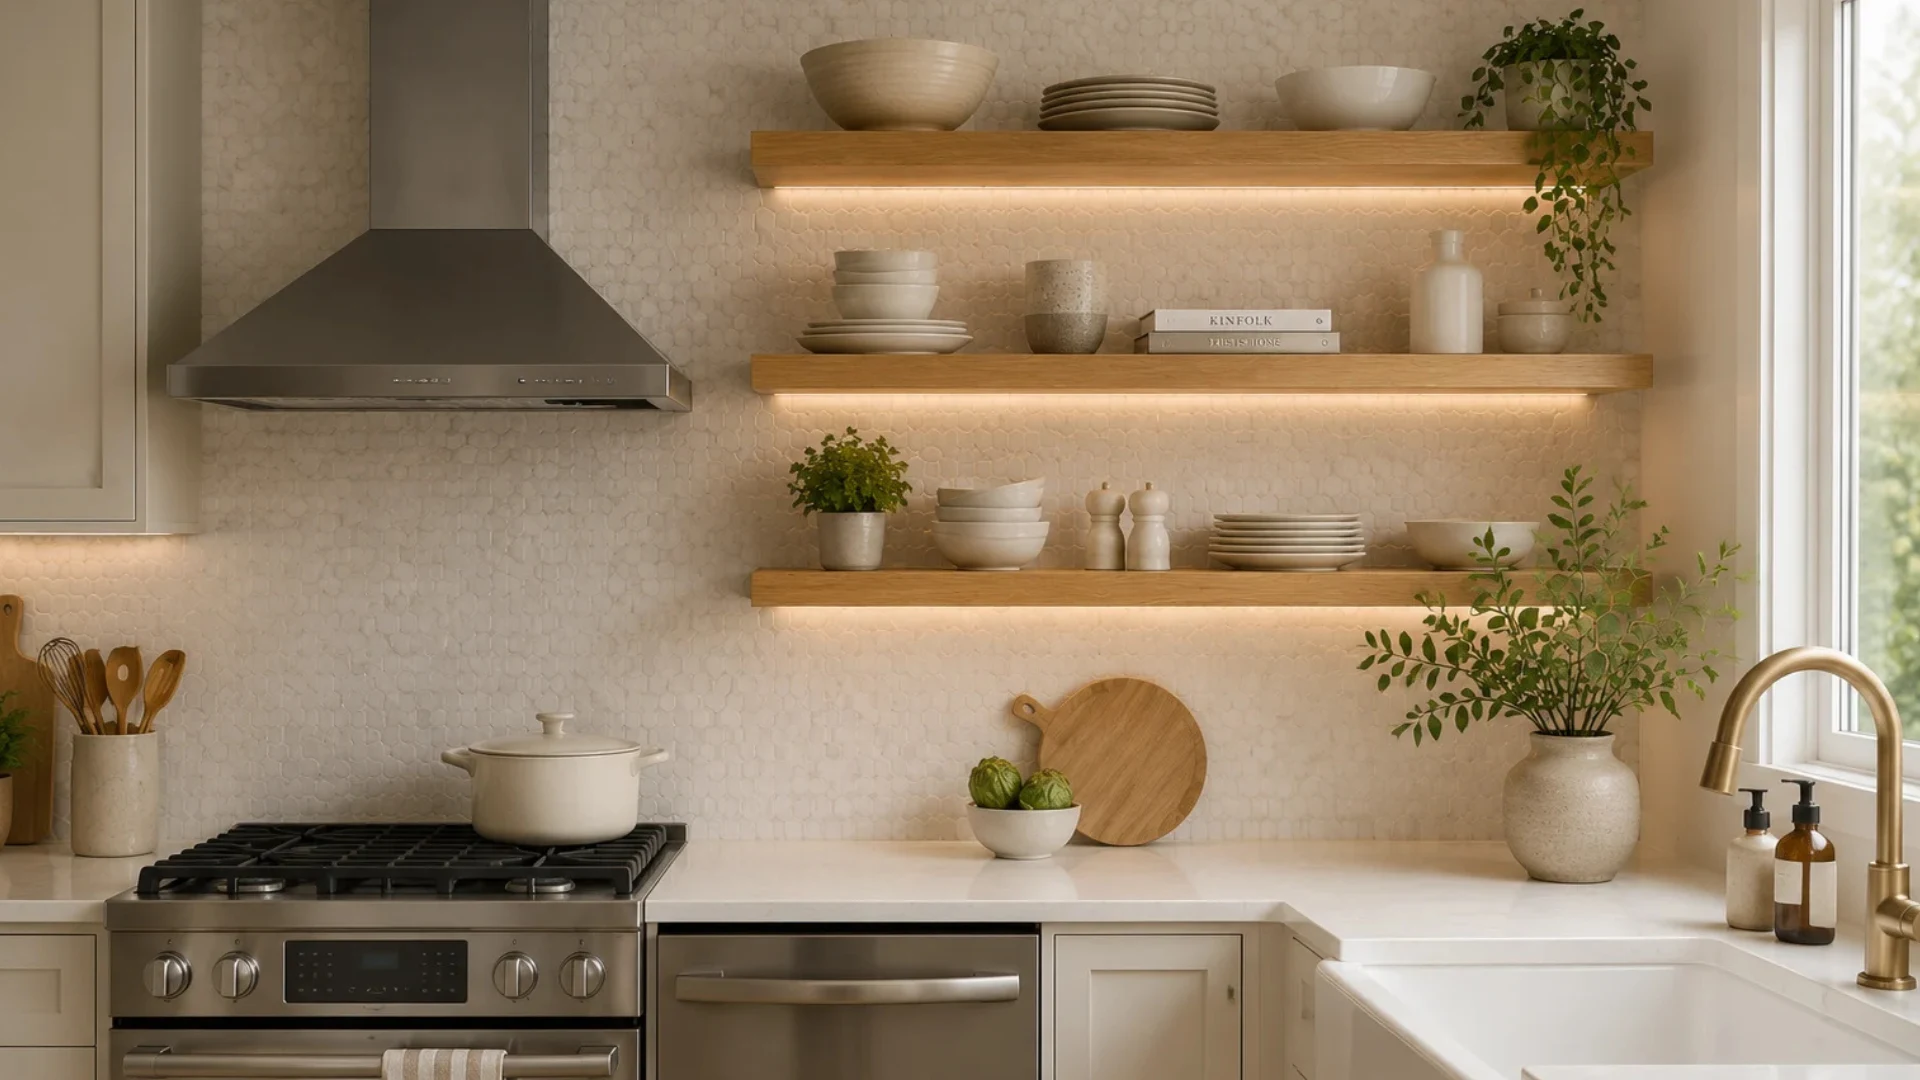
Sectional shelving uses separate shelf units placed together to create a custom storage setup. It works well in kitchens where you want to divide items by category while adding visual structure.
Plan the sections based on your storage needs before installation. Use wider shelves for cookware, smaller sections for jars or dishes, and keep frequently used items within easy reach.
5. Open Shelving Above Kitchen Island
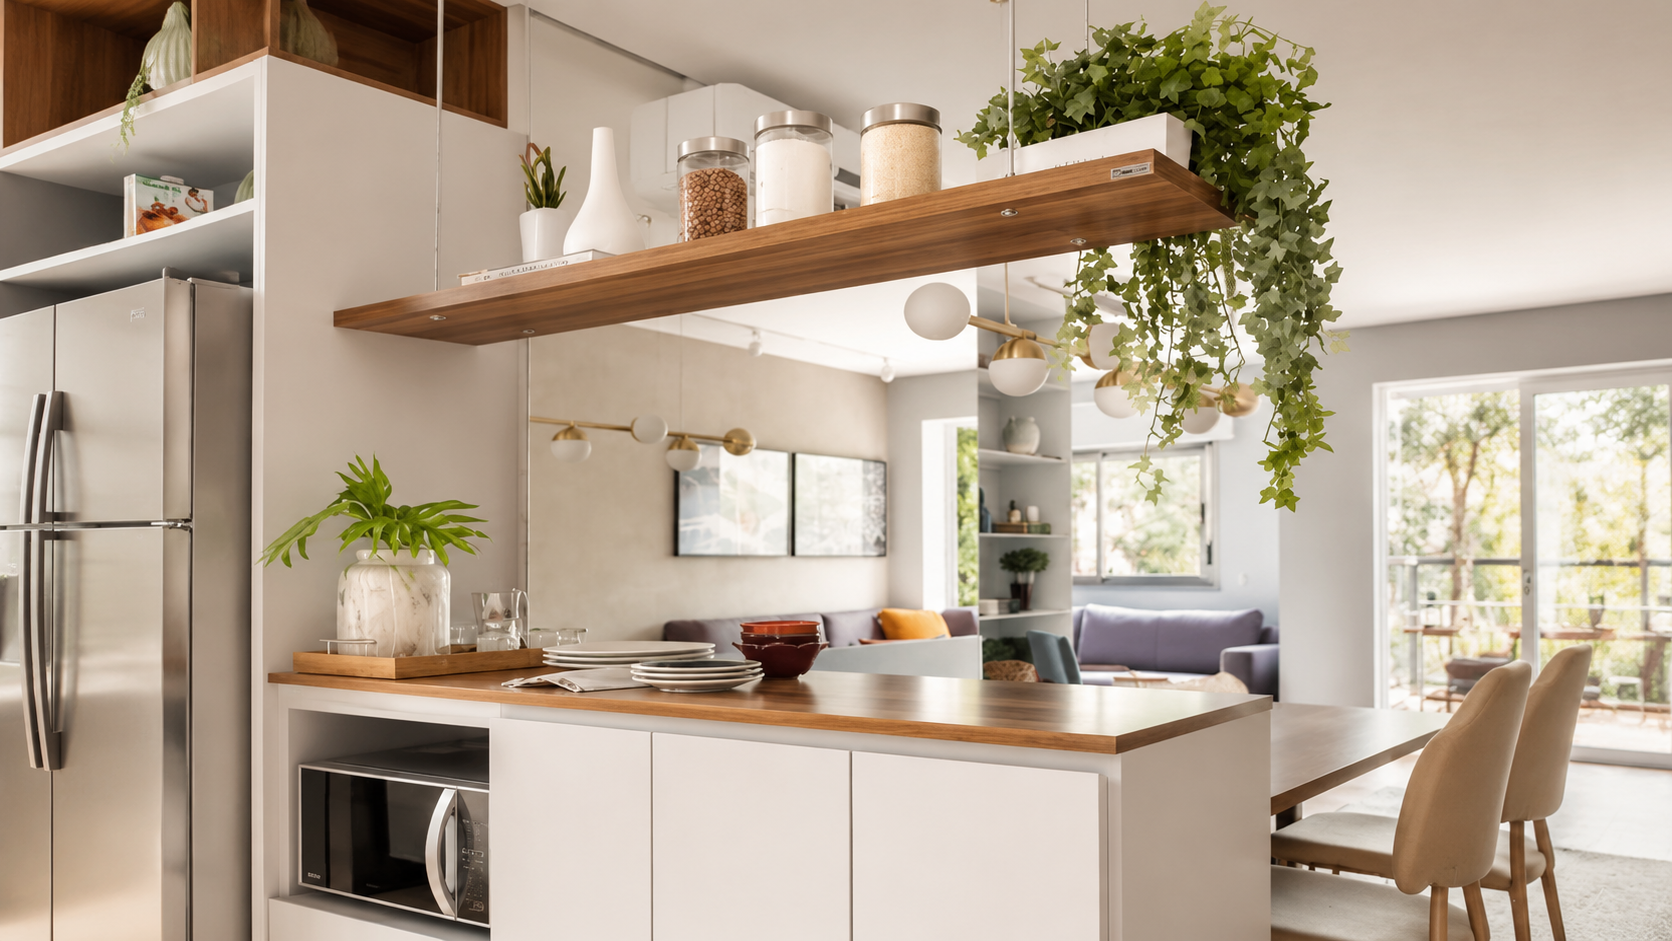
Open shelving above a kitchen island adds storage while keeping the space open and airy. It creates a display area for dishes, plants, cookbooks, and decor without blocking sightlines.
To create this look, install sturdy shelves with proper support and leave enough space above the island. Arrange frequently used items within reach, then balance them with decorative pieces for a clean appearance.
6. Install Full Wall Shelves
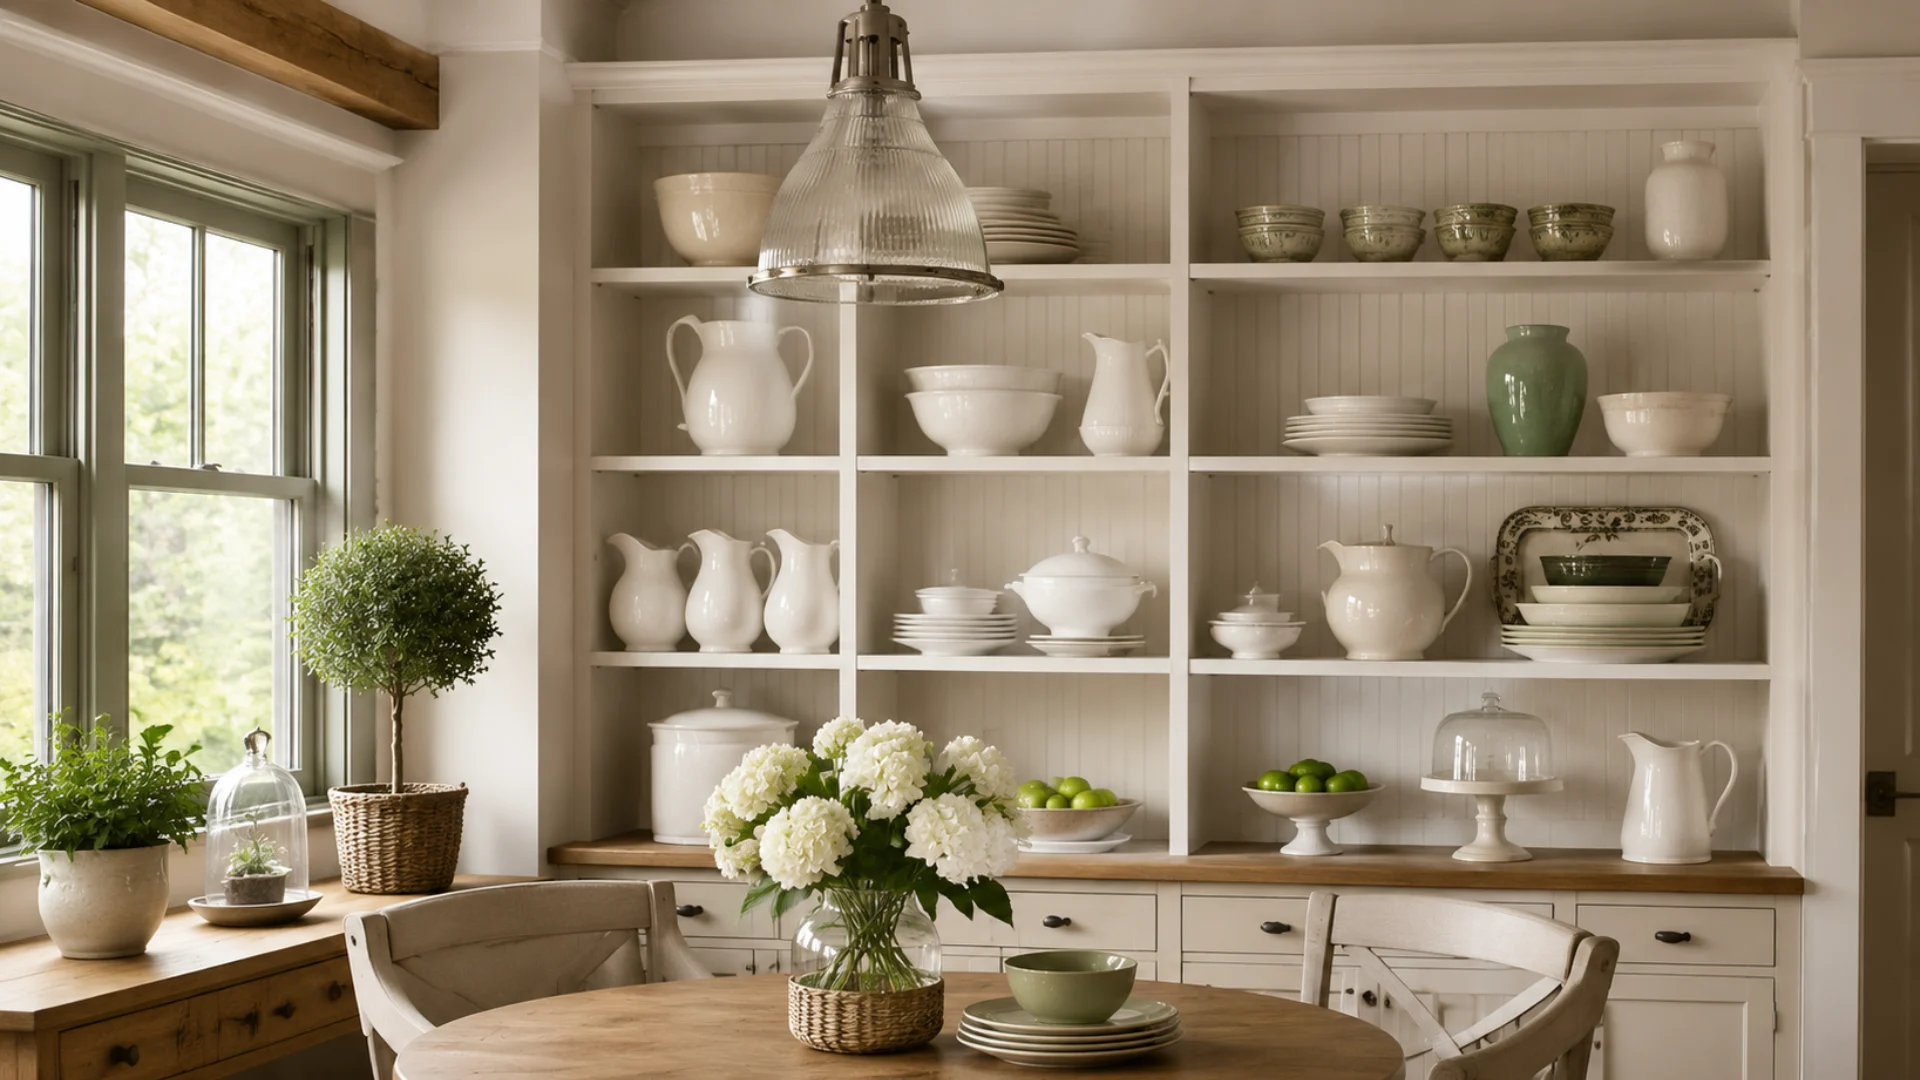
Wall shelves create open Storage without using valuable counter space, making them a simple choice for kitchens of all sizes. They add a clean, airy feel while keeping daily essentials visible.
Find a location that is easy to reach and install shelves with proper anchors for support. Place heavier items on lower shelves and lighter decor pieces above.
7. Add Mediterranean Wood Shelves
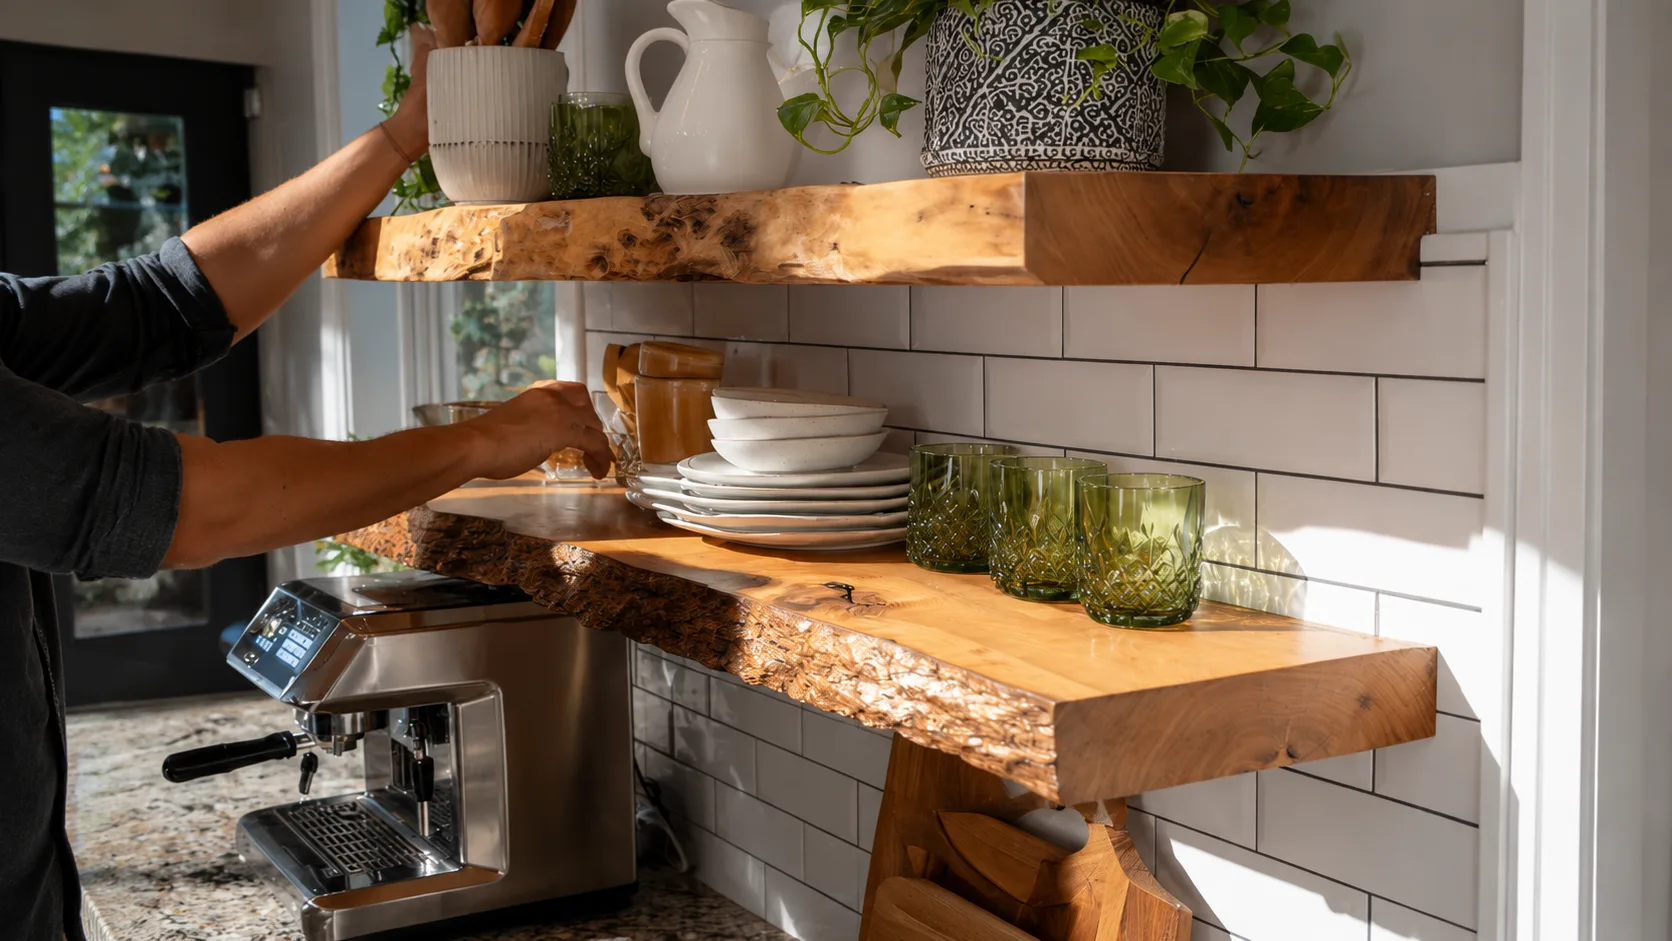
Mediterranean wood shelves bring natural warmth through rich textures, visible grains, and earthy finishes. They add character while keeping kitchen essentials easily accessible.
Seal hardwood shelves with a protective finish to prevent moisture and stains. Display bowls, plates, and serving pieces while avoiding areas with excessive steam exposure.
8. Grab From All Angles
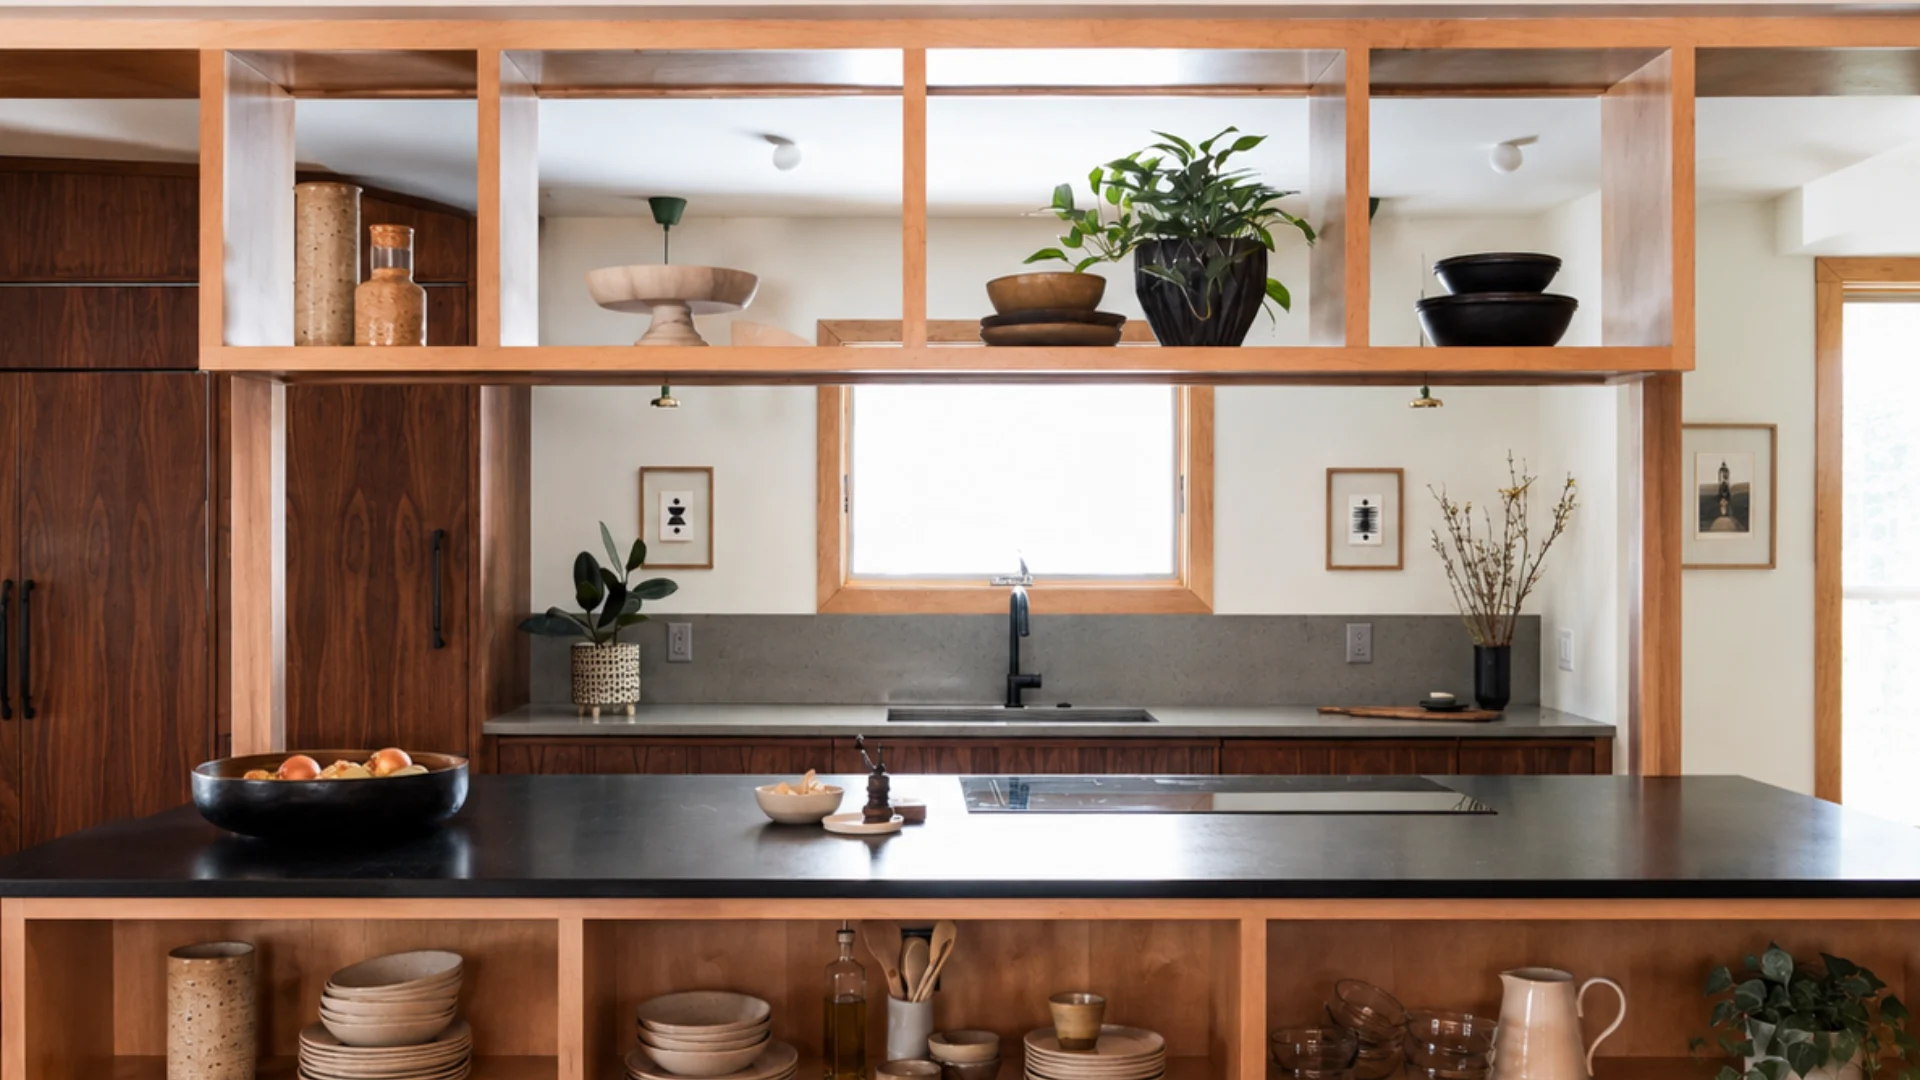
Grab-from-all-angles shelving makes storage easier by allowing you to reach items from different directions. It works well in open kitchens where accessibility and visibility matter.
Placement of shelves should be in areas with enough surrounding space for movement. Keep frequently used items within easy reach and arrange displays so every side remains functional.
9. Introduce A Shelf With a Curved Underside
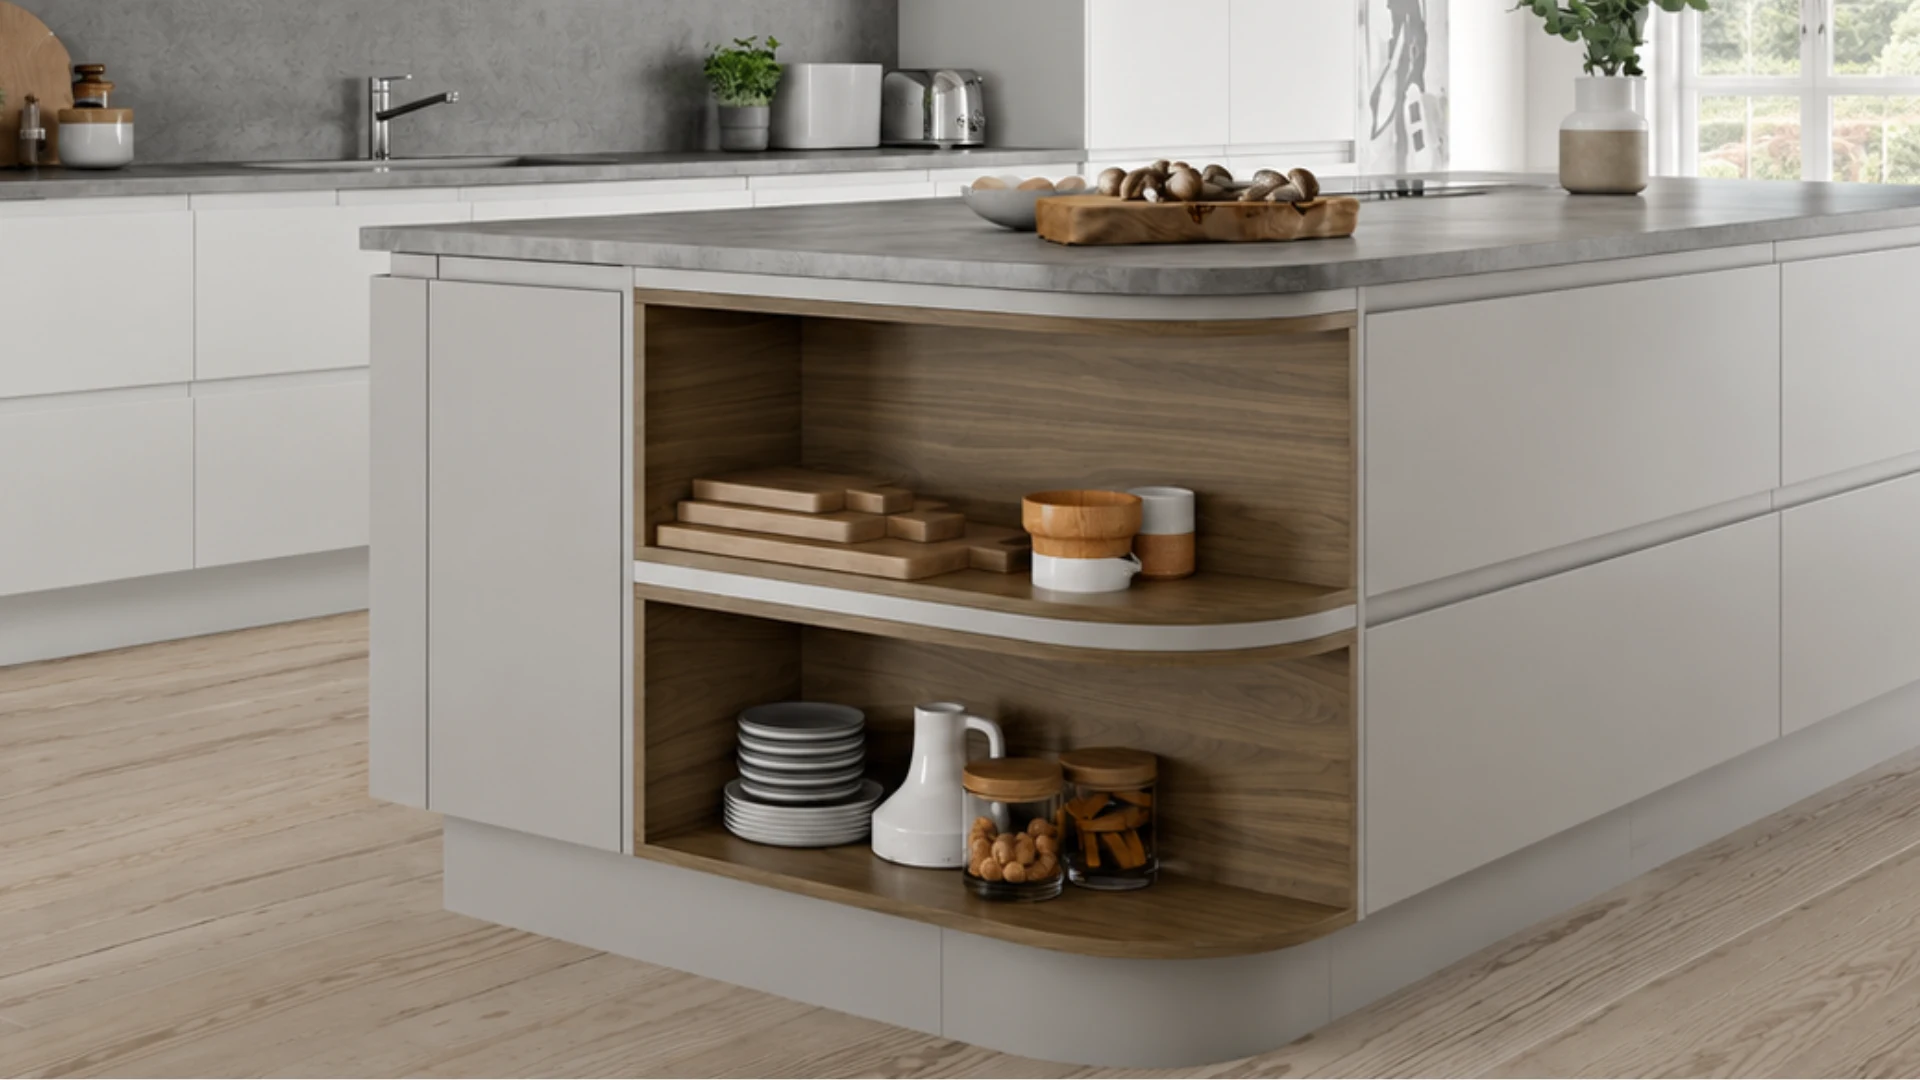
Glass keeps a small kitchen from feeling boxed in since it doesn’t visually block the wall behind it. Use tempered glass only, reserve it for lighter glassware and mugs, and skip it for stacked cookware or ceramics.
If you’d rather keep small appliances out of sight instead of on display, building in an appliance garage nook nearby handles that without competing for space on the glass shelf itself.
10. Set Up an Open Pantry
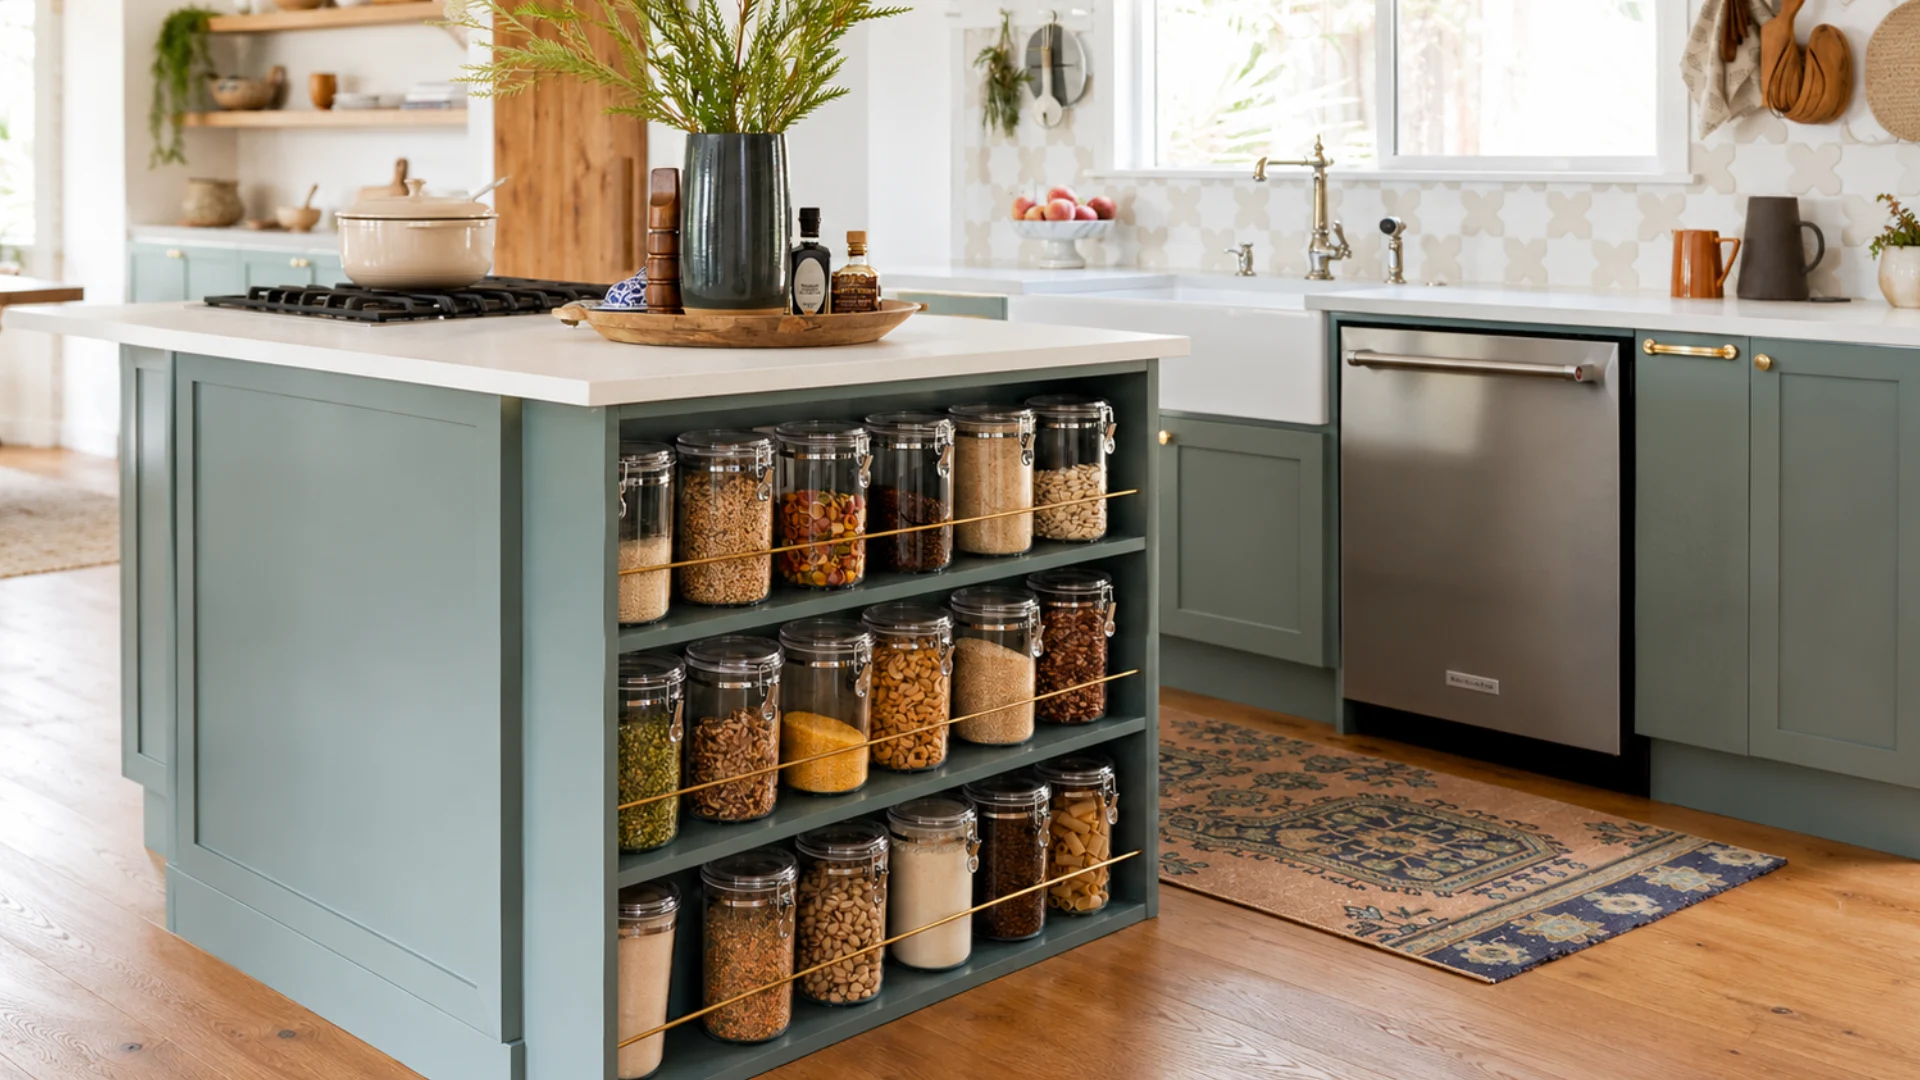
An open pantry replaces closed cabinets with visible shelves, keeping dry goods, jars, and everyday ingredients easy to see. It creates a more accessible kitchen setup and can make a small space feel less crowded.
Install shelves with enough depth for storage containers and baskets. Group similar items together and maintain consistent containers to keep the pantry visually organized.
11. Create a Coffee Bar Nook
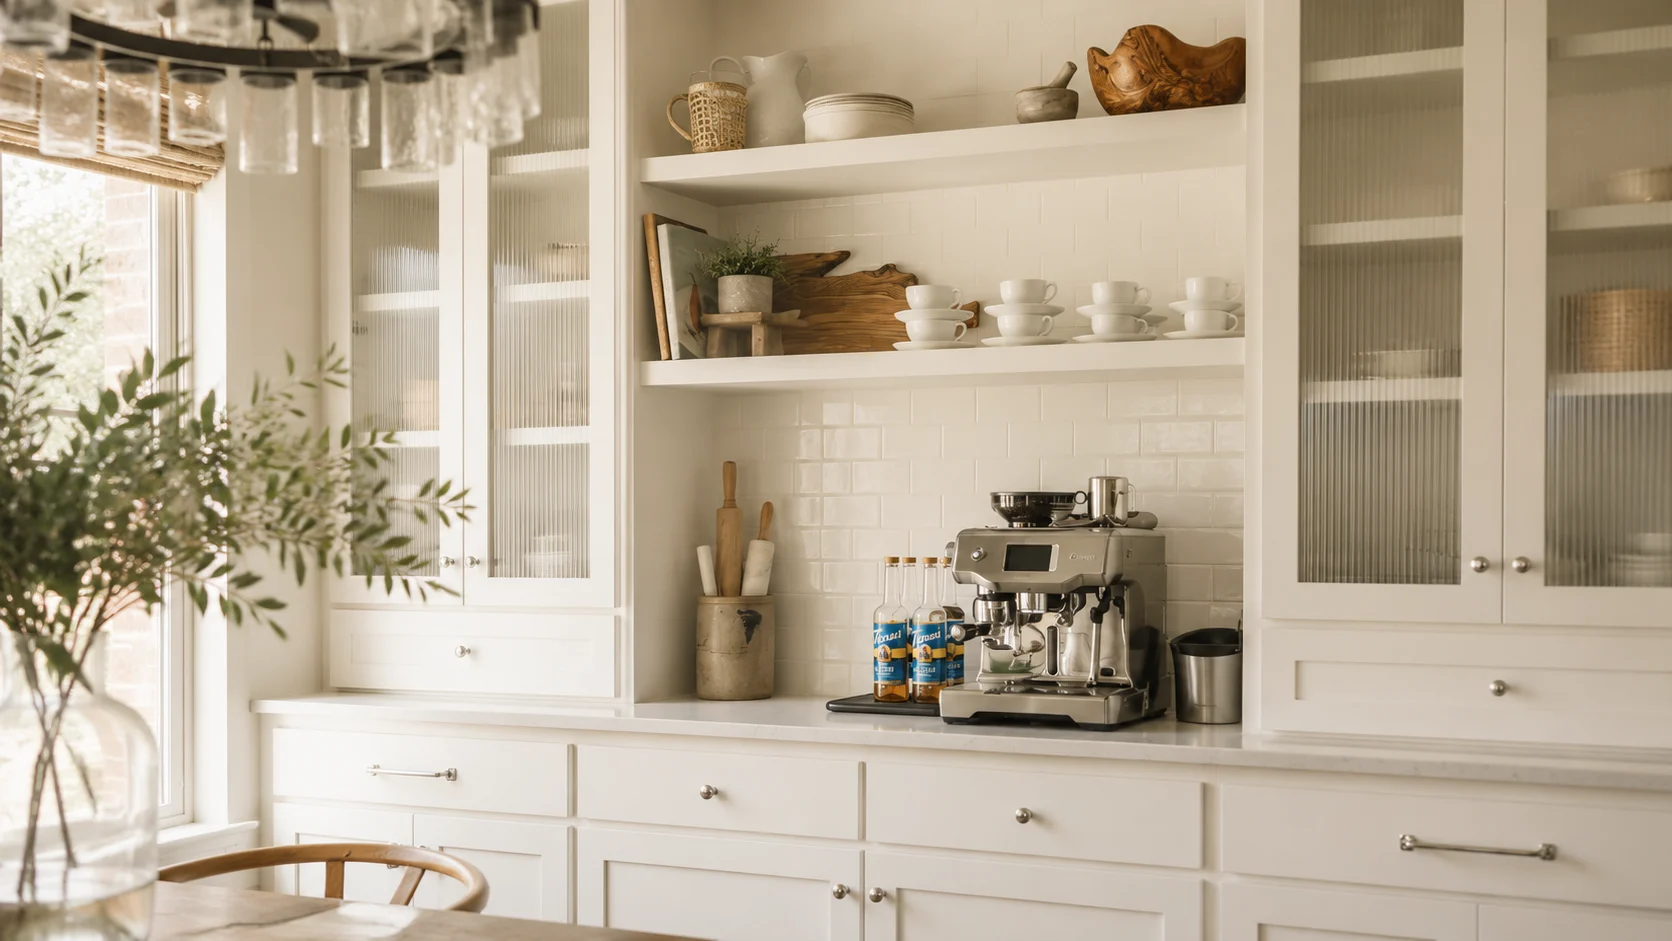
A coffee bar creates a dedicated spot for your coffee maker, mugs, syrups, and brewing supplies. It turns an unused kitchen corner or counter section into a functional station for your daily routine.
Pick a location near an outlet and keep your most-used items within reach. Add a small shelf above the counter for mugs, jars, and decor, and use drawers or baskets below for extra supplies.
12. Make the Most of Corner Space
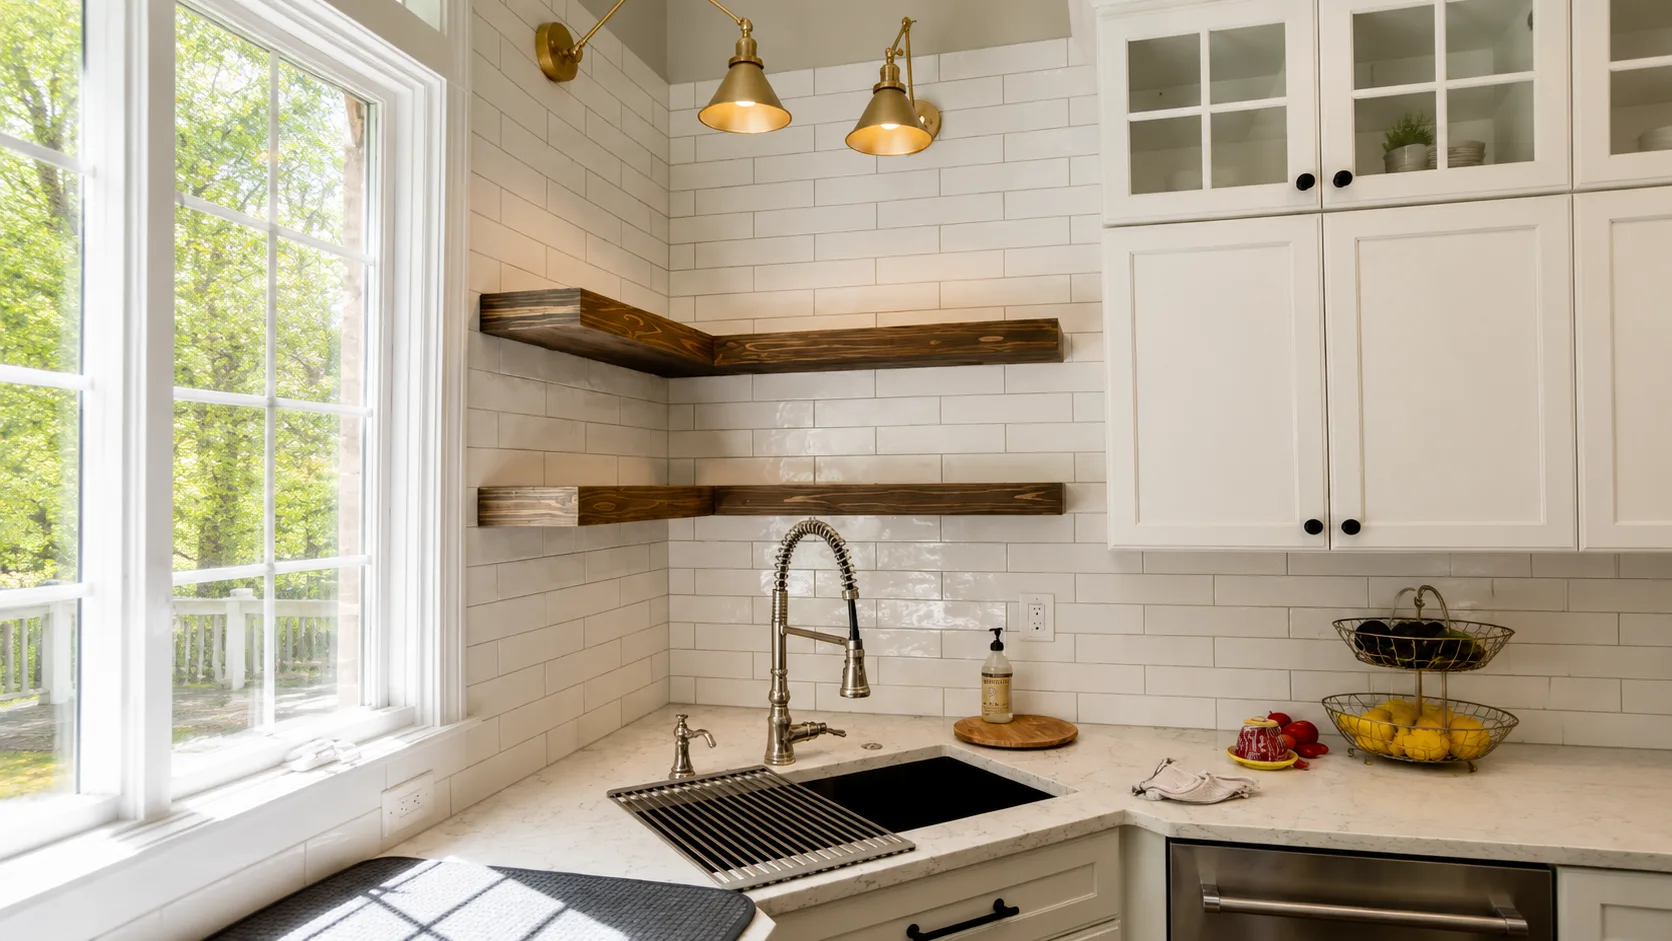
Corner shelves use forgotten wall space to add Storage without taking up valuable floor area. They work especially well in small kitchens where every inch matters and can display dishes, plants, or cooking essentials.
Put the shelves where two walls meet and secure the brackets into studs for better support. Keep heavier items on lower shelves and use upper shelves for lighter pieces like glassware or decor.
13. Try a Standalone Shelf
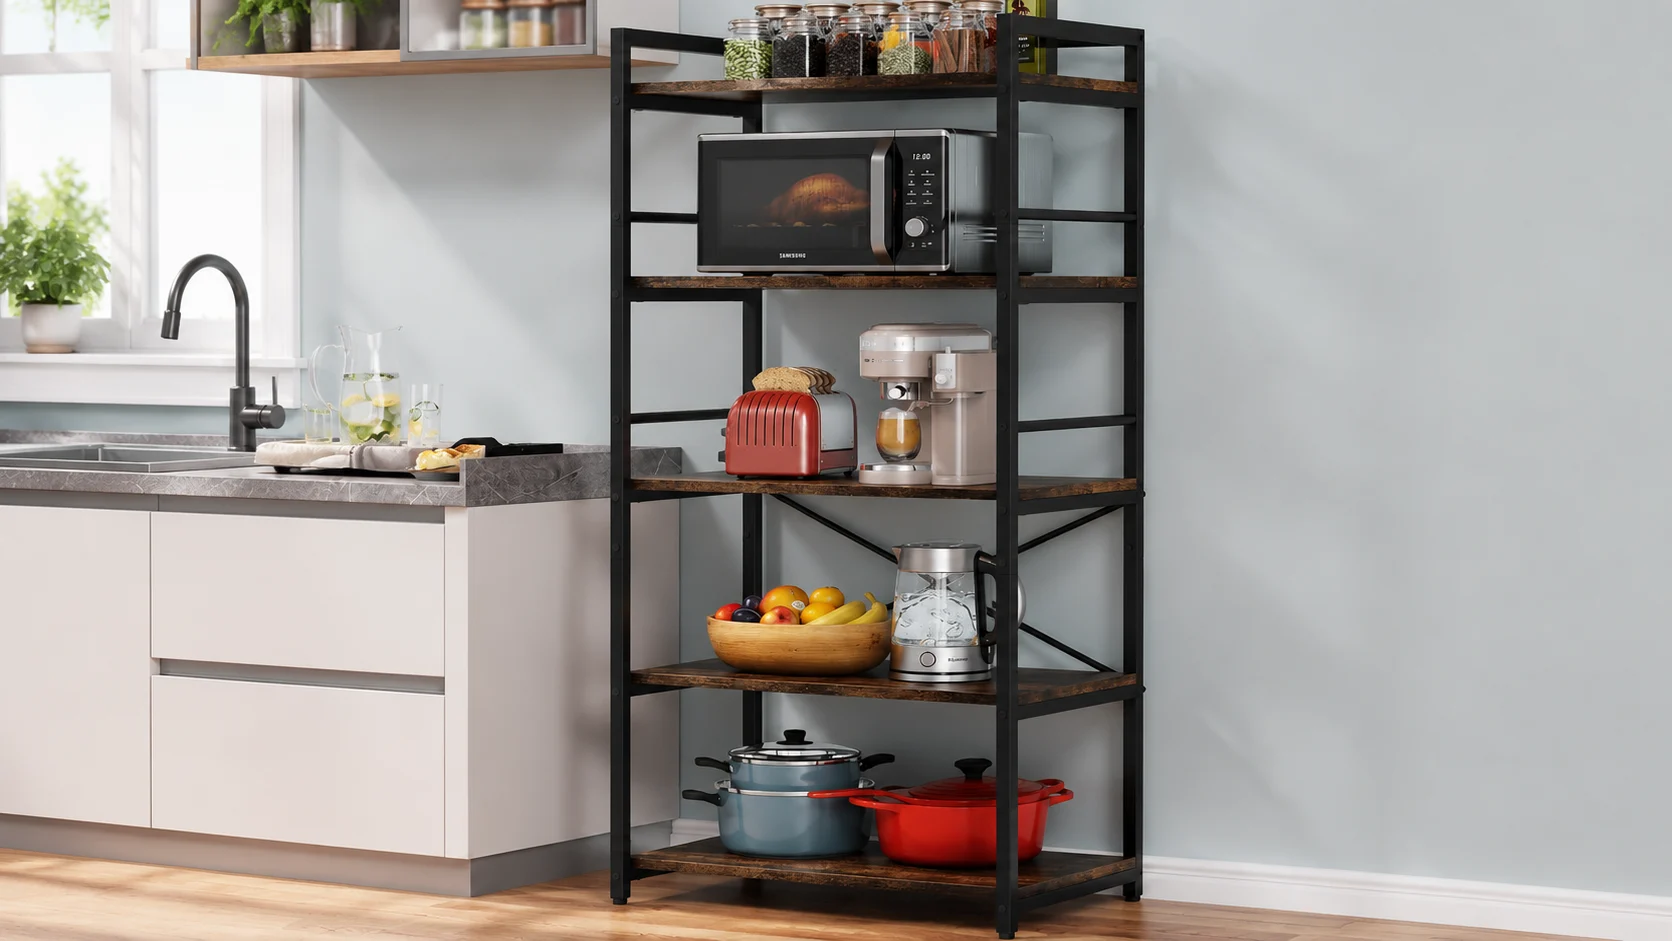
A standalone shelf adds flexible Storage without requiring permanent installation. It works well for renters or homeowners who want extra space for cookware, pantry items, or kitchen accessories.
Select a shelf unit that fits your available floor space and can handle the weight of your items. Place frequently used kitchen tools on lower shelves and reserve the higher shelves for decorative pieces.
14. Refrigerator Gap Shelf
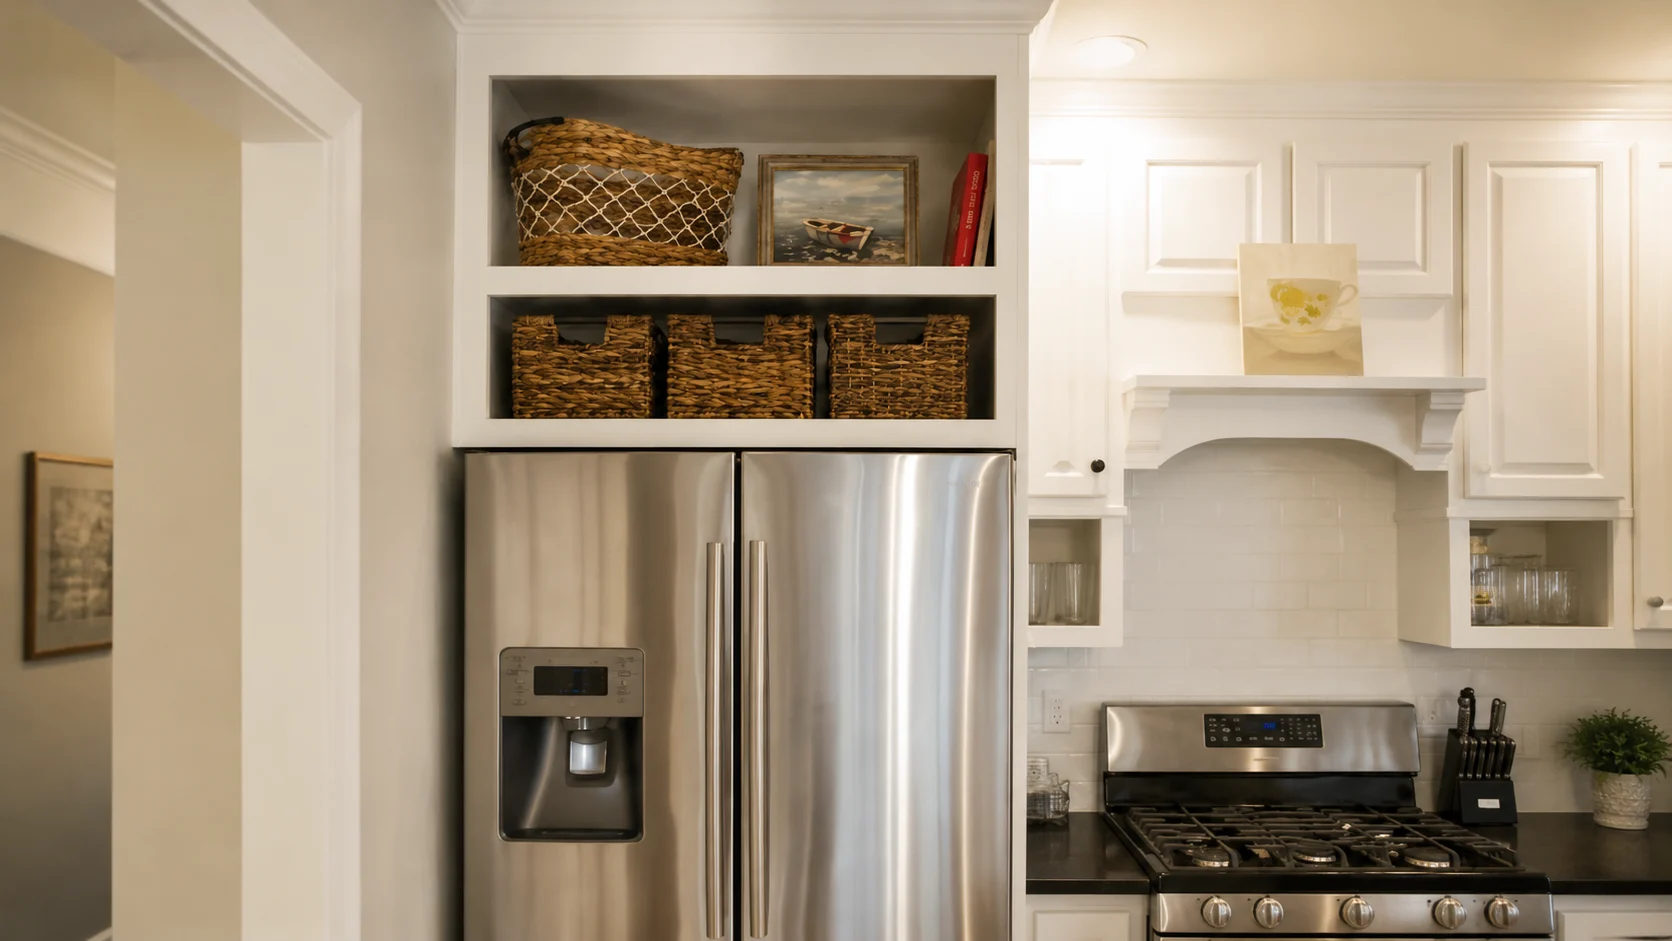
A refrigerator gap shelf uses the narrow space beside the fridge for extra kitchen storage. It turns an overlooked area into a useful organizing zone.
Take note of the gap carefully and install a slim shelf unit that fits comfortably. Store spices, oils, snacks, or small containers where they stay easy to reach.
15. Add Rounded Open Shelving
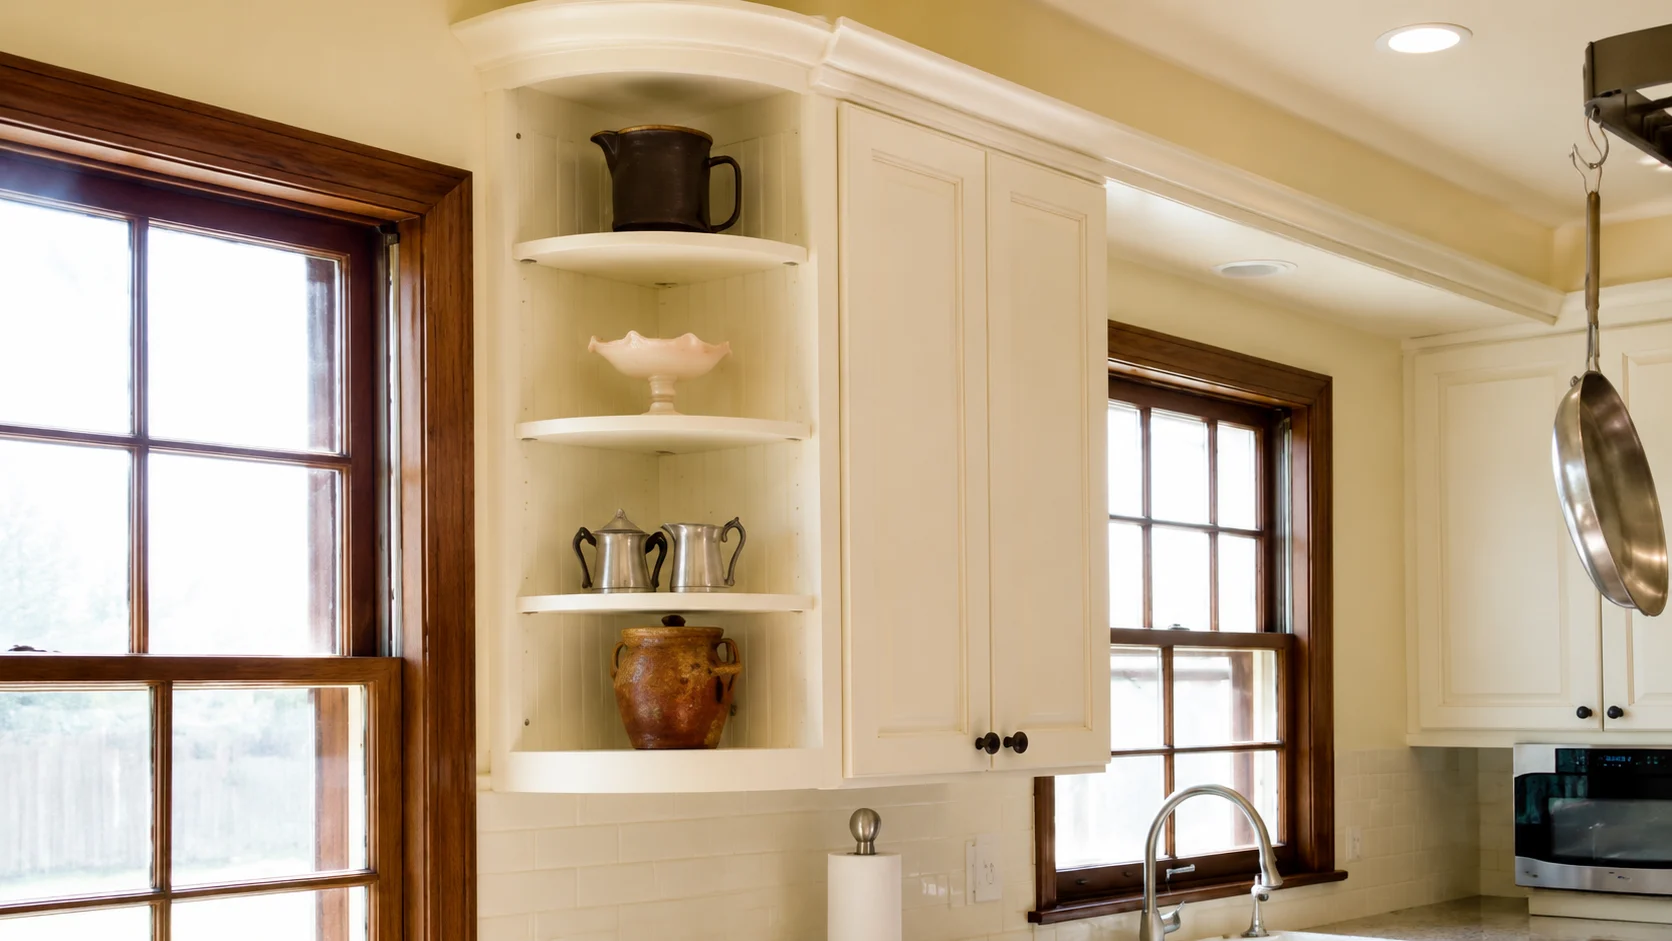
Rounded open shelves soften the sharp lines often found in kitchens and create a more custom, decorative look. Their curved edges add visual interest while still providing useful Storage.
Mount rounded shelves in visible wall areas where they can stand out. Display ceramics, plants, and jars while keeping the arrangement balanced and uncluttered.
16. Try a Peel-and-Stick Bracket Shelf
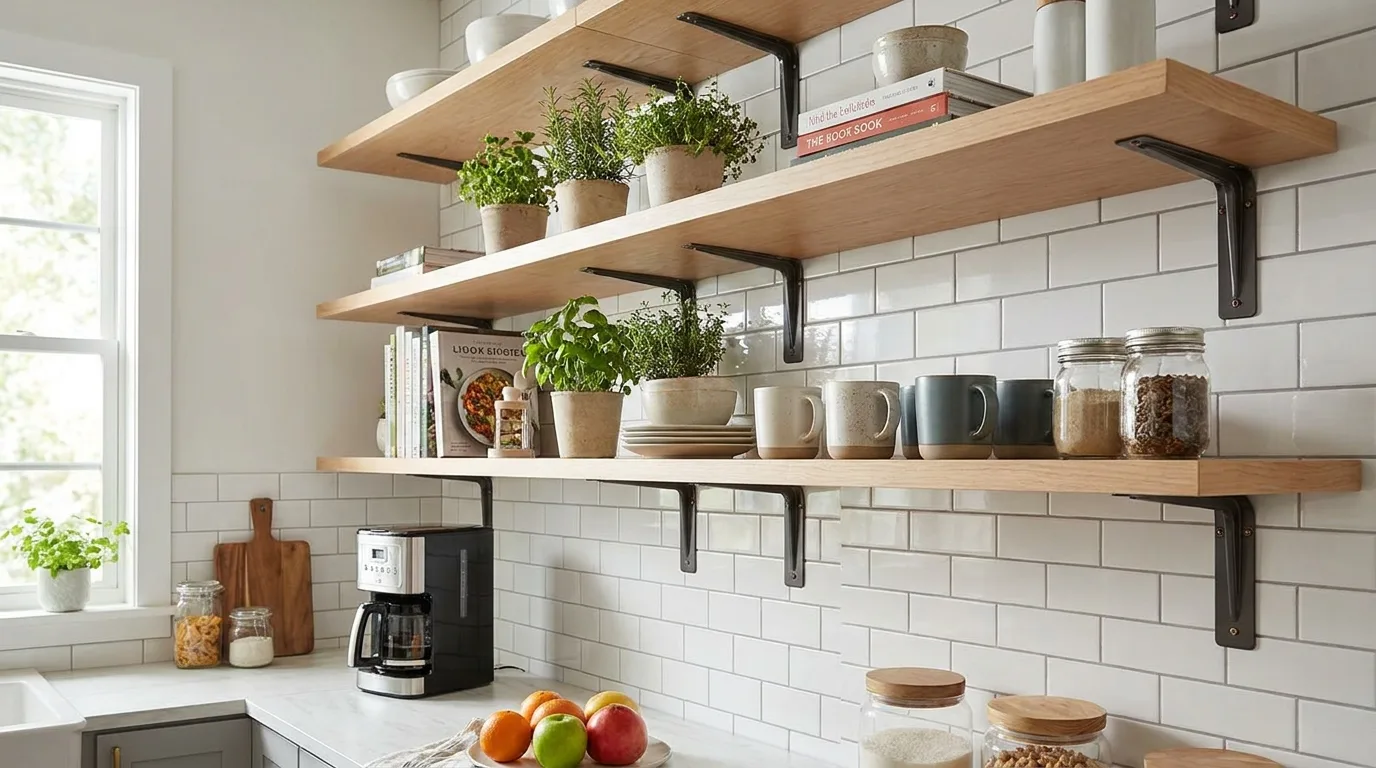
Peel-and-stick bracket shelves offer a quick way to add small Storage without drilling into walls. They work best for lightweight items like spices, small plants, or decorative kitchen pieces.
Clean the wall surface before applying the adhesive for better grip. Follow the weight limit carefully and avoid placing heavy dishes or cookware on these shelves.
17. Build a Pipe Bracket Shelf
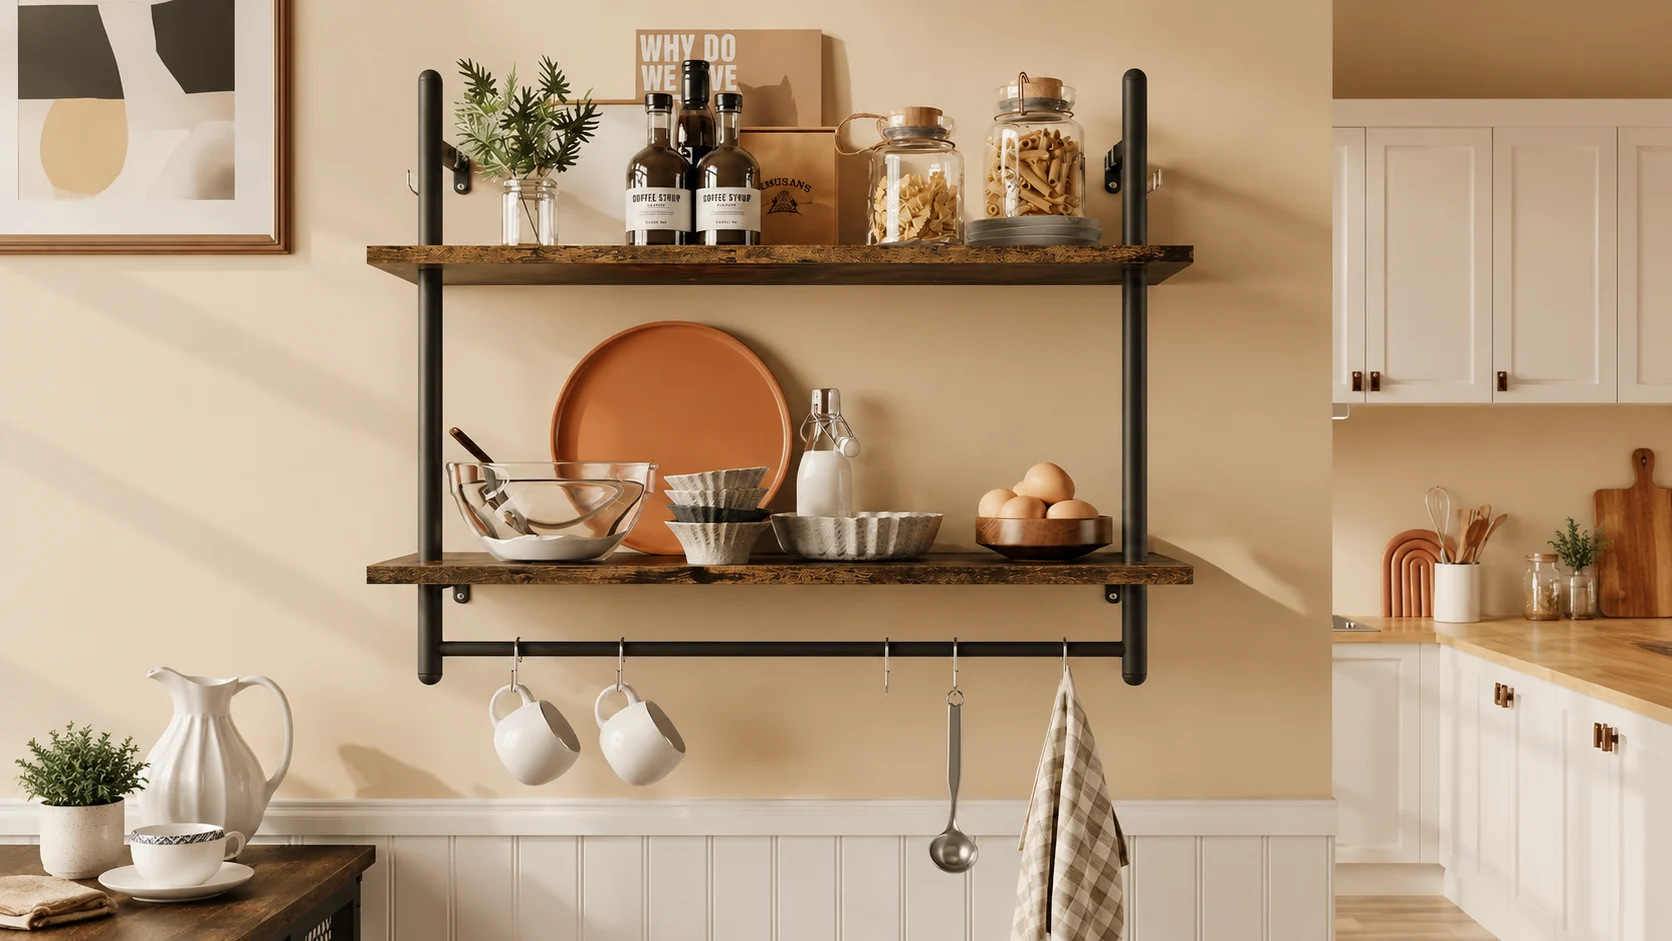
Pipe bracket shelves combine wood boards and metal supports to create an industrial kitchen feature. They add character while providing practical Storage for daily essentials.
Secure pipe brackets firmly into wall studs and use strong wooden boards. Position heavier items near support points to maintain shelf balance and stability.
18. Display Plates In Vertical Open Shelves
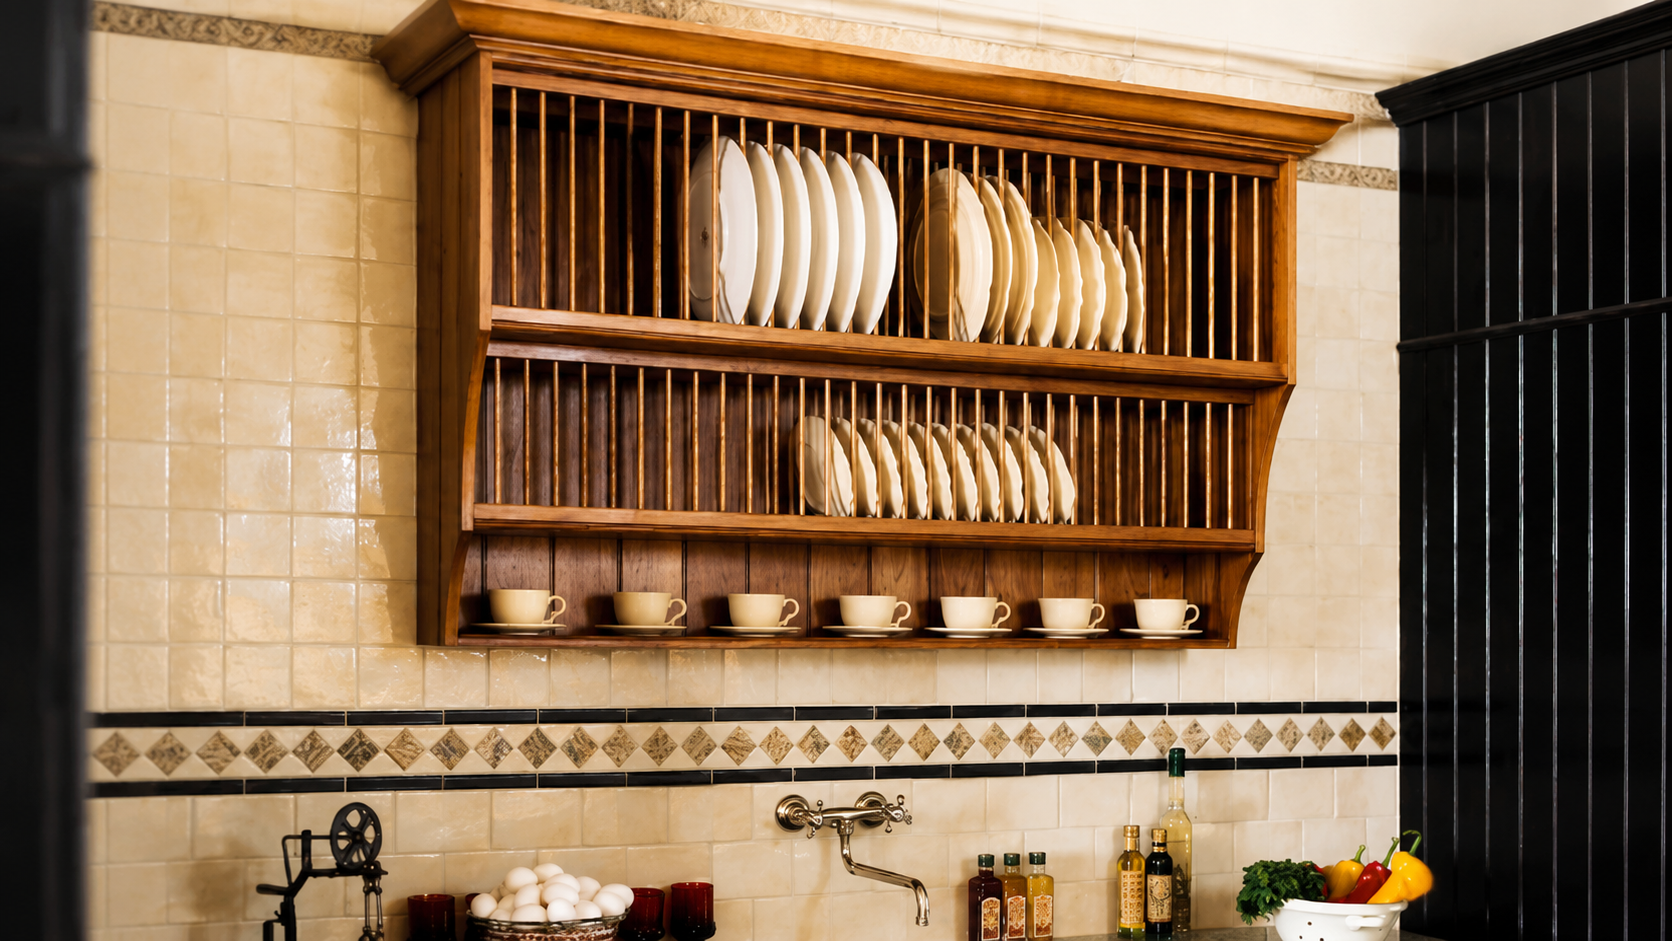
Vertical plate shelves keep dishes organized while turning everyday tableware into part of the kitchen display. They save space and add a unique visual element.
Install narrow vertical compartments that securely hold your plates. Arrange dishes by size and keep frequently used pieces within comfortable reach.
19. Decoarate a Leaning Ladder Shelf
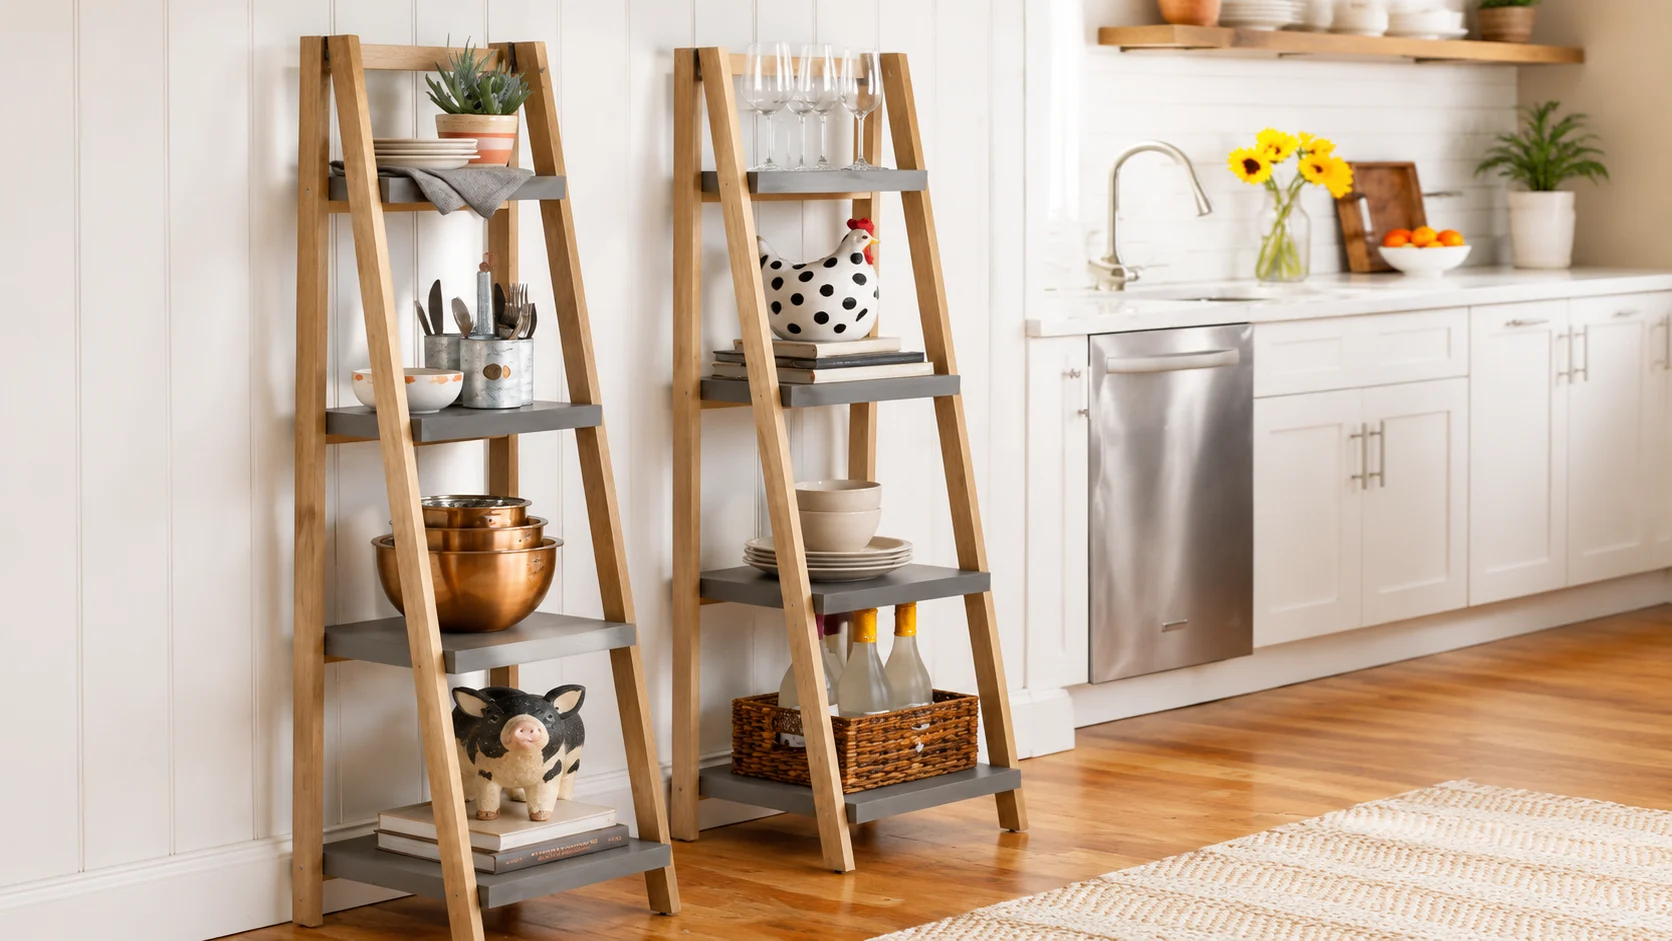
A leaning ladder shelf adds vertical Storage while creating a relaxed, furniture-style look. It works well in kitchens where you want extra display space without installing permanent wall shelves.
Place the ladder shelf against a stable wall and keep heavier items on the bottom tiers. Use upper shelves for plants, cookbooks, or decorative pieces that do not need frequent handling.
20. Use Glass Shelves with Hidden Brackets
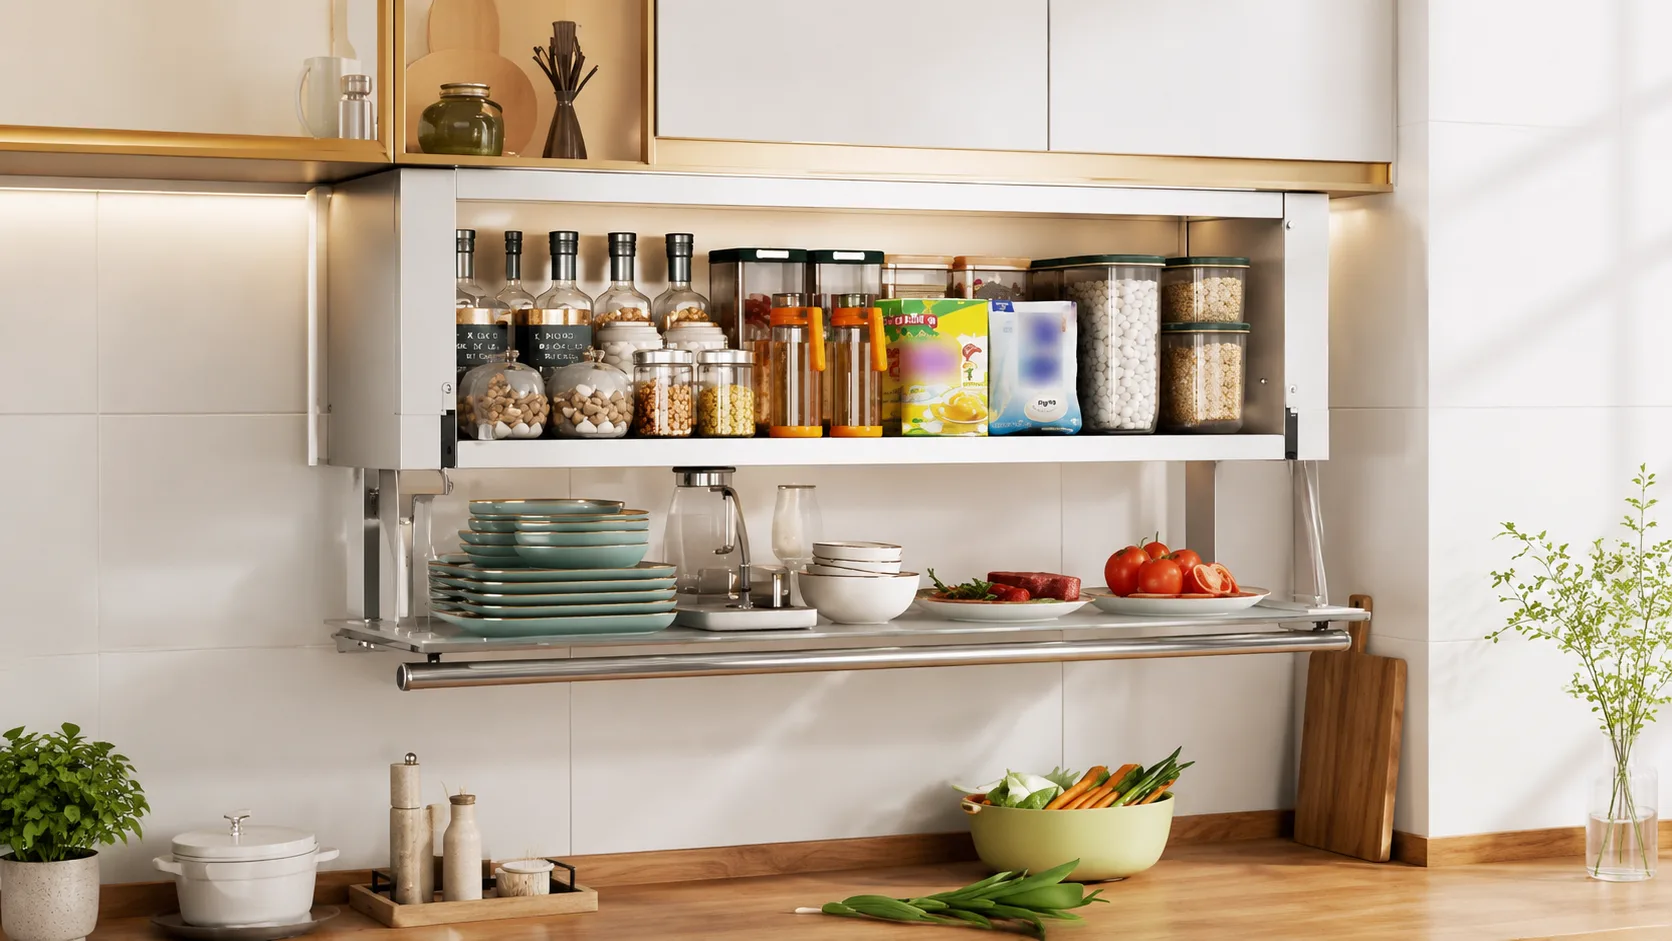
Glass shelves create a lightweight, almost floating appearance while keeping the kitchen feeling open. They work especially well in small kitchens because the transparent surface does not visually block the wall behind it.
Use tempered glass for safety, and mount it with hidden supports designed to support the shelf weight. Keep this style for lighter items like glassware, mugs, and decorative pieces rather than heavy cookware.
21. Window-Mounted Open Shelf
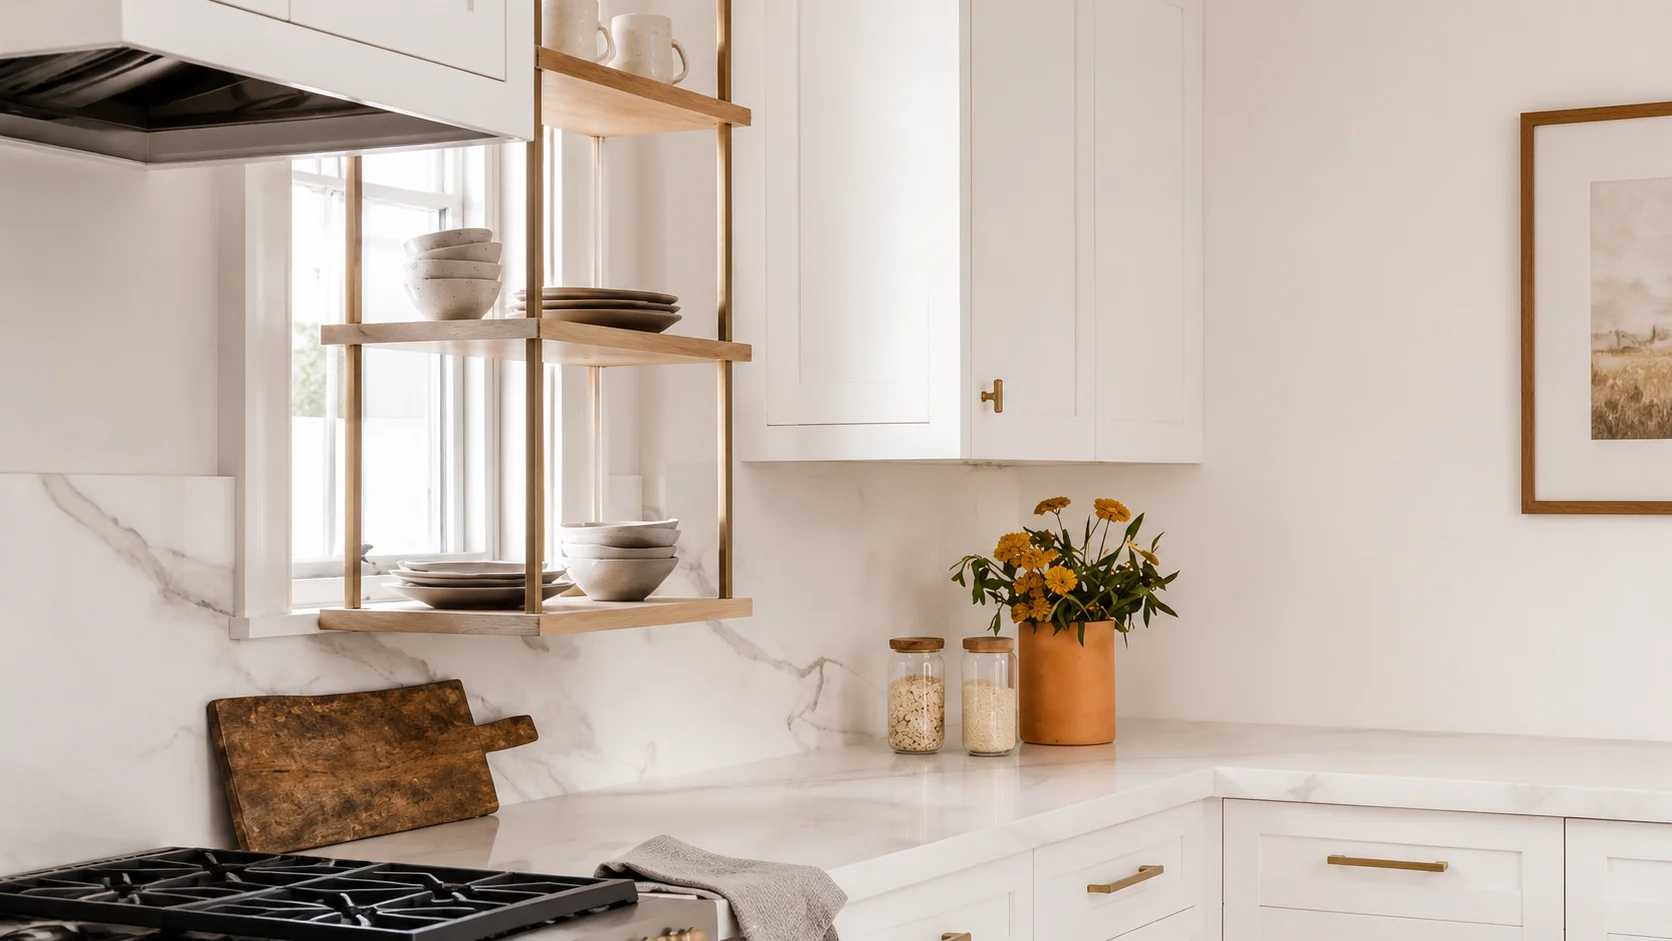
Window-mounted shelves add Storage near natural light while using space that often remains empty. They work well for herbs, small plants, and frequently used kitchen items.
Position a narrow shelf beside or across the window without blocking sunlight. Keep items lightweight and leave enough clearance for easy window operation.
22. Highlight Shelves With Backlighting
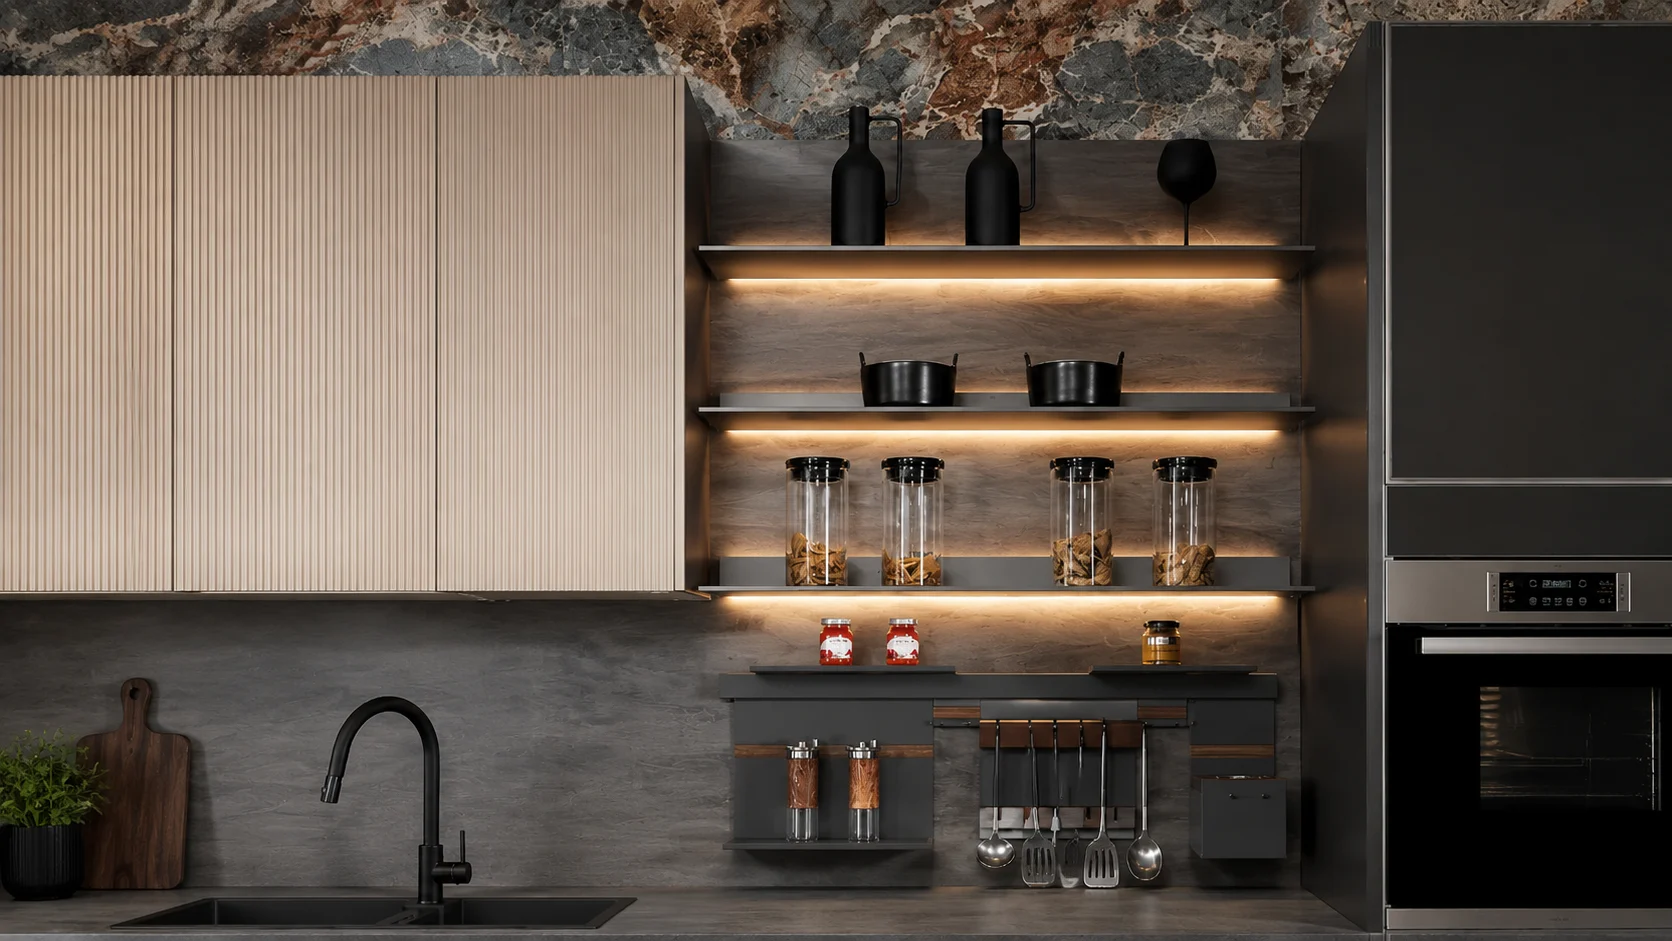
Backlit shelves combine Storage with subtle lighting by adding LED strips underneath or behind each shelf. They make everyday items easier to see while adding warmth to the kitchen.
Choose low-heat LED lighting and hide wiring during installation for a cleaner appearance. This style works best for displaying glassware, ceramics, and decorative kitchen pieces.
23. Under-Cabinet Hanging Shelves
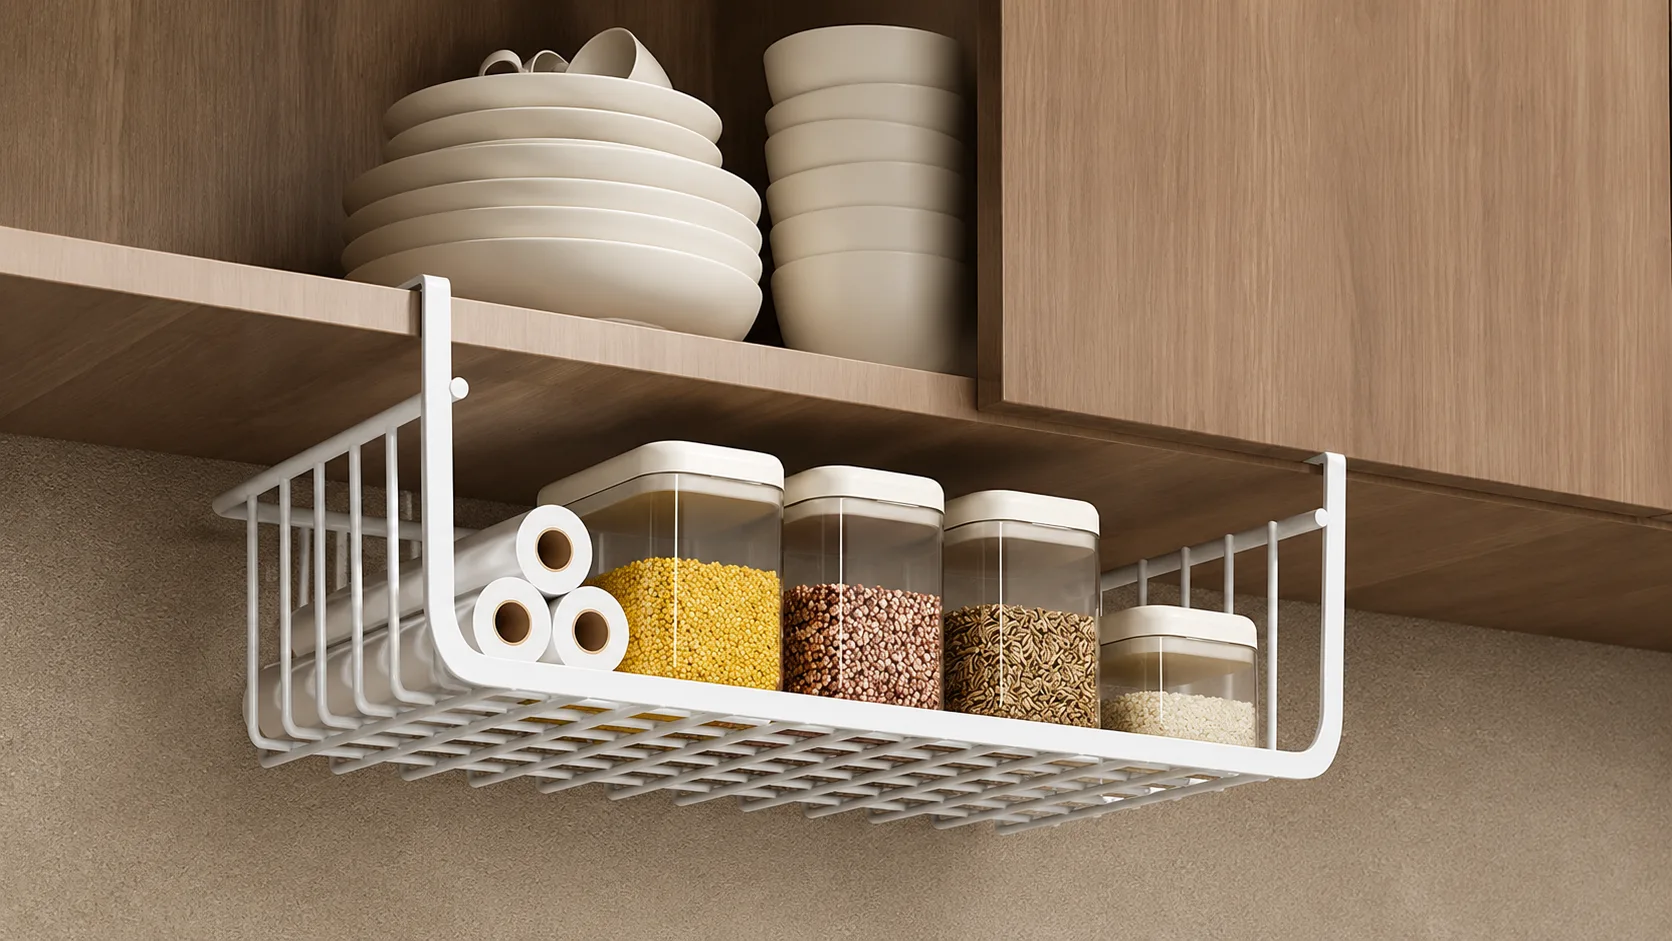
Under-cabinet hanging shelves create extra Storage below existing cabinets without changing the kitchen layout. They provide a convenient spot for mugs, plates, and small essentials.
Attach shallow shelves beneath cabinets while keeping enough workspace below. Store frequently used items there and avoid adding anything that makes the counter feel crowded.
24. Frame a Doorway With Open Shelves
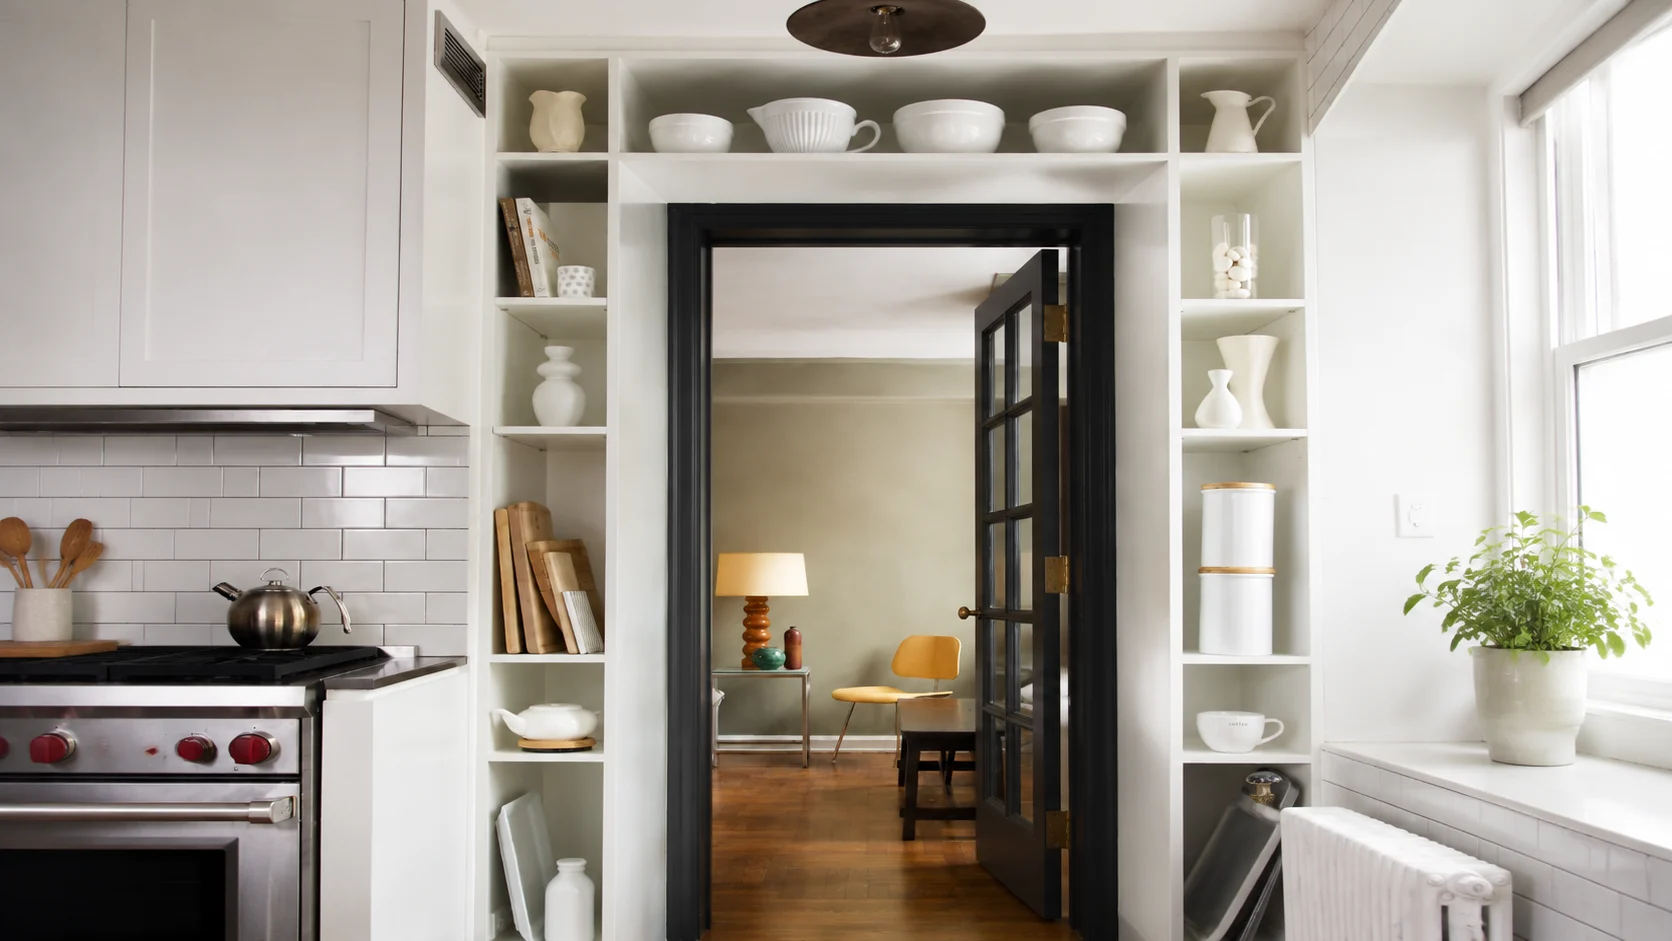
Door frame shelves use the narrow wall space around kitchen entrances or door openings for extra Storage. They turn unused vertical areas into functional display zones.
Keep these shelves shallow so they do not interfere with movement through the doorway. They are best for cookbooks, small plants, jars, and lightweight kitchen accessories.
25. Add a Tile-Backed Open Shelf
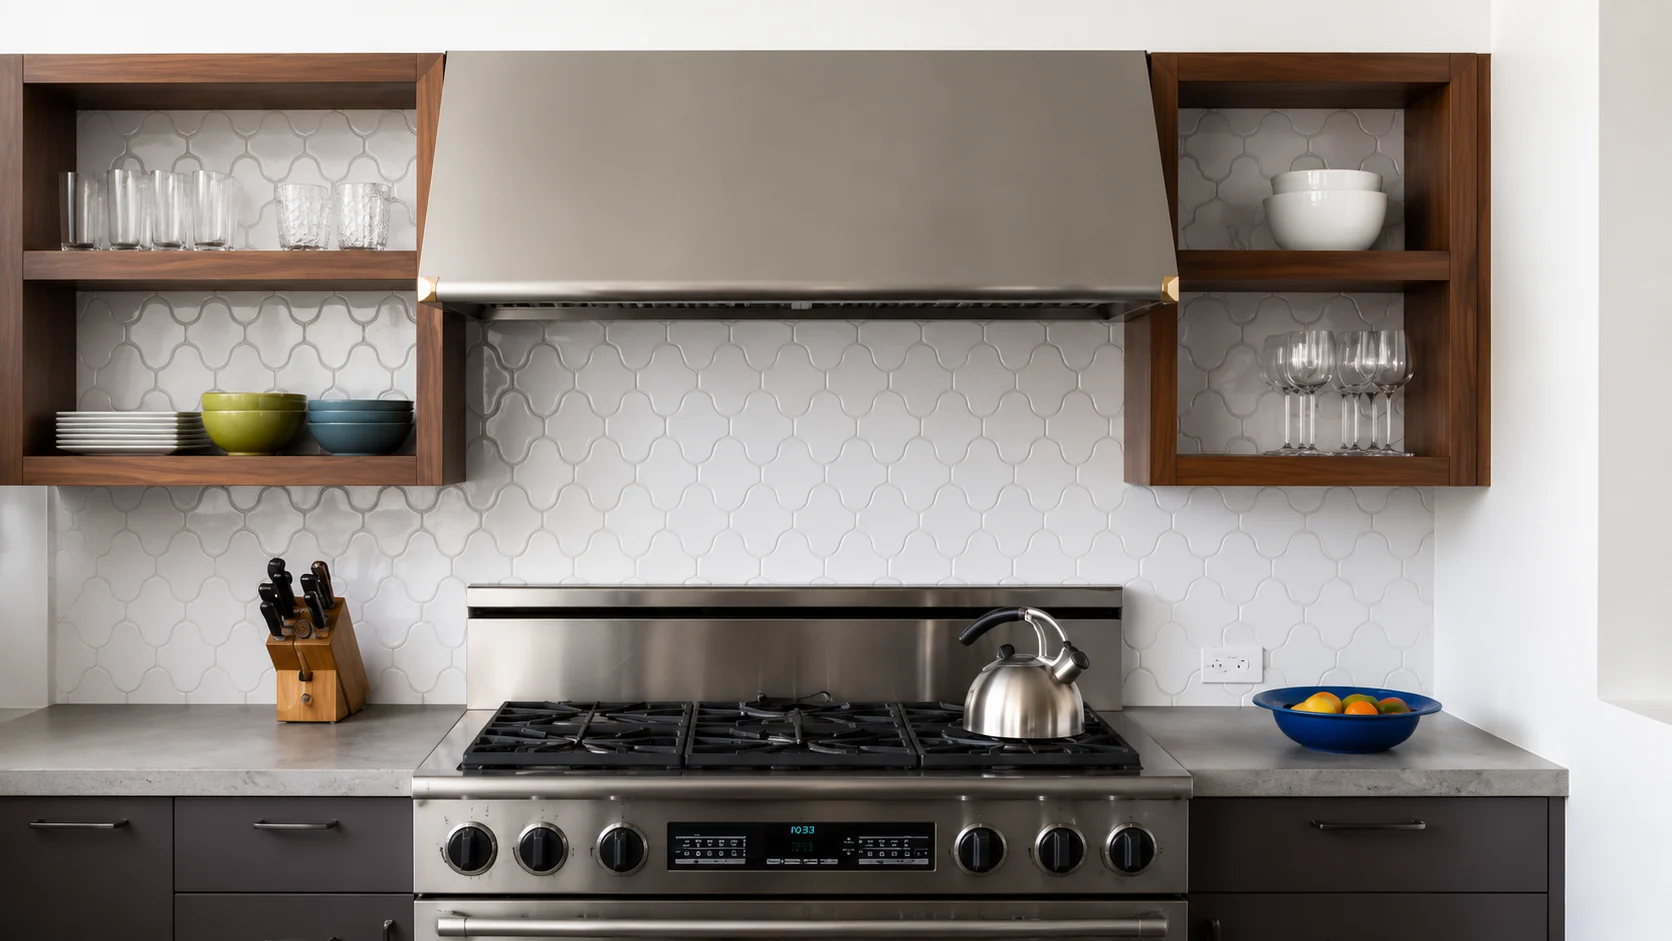
Tile-backed shelves use a tiled wall surface behind the shelf to create a framed display area. The tile adds color and texture, making it easier to clean around stored kitchen items.
Choose durable backsplash tiles that can handle heat and moisture. This setup works well behind coffee stations, sinks, or cooking zones.
Comparing Shelf Materials for Daily Use
| Material | Pros | Cons | Best Budget Fit |
|---|---|---|---|
| Sealed hardwood | Warm look, holds weight well, easy to refinish | Needs resealing near steam and sinks | Mid-range |
| Powder-coated metal | Durable, resists grease buildup, slim profile | Colder look, dents show more than wood | Mid-range to premium |
| Tempered glass | Keeps small kitchens feeling open, easy to wipe down | Weight limits, shows fingerprints and dust quickly | Premium |
| Laminate or MDF | Lowest cost, wide color range | Warps with moisture, shorter lifespan | Budget |
Whatever material you land on, the way you style and clean it week to week matters more than the shelf itself.
Keeping Open Shelves From Looking Cluttered
- Store what you actually use: Keep the plates, mugs, and glasses in weekly rotation on the shelves. Regular handling prevents dust buildup, unlike decor pieces that sit untouched.
- Dust weekly, top down: A microfiber cloth once a week keeps grease film from settling in. Start with the top shelf so debris falls onto surfaces you’re about to clean anyway.
- Handle grease near the range immediately: Shelves within 3 feet of the stovetop need a wipe with warm water and dish soap after cooking, before residue has time to set.
- Standardize your containers: Matching jars for pasta, coffee, and staples read as intentional instead of cluttered, and they’re easier to keep visually organized.
Even with a good routine, a few installation and styling mistakes show up more than any other on open shelving projects.
Common Open Shelving Mistakes
| Mistake | Why It Causes Problems | Better Approach |
|---|---|---|
| Skipping wall studs | Standard drywall anchors can’t hold a loaded shelf long-term | Mount into studs or use anchors rated for the full loaded weight |
| Going deeper than 12 inches | Eats into workspace and makes the shelf feel bulky | Match depth to what you’re actually storing |
| Filling every inch | Creates visual clutter and makes cleaning harder | Leave visible empty space between groupings |
| Displaying rarely used dishes | Unused items collect dust and grease without ever being touched | Reserve shelves for weekly rotation, store the rest in a cabinet |
| Using unsealed wood near the sink or range | Moisture causes staining and warping within months | Apply a food-safe, washable sealant before installing |
| Blocking appliance clearance | Shelves can interfere with a mixer, coffee maker, or faucet swing | Measure countertop appliances before finalizing shelf placement |
Getting the installation and material right solves most of the practical concerns. The remaining question is usually whether it’s the right move for your kitchen at all.
Conclusion
Open shelving works best when it feels natural to use, not when it simply copies a styled photo. I would focus on strong installation, practical spacing, easy-to-clean materials, and items you reach for often.
An open shelving kitchen can add storage, make the room feel lighter, and bring personality into routines. The key is knowing where shelves belong, how much they should hold, and which areas need cleaning.
You don’t need to replace every cabinet or fill every wall. Start with one useful section, keep the arrangement simple, and adjust it as your needs change. Try the ideas that fit your space, then share your favorite result or check out more kitchen design tips.
Frequently Asked Questions
Why do open shelving kitchens get messy so quickly?
Open shelving looks messy quickly because everything is exposed to grease, dust, and visual clutter. Unlike with closed cabinets, there is no barrier, so even small inconsistencies in stacking or cleaning become immediately visible.
Are open-shelving kitchens harder to maintain than cabinet kitchens?
Yes, they usually require more frequent cleaning and organization. Cabinets hide everyday mess, while open shelves make every dish, mug, and spill part of the visible kitchen environment.
Where should open shelves not be placed in a kitchen?
Open shelves should not be placed directly beside or above high-heat cooking zones without strong ventilation. These areas collect grease faster, making cleaning difficult and reducing long-term usability.
Does open shelving still work in modern homes?
Yes, they work well when used selectively. Many modern kitchens combine open shelves for daily items with closed Storage for bulk or less attractive items, balancing aesthetics and practicality.