
When I built my first deck, I thought the hard part was over, until I realized I needed stairs.
That’s when I learned about box steps. They’re simple, sturdy, and don’t need tricky stringer cuts, which makes them perfect for DIYers like you and me.
If you’re adding stairs to a low- or mid-height deck, box steps are one of the easiest ways to create safe, visually appealing access.
In this guide, I’ll walk you through everything: what box steps are, how to plan and measure them, the tools and materials you’ll need, and a full step-by-step tutorial.
If you need just one step or a small staircase, I’ll help you build box steps that are strong, weather-resistant, and easy on the eyes.
What Are Box Steps?
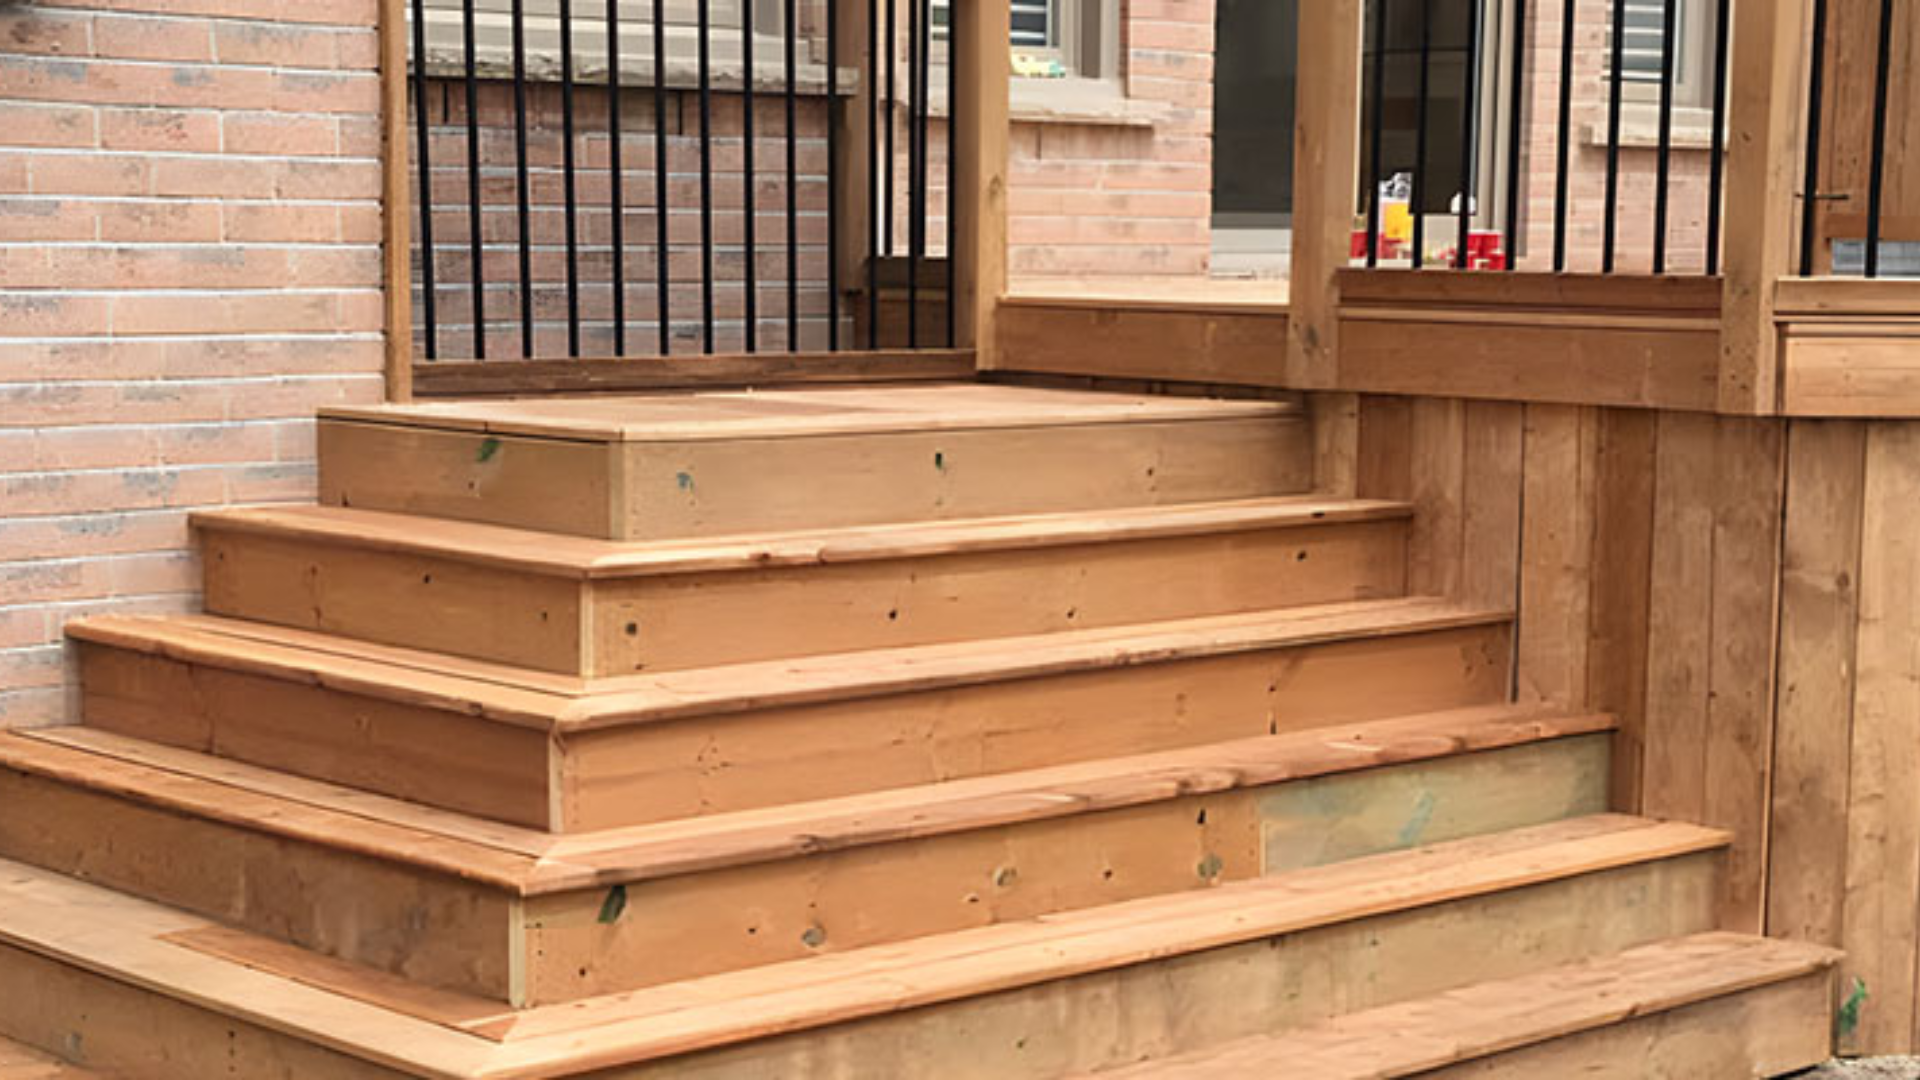
Box steps are square or rectangular platforms built like open-top boxes using framed 2x lumber.
Unlike angled stair stringers, they’re stacked step-by-step, with each box adding one riser height.
They’re perfect for low decks (up to 24 inches) but can be stacked to reach taller heights.
Since each box is its own structure, they’re strong, stable, and easy to level—even on sloped ground.
You can customize the width and depth to fit your space, making them great for wide entryways or wraparound stairs.
With simple construction and a solid feel, box steps are a favorite for DIYers and pros alike.
Why Choose Box Steps?
Box steps are a great option for many homeowners because of their simple and flexible design.
You don’t need to be a skilled carpenter to build them; if you can measure, cut wood, and use a drill, you can complete this project with confidence.
One of the biggest advantages of box steps is their stability. Since they sit flat on the ground or a solid base, they’re incredibly sturdy and especially safe on uneven terrain.
Their design is also highly customizable. Whether you want extra-wide steps, narrow ones, or even want to add built-in lighting, box steps offer a lot of creative freedom.
They’re an ideal solution for decks that are low to the ground and don’t require a full staircase.
You can build one step or multiple, depending on your needs, making them both practical and visually appealing for nearly any outdoor setup.
How to Build Box Steps?
This method works especially well in cold climates where freeze and thaw cycles can shift structures.
Materials and Tools Needed
- Shovel: For digging and leveling the base area
- Tamp tool: To compact the gravel or limestone screening
- Circular saw or miter saw: For cutting boards and trim pieces accurately
- Drill/driver: For driving screws into the frame and deck boards
- Measuring tape: To confirm accurate dimensions and layout
- Carpenter’s square: To maintain perfect 90-degree corners on boxes
- Level: To ensure flat and even box alignment during assembly
- Clamps: Useful for holding boards in place while building the frame
- Safety gear: Gloves, safety glasses, and work boots for protection
- Concrete blocks or pavers: To create a solid base under the steps
- Limestone screening or gravel: Used for base compaction and drainage
- Pressure-treated lumber (2×6, 2×8, or 2×10): For the structural frame of the box
- Deck boards or cedar planks: For the surface treads and the top of the steps
- 1×8 cedar boards: To finish the face of the steps for a clean look
- Exterior wood screws: 2-inch for deck boards, 3-inch for framing connections
- Landscape fabric (optional): To prevent weed growth under and around the base
- Decorative stone or mulch (optional): For visual appeal and maintenance around the step area
Step 1: Prepare the Ground and Dig the Base
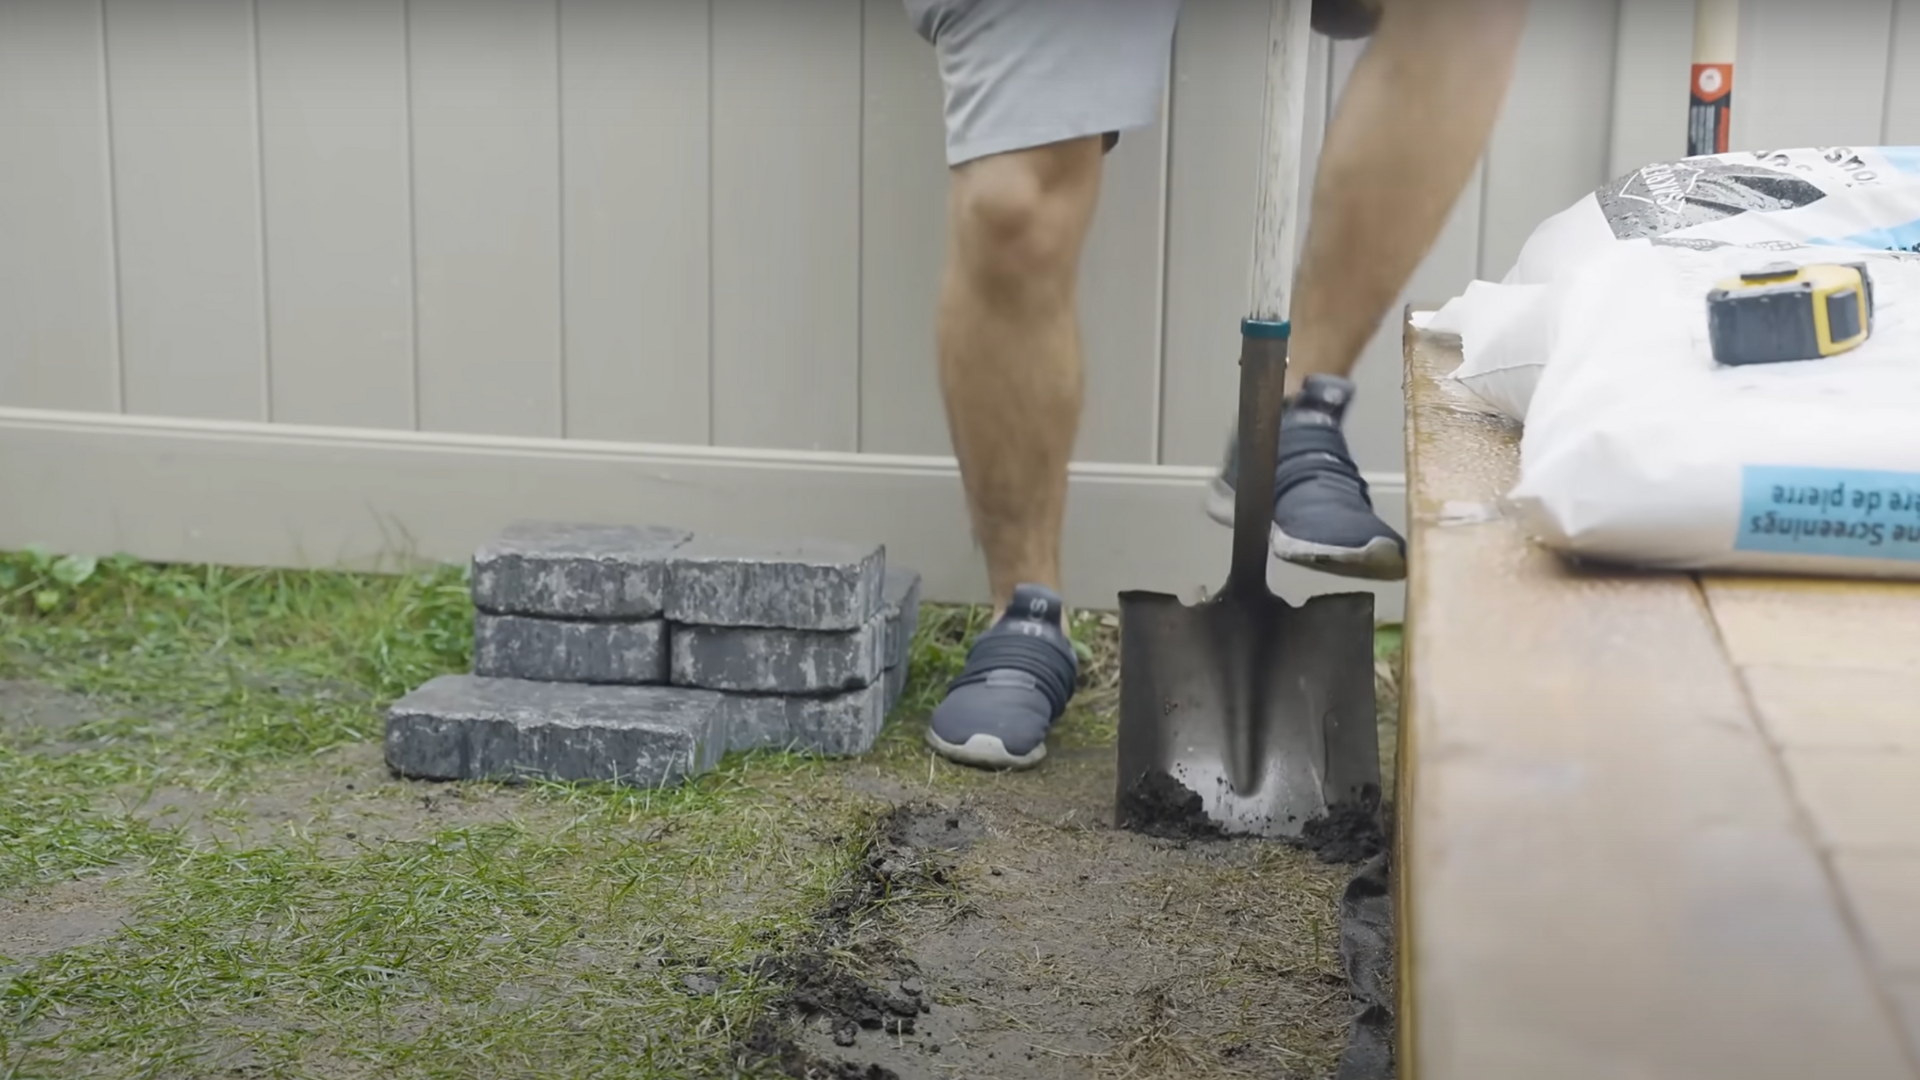
Start by digging a shallow rectangular area where the box step will sit. The base should be wider and deeper than the step itself to allow for stability and trimming space.
You don’t have to dig very deep, just enough to level the area and hold a compacted stone base. Be sure to wear proper footwear and use a shovel safely.
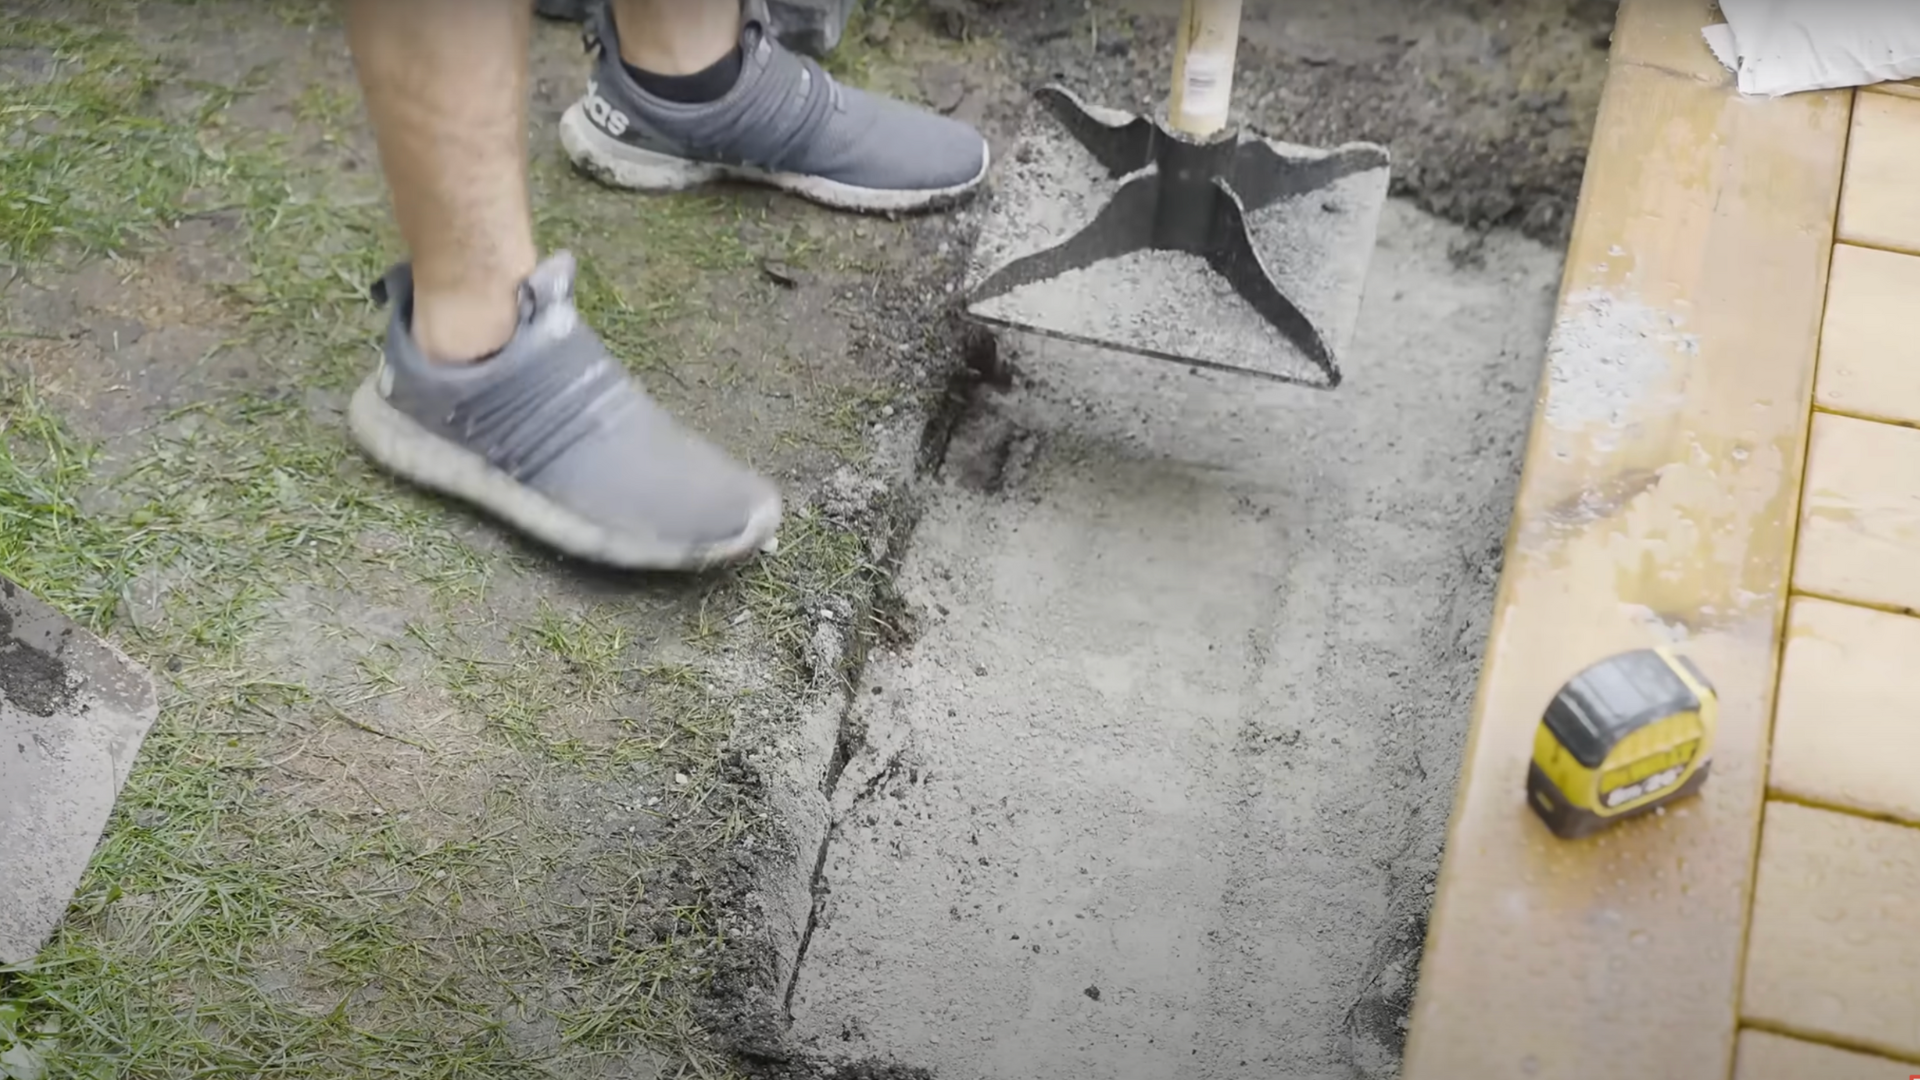
Step 2: Add Stone Dust
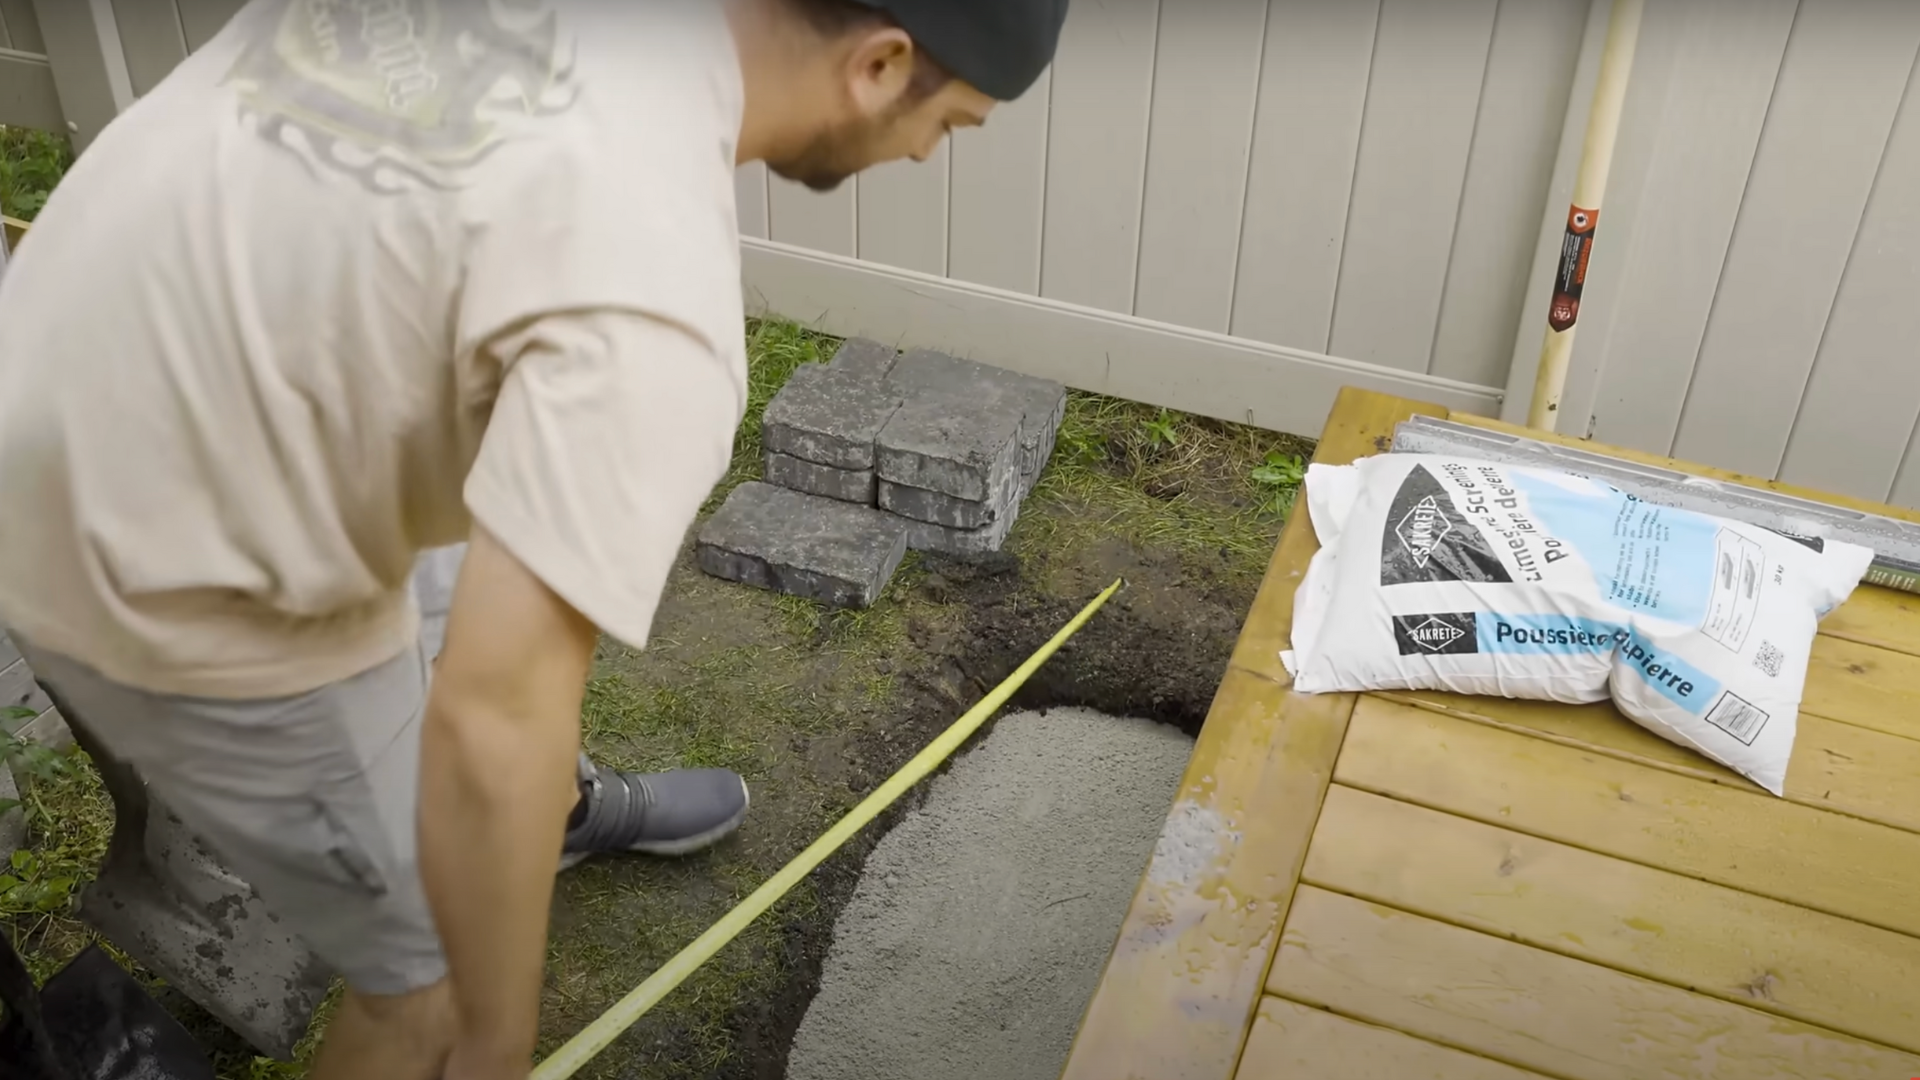
Fill the base with stone dust or limestone screenings. These materials are easy to level and have a light “concrete effect” when wet, helping the base stay firm.
Spread the material evenly, tamp it down well, and level it out. The goal is a flat surface that’s just below the final height you want your box step to be.
Step 3: Level and Set the Concrete Blocks
Set concrete blocks or pavers on the prepared surface. Use a level to make sure they’re even and stable.
You can adjust each block by adding or removing some stone dust underneath until the surface is flush.
Alternate block sizes if needed, and don’t worry about perfection; deck steps rarely sit on perfectly level ground. The key is functional and flush.
Step 4: Build the Box Step Frame
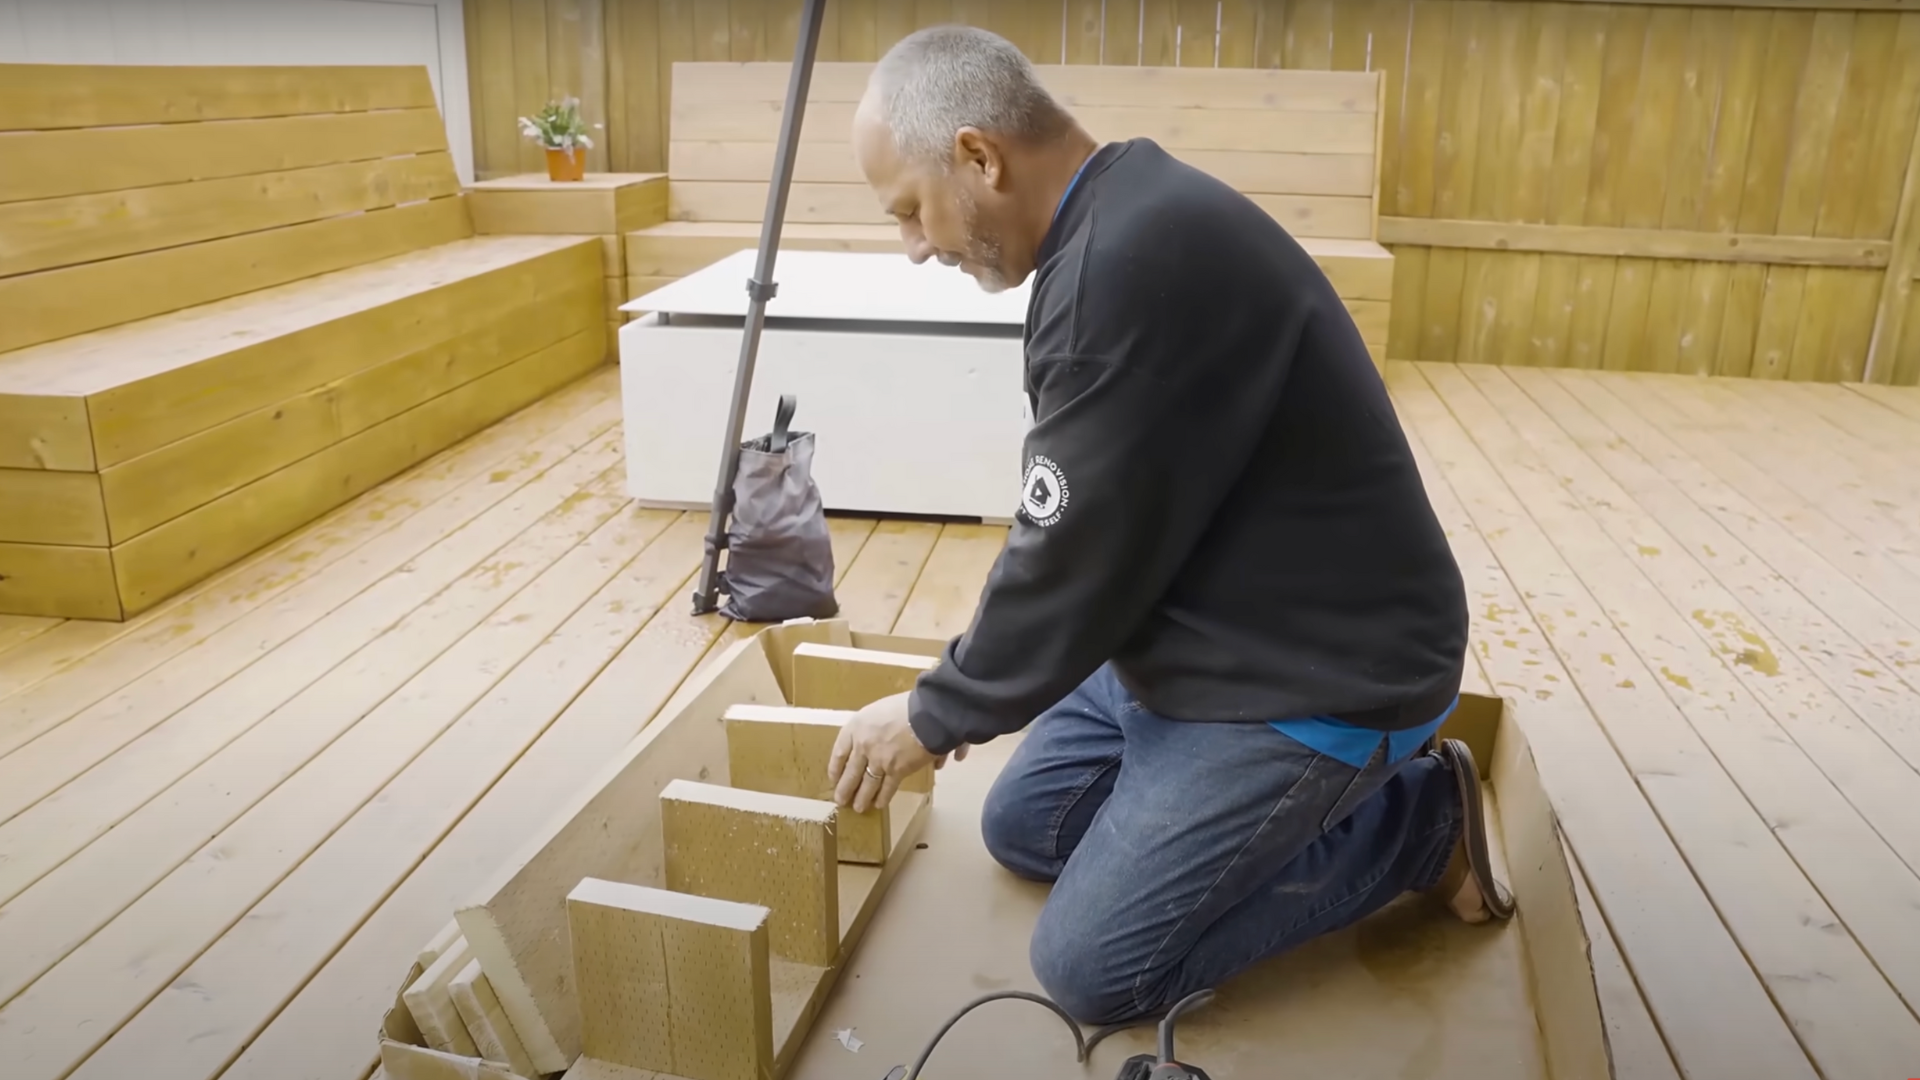
Build a simple wooden box using pressure-treated 2x lumber. A 2×8 frame with a 1-inch-thick cap board will give you a total rise of around 8.5 inches.
Assemble the frame using screws to form a rectangle that fits on top of your stone base. If your step is wide, consider adding a center support to prevent sagging.
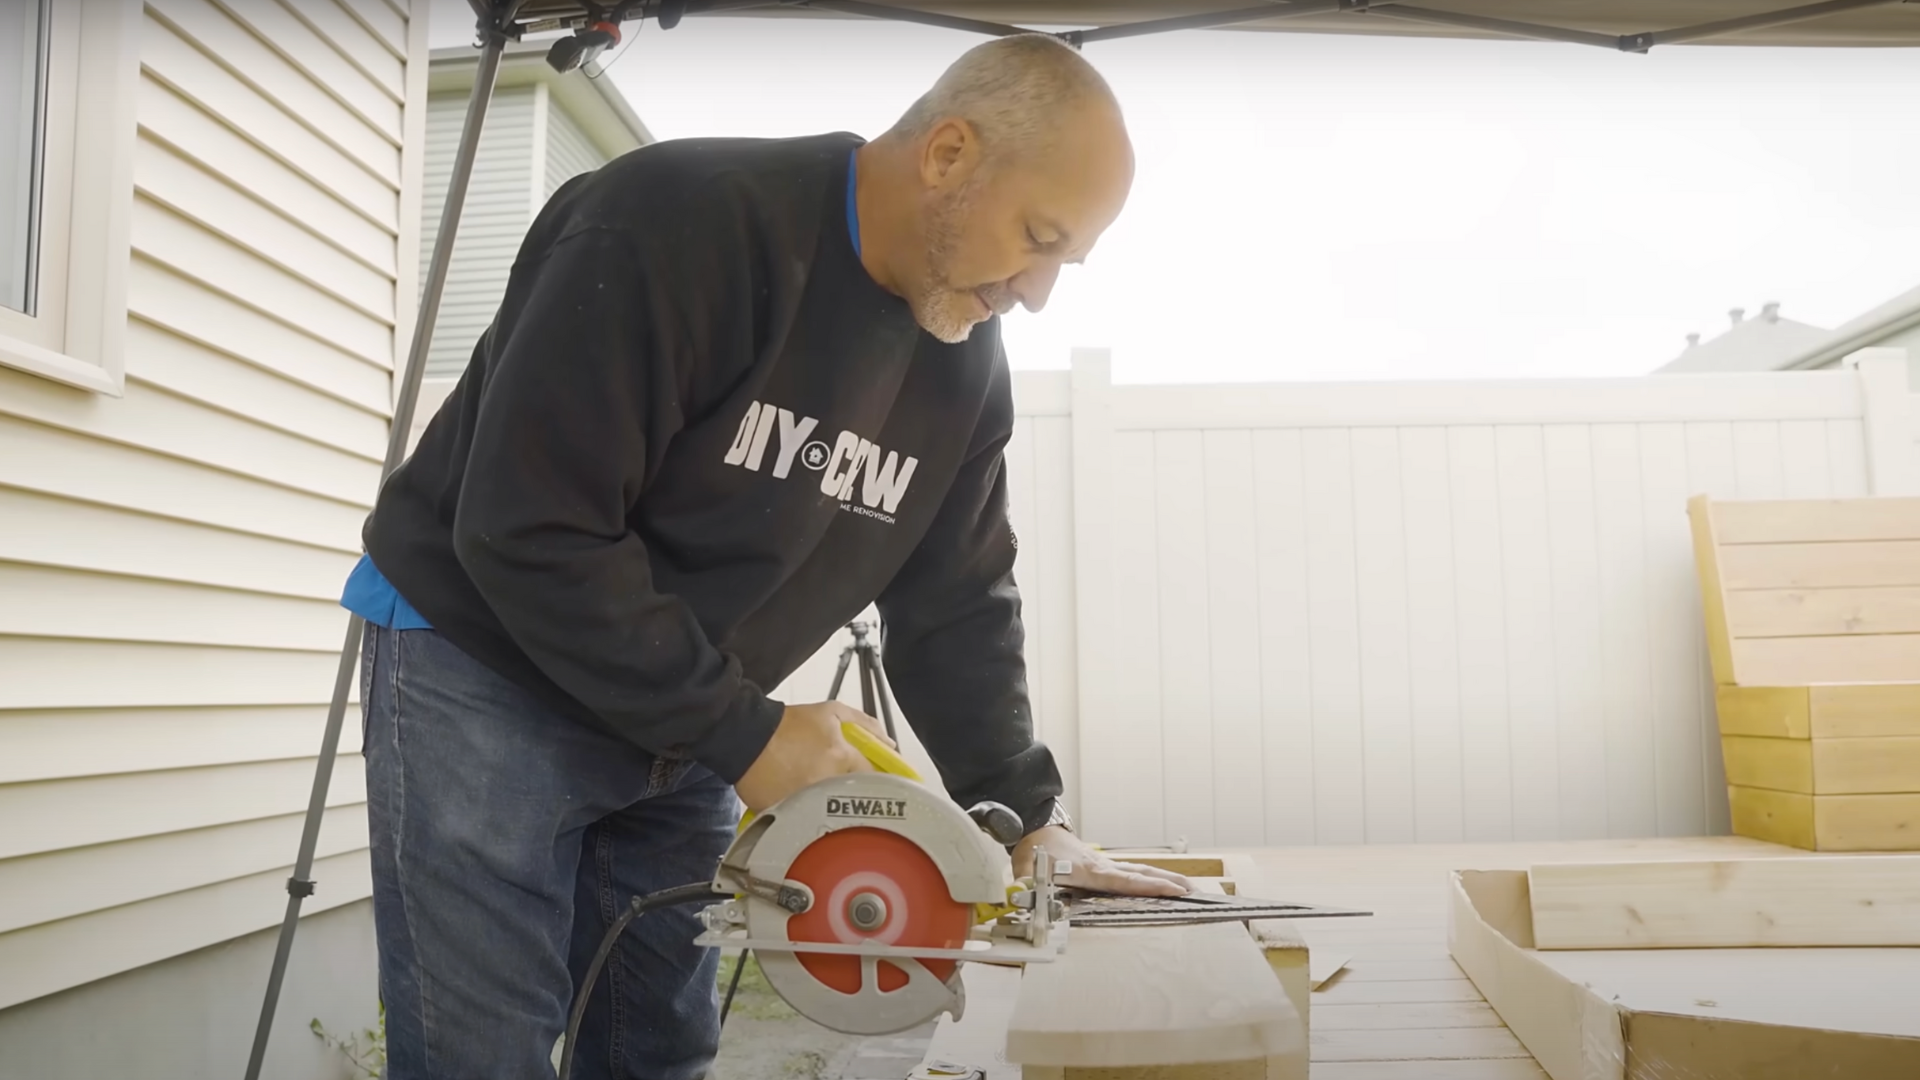
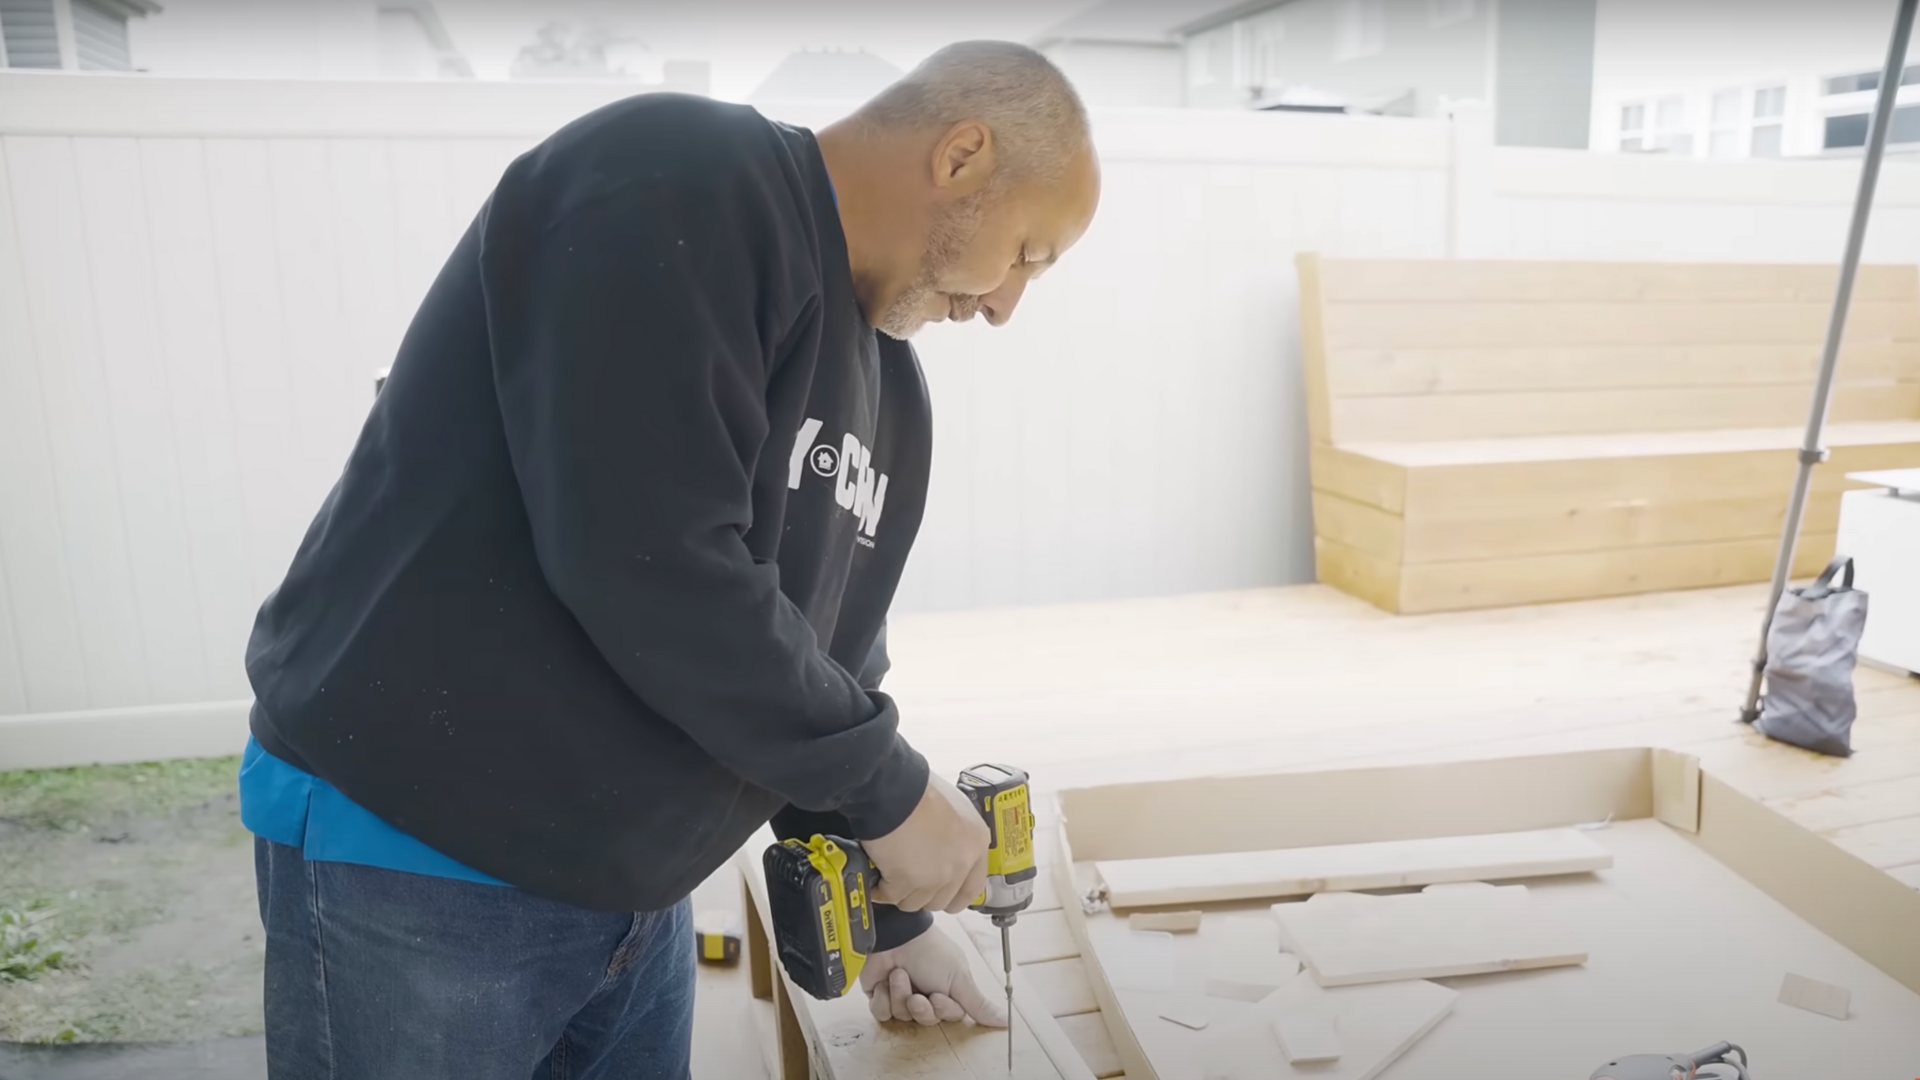
Step 5: Add Top Boards and Skirt the Front
Sand and attach deck boards to the top of the frame to form the step surface.
Allow for a 2-inch overhang for comfort and appearance. Secure the boards with deck screws, keeping the surface flush and smooth.
Then, cut 1×8 cedar or similar trim boards to skirt the face of the step. Use a miter saw to cut 45° corners for a neat, professional look.
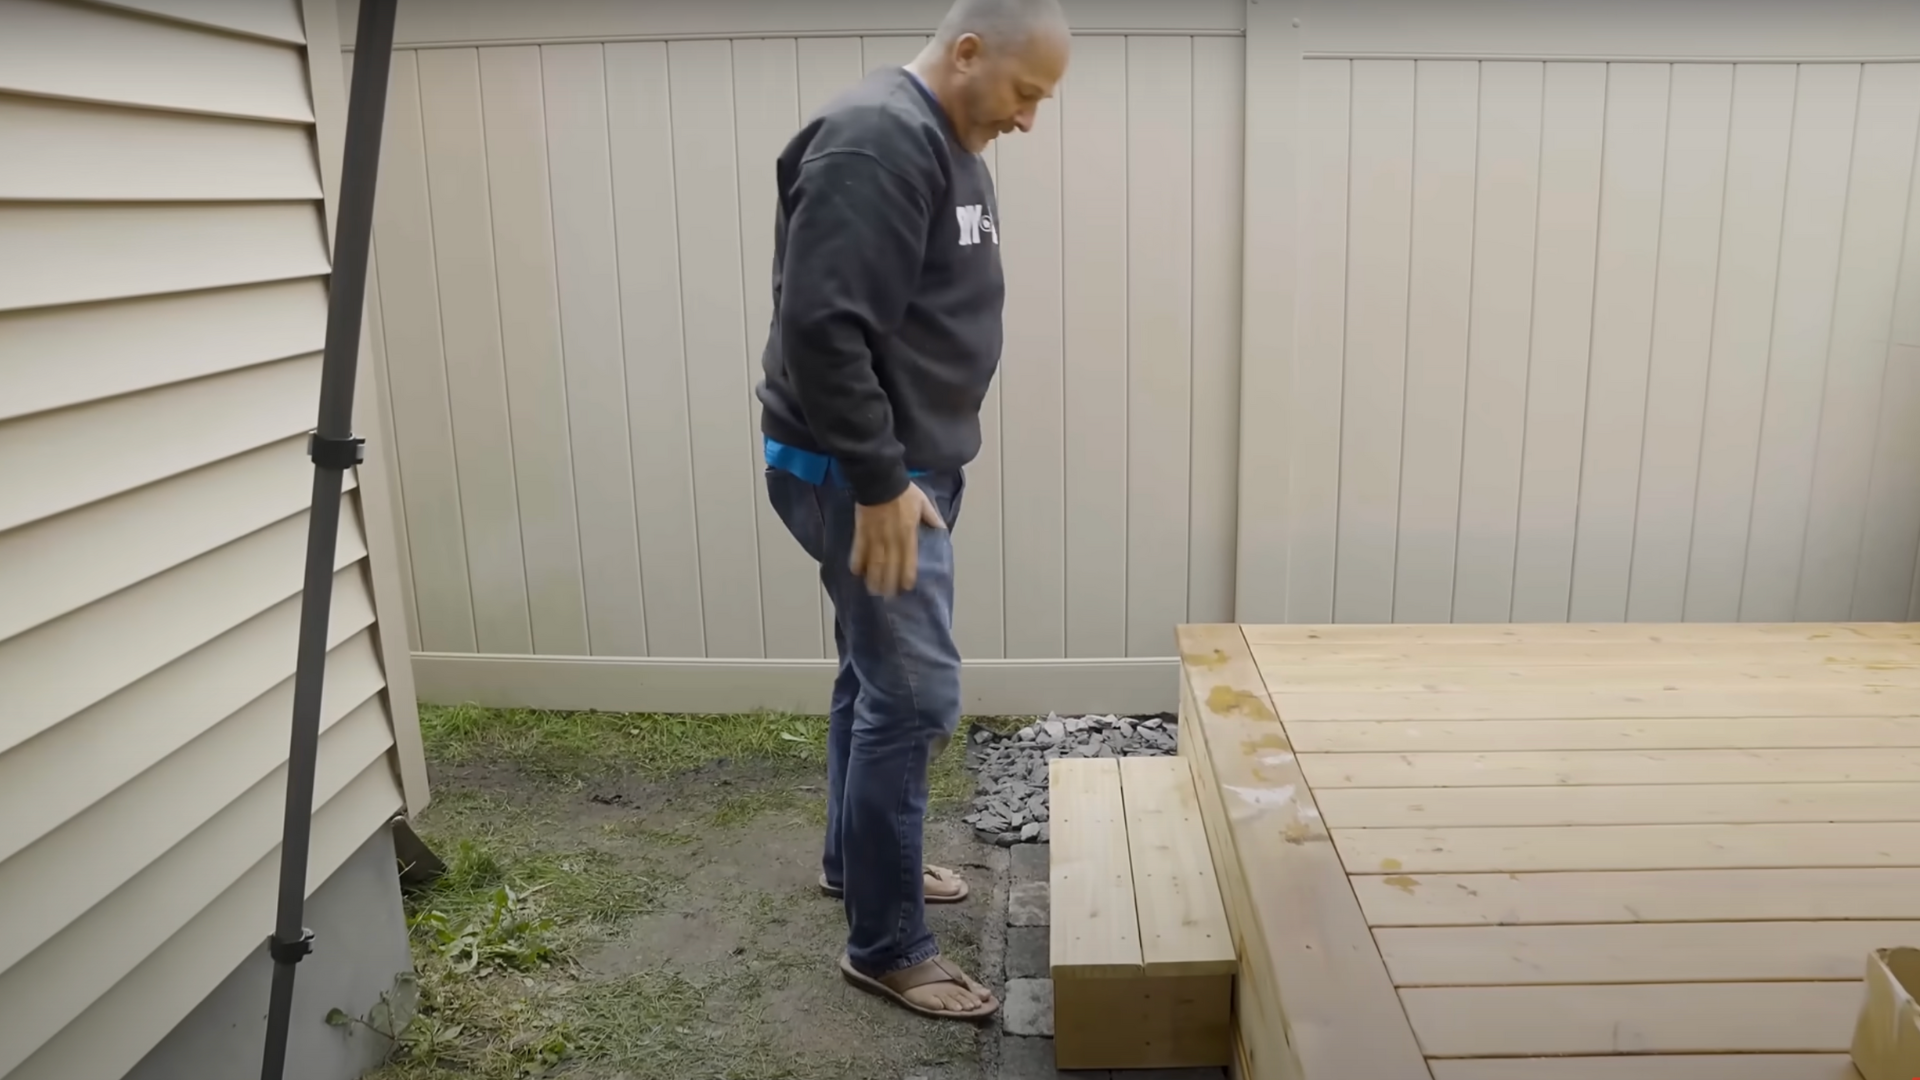
Step 6: Secure the Step in Place
Set the completed box step onto the block base.
It should sit squarely with a couple of inches of clearance on all sides to make room for trimming grass (if applicable) and to reduce moisture contact.
Gravity and weight will hold the box in place, but you can add fasteners or pins for extra stability if needed.
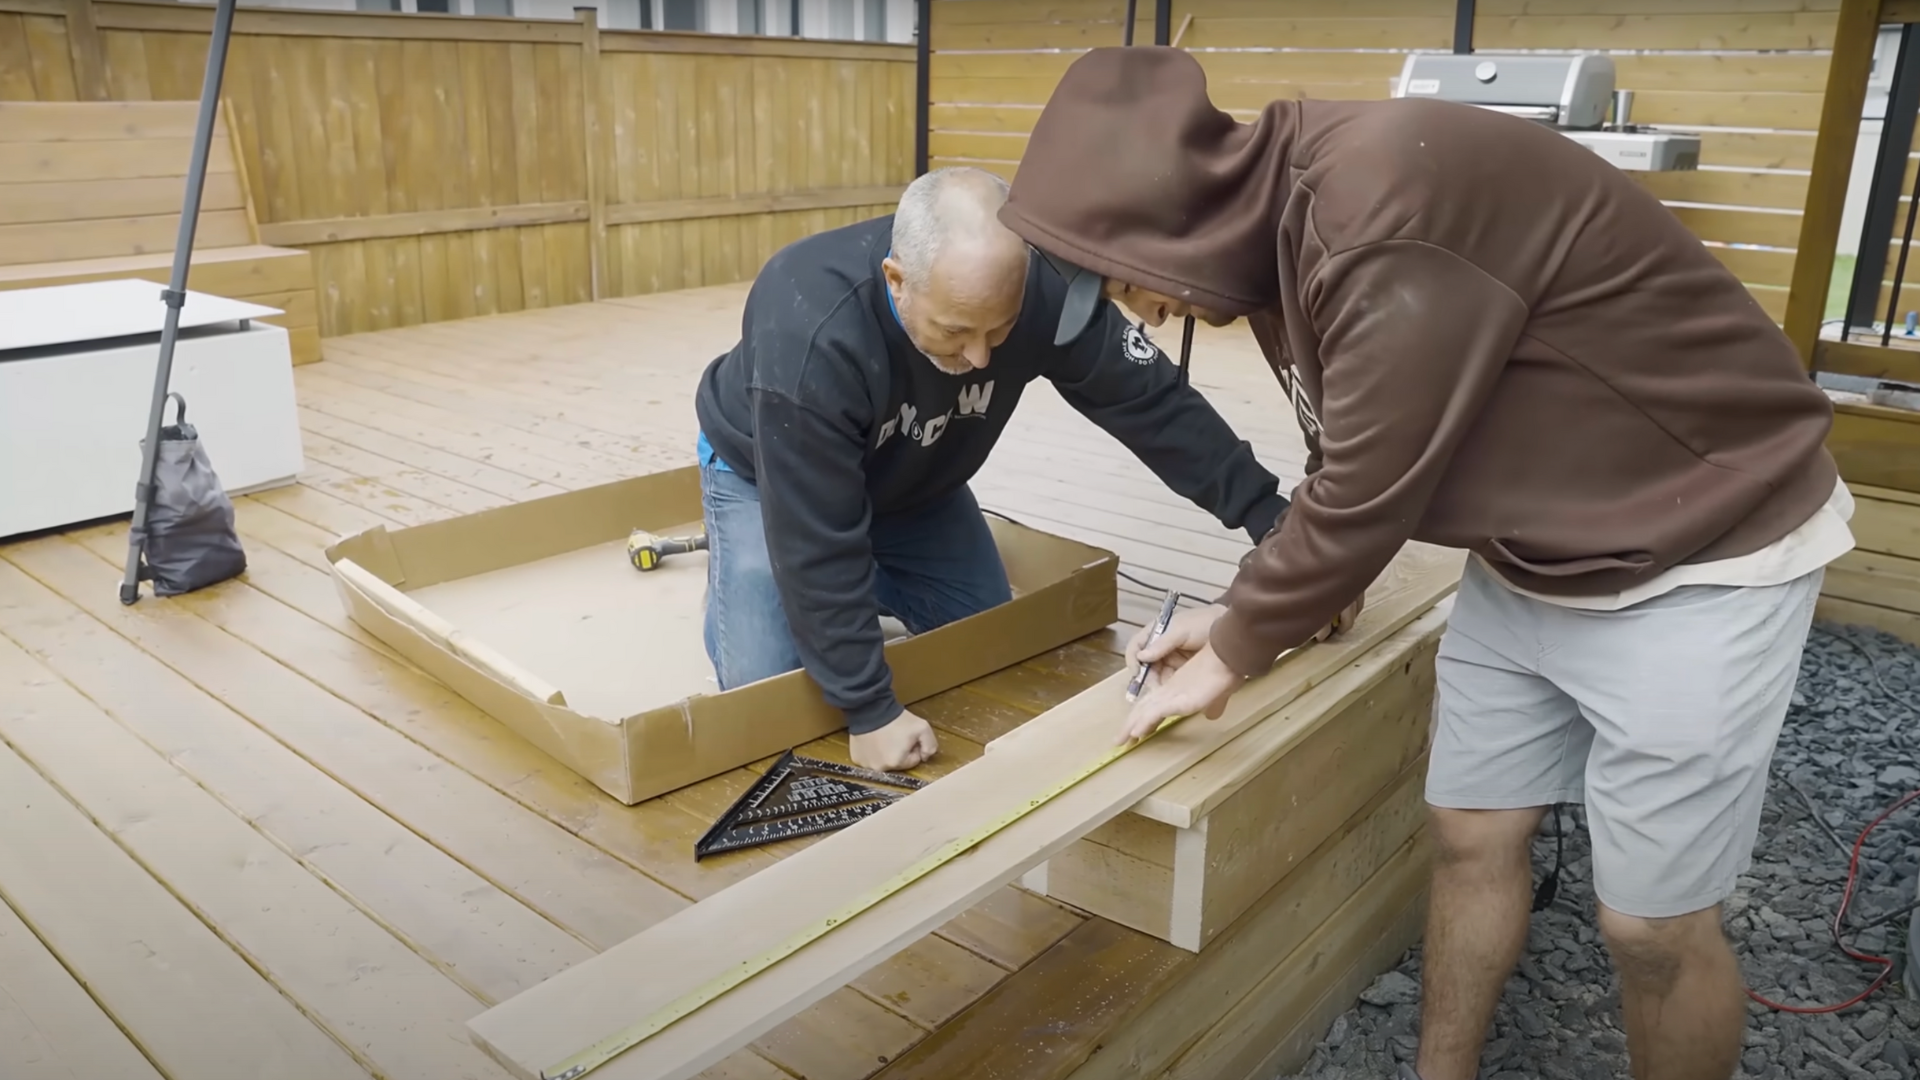
Step 7: Measure and Maintain the Right Rise and Run
Make sure your box step meets the code. Ideally, steps should have a rise between 7 and 8.25 inches and a run (depth) around 11 to 12 inches.
Use the rule of 27: twice the rise plus the run should equal approximately 27 inches.
This ratio makes stairs comfortable and safe to use. Always keep the rise and run consistent between all steps, within 1/4 inch, to avoid tripping hazards.
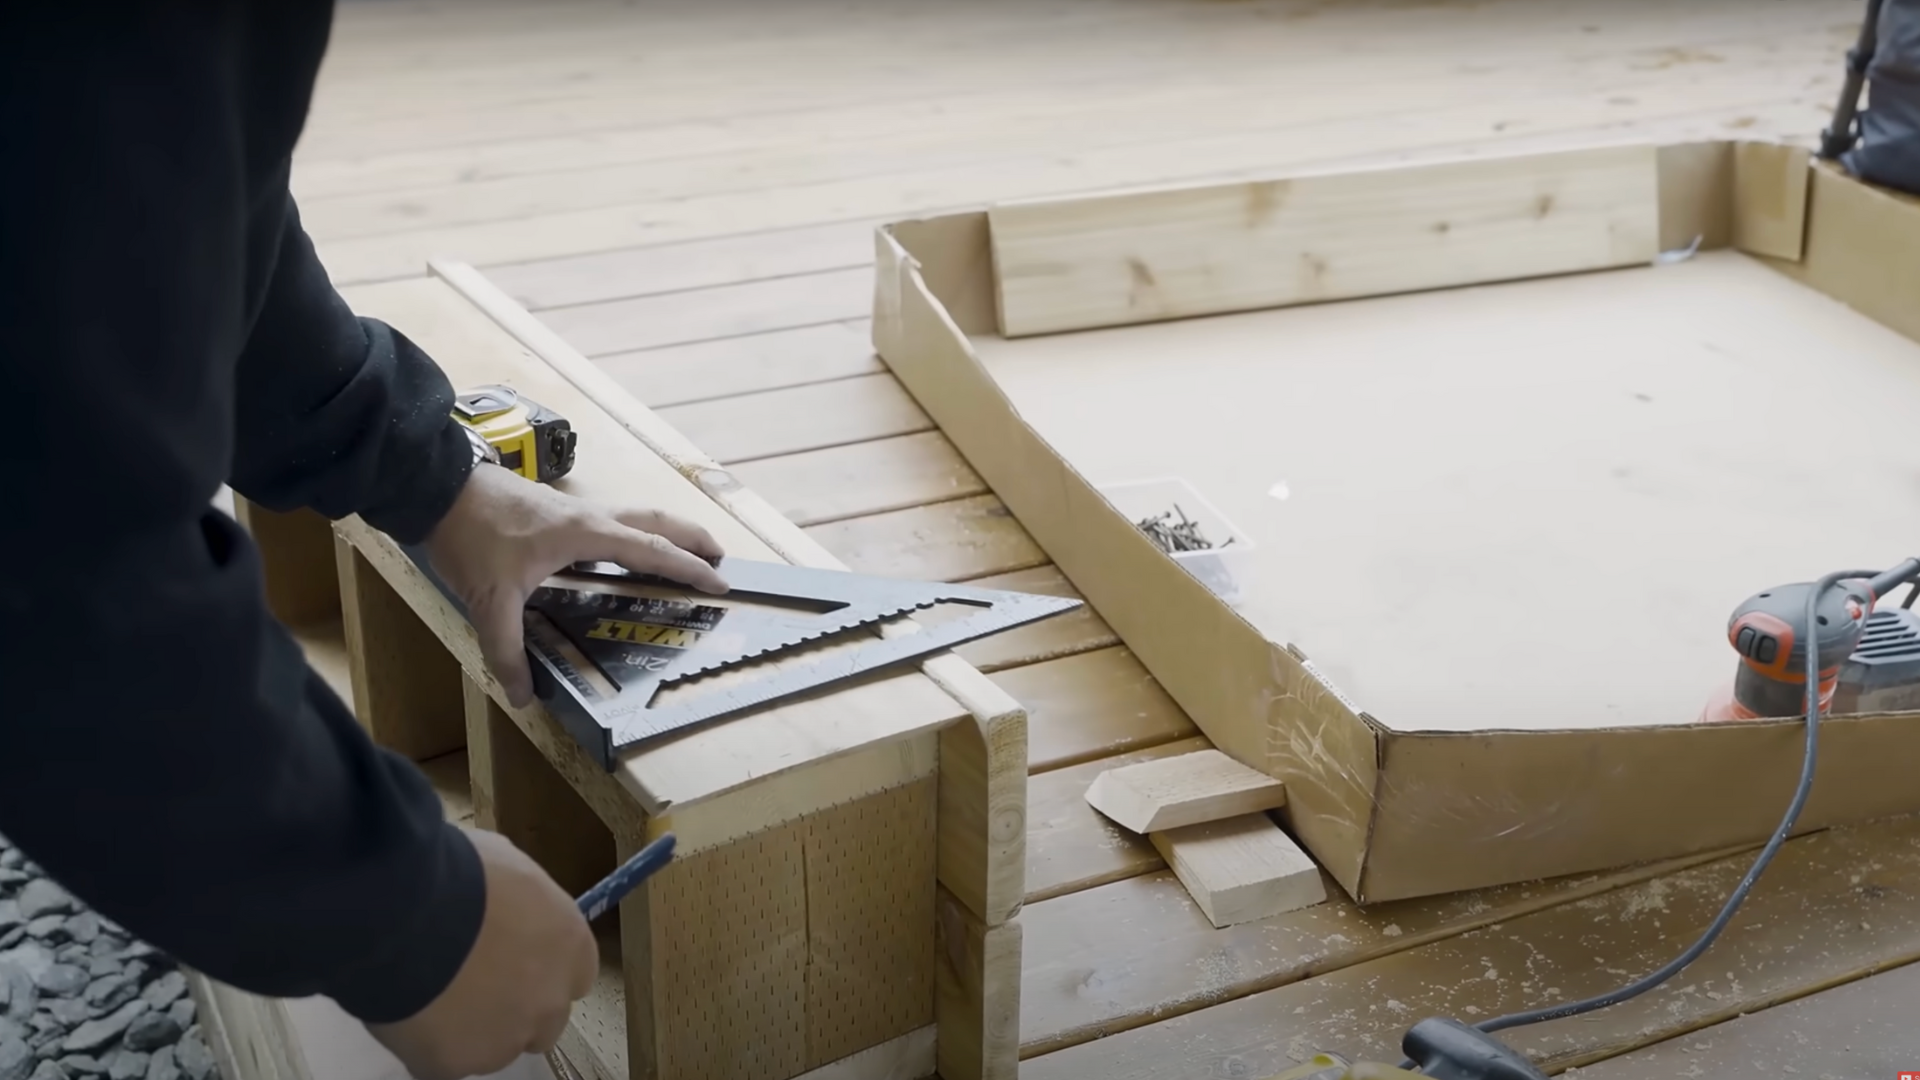
Step 8: Finish with Trim and Face Screws
Measure and cut the front face trim to size, then secure it with face screws. Space your screws inward to avoid edge cracks, especially in cedar or dry wood.
Use a 45° mitered edge for a clean finish when wrapping the sides. The final step is all about detail, cut clean, screw tight, and sand smooth.
Step 9: Test the Fit and Make Adjustments
Before calling it complete, step on the box a few times to make sure it’s stable and comfortable.
Check that it’s level, doesn’t shift, and sits firmly on the base. Make any final cuts or fill-ins to adjust tight fits, overhangs, or trim.
Once installed, the box step should sit securely, offer a comfortable rise and run, and blend nicely with your deck or porch.
For a visual guide, refer to this tutorial on how to build box steps by @HomeRenoVisionDIY on YouTube. Watch the full video- Here.
Pro Tips for Building Box Steps
Below is a table of helpful tips and best practices to follow, especially if you’re new to DIY carpentry or working outdoors. Use these to avoid common mistakes and ensure a quality finish.
| Tip | Why It Matters |
|---|---|
| Use clamps when assembling boxes | Keeps corners square and tight while screwing boards together |
| Pre-drill screw holes | Prevents wood from splitting, especially near the edges |
| Use galvanized or stainless steel screws | Resists rust and corrosion, increasing outdoor longevity |
| Double-check all measurements | Ensures balanced steps and avoids uneven risers or treads |
| Wear gloves, safety glasses, and boots | Protects against splinters, debris, and accidental injuries |
| Allow overhang for stair treads | Creates a finished look and improves safety and comfort |
| Build steps smaller than the base pad | Makes trimming grass around steps easier and prevents moisture damage |
| Follow the “27 Rule” for rise and run | Ensures steps feel natural to walk on: 2x rise + run ≈ 27 inches |
| Check local building codes | Some steps may require railings or permits, depending on height |
Maintenance Tips
Keeping your box steps in good shape doesn’t take much effort, but regular maintenance goes a long way.
- Sweep debris off the steps regularly to prevent moisture buildup.
- Reseal wood steps every 1–2 years to protect against weather damage.
- Tighten screws and inspect for rot at least once a year.
- Keep vegetation trimmed away from the base of the steps.
- Clean between tread gaps to allow proper drainage.
Conclusion
When I finished my first set of box steps, I was amazed by how professional they looked, especially since I built them myself.
Even if you’re building one step or five, the box step method is a solid, beginner-friendly approach that delivers both safety and style.
You don’t need fancy tools or years of experience, just a solid plan, the right materials, and the willingness to do the job right.
These steps will not only enhance your deck but also make your entire outdoor space more welcoming and functional.
Ready to build your own? If you have questions, need help adjusting your box step plans, or want layout tips, I’m here to help.