
Have you ever looked up at a bare ceiling line and thought, “This space needs something extra”?
That’s where crown molding comes in; it can completely change the feel of a room. I know how overwhelming it can seem at first.
When I decided to install crown molding in my own home, I had more questions than answers. But once I broke it down step by step, the process wasn’t nearly as intimidating as I expected.
In this guide, I’ll share everything I learned, from tools and measurements to the actual installation, so you can feel confident tackling it yourself.
By the end, you’ll see that adding crown molding is not only possible, but something you can do with your own two hands.
What Is Crown Molding?
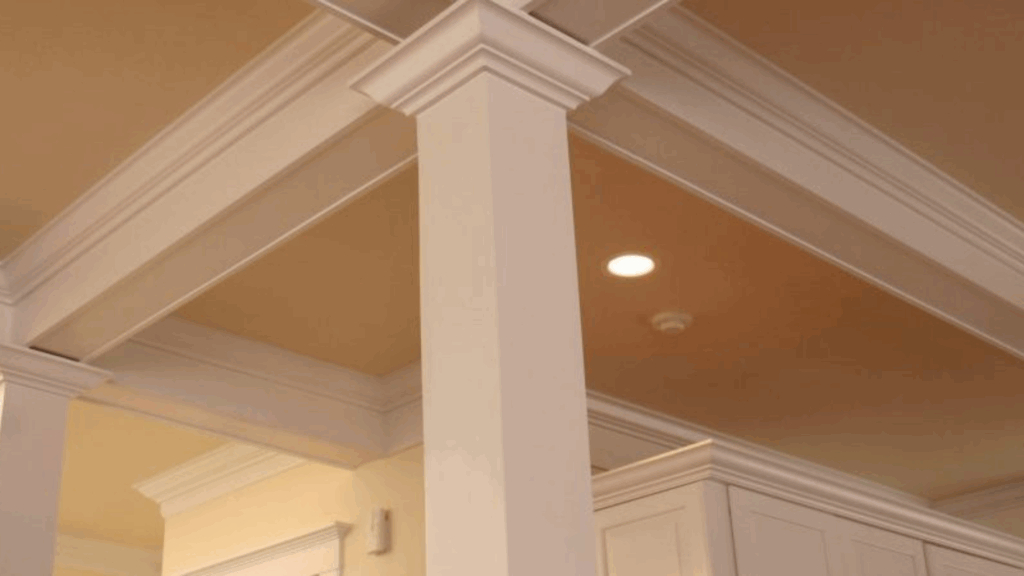
Crown molding is a type of trim placed where the wall meets the ceiling. It’s often added to give a room a more finished, polished look.
Made from wood, plaster, or newer lightweight materials like polyurethane, crown molding comes in many styles, from simple, clean lines to more detailed designs with curves and patterns.
Homeowners use it to add character, highlight the height of a room, or bring a touch of traditional style.
Installing crown molding takes some planning, since it involves angled cuts and careful measurements.
While some people choose professional installation, many opt for a DIY project with the right tools. Beyond looks, crown molding can also hide small gaps or uneven edges between the wall and ceiling.
Overall, it’s a functional and decorative upgrade, helping a plain room feel more complete without being overwhelming. It’s a detail that quietly improves your space.
Tools and Materials You’ll Need for Crown Molding Installation
Before you start, gather everything so the project goes smoothly.
- Crown molding pieces
- 18-gauge, 2½-inch nails
- Nail gun
- Paintable caulk + caulk gun
- Ladder
- Miter saw
- Tape measure
- Safety glasses
Tip: Keep your materials close by so you don’t lose momentum once you begin.
Step-by-Step Guide: How to Install Crown Molding
In this section, I’ll walk you through the cuts and installation process step by step, using clear visuals to guide you along.
Step 1: Learn the Types of Cuts
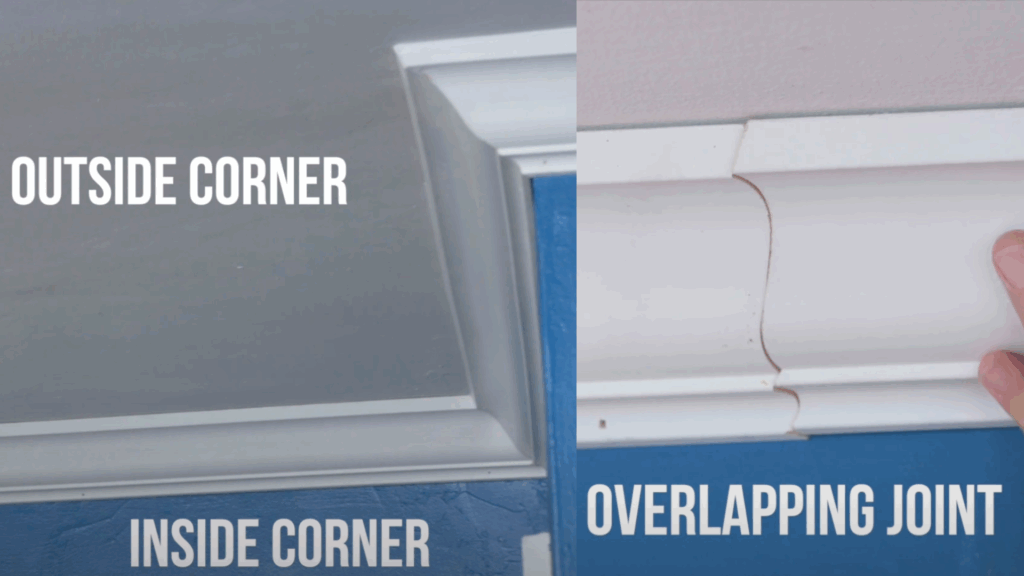
There are three main types of cuts you’ll need to understand for crown molding: the inside corner, the outside corner, and the scarf joint.
Inside corners are for where walls meet inward, outside corners are for outward wall edges, and scarf joints are used to connect long pieces along a wall.
Each type requires a different approach, but once you see them demonstrated, the process becomes much easier to follow.
Step 2: Cutting Inside Corners
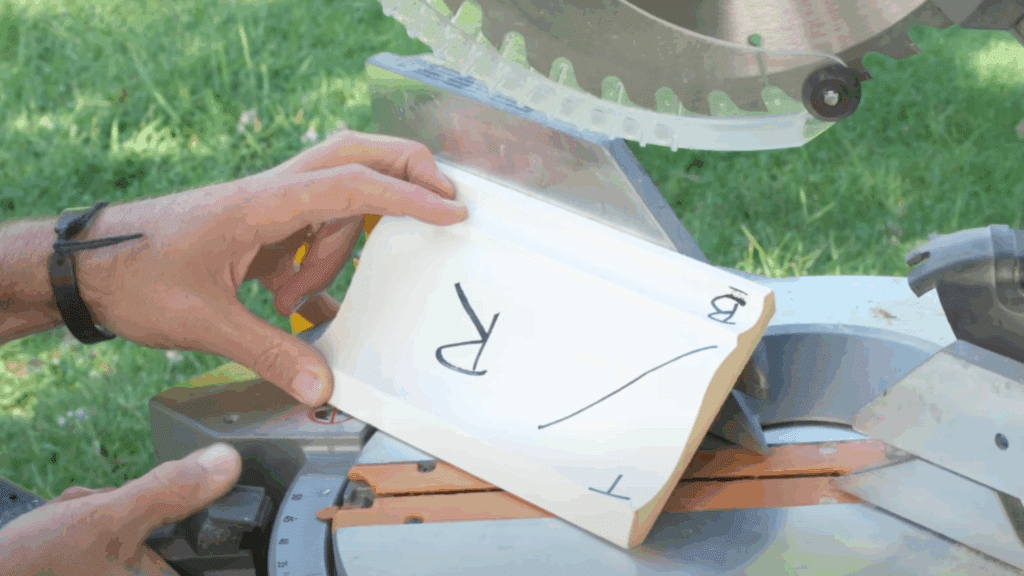
Begin by measuring the wall where the bottom edge of the crown molding will sit, and then mark this measurement on the molding itself.
Draw a small directional line to remind you which way the cut should angle. The most important trick for inside corners is to place the molding upside down on the miter saw before cutting.
On the left side of an inside corner, the cut should angle up to the left, while on the right side, it should angle up to the right. Swivel the saw to a forty-five-degree angle and follow the direction of your markings.
Step 3: Cutting Outside Corners
Outside corners are handled slightly differently. In this case, the bottom edge of the molding will be shorter, and the top edge will be longer.
When cutting for the right side of an outside corner, the angle should go up to the left, and for the left side, it should angle up to the right.
As with inside corners, you still need to flip the molding upside down before cutting and align it carefully with the saw.
Step 4: Making Scarf Joints
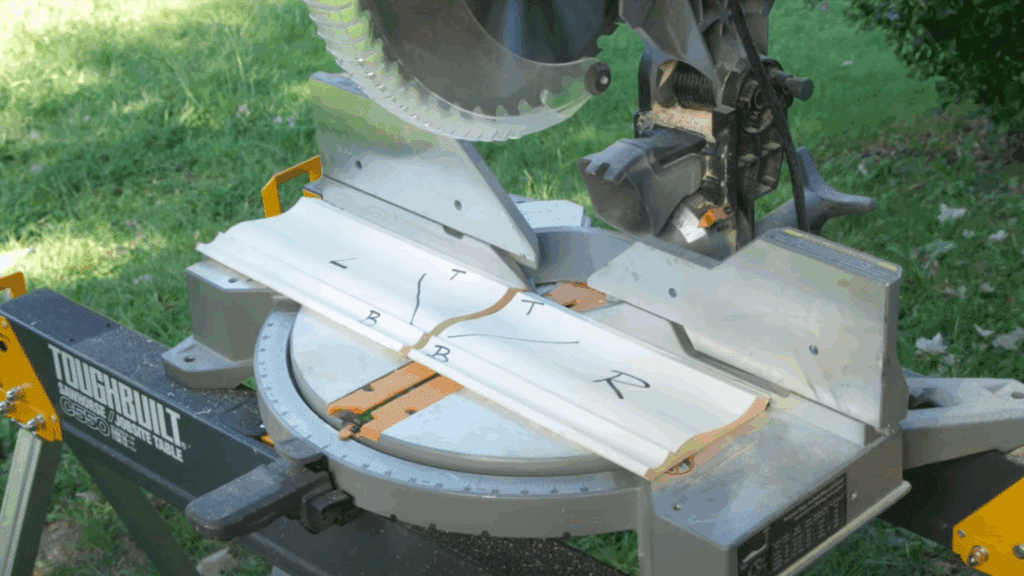
When a wall is longer than a single piece of molding, a scarf joint is used to connect two pieces seamlessly. To make this joint, measure the wall to the point where both pieces will meet.
Unlike inside and outside corners, you do not flip the molding upside down for this cut. Instead, lay the boards flat on the saw, tilt the blade to a forty-five-degree angle, and cut both pieces in the same direction.
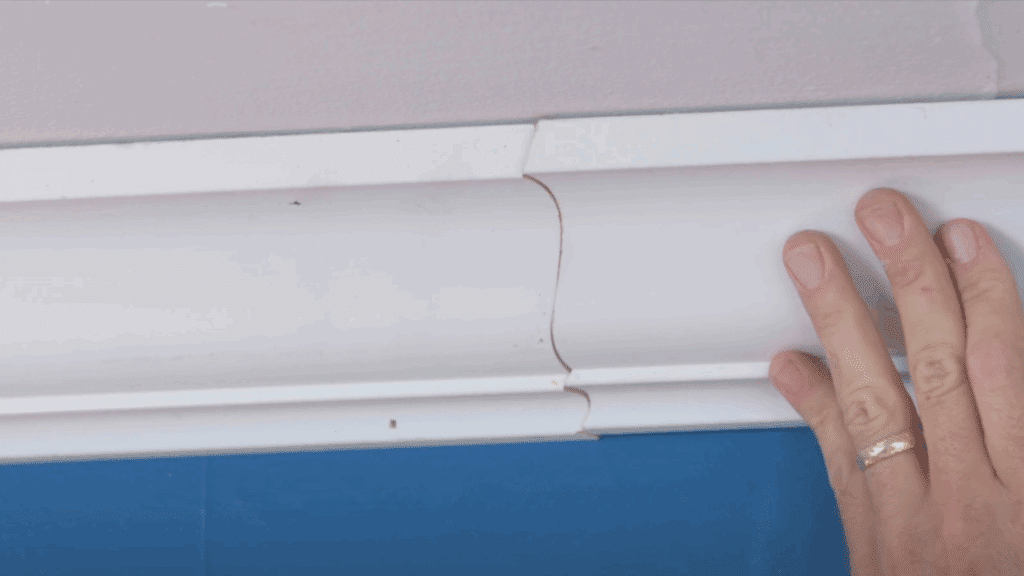
This creates an overlapping joint that blends smoothly once installed.
Step 5: Installing the Molding
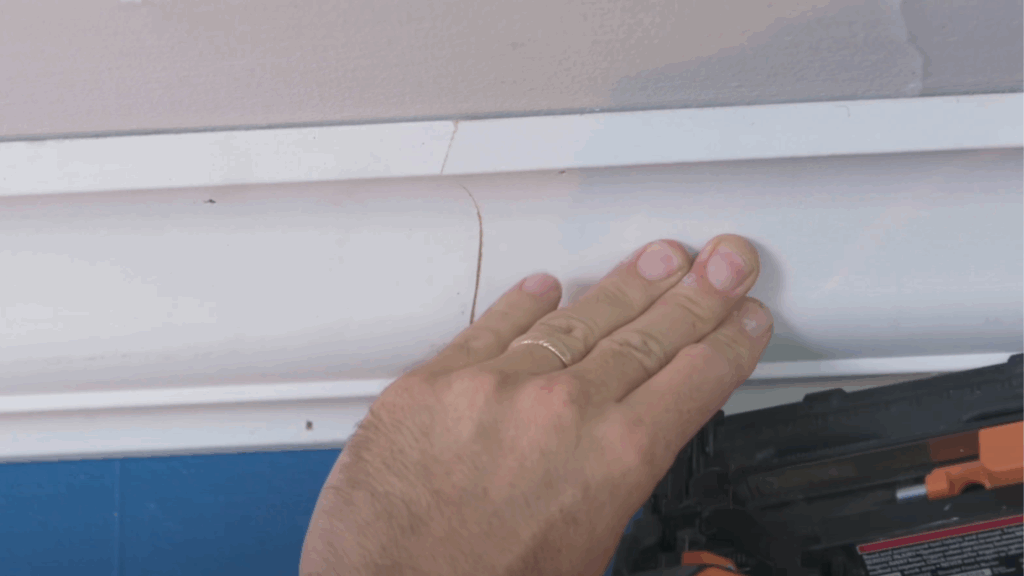
Once the cuts are ready, it’s time to install the molding. Fit each piece snugly into its place along the wall and ceiling, and secure it with the nail gun.
Don’t worry if the corners aren’t perfectly tight, especially on inside corners.
Small gaps are common and can be fixed later with caulk.
Step 6: Caulking and Finishing Touches
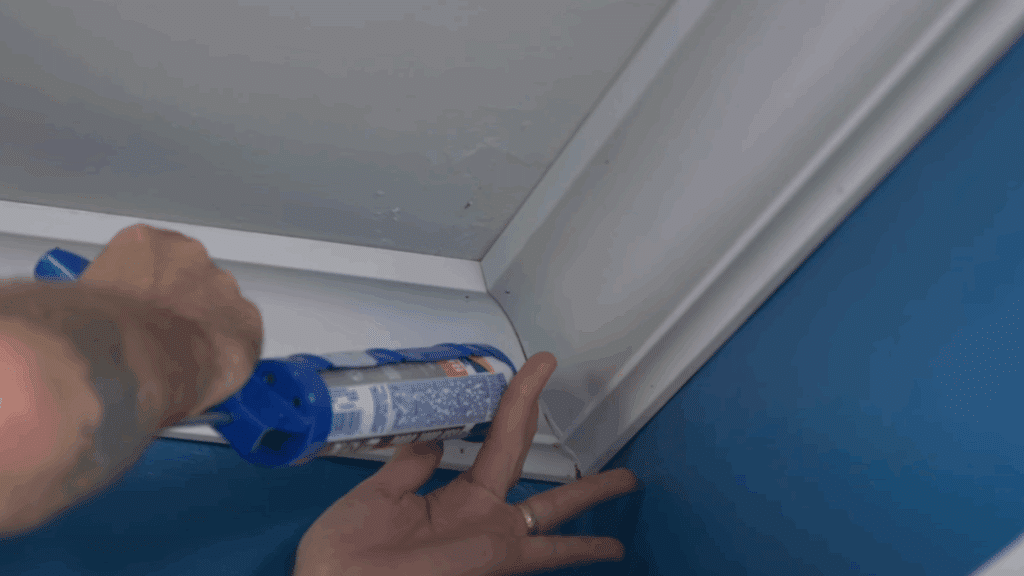
The final step is finishing the look with caulk. Apply a thin bead of paintable caulk along any visible gaps, then smooth it out with a damp rag for a clean finish.
Nail holes can also be filled with caulk so they disappear once painted. Inside corners are forgiving because caulk can hide small imperfections, but outside corners need to be cut precisely since caulk won’t disguise gaps there.
Once everything is smoothed out and painted, the crown molding looks seamless and professional.
This tutorial is based on a helpful video by @HGTV. A big thanks to the creator for providing such a clear and detailed walkthrough. You can check out the original video on their YouTube channel here or watch it below.
Tips for Installing Crown Molding
Getting crown molding right comes down to careful planning and smart techniques. These simple tips will help you avoid mistakes and get a clean, professional finish.
- Plan and Measure First: Start with a detailed plan and measure each wall carefully before cutting any molding.
- Mark a Guide Line: Mark the bottom edge of your molding on the wall to help keep everything straight.
- Nail Into Studs: Always check for studs and aim to secure nails into them for a stronger hold.
- Use a Jig for Miter Cuts: A crown molding jig makes angled cuts much easier, especially for beginners.
- Flip the Molding When Cutting: Cut the molding upside down so the top edge rests against the saw fence for the best fit.
- Practice on Scrap: Test your cuts on scrap pieces first, and buy extra molding to account for mistakes.
- Cope Inside Corners: For tighter joints on inside corners, try coping instead of mitering, especially if walls aren’t perfectly square.
- Pre-Paint or Stain: Finish your molding before installing it, then touch up nail holes and joints afterward.
- Caulk for a Clean Finish: Use a little paintable caulk to fill gaps and make the molding look seamless.
- Take Your Time: Remember the rule, measure twice, cut once, for the most accurate results.
Conclusion
I hope this step-by-step guide has given you the clear direction you were looking for on crown molding installation.
I know the biggest pain point is dealing with tricky cuts, confusing angles, and the fear of wasting materials. I felt the same way when I first started, but breaking it into simple steps made everything easier.
Now you’ve seen how to measure, cut inside and outside corners, create scarf joints, and finish with caulk for a seamless look.
My goal was to ensure your intent was fully met and that you feel confident starting your own project.
Crown molding installation isn’t as intimidating once you understand the process, and I believe you now have the knowledge and tools to transform any room into a polished, finished space you can be proud of.