
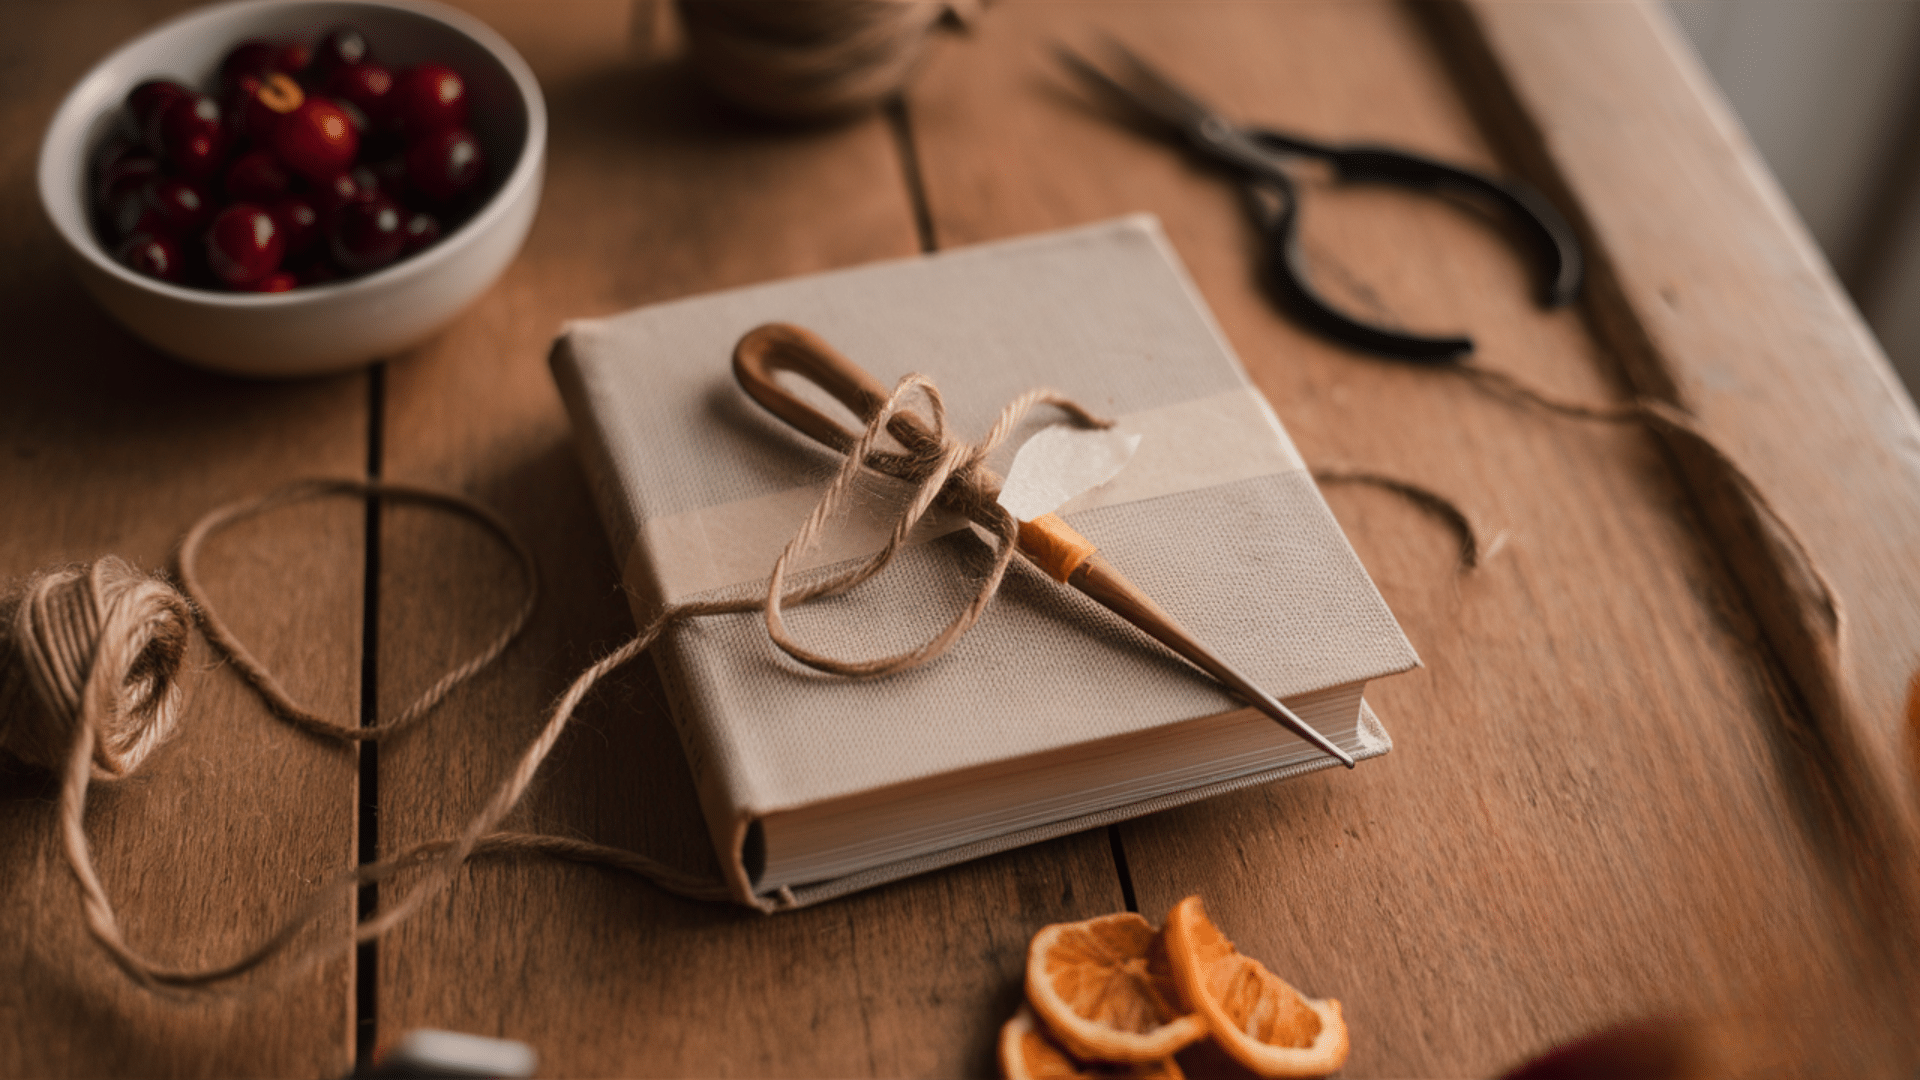
Welcome to a fun and cozy holiday project. I’am making a beautiful orange and cranberry garland. It’s a handmade decoration that looks lovely and smells even better.
This garland uses real oranges and fresh cranberries. That means it brings color, warmth, and a fresh scent into your home. It’s a mix of beauty and nature, all in one simple string.
You don’t need to be crafty to do this. If this is your first time making something by hand, that’s okay. This project is beginner-friendly. It’s easy to follow, and it doesn’t cost much at all.
All you need are a few items from the kitchen and a little time. The process is calming and simple. You might even find it relaxing.
The best part? You can hang your garland almost anywhere. Try it on your mantel for a cozy feel. Wrap it around a staircase rail for some holiday beauty.
Drape it across a window to catch the light. Or use it to decorate your Christmas tree or bookshelf.
This garland is more than just decor. It’s a way to slow down and enjoy the season. You’re using natural materials. You’re working with your hands. And you’re creating something with care.
By the time you’re done, your home will feel warmer. Your space will smell sweet and fresh. And you’ll have a handmade touch that feels special and real.
Tools and Materials You’ll Need
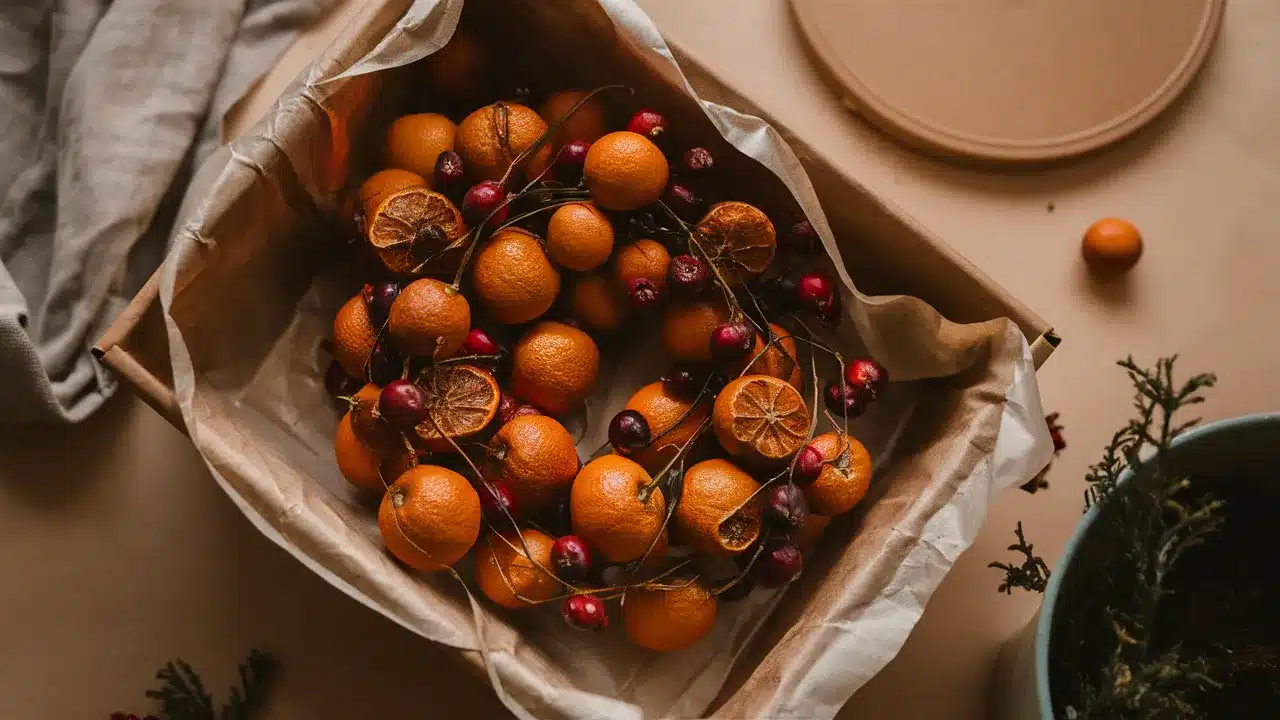
Before you begin, take a moment to gather a few simple supplies. You’ll need some fresh cranberries and a couple of oranges. Any kind of orange will work, whether it’s navel, blood orange, or whatever you have on hand.
You’ll also need a sharp knife and a cutting board to slice the fruit. To dry the orange slices, use a baking sheet lined with parchment paper. You can dry them in the oven or in a food dehydrator, depending on what you have available.
For putting the garland together, you’ll need something to string it with—twine, thread, or even fishing line will do the trick. A large needle or a small skewer will help you push the pieces through easily.
If you want to add a little more beauty, you can include some extras like cinnamon sticks, bay leaves, rosemary sprigs, or star anise. These bring extra texture and a soft, natural scent to your garland.
Once you have everything in front of you, you’re ready to start crafting something special.
Guide to Make Orange and Cranberry Garland
Making a dried fruit garland is a simple process that involves preparing the fruits, drying them, and then stringing them together.
The finished garland adds a warm, natural touch to your holiday décor and fills your home with wonderful scents.
1. Gather Your Supplies
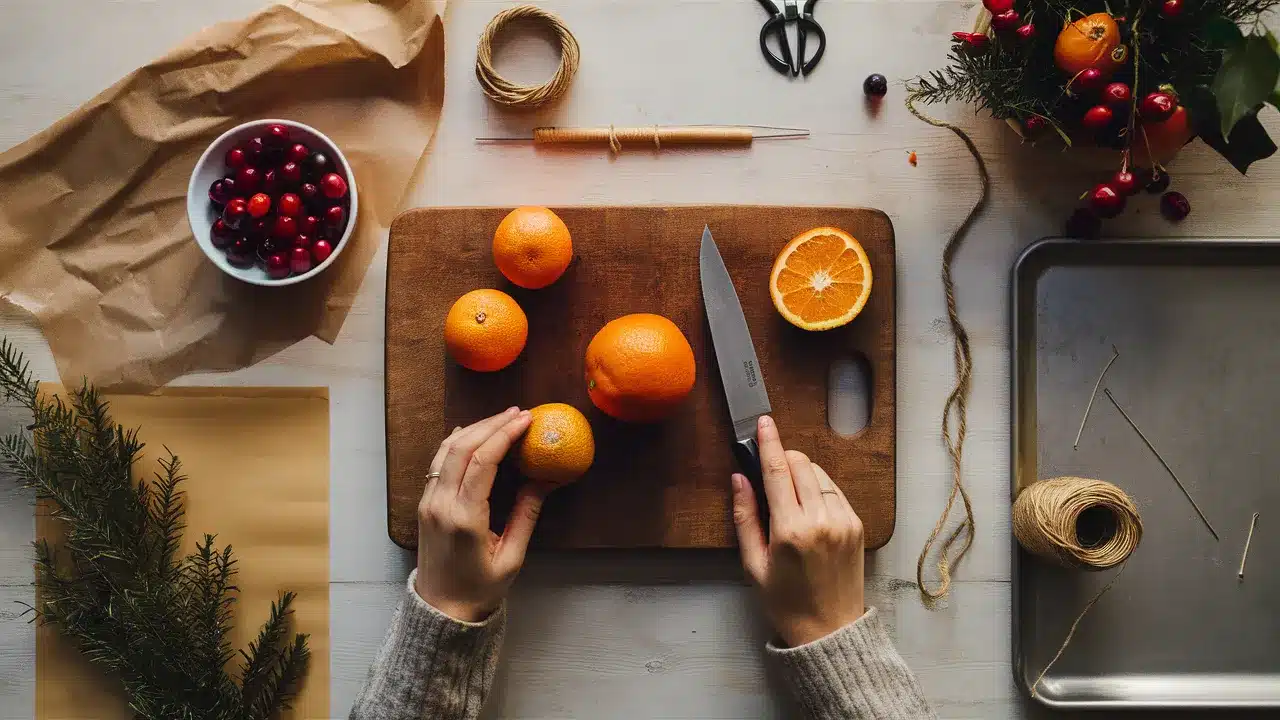
Before you start, take some time to get everything ready. It makes the whole project easier and more fun. You’ll need fresh cranberries. Make sure they are firm and bright.
Pick a few oranges that are not too soft. A sharp knife and a cutting board will help you slice them safely.
To dry the slices, you’ll need a baking sheet with some parchment paper. For threading, use twine, thread, or fishing line. A needle with a big hole or a toothpick works well to poke through.
Keep a pair of scissors nearby. You’ll need them for cutting and trimming.
2. Slice the Oranges
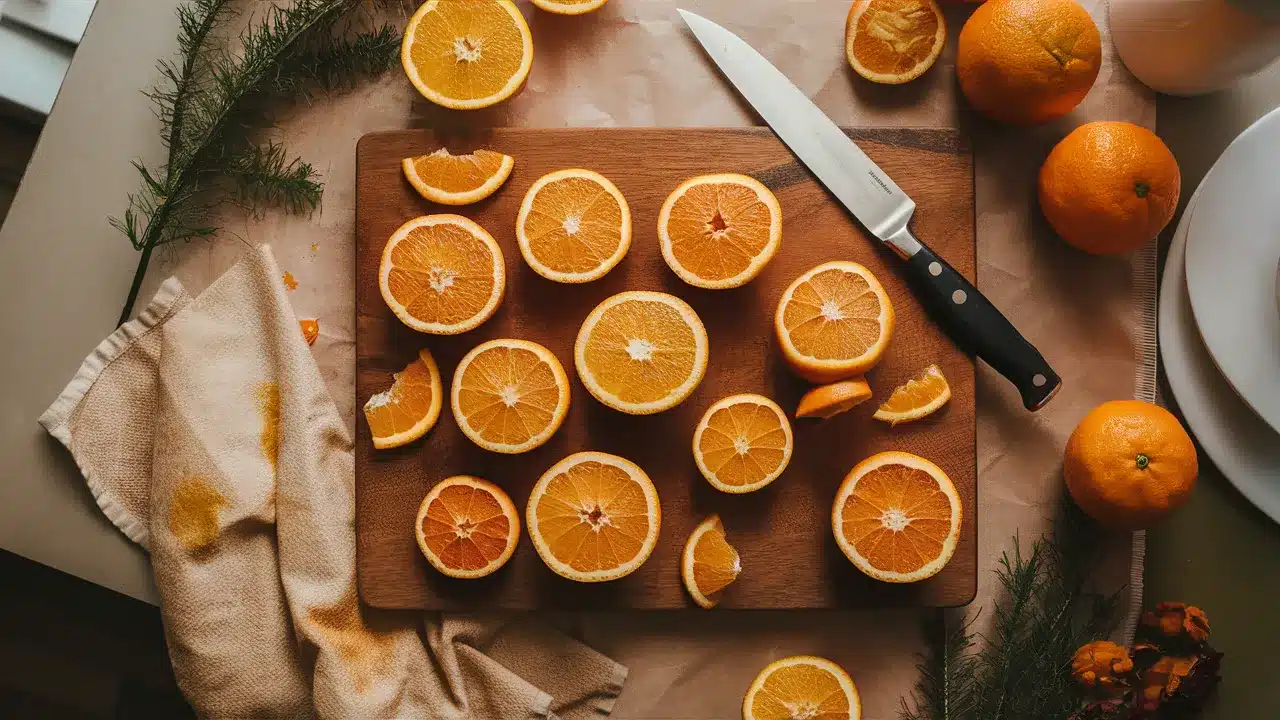
Now it’s time to prepare your oranges. Wash them well first, then pat them dry. Cut your oranges into slices about ¼ inch thick. Try to keep the thickness even so they’ll dry at the same rate.
Thinner slices dry faster and will hang better on your finished garland. If they’re too thick, they might take forever to dry and could be too heavy.
You can blot the slices with paper towels to remove some of the juice. This helps them dry a bit quicker in the oven.
3. Dry the Oranges
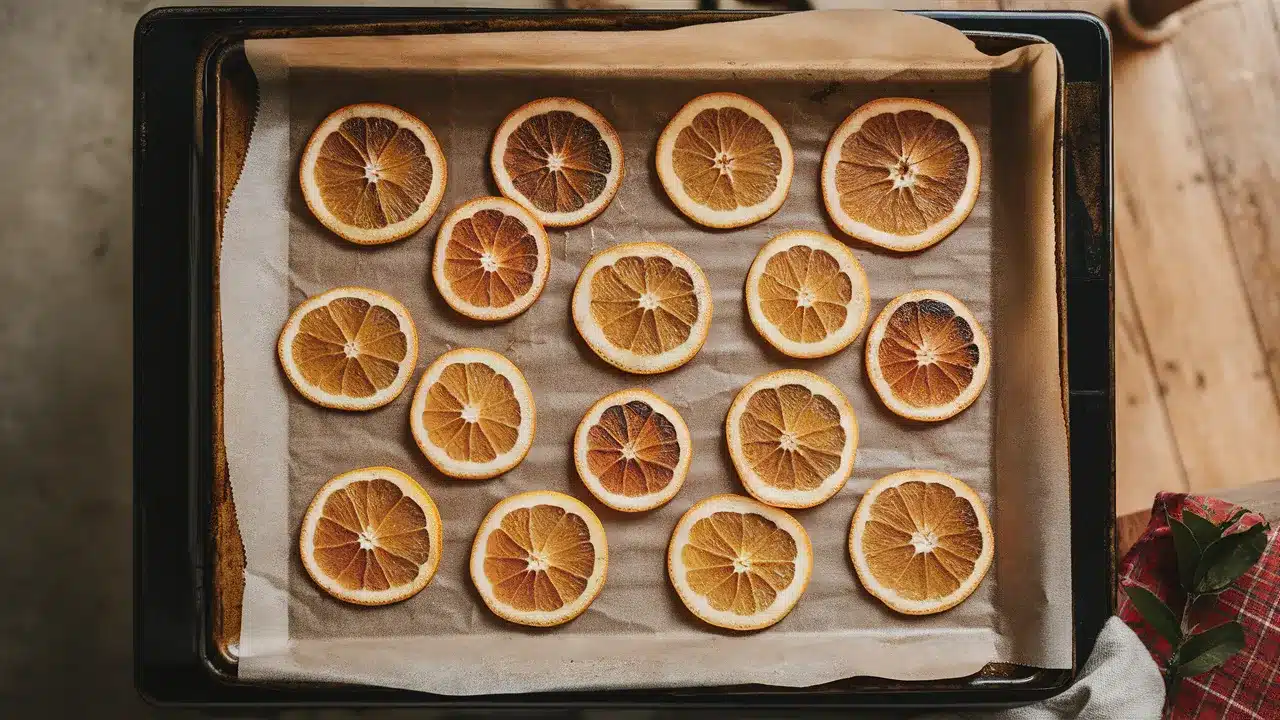
Now it’s time to dry your orange slices. You can use the oven to speed things up, or let them air dry if you’re not in a rush. Oven-drying is faster, but air-drying is easier and doesn’t need much attention.
If you’re using the oven, set it to a low temperature. About 200°F works well.
Place your orange slices on a baking sheet lined with parchment paper. Make sure they don’t overlap. Bake them for 2 to 4 hours. Flip them halfway through.
The slices should look dry but not burned. Let them cool fully before handling. They’ll get firmer as they sit.
4. Prep the Cranberries
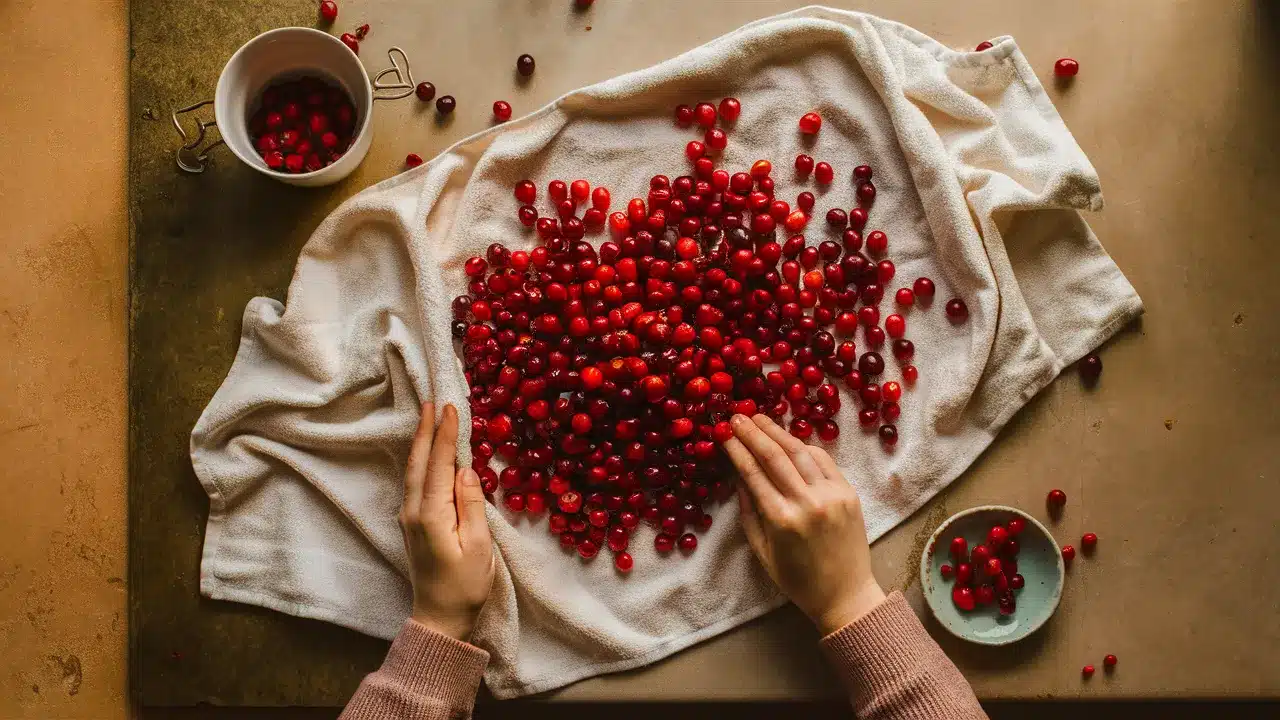
While your orange slices are drying, let’s get the cranberries ready.
Rinse them in cool water and spread them on a clean kitchen towel to dry. Look through them and remove any that are soft or damaged.
A helpful tip: putting cranberries in the freezer for about 30 minutes before threading makes them easier to work with. The slight firming helps prevent splitting when you push the needle through.
5. Thread Your Needle
Once your orange slices are cool and your cranberries are ready, it’s time to start stringing. Choose your string – twine gives a rustic look, fishing line is nearly invisible, and strong thread works well too.
Cut a piece longer than you think you’ll need. It’s always better to have extra than to run out halfway through! A good starting length is about 6 feet.
Tape one end of your string to the table or to a heavy book. This keeps it from slipping away while you’re working.
6. Start Stringing
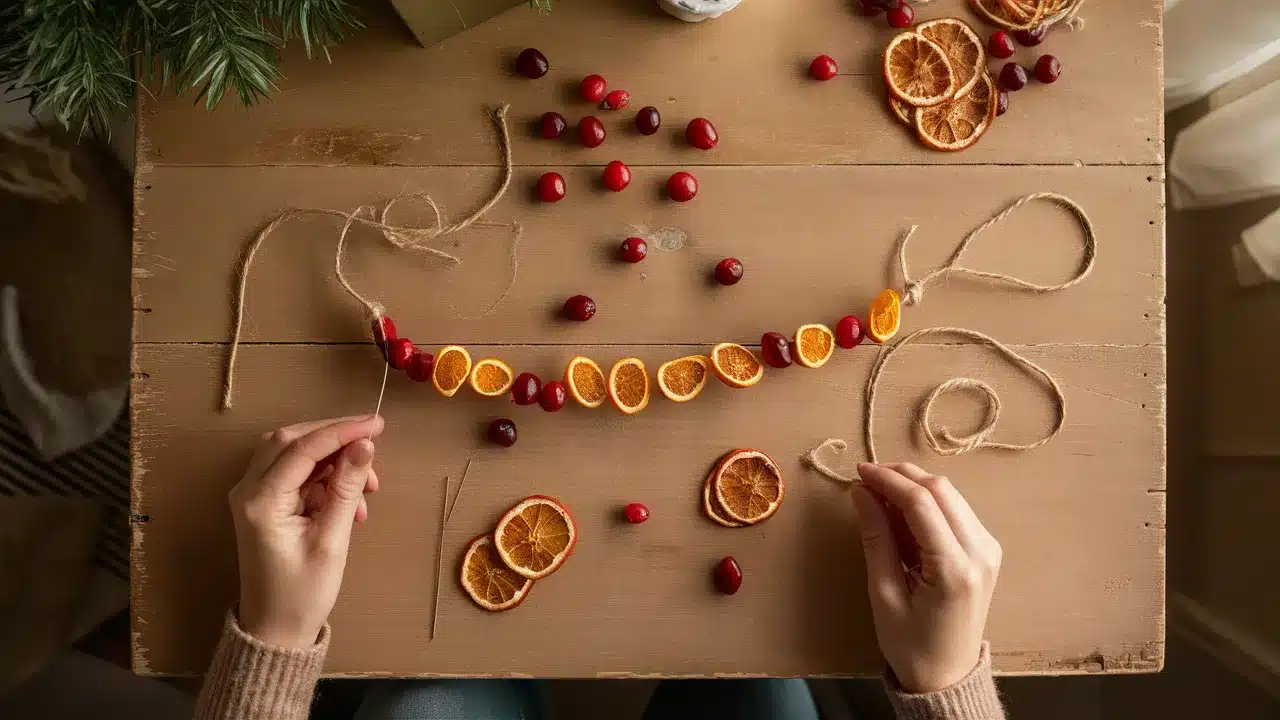
Now for the fun part – creating your pattern!
A classic pattern is 5 cranberries, then 1 orange slice, repeated. But you can create any pattern you like. For cranberries: Gently push your needle through the center of each berry. Go slowly to avoid splitting them.
For orange slices: Poke two holes near the top of each slice, about ½ inch apart. Thread it through both holes so the orange slice faces forward instead of spinning around.
Move the fruits down the string as you go, leaving a little space between items if you like.
7. Keep Going Until You Reach Your Desired Length
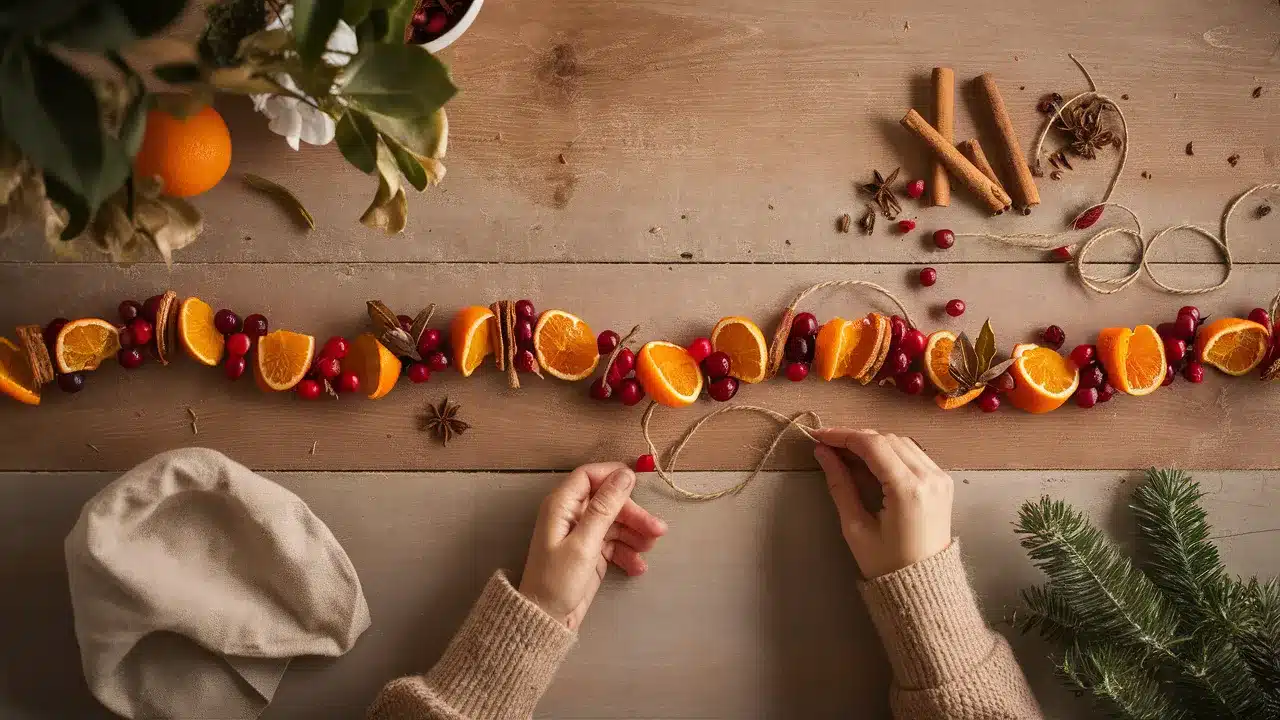
Continue your pattern until your garland is as long as you want it.
Remember that keeping it somewhat lightweight is important. If you add too many heavy orange slices, the garland might sag when hanging.
Want to add more interest? Try adding cinnamon sticks, bay leaves, or star anise between the fruits. Simply thread your needle through these items the same way.
8. Tie Off and Hang It Up
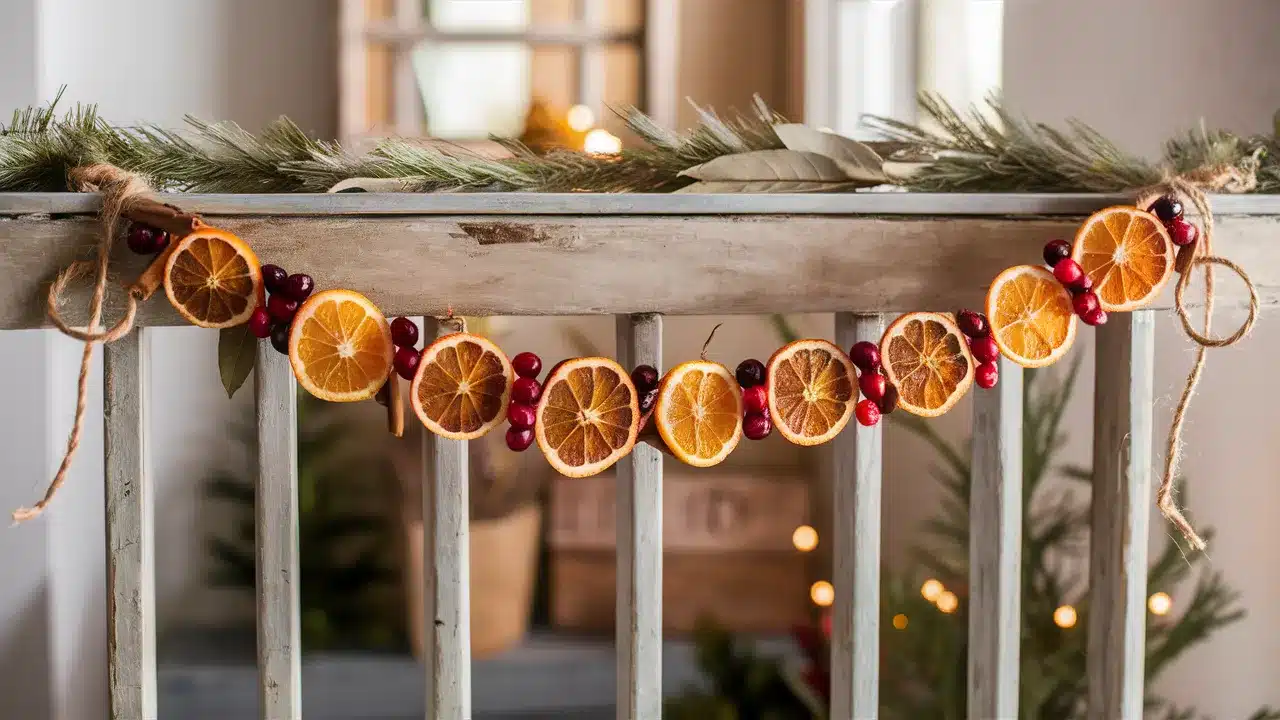
Once your garland is as long as you want it, tie a strong knot at each end. This keeps everything in place. If you want, you can make small loops at the ends to help with hanging.
You can display your garland in lots of different places. Try hanging it across a window. Drape it over a mantel or wrap it around a stair rail. You can even lay it across a shelf or hang it on your tree.
If it sits near heat or sunlight, it may darken over time. That’s okay—it just gives it more of a vintage look.
9. Storing and Reusing
Your orange and cranberry garland can last from a few weeks to over a month if kept dry.
For longer-lasting décor, allow it to fully dry out before storing. The oranges will darken to a deep amber color, and the cranberries will shrink and harden.
After the season, you can store your garland in a flat, dry container for next year. Or, since it’s all natural, you can compost it when you’re done enjoying it.
Conclusion
This project isn’t about being perfect. It’s about having fun, using your hands, and bringing something homemade into your space. So don’t be afraid to add your own twist to it.
You can switch up the pattern. Try spacing the fruit slices in different ways. Add something extra like dried apple rings for a little variety.
Small pinecones or cinnamon sticks can bring in more texture and smell. You can even tie little bits of fabric or string in between to give it a cozier look.
The best part of this craft is how flexible it is. You can make it long or short. You can keep it simple or go all out. Every garland will turn out a little different—and that’s what makes each one special.
It also gives you a break from screens and stress. You get to slow down and enjoy something quiet and creative. That alone makes it worth doing.
I’d really love to know how your garland turns out. Did you add anything new to make it your own? Where did you choose to hang it? Did you try it with your kids or a friend?
Feel free to drop a comment below. Share your ideas, your pictures, or any questions you might have. You never know—your version might inspire someone else to start their own.
Happy crafting, and enjoy the simple beauty you’ve created with your own hands.