
Blank walls can feel like an intimidating canvas, leaving many homeowners frozen with indecision about how to personalize their space without the hassle of complicated installations. After struggling with heavy frames, wall damage, and design paralysis, many home decorators have discovered that Mixtiles offers a practical solution.
In this article, we explore how these clever, lightweight photo tiles make it possible for anyone to create beautiful, personalized spaces without the headaches that traditionally come with hanging art and photos.
Simplifying Your Decorating Journey
Let’s face it – decorating can feel overwhelming. Many people browse Pinterest for hours, save dozens of inspiration photos, but when it comes to actually making decisions, they hit a wall. It’s common to see enthusiastic decorators abandon projects halfway through because it all became too complicated.
Starting with a Clear Vision
Before buying a single decorative item, homeowners should take time to understand what they want. A helpful approach is asking: “How should this room feel?” Cozy and intimate? Bright and energizing? For a living room, someone might want a space that feels welcoming while reflecting their travel experiences. Once this vision is clarified, choosing the right photos and arrangement becomes much easier.
Creating a simple mood board – nothing fancy, just a collection of images that resonate with the desired feeling – can become a reliable guide when making decoration decisions.
Creating a Cohesive Color Story
Color coordination doesn’t mean everything needs to match perfectly. Instead, colors should work together to create a feeling. When decorating a hallway, choosing photos with similar color temperatures – perhaps warm sunset tones from a trip to Arizona – can tie everything together without being identical.
A practical approach is selecting 3-5 core colors that appear throughout the space. For instance, if furniture features navy blue accents, incorporating that blue into some wall art creates a subtle connection that makes the room feel intentional.
Building Around Existing Furniture
Furniture placement dictates decoration options more than most people realize. Many homeowners learn this the hard way after hanging a gallery wall only to discover it’s partially blocked when sitting in a favorite chair!
Measuring wall spaces carefully, accounting for how furniture might obstruct viewing angles, prevents this frustration. For spaces above couches or beds, keeping the bottom edge of frames about 8-10 inches above the furniture creates the most pleasing proportion.
The Art of Personalized Gallery Walls
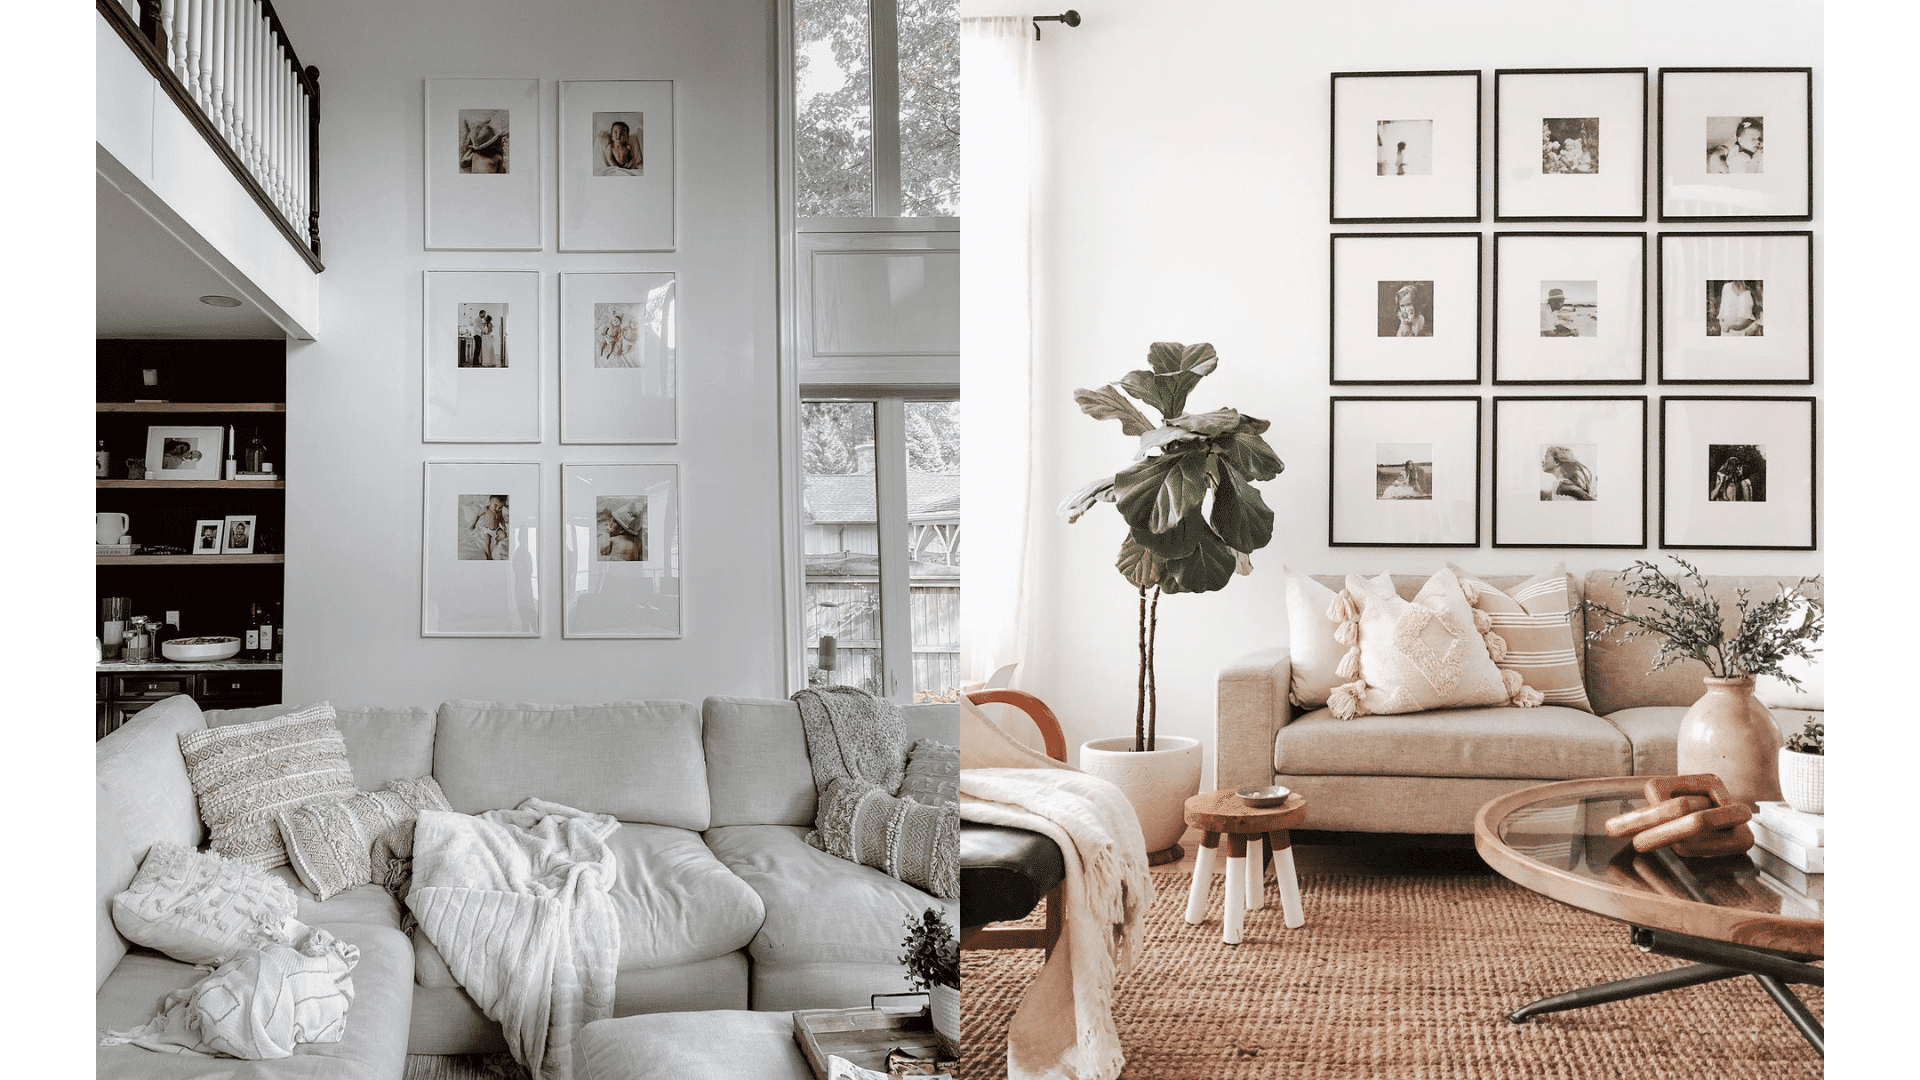
Gallery walls tell a story in a way that mass-produced decor never can. One homeowner created a gallery wall featuring photos from three generations of her family, and it instantly became the conversation piece in her home.
Planning Your Layout
Before putting anything on walls, planning the layout saves time and prevents unnecessary wall damage. Laying everything on the floor first, taking a photo from above, and adjusting until it feels right works well for many decorators. Some people create paper templates of each frame to tape to the wall first – this helps visualize the final result.
For a balanced look, starting with a central anchor piece and working outward creates a natural focal point. Placing a favorite or largest photo at eye level in the center, then building around it with smaller pieces, helps achieve a professional-looking arrangement.
Mixing Different Frame Styles
Frames don’t need to match perfectly. In many stylish homes, black frames mix with natural wood tones, and the variation adds more visual interest than a matching set would provide.
If mixing feels intimidating, try this approach: choose frames that share one common element (like material or color) but vary in another aspect (like thickness or texture). This creates cohesion with just enough contrast to keep things interesting.
Balancing Sizes and Shapes
A common mistake is using all same-sized photos, which can make a gallery wall feel flat. Successful arrangements typically include a mix of sizes – perhaps 8x10s, 5x7s, and a couple of statement pieces in larger dimensions.
When working with different shapes, distributing them evenly throughout the arrangement creates visual balance. Placing square photos at diagonal corners of a gallery wall with rectangular photos in between creates a subtle rhythm that guides the eye across the entire display.
Smart Solutions for Rental Spaces
For renters, the struggle of wanting beautiful walls without losing a security deposit is all too real. The good news is that temporary doesn’t have to mean boring or basic.
Damage-Free Installation Methods
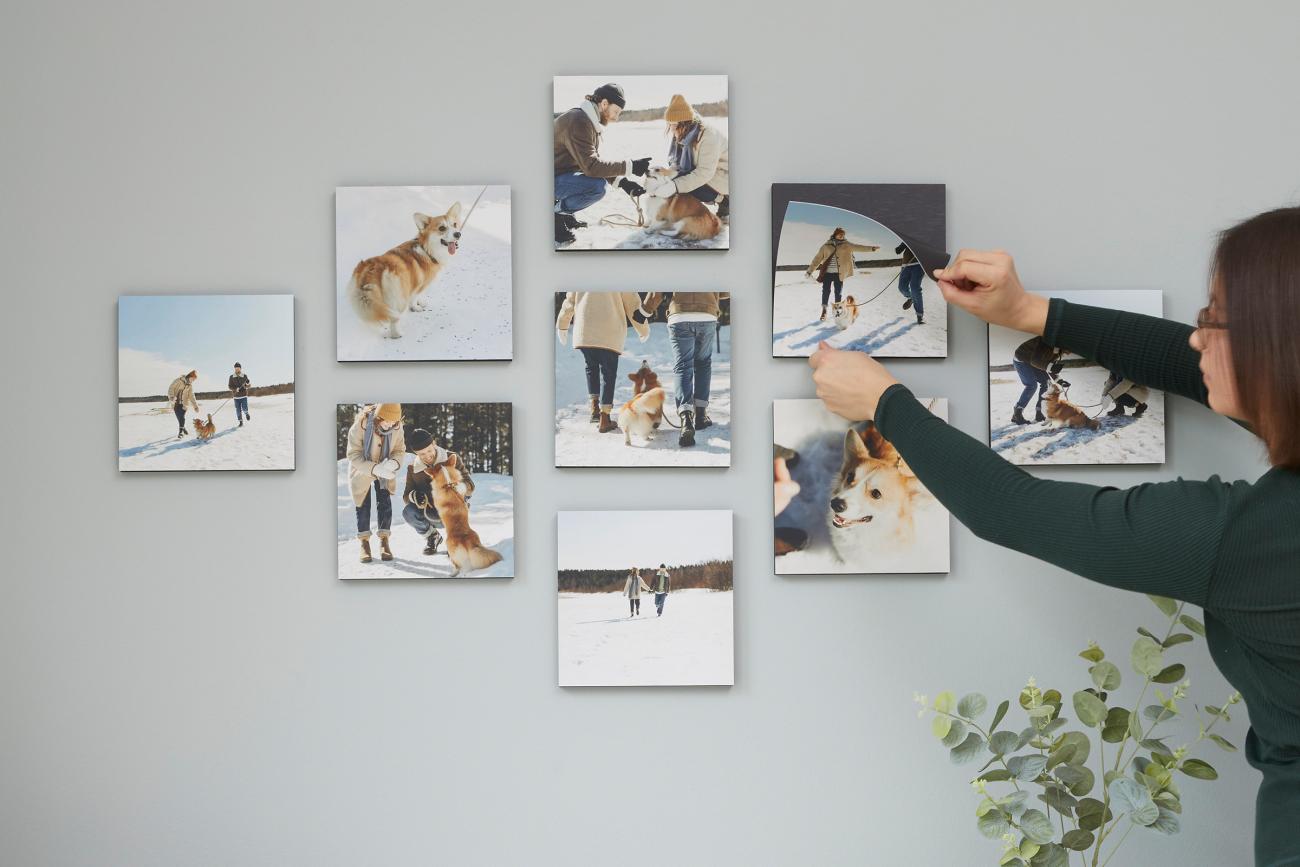
Command strips and removable hooks work well for lightweight items, but they have limitations with heavier pieces. This is where products like Mixtiles shine – they use a special adhesive that holds firmly but removes cleanly without damaging paint.
For lightweight fabric art, temporary wallpaper paste or even starch can adhere textiles directly to walls. When it’s time to move, everything peels off easily, leaving no trace behind.
Temporary Design Solutions
Thinking beyond traditional framed art opens up possibilities. Washi tape can create geometric wall designs that add color and pattern without permanent commitment. Some creative renters hang lightweight scarves as wall art using small, removable adhesive hooks.
Leaning larger frames on mantels, shelves, or even the floor against the wall creates a casual, layered look while eliminating the need for wall attachments altogether. Arranging three different-sized frames on a console table can make just as much impact as if they were hung.
Maximizing Limited Wall Space
In small apartments, every inch counts. Vertical arrangements draw the eye upward, creating the illusion of height in rooms with low ceilings. In narrow hallways, a “gallery line” rather than a gallery wall – a single row of photos – can guide visitors through the space.
Corner spaces are often overlooked but offer prime decoration opportunities. Wrapping a gallery arrangement around a corner visually connects two walls, helping small spaces feel more cohesive.
Creating Visual Flow Between Rooms
When rooms are treated as separate decoration projects, homes can feel disjointed. The key is thinking about how spaces connect and how decor can help guide that journey.
Transitional Design Elements
Repeating certain elements helps create continuity as people move through a home. Using similar wood tones in frames throughout different rooms provides a subtle thread of connection even when rooms have different color schemes.
Doorways and hallways are natural transition zones. A series of small, related photos along a hallway that gradually shift in color tone can subtly prepare visitors for the change in palette between rooms with different color schemes.
Color Coordination Techniques
Identical colors aren’t necessary in every room, but thoughtful coordination makes a huge difference. Picking up a minor accent color from one room and making it more prominent in an adjacent space creates rooms that feel distinct but harmonious.
Another approach is using different shades of the same color family when moving through spaces. An entryway featuring deep navy blues that gradually lighten to sky blues in the living room creates a natural progression that feels intentional.
Strategic Photo Placement
Photos can tell a story as visitors move through a home. Arranging family photos chronologically along a main hallway, starting with older generations near the entrance and moving toward recent photos as guests approach living spaces, creates a meaningful journey through family history.
The emotional impact of different images should influence their placement. Energetic, vibrant photos work well in active spaces like kitchens or entryways, while calmer, more serene images create the right mood for bedrooms and relaxation areas.
The Mixtiles Advantage
Modern decoration solutions have made it easier than ever to create beautiful spaces without professional help or specialized tools. After trying numerous options, many decorators find that innovative approaches often outperform traditional methods.
Hassle-Free Installation System
The traditional process of hanging frames involves measuring, leveling, hammering, and often several attempts to get it right. With peel-and-stick solutions like Mixtiles, an entire gallery wall can take less than 15 minutes to install, compared to the hours spent hanging conventional frames.
The beauty of this system is that it eliminates the need for tools or assistance. Even an elderly person can create their own photo display without calling for help, providing a wonderful sense of independence with home decor.
Design Flexibility and Rearrangement
One of the biggest advantages of removable solutions is the freedom to experiment. When uncertain about a layout, homeowners can arrange their tiles, live with them for a week, then adjust any that don’t feel quite right – without dealing with nail holes.
This flexibility extends to seasonal changes too. Many decorators maintain a core arrangement that stays consistent but swap out a few tiles seasonally – beach photos in summer, fall foliage in autumn, and family gathering photos during the holidays.
Quality and Durability Features
Despite their lightweight design, quality photo tiles are surprisingly durable. Many homeowners report that their hallway tiles have maintained color and clarity despite being in high-traffic areas with varying light conditions for years.
The matte finish on good-quality photo tiles also eliminates the glare problem common with traditionally framed photos. Favorite images remain clearly visible from any angle, rather than reflecting light from nearby windows.
Future-Proofing Your Design
The most sustainable approach to home decor is creating systems that can evolve over time, rather than requiring complete overhauls every few years.
Seasonal Updates Made Simple
Rotating certain elements seasonally keeps spaces feeling fresh without major investments. Maintaining a neutral base in a living room while switching out 4-5 photo tiles seasonally, along with throw pillows and small accessories, can completely transform the feel of the room.
Holiday decorating becomes simpler with adaptable systems too. Rather than adding more items to crowded surfaces, simply swapping a few everyday photos for holiday-themed ones creates instant festivity without additional clutter.
Expanding Your Display Over Time
Starting with a core arrangement that allows for growth makes sense for most homes. A first gallery wall might have nine photos arranged in a square, with a layout intentionally chosen to expand outward. Over time, adding more photos that document new memories while maintaining an intentional look is easily achieved.
Creating “collection zones” throughout the home rather than concentrating everything in one area gives flexibility. Smaller groupings in several rooms can each be expanded independently as new meaningful photos or artwork enter the home.
Maintaining a Fresh Look
Even the best-designed spaces can start feeling stale if they never change. Scheduling occasional “decor audits” helps evaluate what’s working and what might need refreshing. Many homeowners review their wall displays annually and consider if each piece still resonates.
Simple adjustments like rearranging existing pieces, updating just a few key photos, or even just cleaning frames and glass can revitalize a space. These small changes satisfy the desire for novelty without the waste and expense of completely redecorating.
By approaching home decoration with these strategies, homeowners can create spaces that not only look beautiful but also truly reflect who they are and adapt as their lives evolve. The best part is that with today’s flexible solutions, no one needs to sacrifice their walls, budget, or sanity to achieve a home that feels both effortlessly elegant and personally meaningful.