
Want to hang your favorite poster but don’t want to spend a lot on a frame? Making your own DIY poster frame is a fun and easy project that anyone can do. It’s a great way to save money and still show off your art, photos, or prints in a stylish way.
You can customize the frame to match your space, and you don’t need any fancy tools or skills to get started. Whether you like a simple modern look or something more rustic, this guide will walk you through each step.
You’ll learn what materials to use, how to put it all together, and even how to hang it up. If you’re ready to get creative and add a personal touch to your walls, this DIY poster frame project is a great place to start.
Why Make A DIY Poster Frame

Making your own DIY poster frame is a great idea for a few reasons. First, it can save you a lot of money. Store-bought frames can be expensive, especially for large posters. When you build one yourself, you can spend way less and still get something that looks great.
Second, you get to choose exactly how it looks. Want a natural wood look? Or maybe you’d rather paint it a fun color? You’re in charge! Another reason is that it’s a fun and creative project. You don’t need to be super handy—just follow the steps, take your time, and enjoy the process.
It also feels really good to make something with your own hands. In the end, you’ll have a frame that fits your poster perfectly and makes your space feel more personal and cool.
Planning Your DIY Poster Frame
Before you start building, it’s a good idea to plan out your poster frame. This will help everything go smoother and make sure your frame turns out just the way you want.
1. Measure Your Poster: Use a ruler or measuring tape to find the exact width and height of your poster. Write the numbers down so you don’t forget. You’ll use these measurements to cut your wood for the frame.
2. Choose a Frame Style: Think about the look you want. Do you like something simple and modern? Or maybe something rustic with a worn wood finish? Picking a style helps you decide what kind of wood, stain, or paint to use later.
3. Pick Your Materials: You can use wood trim from a hardware store or even old wood you already have at home. Make sure it’s straight and strong. If you want a clear front, like glass or plastic, plan for that too.
4. Decide on the Backing: You’ll need something to hold the poster in place. Foam board or cardboard works well and is easy to cut.
5. Think About How You’ll Hang It: Do you want to hang it on a wall or lean it on a shelf? You might need small hooks, wire, or sawtooth hangers. Plan this ahead so you have everything ready.
Taking a few minutes to plan your project helps ensure that you don’t miss anything. Once you’ve decided on your style, size, and supplies, you’ll be all set to start building!
Materials and Tools Needed
Here’s a quick list of what you’ll need to make your DIY poster frame:
-
Wood strips or trim (for the frame)
-
Backing board (like foam board or cardboard)
-
Clear acrylic or glass (optional, for the front)
-
Wood glue
-
Sandpaper
-
Paint or wood stain (optional)
-
Hanging hardware (like sawtooth hangers or D-rings)
-
Measuring tape
-
Saw (miter saw or hand saw)
-
Clamps
-
Paintbrush or rag (for stain)
-
Drill or hammer (for the hardware)
Gather everything before you start so the process is quick and smooth!
Step-by-Step Guide to Building the Frame
Ready to start building your DIY poster frame? Follow these easy steps and take your time—there’s no rush. You’ll be surprised how simple and fun this can be!
Step 1: Measure Your Poster
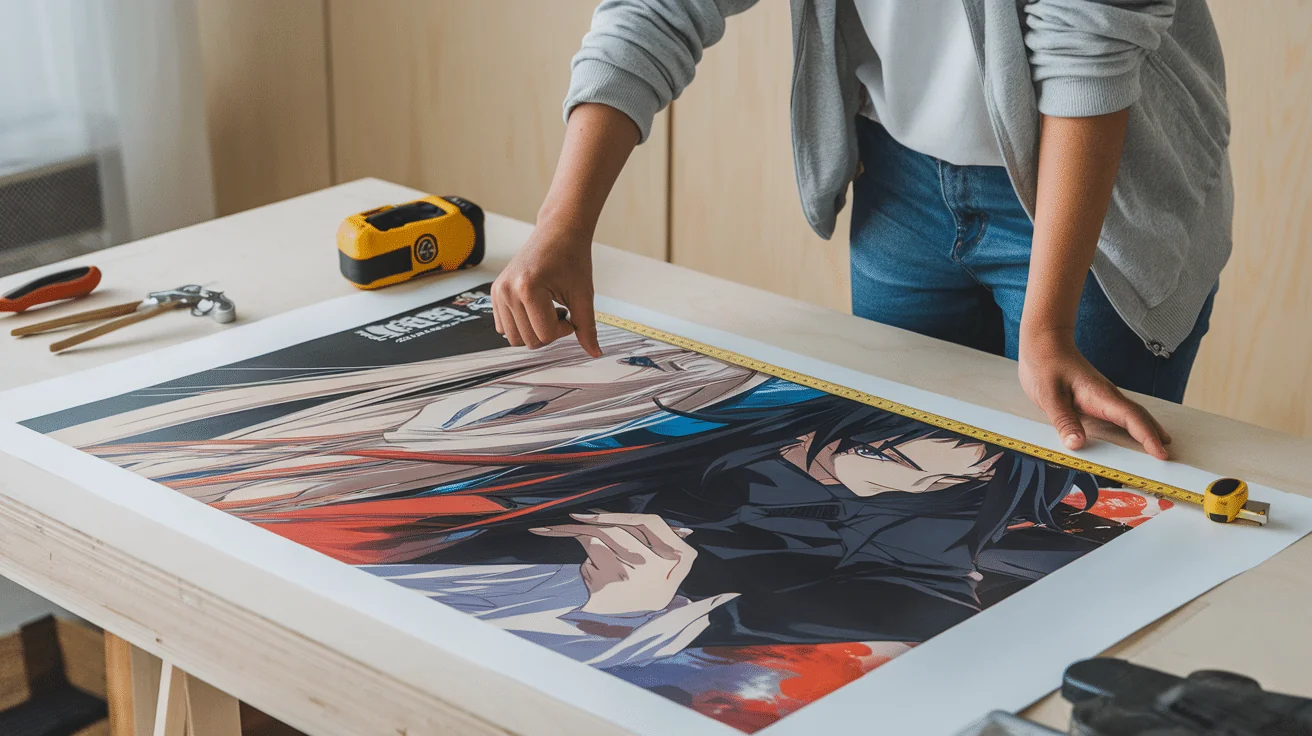
- Lay your poster flat and measure the height and width using a measuring tape. Be as exact as possible, down to the nearest inch or even half-inch.
- Write these numbers down—this is how big your frame needs to be. Double-check your measurements to make sure everything lines up perfectly.
Step 2: Cut the Wood for Your Frame
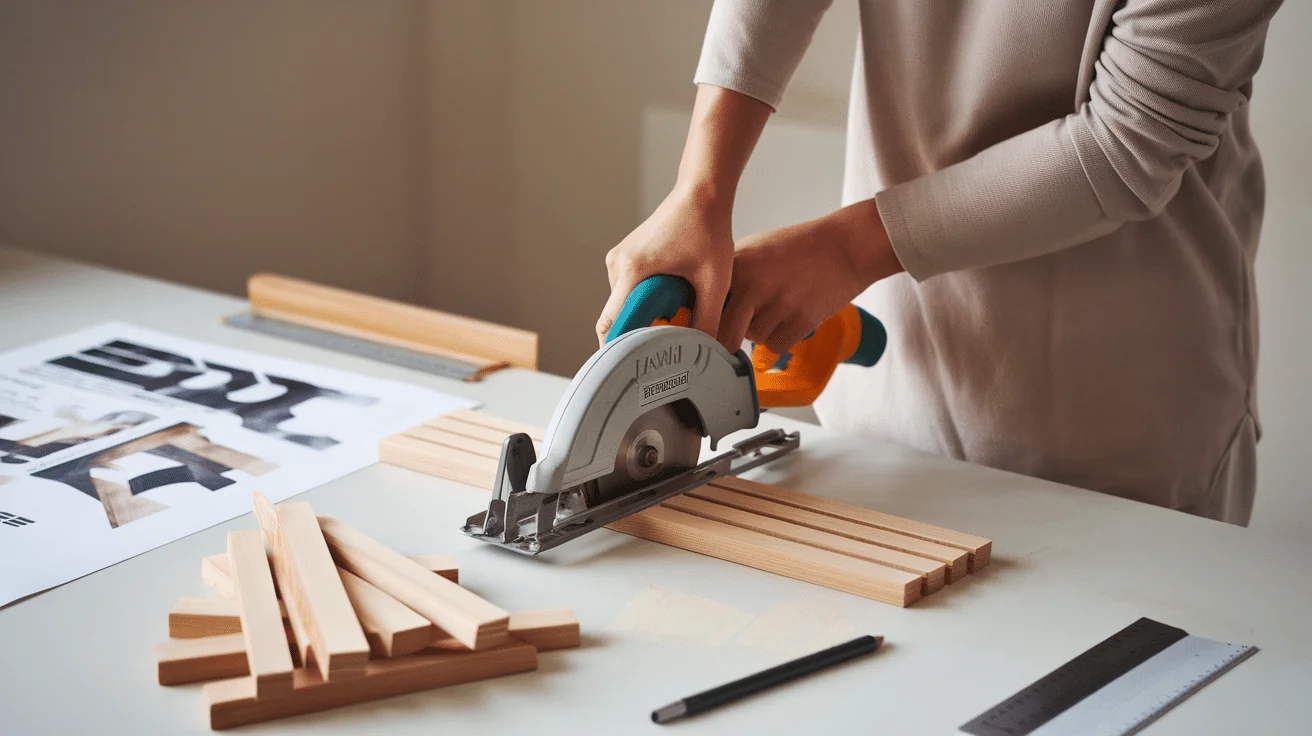
- Use your poster’s size to figure out how long each piece of wood should be.
- If you’re making a frame with angled (mitered) corners, each end should be cut at a 45-degree angle.
- If you want to keep it super simple, you can just make straight cuts and use butt joints (where one piece just sits against the other).
Step 3: Sand the Wood
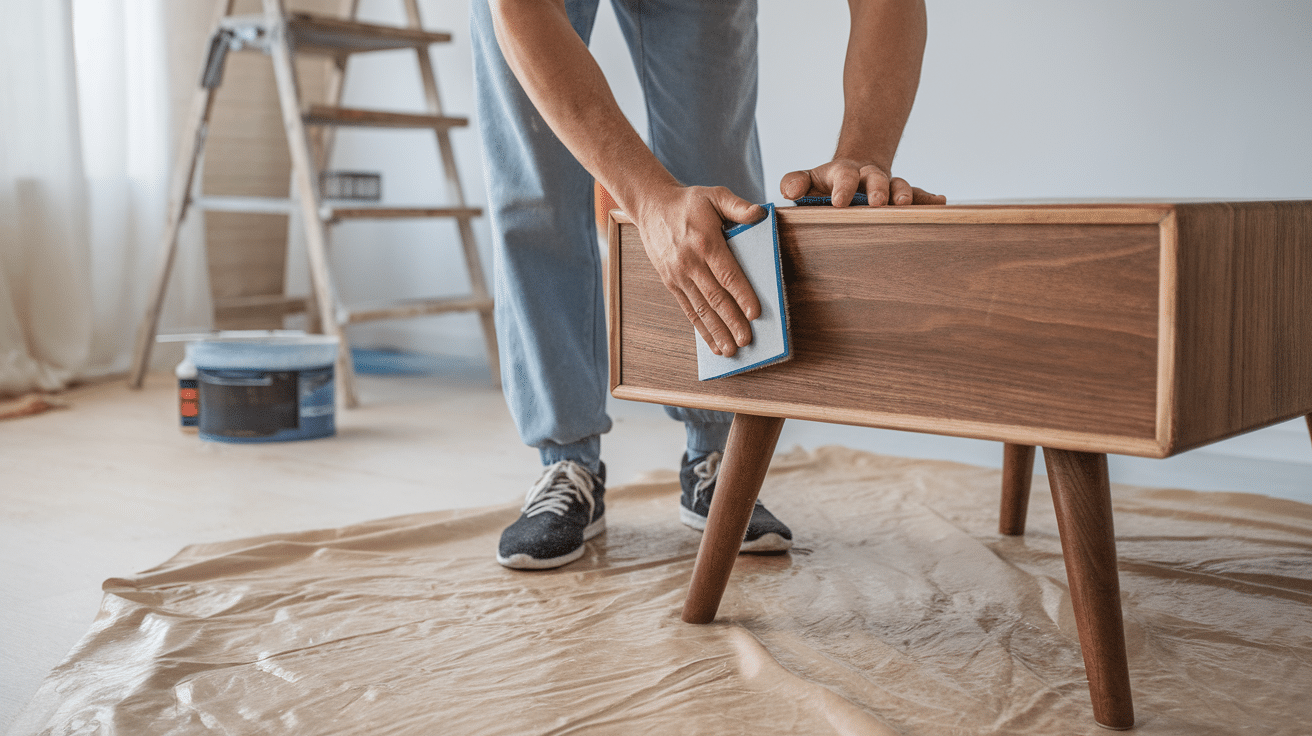
- Once your pieces are cut, use sandpaper to smooth all the edges and surfaces. This helps the wood look nice and also makes it easier to paint or stain later.
- A smooth surface also helps the pieces fit together more evenly when assembling the frame.
Step 4: Paint or Stain the Frame (Optional)
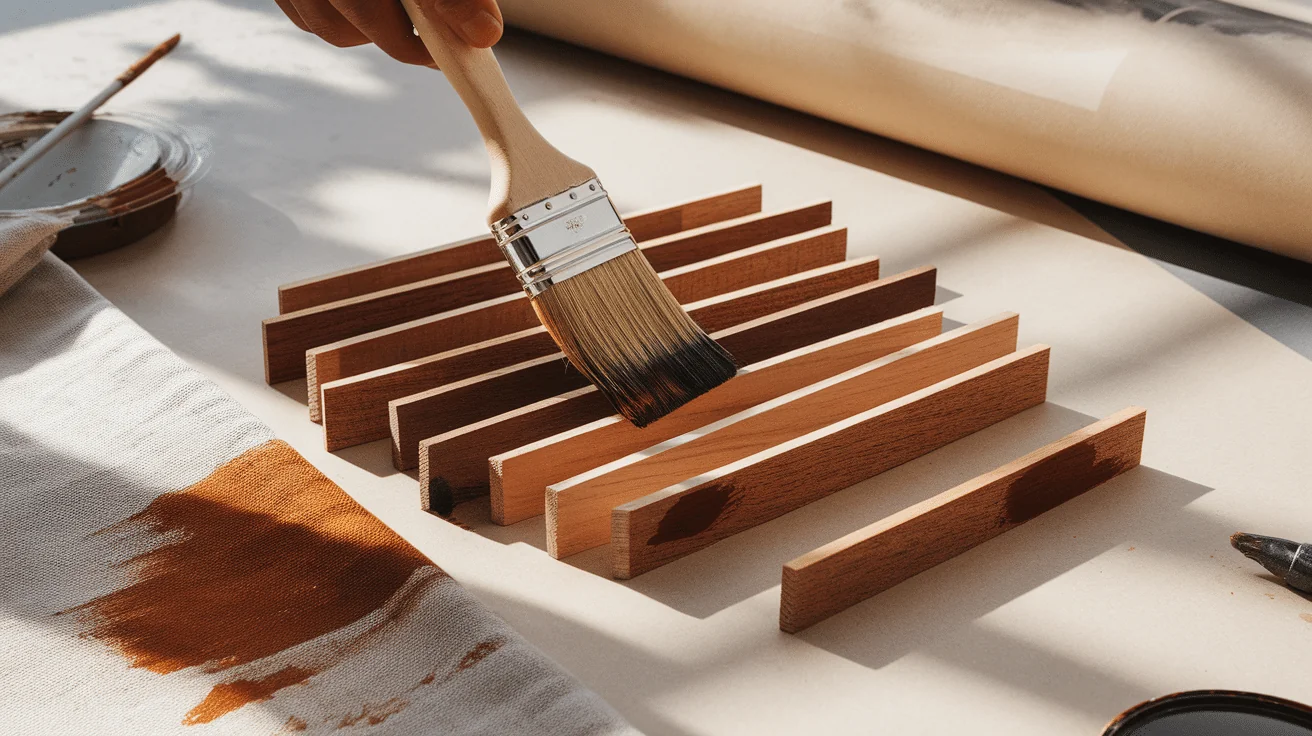
- If you want to change the color of the wood, now’s the time to do it.
- Use a paintbrush or rag to apply your paint or wood stain.
- Let it dry fully before proceeding. If you want a deeper color, you can add a second coat.
Step 5: Glue the Frame Together
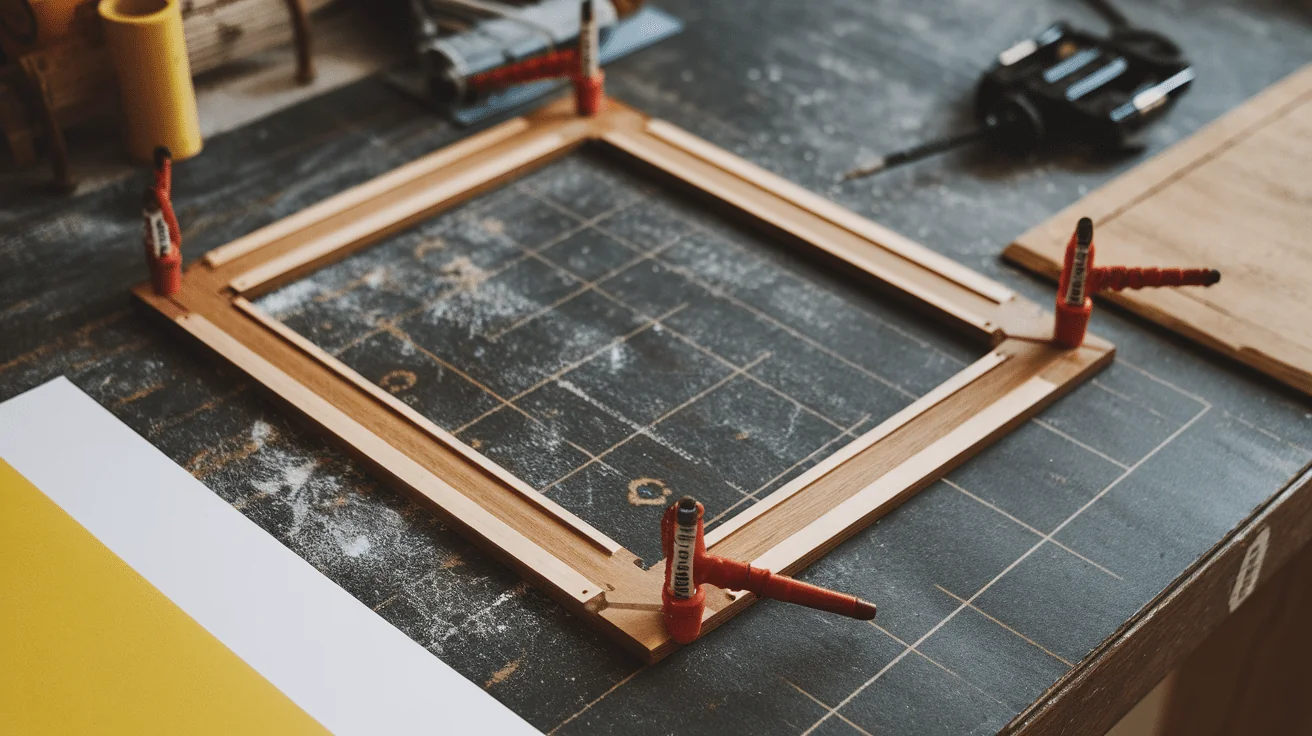
- Lay out your four wood pieces in the shape of a frame.
- Add wood glue to the ends of each piece where they connect.
- Press the corners together and use clamps to hold everything in place while it dries.
- Let the glue dry completely. Check the glue bottle for drying time (usually a few hours).
- Optional: For extra strength, you can add small nails or corner brackets.
Step 6: Add the Backing and Poster
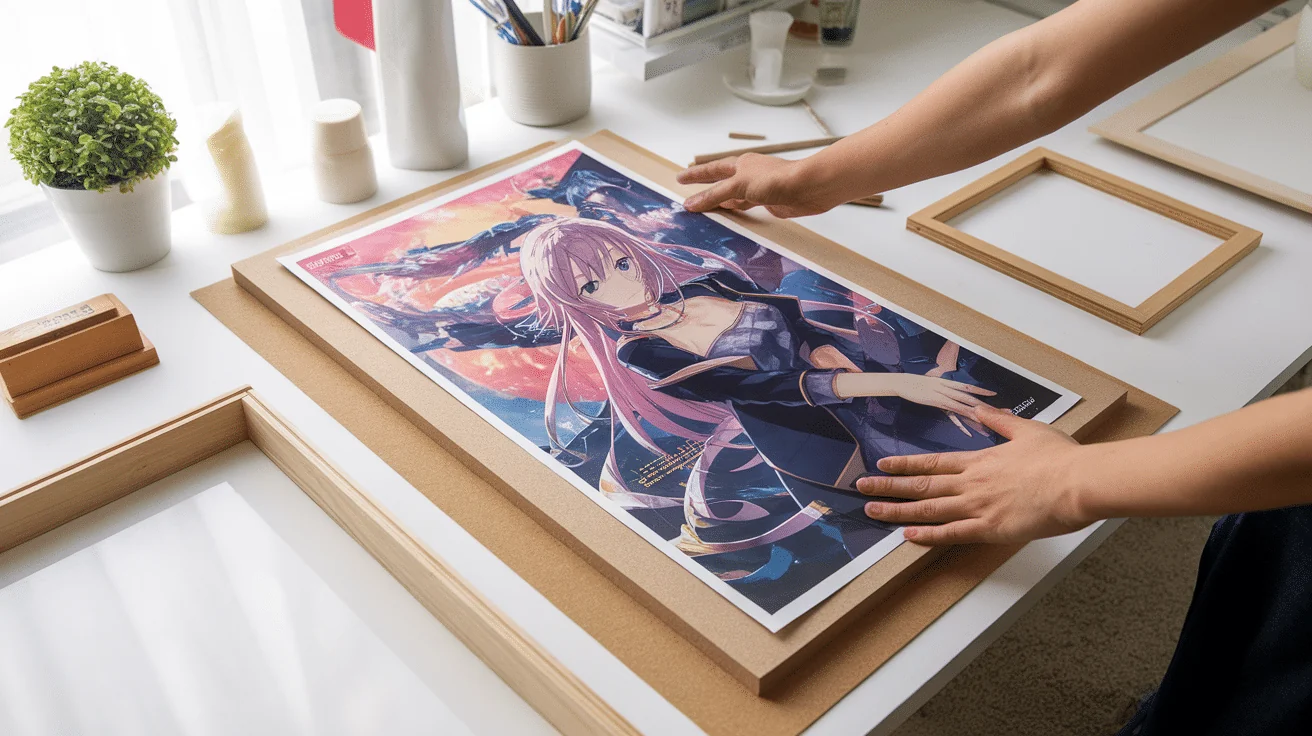
- Cut your foam board or cardboard to the same size as your poster.
- Carefully place your poster on top of the backing. Use double-sided tape, glue dots, or photo corners to hold the poster in place.
- Once your poster is secured, place it into the back of the frame.
Step 7: Add a Front Cover (Optional)
- If you want to protect your poster, you can add a piece of clear acrylic or glass on top.
- Make sure it’s clean and cut to the same size as your poster.
- Place it between the frame and the poster before sealing it all up.
Step 8: Secure Everything in Place
- Use small nails, glazier points, or flexible tabs to hold the poster and backing inside the frame.
- Make sure it feels snug and that nothing moves around when you pick it up.
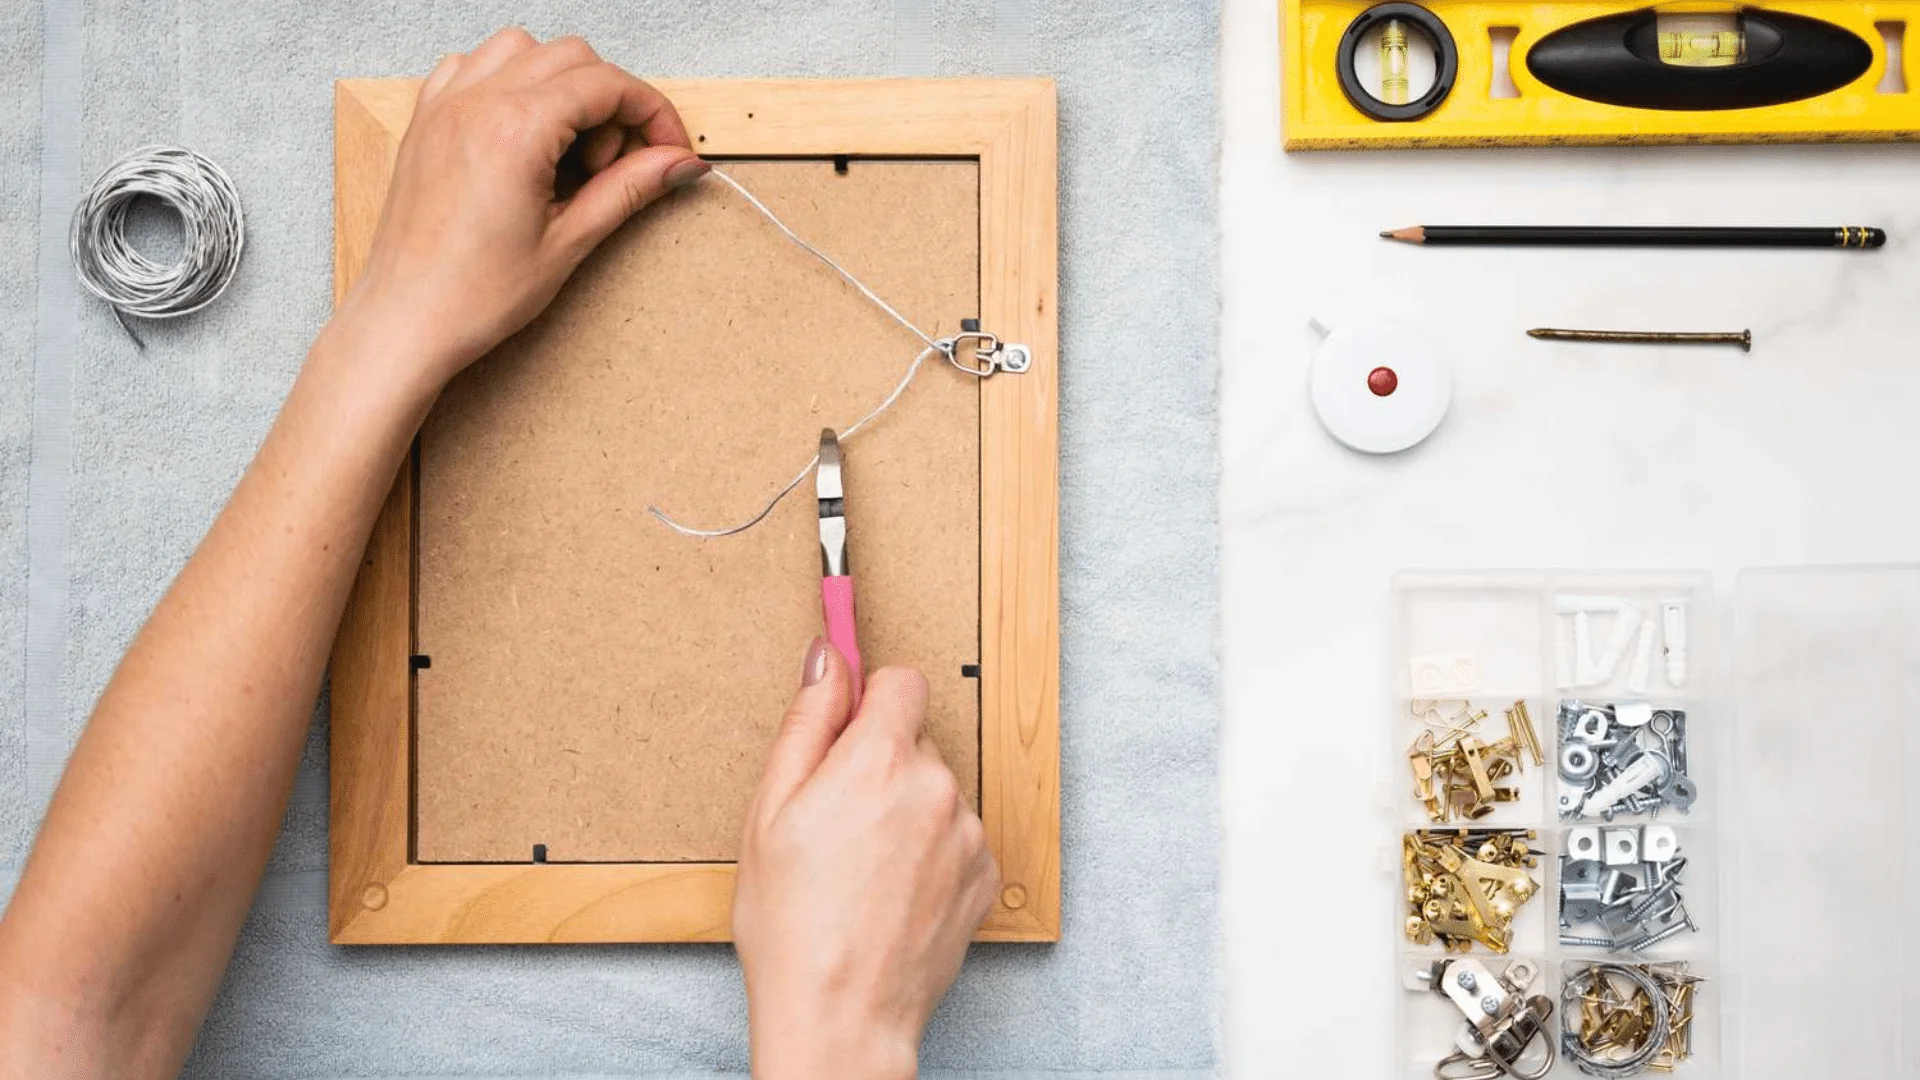
Step 9: Add Hanging Hardware

- Attach D-rings, wire, or a sawtooth hanger to the back of the frame.
- Measure carefully so it hangs straight.
- If your frame is heavy, use wall anchors or screws when hanging it.
And that’s it! Your custom DIY poster frame is ready to hang and enjoy. You made it yourself, saved money, and created something that fits your style perfectly.
Using Your DIY Poster Frame
Now that you’ve built your awesome DIY poster frame, it’s time to show it off!
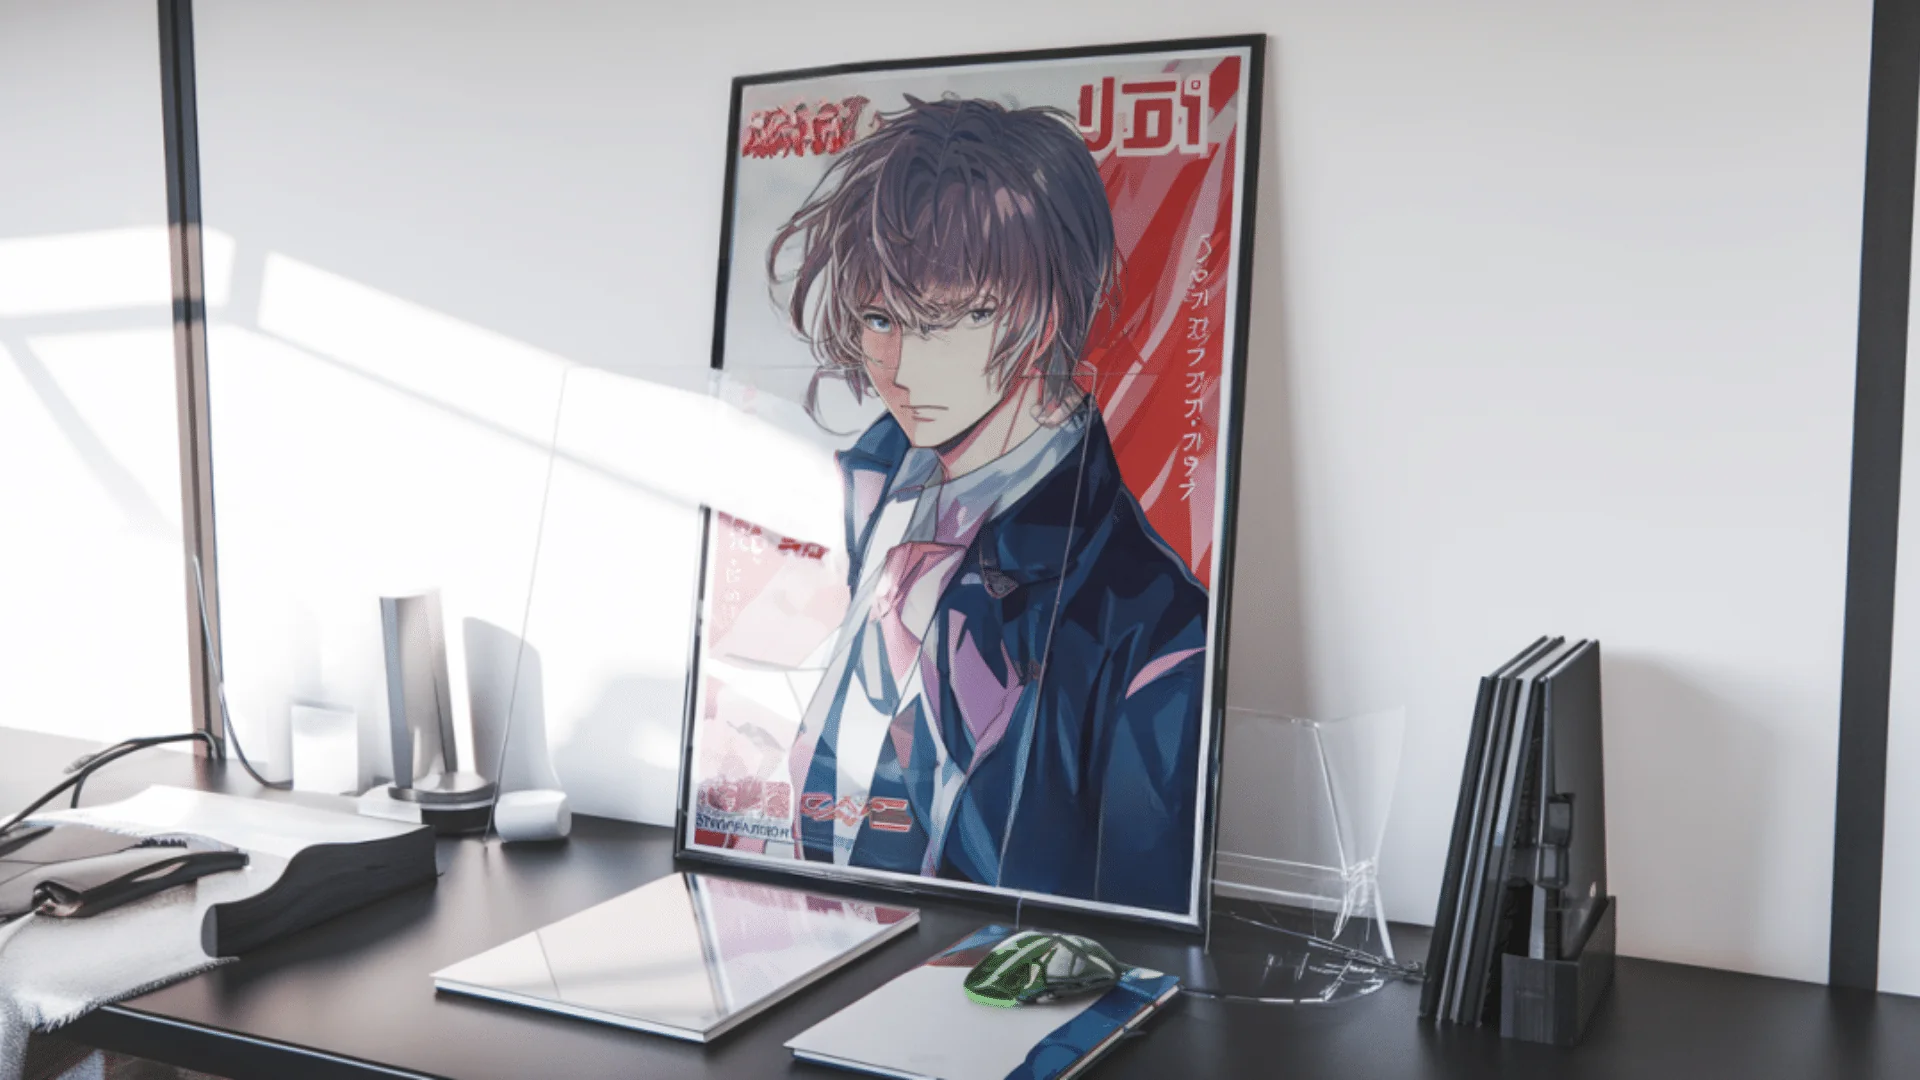
1. Hang It on the Wall: This is the most common way to use your poster frame. Find a good spot on your wall—above your bed, desk, or couch—and hang it using nails, hooks, or wall-safe strips. Just make sure it’s level!
2. Lean It on a Shelf or Desk: If you don’t want to put holes in the wall, you can lean the frame on a shelf, dresser, or desk. It gives a cool, casual look and makes it easy to switch things up later.
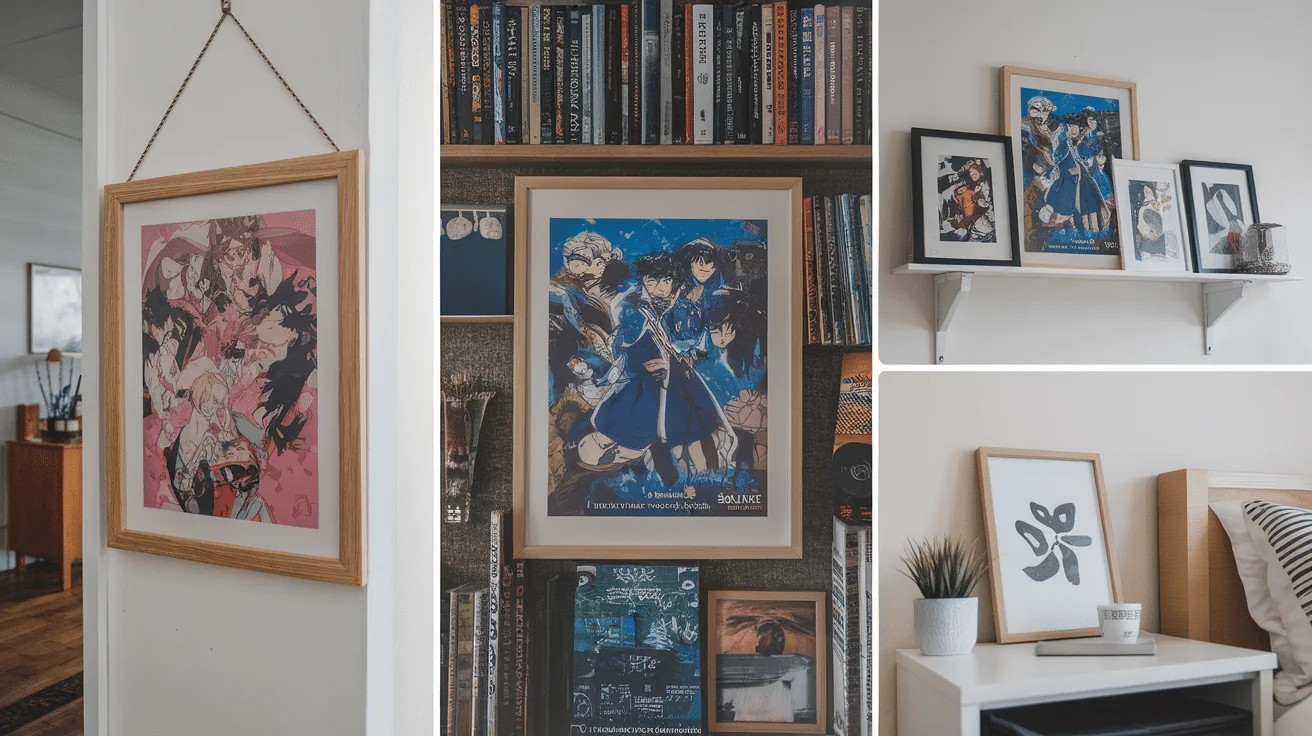
3. Group It with Other Frames: Create a gallery wall by hanging a few different poster frames together. Mix different sizes and styles for a fun, creative display.
4. Switch Posters Anytime: One of the best parts of a DIY frame is that you can design it so it’s easy to change the poster. If you love trying new looks, swap in a new print whenever you feel like it.
5. Use It for More Than Posters: Your frame doesn’t have to be just for posters! You can use it to show off art prints, photos, drawings, quotes, or even puzzles you’ve finished.
No matter how you use it, your DIY poster frame adds a personal touch to your space. You made it with your own hands—and that makes it even more special!
Popular Poster Frame Designs
There are tons of creative ways to design your DIY poster frame. Whether you like a clean, modern look or something a little more fun and artsy, there’s a style for everyone.
1. Simple Wood Frame
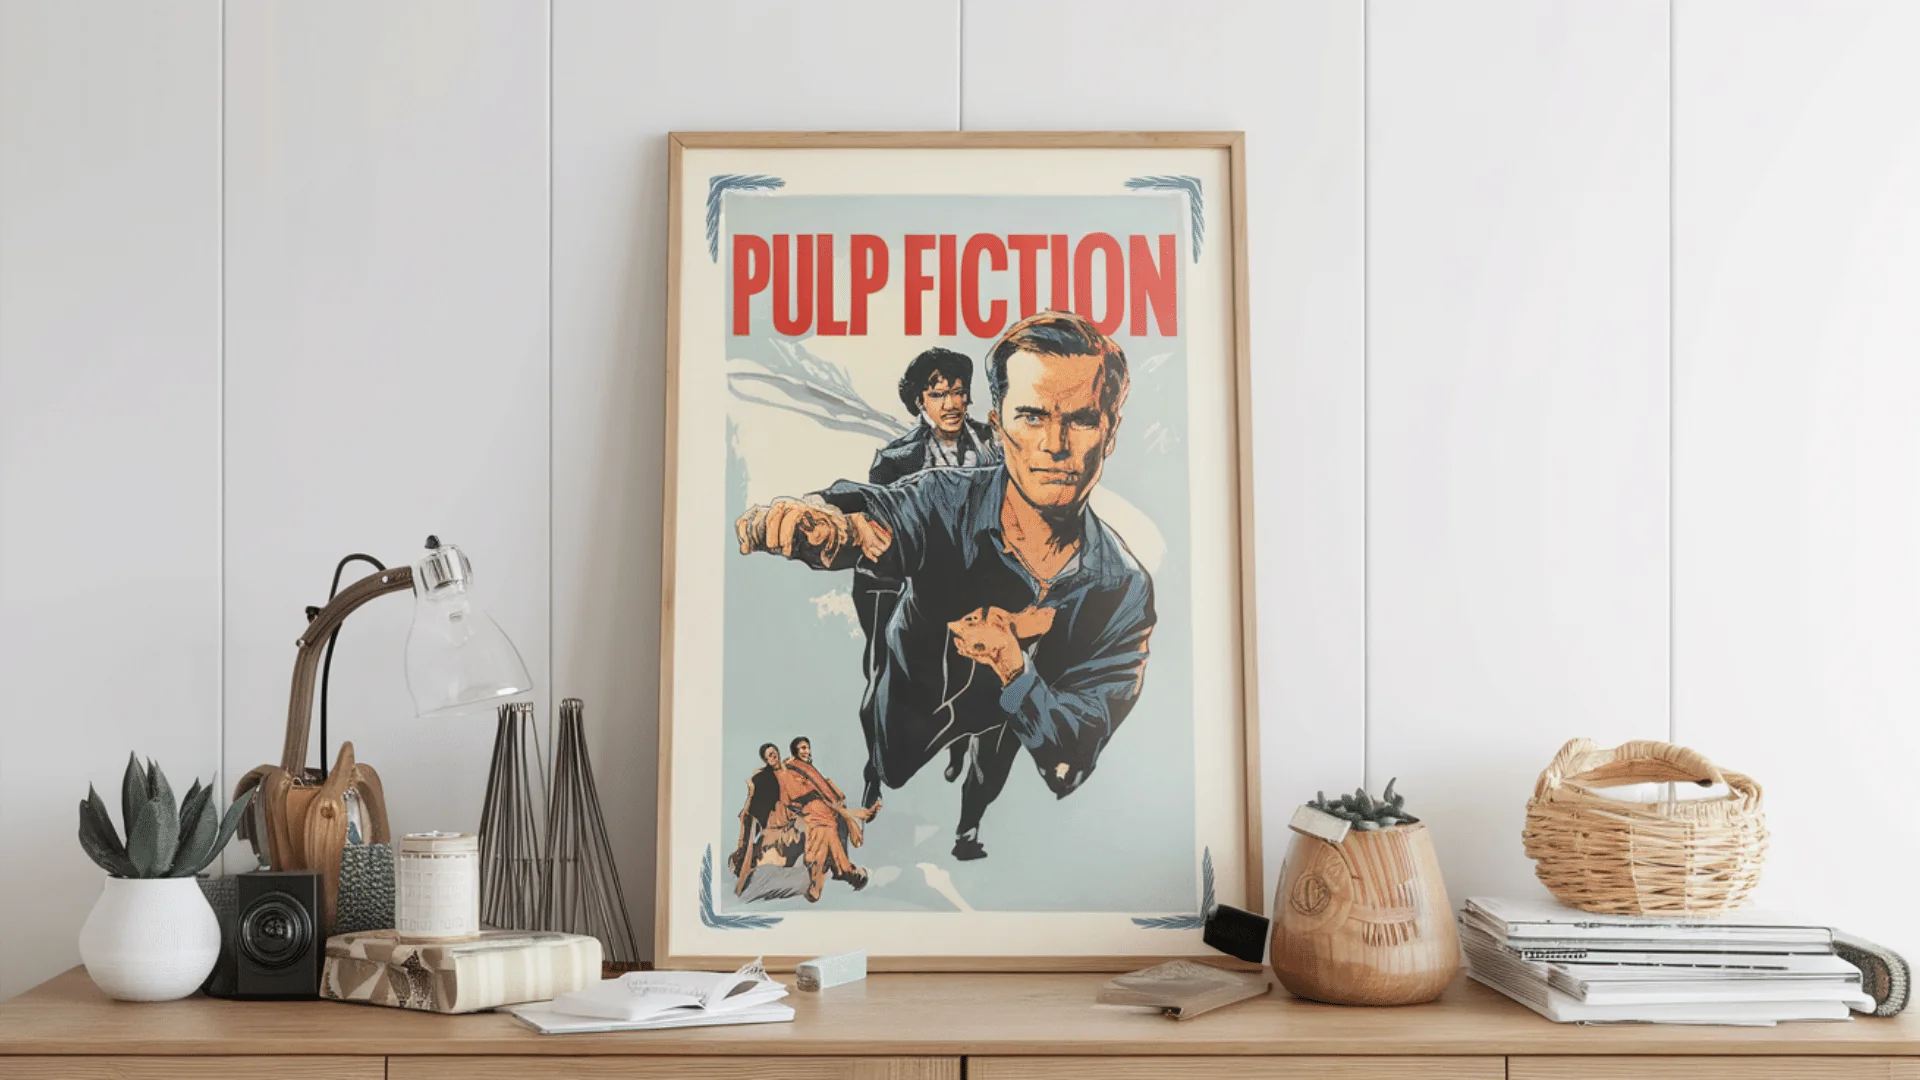
This is the easiest and most classic design. You just use plain wood pieces, either left natural or lightly stained. It’s great if you want something clean and timeless. You can use light wood for a fresh, airy feel or darker wood for something warmer and richer.
Best for: Minimalist spaces, modern rooms, or anyone who loves a natural look.
2. Painted Frame
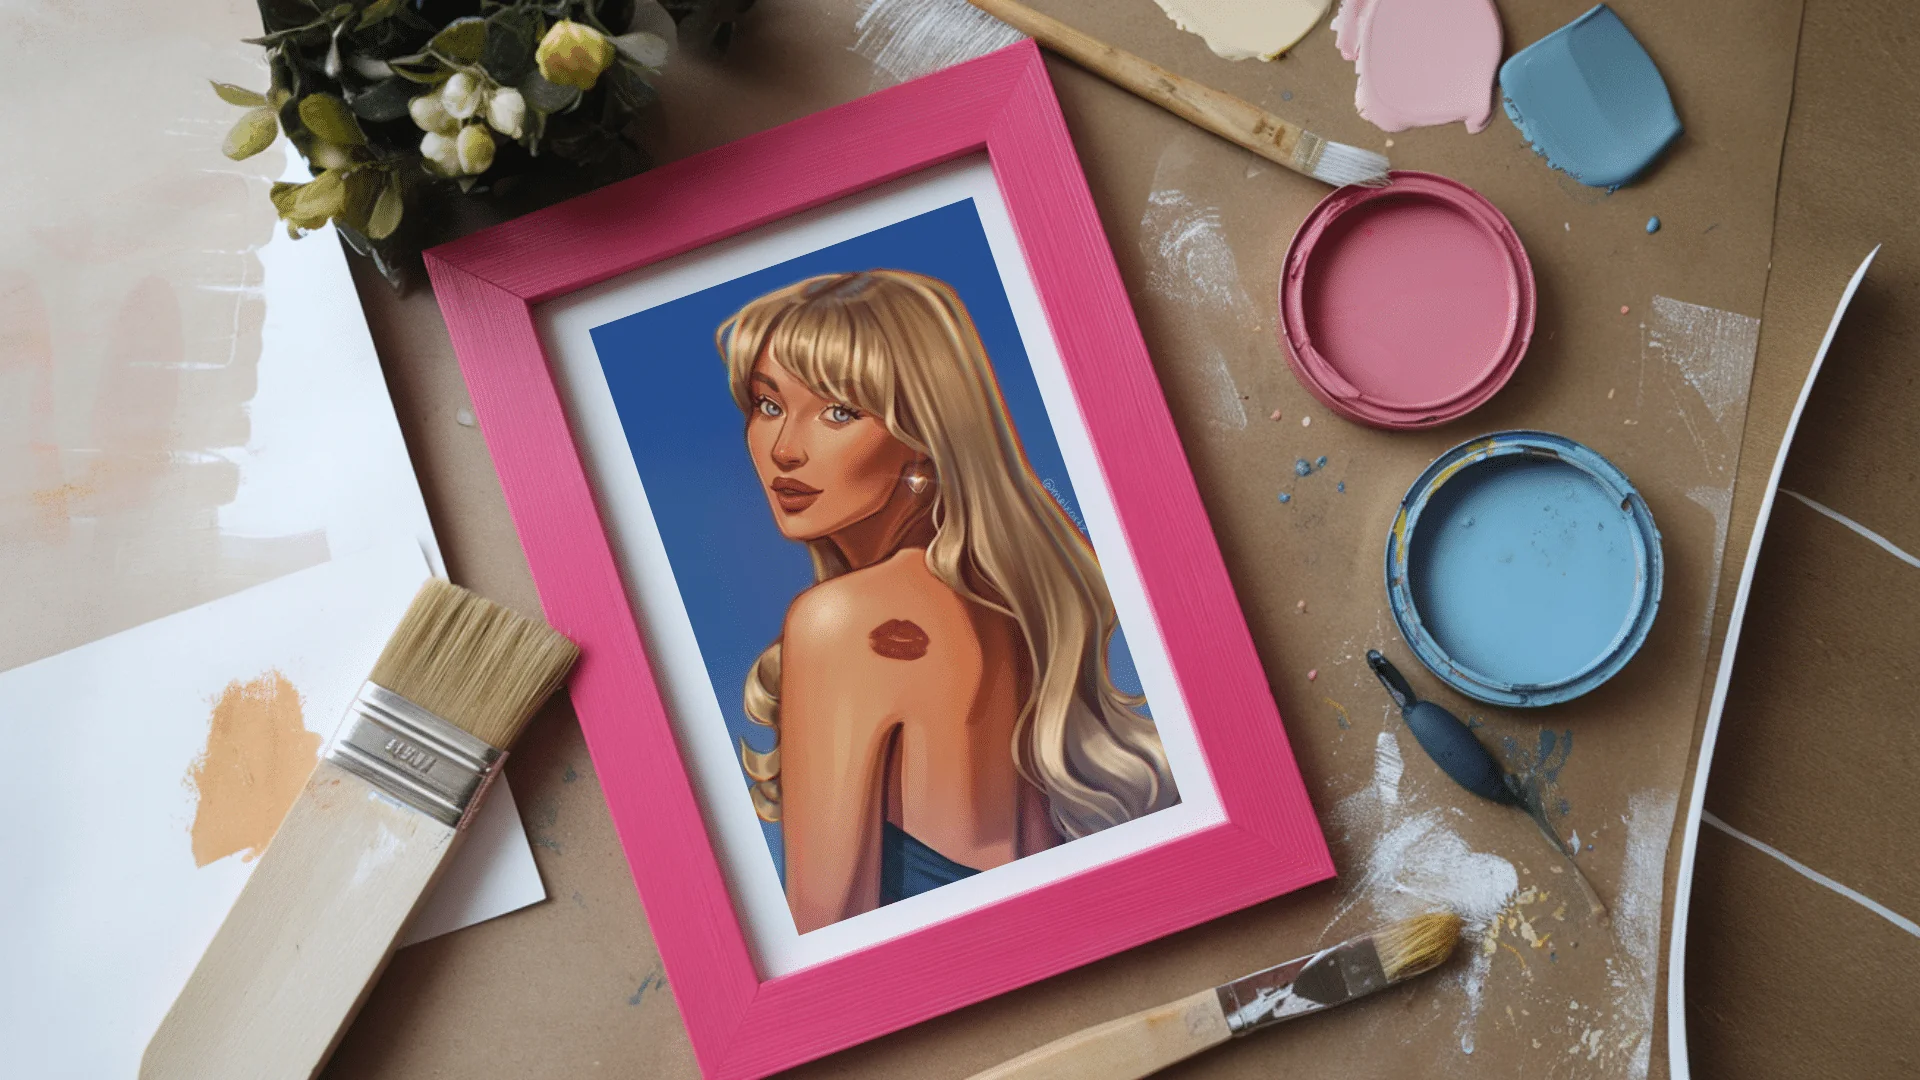
Want to add a pop of color to your room? Try painting your frame! You can match it to your poster, your wall color, or just pick a fun shade you love. Use bright colors like yellow, red, or teal to make a bold statement, or softer tones like white, gray, or pastel blue for a calm, cozy vibe.
Tip: Use painter’s tape to get clean edges and let each coat dry fully.
3. Rustic or Farmhouse Style Frame
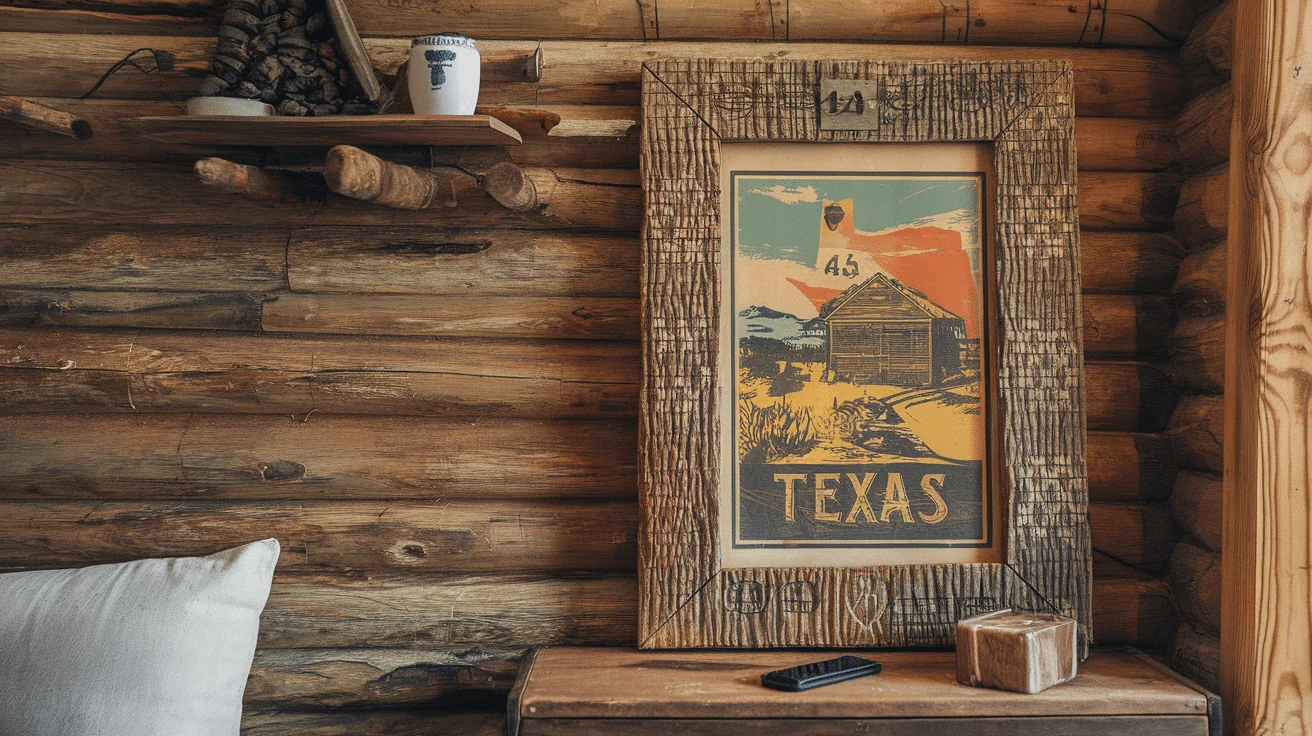
This style uses wood that looks old, weathered, or a little rough. You can buy pre-weathered wood or make your own look rustic by lightly sanding the edges and adding a gray or white stain. Knots, grain, and even little cracks give the frame character. It’s perfect if you like cozy, country-style décor.
Best for: Farmhouse, cottage, or boho-style rooms.
4. Magnetic Poster Hanger
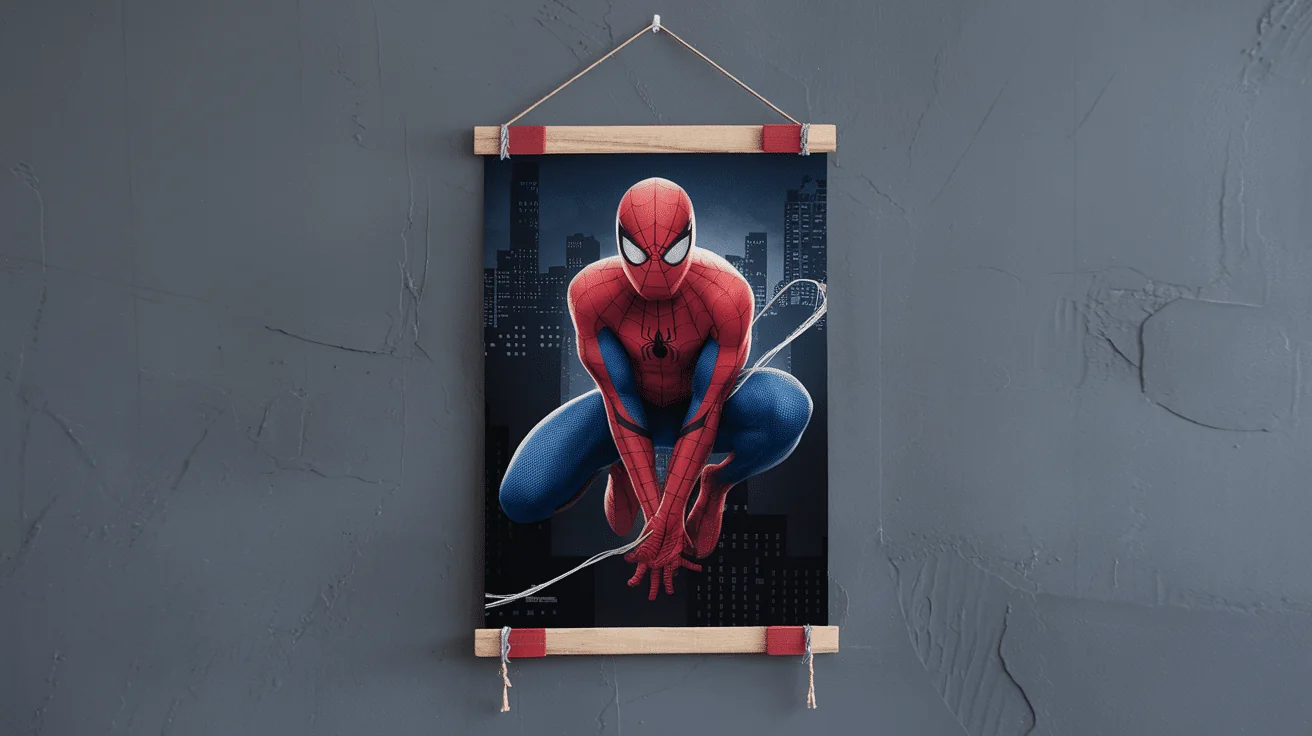
Instead of a full frame, this design uses two wood strips with magnets inside. One set goes on the top of the poster, and one on the bottom. The magnets hold the poster in place, and a string or cord is attached at the top for hanging. It’s super simple and lets you change posters quickly.
Best for: Dorm rooms, kids’ rooms, renters, or people who like to switch posters often.
5. Floating Frame

A floating frame gives the illusion that your poster is “floating” inside the frame, with a small gap between the poster and the frame edges. You can create this look by mounting the poster on a slightly smaller backing board, then placing it in a larger frame. This design adds a modern, gallery-style touch.
Best for: Art prints, photography, or statement posters.
6. Clip Frame
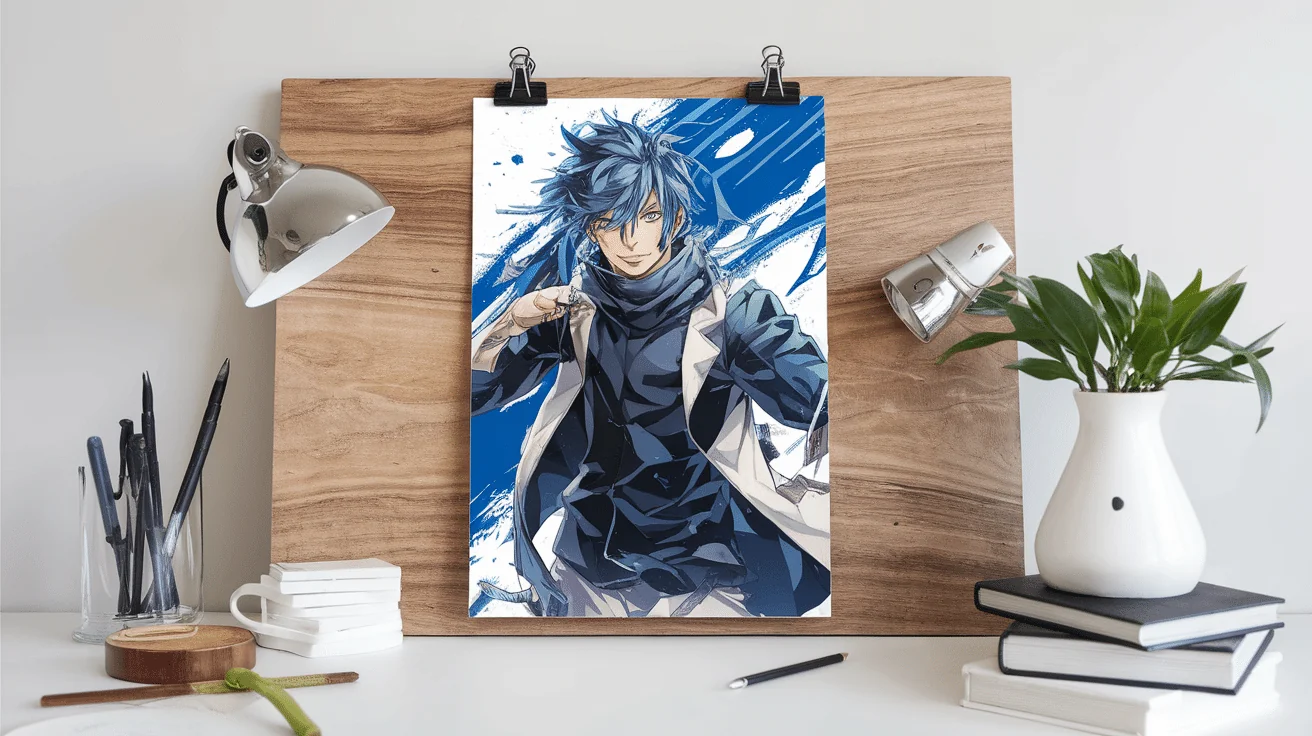
This is one of the easiest and most budget-friendly styles. You just use clips to attach your poster to a wooden board or even a piece of foam board. Some people use binder clips, metal bulldog clips, or small wooden clothespins. It’s casual, creative, and super easy to change the poster whenever you want.
Best for: Teen bedrooms, art studios, or casual spaces.
Each of these styles can be made with basic materials and tools. Pick the one that fits your space and personality best—or try more than one! The fun part of DIY is that you can always make it your own.
Tips and Tricks
There are many helpful tips and tricks to make your DIY poster frame look great and last a long time. These little details can really make a big difference!
1. Double-check your measurements: Before cutting anything, measure your poster twice. It’s better to take a few extra seconds than to end up with pieces that don’t fit.
2. Use clamps for cleaner corners: Clamps help hold your frame tightly together while the glue dries. This keeps the corners from slipping and makes everything line up better.
3. Sand everything: Even if the wood looks smooth, give it a light sanding. It helps paint or stain go on evenly and makes the frame feel nicer.
4. Test paint or stain on scrap wood: Before painting your actual frame, test the color on a small piece of wood. This way, you know exactly what it will look like when it’s dry.
5. Protect your poster: If you’re not using glass or acrylic, make sure your hands are clean when handling the poster. You can also use acid-free tape or photo corners to avoid damage.
6. Go slow with the glue: Use just enough glue to hold the corners—too much can drip out and make a mess. Wipe off any extra with a damp cloth right away.
7. Let everything dry fully: Be patient! Let the glue, paint, or stain dry all the way before moving on. This keeps your frame strong and looking its best.
8. Use strong hanging hardware: Pick the right hanging tools based on your frame’s weight. If it’s big or heavy, use wall anchors or hooks to keep it secure.
These simple tips will help your DIY poster frame turn out looking neat, strong, and ready to show off. Have fun and take your time—it’s all part of the creative process!
Conclusion
Making your own DIY poster frame is a simple and fun way to display your favorite art, photos, or prints. It’s a great project for beginners, and you don’t need a lot of tools or money to get started.
Plus, you get to choose exactly how your frame looks—from the size and shape to the color and style. Whether you go for a simple wood frame, a rustic look, or a modern magnetic hanger, your handmade frame will add a personal touch to any space.
DIY frames are also easy to change and update, so you can swap out posters whenever you want. And the best part? You get to say, “I made that!” every time someone compliments it.
Frequently Asked Questions
What kind of wood should I use?
Pine or poplar are great choices. They’re light, easy to cut, and affordable. You can also use reclaimed wood for a rustic look.
Do I need glass or acrylic for the front?
No, it’s optional. If you want to protect your poster, you can add clear acrylic. Otherwise, your poster will still look great without it.
Is it cheaper to make your own frame?
Yes! Store-bought frames can be pricey, especially for large posters. DIY frames cost less and let you customize the size and style.