
I have grown potatoes at home for years, and I know they are easier than most people think. If you are starting, this guide to planting and harvesting potatoes will help you understand each step in a simple way.
You will learn when to plant, how to choose good seed potatoes, and how to prepare the soil so plants grow well.
I will also explain planting, spacing, watering, and hilling so you can care for your crop with confidence.
As the plants grow, you will see how to tell when potatoes are ready and how to harvest them without damage. I will also share easy tips for curing and storing them.
By the end, you will feel ready to grow potatoes at home and get a healthy harvest even if you have a small garden or limited space available.
What to Know Before You Grow Potatoes
Potatoes grow underground from seed potatoes, and they need loose soil to form healthy tubers. They are easy to grow and work well for beginners because they do not need much special care.
Potato plants grow best in full sunlight (6–8 hours daily) and need well-drained, loose soil so roots can spread easily.
Space is also important, since crowded plants produce smaller potatoes. These plants grow in stages, starting with sprouts, then green leaves, and finally tubers forming below the soil.
Hilling soil around the base helps protect growing potatoes and supports better yield. Potatoes are forgiving of small mistakes, which makes them a good choice for new gardeners.
With basic care like watering, sunlight, and proper spacing, healthy growth is easier to manage in most home gardens.
Best Time to Plant Potatoes
Getting the timing right makes a big difference in how well potatoes grow. A good start leads to stronger plants and better harvest results.
| Factor | What to Know | Why It Matters |
|---|---|---|
| Ideal Season | Early spring works best in most areas. In mild climates, fall planting also works. | Gives plants cool weather to grow without stress, leading to better yields. |
| Climate Impact | Potatoes prefer cool conditions and struggle in extreme heat or frost. | Protects plants from damage and helps steady growth. |
| Soil Temperature | Plant when the soil is around 7–10°C (45–50°F). Avoid cold, wet soil. | Warmer soil helps sprouting occur faster and reduces the risk of rot. |
Choosing the Right Seed Potatoes
Seed potatoes are small potatoes or cut pieces used for planting, not eating. They grow into new plants and produce fresh potatoes underground.
Using healthy seed potatoes is important for steady growth and better results. There are three main types based on how fast they grow. Early varieties grow quickly and are ready sooner.
Mid-season types take a bit longer but yield more evenly. Late varieties need more time but often produce larger harvests.
It is best to use certified disease-free seed potatoes rather than regular store-bought ones.
These are checked for quality and help reduce the risk of plant problems. Strong, healthy seeds lead to better growth, fewer issues, and a more reliable harvest in the end.
Preparing the Soil for Healthy Growth
Good soil setup helps roots spread easily and supports steady plant growth. Small changes in soil quality can improve the final harvest.
- Ideal Soil Type and pH: Loose, well-drained soil works best, with a slightly acidic pH around 5.5–6.5. Heavy or compact soil can block root growth and lead to poor yield.
- Loosening the Soil: Soil should be turned and broken up before planting to remove clumps. This helps air, water, and roots move freely through the ground.
- Enriching the Soil: Mixing in organic matter improves soil structure and adds nutrients. It also helps the soil hold moisture without becoming too wet.
- Adding Compost or Fertilizer: Well-rotted compost or a balanced fertilizer gives plants the nutrients needed for strong growth. Avoid too much nitrogen, as it can lead to more leaves than potatoes.
Step-by-Step Process for Planting Potatoes
Growing potatoes at home is simple when you follow the right steps. This guide walks you through planting, care, and harvesting with easy-to-follow instructions you can trust.
Step 1: Prepare Soft Soil
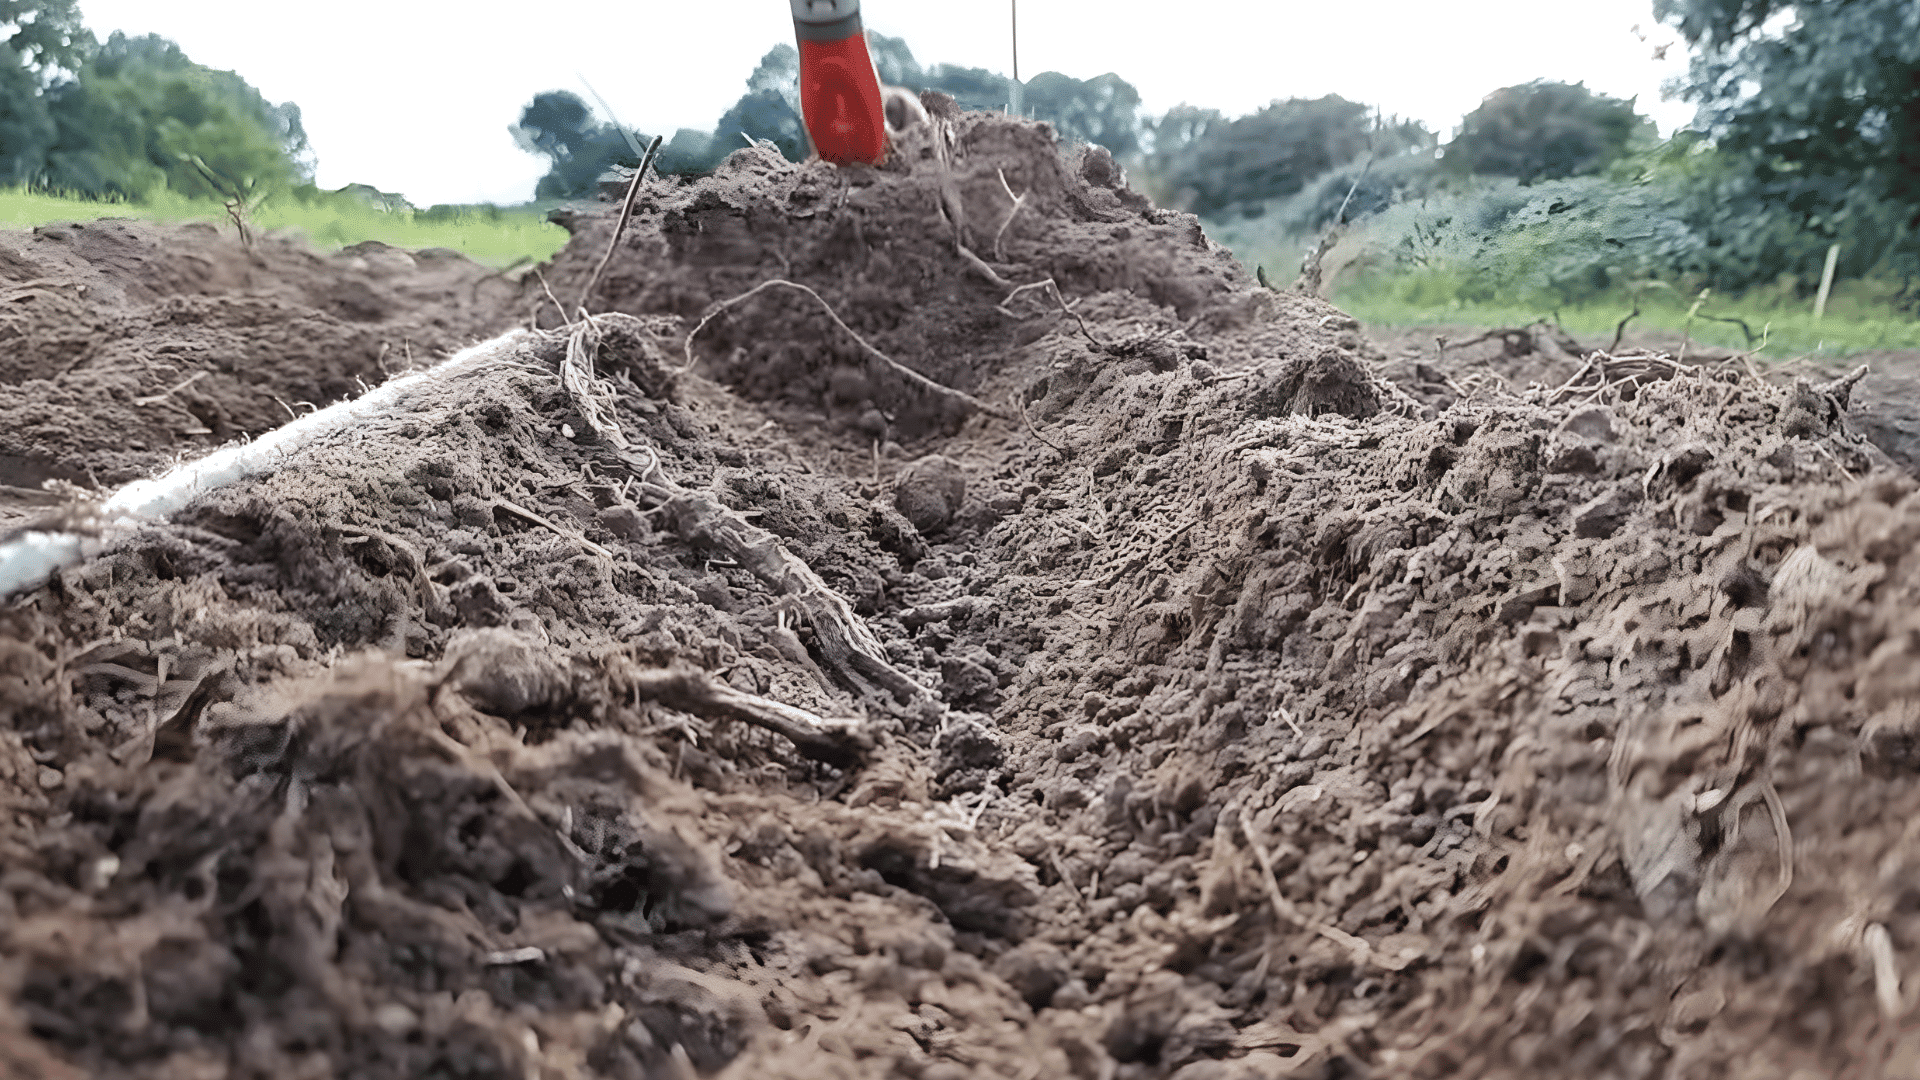
Healthy potato growth begins with soft, loose soil. When the soil is easy to dig and free from hard clumps, potatoes can expand properly underground without becoming misshapen.
Start by turning the soil using a shovel or garden fork. Remove stones, weeds, and debris that may block growth. Adding compost can improve texture and nutrients. Well-prepared soil also helps with drainage, which prevents rot.
Taking time on this step makes a big difference in the size and quality of your harvest.
Step 2: Dig Trenches
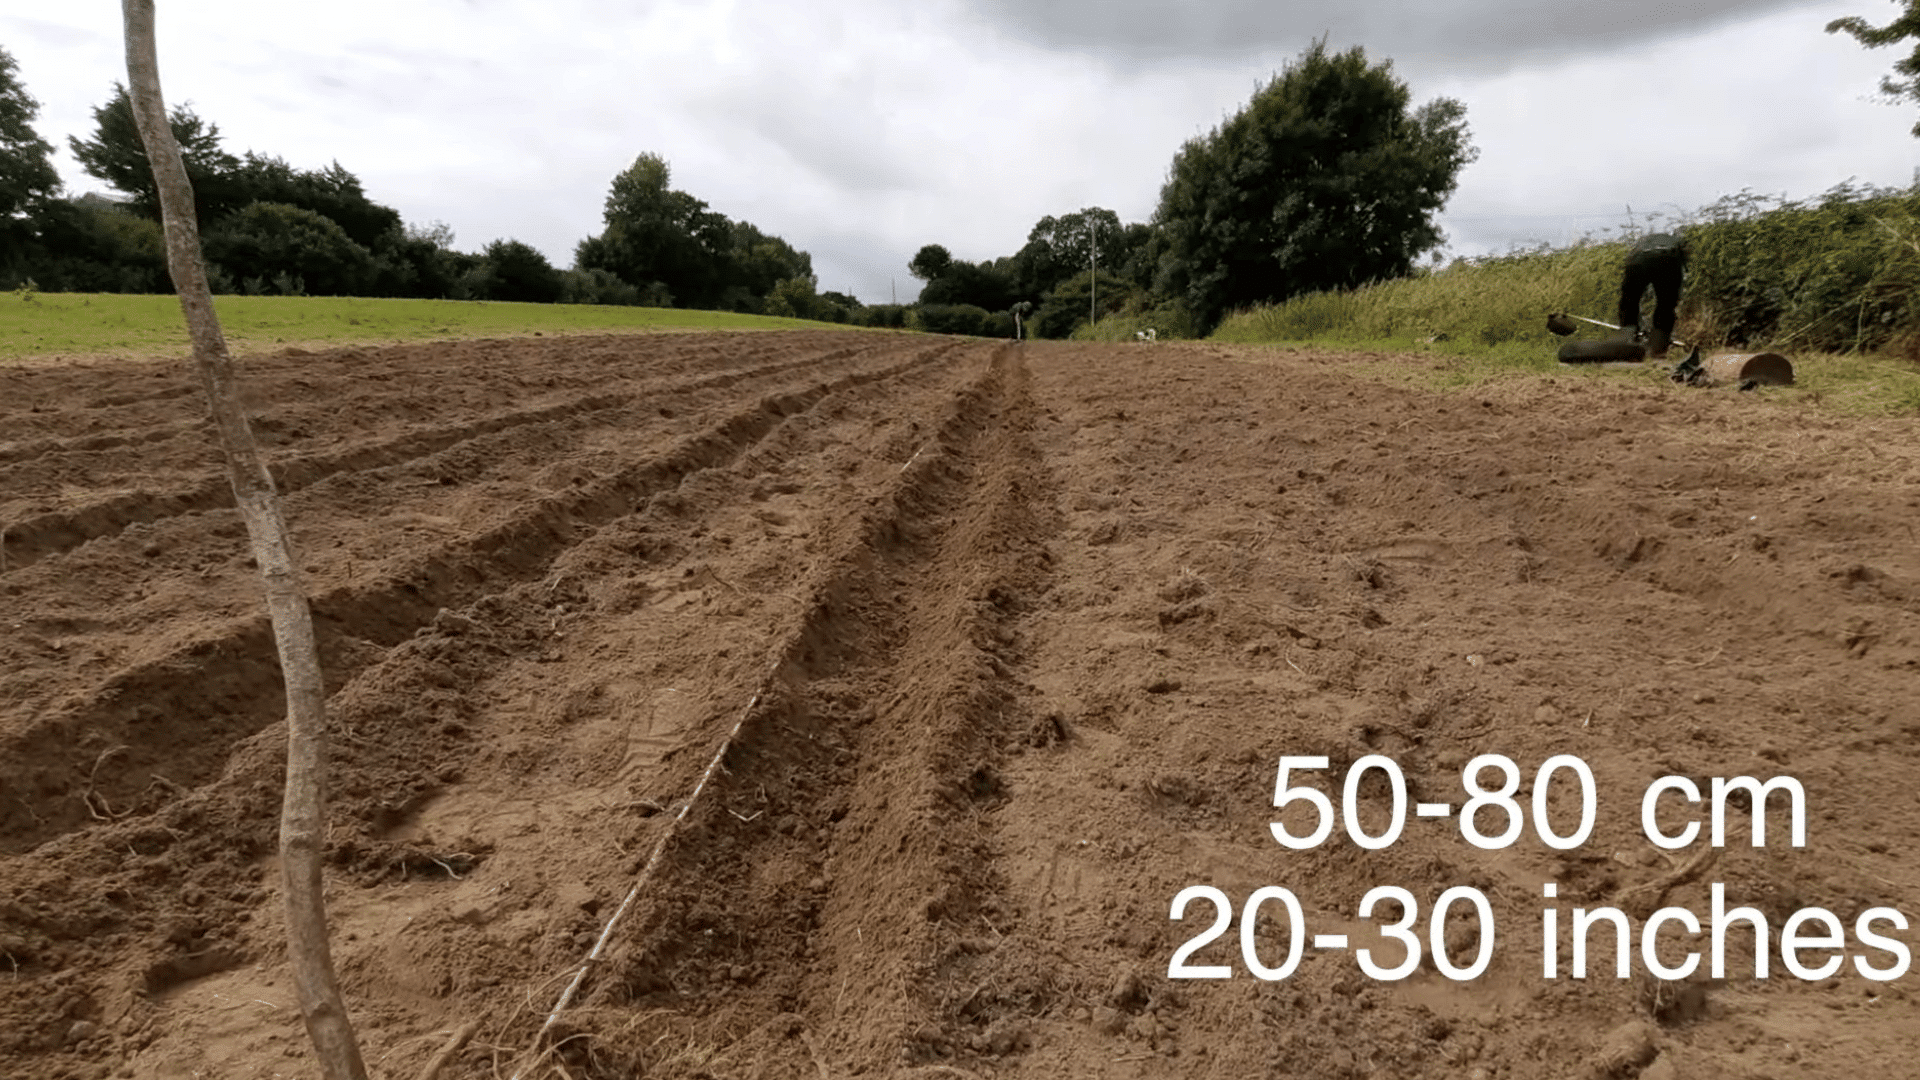
Once your soil is ready, dig trenches that are about 10 to 15 centimeters deep and spaced 50 to 80 centimeters apart. This spacing gives each plant enough room to grow without crowding.
The trench method helps control soil levels as plants grow and makes harvesting easier later.
If you are planting many potatoes, using a tool like a potato ridger can save effort and time. Proper trench depth and spacing ensure better airflow, root development, and overall plant health.
Step 3: Plant Seed Potatoes
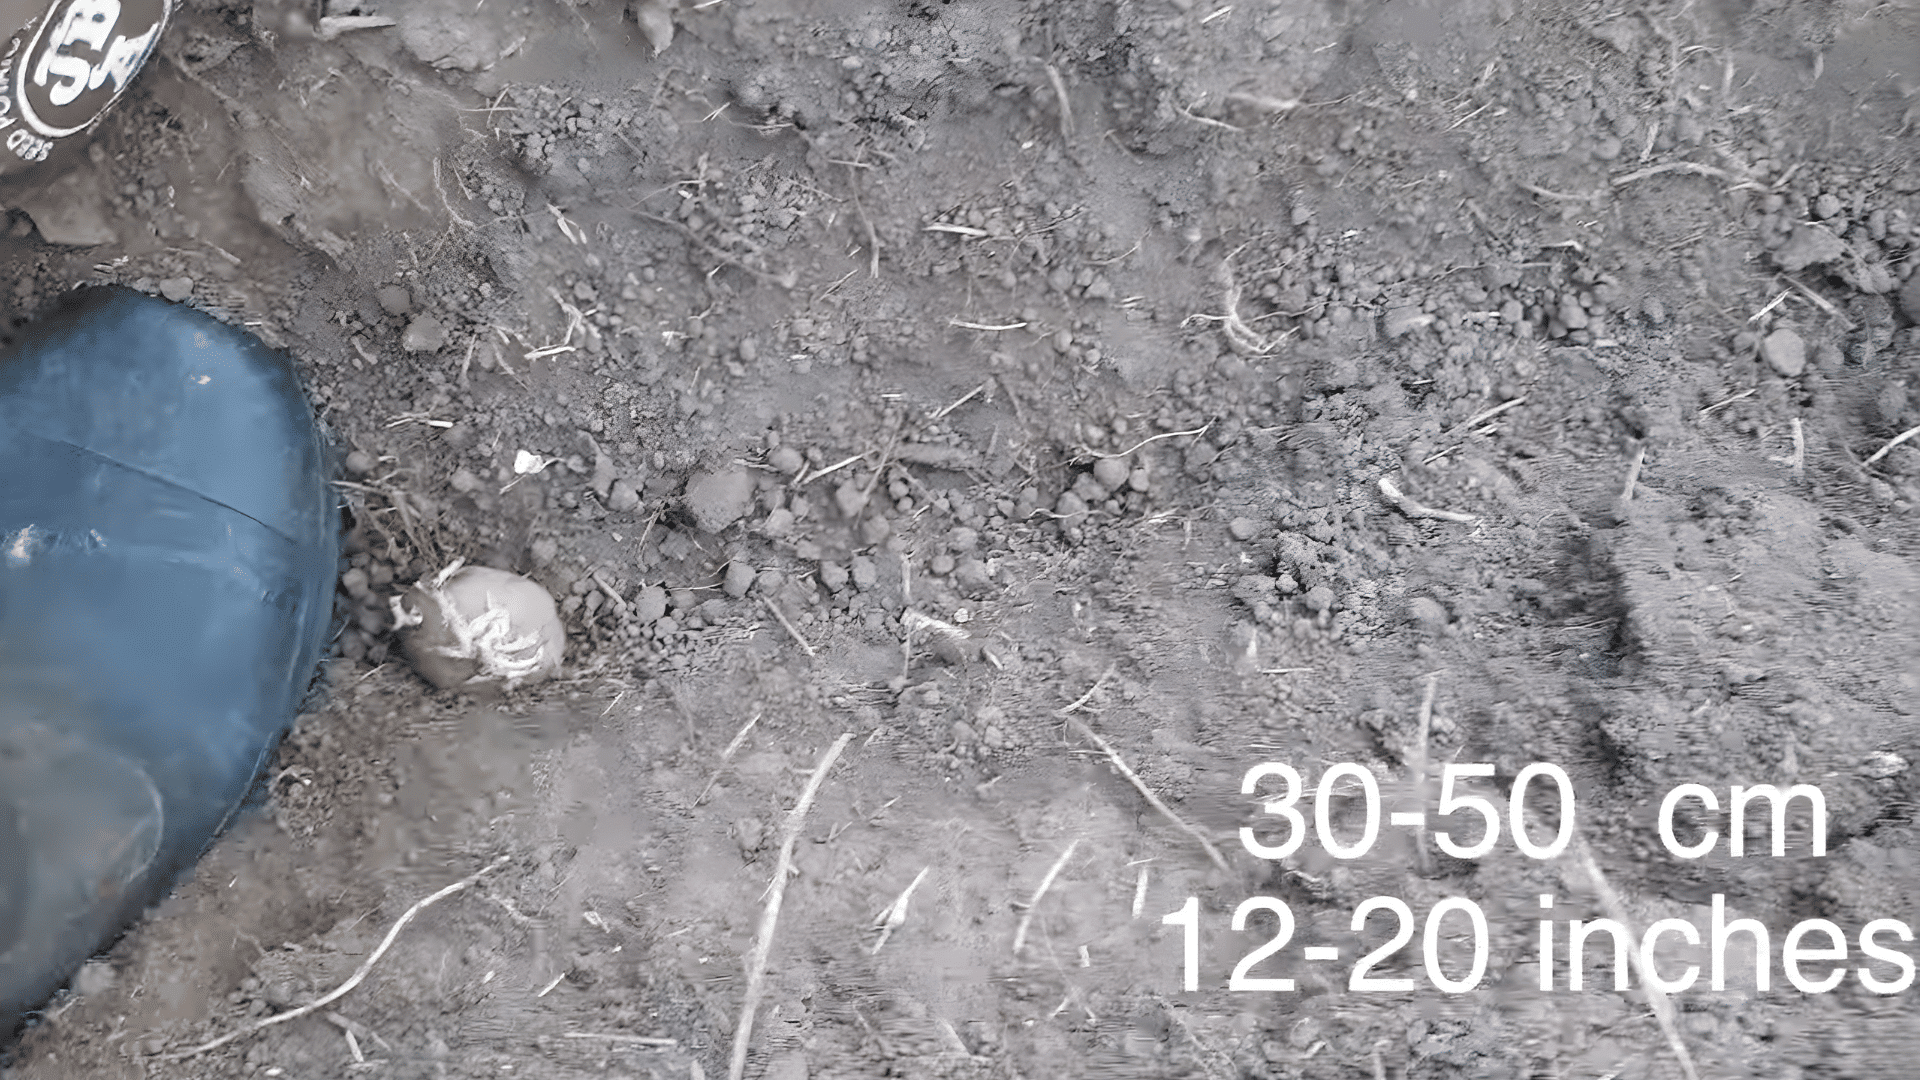
Place seed potatoes at the bottom of each trench, spacing them 30 to 50 centimeters apart. Always keep the sprouts facing upward so the plant grows in the right direction.
If your seed potatoes are large or have multiple sprouts, you can cut them into pieces, making sure each piece has at least one sprout.
This allows you to grow more plants from fewer potatoes. Proper spacing prevents overcrowding and ensures each plant gets enough nutrients and room to grow.
Step 4: Cover And Water
After placing the seed potatoes, gently cover them with soil and water thoroughly.
Moist soil helps the potatoes settle in and encourages early root growth. Make sure the water reaches deep into the soil without flooding the area.
Consistent moisture is key during the early stages, but avoid overwatering, as it can cause rot. A good watering routine helps plants establish quickly and supports steady growth.
This simple step sets the foundation for a healthy and productive potato crop.
Step 5: Prevent Potato Blight
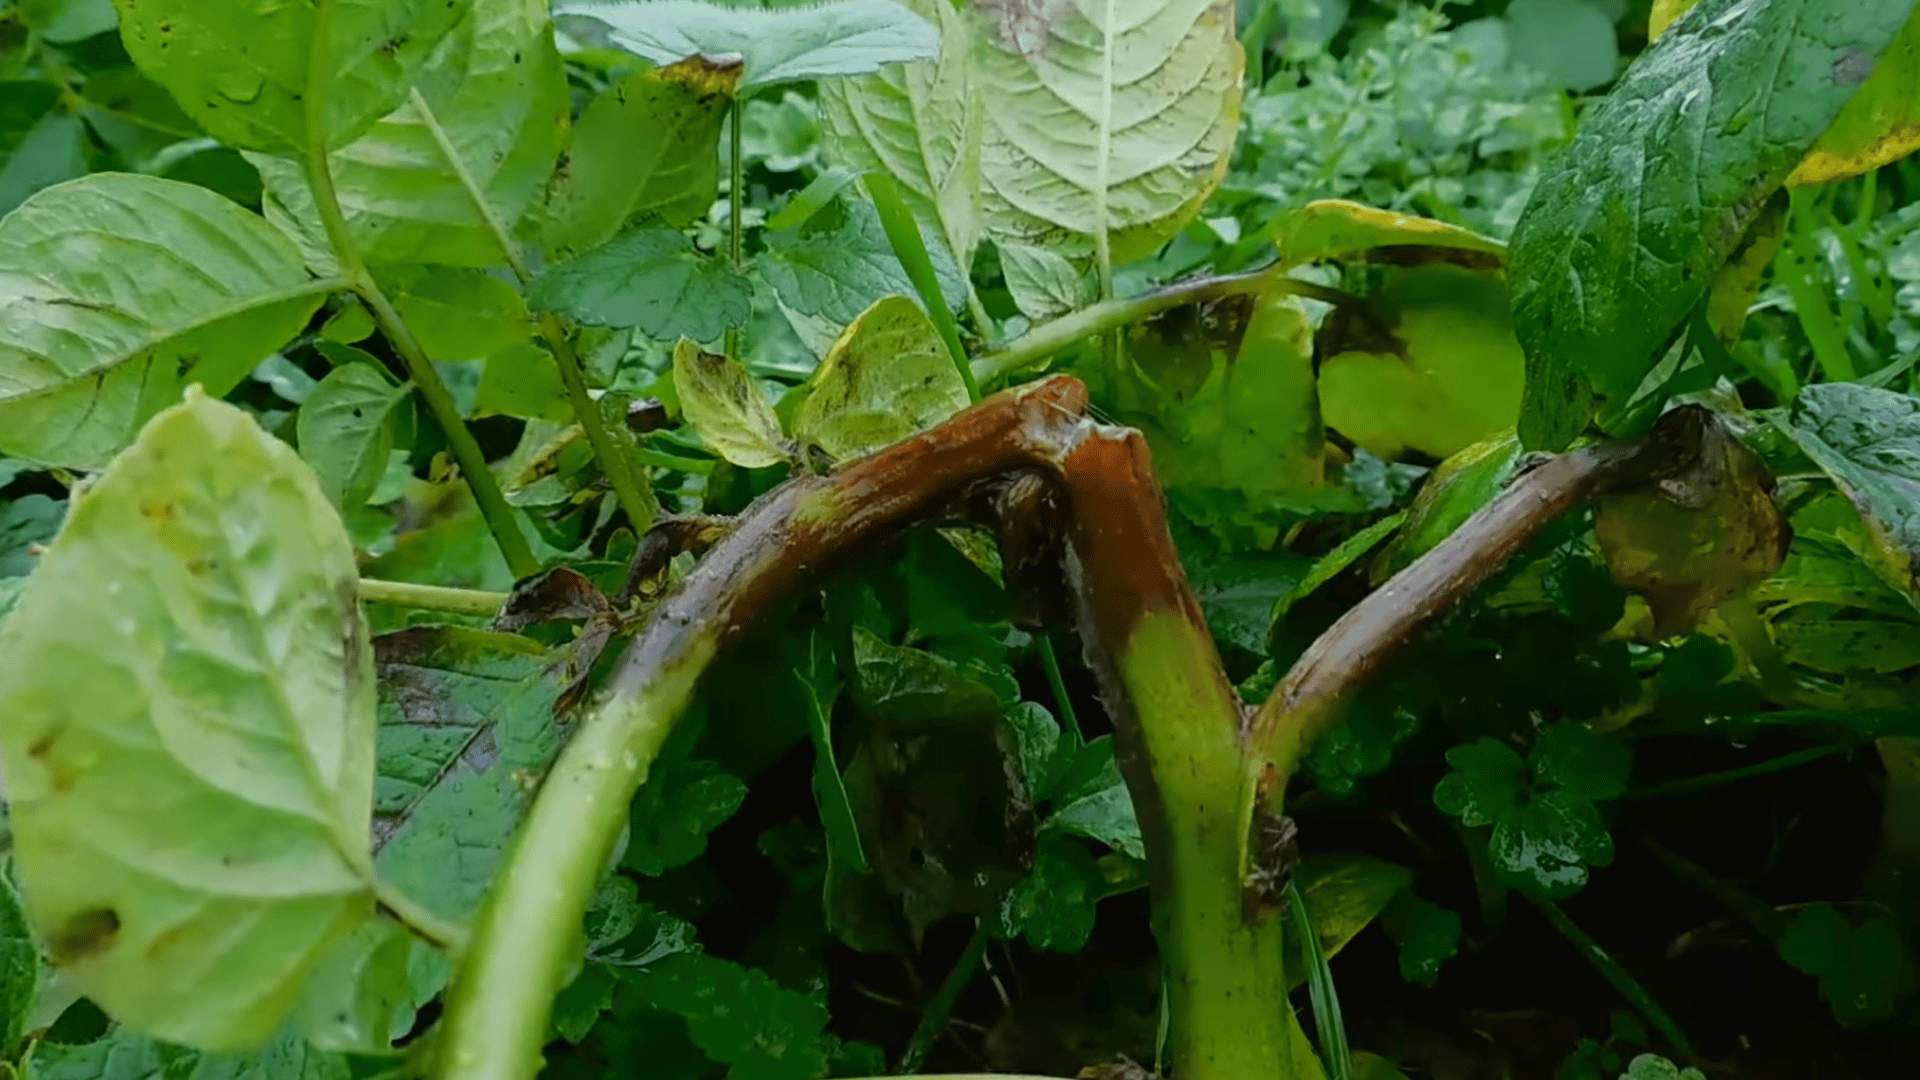
Potato blight is a serious disease that can destroy your crop within weeks. Since there is no cure, prevention is essential.
Make sure your plants are spaced well to allow airflow and reduce moisture buildup. Always water at the base of the plant instead of spraying the leaves, as wet leaves encourage disease.
You can also use a mild baking soda solution as a preventive spray. Keeping your plants dry and healthy is the best way to avoid this common gardening problem.
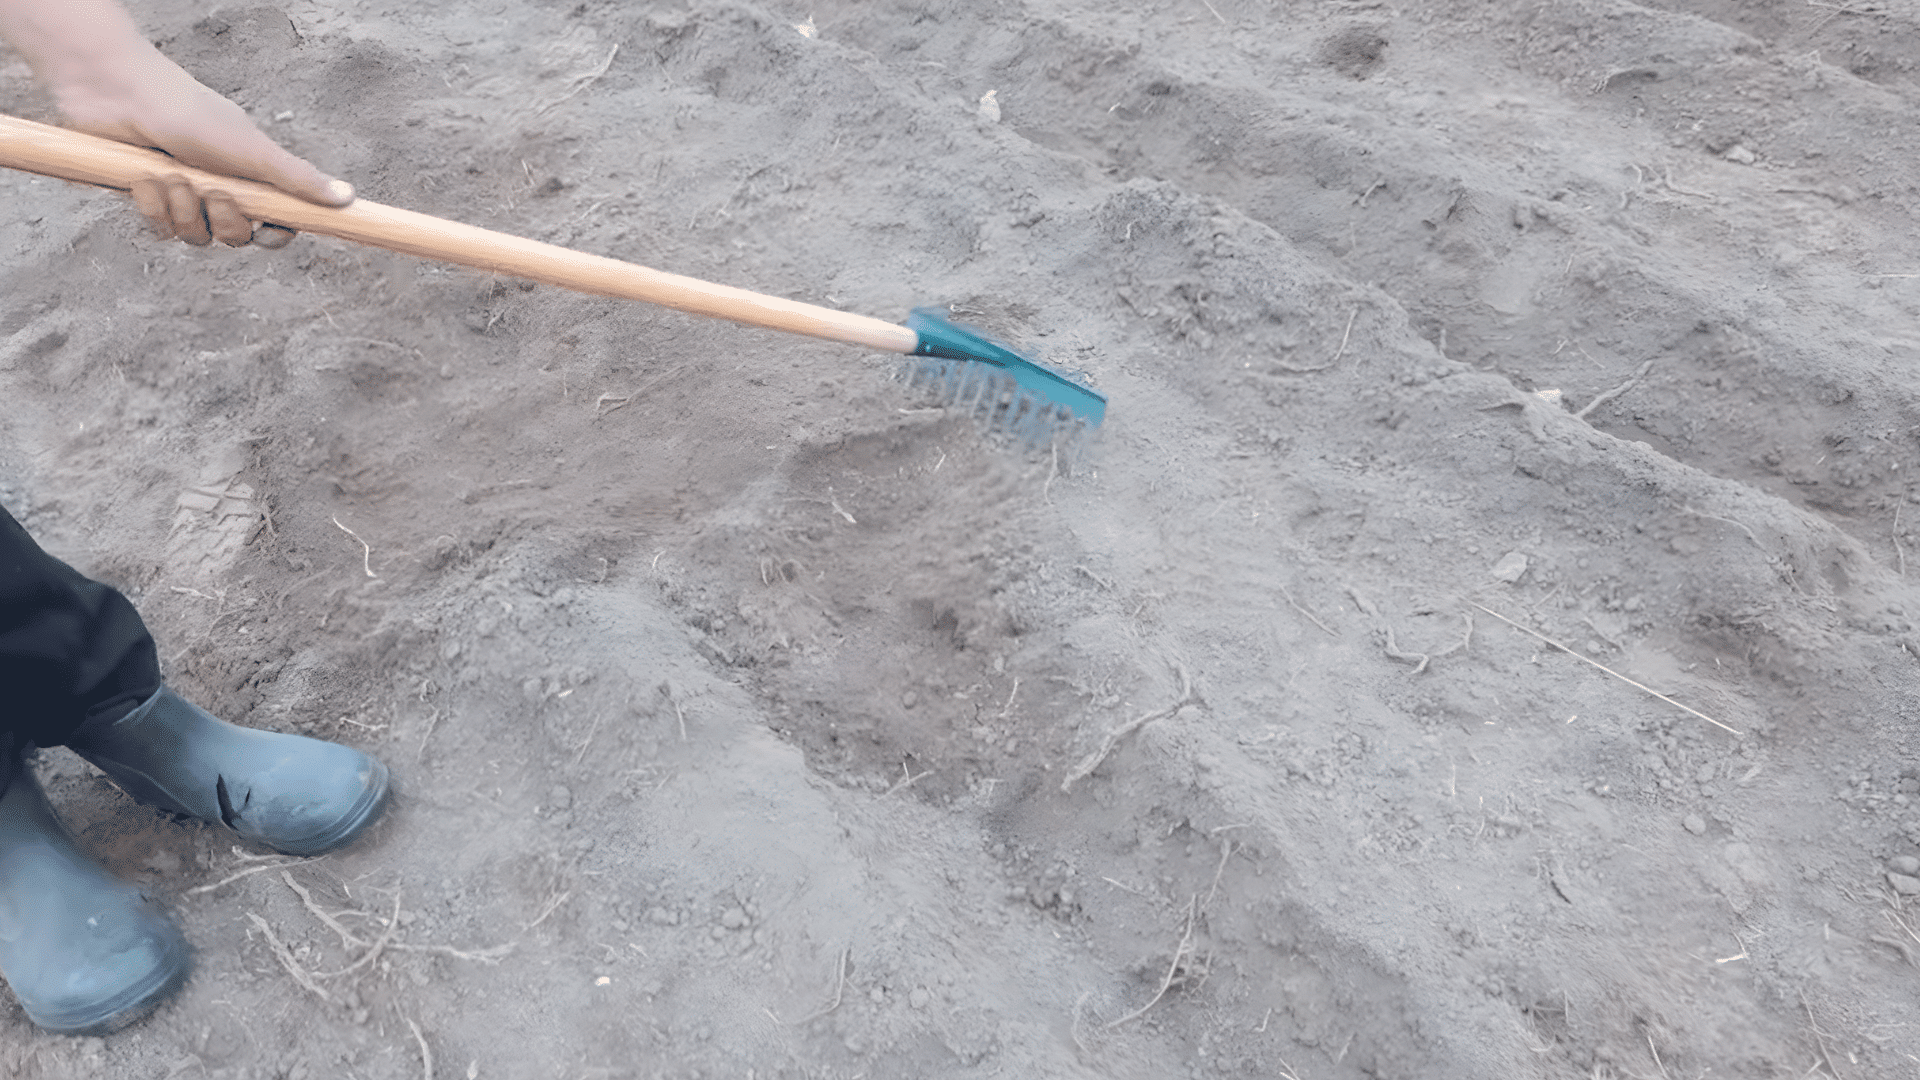
Step 6: Hill The Soil Around Plants
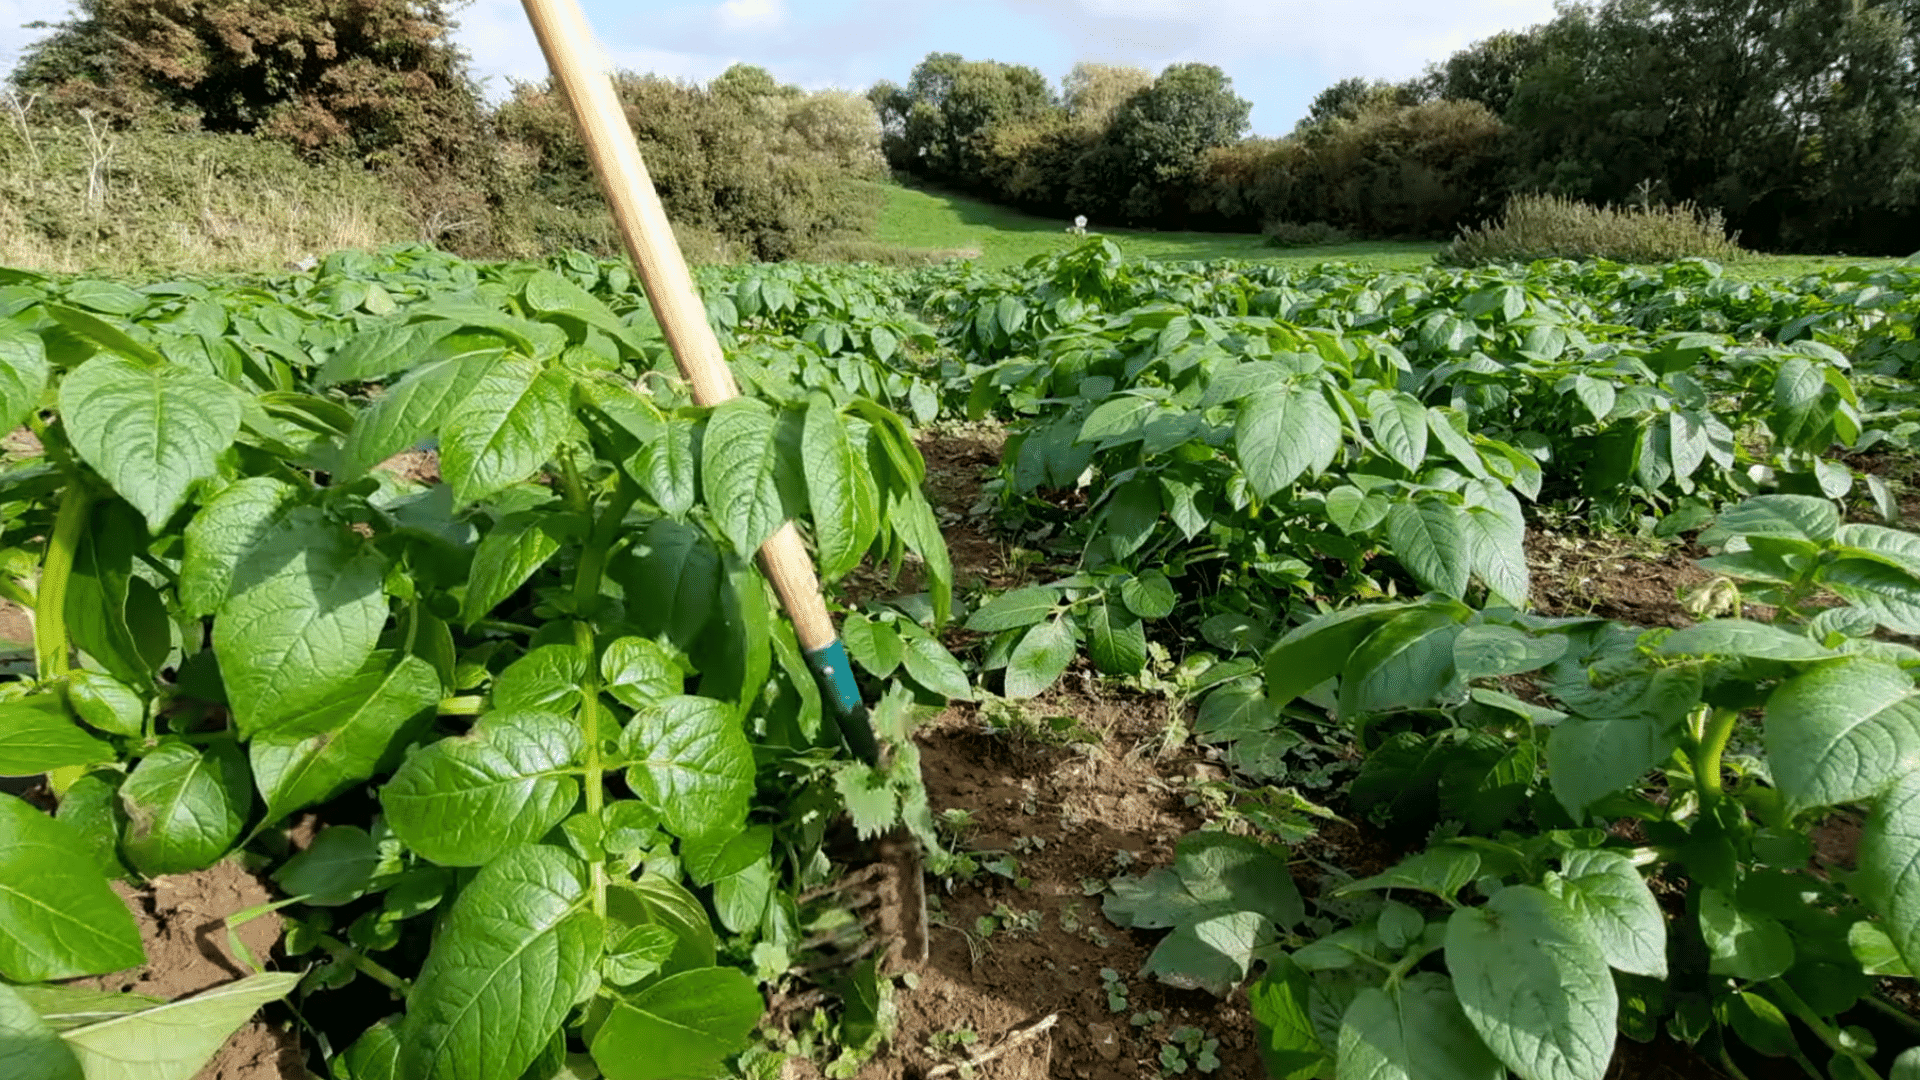
When your potato plants reach about 20 centimeters in height, mound soil around their base.
This process, called hilling, prevents developing potatoes from being exposed to sunlight, which can turn them green and unsafe to eat.
Use a hoe or rake to pull up soil around the stem, leaving about 5 centimeters visible above the ground.
Be careful not to dig too close to the growing potatoes, as you might damage them. Hilling also supports plant stability and improves yields.
Step 7: Watch For Flowering Stage
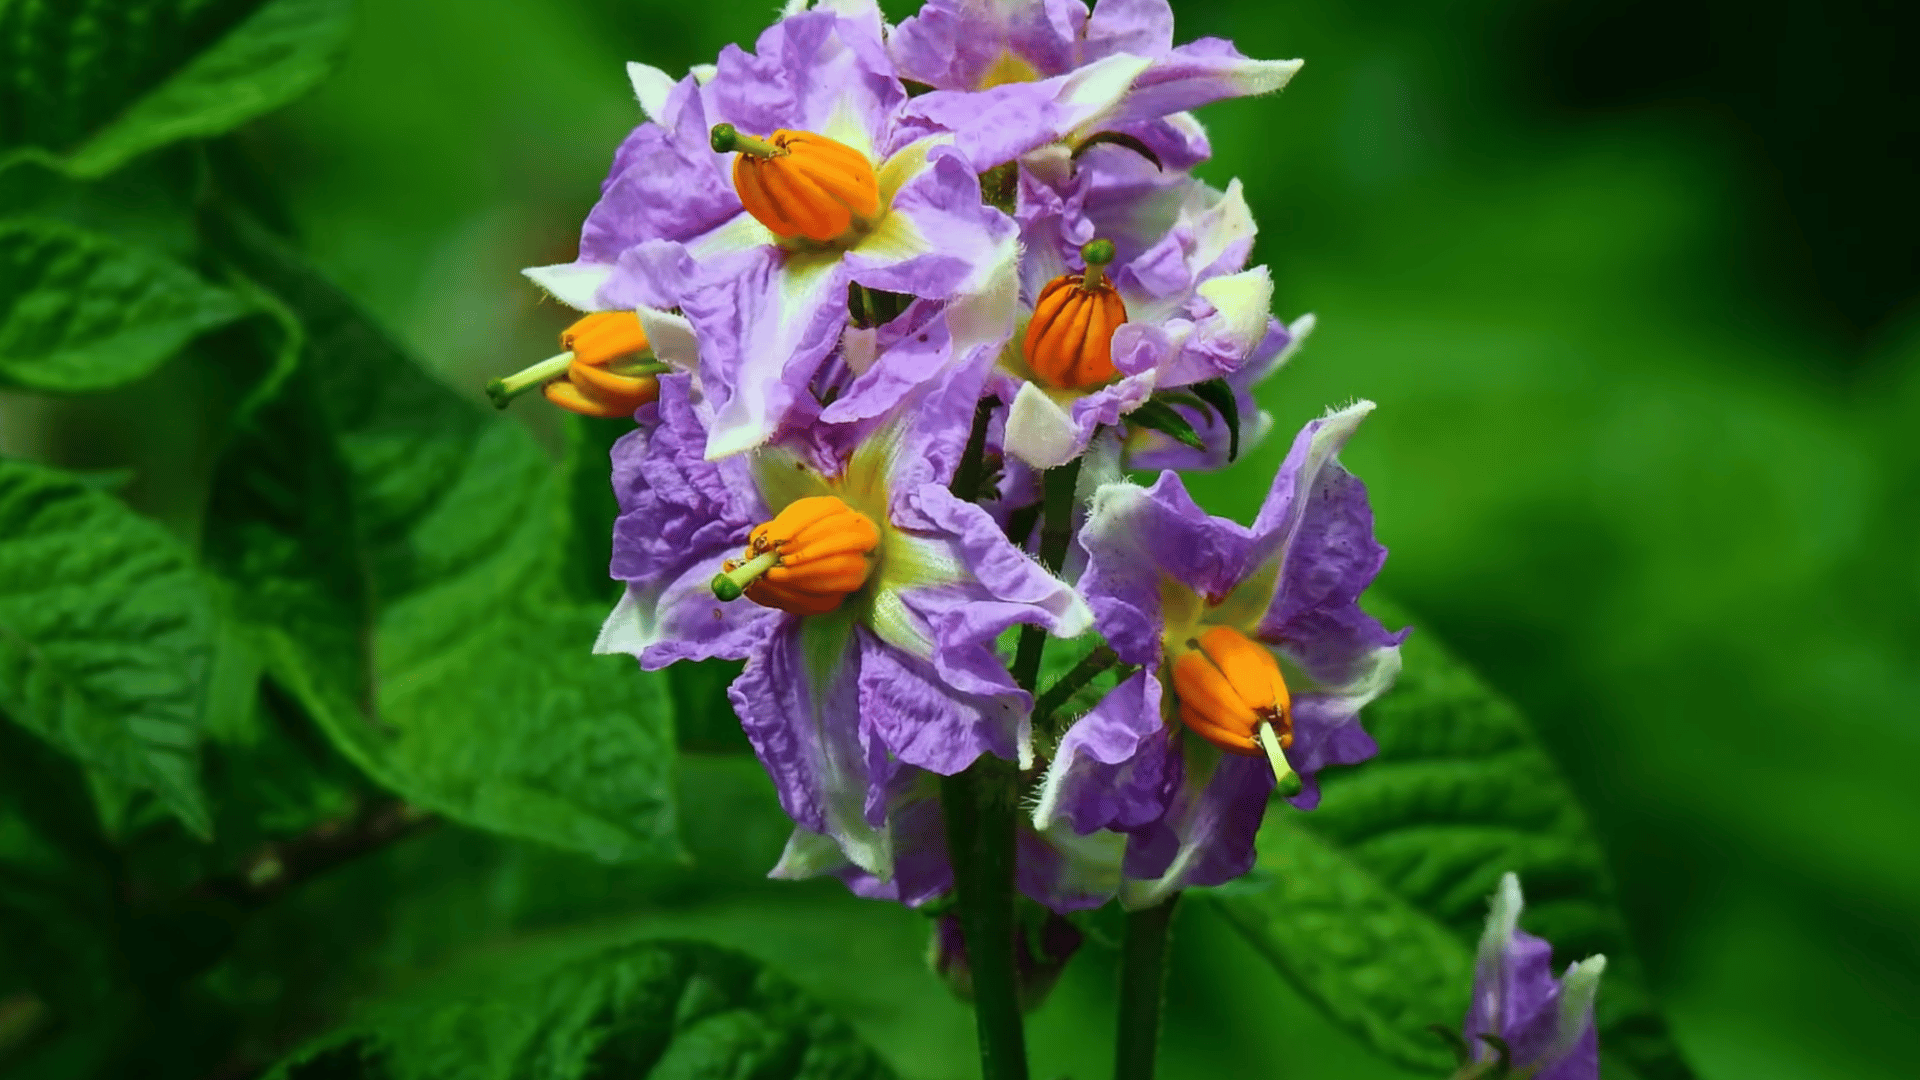
When potato plants begin to flower, it is a sign that tubers are forming underground. This stage is important because it means your potatoes are actively growing beneath the soil.
While the flowers themselves are not needed, they act as a helpful indicator for gardeners. Continue regular watering and avoid disturbing the soil too much during this period.
Keeping plants healthy at this stage ensures better potato size and quality when it’s time to harvest.
Step 9: Harvest Potatoes
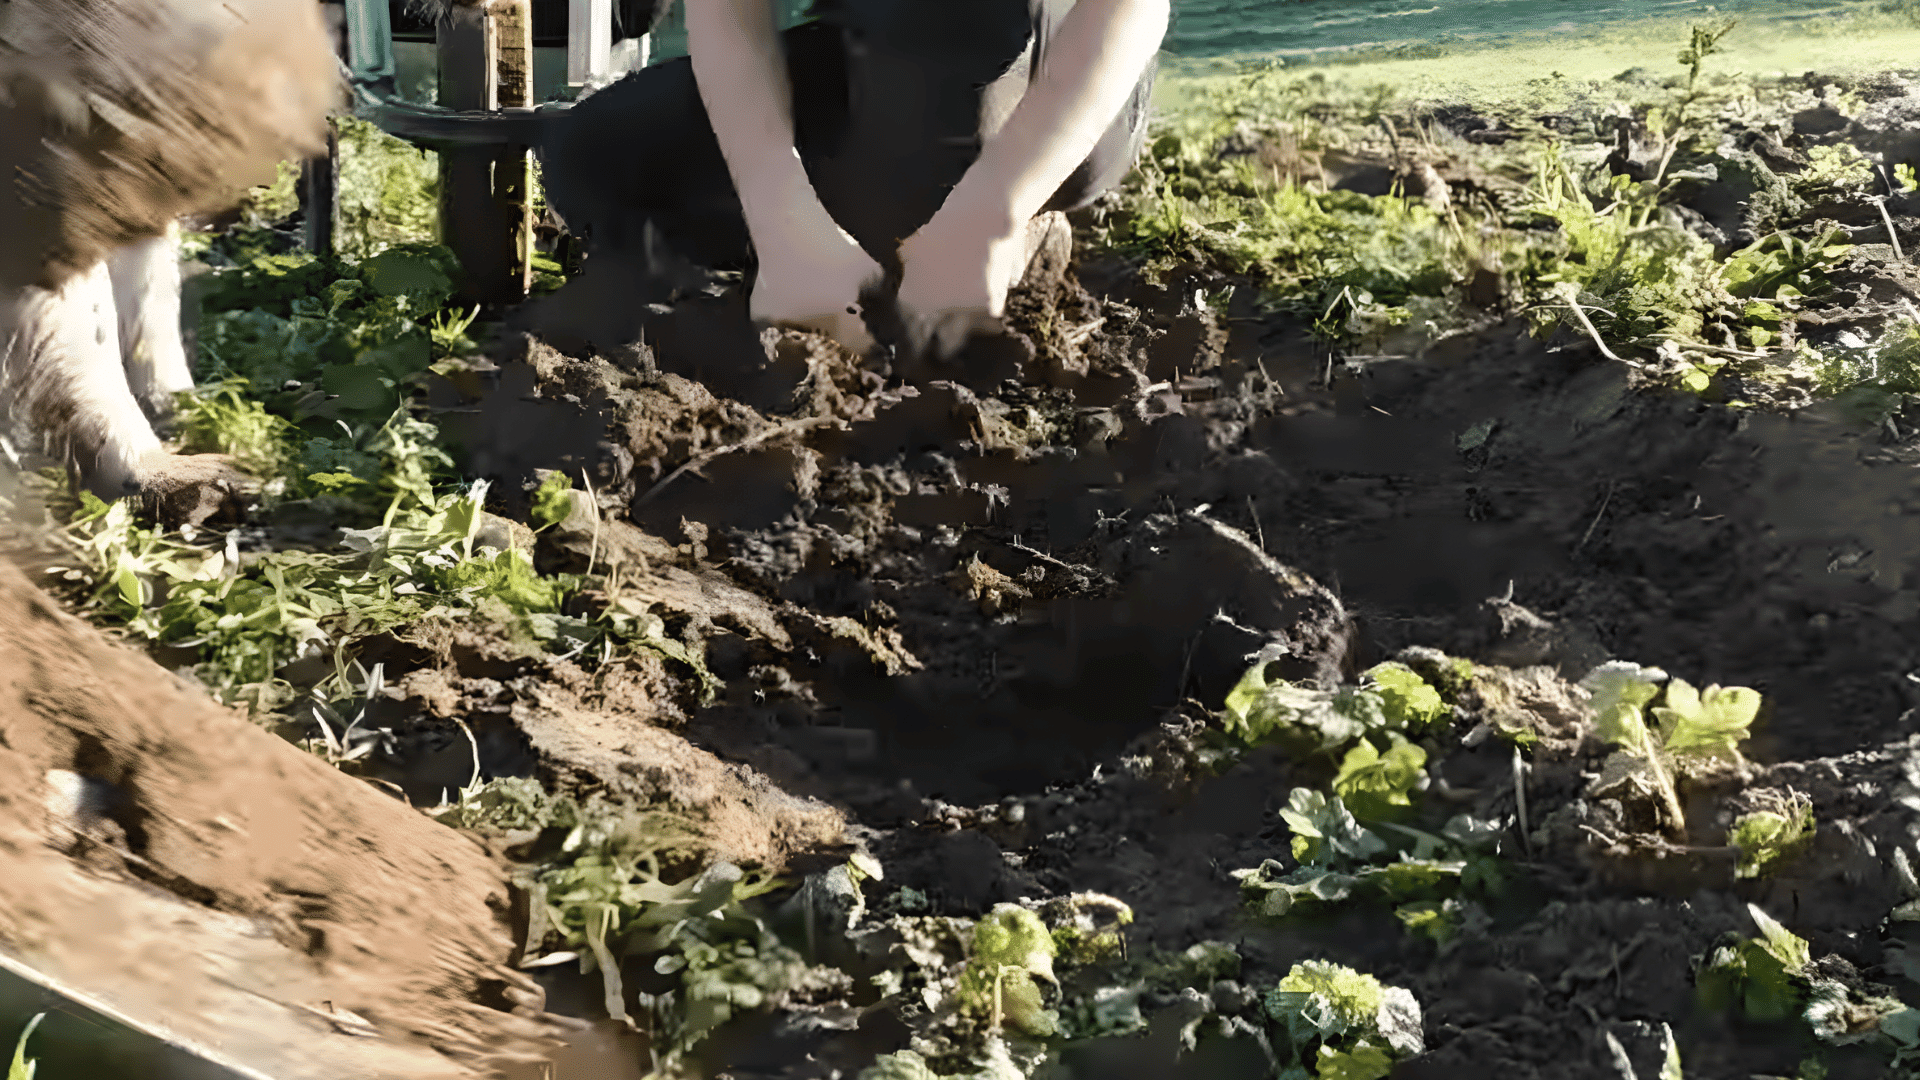
You will know it is time to harvest when the plant starts turning yellow and begins to die back. This means the potatoes have matured. Carefully dig them up using your hands, a shovel, or a garden fork.
Be gentle during this process, as bruised potatoes do not store well.
Start digging a little away from the base to avoid cutting into the potatoes. Harvesting at the right time ensures better flavor, texture, and storage life for your crop.
Step 10: Store Potatoes Properly
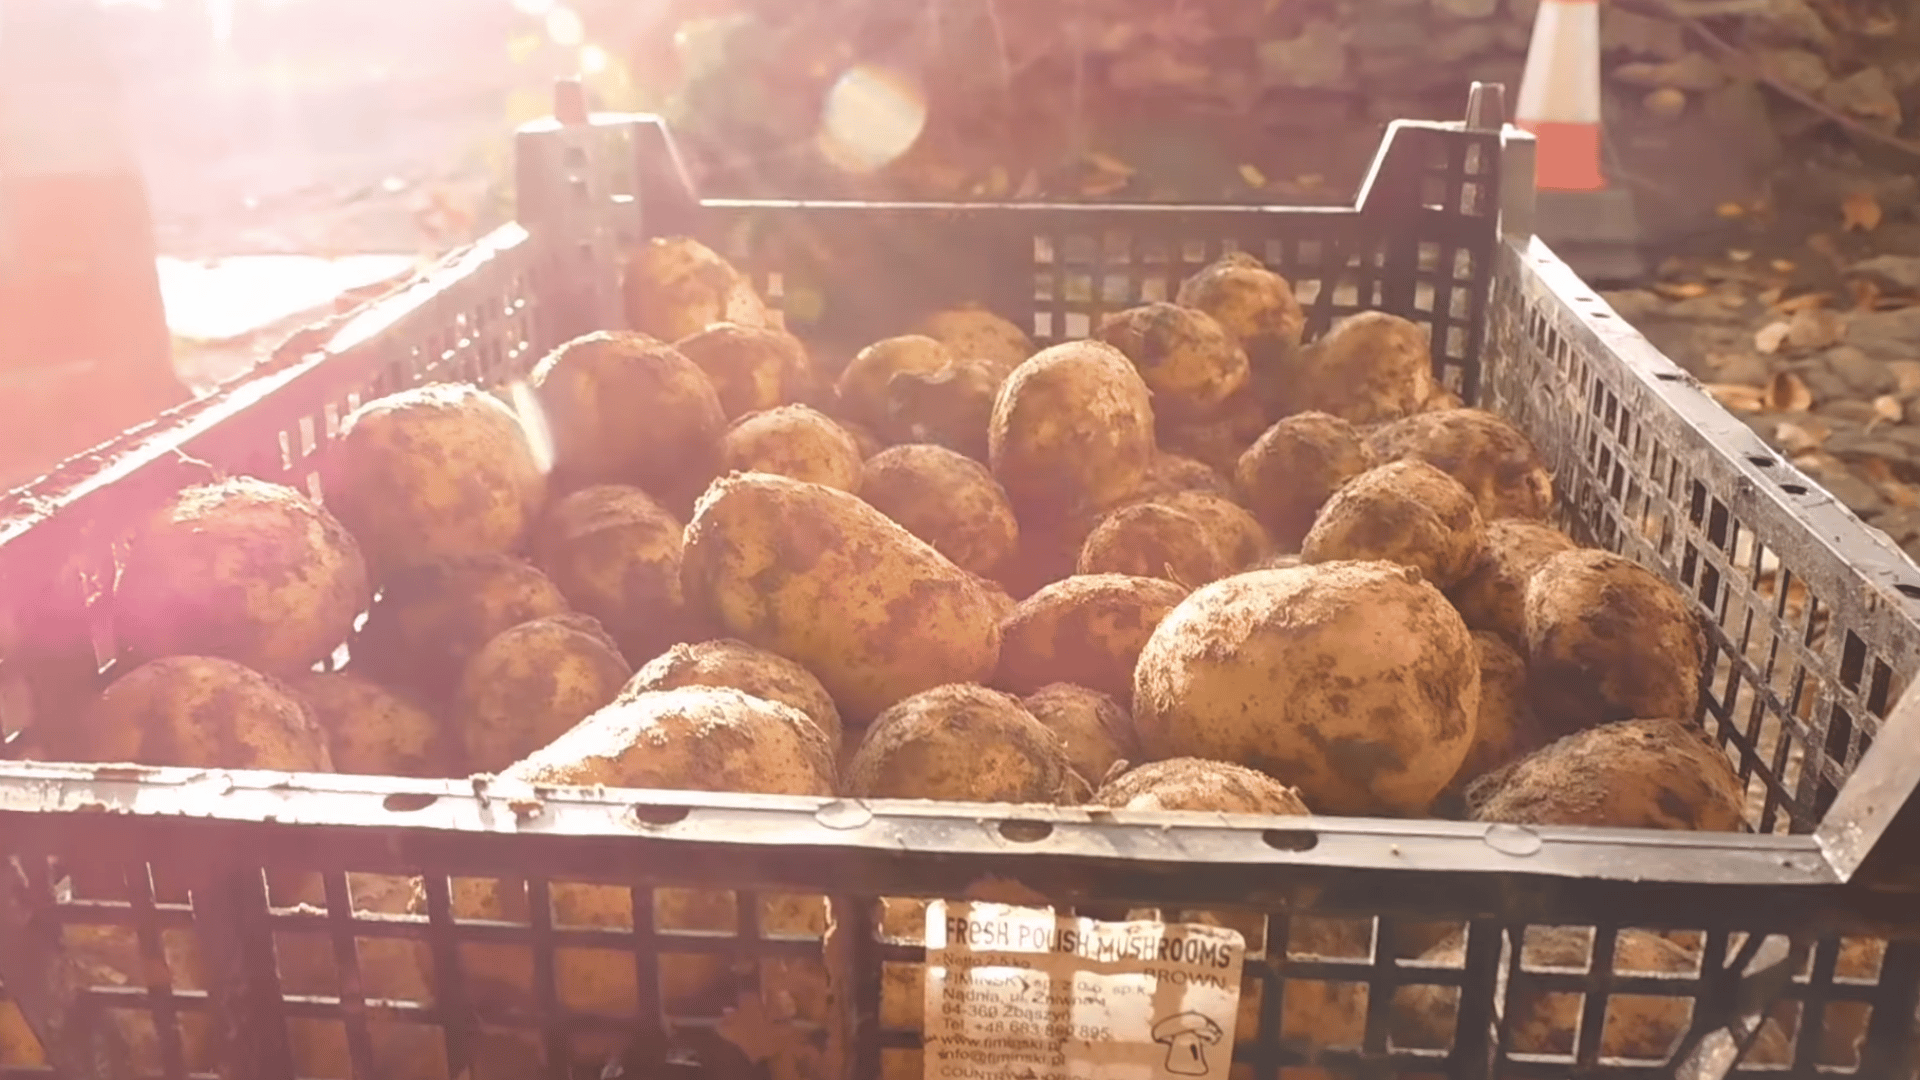
After harvesting, proper storage is key to keeping potatoes fresh for a long time. Place them in containers with good airflow, such as crates, and store them in a cool, dark, and frost-free place.
Exposure to light can turn potatoes green and make them unsafe to eat. Ensure the storage area has adequate ventilation to prevent moisture buildup.
Avoid washing potatoes before storing, as this can reduce shelf life. Good storage practices help you enjoy your harvest for months.
Watch the video by Curriott Hill Farm for more information.
When and How to Hill Potatoes
Hilling is an important step that helps protect growing potatoes and supports better yield. It is simple to do and makes a clear difference in results.
Hilling means piling soil around the base of potato plants to keep developing tubers covered.
This prevents exposure to sunlight, which can turn potatoes green and unsafe to eat. It also supports the plant as it grows taller.
Hilling should begin when plants reach about 6–8 inches in height.
This process is repeated every few weeks to keep new potatoes covered as they form. Regular hilling helps improve the overall harvest.
To hill properly, loose soil is gently pulled up around the stems, leaving the top leaves exposed. Small mounds are formed around each plant without pressing the soil too tightly, allowing roots to grow freely.
Common Growing Mistakes to Avoid
Avoiding a few common mistakes can make potato growing much easier and improve results. Small changes in care can lead to a healthier crop and better harvest.
| Mistake | How It Happens | Solution |
|---|---|---|
| Overwatering or Poor Drainage | The soil stays too wet, leading to rot and weak plants. | Water only when the soil feels dry and use loose, well-drained soil. |
| Planting Too Close | Plants crowd each other and compete for nutrients. | Leave enough space between plants for better growth. |
| Ignoring Hilling | Potatoes get exposed to sunlight and turn green. | Hill soil around plants to keep tubers covered. |
| Using Poor Quality Seed | Weak or diseased seeds affect plant health. | Use certified, healthy seed potatoes. |
| Planting in Cold Soil | Seeds sit in cold, wet soil and fail to sprout well. | Wait until the soil is slightly warm before planting. |
| Lack of Sunlight | Plants do not get enough energy to grow well. | Choose a spot with at least 6–8 hours of sunlight daily. |
Signs Your Potatoes Are Ready to Harvest
Knowing the right signs helps avoid harvesting too early or too late. Proper timing ensures better size, taste, and storage life.
- Yellowing Leaves: When the plant leaves turn yellow and start to dry, it shows the plant is finishing its growth. This is a clear sign that potatoes below the soil are ready.
- New vs Mature Potatoes: New potatoes are small and can be harvested early, while plants are still green. Mature potatoes are ready after the plant dies back and have thicker skins for storage.
- Timing Tips: Wait about 2–3 weeks after the plant dies before harvesting for full maturity. This allows skins to toughen, making them easier to store and less likely to get damaged.
- Skin Test: Rub the skin of a potato gently with fingers. If the skin stays firm and does not peel off easily, the potatoes are ready to harvest.
- Flowering Stage: Some potato plants flower before harvest time. This stage often means tubers are forming, and early harvesting for small potatoes can begin.
Curing Potatoes for Better Storage
Curing potatoes is a simple but important step that helps them last much longer after harvest. During curing, the skin thickens and small cuts heal, reducing the risk of rot and moisture loss.
To start, gently brush off loose soil, but do not wash the potatoes. Place them in a dark, well-ventilated space where air can move freely.
Keep them spread out in a single layer and avoid stacking too deeply. The ideal curing time is about 1 to 2 weeks.
Maintain a temperature between 45–60°F (7–15°C) with slightly high humidity. Once cured, potatoes become firmer and better suited for long-term storage.
How to Harvest and Store Potatoes the Right Way
Handling potatoes carefully during harvest and storing them properly helps keep them fresher longer. A few simple ways can protect quality and reduce waste.
- Choose the Right Time: Harvest after plants die back and the soil is dry. This helps avoid damage and keeps potatoes in better condition.
- Use the Right Tools: A garden fork or shovel should be used carefully, placing it away from the plant to avoid cutting potatoes.
- Lift Gently: Soil should be loosened slowly, and potatoes should be lifted without bruising or breaking.
- Check the Soil Well: Some potatoes remain hidden, so the soil should be checked thoroughly to collect all of them.
- Keep in a Cool, Dark Place: Store potatoes in a cool, dark place to prevent sprouting and spoilage.
- Avoid Washing Before Storage: Brush off dirt, but keep potatoes dry to reduce the risk of rot.
- Use Breathable Containers: Baskets, crates, or paper bags allow airflow and help keep moisture low.
- Check Regularly: Stored potatoes should be checked often, and any spoiled ones should be removed quickly.
At the End
Growing your own potatoes is one of the most satisfying gardening experiences, especially when you turn simple seed pieces into a fresh harvest at home.
By following each step, from planting and hilling to harvesting, you give yourself the best chance at success.
Even if you are a beginner, potatoes are easy to manage and fun to learn with. Stay patient, watch your plants, and enjoy the process.
Now it is your turn to start growing. Have you tried this before, or planning to begin soon? Drop your experience, tips, or questions in the comments below and join the conversation.
Let others learn from you and start growing today with confidence and real results. Don’t wait, take action now and grow your own potatoes this season for real results today.
Frequently Asked Questions
How Deep Should I Plant Potatoes?
Plant potatoes about 4–6 inches deep to support strong root growth.
How Far Apart Should I Space Potato Plants?
Keep plants 10–12 inches apart and rows about 2–3 feet apart for good growth.
How Often Should I Water Potato Plants?
Water 1–2 times per week, keeping the soil evenly moist but not soggy.
How Long does it Take to Grow Potatoes?
Most potatoes take about 70 to 120 days, depending on the variety.
Can I Grow Potatoes in Containers?
Yes, they grow well in pots or grow bags with proper drainage.
How do I Know when Potatoes are Ready to Harvest?
Harvest when the plant turns yellow and starts to die back.