
Are you dreaming of beautiful granite countertops but shocked by installation quotes? I was, too. After getting estimates that made my eyes water, I decided to install granite countertops myself—and saved over $2,400!
In this complete guide, I’ll walk you through every step of DIY granite installation, from selecting the perfect stone to the final polish. You’ll learn exactly what tools you need, how to measure correctly, and the tricks I learned that made my countertops look professional.
I’ve been working on home improvement projects for years, and I can assure you that with careful planning and the right approach, you can achieve stunning results.
Whether you’re remodeling your kitchen or updating a bathroom, I’ll help you transform your space without breaking the bank.
What to Know Before You Start
DIY granite installation is not for everyone. Before jumping in, understand what you’re getting into:
- Granite is incredibly heavy (about 12-15 pounds per square foot)
- You’ll need at least one strong helper
- Special tools are required for cutting and polishing
- Mistakes can be costly and difficult to fix
The good news is that with careful planning, you can create professional-looking results. By doing it myself, I spent about 40% less than what was quotes.
Basic skills needed:
- Accurate measuring
- Using power tools safely
- Reading a level
- Basic math calculations
Step-by-Step: How to Install DIY Granite Countertops
1. Choose the Right Granite
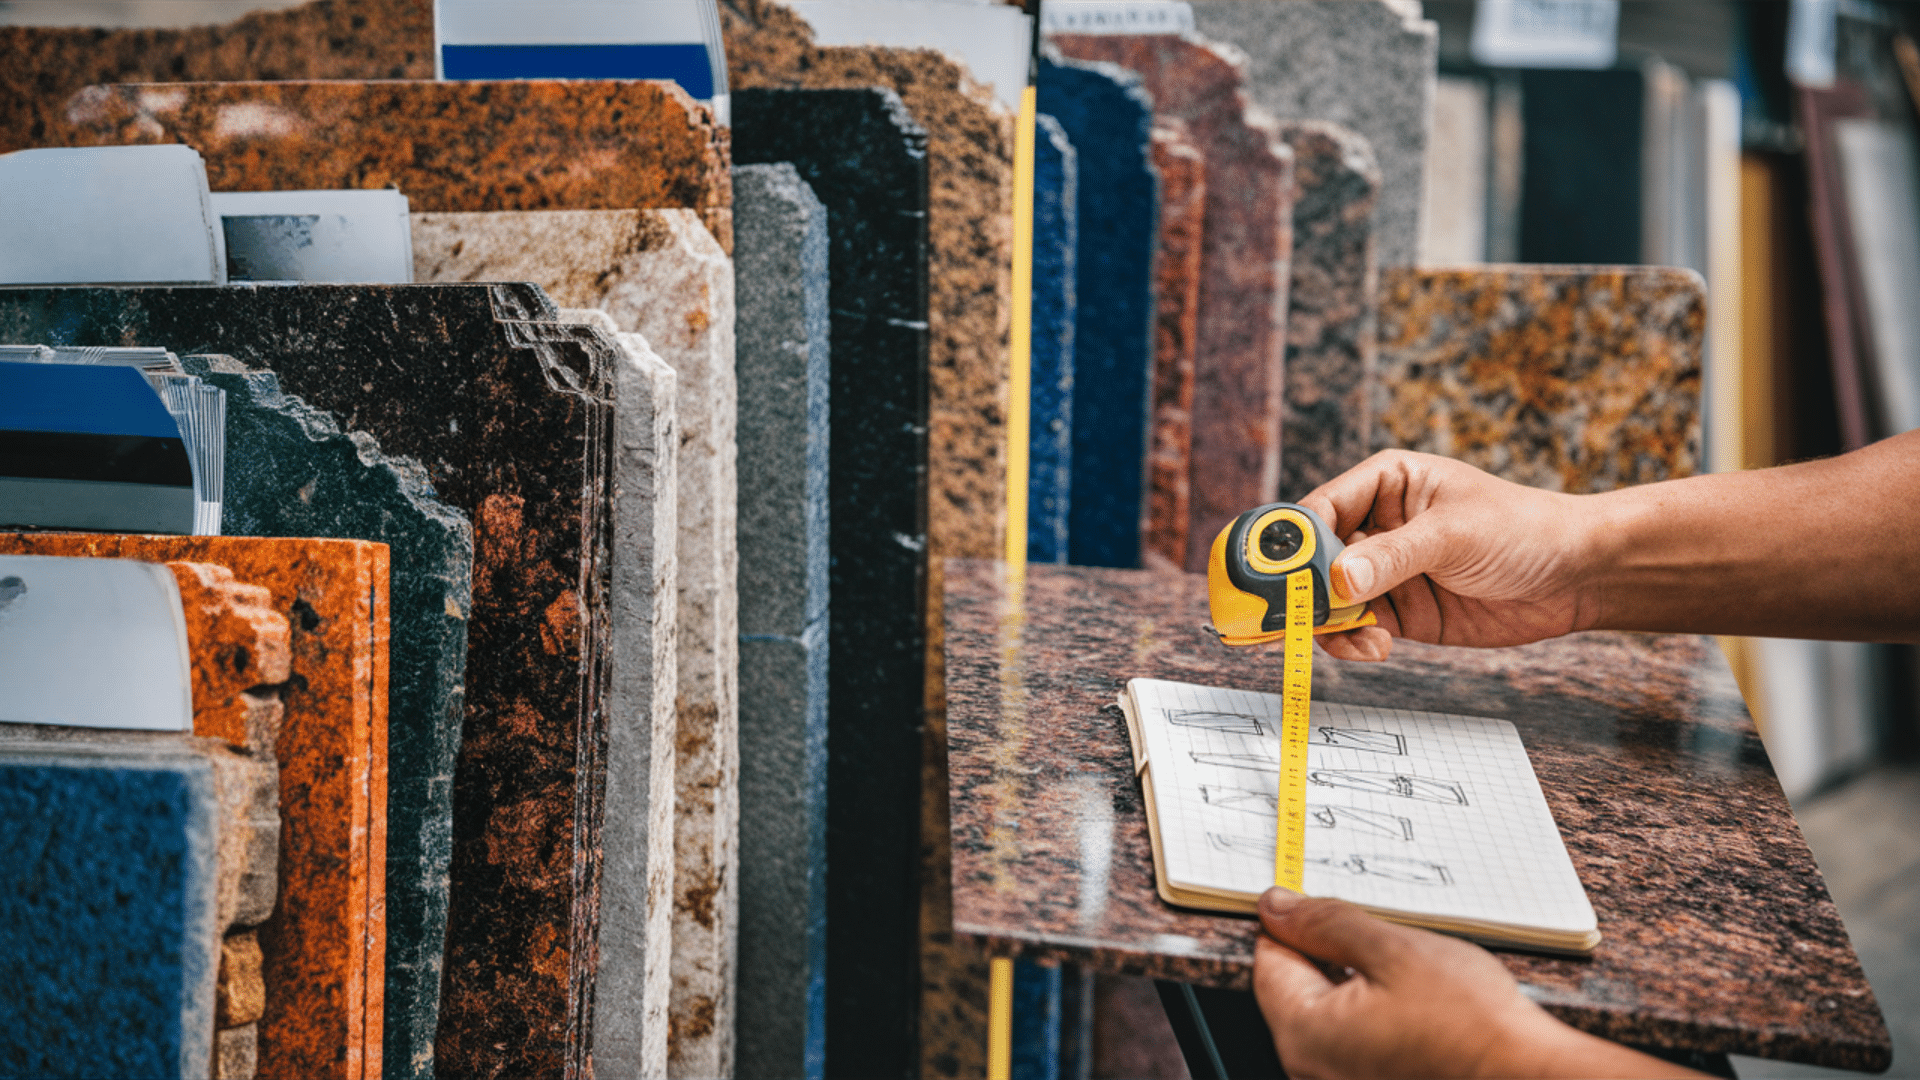
Picking the right granite is crucial for your project’s success. I found that:
- Granite types vary in difficulty level. Lighter colors often hide seams better, while darker colors can show every water spot.
- Medium-toned granite with some pattern was my sweet spot – it hid minor installation issues while still looking stunning.
When buying granite:
- Shop remnants first – I saved 30% by using leftover pieces from stone yards
- Look for pre-cut pieces when possible
- Check for cracks or weak spots before purchasing
- Ask about thickness options – I used 3cm (1¼”), which requires less support than thinner slabs
Pro tip: Take cabinet measurements and a rough layout to the stone yard. This helps you visualize how the pattern will look across your space.
2. Measure and Create a Template

Getting measurements right is critical. I made this mistake once – trust me, measure twice!
To create my template:
- I removed the old countertops completely
- Made sure cabinets were level (fixed with shims where needed)
- Created a template using large pieces of kraft paper
- Marked all cutouts for sink and appliances
- Added 1½” overhang at exposed edges
- Included locations for any seams
Important: If you plan to add a backsplash, include space for it. I left a ⅛” gap between the wall and the countertop.
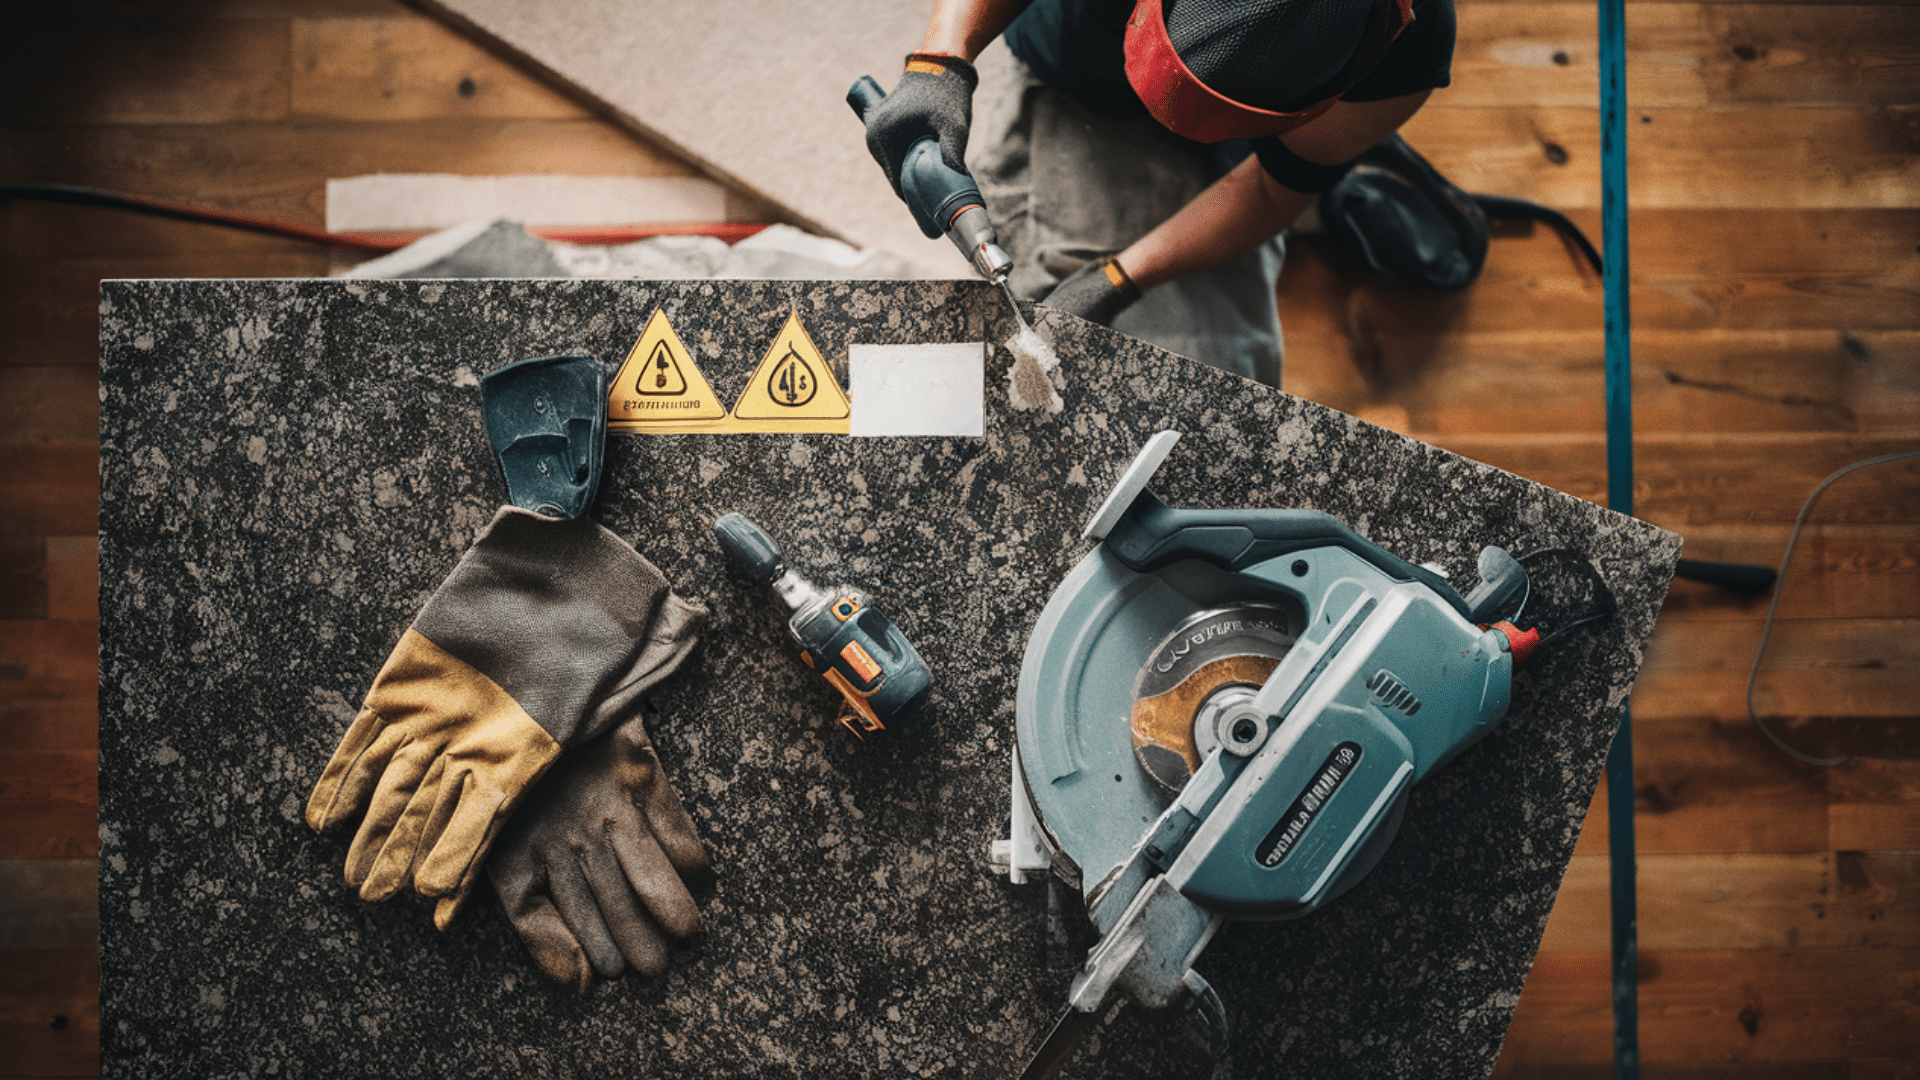
3. Cutting the Granite (Optional)
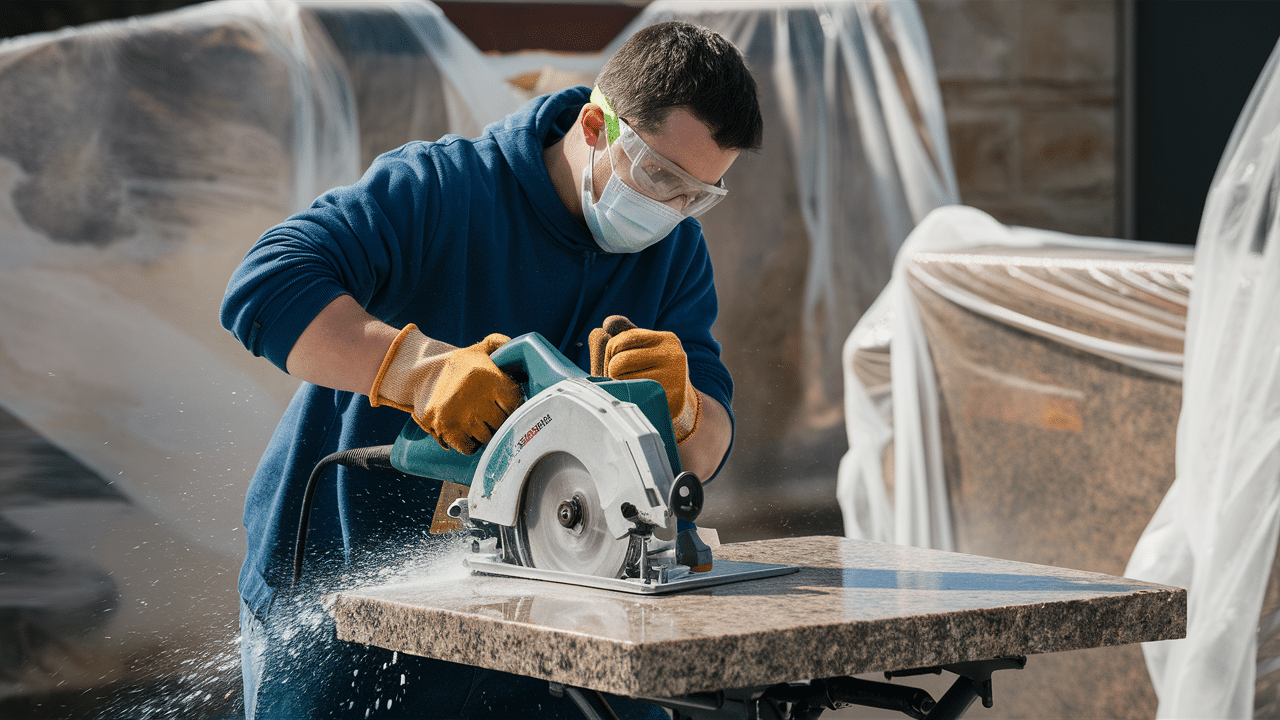
Warning: This step is challenging. If possible, have your supplier cut the major pieces.
For small cuts I needed to make on-site:
- I rented a wet saw with a diamond blade
- Wore safety gear (goggles, mask, gloves)
- Marked cut lines clearly with tape
- Cut slowly with even pressure
- Had someone support the granite to prevent breaking
DIY reality check: Cutting granite creates a lot of dust and noise. I covered everything in plastic and worked outside when possible.
4. Prepare the Base Cabinets
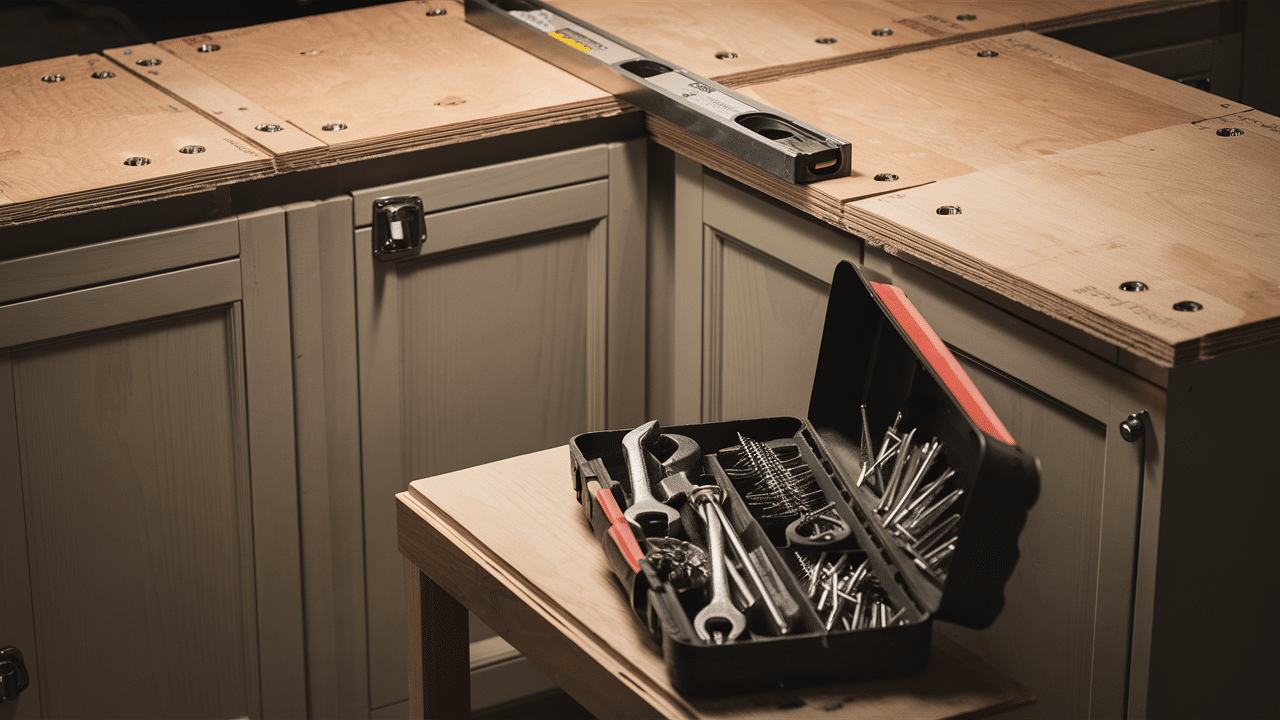
Your cabinets must be strong enough to support the weight. Here’s what I did:
- Checked that all cabinets were level across the entire run
- Added 3/4″ plywood to the top of all cabinets for support
- Secured the plywood with screws every 8 inches
- Pre-drilled holes for any plumbing or electrical needs
Critical step: Use a 4-foot level to ensure your base is perfectly level. I spent extra time here, and it paid off with a much easier installation.
5. Install the Granite Slabs
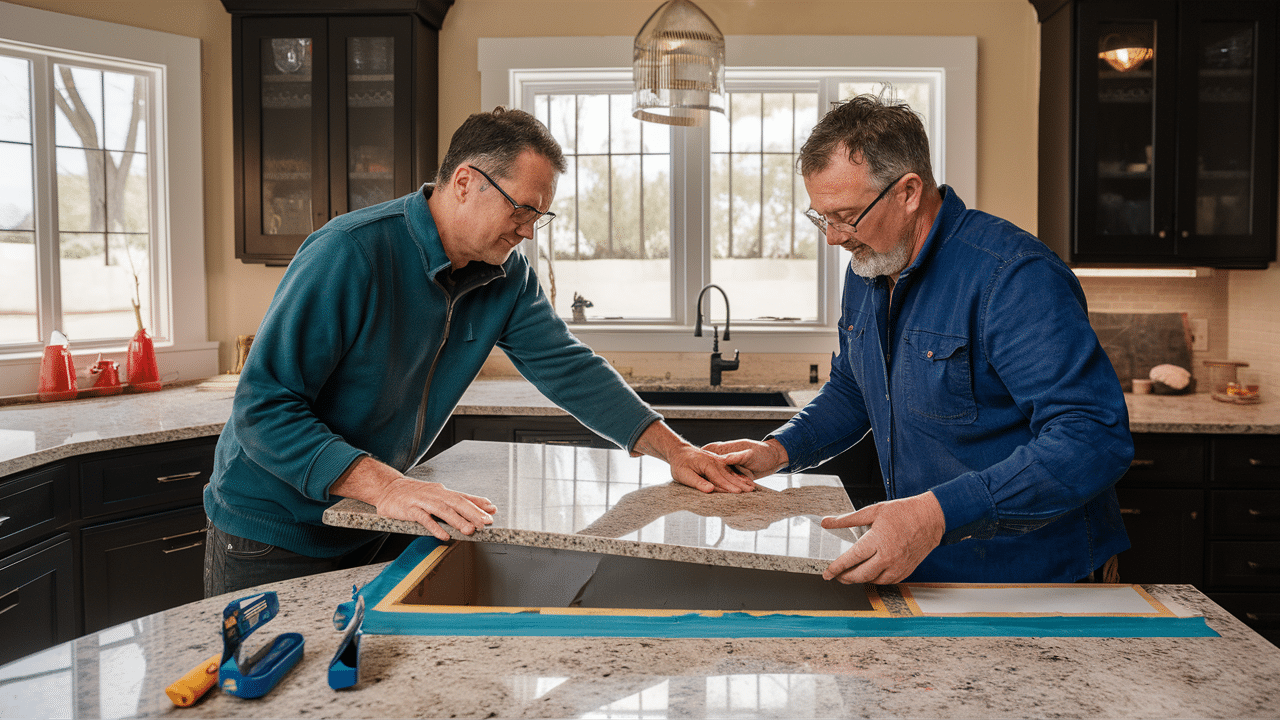
This is definitely a two-person job! Here’s my process:
- Applied a bead of silicone caulk to the plywood base
- With help, I carefully lowered the granite into place
- Pressed firmly to set into the silicone
- Used shims to level if needed
- For seams: applied two-part epoxy and pulled pieces together with seam clamps
- Removed excess epoxy immediately with acetone
Pro tip: Place painter’s tape along both sides of seams before applying epoxy. This makes cleanup much easier.
6. Polish, Seal, and Finish
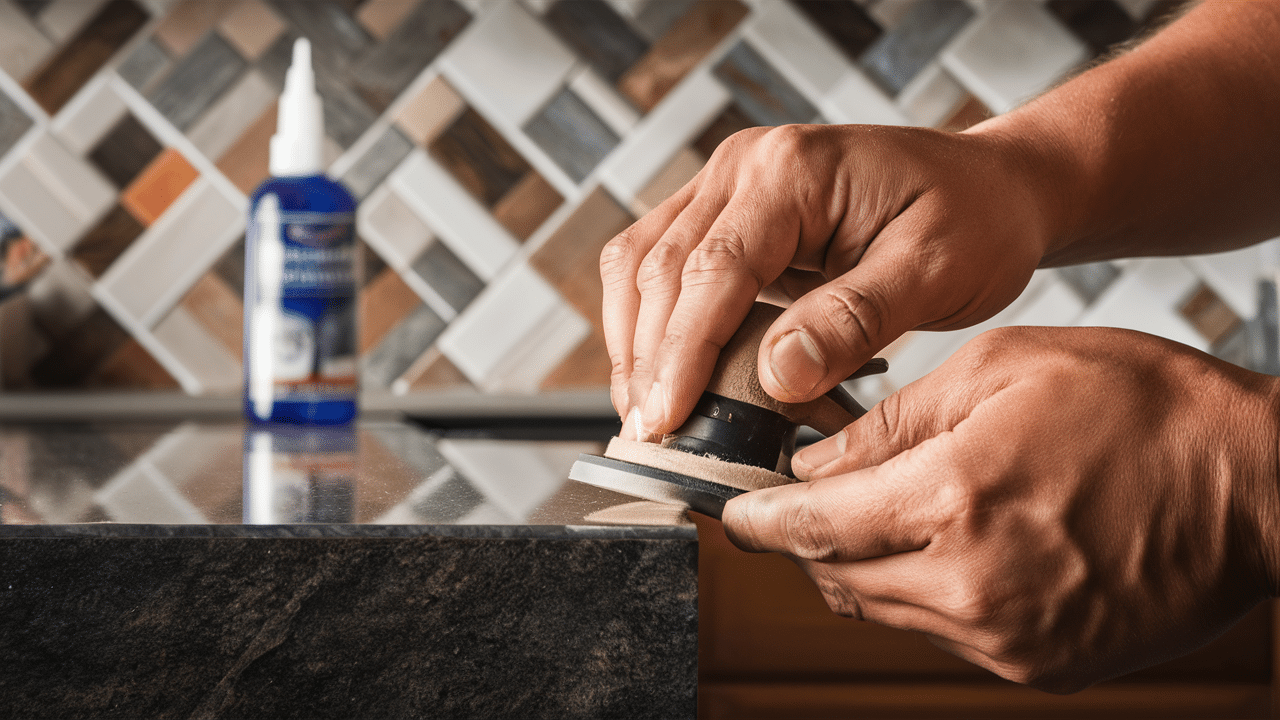
Once installed, I:
- Let everything set for 24 hours
- Applied granite sealer (2 coats, following product directions)
- Polished all exposed edges with fine sandpaper (working from 400 to 800 grit)
- Added silicone caulk around the sink and where the granite meets the wall
- Installed the backsplash last
Trust me on this: Don’t skip the sealing step! I apply a new coat every 12 months to keep my countertops looking fresh.
Real Budget Breakdown
| Item | Professional Quote | My DIY Cost | Savings |
|---|---|---|---|
| Granite (40 sq ft) | $2,800 | $1,200 | $1,600 |
| Tools & Supplies | Included | $350 | -$350 |
| Labor | $1,200 | $0 | $1,200 |
| TOTAL | $4,000 | $1,550 | $2,450 |
Additional costs to consider:
- Tool rental: a$120 (wet saw, seam clamps)
- Delivery fee: $150
- Plywood underlayment: $80
- Sealer and adhesives: $100
Maintenance & Care Tips
I’ve had my DIY granite countertops for 3 years now. Here’s how I keep them looking great:
- Daily cleaning: Just warm water and mild soap
- Weekly: Quick wipe with granite cleaner spray
- Every 12 months: Apply new coat of sealer
- Never use: Vinegar, lemon, or other acidic cleaners
- Always use: Cutting boards and trivets for hot items
My simple test: Drop water on the surface – if it doesn’t bead up, it’s time to reseal.
Final Reveal & DIY Inspiration
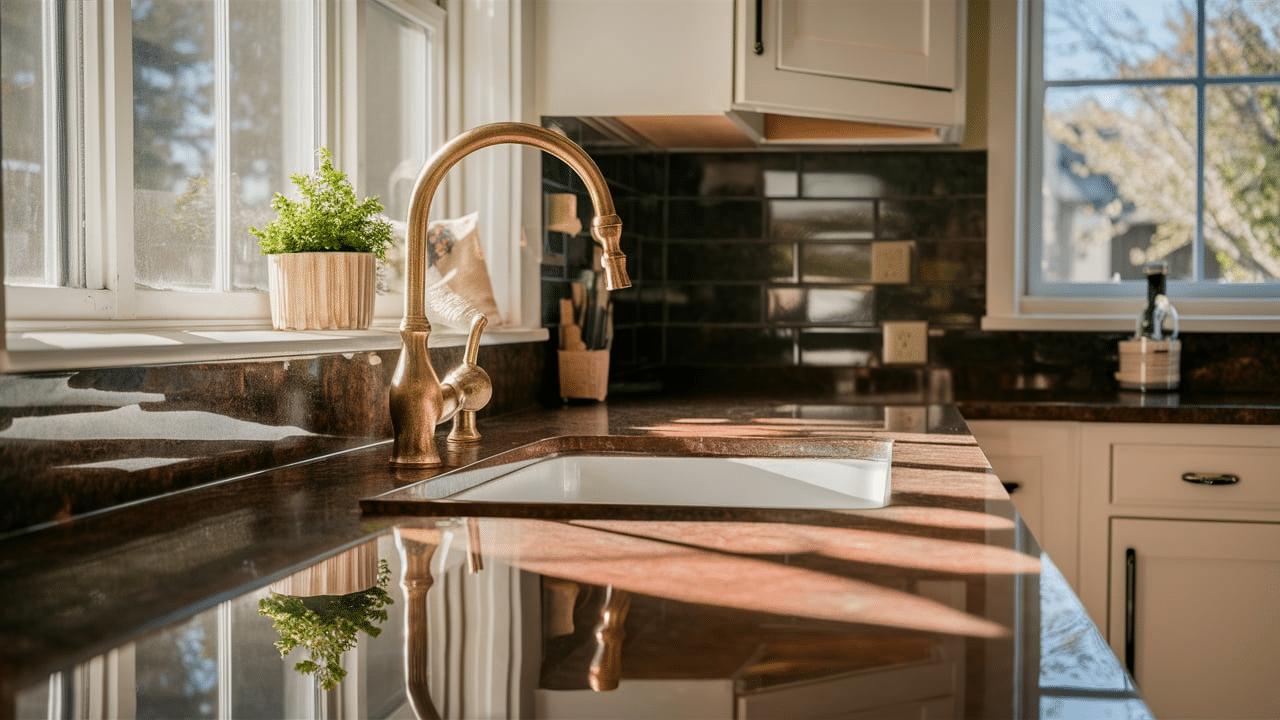
I’m so proud of my kitchen transformation! The granite countertops completely changed the feel of my space. The best part? Every time I get compliments, I get to say, “I did it myself.”
Some unexpected benefits:
- Learning to work with stone opened up other DIY possibilities
- The money saved went into a better sink and faucet
- My kitchen now looks more high-end than many professional jobs
Remember: If I can do this with careful planning and patience, you can too.
Conclusion
Taking on a DIY granite countertop project changed my kitchen and my confidence as a homeowner. I saved over $2,400 and created a space I’m truly proud of. The process wasn’t always easy, but with careful planning and patience, the results exceeded my expectations.
The most important steps are precise measurements, proper cabinet support, and having a helper on installation day. I’ve shared all my tips and hard-learned lessons so you can avoid the mistakes I made.
If you’re still unsure, start with small countertop areas like a bathroom vanity or kitchen island. Once you see what you can achieve, you might tackle the whole kitchen like I did. Your dream granite countertops are within reach!
Frequently Asked Questions
What’s the Most Important Safety Tip for DIY Granite Installation?
Always have proper lifting help and support the stone fully while moving. Granite can snap if pressure is applied to unsupported sections, causing dangerous breaks.
How Do I Handle Complicated Sink Cutouts?
Have the stone yard make complex cutouts before delivery. For simple adjustments, use cardboard templates first and cut with slow, shallow passes using a diamond blade.
Will My Cabinets Need Modification Before Installing Granite?
Most standard cabinets need additional support. To accommodate the extra weight, I added 3/4″ plywood to all cabinets and reinforced corner joints.
How Do I Match Granite Pieces for A Seamless Look?
When possible, buy all pieces from the same slab. For seams, Arrange Pieces so The Grain Patterns Flow Naturally, and Use Tinted Epoxy that Matches Your Granite Color.
What’s the Biggest Difference Between Professional and DIY Installation?
Professional installers have specialized equipment for transport and precision cutting. DIY projects require more planning, simpler designs, and sometimes creative problem-solving.