

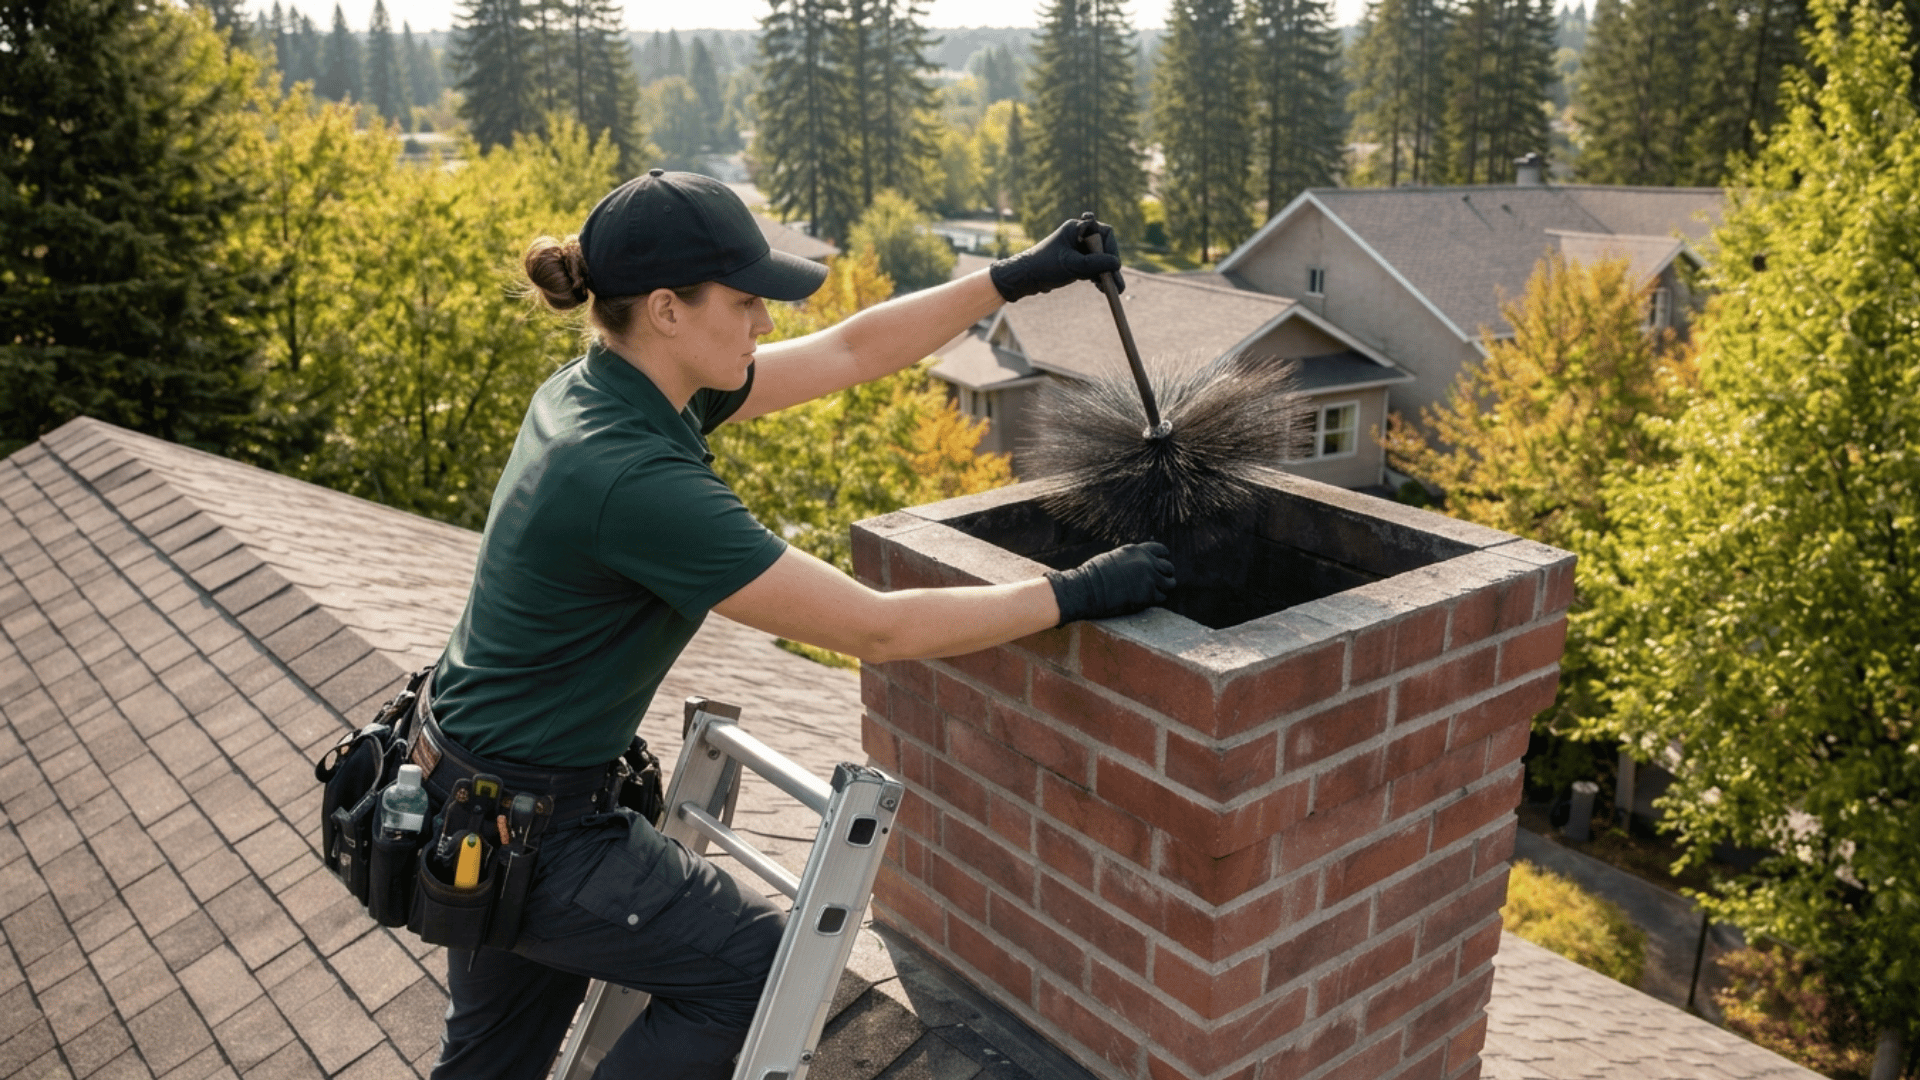
Let’s be honest, cleaning a chimney is one of those tasks most people keep delaying. It doesn’t feel urgent, and it’s not the most exciting job either.
But ignoring it for too long causes real problems. Soot, grease, and a sticky substance called creosote build up inside your chimney. That leads to bad smells, poor airflow, and a genuine fire risk.
The good news is you don’t always need to call a professional for basic cleaning.
With the right tools, some patience, and a clear process, you can clean your chimney safely at home. It feels messy the first time. Once you learn the steps, it gets easier.
Whether you’re cleaning a traditional chimney or a kitchen chimney, you’ll find what you need here.
How Often Should a Chimney Be Cleaned?
The short answer is at least once a year for most homes. How often you actually need it depends on how much you use the fireplace and what you’re burning.
The National Fire Protection Association (NFPA) recommends annual inspection and cleaning as needed. Even if you barely used it, a yearly check catches blockages and animal nests before they become problems.
Not sure if yours needs attention right now? There’s a quick way to check.
Open the damper, shine a flashlight up the flue, and scrape the inner wall with a small tool or coin.
If the creosote layer is less than 1/8 inch thick, you can likely wait. Between 1/8 and 1/4 inch means it’s time to clean.
Anything thicker or with a shiny, tar-like surface is Stage 3 creosote. A standard brush won’t clear it.
Attempting to scrub through Stage 3 can spread the material rather than remove it. Call a professional instead.
How to Clean a Chimney as a Beginner?
The full process takes 2–4 hours for a first-time clean. Work through each step in order, skipping ahead creates problems you’ll have to backtrack to fix.
Tools Required for Chimney Cleaning
- Chimney brush sized to match your flue opening. Use wire bristle for metal flue liners and poly bristle for masonry or clay tile liners. If you’re unsure which type you have, poly is the safer default.
- Extendable rods
- Drop cloth or old bedsheet
- Shop vacuum or vacuum with HEPA filter
- Metal bucket and small shovel
- Wire brush (for stubborn creosote spots)
- Gloves
- Dust mask or respirator
- Safety goggles
- Ladder (if cleaning from the top)
- Flashlight
- Plastic sheeting and duct tape (for sealing the fireplace opening before top-down brushing)
If you’re cleaning from the top down, the plastic sheeting and duct tape are non-negotiable. Skipping them turns a manageable job into a room full of soot.
Step 1: Start Inside the Fireplace
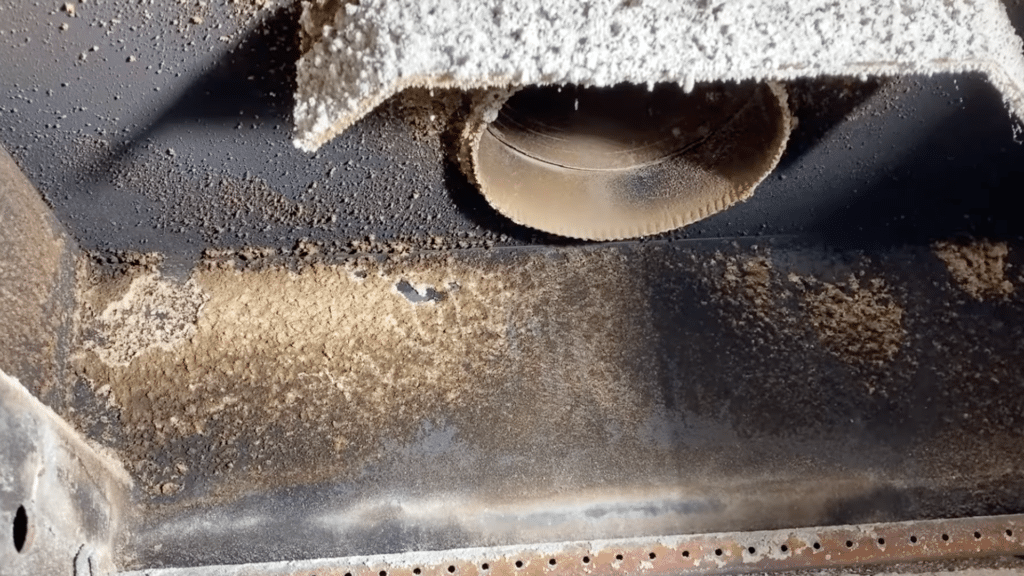
Before you remove anything, find the damper: the metal plate inside the chimney throat that controls airflow. Open it fully before you start cleaning.
This lets debris fall into the firebox where you can collect it, rather than getting stuck in the throat. It also gives you a clear sightline up the flue when you inspect with a flashlight.
If the damper is stuck or corroded and won’t open all the way, note that for repair. A damper that doesn’t seal properly lets cold air and animals into the chimney year-round.
Now remove the reburn tubes, screws, and insulation panel to open up the main cleaning path. These parts often hide soot and creosote buildup, so taking them out gives better access.
Place each item somewhere organized so you can find everything during reassembly. Grouping parts by type makes that step much faster.
Step 2: Check the Fire Bricks
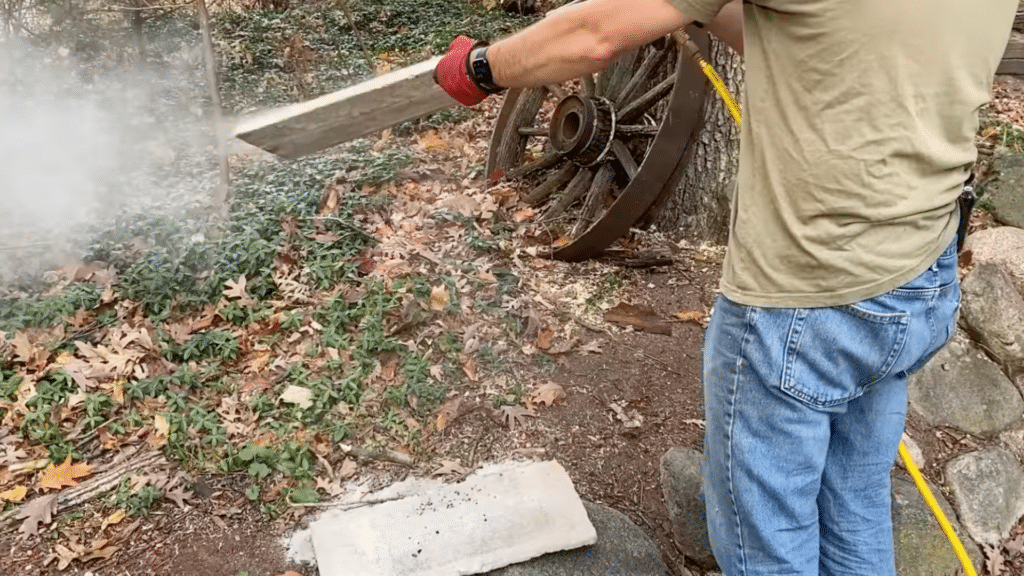
Look closely at all fire bricks inside the unit for cracks, chips, or wear. Fire bricks protect the stove body from high heat, so damaged ones need attention before the next fire.
Even small cracks grow over time and affect performance. Loose bricks can shift during use, so check those too.
Mark anything damaged now. Replacing worn bricks early is much cheaper than repairing the stove body later.
Step 3: Clean the Reburn Tubes
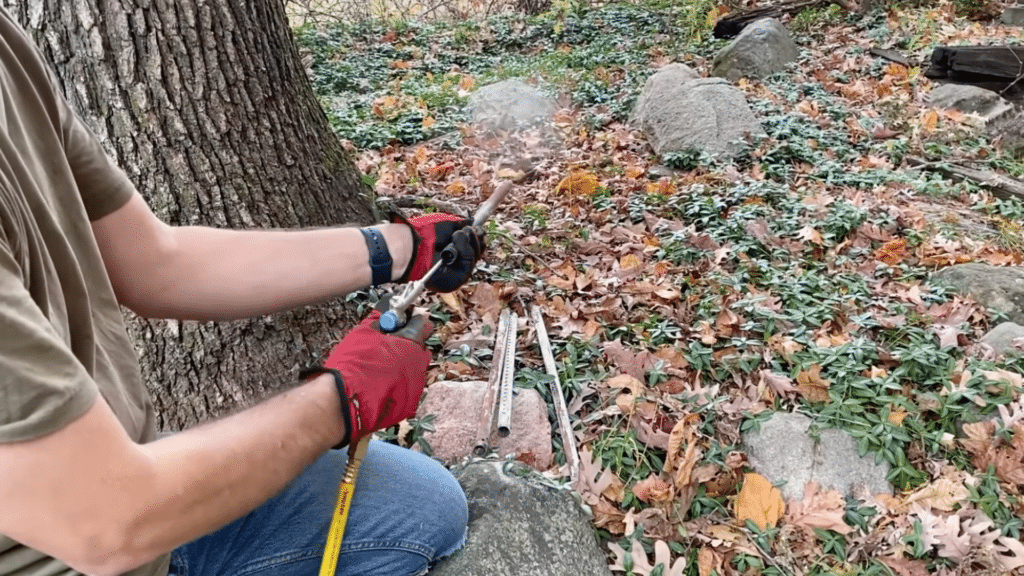
Take the reburn tubes outside to clean them. Ash and soot collect inside over time, blocking airflow and reducing how efficiently the fireplace burns.
Use a firm brush or an air compressor to clear all debris from inside the tubes. Pay close attention to the small holes and openings; these must stay clear for the tubes to function properly.
Clean tubes mean better airflow and less buildup inside the chimney. This reduces smoke output and keeps the fireplace running efficiently.
Step 4: Go to the Roof
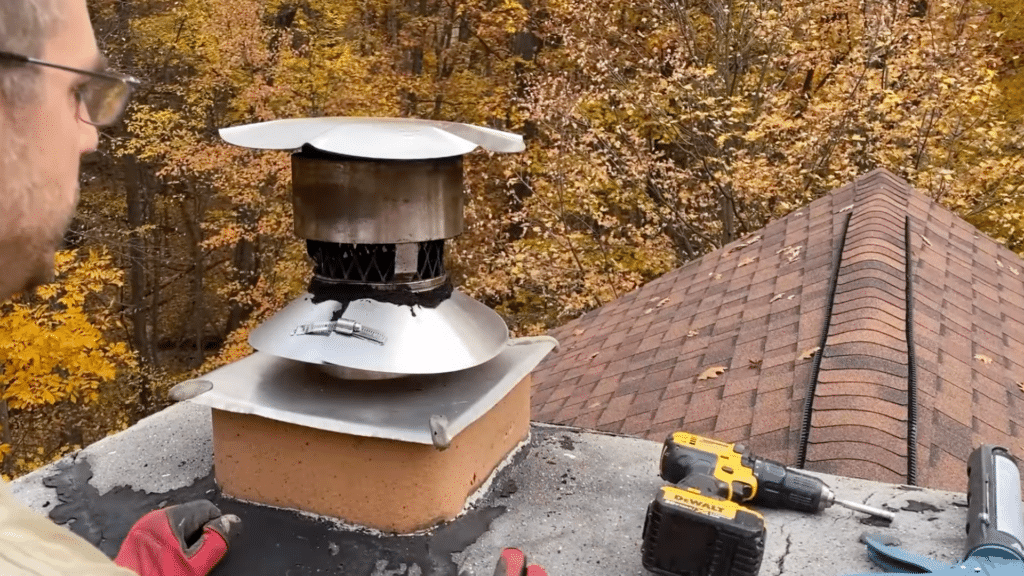
Before you climb, put on gloves and non-slip shoes. Make sure the roof surface is completely dry — wet surfaces are a real slip risk even on low-pitched roofs.
Move slowly once you’re up there. Locate the chimney cap and identify the screws holding it in place before you touch anything.
Never rush this step. Falls from roofs cause serious injuries, and no chimney cleaning job is worth that.
Step 5: Inspect and Clean Chimney Cap
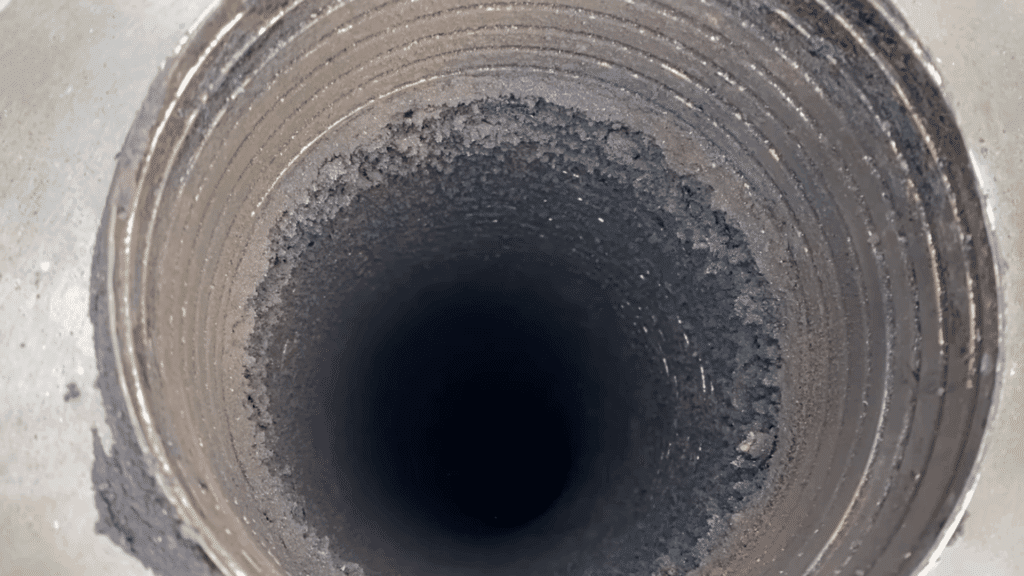
Look closely at the chimney cap for soot buildup, creosote, cracks, or rust. A blocked or damaged cap restricts airflow and lets smoke push back into the home.
If the buildup is heavy, remove the cap and bring it to ground level for easier cleaning. Scrub off all residue with a brush and check the mesh and frame for bent or rusted sections.
A cap that’s bent or rusted enough to affect airflow should be replaced, not reinstalled. They’re inexpensive and easier to swap out now than after a problem develops.
Step 6: Set Up Chimney Cleaning Tool
If you’re cleaning from the top down, seal the fireplace opening first. Tape a plastic sheet or garbage bag tightly over the front of the firebox with duct tape. Leave no gaps.
Without this, brushing from the roof sends a cloud of fine soot straight into the room. Remove the plastic only after brushing is fully complete and the debris has settled.
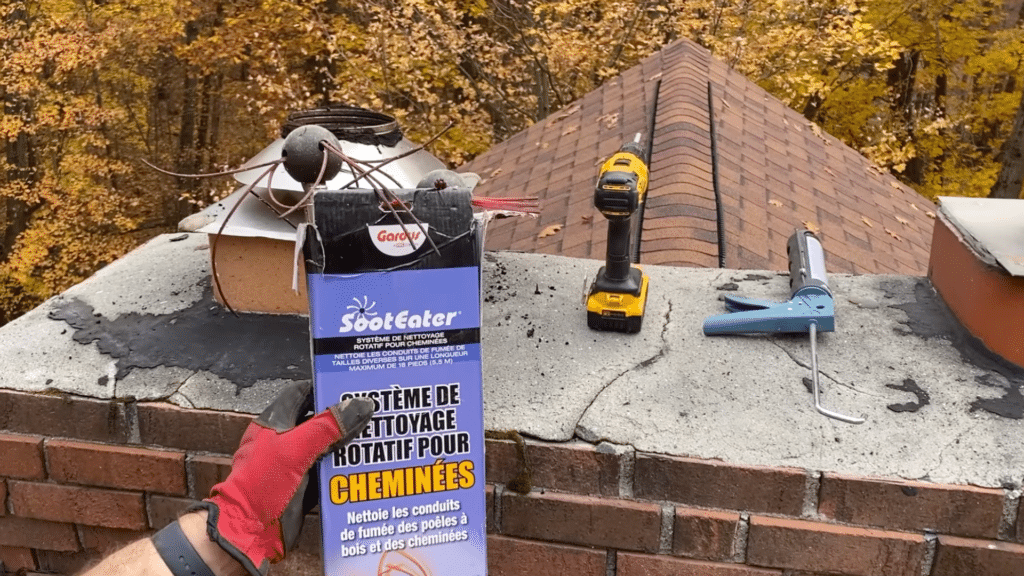
Now set up your cleaning tool. Attach the brush head to the first rod section, then connect to a drill if you’re using a powered system. Keep extension rods nearby.
Check every connection before you start. A loose joint can send the brush off-course inside the flue and make the job much harder to finish cleanly.
Step 7: Sweep the Chimney
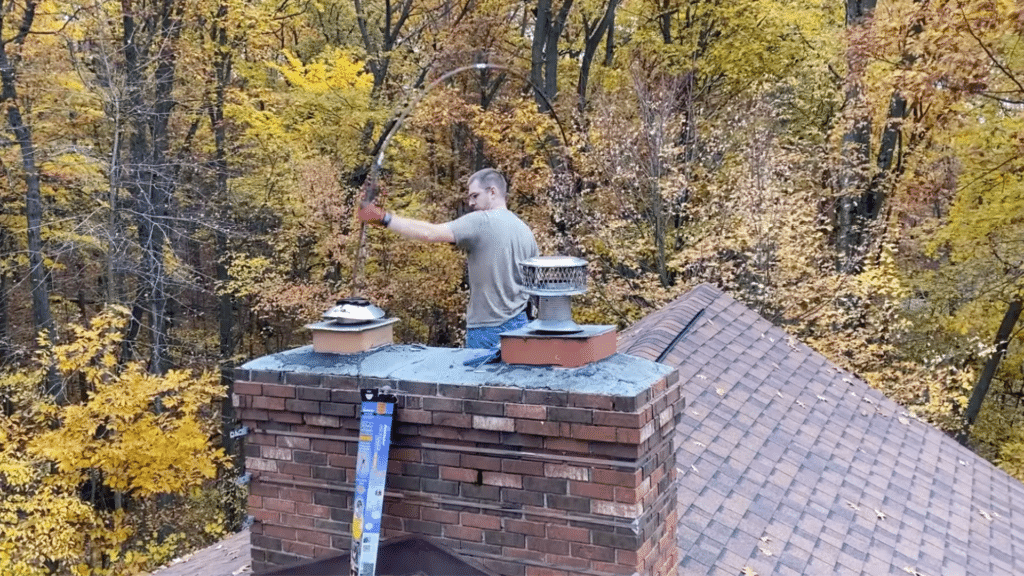
Insert the brush into the flue and move it up and down in slow, controlled strokes. This scrubbing motion loosens creosote and soot from the inner walls more effectively than a single pass.
Add extension rods as you work deeper into the chimney. Don’t rush, you want the brush making full contact with the walls on each stroke.
Continue until the brush moves freely and no longer meets resistance. That’s the sign the main flue walls are clear.
If you hit heavy resistance early on, stop and check the depth of the buildup before continuing. More than 1/4 inch of creosote means this isn’t a standard DIY clean.
Step 7B: Clean the Firebox and Smoke Shelf
After brushing, all the loosened soot and debris falls into the firebox. Use a metal shovel to scoop out ash and larger chunks into a metal bucket.
Don’t use plastic; ash holds heat for hours and can melt or ignite a plastic container. A metal bucket is the only safe option here.
Once the bulk is cleared, vacuum up the fine dust from the firebox floor and walls. A shop vacuum or HEPA vacuum works well, fine soot spreads fast if you skip this step.
Also, clean the smoke shelf, that’s the flat ledge directly above the damper. This area traps a surprising amount of debris and is easy to miss.
Use a hand brush to loosen the buildup, then vacuum it out completely. A blocked smoke shelf restricts airflow and holds moisture, which speeds up rust and mortar damage inside the chimney.
Step 8: Check for Repairs
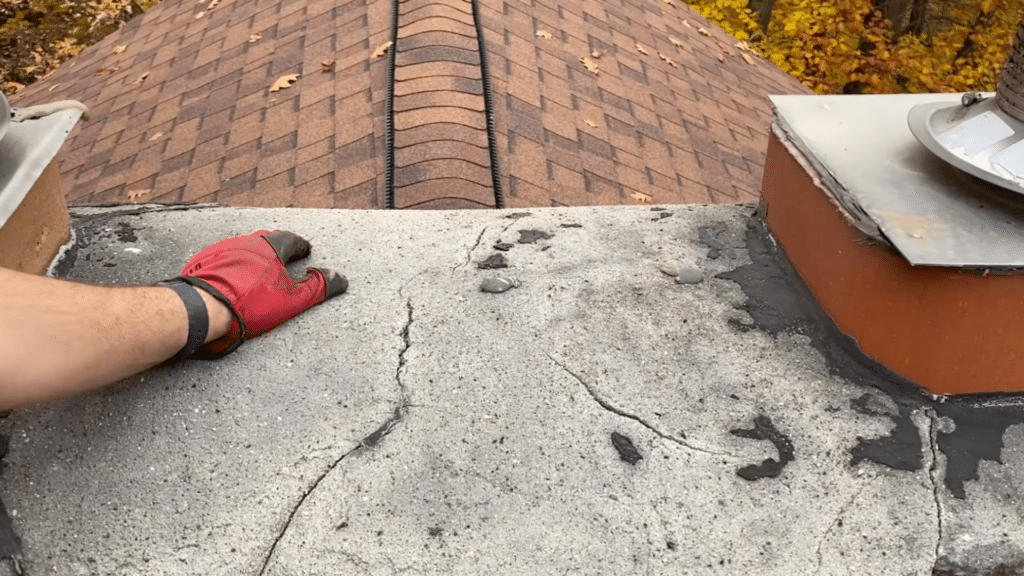
Back inside, use a flashlight to inspect the chimney walls and firebox carefully. Look for cracks in the liner, gaps in the mortar, or sections where the surface looks broken or worn.
Also check the smoke shelf area for any damage you may have missed while cleaning. These areas take the most heat stress and tend to show wear first.
If the liner shows cracks or missing sections, don’t use the fireplace yet. Small surface cracks can be patched with refractory mortar, available at any hardware store.
Larger damage needs a professional assessment. Damaged liners allow heat to transfer into surrounding walls; a fire risk entirely separate from creosote buildup.
Step 9: Reinstall the Chimney Cap
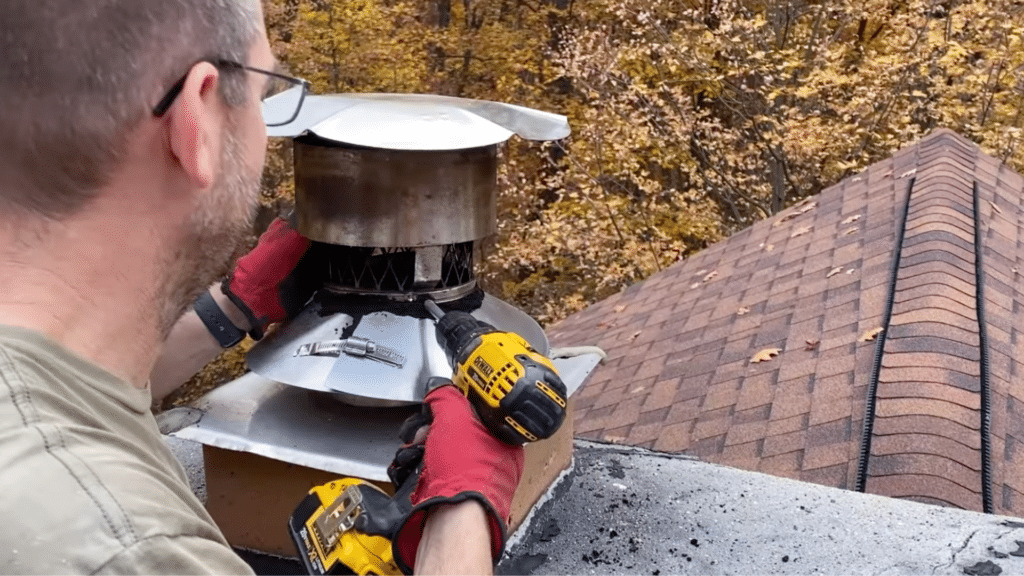
Place the chimney cap back on top and align it with the chimney opening. Secure it with screws and make sure the fit is tight and stable.
A properly installed cap keeps debris, rain, and animals out of the flue. It also helps maintain steady airflow when the fireplace is in use.
Double-check that all screws are tightened evenly and the cap sits flat before coming down from the roof.
Step 10: Reassemble Inside Parts
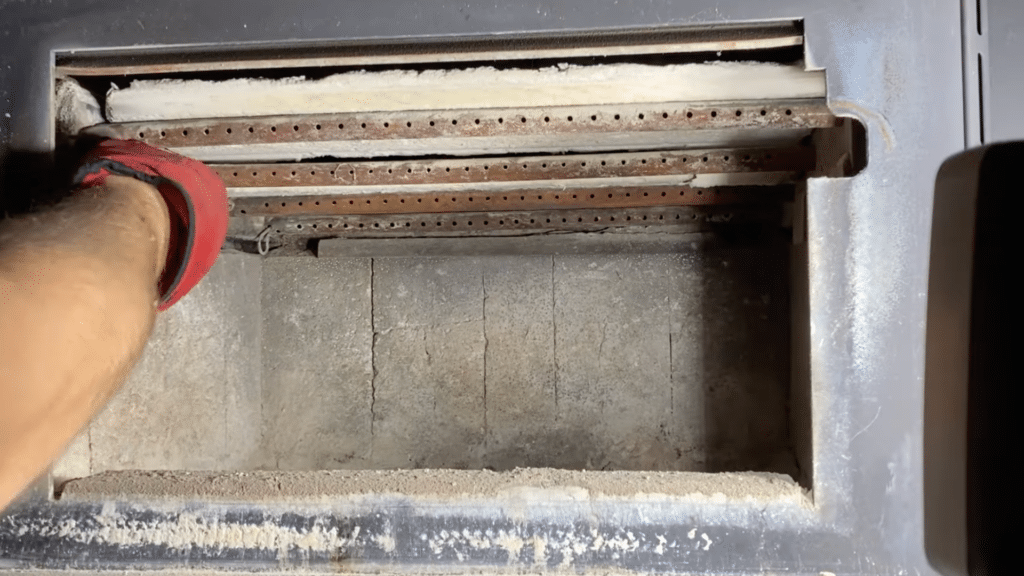
Return to the fireplace and reinstall all the removed components. Place the reburn tubes, insulation panel, and screws back in their original positions.
Make sure each part fits securely and aligns correctly. Tighten screws properly without over-tightening, that’s how panels crack.
The organized placement from Step 1 pays off here. Having parts grouped by type makes reassembly go much faster.
Step 11: Final Check and Cleanup
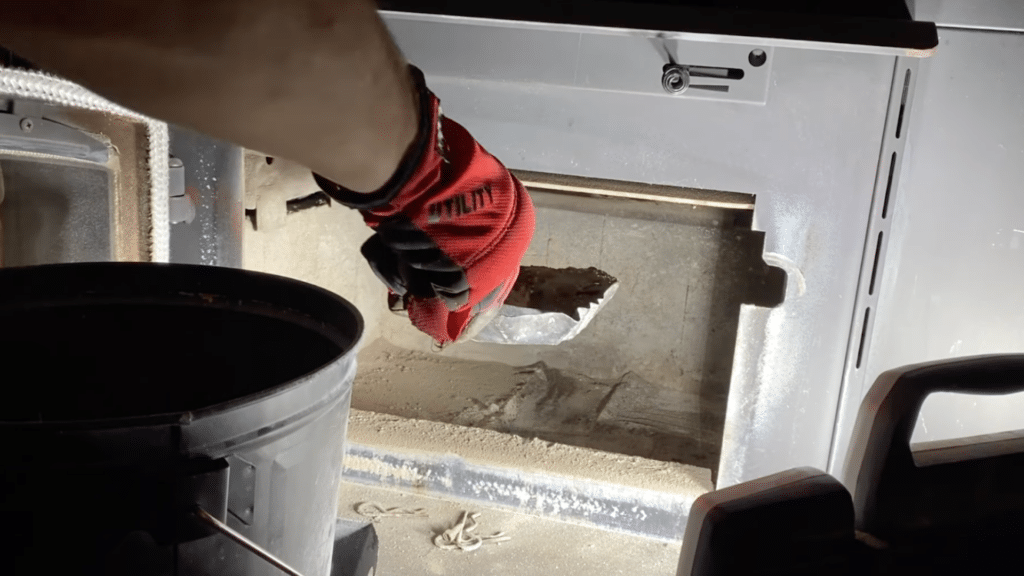
Wipe down the area around the fireplace and remove any soot or debris that settled during cleaning. Dust travels further than you expect during a chimney clean.
Run a final check on the fireplace and chimney connection. Look for any loose parts, open gaps, or anything that doesn’t look right.
Once everything looks secure and the area is clean, the fireplace is ready to use.
See the whole process in action, in the video tutorial below:
Best Time to Clean Chimneys
Normal use with seasoned wood needs cleaning once a year, while daily heavy use requires a mid-season check.
| Usage Condition | Cleaning Frequency |
| Normal use (seasoned wood, good stove) | Once a year |
| Daily use (heavy usage) | Mid-season check needed |
| Wet wood or a low-efficiency stove | Clean more often |
Why Chimney Cleaning Is Important?
- Health Safety: A dirty chimney releases dust, soot, and harmful particles into your living space. For kids and older adults, that means real irritation; breathing issues, allergies, and persistent odors.
- Fire Risk Reduction: Creosote can ignite at temperatures a normal fire easily reaches. When it catches, it burns hot enough to crack the flue liner or ignite the wood framing around the chimney. Removing it regularly eliminates that risk before it becomes a problem.
- Better Airflow: Blocked chimneys stop smoke from venting properly. Cleaning clears the path so smoke exits without backing up into the room.
- Odor Control: Soot and grease create a persistent smell inside the flue — one that gets worse in warm weather. Regular cleaning removes the source, not just the symptom.
- Improved Performance: A clean chimney drafts more efficiently. The fire burns hotter on less fuel and produces less smoke.
- Longer Chimney Life: Buildup damages the liner and mortar over time. Cleaning prevents that wear and extends how long the structure lasts before needing repairs.
Most of these don’t show up as obvious problems until something goes wrong. Regular cleaning is what keeps them from reaching that point.
Pros and Cons of Chimney Cleaning
Cleaning your chimney protects your home and improves how the fireplace performs. It removes creosote buildup that can ignite if left unchecked. It also improves airflow, which means less smoke backing up and a fire that burns more cleanly.
Here’s the full picture:
| Pros | Cons |
| Reduces fire risk | Can be messy |
| Improves air quality | Takes time |
| Better chimney performance | Needs tools |
| Saves money long-term | Risk if done incorrectly |
| Increases chimney life | Can feel tiring |
When to Call a Professional Instead
DIY cleaning handles routine maintenance well. But some situations call for a certified chimney sweep rather than a brush and a drill.
Here’s when to step back and make the call:
- Creosote buildup is thicker than 1/4 inch, or has a glazed, tar-like surface (Stage 3)
- You can see cracks, crumbling mortar, or missing sections in the liner or firebox
- Smoke enters the room even with the damper fully open
- You find animal nests or blockages you can’t fully reach or identify
- The chimney hasn’t had a professional inspection in more than two years
The NFPA recommends annual professional inspection regardless of how often you clean it yourself. An inspection costs far less than repairing damage that a missed problem left behind.
Common Mistakes to Avoid
These are the mistakes that come up most often when people clean their chimney for the first time. Each one is easy to avoid once you know to watch for it.
- Skipping the yearly inspection. Even light use leaves some buildup. Skipping a year makes the next clean harder and lets small damage go unnoticed.
- Using the wrong brush size or type. A brush that’s too small won’t make full contact with the flue walls. The wrong bristle type can scratch and damage the liner.
- Not wearing safety gear. Soot and creosote dust irritate the lungs and eyes. Gloves, goggles, and a dust mask are not optional.
- Burning wet or unseasoned wood. Wet wood produces far more creosote than dry wood. It’s the fastest way to build up heavy deposits between cleanings.
- Ignoring hard-to-reach areas. The smoke shelf and the area just above the damper collect debris but rarely get cleaned. Those spots matter.
Conclusion
Cleaning your chimney is one of the more manageable home maintenance tasks once you’ve done it the first time. The tools are simple and the steps are repeatable.
A clear flue and no creosote buildup directly protects your home and the people in it. You don’t need professional skills to get there.
Follow the steps in order, take the inspection seriously, and know when the job calls for a professional instead. A chimney that gets regular attention performs better, lasts longer, and causes fewer surprises when you need it most.
Frequently Asked Questions
How Often Should a Chimney be Cleaned?
A chimney should be cleaned at least once a year. With heavy use, cleaning every 3–6 months is better to avoid buildup.
What is Creosote, and Why is it Harmful?
Creosote is a black, sticky substance formed when wood burns. It collects inside the chimney and can easily cause a fire.
How to Know If a Chimney Needs Cleaning?
Signs include strong odors, poor smoke flow, or visible soot buildup. These show the chimney needs cleaning.
What is the Easiest Way to Clean Kitchen Chimney Filters?
Soak filters in hot water with dish soap for 15–20 minutes. Then scrub gently to remove grease and dirt.