
I used to think framing a wall was something only pros could handle. Then I learned that a closet wall is a great place to start.
The materials are simple, the layout is small, and you can take your time without pressure.
If you are willing to measure carefully and follow the steps, this project is very doable. In this guide, I shared how to frame a closet from start to finish.
I explained what tools you need, how long the work may take, and what skill level is expected.
You will see how planning, measuring, and steady work make a big difference, even if this is your first build.
By the end, you will feel prepared before picking up tools. You will learn how to plan the wall, build the frame, and avoid mistakes with confidence.
What You Need to Know Before Framing a Closet Wall?
Before framing a closet wall, it helps to understand a few basics so the project goes smoothly. Wall framing uses simple parts like studs, top plates, and bottom plates, which are just wood pieces that form the wall structure.
Most walls use stud spacing of 16 inches on center, meaning each stud is spaced evenly for strength and drywall support.
It’s also important to check local building rules and permits, especially in basements, since some areas have specific requirements. Choosing the right spot matters too.
Make sure the wall does not block doors, vents, or access to utilities.
Standard closet walls usually follow common room framing sizes, which makes materials easier to buy and install.
Planning these details first helps avoid mistakes, saves time, and makes framing much easier for beginners working on their first DIY closet wall.
Tools and Materials You Will Need
Having everything ready before you begin helps the work move faster and feel less stressful. When tools and materials are within reach, you can stay focused and avoid stopping mid-project.
- 2×4 lumber (pressure-treated for the bottom plate)
- Measuring tape
- Pencil and straight edge or square
- Circular saw
- Hammer and sledgehammer
- Level
- Construction screws
- Framing nails rated for treated wood
- Ramset or concrete fastener tool (for basement floors)
How to Frame a DIY Closet Wall as a Beginner?
Before getting started, it helps to slow down and look at the space as a whole. Taking a few minutes to plan now makes the rest of the work smoother and helps avoid changes later.
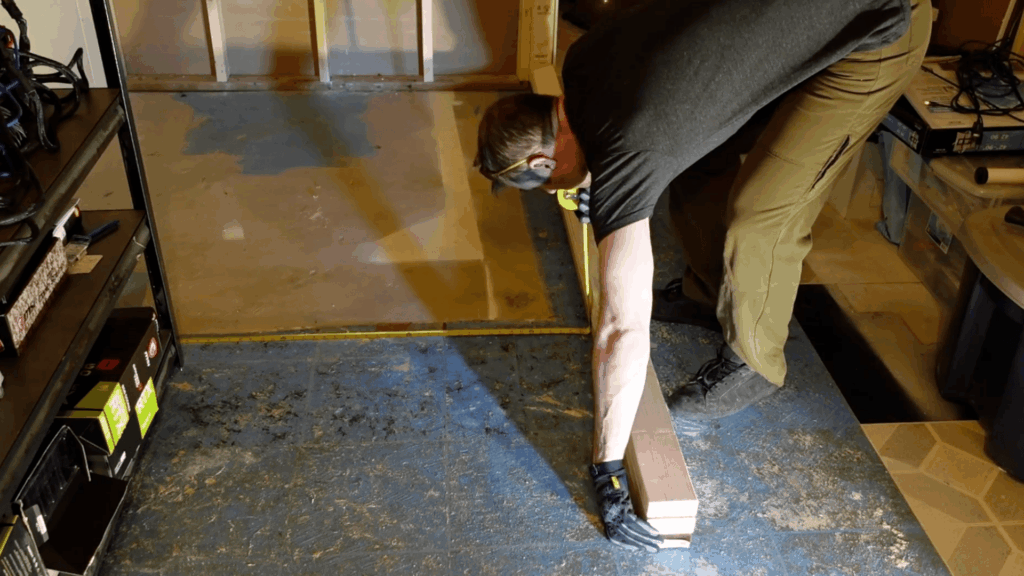
Step 1: Plan the Wall Size and Layout
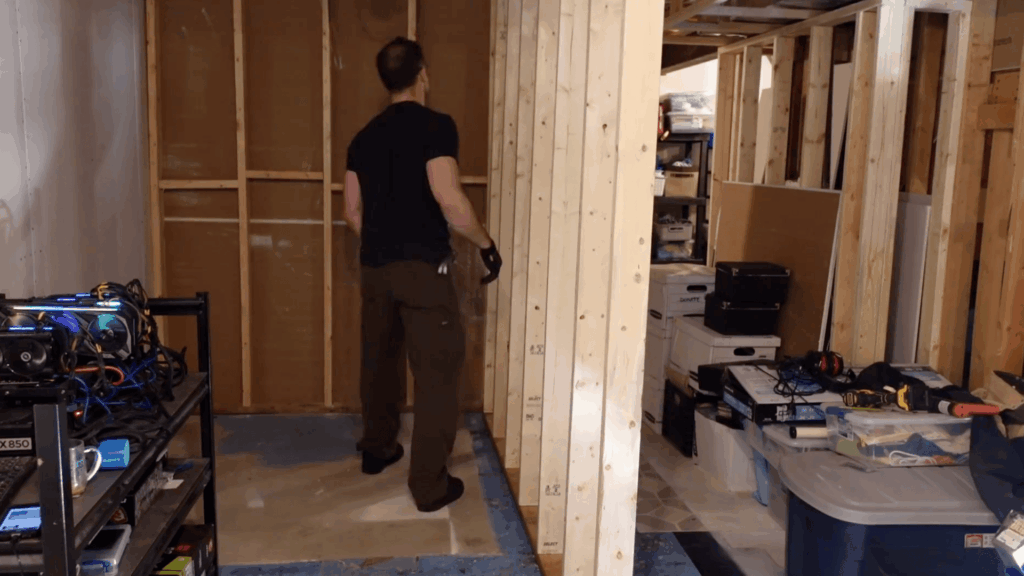
Before cutting any wood, start by deciding exactly where the closet wall will go.
Place the wall against the back side of an existing utility room and run under a floor joist, which makes framing much easier.
Measure the full width and length on the floor and mark the layout, so now you know the wall will fit the space properly.
This step helps avoid mistakes later and makes sure the closet size makes sense for the room.
Step 2: Mark Stud Spacing at 16 Inches on Center

After planning the layout, take time to mark the stud spacing before building the wall frame.
Lay the bottom plate and the first top plate flat on the floor, and use a tape measure to mark every 16 inches on center. These marks show exactly where each stud will go.
Then use a square or straight edge to draw clear lines across both boards so they match.
Doing this step carefully helps keep the wall straight, strong, and properly spaced, which makes installing drywall much easier later.
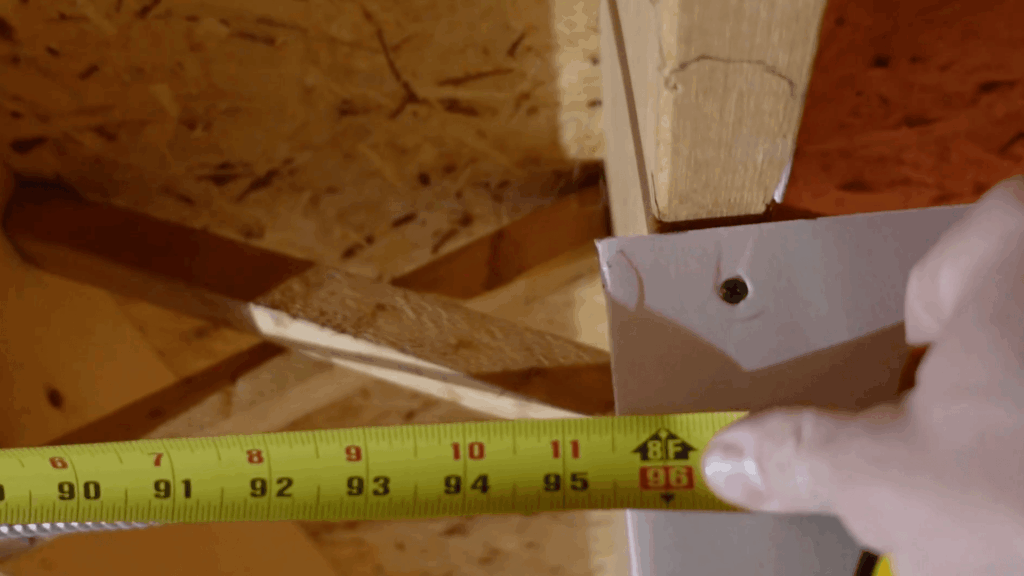
Step 3: Measure Wall Height and Cut Studs
Once the stud spacing is marked, measure the height of the wall from the floor to the ceiling joist.
Leave the top and bottom plates in place, so you do not need to subtract their thickness from the measurement. The height comes out to about 81¼ inches.
Measure in a few different spots because floors and joists can vary slightly.
After confirming the measurement, cut all the studs to the same length so they fit evenly and the wall stands straight when assembled.
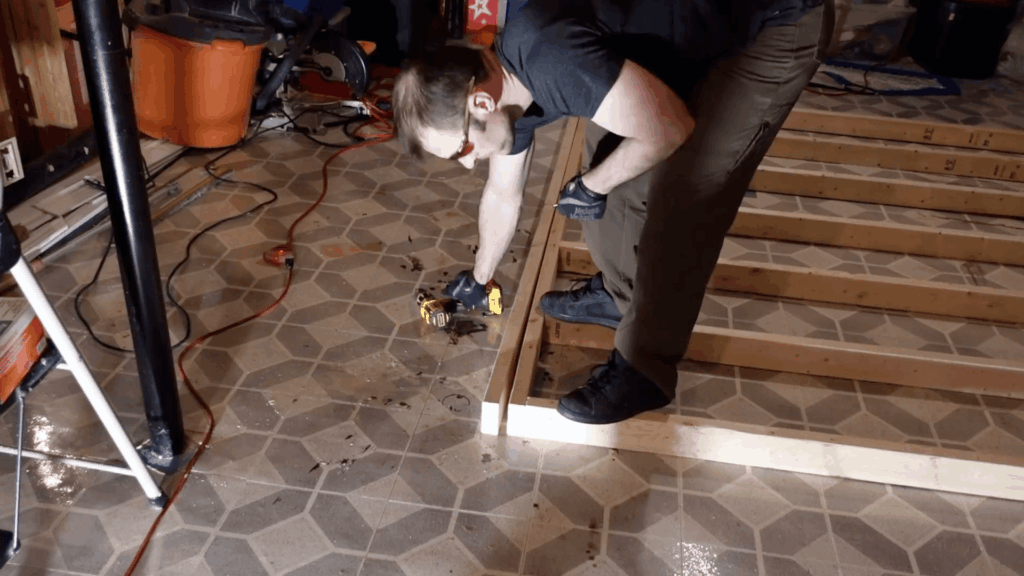
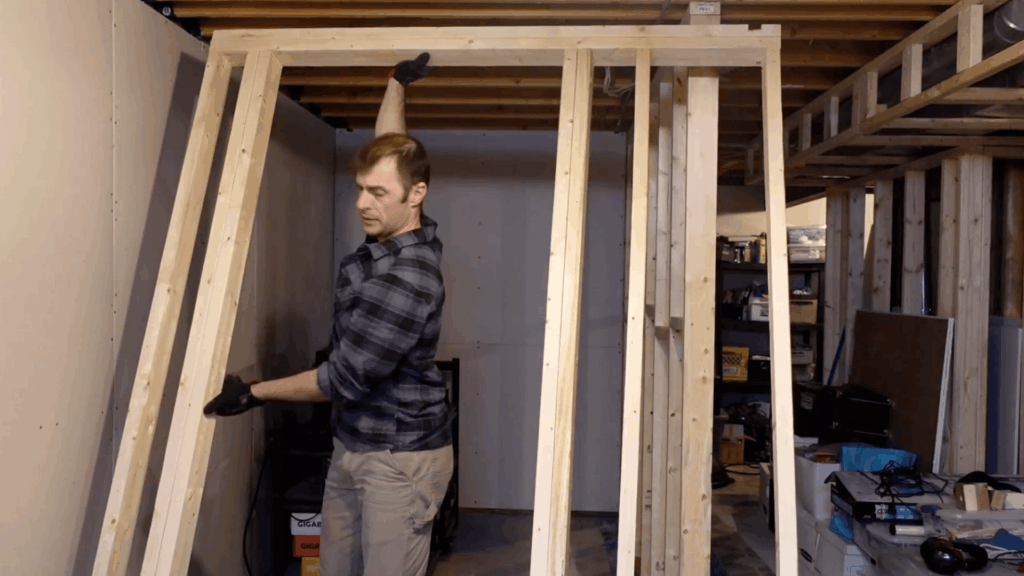
Step 4: Assemble the Wall Frame on the Floor
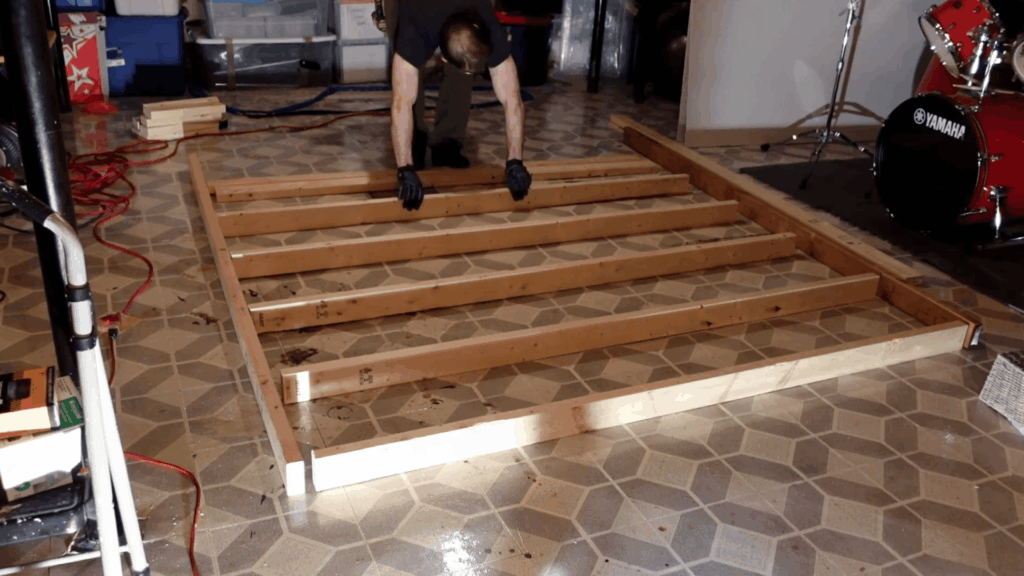
After cutting the studs, lay everything out on the floor to assemble the wall frame.
Place the bottom plate down first, line up each stud with the 16-inch marks, and then set the top plate in place.
Start by using construction screws to hold each stud in position because screws pull the boards tight and keep them from shifting. Once everything is lined up, add nails for strength.
This method helps create a tight, solid frame that stays square while working.
Step 5: Add the Double Top Plate
Once the main wall frame is together, add the second top plate to double it up, even though this is a non-load-bearing wall.
Use a double top plate because it makes the wall feel stronger and more stable.
Place the second plate directly on top of the first and secure it with construction screws. This also helps tie the studs together better.
While it is optional for a closet wall, this step adds extra support and helps the wall stay straight over time.
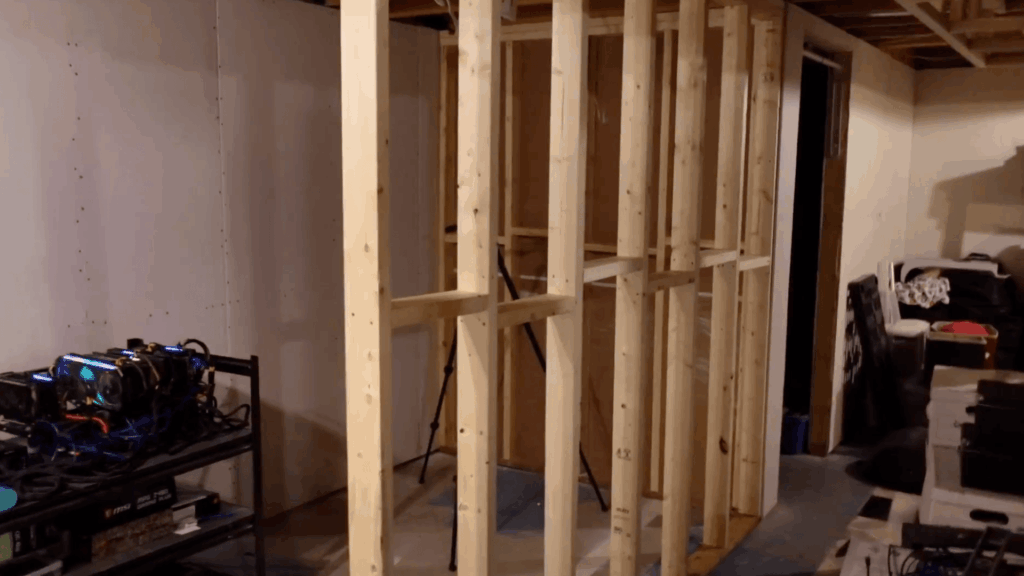
Step 6: Stand the Wall and Set It in Place
After the wall frame is fully assembled, carefully lift it into position.
This is much easier with help, but it can be done slowly on your own. Use a sledgehammer to gently tap the wall into place so it sits tight against the floor and ceiling.
Once it is standing, measure the distance from nearby walls to make sure it is even on both sides.
Also, use a level to check that the wall is plumb before securing it.
Step 7: Secure the Wall to the Floor and Ceiling

With the wall positioned correctly, secure it to the concrete floor first.
Since this is a basement, use fasteners rated for pressure-treated wood and a Ramset tool to anchor the bottom plate.
Then attach the top plate to the floor joists using GRK fasteners, which provide better holding strength.
Do not fasten every joist because that is not needed for a non-load-bearing wall. Once secured, the wall feels solid and ready for the next steps.
Step 8: Add Fire Blocking for Extra Strength
Once the wall is secured, add fire blocking between the studs using scrap wood.
While fire blocking is not always required for basement walls like this, it does help make the wall feel more rigid. Cut the scrap pieces to fit snugly between the studs and fasten them in place.
This step also helps reduce movement in the wall and adds stability, which is useful before drywall goes up.
Prefer doing this now while everything is still open and easy to access.
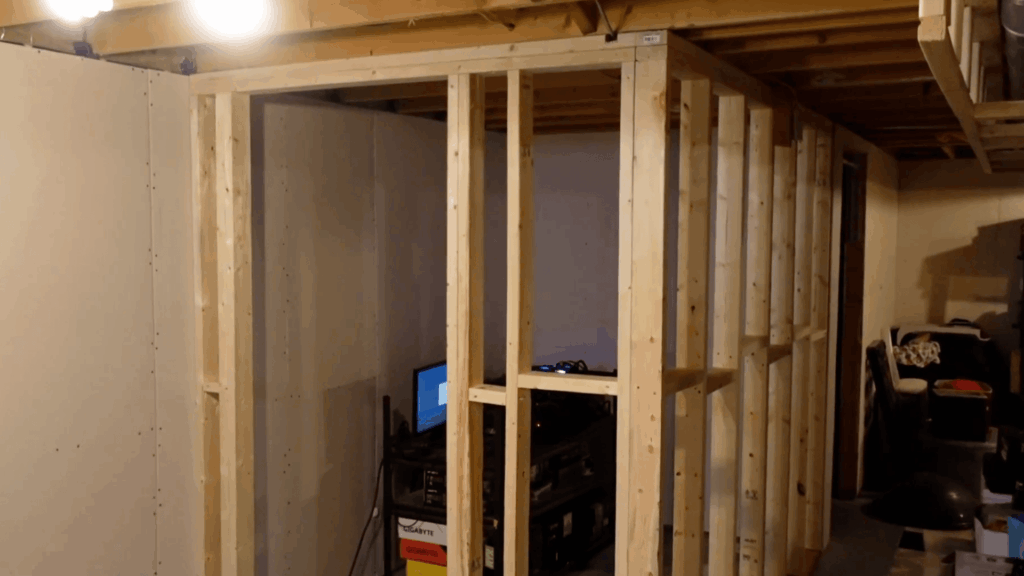
Step 9: Frame the Closet Door Opening
Next, frame the opening for the closet door. As the door is 32 inches wide, create a 34-inch rough opening to allow space for installation.
Double up the studs on both sides of the door for support.
Because the door goes almost all the way to the top plate, do not add a header above it. This works well since flooring will be added later, and there is limited space at the top.
Step 10: Handle Wiring and Cut Notches Safely
If there is wiring in the wall area, take time to handle it carefully. As the wire runs along the wall and is protected by metal, mark its location on the top plate.
Set the circular saw blade depth to about one inch and make several small cuts to create a notch.
Then knock out the excess wood with a hammer. This method keeps the wire safe and allows the framing to fit properly around it.
This tutorial is based on a helpful video by DIYNorth. You can check out the original video on their YouTube channel here or watch it below.
Common Mistakes to Avoid when Framing a Closet
Small framing errors can lead to bigger problems later. Paying attention early helps keep the wall straight and ready for finishing.
- Skipping measurements or rushing layout: Not measuring carefully can cause the wall to sit in the wrong place. Always mark layouts clearly before cutting or fastening anything.
- Using the wrong stud spacing: Studs spaced incorrectly can weaken the wall and cause drywall issues. Stick to 16 inches on center for proper support.
- Not checking for level and square: A wall that is not level can lean or twist. Use a level and check often as you build.
- Forgetting space for the door and trim: Missing door clearance creates problems later. Always plan the rough opening and trim space first.
What Comes After Framing a Closet Wall?
After the wall is framed, the next steps focus on finishing the space so it is ready to use. Most people move on to installing drywall, which covers the framing and gives the wall a clean surface.
Once the drywall is up, seams get taped and mudded, then sanded smooth. After that, painting usually comes next to match the room.
If the flooring is not finished yet, this is a good time to install it so the door fits correctly.
The closet door can then be hung using the rough opening you framed earlier. Inside the closet, you can add shelves, rods, or storage systems once the walls are finished.
Taking these steps in order helps everything line up properly and keeps you from having to redo work later.
Safety Tips for First-Time DIYers
Good habits make the job smoother and help prevent injuries. A few simple precautions can make a big difference while working.
- Wearing basic safety gear: Use safety glasses to protect your eyes from dust and wood chips. Gloves can help improve grip and reduce hand strain.
- Safe tool handling for beginners: Read tool instructions before use and keep blades sharp. Unplug or power down tools when making adjustments.
- Lifting and cutting lumber safely: Lift with your legs, not your back, especially with long boards. Support the wood properly before cutting to avoid binding.
- Working carefully in tight spaces: Keep the area clear of clutter and cords. Move slowly to avoid hitting tools, walls, or wiring.
Conclusion
Framing a DIY closet wall may seem like a big task at first, but breaking it into clear steps makes it much easier to handle.
From planning the layout and measuring carefully to spacing studs correctly and securing the wall, each part plays an important role in the final result. If you are new to framing, taking your time really matters.
Slow, careful work helps prevent mistakes and leads to a wall that feels solid and straight.
A little planning up front can save hours of fixing later and make the whole project more rewarding.
If you are thinking about starting your own closet wall, trust the process and move one step at a time. Once you finish, you will feel proud of what you built.
Share your experience, tips, or questions in the comments below and let others learn from your project too.