
Growing tomatoes sounds simple until someone actually tries it for the first time. Seeds that refuse to sprout, seedlings that stretch thin and weak, or plants that produce nothing but leaves.
It’s frustrating, and many beginners wonder if they’re missing some secret trick. But starting tomatoes from seed isn’t complicated once the basics are clear.
With the right approach, even a complete novice can turn those tiny seeds into healthy plants loaded with juicy tomatoes.
This blog breaks down everything needed to grow tomatoes from scratch. Read more to find out.
The Basic Requirements of Growing Tomatoes
Tomatoes aren’t fussy plants, but they do have specific needs. Miss even one, and the harvest suffers.
- These plants crave sunlight, at least six to eight hours daily. Without it, they grow tall and spindly but produce little fruit.
- They also need consistent watering. Too much causes root rot, too little leads to cracked, bitter tomatoes.
- The soil matters too; tomatoes thrive in rich, well-draining ground with the right nutrients.
- Temperature also plays a role, since tomatoes are warm-season crops.
Understanding these basics sets the foundation for success, whether growing in pots or garden beds.
Growing Tomatoes From Seeds: Step-by-Step for Beginners
Starting tomatoes from seed takes patience, but the process is straightforward. Follow these steps to grow strong, healthy seedlings ready for transplanting.
Step 1: Choose the Right Tomato Seeds
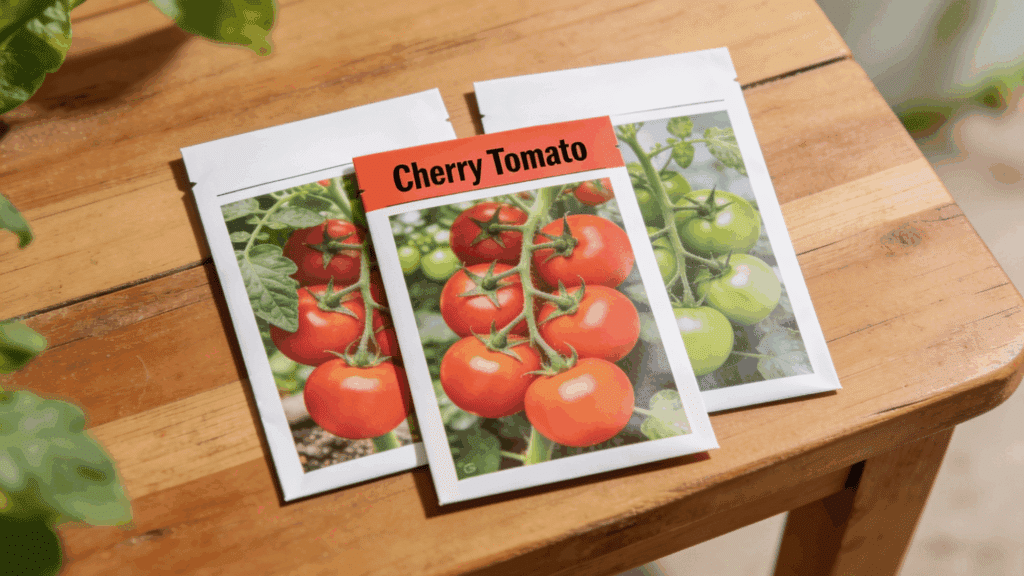
Not all tomato varieties work for every garden. Determinate types stay compact and ripen quickly, perfect for containers or small spaces. Indeterminate varieties grow tall and produce fruit throughout the season.
Check the seed packet for days to maturity and disease resistance.
Beginners often find cherry tomatoes easier since they’re forgiving and productive. Pick varieties suited to the local climate and available growing space.
Step 2: Prepare the Seed Starting Mix
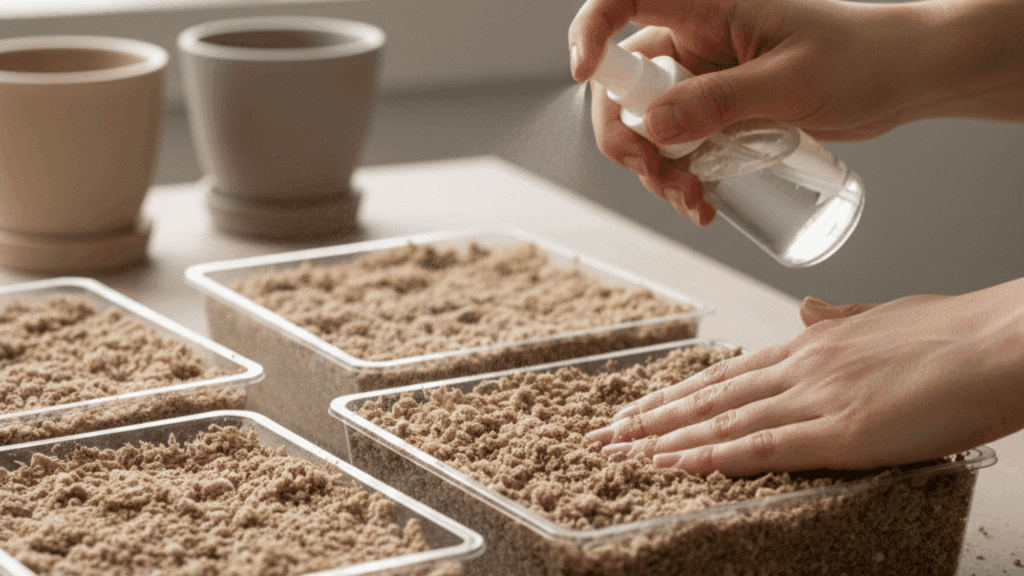
Regular garden soil is too heavy for seeds and can carry diseases. Use a sterile seed-starting mix instead; it’s lightweight, drains well, and gives seeds the best chance to sprout.
Fill small containers or seed trays with the mix, leaving about half an inch at the top. Moisten the mix before planting; it should feel like a wrung-out sponge.
Don’t pack it down too tightly. The fluffy texture allows tiny roots to push through easily and prevents seedlings from damping off.
Step 3: Plant the Seeds Properly
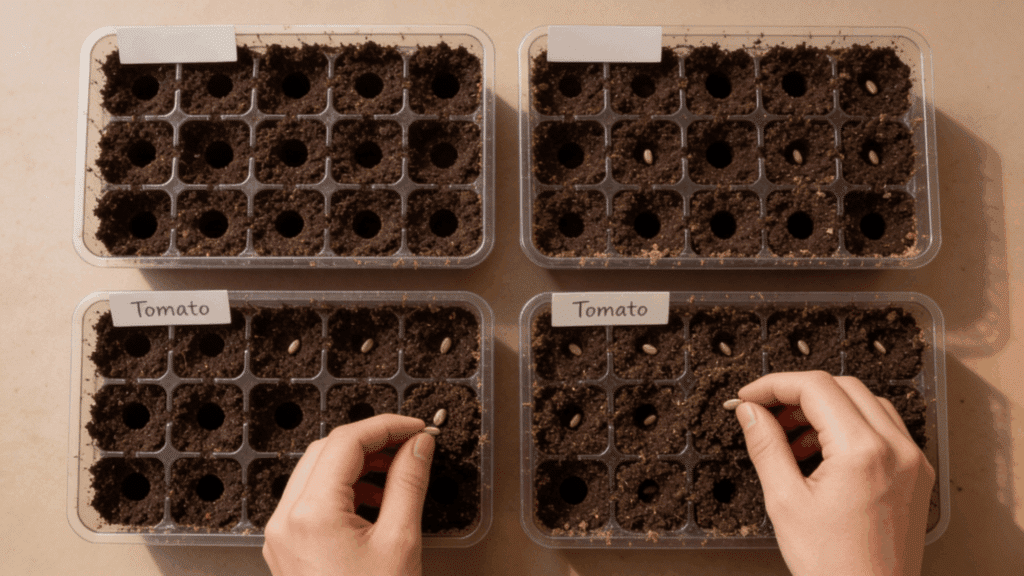
Tomato seeds are small but tough. Plant them about a quarter-inch deep in the moistened mix.
Drop two seeds per cell or container in case one doesn’t sprout. Gently cover them with more mix and press lightly. Label each container with the variety name and planting date.
Keep the trays in a warm spot, around 70-80°F. Seeds won’t germinate in cold conditions. Cover the trays with plastic wrap or a humidity dome to trap moisture until sprouts appear.
Step 4: Provide Adequate Light and Warmth
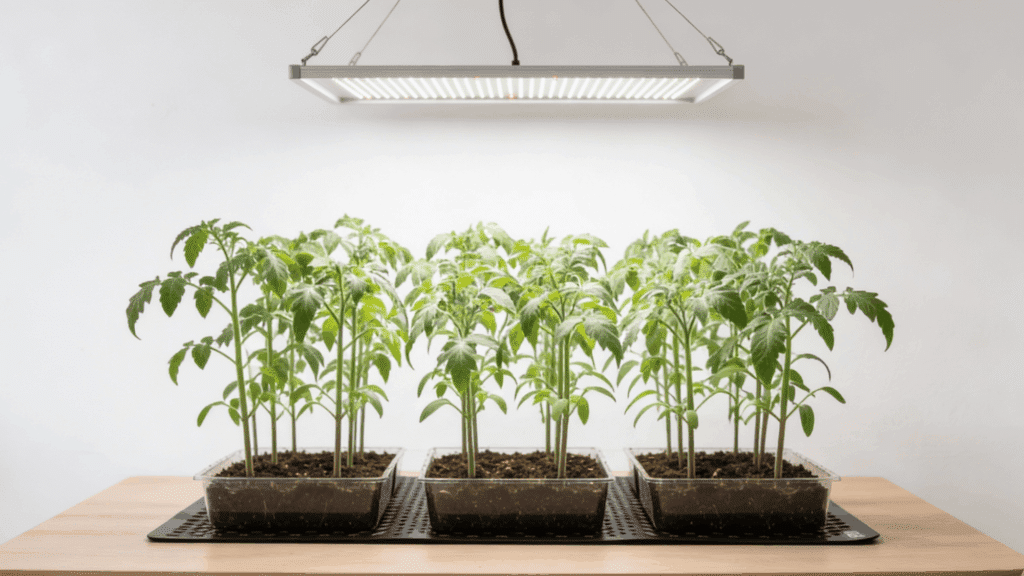
Tomato seeds germinate best in warm conditions, around 70 to 80 degrees Fahrenheit.
A heat mat speeds things up. Once seedlings emerge, they need bright light; 12 to 16 hours daily. A sunny windowsill rarely provides enough. Grow lights positioned a few inches above the plants work better.
Without adequate light, seedlings stretch tall, weak, and leggy, making them poor candidates for transplanting
Step 5: Harden Off Before Transplanting
Keep the soil consistently moist but never waterlogged. Water from below or use a gentle mist to avoid disturbing tiny roots.
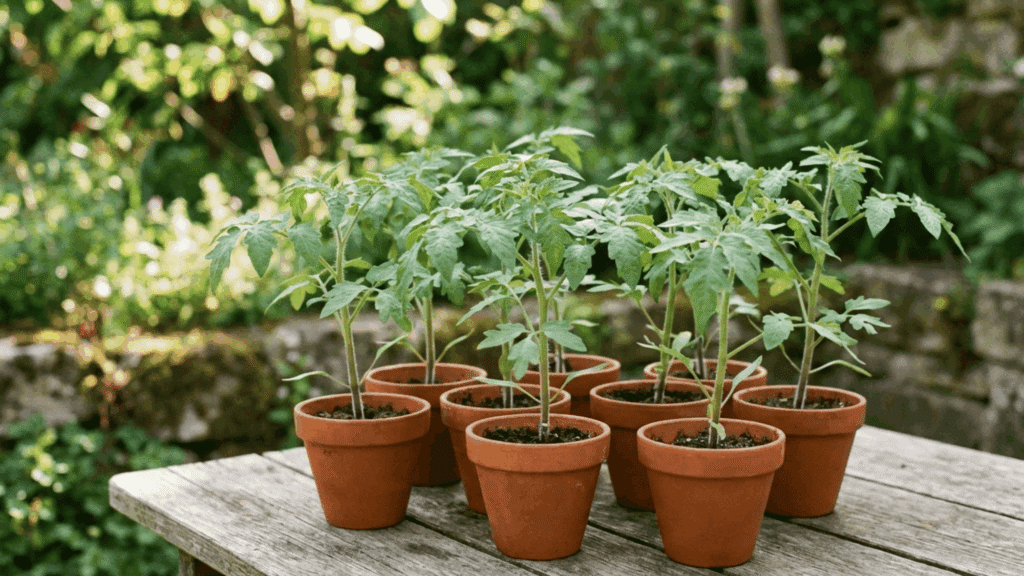
When seedlings develop two sets of true leaves, transplant them into larger pots.
Bury the stem deep; tomatoes grow roots along it, creating stronger plants. Gradually expose them to outdoor conditions for a week before planting in the garden.
Transplanting Tomato Seedlings the Right Way
Transplanting marks a critical moment in a tomato plant’s life. Do it wrong, and seedlings struggle or die. Do it right, and they establish quickly and grow strong.
The process involves more than just digging a hole and dropping the plant in. Timing matters because transplanting too early exposes tender seedlings to cold damage.
The soil needs proper preparation with nutrients and good drainage. Seedlings require hardening off, a gradual introduction to outdoor conditions, before permanent planting.
The planting depth is crucial, too, since tomatoes develop roots along buried stems.
Understanding these elements ensures seedlings transition smoothly from indoor comfort to garden reality, setting them up for a productive growing season.
Best Place to Grow Tomatoes: Garden, Raised Beds, or Containers
Tomatoes adapt to different growing spaces. Each option has advantages and challenges that affect plant health, maintenance, and final harvest.
Garden Beds
Traditional in-ground gardens offer unlimited root space and natural soil moisture retention. Tomatoes grow large and productive here.
However, soil quality varies, and amending heavy clay or sandy ground takes effort. Weeds compete for nutrients, and pests access plants easily. Garden beds work best for those with good soil and space.
Raised Beds
Raised beds provide better drainage and warmer soil that heats up faster in spring.
Gardeners control the soil quality completely, and the elevated height reduces back strain. They’re easier to maintain and keep weeds manageable.
The initial setup costs more, but the long-term benefits include fewer pest problems and extended growing seasons in cooler climates.
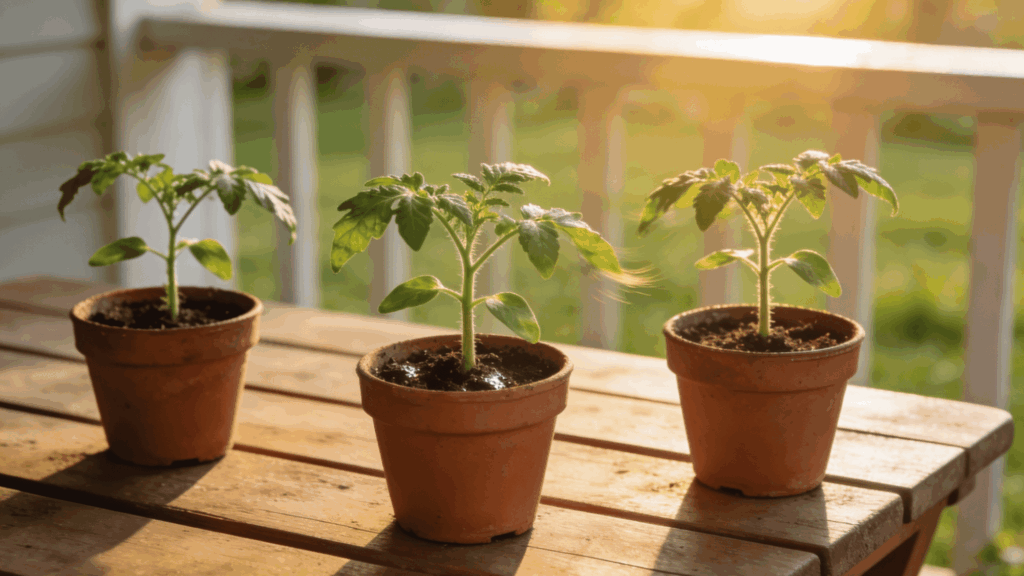
Containers
Containers suit small spaces like patios, balconies, or decks perfectly. They offer full portability, allowing growers to move plants to follow the sun or escape bad weather.
Watering needs increase since pots dry out quickly. Choose containers at least 18 inches deep for adequate root growth. Determinate or dwarf varieties perform better in containers than sprawling indeterminate types.
How to Care for Tomato Plants as They Grow
Healthy tomato plants need consistent care throughout the growing season. Regular attention to these basics keeps them productive and disease-free.
- Water deeply at the base of plants early in the morning to prevent fungal diseases and ensure roots stay hydrated.
- Mulch around plants with straw or wood chips to retain moisture, suppress weeds, and stabilize soil temperatures.
- Stake or cage plants early, before they get too large, to prevent fruit from touching the ground and to support heavy branches.
- Prune suckers from indeterminate varieties to direct energy into fruit production rather than excess foliage growth.
- Feed plants with balanced fertilizer every 2 to 3 weeks once they start flowering to support continuous fruit development.
Common Tomato Growing Problems
Tomato plants face several common issues during the growing season. Identifying problems early and taking quick action prevents crop loss.
| Problem | Cause | How to Tackle It |
|---|---|---|
| Blossom End Rot | Calcium deficiency or inconsistent watering | Water regularly and deeply; add calcium to the soil through lime or crushed eggshells |
| Yellowing Leaves | Nutrient deficiency, overwatering, or disease | Check soil drainage; apply balanced fertilizer; remove affected leaves if diseased |
| Cracked Fruit | Irregular watering causes rapid growth spurts | Maintain a consistent watering schedule; mulch to retain even soil moisture |
| Leggy Seedlings | Insufficient light during early growth | Provide 12-16 hours of bright light daily; use grow lights if needed |
| Few Flowers or Fruit | Too much nitrogen or extreme temperatures | Reduce nitrogen-heavy fertilizers; provide shade during heat waves above 90°F |
| Wilting Plants | Underwatering, root damage, or fungal disease | Water deeply; check for root rot; ensure proper drainage and air circulation |
| Spots on Leaves | Fungal or bacterial diseases like blight | Remove infected leaves; avoid overhead watering; apply fungicide if severe |
| Pest Damage | Aphids, hornworms, or whiteflies | Inspect regularly; handpick large pests; use insecticidal soap for smaller insects |
Conclusion
Growing tomatoes from seeds can seem intimidating, but it becomes achievable once the process becomes clear. Those tiny seeds hold incredible potential when given proper warmth, light, and care.
Yes, challenges will pop up: yellowing leaves, blossom end rot, or stubborn pests. But each problem has a solution, and every mistake teaches something valuable for next season.
The real reward comes when that first ripe tomato is plucked from a plant grown from scratch.
The taste alone makes every bit of effort worthwhile. So grab some quality seeds, prepare the soil, and start this growing season with confidence. That homegrown tomato harvest is closer than it seems.