
A home is a place of rest, comfort, and peace. You want your home to be an integral part of who you are, what you stand for, and what resonates with you. While the color theory is often the most common aspect of interior decor taken seriously, you can do so much more to make your home your own.
From how you decorate the windows to how you set up the walls, your personality must reflect through it all. Instead of just focusing on singular aspects, choosing an overall look and theme for your home is advised.
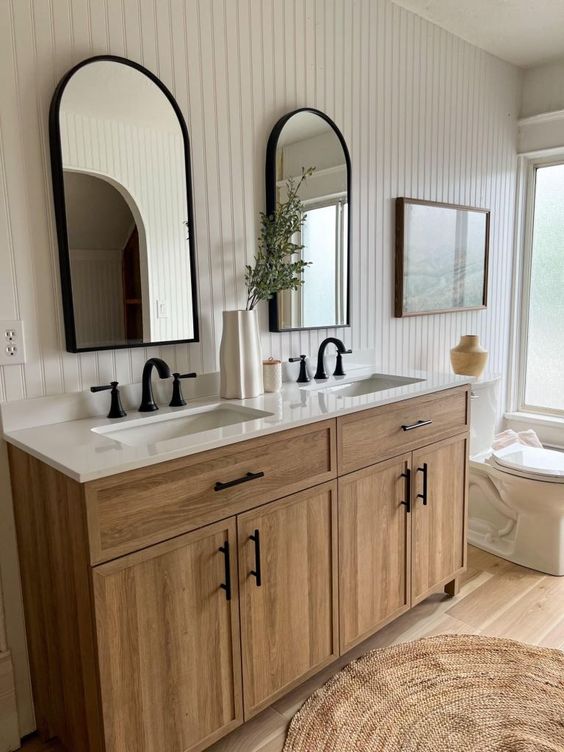
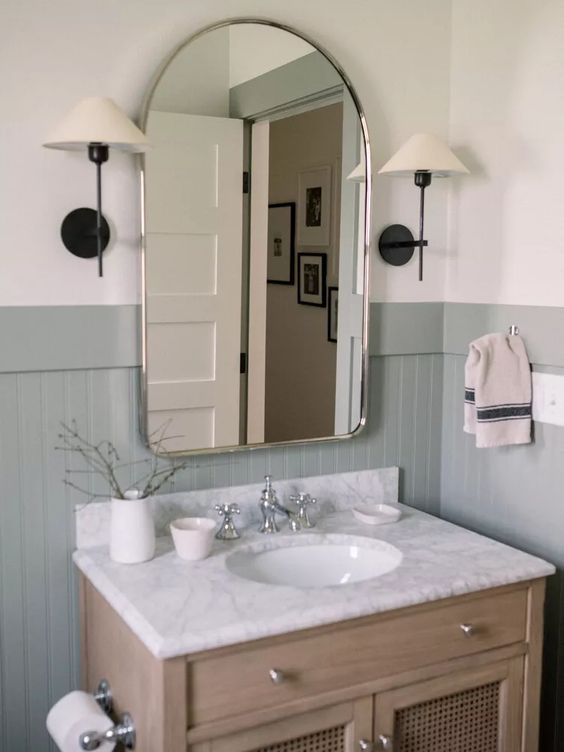
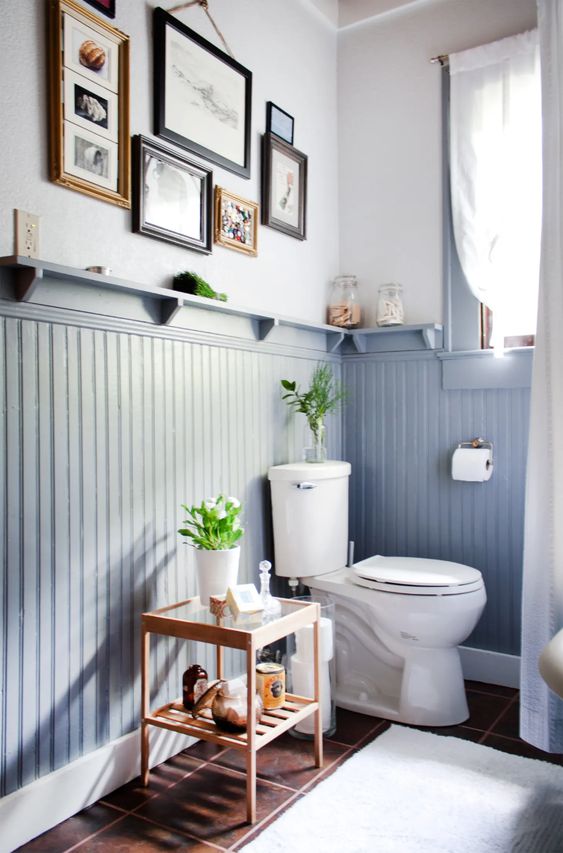
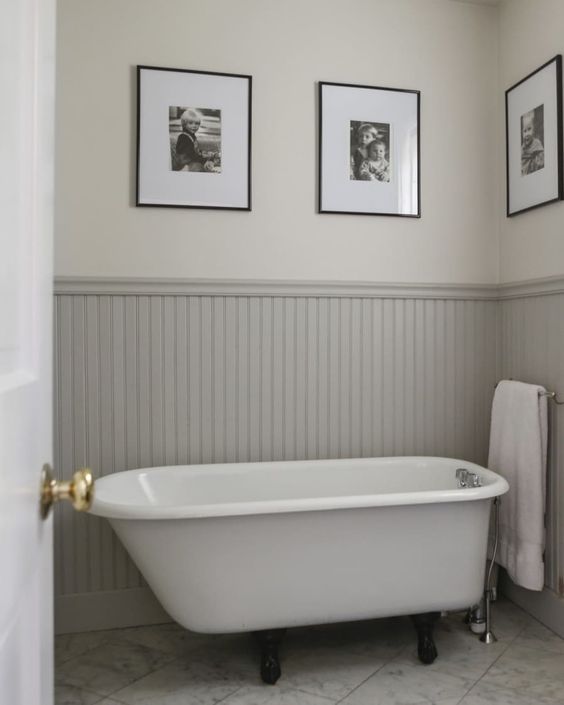
If you are an old-school person at heart, why go for contemporary designs when you can have your very own rustic home? Cottage-like feel that reflects in all your rooms, including the bathroom.
Choose a bathroom beadboard and bring your personality into every little element. Wainscoting is a simple yet stunning way to elevate your home and make it into a masterpiece. Small elements such as these go a long way in giving your home a complete overhaul like no other.
Your bathroom gets a unique ranch-like look and feel while looking classy and flavourful.
What is Beadboard Wainscoting?
Beadboard wainscoting is a commonly used popular style of Wainscoting that has thin vertical grooves that run across the length of the panel. Beadboard paneling looks beautiful, rustic, and stunning in almost any room. In addition, it can be painted any desired color to match the paint of your room. It offers the perfect mix of a traditional setup while still giving off a classy vibe that is hard to miss. It is ideal for cottage homes and bungalows but can also be used for any kind of setup.
Are you looking to set up your very own bathroom beadboard for your home yourself?
Let’s walk you through the complete guide to installing beadboard wainscoting for the bathroom.
Steps to Install Bathroom Beadboard Setup Using Beadboard Wainscoting
1. Prepare for the Makeover

One of the first steps, before you get started is to plan your bathroom beadboard well in advance. This involves multiple necessary steps that need to be followed through meticulously. This includes selecting the wall you need to panel first and making sure the wall is prepped. For this, remove existing baseboards, inbuilt fixtures, light panels, and obstacles that come in the way.
If you are a beginner, it would be advisable to take help from someone who has experience in DIY woodwork projects, as this is an intermediate-level project.
Do not forget to clean, dust, and prep your area for the upcoming project. Get to know the various aspects of your beadboard wainscoting project, for instance, the parts of the panels.
Understand what a baseboard is, what trims are, what is top cap molding and more. This is also the stage where you need to prepare the tools required for your project.
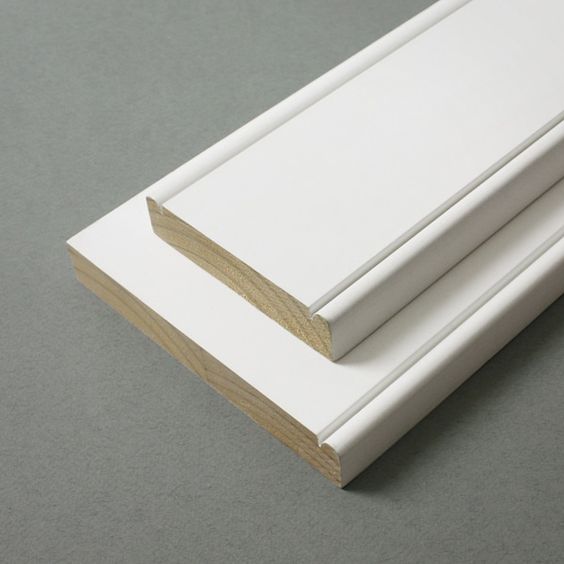
You either prepare your own paneling using wood or MDF or buy a pre-prepared beadboard panel. It must contain the quintessential groove and tongue pattern that makes the beadboard pattern unique.
- Jig Saw
- Miter Saw
- Pencil
- Measuring Tape
- Standard Level
- Pneumatic Nail Gun
- Stud finder
- Hammer
- Beadboard Panels
- Construction Adhesive
- Paintable Caulk
- Safety Gear
- Dust Mask
2. Remove Your Baseboards or Covering
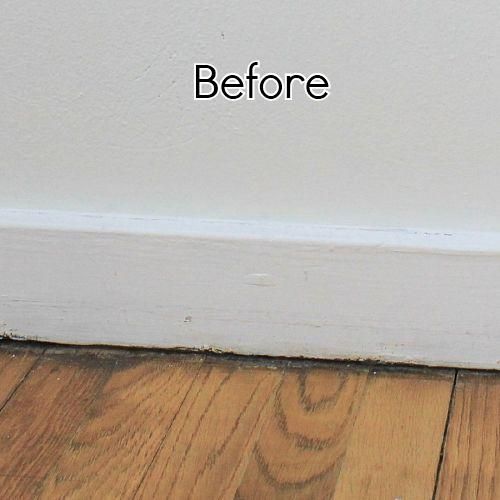
Whether your current bathroom has tikes or it has other baseboards, you need first to remove those. You need to carefully remove any and every tile that has been there before and prep the wall for the next step. Use your tools, screwdriver, or any other tool to rip off the older baseboard. An old baseboard is easier to remove as compared to tiles, of course.
3. Allocate Your Studs and Mark Your Area
Once you have all your tools in place, it’s time to navigate your way through the walls. This means marking where your panel will go. For this, use a leveler and extend a line across the walls where your panels are meant to go. You can then use a stud finder to make sure your studs are equidistant for a strong, durable base. Ensure your studs markings are above the floor level and above the level line.
4. Fix Your Baseboard
Once you have collected all your materials, you can put in the new baseboards that are in line with your requirement. Ensure that you have color matched beforehand. You can then place the baseboard at its location at the very bottom and use a pneumatic nail gun to nail down the base. Ensure your markings are in line with your stud markings.
Leave expansion gap spaces when working with wood so that it does not warp. While placing baseboards in the corners, make sure you use a miter saw to cut around the edges at a 45-degree angle so the two corners fit into one another perfectly.
5. Bring in the Bathroom Beadboard Panels
The next step after a fixed baseboard is to use construction adhesive on your panel. Cutting your panels beforehand is important. If you don’t want to do this yourself, you can get the panels cut out by the hardware store you bought them from to make matters simpler. Before you fix up your panels, recheck your measurements and do a mock placement.
Once you have nailed out the details, use the construction glue and make wavy lines all around the back. Be generous with your glue to ensure it sticks well later on. Then spread evenly across the panel using a notched trowel.
Once done, fix it into place carefully. You can take the help of another person to make sure you have maximum accuracy during this step. While sliding in the grooves, good spacing is needed to accommodate any expansion that may happen during humid weather. Make sure the top line is well aligned before finishing this step; You can use the leveler to make sure that your alignment is perfect.
Press these panel boards well with the pressure of your hands to promote good bonding.
6. Nail Down The Beadboard Bathroom Panels
Once you have put the board in place, it’s time to nail it down as the final step. For this, it is advised to nail it down wherever there is a stud below. In terms of maintaining the best aesthetic, you can nail down in between the grooves. This is the best way to ensure your finished work looks as clean as possible. In areas where there is no stud at the base, you can use liquid nails and 18 gauge brad nails that can be nailed into the drywall to firm up your work well.
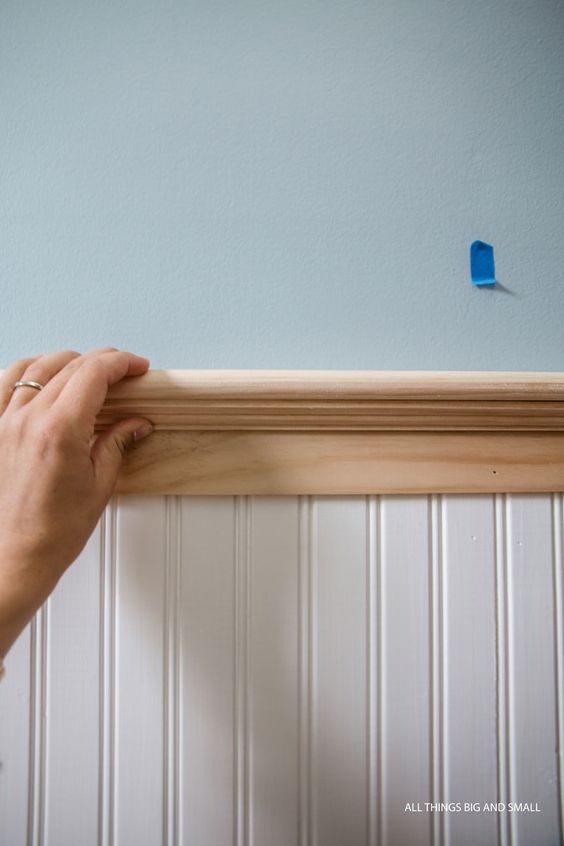
7. Installing the Cap Rail and The Baseboard
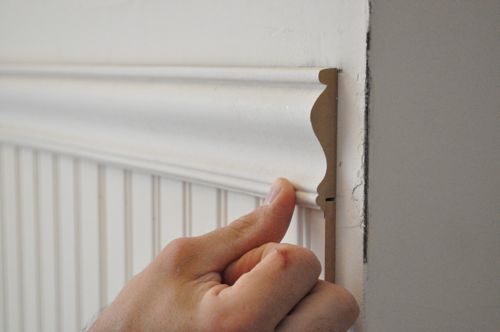
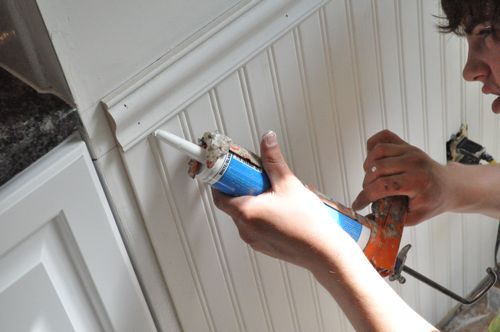
Beadboard section installation is followed by the installation of the cap rail. You can place your cap rail in position at the top end of the beadboard panel. Then, use strong finisher nails to execute fixing it up well. You can cut out the extra sections using the miter saw. Bottom baseboards can go above your beadboard; again, use your finisher nails to do the task well. You can then use caulk to fill in all the nail holes. Seal every gap around the beadboard well with a paintable caulk.
8. Paint as Needed
If you are going for a certain accent-colored bathroom beadboard, using a final paint coat is important. All this nailing and pasting will impact the look of your Wainscoting. Therefore, use your desired paint color and color it all over your beadboard, caulk lines, cap rails, and baseboards well. A well-painted beadboard bathroom truly elevates how your home feels!
9. Reinstall Your Fixtures

Be patient when it comes to drying down your wall. Once all the paint has dried down, it’s time to reinstall all your light fixtures and nail the finishing touches well. For instance, place back your switchboard fixtures, reinstall your lights, and reconnect your plumbing work, if any, around the area. Once all the fixtures are reinstalled, your beadboard bathroom becomes ready to use in no time.
Benefits of Using Wainscoting for Your Home
Wainscoting is a type of wood paneling that involves adding trim to your home walls. It usually goes around the base of the wall, usually the bottom 1/4th portion of the wall. Wainscoting could even go up to as much as 5 feet in some cases. Here’s why wainscoting your bathroom is a good option
- Protection – Wainscoting is a great way to protect your home walls or prevent any further damage. Be it furniture against the wall damage or just general damage that may occur because of children or pets.
- Trend-proof – Wainscoting has barely ever gone out of style. No matter what trends come and go because of their aesthetic appeal, these more or less always stay in style. You can invest in Wainscoting, and be rest assured it remains a timeless decor idea in your home.
- Removable – Therefore, making them a great add-on to your rental home. You need not spend tons of money on making permanent changes to your rental home. Just beadboard bathroom and bedroom and transform your rental space into something beautiful.
- Cozy And Warm – Just the design aesthetic of a bathroom beadboard is super cozy and comforting. Make your bathroom a space of comfort and relaxation by adding some beadboard wainscoting into your bathroom.
Things to Be Mindful of Before You Choose Beadboard Wainscoting
- You still need to maintain them well. While it does protect you from direct damage done by kids or pets, it isn’t completely immune to damage. Therefore, keep an eye out for any damage.
- Wood panels or MDF boards are usually used as panels for baseboards. MDF boards are good but not as sturdy as wood panels. Even wood panels stand a chance of becoming brittle over time or getting warped. When installed in bathrooms, the humidity could have an impact on the panels, so using a sealant and moisture protection is important. Using a vinyl beadboard is an excellent alternative.
- When installed shabbily, these could become a nightmare and result in high maintenance. Therefore make sure installation is done well in the first place. Seek professional help where required for a seamless beadboard look.
Conclusion
Bathroom beadboards are trending for a good reason. They have the right kind of design brilliance and Instagrammable aesthetic that is ‘trending’ now. This bathroom also gives off a very calm and old-school vibe with its cottage-like aesthetic. Its beadboard pattern gives off a very homely, inviting vibe that gives your home the upgrade it deserves. This pattern can be used for your bathroom or your powder room which is adjacent to your bathroom.
The traditional Wainscoting adds a touch of elegance and luxury that gives your modern home a touch of vintage goodness. Make your functional bathroom space into an elegant and luxurious-looking room with its luxurious fittings.
Reimagine your simple bathroom and transform it into a charming old-school place!
Frequently Asked Questions
Can Wainscoting Damage My Walls?
No, Wainscoting is, in fact, used as a means to maintain the integrity of your existing wall and prevent it from any further damage. For instance, chairs, tables, or stools against the wall could damage the walls. Additionally, pets or children can damage the wall. Wainscoting is a wooden paneling system that prevents such damage to the wall. Additionally, it can also be used to hide any existing imperfections that may already be present in the wall.
How Much Wainscoting Panel Should I Buy?
Wainscoting usually comes in these two common formats, i.e., small planks that come in sets or large panels. Depending on the amount of area you wish to cover, you can make the choice. For the bathroom, you can go for large panels. The size dimensions may vary, but generally, a 4′ by 8′ panel can be used for your bathroom.
Can I Use a Beadboard in The Bathroom?
Yes, beadboard can be used to make your tiny bathroom spaces seem aesthetically pleasing and cozy. You can choose materials such as vinyl beadboard or other water-resistant wood-paneled headboards that can improve the durability of the product in a high moisture area such as the bathroom.
What is the Best Beadboard for The Bathroom?
You can use high-quality, moisture-resistant MDFs for a high-moisture area, such as the bathroom area or even the basement area. Generally, these panels are 5/8th inch in thickness. Alternatively, you can also opt for vinyl beadboard or wood that are treated for moisture resistance.