
A raised garden bed may look easy to set up. But if you fill it the wrong way, you can face problems like poor drainage, hard soil, and weak plant growth. Doing it right from the start saves time and effort later.
Many people rush this step or skip layers that seem small. But those layers help with airflow, moisture control, and soil health.
When done right, they can lead to stronger plants and better harvests with less effort.
You don’t need to spend a lot on soil if you use simple materials like cardboard, branches, and compost in layers.
In this guide, you’ll learn how to layer and fill a raised garden bed step by step. I’ll show you what goes at the bottom, what to add in the middle, and how to finish with the right soil mix.
This way, your plants get the support they need to grow healthy and strong without wasting time or money.
Quick Answer: How to Layer a Raised Garden Bed?
To layer a raised garden bed, follow a simple order for the best results. Start with cardboard or newspaper at the bottom to block weeds and help it break down over time. Water it well.
Next, add logs or thick branches to improve drainage. Then add smaller twigs and yard waste to fill gaps.
After that, spread grass clippings or dry leaves to add nutrients. Finish with compost mixed with garden soil so roots can grow easily.
Keep the top layer soft and rich for planting. This method improves drainage, keeps soil loose, and feeds plants slowly.
It also saves money by using natural materials. Follow these steps to build a strong base for healthy plant growth in your raised garden bed.
What Is a Raised Garden Bed?
A raised garden bed is a planting area built above ground level and filled with soil. It gives better control over soil quality, drainage, and plant health.
A raised garden bed is usually framed with wood, metal, or stone and filled with layers of soil and organic materials. This setup makes gardening easier, especially in poor soil areas.
Many gardeners search for how to layer a raised garden bed because layering helps create rich, healthy soil from the start.
These beds warm up faster in spring, improve drainage, and reduce weeds. They are also easier on your back since you don’t need to bend as much. You can grow vegetables, herbs, and flowers more systematically.
Learning how to layer a raised garden bed ensures your plants get the nutrients they need while maintaining balanced moisture for strong, steady growth.
Raised Garden Bed Layer Chart
This chart shows a simple layer setup for building a raised bed. Use it as a guide to choose materials, manage depth, and create a strong base for healthy plant growth.
| Layer | Material Options | Approx. Depth | Primary Function |
|---|---|---|---|
| 1 – Base | Rotting hardwood logs | 3–5 inches | Moisture storage, long-term nutrient release |
| 2 – Structure | Branches, sticks, small wood debris | 2–3 inches | Airflow, gap filling, drainage support |
| 3 – Carbon | Dry leaves, straw, cardboard, composted vines | 2–3 inches | Carbon balance, weed suppression |
| 4 – Buffer | Finished compost, aged potting mix, native soil | 2–3 inches | Microbial bridge, settling prevention |
| 5 – Growing Zone | Quality raised bed mix or 60/30/10 DIY blend | 6–8 inches | Primary root zone, nutrient delivery |
How to Layer a Raised Garden Bed as a Beginner?
Follow a simple layering method to build healthy soil, improve drainage, and support strong plant growth from the start.
Step 1: Add Logs as the Base Layer
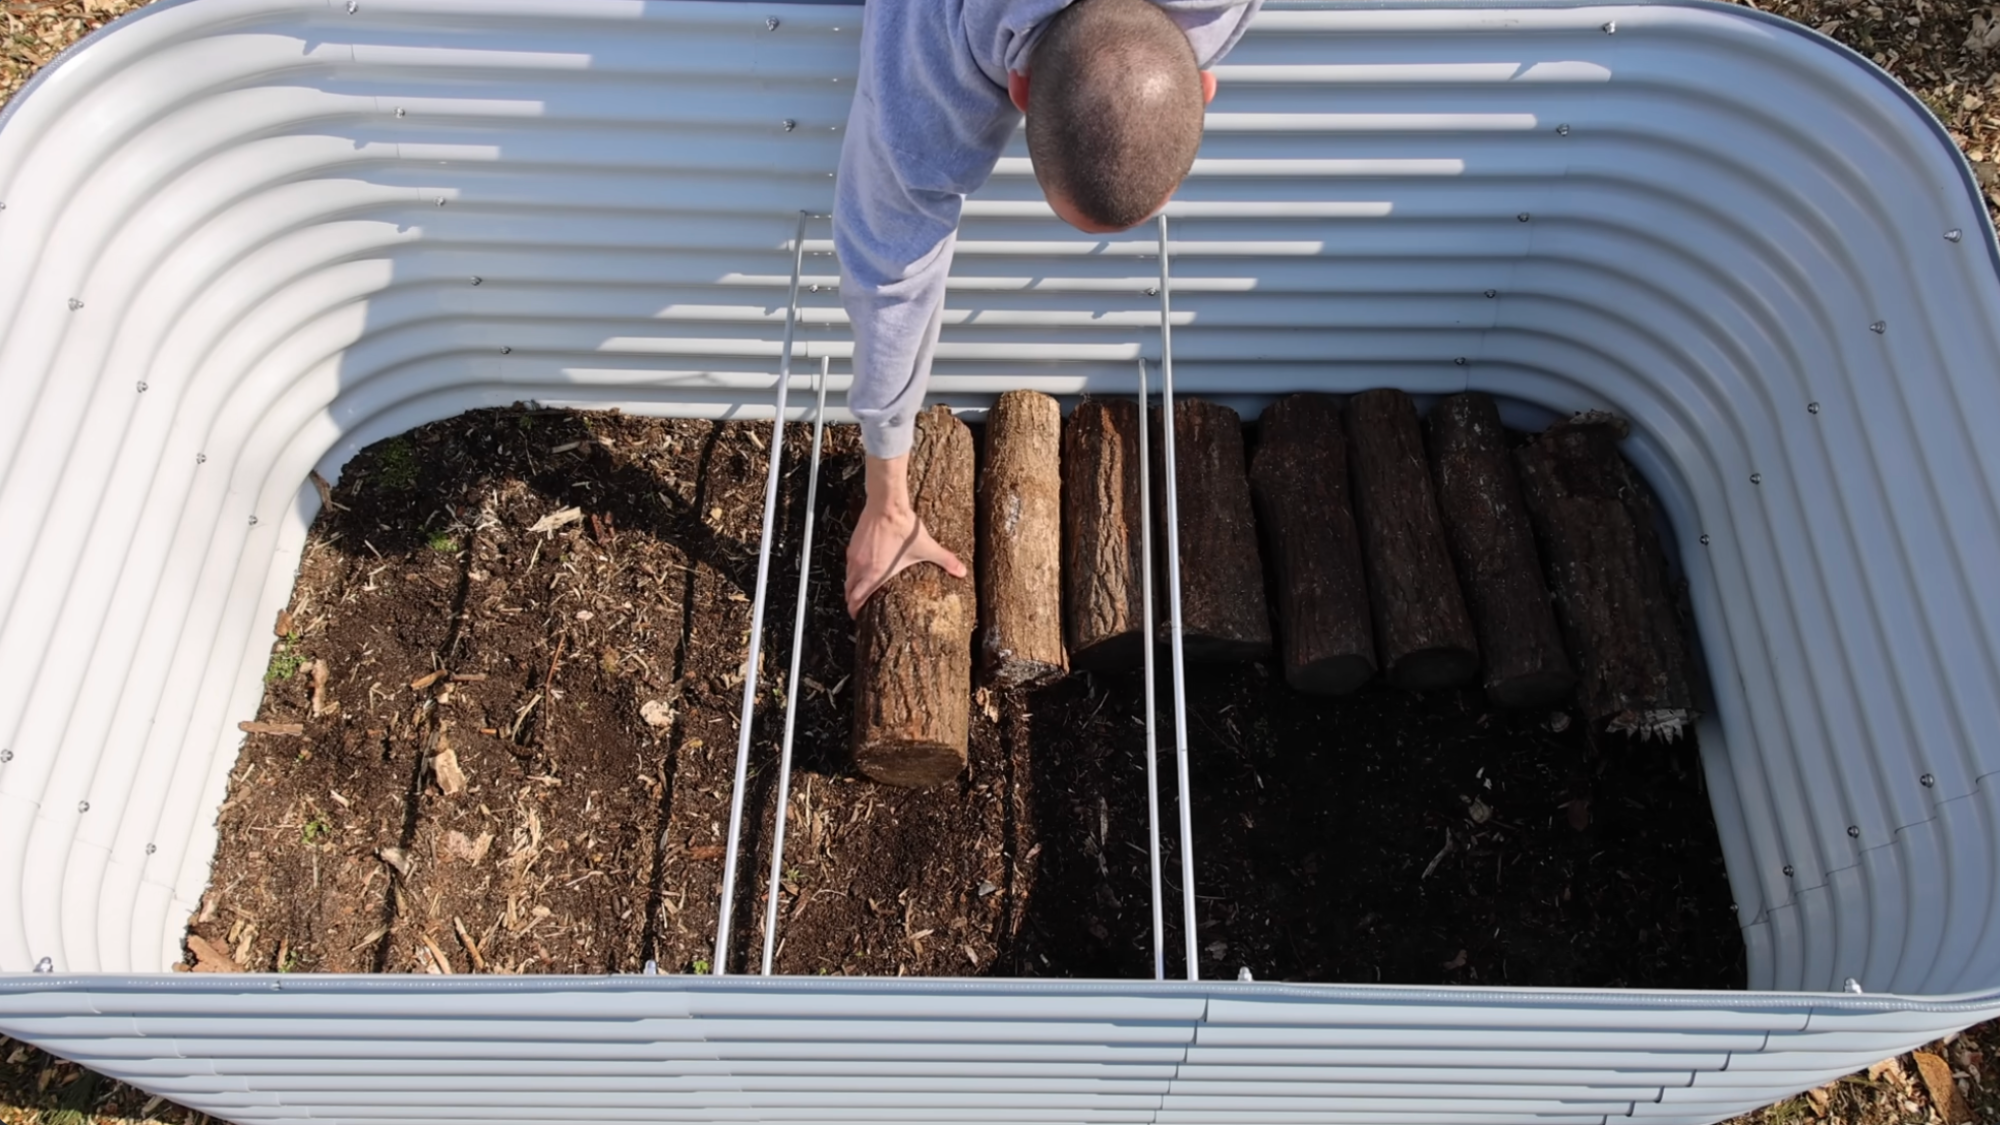
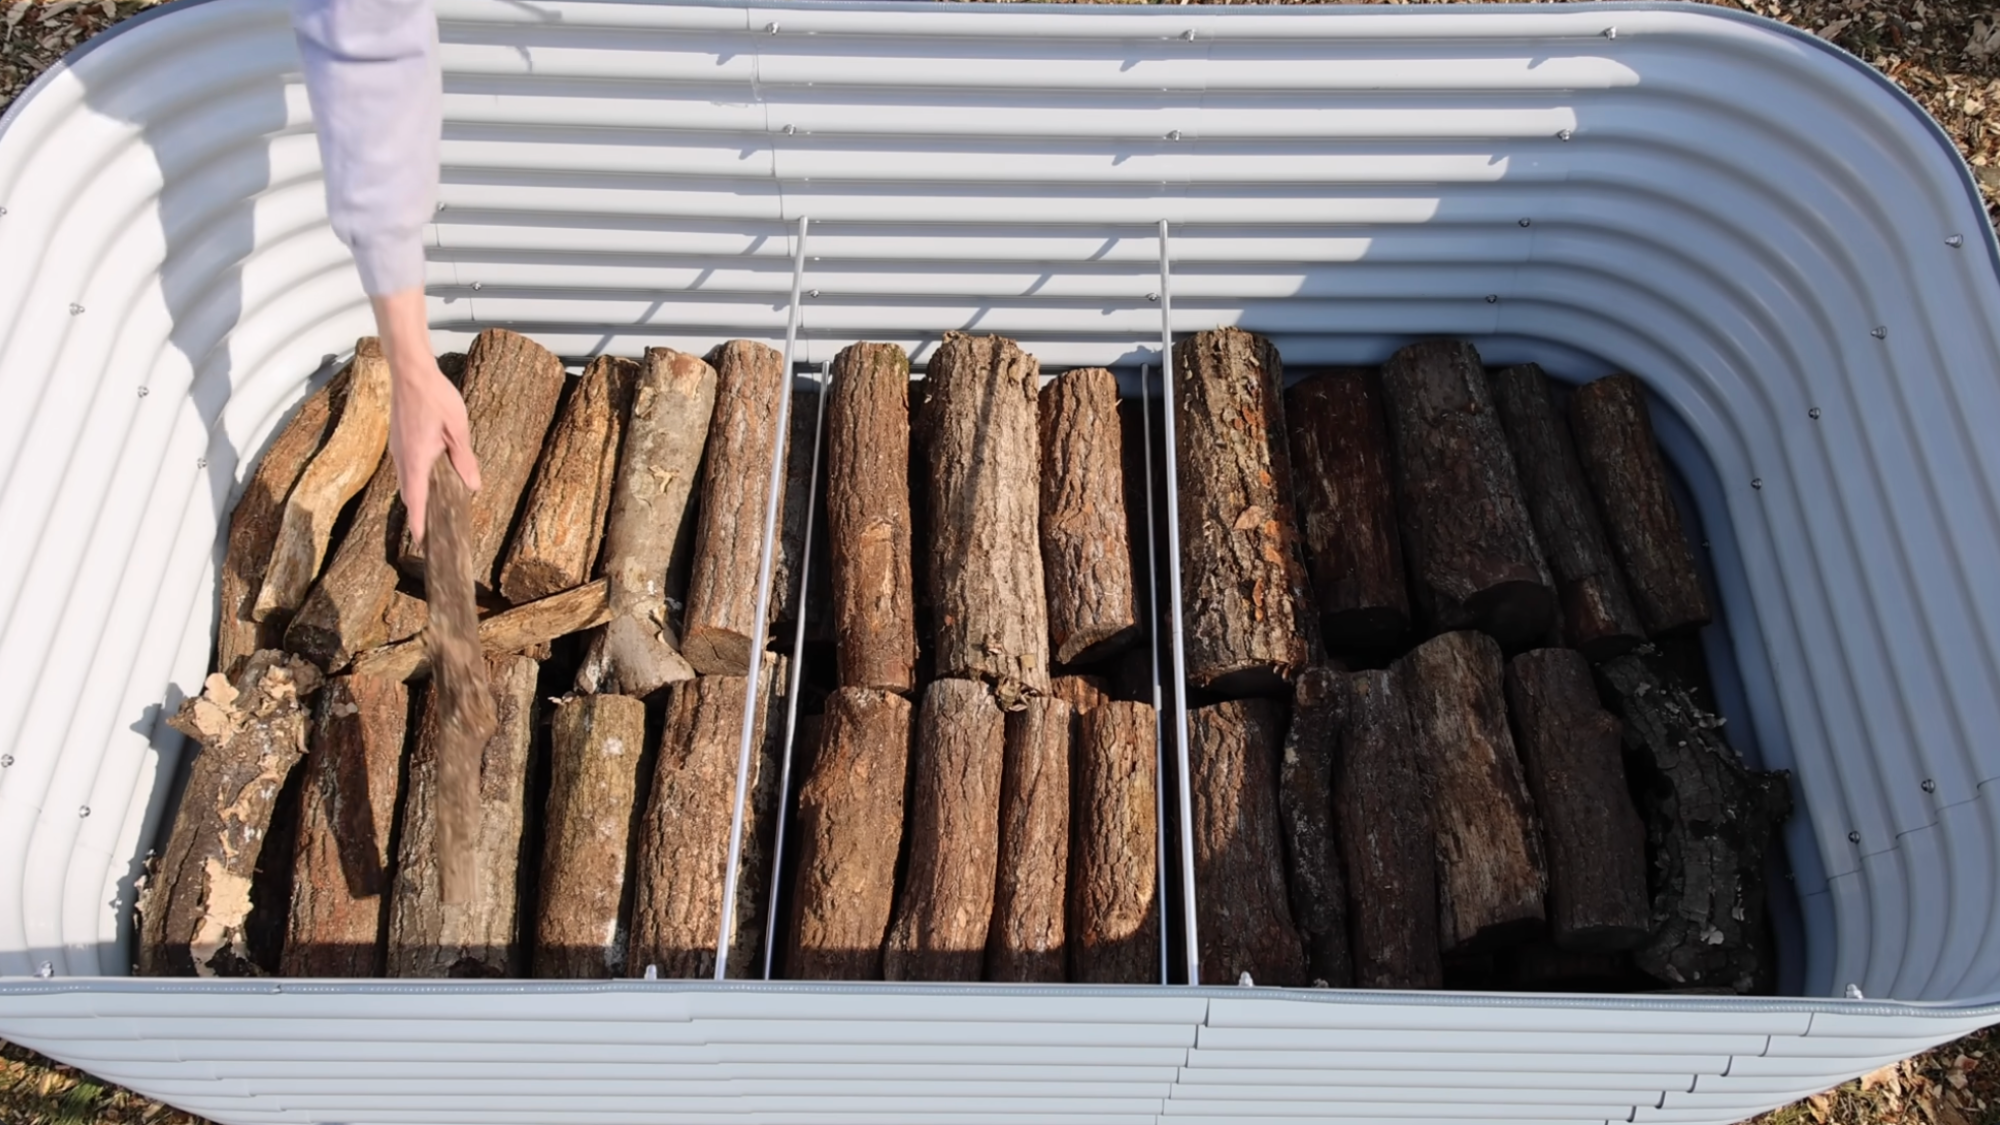
Start by placing large logs at the bottom of your raised bed. Old, rotting logs work best because they are lighter, easier to handle, and break down faster over time.
This base layer improves drainage and prevents water from collecting at the bottom. The logs also act like natural sponges, storing moisture that plant roots can use later.
This helps maintain consistent hydration during dry periods and supports deeper root growth.
Hardwood logs, oak, alder, or fruit wood, decompose at a useful pace without releasing compounds that harm plant roots.
Avoid using walnuts, as they contain juglone, which is toxic to many vegetables. Avoid using logs from diseased trees. I used apple wood in my beds, and even after three years, it still feeds the soil.
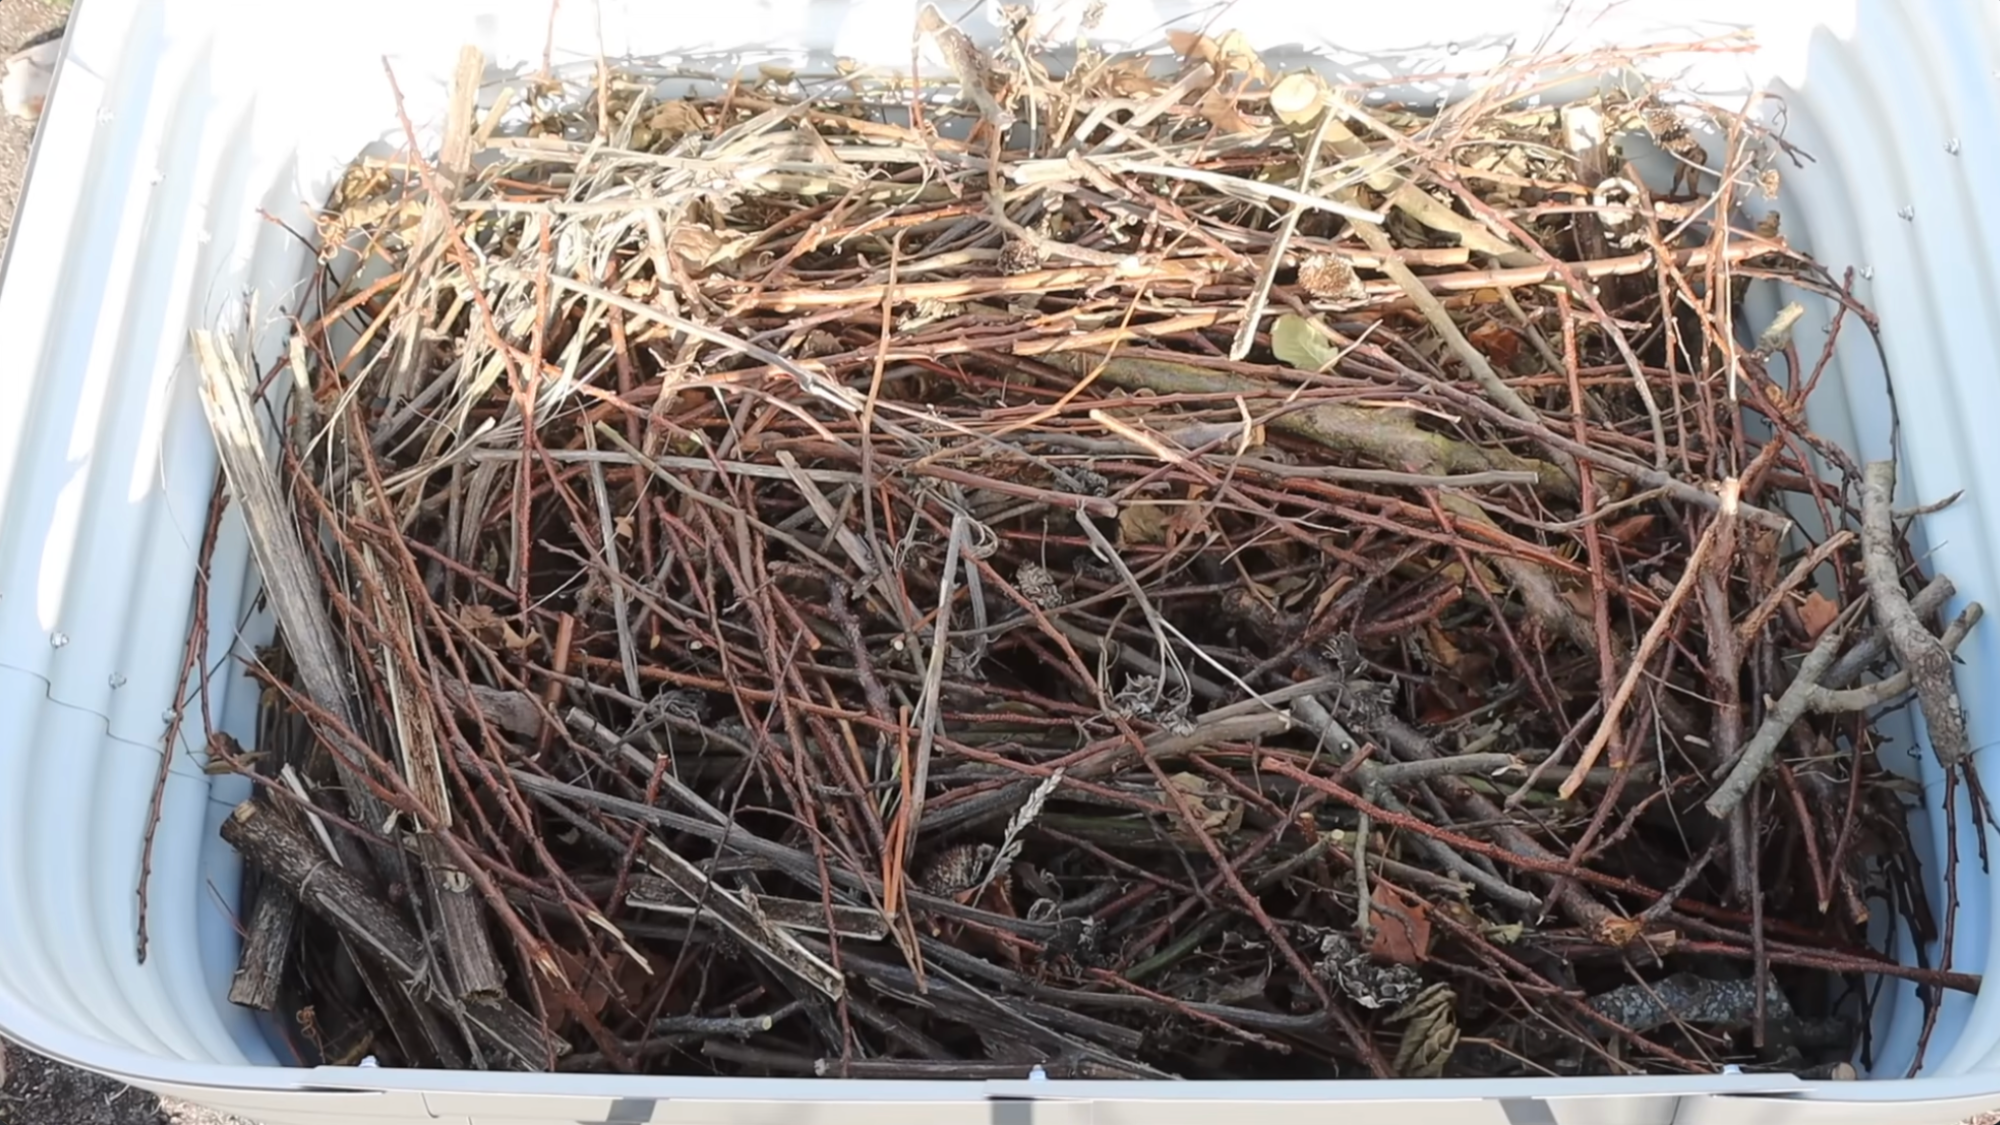
Step 2: Fill Gaps with Branches and Sticks
After adding logs, place smaller branches and sticks on top to fill in large gaps. This layer helps create structure while keeping the bed airy and well-drained.
It also prevents soil from falling deep into empty spaces, which can cause uneven settling later. Using natural, dry materials ensures proper airflow and avoids unwanted decomposition issues.
This step supports a stable foundation for the upper layers and keeps the bed balanced over time.
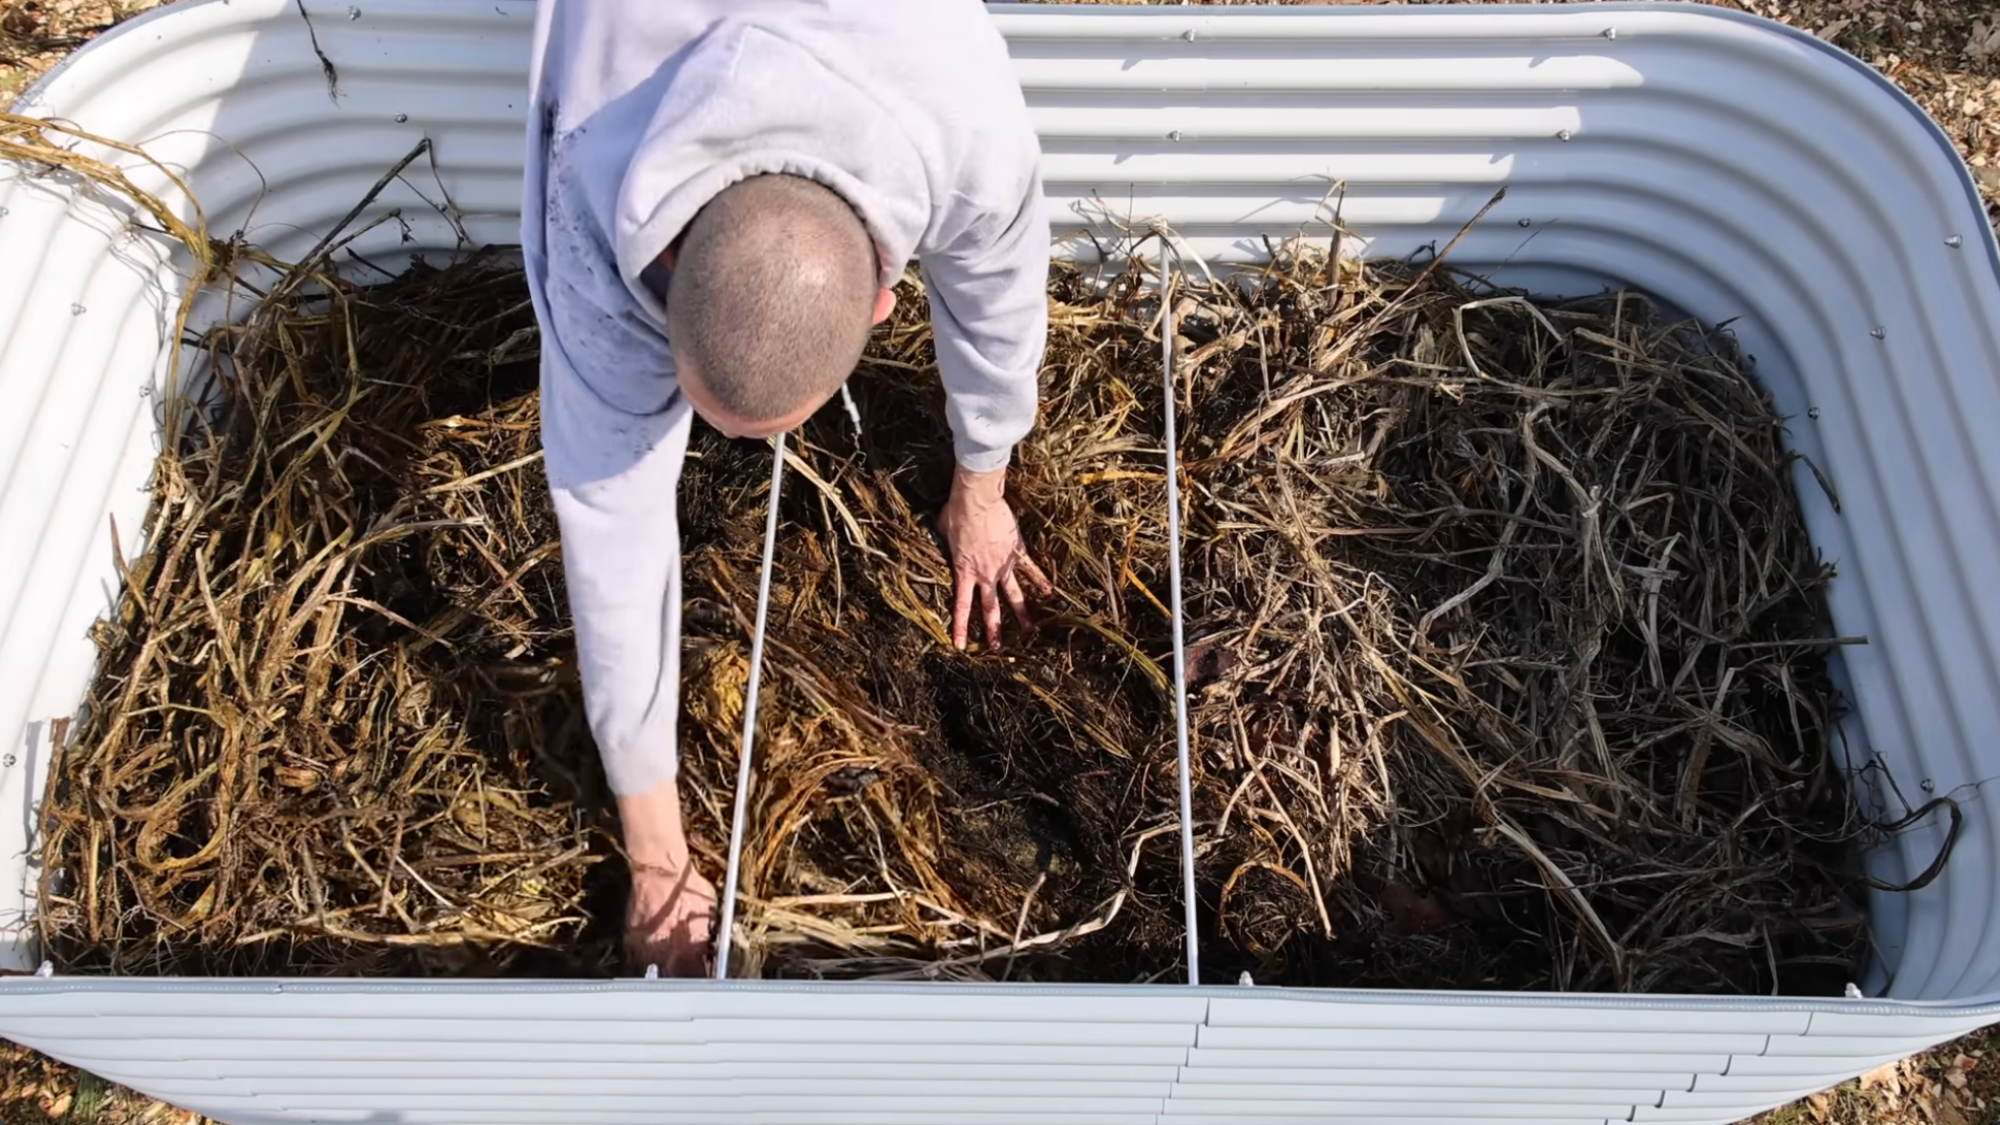
Step 3: Add Dry Organic Matter
Next, add dry organic materials like composted vines or brown plant matter. These materials act as a filler layer while still allowing water to pass through easily.
\Avoid using fresh green waste at this stage unless it has already dried or decomposed.
Fresh materials can break down too quickly and disrupt the soil balance. This layer helps create a smooth transition between the woody base and the soil layers, supporting gradual nutrient release over time.
This is essentially the “brown layer” in lasagna gardening, high-carbon material that balances the nitrogen-rich layers above it.
Straw, dried leaves, and cardboard (ink-free, staples removed) all work well here. Cardboard has the added benefit of suppressing any weeds or grass below the bed.
Step 4: Create a Buffer Layer with Soil
Add a layer of soil or old potting mix to create a buffer between the organic materials and the topsoil. This helps fill smaller gaps and prevents the upper soil from sinking too much over time.
It also gives plant roots something stable to grow into before reaching deeper layers. You can use native soil, compost, or reused potting mix.
The goal is to build a supportive middle layer that improves root access and overall bed structure.
If you have finished compost on hand, this is a good place to use it. A 2–3 inch layer of mature compost here adds microbial activity that helps break down the woody material below while feeding the growing zone above.
Step 5: Top with High Quality Soil
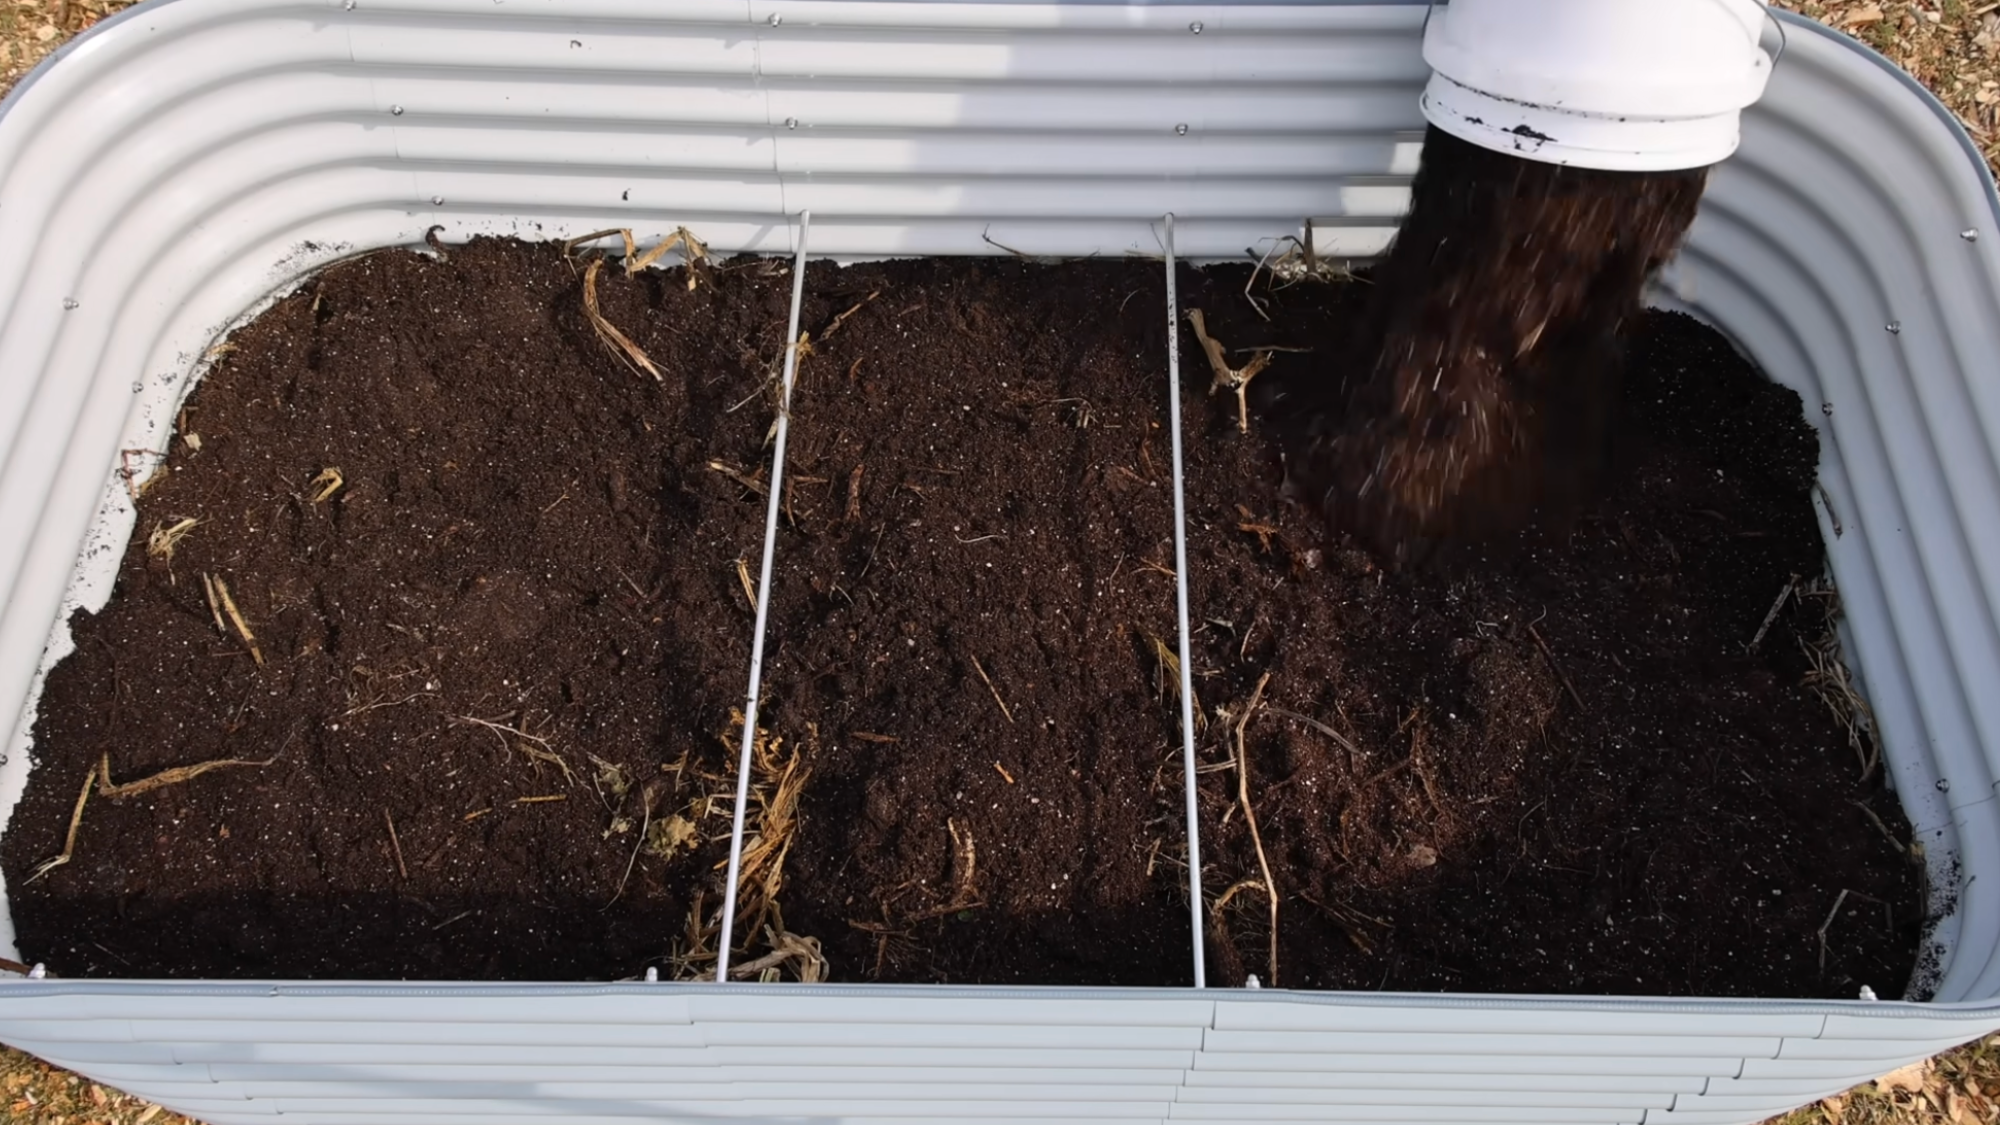
Finish by adding a thick layer of high-quality soil on top. This is the main growing zone where seeds and plants will be placed. Use a mix rich in nutrients to support healthy growth from the start.
Keep the soil loose and well-aerated to allow roots to spread easily.
A good top layer ensures plants have access to nutrients, water, and oxygen, all of which are essential for strong and productive growth.
Aim for at least 6–8 inches of quality growing mix in this top layer; roots need room.
A reliable DIY blend is roughly 60% topsoil, 30% compost, and 10% perlite or coarse sand for drainage.
If you prefer a ready-made option, look for blends labeled “raised bed mix” rather than standard potting soil, which is too light and dries out quickly in open beds.
Step 6: Water and Let It Settle
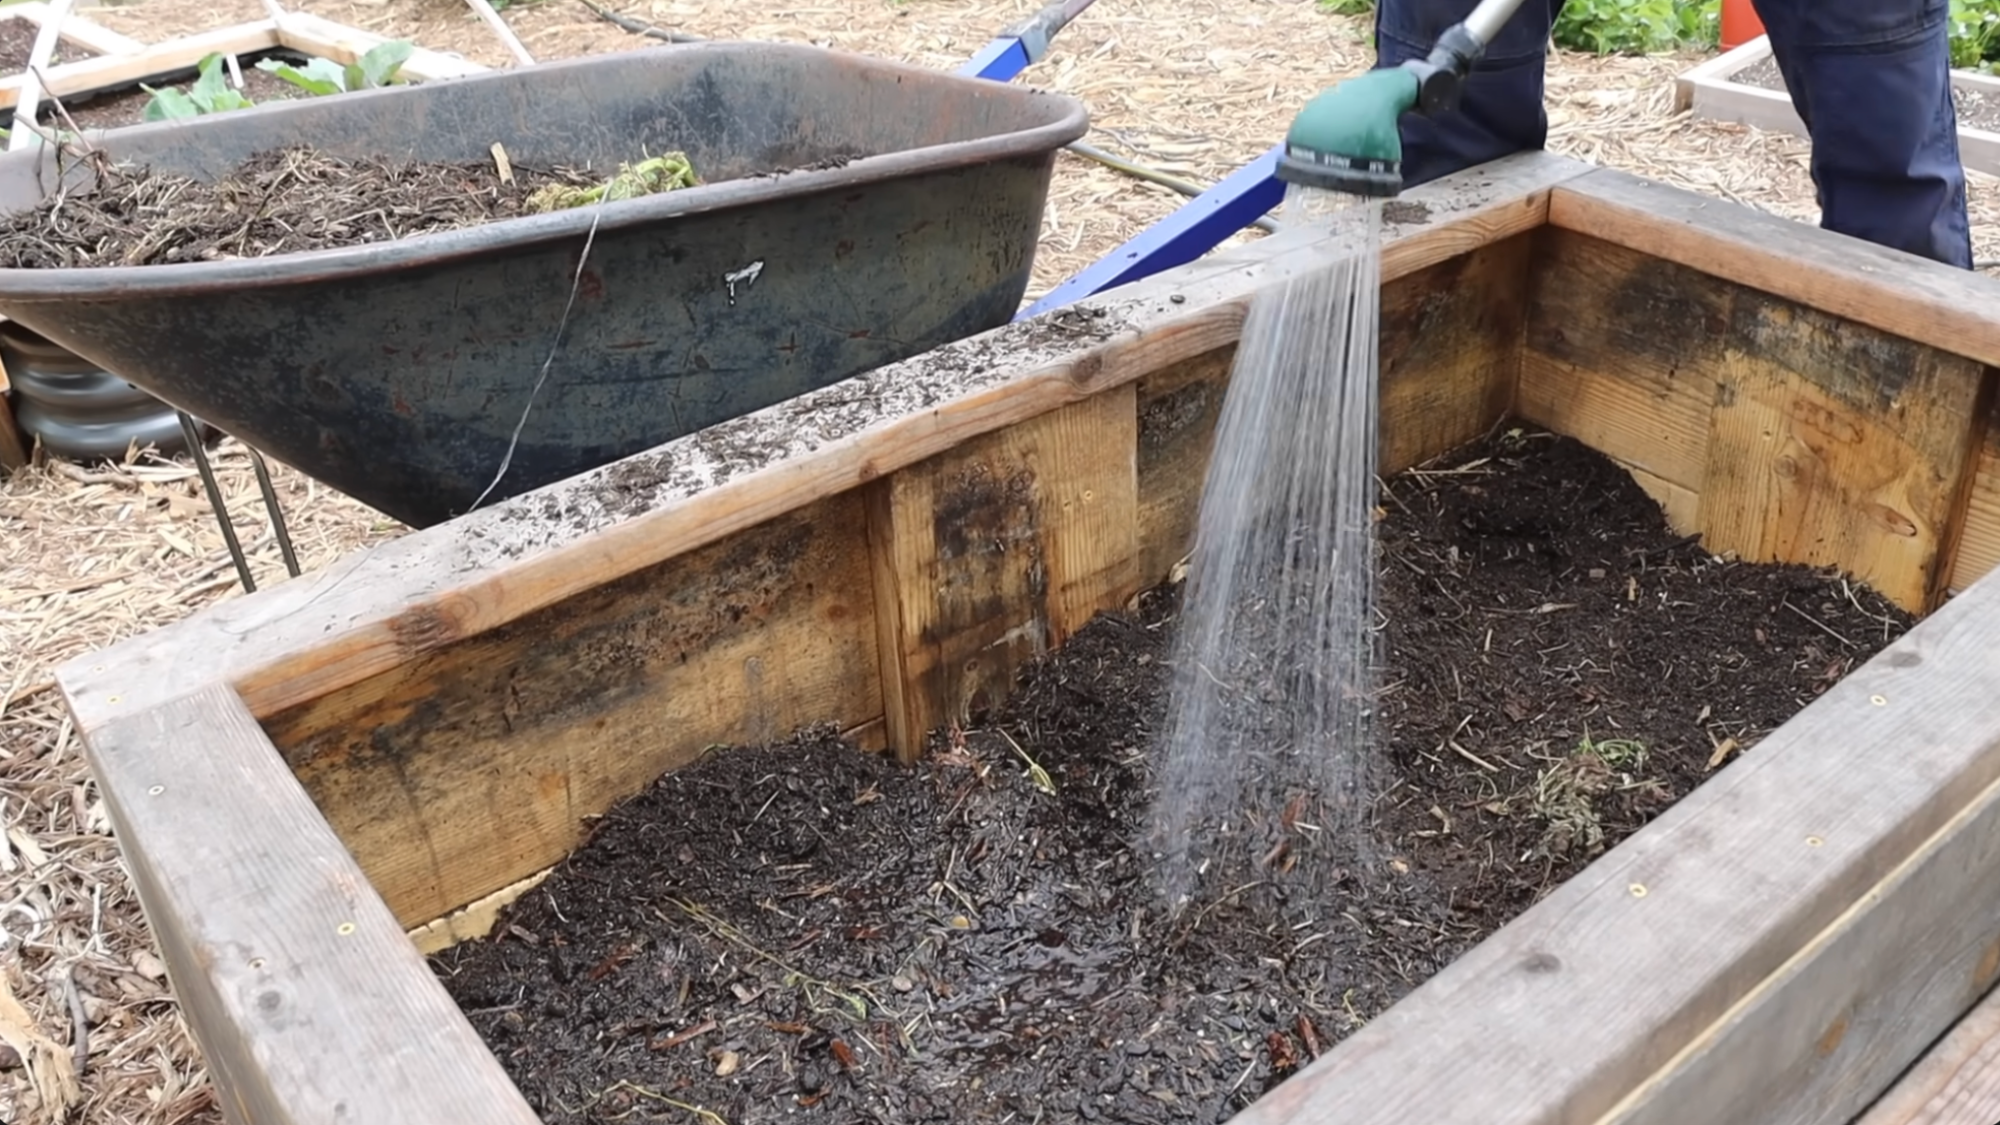
Once all layers are added, lightly water the bed to help everything settle into place. If rain is expected, you can let nature do the work.
Over time, the materials inside the bed will break down and compact slightly, causing the soil level to drop.
This is normal and part of the process. Keeping the bed slightly overfilled at the start helps balance this natural settling and maintains the right planting depth.
Step 7: Add Fertilizer Before Planting
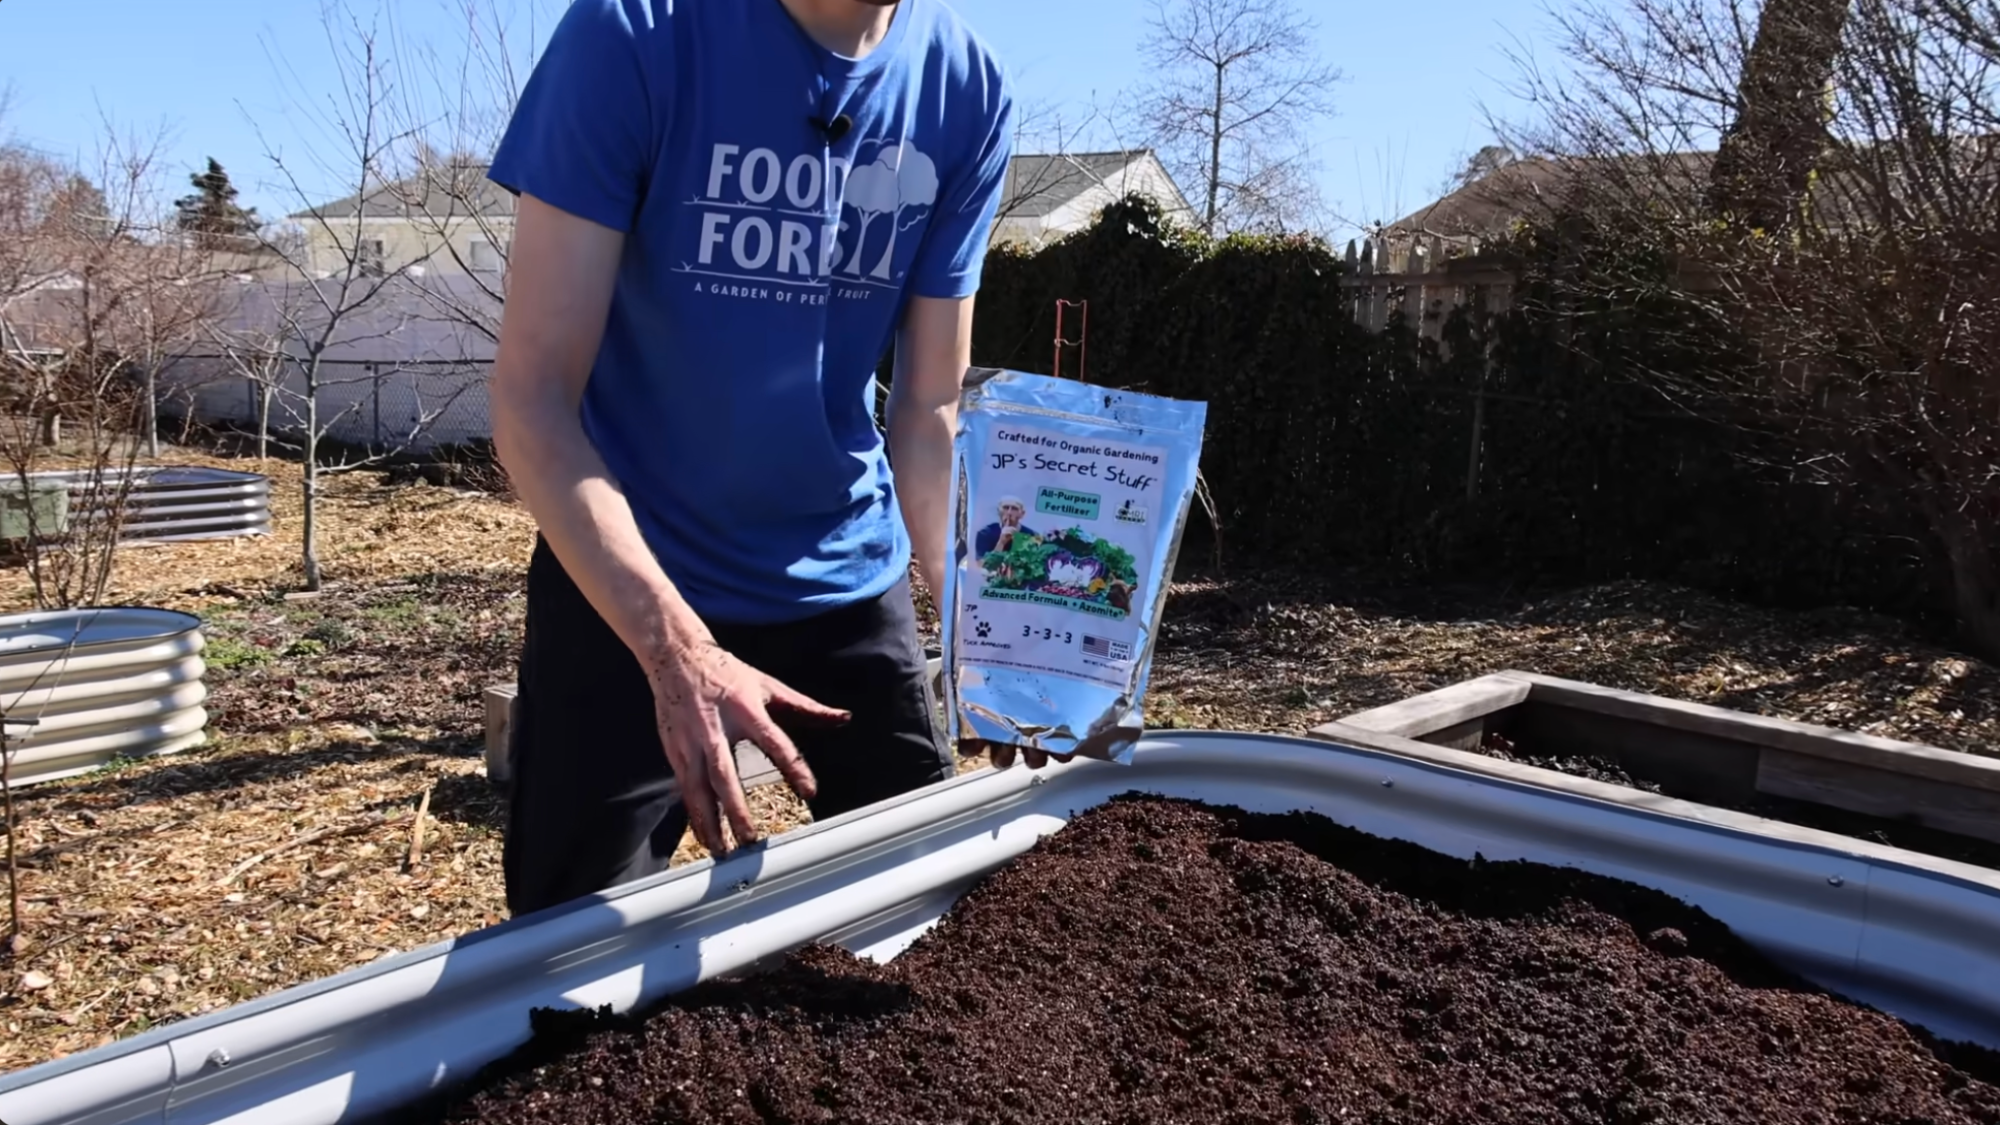
Before planting, mix a suitable fertilizer into the top layer of soil. This gives plants an extra boost of nutrients during their early growth stages.
Use organic or balanced fertilizer based on your plants. This final step gets your bed ready for planting.
With the right layers and nutrients, your plants will grow healthy all season. In the first season, use an organic fertilizer with slightly higher nitrogen, like 5-3-3 or 4-4-4.
Slow-release granules work best since they match the steady breakdown of materials below.
Avoid synthetic high-nitrogen options; they can spike salt levels and interfere with the microbial life you just worked to build.
This tutorial is based on a helpful video by The Gardening Channel with James Prigioni. You can check out the original video on their YouTube channel here or watch it below.
Common Layering Methods at a Glance
Each method uses a different way to build soil layers. The right choice depends on your budget, space, and how fast you want results. Some focus on long-term soil health, while others give quicker planting results.
| Method | Core Approach | Best For | Key Trade-off |
|---|---|---|---|
| Hugelkultur | Buried logs and woody debris as a base; decomposition feeds the bed over the years | Long-term soil building; reducing purchased soil cost | Logs cause nitrogen drawdown in year one; plant heavy feeders with extra compost initially |
| Lasagna Gardening | Alternating carbon (brown) and nitrogen (green) layers, like composting in place | Smothering weeds; building soil on top of the lawn or hard ground | Takes 3–6 months to fully break down before planting; plan ahead |
| Mel’s Mix | Equal thirds of compost, vermiculite, and peat moss or coco coir | Quick setup; consistent results for beginners | Higher upfront cost; vermiculite and peat must be purchased |
| Back to Eden | Deep wood chip mulch layer over soil or compost | Moisture retention in hot or dry climates | Wood chips should be partially composted first; fresh chips can cause nitrogen lock |
A Note on Nitrogen Drawdown: One thing I always flag with clients and readers when recommending hugelkultur-style layering: freshly buried logs will temporarily compete with your plants for nitrogen as they begin decomposing.
In the first season, compensate by working extra compost into the top layer and leaning toward nitrogen-rich plants like beans or leafy greens.
By year two, the decomposing wood becomes a slow-release nutrient bank that the bed draws on for years.
Why Layering Matters in Raised Garden Beds?
Layering is important in raised garden beds because it improves soil structure, drainage, and nutrient availability for plants.
Knowing how to layer a raised garden bed ensures that each layer serves a purpose and supports healthy growth.
A well-layered bed starts with coarse materials at the bottom, such as sticks or small branches, to allow excess water to drain.
Middle layers typically include compost and nutrient-rich organic matter, providing essential nutrients for roots. The top layer is usually high-quality soil, ready for planting seeds or seedlings.
Proper layering also helps retain moisture while preventing waterlogging and reduces soil compaction.
It encourages deep root growth and supports plant resilience against pests and diseases.
Understanding how to layer a raised garden bed can save time and effort in maintenance, creating a sustainable garden that produces healthier vegetables, herbs, and flowers year after year.
What to Plant Based on Your Layering Stage?
Not all plants do well in a new hugelkultur bed. The wood base uses some nitrogen at first, which can slow growth. Choosing the right plants early helps you get better results as the soil improves.
| Bed Age | Soil Condition | Best Plants to Grow | What to Avoid |
|---|---|---|---|
| Year 1 | Active decomposition, slightly lower nitrogen | Beans, peas, squash, nasturtiums, herbs | Heavy nitrogen feeders: corn, leafy greens in bulk |
| Year 2 | Decomposition stabilizing, nutrients increasing | Tomatoes, peppers, cucumbers, kale, chard | Root vegetables in very loose, unsettled zones |
| Year 3+ | Rich, humus-heavy, moisture-retentive | Almost anything; excellent for root vegetables | Little restriction; top-dress with compost annually |
Common Mistakes to Avoid when Layering
Even a well-built bed can struggle if layering is done the wrong way. Knowing these mistakes helps you get better results from the start.
1. Skipping the Base Layer
One common mistake when learning how to layer a raised garden bed is skipping the base layer entirely. Many beginners jump straight to adding soil, which can lead to poor drainage and compacted roots over time.
The base layer, made of sticks, branches, or coarse material, creates space for airflow and water movement.
Without it, excess moisture can build up, harming plant health. A strong foundation supports the entire bed, so taking time to build it properly is essential.
2. Using Poor Quality Soil
Another mistake in layering a raised garden bed is using low-quality or heavy soil. Soil that lacks nutrients or drains poorly can limit plant growth and reduce yields.
Many gardeners use leftover garden soil without improving it, which can create dense, hard layers.
Instead, a mix of compost, topsoil, and organic matter works best.
Good soil helps roots grow easily and supports long-term health. Investing in the right soil mix at the start saves time and effort later.
3. Ignoring Proper Layer Order
When people research how to layer a raised garden bed, they often overlook the proper layering order. Randomly placing materials can affect drainage, airflow, and nutrient flow.
Each layer has a purpose, from coarse materials at the bottom to rich soil at the top. If the order is incorrect, water may not move properly, and roots may struggle.
Following a simple structure ensures the bed functions as intended and supports healthy plant growth throughout the season.
4. Overpacking the Layers
Overpacking is a frequent issue when following guides on how to layer a raised garden bed.
Pressing down each layer too firmly may seem like a good idea, but it reduces air pockets in the soil.
Plants need oxygen around their roots, and compacted soil makes it harder for them to grow. It also slows water movement, leading to drainage problems.
Keeping layers loose and natural allows better airflow and helps roots spread more easily for stronger plants.
5. Adding Too Much Organic Material at Once
While organic matter is important for layering a raised garden bed, adding too much at once can cause problems.
Fresh materials like grass clippings or kitchen scraps can break down quickly, leading to excess heat or imbalanced nutrient levels.
This can stress young plants or affect soil stability. It is better to use well-aged compost and balance it with other materials. Gradual layering keeps the soil stable and ensures nutrients are released steadily.
6. Using the Wrong Wood Species at the Base
Choosing the wrong wood for the base layer is a mistake I see more often than people expect. Black walnut releases juglone, a compound toxic to many vegetables and fruits, including tomatoes, peppers, and apples.
Treated or painted lumber should also never go into a food-growing bed, as leaching chemicals contaminate the soil.
Stick to untreated hardwoods, oak, maple, fruit trees, or alder, that decompose cleanly and feed the soil without side effects.
Tips for Better Drainage and Soil Health
Healthy soil structure supports strong roots and steady growth. Small adjustments in setup and care can make a big difference over time.
- Use coarse materials at the base: Start with sticks, gravel, or small branches to create air pockets that help excess water move through easily.
- Mix soil with organic matter: Blend compost, aged manure, or leaf mold into your soil to improve texture and boost nutrients.
- Avoid compacting the soil: Do not step inside the bed, as compacted soil blocks airflow and slows water drainage.
- Choose well-draining soil mix: Use a balanced mix of topsoil, compost, and sand or coco coir to prevent water buildup.
- Add mulch on top: A layer of mulch helps retain moisture while still allowing proper airflow to the soil below.
- Check drainage regularly: After watering, observe how quickly water drains to ensure your bed is not holding excess moisture.
Conclusion
Now that you understand how to build each layer, you’re ready to create a raised bed that actually works for you.
When you take the time to layer it the right way, your plants grow stronger, your soil stays healthy, and your garden becomes easier to manage.
You don’t need perfect materials or a big budget to get started. Just follow the steps, use what you have, and improve it over time.
Gardening is all about learning as you go. I’d love to hear how your raised bed turns out.
Did you try this method, or do you have your own way of layering? Share your experience in the comments below and help others grow better, too.
Frequently Asked Questions
What Not to Put in a Raised Bed?
Avoid adding treated wood, fresh kitchen waste, diseased plants, weeds with seeds, or non-biodegradable materials.
What Are the Negatives of Raised Garden Beds?
Raised garden beds can be more expensive to set up, dry out faster than ground soil, and need regular soil refilling over time.
Can Weeds Grow in a Raised Garden Bed?
Yes, weeds can grow in a raised garden bed, especially from airborne seeds or contaminated soil, but they are usually easier to control.
Which Vegetables Don’t Like Compost?
Vegetables that prefer low-nutrient soil, like carrots, radishes, beets, and parsnips, don’t do well with too much compost, as it can cause poor root development.