
A DIY storage ottoman is a helpful way to add both style and hands-on activity to any room in your home. It provides a spot to store extra items, such as blankets, books, or toys, and also serves as a comfortable seat or footrest.
Building your ottoman is a doable and rewarding project that allows you to adjust it to fit your space and personal taste. Whether you’re looking for a clean, modern design or something simpler and cozy, a DIY storage ottoman can be changed to fit your needs.
In this guide, we’ll take you through each step of the process, from gathering materials to final touches, so you can easily make a nice and useful piece of furniture. Let’s get started on this hands-on project!
Materials and Tools Needed
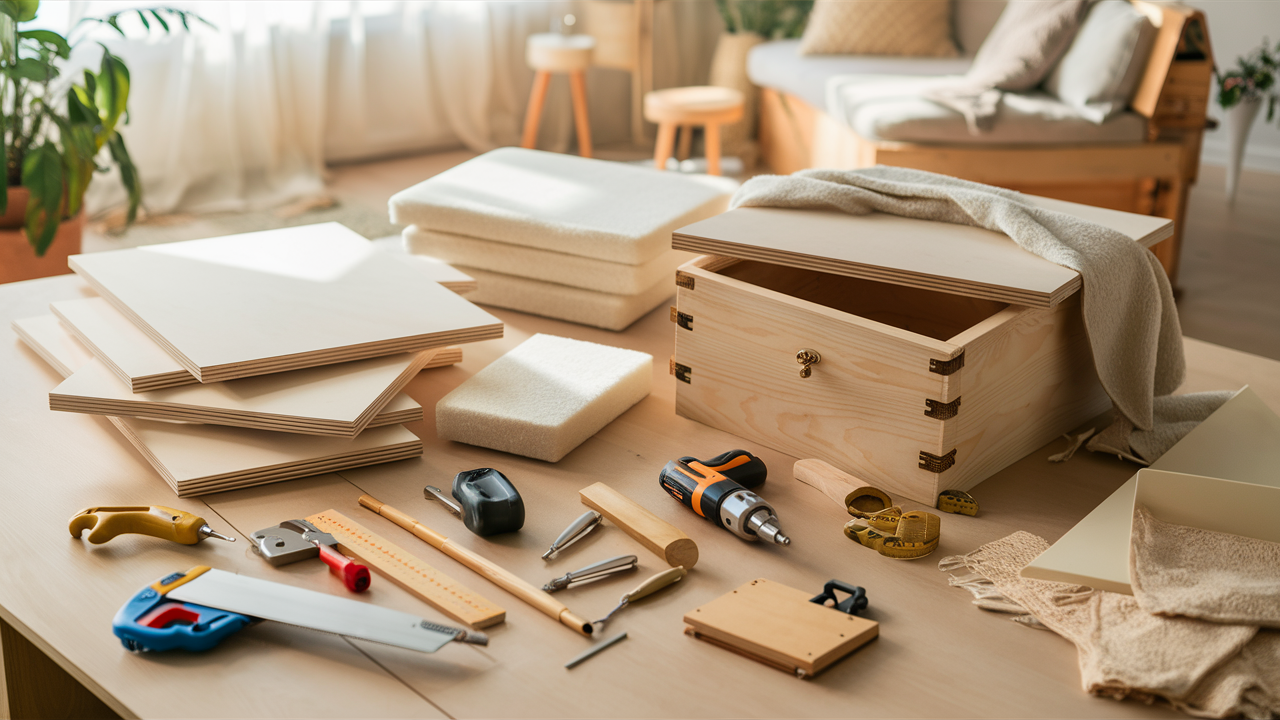
Materials
- Plywood (for the base and lid): You’ll use plywood to create the base and lid of your ottoman. It’s strong and easy to work with.
- Foam padding (for cushioning): This will make the top of the ottoman comfortable enough for sitting or resting your feet.
- Upholstery fabric: Pick a fabric that matches your style. This will cover the foam and give your ottoman a finished look.
- Hinges and latch: Hinges let the lid open, and a latch helps keep it closed.
Tools
- Saw (for cutting plywood): A saw will help you cut the plywood to the right size for the base, lid, and sides.
- Drill with drill bits: You’ll need a drill to make holes for screws and attach the parts.
- Screwdriver: A screwdriver will help tighten screws and put your ottoman together.
- Staple gun: Use a staple gun to attach the upholstery fabric to the plywood. It’s quick and simple.
- Use a measuring tape to ensure everything fits correctly, and accurately measure the sizes.
- Sandpaper or sander: Smooth the edges and surfaces of the plywood with sandpaper to avoid rough spots.
Step-by-Step Instructions
A DIY storage ottoman is a simple and doable project that adds both style and hands-on activity to any room.
It provides a place to store blankets or books while also providing a comfy seat or footrest.
This step-by-step guide will show you how to create your ottoman from scratch using simple materials and tools.
1. Planning and Design
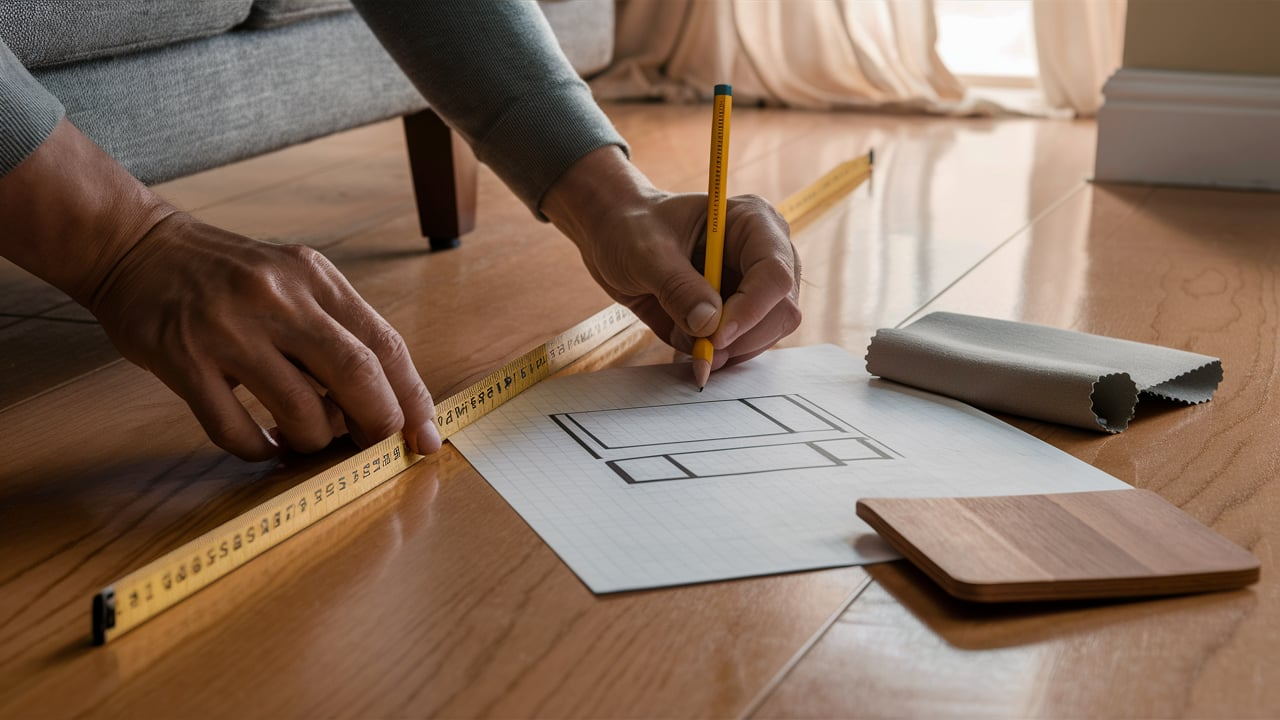
The first step is to figure out the size of your ottoman. Consider where you’ll place it and how much space you’ll need for storage. Ensure it fits in the area without overcrowding the room. Choose a design that matches the rest of your furniture. Whether you prefer a modern, simple look or something warm and inviting, choose a style that suits your home’s ambiance.
2. Cutting the Wood

Cut the plywood pieces for the base and lid to match the size you decided on in your design. Measure carefully to ensure everything fits properly. Cut extra plywood pieces for the sides. To make the structure strong, make sure they fit tightly between the base and lid.
3. Assembling the Frame
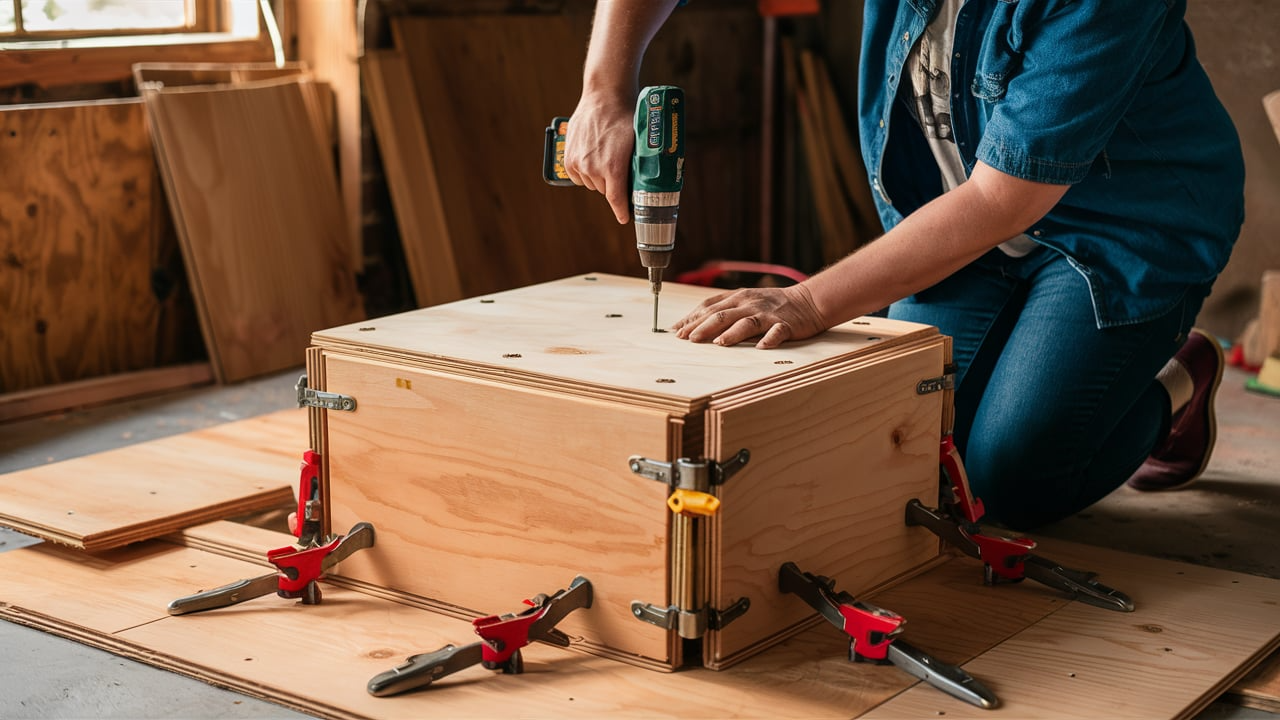
Use wood screws to attach the side panels to the base. This will form the box-like shape of your ottoman. Make sure everything is level and secure. Attach the lid to the box using hinges. The hinges should allow the lid to open and close easily, enabling you to access the storage space.
4. Sanding and Preparing for Upholstery
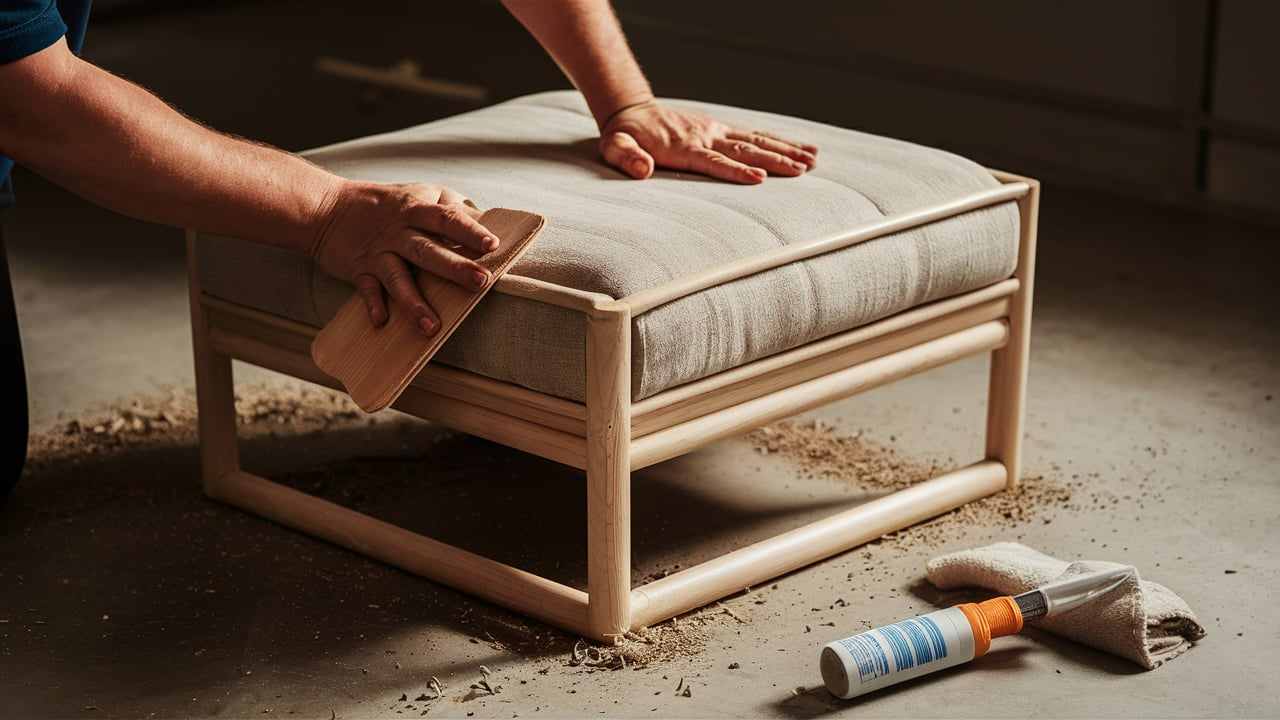
Use sandpaper to smooth out rough edges or surfaces. This step will help you get a clean finish before adding fabric. After sanding, wipe away any dust or wood particles. This will help the fabric stick well and look neat.
5. Upholstering the Ottoman
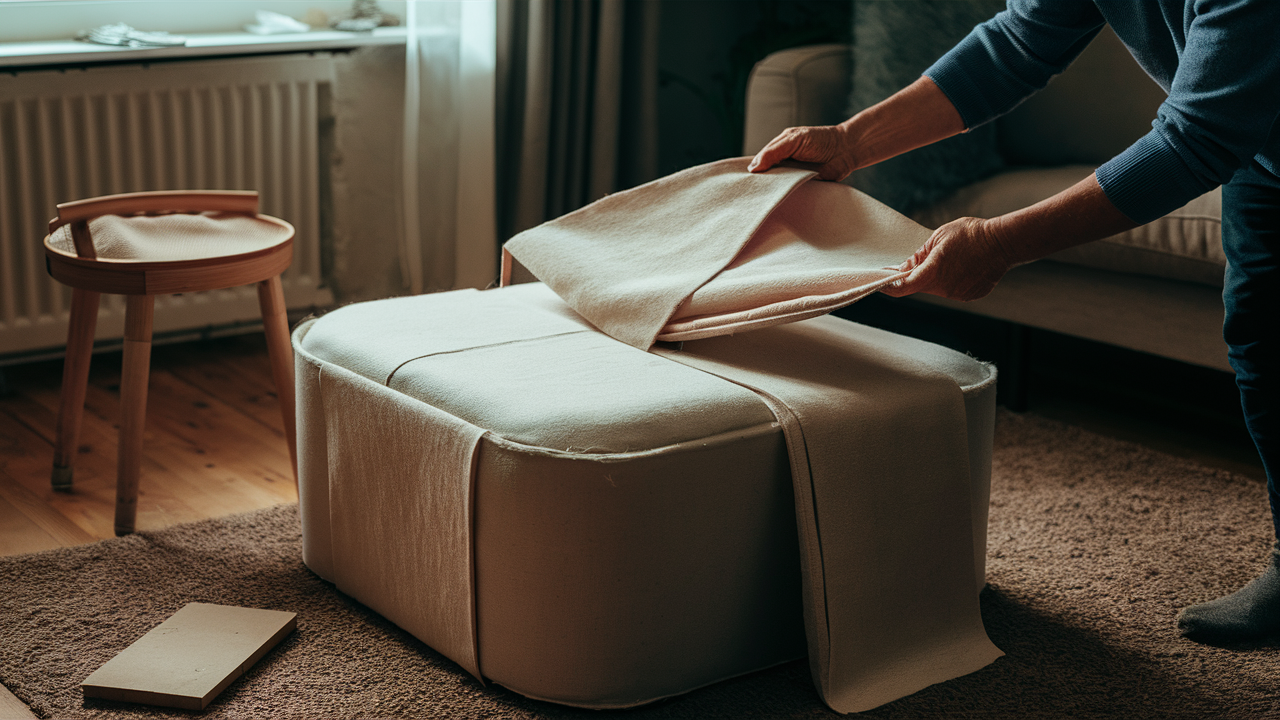
Cut foam to fit the top of the lid and attach it using spray glue. The foam will add padding, making the ottoman more comfortable to sit on. Stretch your chosen fabric over the foam and staple it tightly to the underside of the lid. Ensure the fabric is smooth and wrinkle-free. Wrap fabric around the side panels and staple it in place. Ensure the fabric is taut and even for a neat, clean appearance.
7. Finishing Touches
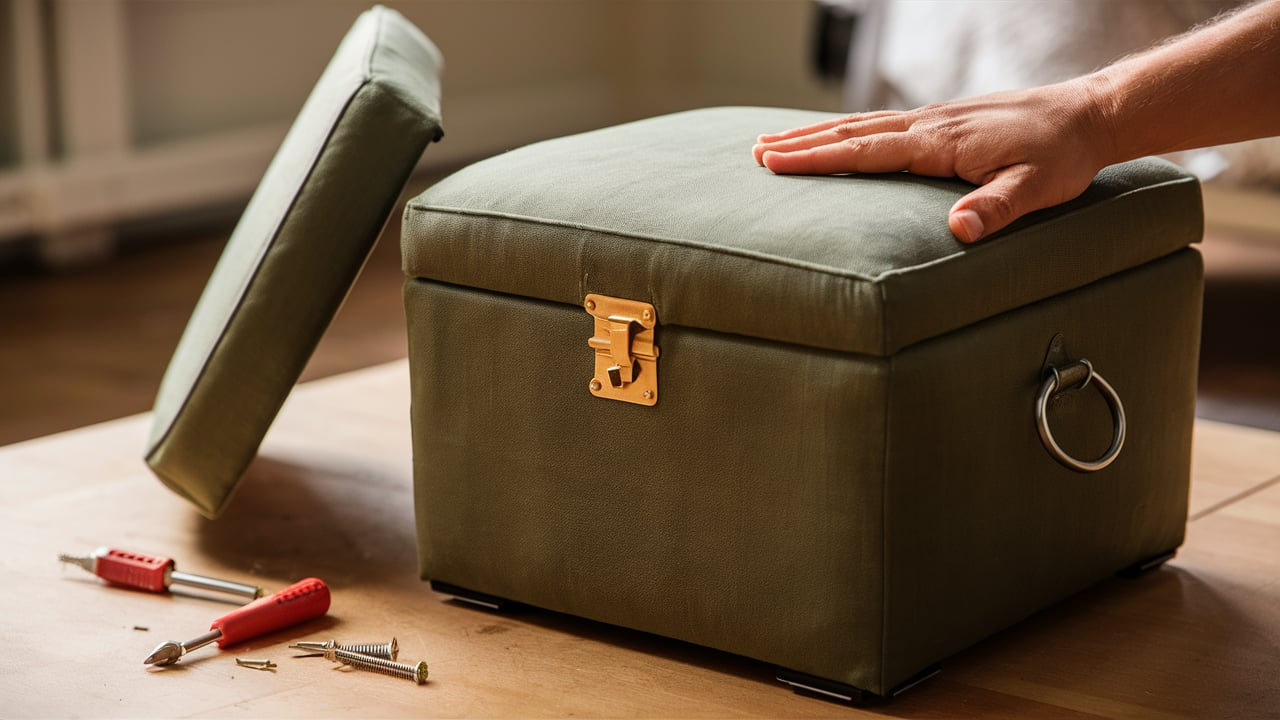
Install a latch or other closing piece to keep the lid shut and hold what’s inside. Check all parts to ensure the ottoman is stable and that everything is securely fastened. If needed, fix any areas that require attention, and you’re done!
Now you have a simple and good-looking DIY storage ottoman ready for your home!
Advanced Customization Options
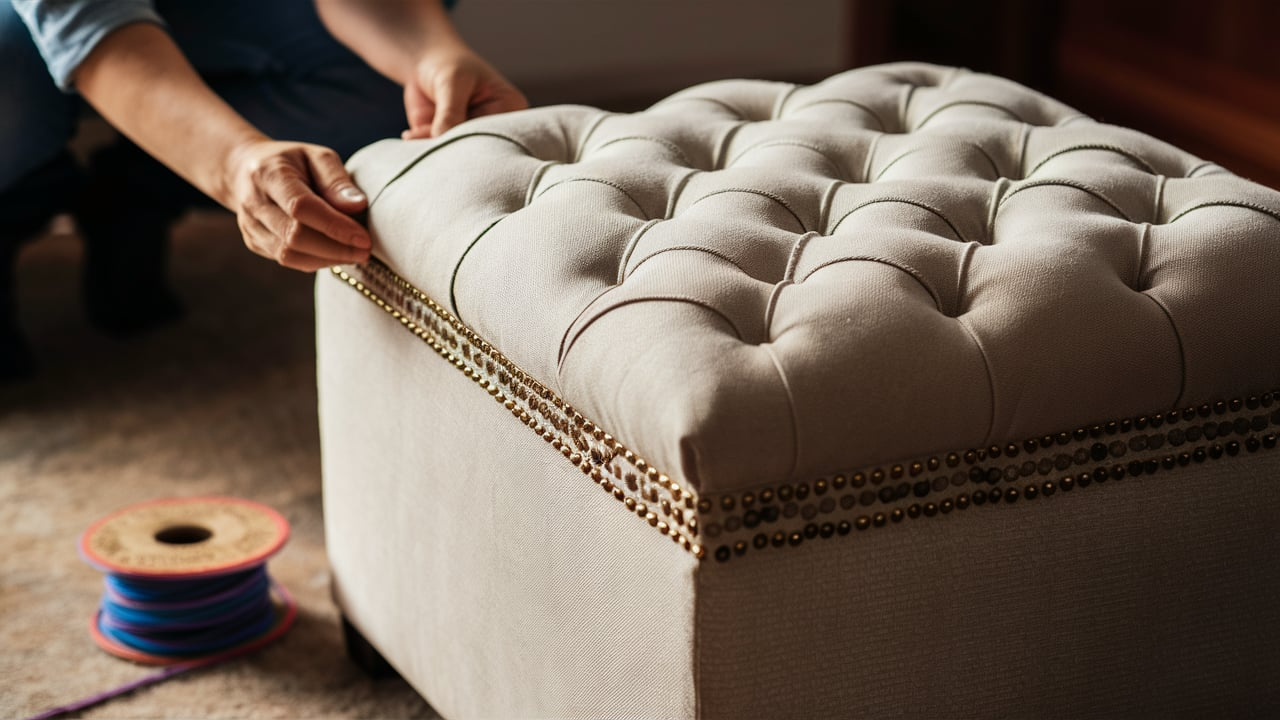
Adding Tufting
Tufting is a helpful way to give your ottoman a more classic and detailed look. To add tufting to the lid, start by placing foam on top of the lid and securing it. Then, mark spots where you want the tufts to go, and use a needle and thread to pull the fabric through the foam, creating small dips.
Finish by tying the fabric tightly on the back of the lid. Tufting gives the ottoman a classic, high-end feel, making it stand out in any room.
Incorporating Decorative Elements
There are many ways to make your ottoman even more personal. Try adding nailhead trim along the edges for a bold, simple look. You can also use piping in a different color to show the edges or seams of your fabric. These small details can make a significant difference, adding a personal touch to your ottoman that complements your room’s style well.
Alternative Construction Methods
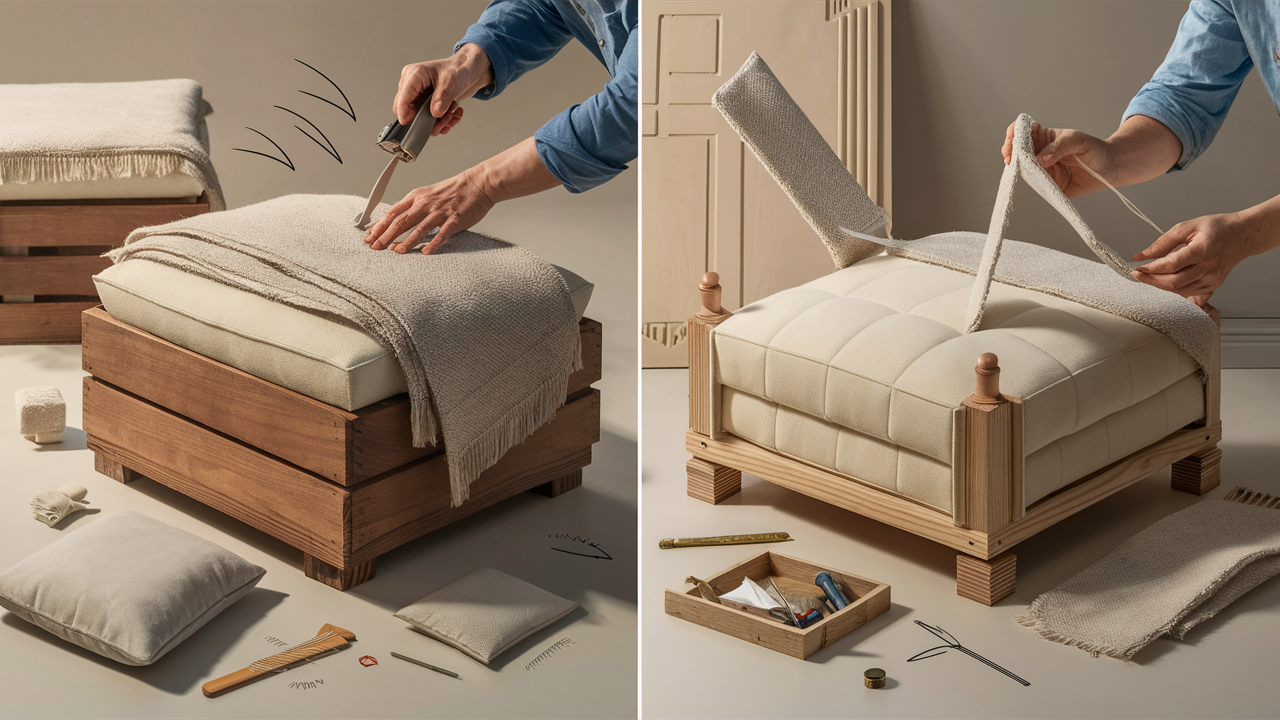
Using Pre-Made Components
If you want to save time, consider using pre-made items, such as wooden crates or storage cubes, as the base for your ottoman. These ready-made parts can be turned into a simple home storage ottoman with just a little padding and fabric. This method is perfect if you want a quicker build while still getting a personal look.
No-Sew Upholstery Techniques
If sewing isn’t your thing, you can still upholster your ottoman using no-sew methods. Use adhesive fabric or no-sew tape to attach the fabric to the foam and wood. Measure and cut the fabric, then attach it tightly using fabric glue.
This method is fast and easy, and you’ll still achieve a nice result without worrying about sewing.
Maintenance and Care

Cleaning and Upkeep
Regular cleaning is essential for maintaining the appearance of your storage ottoman. For fabric-covered ottomans, vacuum them often to remove dust and dirt. If the fabric becomes stained, gently clean it with a fabric-safe cleaner. For leather or fake leather ottomans, wipe them down with a damp cloth and use a conditioner to keep the material soft.
Avoid strong chemicals that could damage the fabric or finish. To keep the wooden legs looking good, wipe them with a dry cloth to stop dust from building up.
Repairing Common Issues
Over time, your ottoman may encounter a few minor issues, but don’t worry – fixing them is straightforward. If the fabric starts to come loose, use a staple gun to reattach it. If the legs are wobbly, check to see if the screws need tightening.
If the hinges on the lid become loose, tighten the screws or replace the hinges if needed. These small repairs will help your ottoman stay in good shape for years to come.
Conclusion
In conclusion, building a DIY storage ottoman is a worthwhile project that adds both style and functionality to any room. By following the steps in this guide, you can create an ottoman that fits your space and needs.
From selecting the right materials to adding personal touches like tufting or trim, there are numerous ways to make your ottoman truly your own. Remember to take your time during the building process and don’t hesitate to make adjustments along the way.
With a little effort, you can create a useful, homemade piece of furniture that provides storage and a comfortable seating area. With the right care, your ottoman will continue to look good for a long time. Happy building, and enjoy your new piece!