There’s something special about making a bow headband by hand. I remember the first time I crafted one for my daughter; her smile made every moment worthwhile.
Crafting headband bows can be the perfect activity for a baby shower, a sweet way to personalize your child’s outfit, or simply a relaxing DIY project that brings joy.
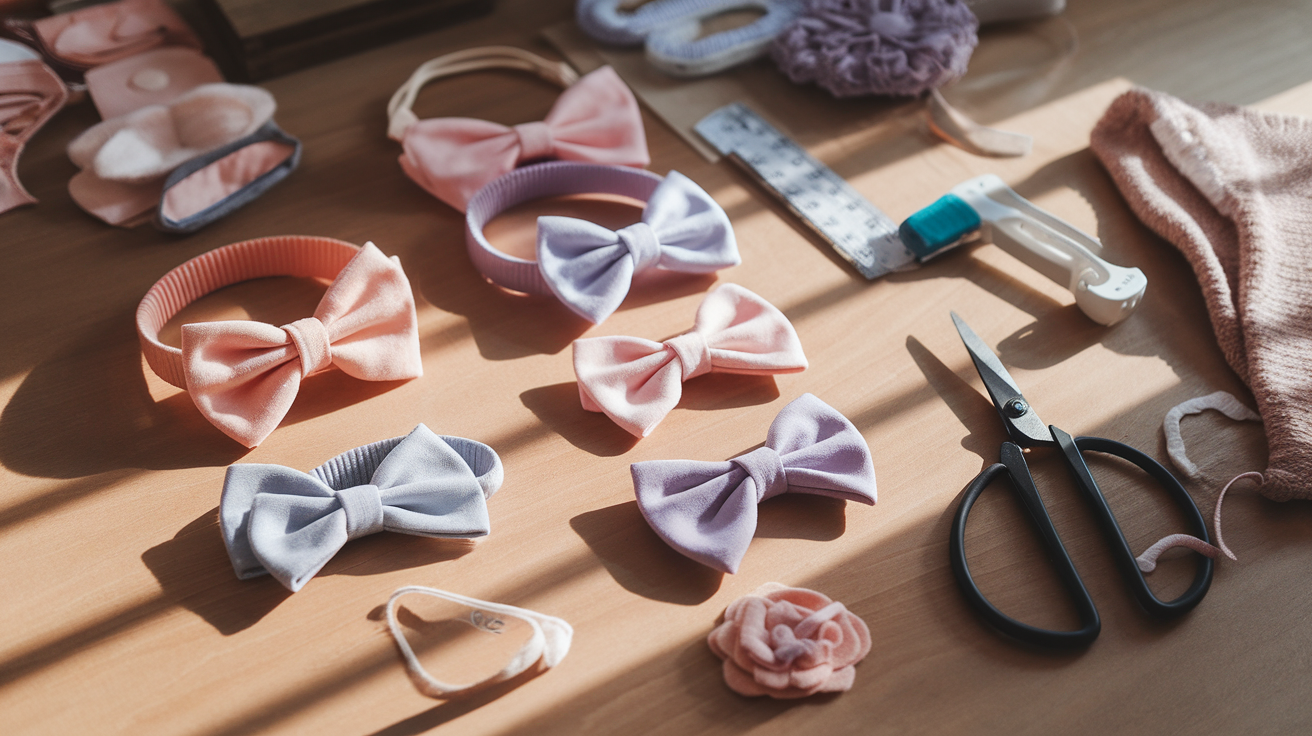
No sewing machine or fancy tools are needed. Just a few simple supplies, a little time, and your imagination are all it takes to create accessories filled with love.
Let me walk you through some of my favorite ways to make and personalize them.
How to Make DIY Headband Bows
Creating your own headband bows is a fun and rewarding craft that lets you customize accessories for any occasion.
Step 1: Find the Right Circumference

The first step is to find a part of your leg that matches your baby’s head circumference. This is your natural measuring tool to ensure the head wrap will fit perfectly.
- Sit comfortably and wrap the fabric around your calf or thigh, wherever it feels closest to your baby’s head size.
- This helps you avoid making the wrap too tight or too loose when you tie the knot.
Step 2: Wrap the Head Wrap Around Your Leg

Once you’ve found the right spot on your leg, take your head wrap and wrap it around that area.
- Make sure the fabric lies flat and smooth without twists.
- This will simulate how it will fit around your baby’s head.
Step 3: Tie a Simple Knot

After wrapping, tie a simple knot with the fabric around your leg.
- The knot should be snug but comfortable, giving you an idea of the tension needed.
- This is the basic shape and size you want to achieve on your baby’s head.
Step 4: Identify the Fabric Pieces

You should have two pieces of fabric at this point: one larger and one shorter.
- The larger piece will wrap around the smaller one.
- The shorter piece will be folded and pinched in the middle to create the bow’s shape.
Step 5: Fold the Shorter Piece

Take the shorter piece of fabric and fold it in itself.
- Pinch it in the middle so it forms a neat loop.
- This folded piece will create the classic bow shape on the head wrap.
Step 6: Wrap the Larger Piece Around

Now, take the larger piece of fabric and wrap it around the folded shorter piece.
- Pull it all the way through the hole created by the fold.
- This action secures the bow shape and helps form a tight knot.
Step 7: Position the Label Correctly

It’s important that the Harper’s Nest label (or your brand’s label) is visible and positioned on the uppermost side of the fabric.
- This gives the wrap a polished and intentional look.
- Adjust the fabric so the label sits neatly on top.
Step 8: Pull the Fabric Tight

- Pull the larger piece of fabric tight to secure the knot.
- Make sure the bow shape remains intact while tightening.
- A snug pull keeps the wrap from slipping, but it still feels comfortable.
Step 9: Fold the Fabric Back on Itself

After tightening, fold the fabric back on itself to refine the bow’s appearance.
- This step adds volume and structure to the bow.
- Make sure the folds are even and symmetrical for a neat finish.
Step 10: Find the Middle of the Knot Hole

Locate the middle of the knothole, the space created by the folded shorter piece.
- This is where you will pull the fabric through to lock everything in place.
- Ensuring this step is done correctly is key to a secure bow.
Step 11: Pull It All the Way Through

Pull the fabric completely through the knothole.
- Keep the fabric taut as you pull.
- This final pull locks the bow’s shape and secures the knot firmly.
Step 12: Final Adjustments and Tightening

Make sure everything is tight and secure without being too constricting.
- Adjust the loops and tails of the bow for an even look.
- Check that the head wrap will be comfortable on your baby’s head—no pinching or squeezing.
For a more detailed understanding, watch this YouTube video by Harpa’s Nest-
Tips for Different Bow Styles
- Double Loop Bow: For a fuller look, stack two different-sized loops on each other. Secure both layers before wrapping the center.
- Layered Bows: Combine ribbons of different widths or textures. Place wider ribbons at the bottom and narrower ones on top.
- Classic Tail Bow: Leave long tails hanging down for an elegant appearance. For style, cut the ends diagonally or in a V-shape.
Caring for Your DIY Headband Bows
To keep your bows looking fresh:
- Store them in a box or drawer to avoid crushing.
- Spot clean fabric bows with a damp cloth; avoid soaking.
- Repair any loose edges with glue or a few stitches.
- Replace headbands if they lose shape or break over time.
Conclusion
Making headband bows has become one of my favorite creative outlets.
It’s quiet, it’s relaxing, and it gives me something sweet and handmade to share with others.
If you’re making one bow or a whole collection, it’s time well spent.
Each little headband becomes a soft, simple way to show love, and that is what makes it so meaningful.
There’s something incredibly satisfying about using ribbon, fabric, and glue to transform simple materials into something beautiful and unique.
These bows carry a sense of care and thoughtfulness that store-bought accessories often lack.
This simple craft also offers a moment of mindfulness in our busy lives.
As you measure, cut, and assemble each piece, you focus on the present, creating something tangible and lovely.
In a fast-paced world, that little pause and act of creativity is a gift in itself, for both the maker and the wearer.