
Keeping your Nissan Altima’s wheels secure is key for safe driving.
Over time, lug nuts can wear out or get damaged, putting your safety at risk.
If you’ve noticed loose wheels or rust on your lug nuts, it’s time to replace them.
Don’t worry – this task is simpler than you might think.
This guide will walk you through replacing lug nuts on your Nissan Altima.
You’ll learn how to do this job at home, saving time and money.
We’ll cover the necessary tools, step-by-step instructions, and tips to ensure you do the job right.
By the end, you’ll have the know-how to keep your Altima’s wheels firmly in place.
What Is a Lug Nut and Why Is Replacement Important?
Lug nuts are fasteners that secure a vehicle’s wheel to the hub.
Made from durable materials, they ensure the wheel stays attached while driving.
Why replace lug nuts?
- Safety: Worn or damaged lug nuts can cause wheels to loosen or detach, leading to accidents.
- Proper Torque: Correct tightness prevents issues like stripped threads or brake rotor warping.
- Corrosion Prevention: Replacing rusty lug nuts prevents seizing and prolongs the lifespan of wheel studs.
- Appearance and Functionality: New lug nuts improve the look of your wheels and prevent damage to wheel studs.
Regularly replacing lug nuts ensures safety and proper wheel attachment and maintains vehicle performance.
Preparation for Lug Nut Replacement
Before replacing the lug nuts on your Nissan Altima, getting everything ready is important.
Good preparation will make the job easier and safer.
Let’s go through what you’ll need to do before you begin.
1. Gather Necessary Tools

To replace your lug nuts, you’ll need a few tools. Like,
- New perfectly suitable Lug Nuts
- Lug Wrench
- Torque Wrench
- Car Jack and Jack Stands
- Safety Gloves
Having all these tools ready before you start will save you time and make the job go smoothly.
2. Vehicle Safety Precautions
Before you start working on your Nissan Altima’s lug nuts, it’s crucial to set up a safe work area.
Taking these steps will help prevent accidents and make your job easier.
- Park on a Flat, Stable Surface
- Engage the Parking Brake
- Use Wheel Chocks for Added Safety
Step-By-Step Process: Replace Nissan Altima’s Lug Nuts
Now that we’re all set up, let’s go through how to replace your Nissan Altima’s lug nuts.
We’ll break it down into simple steps.
1. Lift the Vehicle

First, we need to get your car off the ground.
This lets us work on the wheels easily and safely.
Here’s how to do it:
Find the Right Spot
- Look for the lifting points under your car.
- Your Altima’s manual will show you where these are.
- They’re usually near each wheel.
Use the Car Jack
- Put the jack under the lifting point.
- Slowly pump the jack to raise the car.
- Stop when the wheel is off the ground.
Add Jack Stands
- Once the car is up, put jack stands under the frame.
- Lower the car onto the stands.
- This gives you a backup in case the jack fails.
Check It’s Stable
- Give the car a gentle push.
- If it wobbles, lower it and start again.
- A stable car is a safe car to work on.
2. Remove the Old Lug Nuts

Now that your car is safely lifted, it’s time to take off the old lug nuts.
This step is pretty simple, but it’s important to do it right.
Here’s how:
Grab Your Lug Wrench or Socket
- This tool fits over the lug nuts.
- Make sure you have the right size for your Altima’s lug nuts.
Loosen the Nuts
- Put the wrench on a lug nut and turn it to the left (counterclockwise).
- You might need to use some muscle here.
- If they’re really tight, try stepping on the wrench for extra force.
Take Off All the Nuts
- Once they’re loose, you can unscrew them by hand.
- Take your time and don’t drop them.
Keep the Old Nuts Safe
- If you plan to reuse them, put them in a small box or cup.
- This keeps them from rolling away.
3. Install New Lug Nuts

This step is crucial for your safety, so let’s do it carefully.
Here’s how to install your new lug nuts:
Pick Up a New Lug Nut
- Hold it between your thumb and finger.
- Make sure it’s clean and free from any dirt.
Line It Up
- Look at the wheel stud.
- That’s the threaded post sticking out of your wheel.
- Put the lug nut on the stud.
Hand-Tighten
- Use your fingers to screw the lug nut onto the stud.
- Turn it to the right (clockwise).
- Keep turning until it feels snug.
Check the Fit
- The lug nut should sit flat against the wheel.
- If it’s tilted or wobbly, take it off and try again.
- A good fit is key for safety.
Do This for All Lug Nuts
- Put on all the new lug nuts, hand-tightening each one.
- Don’t use the wrench yet – that comes later.
4. Tighten the Lug Nuts
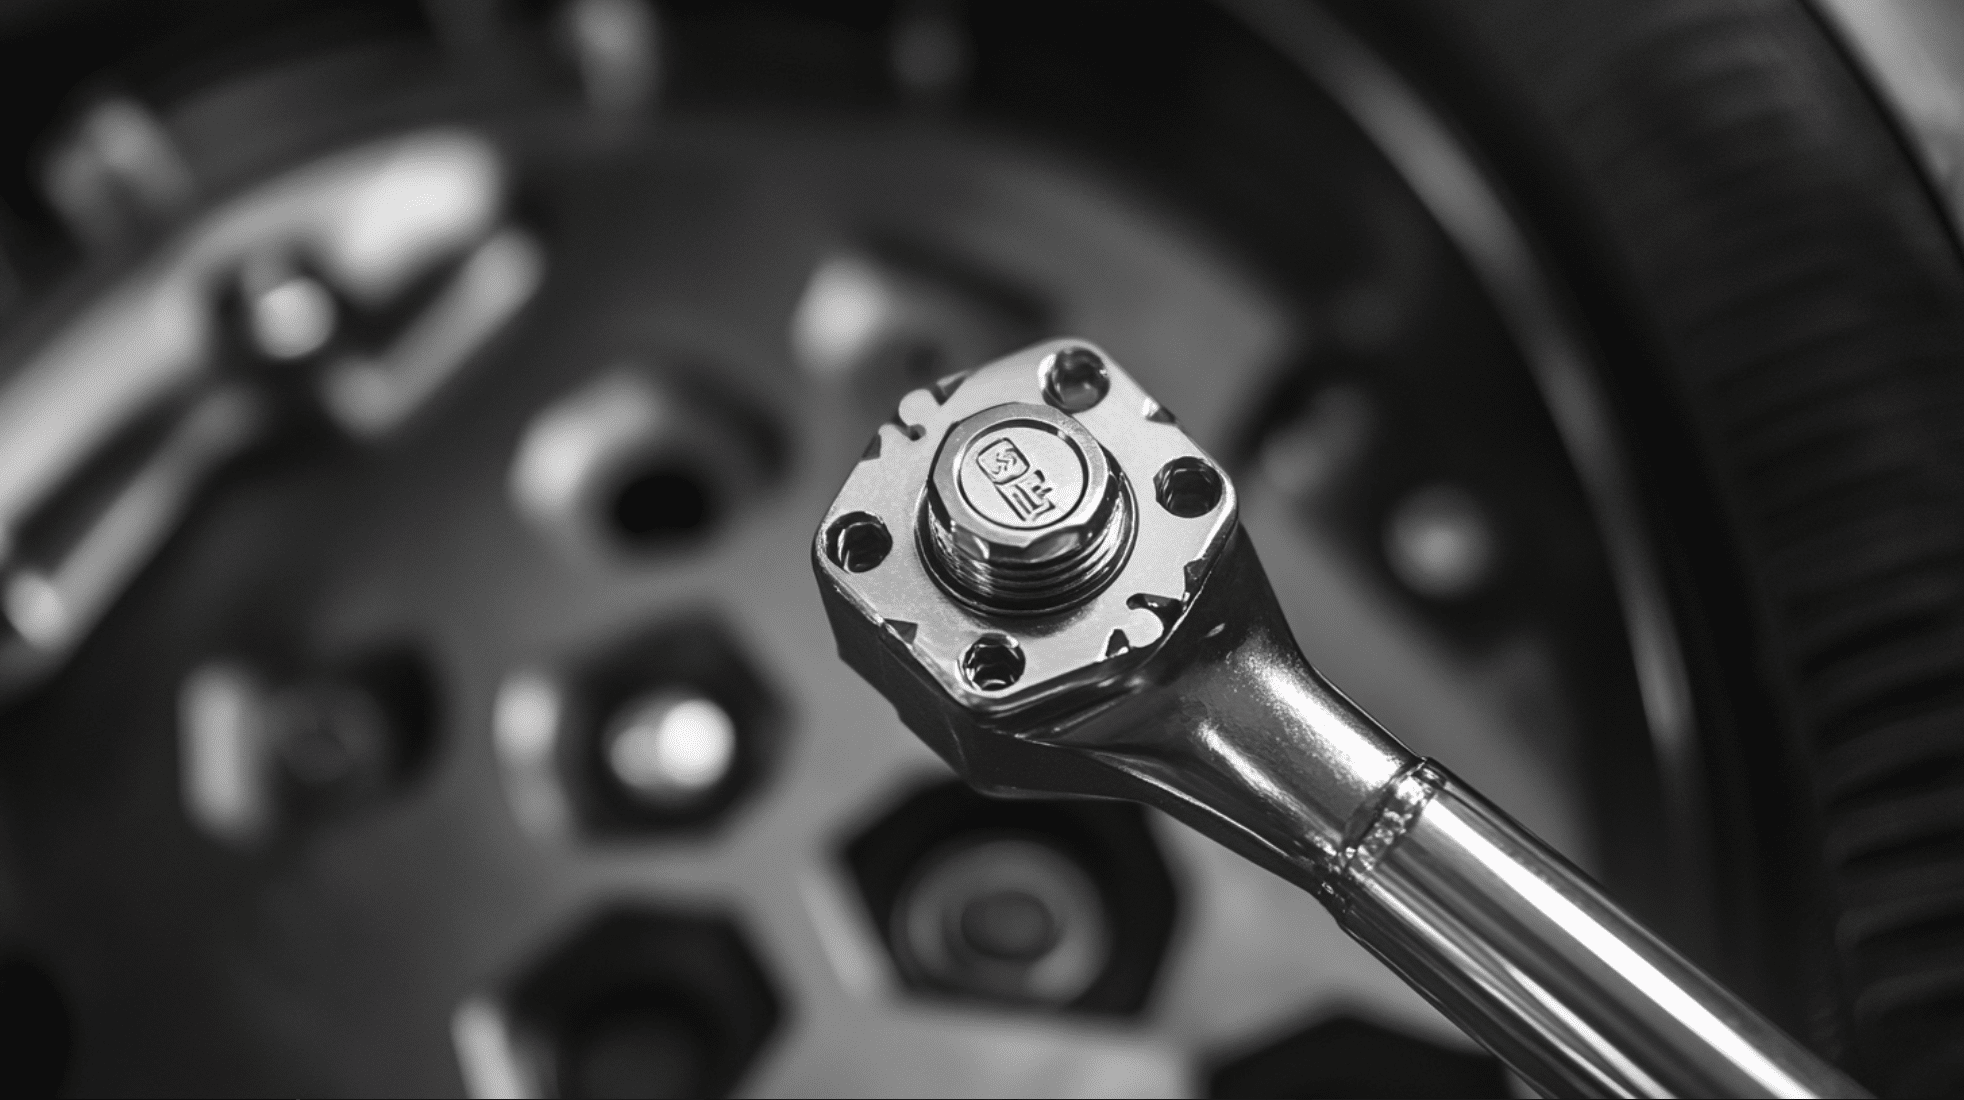
Now comes a key step – tightening the lug nuts properly.
This ensures your wheel stays on safely.
Let’s go through it step by step:
Lower the Car
- Use the jack to slowly lower your Altima back to the ground.
- This lets the car’s weight settle on the wheels.
Get Your Torque Wrench
- This special tool helps you tighten the nuts to just the right amount.
- It’s worth borrowing or buying one for this job.
Find the Right Torque
- Check your Altima’s manual for the correct torque setting.
- It’s usually listed in foot-pounds or newton-meters.
Tighten in a Star Pattern
- Start with any nut, then move to the one across from it.
- This helps the wheel sit evenly.
Use the Torque Wrench
- Put it on each nut and turn until you hear a click.
- The click means you’ve reached the right tightness.
Don’t Overdo It
- More isn’t better here.
- Too tight can damage the wheel or make the nuts hard to remove later.
5. Final Checks and Inspection

After replacing your Nissan Altima’s lug nuts, it’s crucial to do some final checks.
These steps help make sure everything is secure and safe.
Let’s go through what you need to do to finish the job right.
Post-Installation Checks
Your new lug nuts are on, but you’re not quite done yet. Here’s what to do next:
- Take a short drive
- Recheck the torque
- Make it a habit
Final Inspection
Before you hit the road for good, do these last checks:
- Check tire pressure
- Look and listen
- Do a visual check
Cost of Replacement the Lug Nuts
Replacing lug nuts can be pretty cheap, especially if you do it yourself. Here’s what to expect:
- New Lug Nuts: You can find a set for your Altima for about $20 to $50. The price depends on the quality and where you buy them.
- DIY vs. Pro Job: Doing it yourself costs just the price of the parts. A shop might charge $50 to $100 for labor on top of that.
- Aftermarket Options: Good quality aftermarket lug nuts often cost less than ones from the dealer. They work just as well and can save you money.
Value of Investing in Quality Lug Nuts
While it’s tempting to buy the cheapest lug nuts, spending a bit more can pay off:
- Long-Lasting Performance: Better lug nuts resist rust and wear. They’ll likely last longer, saving you money in the long run.
- Right Fit for Your Altima: Make sure to get lug nuts that fit your car’s wheels. The right ones will keep your wheels secure and looking good.
Conclusion
Replacing lug nuts on your Nissan Altima is a straightforward process that’s crucial for your safety.
We’ve covered the key steps: gathering tools, lifting the car safely, removing old lug nuts, installing new ones, and tightening them correctly.
Remember, proper installation is vital – use a torque wrench to get the right tightness.
Don’t forget to make lug nut checks part of your regular car maintenance.
A quick look every few weeks can prevent big problems down the road.
By replacing worn or damaged lug nuts promptly, you’re ensuring your wheels stay securely attached to your car.
This simple task can make a big difference in your car’s safety and performance. So, take the time to check your lug nuts today.
Your Altima will thank you for it!