
Painting an apartment is one of the easiest ways to refresh your space and make it feel like home.
I’ve found that a fresh coat of paint can transform any room, no matter if you’re looking to update the walls, trim, or even cabinets.
The best part is you don’t need to be a professional to achieve great results. With a little preparation and the right tools, you can paint your apartment on your own.
In this guide, I’ll walk you through the steps, from choosing the right colors to prepping the surfaces.
If you’re a first-timer or a seasoned DIYer, these tips will help you get a smooth, professional-looking finish that you can enjoy for years.
Choosing the Right Paint for Your Apartment
Selecting the right paint is one of the most important steps in the painting process. The right choice can make your space feel fresh and inviting, while the wrong paint can lead to frustration and frequent touch-ups.
| Consideration | Recommendation | Details |
|---|---|---|
| Type of Paint | Latex Paint | Quick drying, easy to clean, and low odor. Ideal for most apartment spaces. |
| Finish | Flat/Matte (Ceilings), Satin/Eggshell (Walls), Semi-Gloss (High-traffic areas) | Choose based on the room’s function: matte for ceilings, satin for walls, and semi-gloss for kitchens/bathrooms. |
| Durability | Depends on Finish | Flat/matte finishes are less durable, while satin and semi-gloss are more resistant to wear and tear. |
| Color Testing | Test Swatches on Walls | Always try a few color swatches before deciding, as lighting affects how the paint appears. |
Tools and Supplies You’ll Need
- Wall cleaner (Spic & Span or similar)
- Painter’s tape (3M FrogTape or equivalent)
- Angled sash brush (2½″, synthetic bristles)
- 6″ mini roller (for edges and tight spots)
- 13–18″ standard roller (Purdy Colossus style)
- Roller frames and trays (plastic, sturdy)
- Canvas drop cloths (for floor protection)
- Putty knife (2″ and/or 6″ widths)
- Premixed spackling (e.g., DAP Fast ‘n Final)
- Sanding sponges (medium/fine grit)
- Caulk + caulking gun
- Screwdriver (for outlet covers)
- Damp rags (for drip cleanup)
- Paint stir sticks
- Paint buckets or trays
- Paint: one color for walls (gray), one for trim and doors (white)
Step-by-Step Guide to Painting an Apartment
Follow this detailed sequence to paint your apartment efficiently and neatly, even without a sprayer. Each step builds on the last to help you stay organized and complete tasks efficiently.
Step 1: Prep the Room and Walls
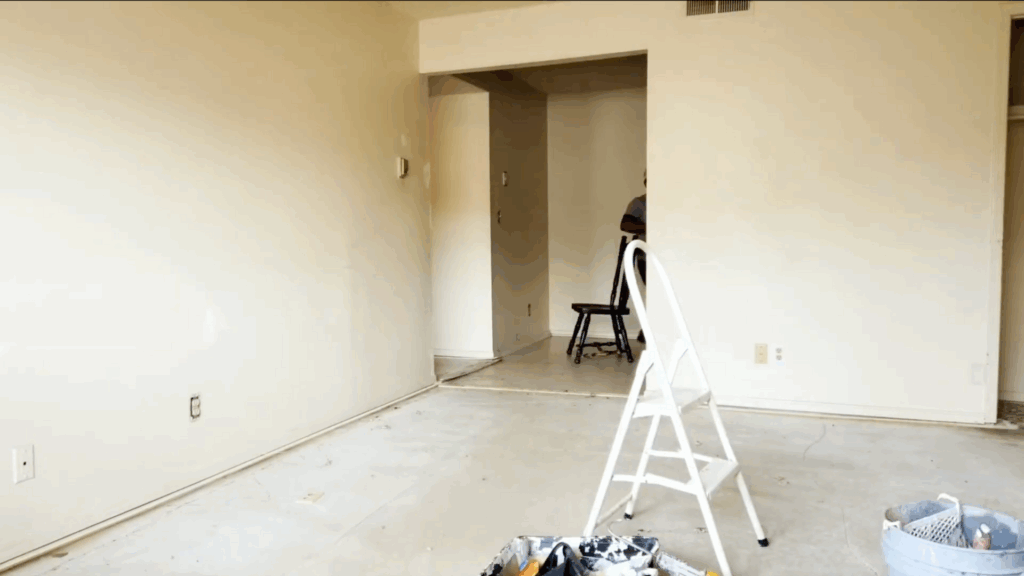
Start by removing all outlet covers, blinds, and anything hanging on the walls.
Clean the walls with a mild detergent and water solution to remove dust and residue.
Fill nail holes and minor imperfections with spackle, sand once dry, and caulk around the trim if necessary.
You’ll save time by skipping the ceiling unless it really needs paint.
Getting these steps done properly makes everything smoother later.
Step 2: Cut in Around the Top and Corners
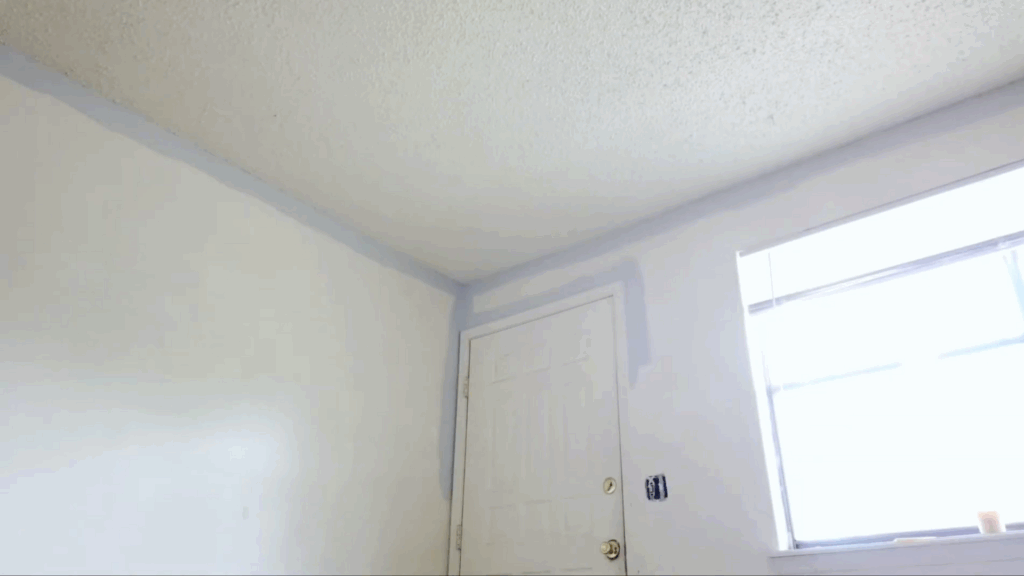
Using a 2½-inch angled brush, cut in along the top edge of the walls where they meet the ceiling.
You’ll also want to do around corners, vents, window edges, and door frames.
This detailed handwork took about two hours in the original video and made a huge difference in the final appearance.
Steady brushwork here helps you avoid the need for extensive taping.
Step 3: Bottom Edge with 6-inch Roller
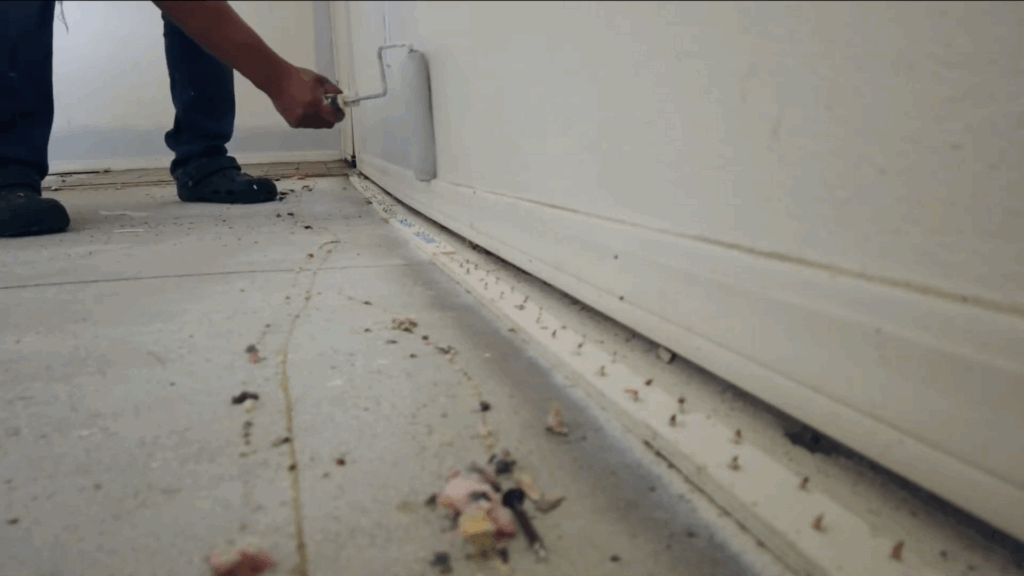
Rather than brushing along the bottom of the walls near the baseboards, the painter used a six-inch roller.
Since the baseboards were getting painted white later, some overlap was fine.
This step saved a lot of time, just 10 minutes compared to the usual hour or more with a brush.
A smooth glide along the bottom speeds things up and ensures even coverage.
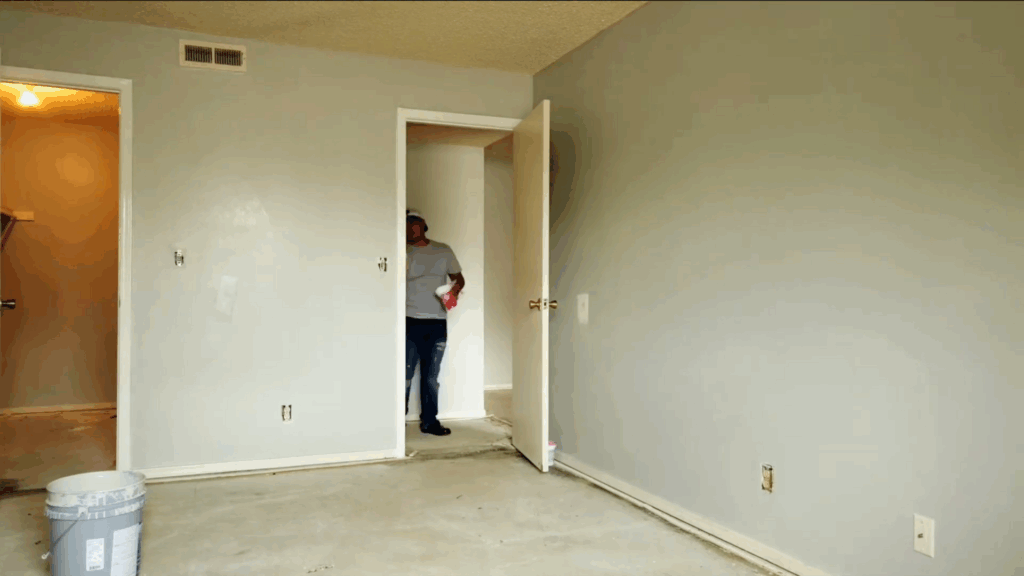
Step 4: Paint Tight Areas and Closets
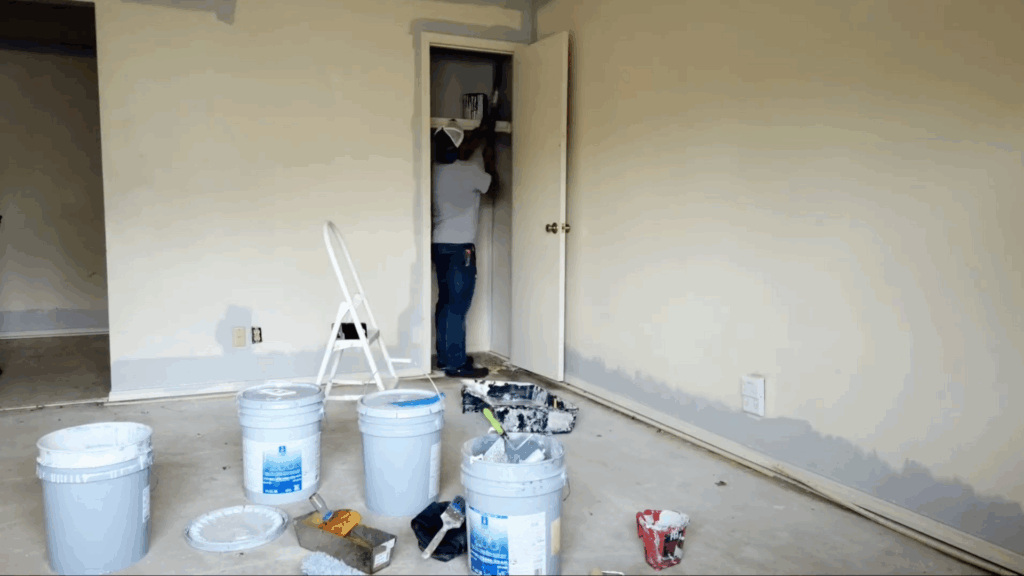
Use that same six-inch roller to paint small and awkward spaces like closets, bathroom corners, and narrow kitchen sections.
Instead of switching to a brush, this tool handles tight angles with ease.
It speeds up these usually frustrating areas, delivering a uniform finish while reducing strain on your wrist and cutting down on tool changes.
Step 5: Roll Large Wall Surfaces
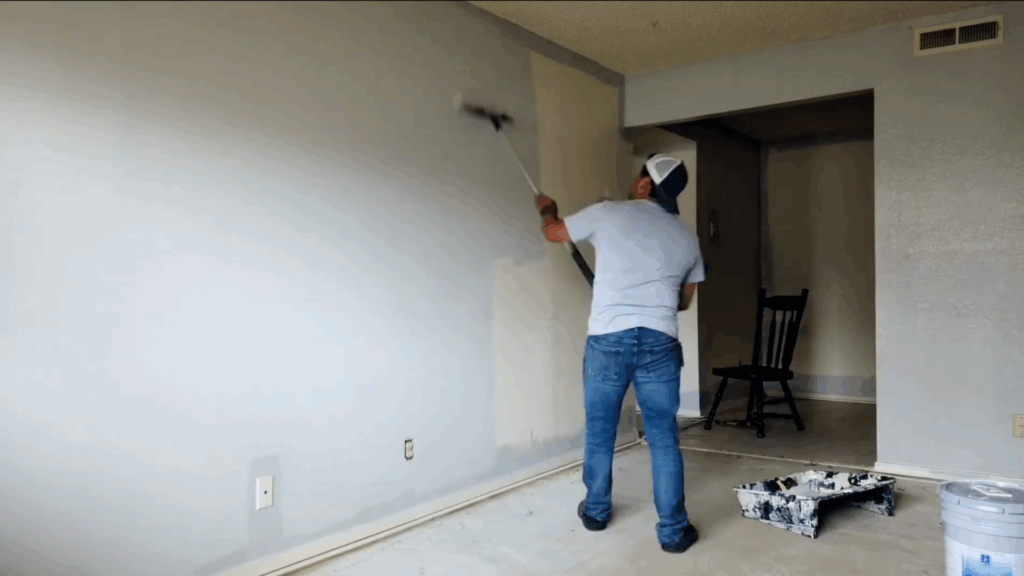
Now, it’s time to tackle the main walls.
The painter used a custom-sized Purdy Colossus roller, originally 18 inches but trimmed down to about 13 after drying on the edges.
Work in overlapping W-patterns to cover each wall smoothly.
This section took approximately 45 minutes, covering all the major areas quickly while minimizing drips and roller marks.
A good roller saves effort here.
Step 6: Paint Trim and Door Frames
Once the walls are dry, grab your angled brush and switch to white paint for the trim, baseboards, and door frames.
This is where detail matters.
Carefully brush along the edges for sharp lines and full coverage.
This step often takes longer than expected, but it dramatically enhances the finished look of the room.
Be sure to allow adequate drying time before doing any second coats.
Step 7: Refresh Window Sills and Details
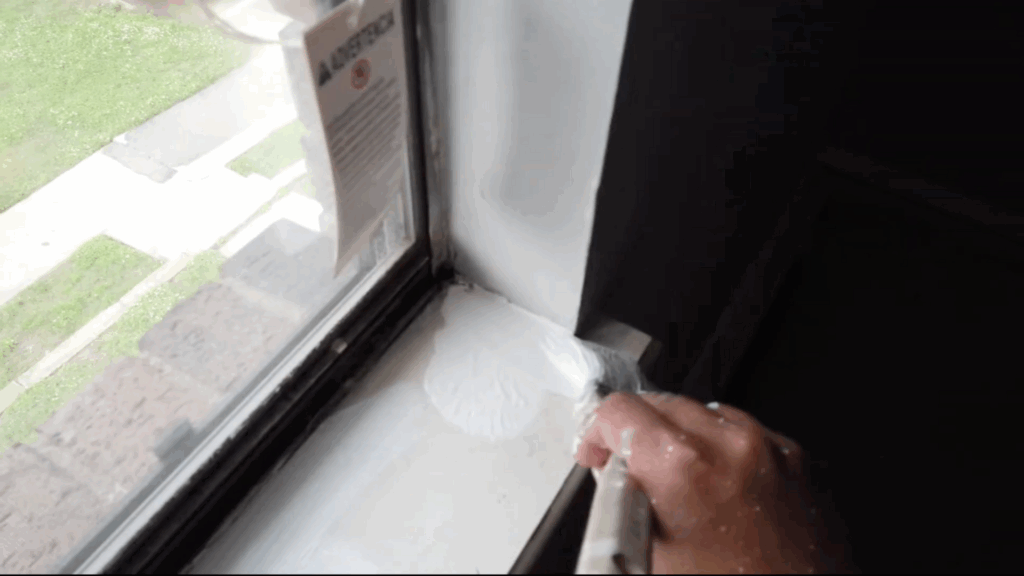
Window sills are sometimes forgotten until the very end, but they play a big role in creating a complete, polished appearance.
The painter returned to these just before cleaning up.
Be sure to coat them in the same trim paint as the baseboards to maintain consistency.
Use a small brush and watch for drips along the inside corners.
Step 8: Final Walkthrough, Touch-Ups, and Cleanup

Wrap up the project with a full walkthrough.
Look closely at every wall, corner, and trim edge for missed spots or imperfections.
Touch up anything that needs it, then pack up your tools and clean your brushes, rollers, and trays.
The video’s final clock read 5:53 PM, the start time was 10:44 AM with a 30-minute break, meaning 6 hours and 45 minutes of active painting.
That’s proof you can do this in one day.
The video inspires this blog. For a more detailed walkthrough, be sure to watch the full video:
Rolling vs. Spraying: Which is Better for Your Project?
When deciding between rolling and spraying, it depends on the size and type of your project.
Rolling is best for smaller spaces or areas under 800 square feet. It’s simple, quiet, and doesn’t require much setup or cleanup.
Plus, it’s easier to control and doesn’t have the mess of overspray, making it great for apartments or condos. With the right roller, you can achieve a smooth, professional finish, especially for textured walls or smaller jobs.
On the other hand, spraying is faster for large, flat surfaces, providing a smooth and even coat. It’s perfect for bigger projects or when you need to cover a lot of areas quickly.
However, spraying can create a mess with overspray, and it requires a lot of preparation to mask off areas like windows, cabinets, and floors.
Pro Painting Tips
Below are some expert tips to make your painting job even smoother and more efficient:
- Use Quality Brushes and Rollers: Investing in high-quality tools ensures a smoother finish and reduces the chances of roller marks or streaks.
- Keep Paint Damp, Not Wet: If you’re doing touch-ups, keep the edges of the paint slightly damp to avoid visible lines between new and old paint.
- Don’t Overload Your Brush: Excess paint can drip or cause streaks. Dip only the tip of the brush into the paint for better control.
- Work in Small Sections: To prevent paint from drying before you finish, tackle one section at a time.
- Use a Paint Tray Liner: For easy cleanup, line your paint tray with a disposable liner before pouring in your paint.
- Ventilate the Room: Open windows or use fans to ensure proper ventilation, especially if using strong-smelling paints.
These pro tips will help you achieve a faster, cleaner, and more professional finish.
Conclusion
Painting my apartment didn’t take as long as I expected, and it wasn’t as exhausting either.
By breaking the process down step-by-step and using the right tools, I was able to transform my space quickly and easily.
So, no matter if you’re painting for the first time or you’ve done it before, this guide will help you achieve a professional finish without the need to hire a contractor.
With a little preparation, the right techniques, and some patience, I found I could paint my entire apartment in just one day.
The best part? It made my space feel fresh and new, giving it the homey vibe I was looking for, without the long wait or high cost.